

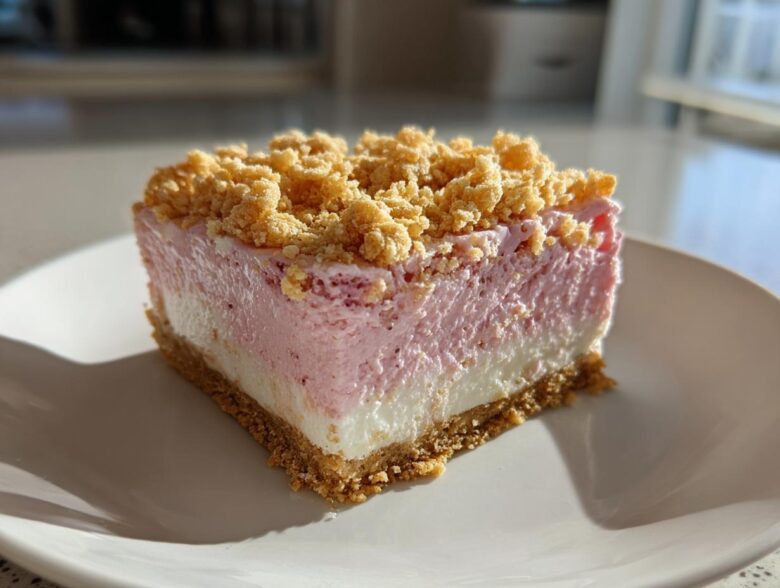
Summer is here, and frankly, my oven and I are taking a long, serious vacation. I don’t want to generate a single degree of extra heat in my little kitchen, which is why I’ve perfected what I now call the absolute ultimate **No Bake Strawberry Crunch Cheesecake**.
Seriously, this recipe is a lifesaver when the heat makes turning on the oven feel like a crime against humanity. We’re talking creamy, bright strawberry filling, a buttery graham cracker base, and that irresistible, crispy crunch topping we all dream about. The best part? Everything comes together with just mixing and chilling. Forget complicated steps; this layered beauty is exactly what you need!
If you’re looking for a beautiful, make-ahead dessert that screams summer fun, you have to try these cheesecake cups or bars. Trust me, you won’t miss baking one bit!
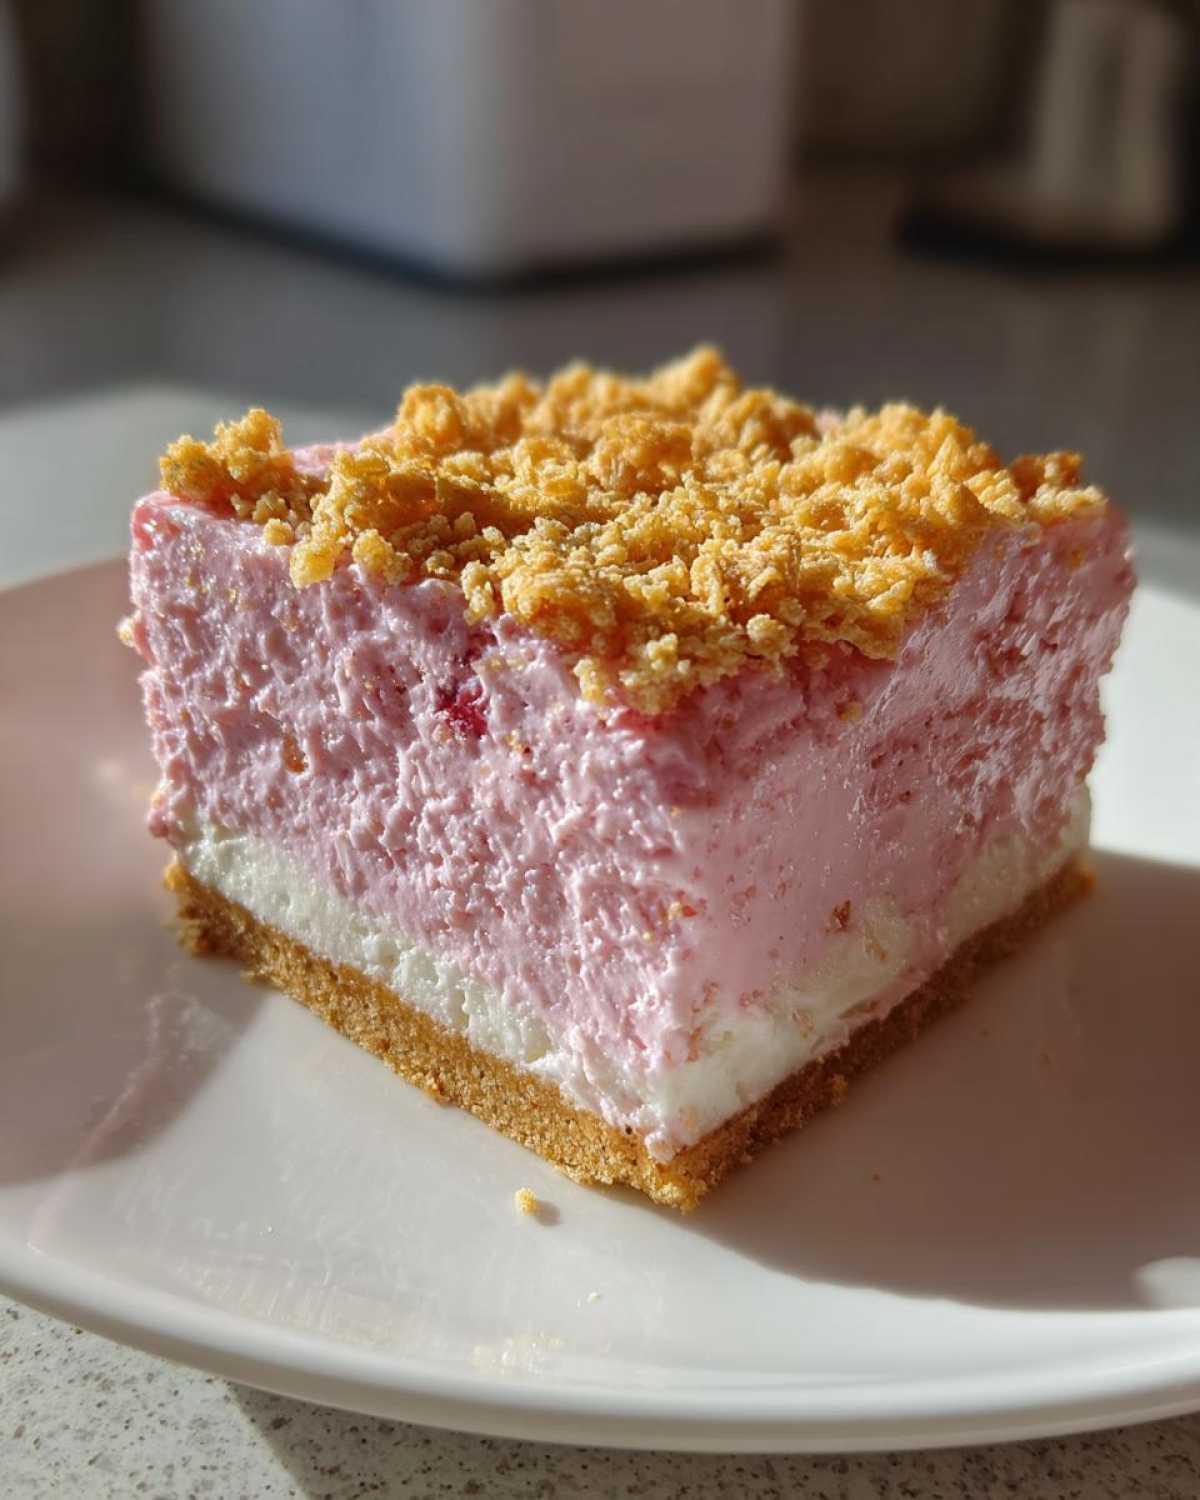
Why This No Bake Strawberry Crunch Cheesecake is Your New Favorite Summer Dessert
I truly think this is the dessert you’ll reach for all summer long. It hits all the marks every single time I whip it up, and I know you’ll agree once you try it. It’s just so incredibly satisfying!
- No Oven Needed: Hello, cool kitchen! This is the ultimate heat-beater.
- Quick Prep Time: We’re looking at about 25 minutes of active work before it chills out.
- Perfect for Summer: That bright strawberry tang feels like sunshine in a bite.
- Impressive Layered Look: It looks way more complicated than it actually is, which is my favorite kind of recipe! Grab the recipe for our other summertime favorites while you’re here!
Gathering Ingredients for Your No Bake Strawberry Crunch Cheesecake
Okay, before we dive into the mixing, let’s chat about what you need. The beauty of this **No Bake Strawberry Crunch Cheesecake** is that the ingredients are simple, but their condition matters—a lot! This recipe makes a solid 9 servings, perfect for a small family gathering or a weekend treat.
The absolute MOST important thing you must remember, and I cannot stress this enough, is that your cream cheese needs to be perfectly softened. If it’s cold, you’ll end up with annoying little lumps, and nobody wants lumpy cheesecake, right? Let it sit out for at least an hour, or pulse it in the microwave for super quick softening (but watch it closely!).
When you’re ready to start, check out our guide on the Strawberry Crunch Topping Recipe for extra tips on getting that perfect crumble!
For the Graham Cracker Crust
- 1 1/2 cups graham cracker crumbs
- 1/4 cup granulated sugar
- 6 tablespoons unsalted butter, melted
For the Strawberry Crunch Topping Recipe
This crumble is what makes the dessert, so don’t skimp! We want texture!
- 1 cup crushed vanilla wafer cookies or shortbread cookies
- 2 tablespoons melted butter
- 1/4 cup granulated sugar
- 1/4 teaspoon red food coloring (optional, for that classic pink color!)
For the Creamy Strawberry Cheesecake Filling
Remember that softened cream cheese? This is where the magic happens! We also need the cream to be ICE cold so it whips up nice and stiff.
- 16 ounces cream cheese, softened
- 1 cup powdered sugar
- 1 teaspoon vanilla extract
- 1/2 cup heavy whipping cream, cold
- 1 cup strawberry puree (from fresh or thawed frozen strawberries)
If you want a super sturdy layer that won’t sag, check out the secret stabilization trick for the Strawberry Cheesecake Filling over here!
Step-by-Step Instructions for No Bake Strawberry Crunch Cheesecake
Wow, okay, we’ve got the ingredients ready, the cream cheese is soft, and I’m dying to show you how quickly this comes together. Remember, since we aren’t baking, layering and chilling are our main jobs here. Pay attention to the folding step in the filling—that keeps things airy!
We are going to break this down into four simple phases: crust, crunch prep, making that creamy filling, and finally, setting it all up. It’s so easy, you’ll wonder why you ever turned on the oven in the summer. If you want to see some great visuals on the assembly process, check out my full guide on How to Make No Bake Strawberry Crunch!
Creating and Chilling the Crust
First things first: the base. Grab those graham cracker crumbs and toss them right into a bowl with the 1/4 cup of sugar and the 6 tablespoons of melted butter. Mix it up until it looks like wet sand. Press that mixture firmly into the bottom of your 8×8 dish. Don’t be shy; use the back of a measuring cup to pack it down tight. Pop that into the fridge for a mandatory 15 minutes. It needs to firm up before the creamy stuff goes on top!
Preparing the Strawberry Crunch Topping Recipe
While the crust is getting chilly, let’s get that amazing texture ready! In a separate little bowl, combine your crushed cookies, the extra 2 tablespoons of melted butter, and the 1/4 cup of sugar for the topping. If you’re going for that bright pink color, throw in your tiny bit of food coloring now and toss everything together until it’s evenly coated. Set this crunchy masterpiece aside!
Assembling the Strawberry Cheesecake Filling
Now for the heart of the show. In your big, clean bowl, start by beating that softened cream cheese until it’s totally smooth—no lumps allowed! Beat in the powdered sugar and vanilla. Next, whip your cold heavy cream in a separate bowl until it holds stiff peaks. This is crucial, so don’t stop mixing too early! Then, fold that whipped cream gently into the cream cheese mixture. Finally, gently fold in the strawberry puree. I mean gently! We want to keep all that air we just whipped in there. Check out the guide on the Strawberry Cheesecake Filling technique if you want extra stability guidance.
Setting and Finishing the No Bake Strawberry Crunch Cheesecake
Pour that beautiful pink filling right over your chilled crust and smooth the top out nicely. Now, the hard part: waiting! You need to let this set in the refrigerator for a minimum of 6 hours, but honestly, chilling overnight makes it sliceable perfection. Once it’s totally firm, sprinkle that gorgeous crunch topping all over the top. Slice it up, serve it cold, and grab the recipe for the best no bake strawberry cheesecake version right here!
Tips for the Best No Bake Strawberry Crunch Cheesecake Texture
Look, I’m going to level with you. The first time I made this **No Bake Strawberry Crunch Cheesecake**, I thought I followed the directions perfectly, but that 6-hour chill time? Not enough! I went to slice it, and the whole thing just sort of… slumped. It tasted amazing—don’t get me wrong—but I wanted those crisp, defined layers, especially with that spectacular crunch topping we made.
That’s when I started using the little trick from the notes; it’s my insurance policy now, especially when I know I need to make something ahead of time for a party, like for a make-ahead strawberry cheesecake situation. You dissolve one teaspoon of unflavored gelatin into about two tablespoons of hot water until it’s clear, and then you quickly whip it into the cream cheese mixture right before you fold in the heavy cream.
It sounds very official, but trust me, that gelatin gives the structure the backbone it needs without changing the flavor at all. It ensures your filling sets up sturdy and clean through and through. If you’re worried about serving a whole cake, go for individual parfaits! Seriously, using small glasses means you can layer the crust, filling, and crunch right in the glass. They look stunning, they chill faster, and slicing is never an issue!
Ingredient Notes and Substitutions for Your No Bake Strawberry Crunch Dessert
I know sometimes you open the fridge and realize you’re missing one small thing. That’s okay! This **No Bake Strawberry Crunch Dessert** is flexible, but a few ingredients really make or break that beautiful texture we’re going for. It’s all about building confidence in what you’re putting in the bowl!
Let’s talk strawberries first. You need one cup of puree, right? If you use fresh strawberries, wash them, hull them, and blend them until smooth. If you’re using frozen strawberries—which I often do because they are already super flavorful—make sure they are completely thawed first! You’ll drain off any excess liquid before you puree them. Too much water, and your filling might get soupy. We want that bright, concentrated strawberry punch!
When it comes to the crunch, ditch the generic crumbs if you can. The recipe calls for vanilla wafers or shortbread cookies, remember? Vanilla wafers give you that specific sweet, slightly buttery flavor that really echoes the classic crunch flavor profile. If you use something too plain, the topping flavor gets kind of lost. Also, make sure you crush them thoroughly but not into dust! You need those little bits of cookie left for the crunch factor. If you need more ideas on variations, check out my post on the No Bake Strawberry Crunch Dessert collection!
Serving Suggestions for Your No Bake Strawberry Crunch Cake Alternative
Once this stunning **No Bake Strawberry Crunch Cake Alternative** is finally chilled and firm, presentation is everything! Because it’s such a clean, bright dessert, you don’t need to do much to make it shine. If you made it in a big pan, dust the edges right before slicing with a little extra powdered sugar for contrast.
For a really deluxe look, especially if you used the parfait method, top each serving with one perfect, fresh strawberry right in the center, maybe with a tiny sprig of fresh mint tucked beside it. A drizzle of extra strawberry sauce over the top of the crunch layer is divine, too! I love how elegant these look next to some quick no-bake strawberry cream cups for a large spread.
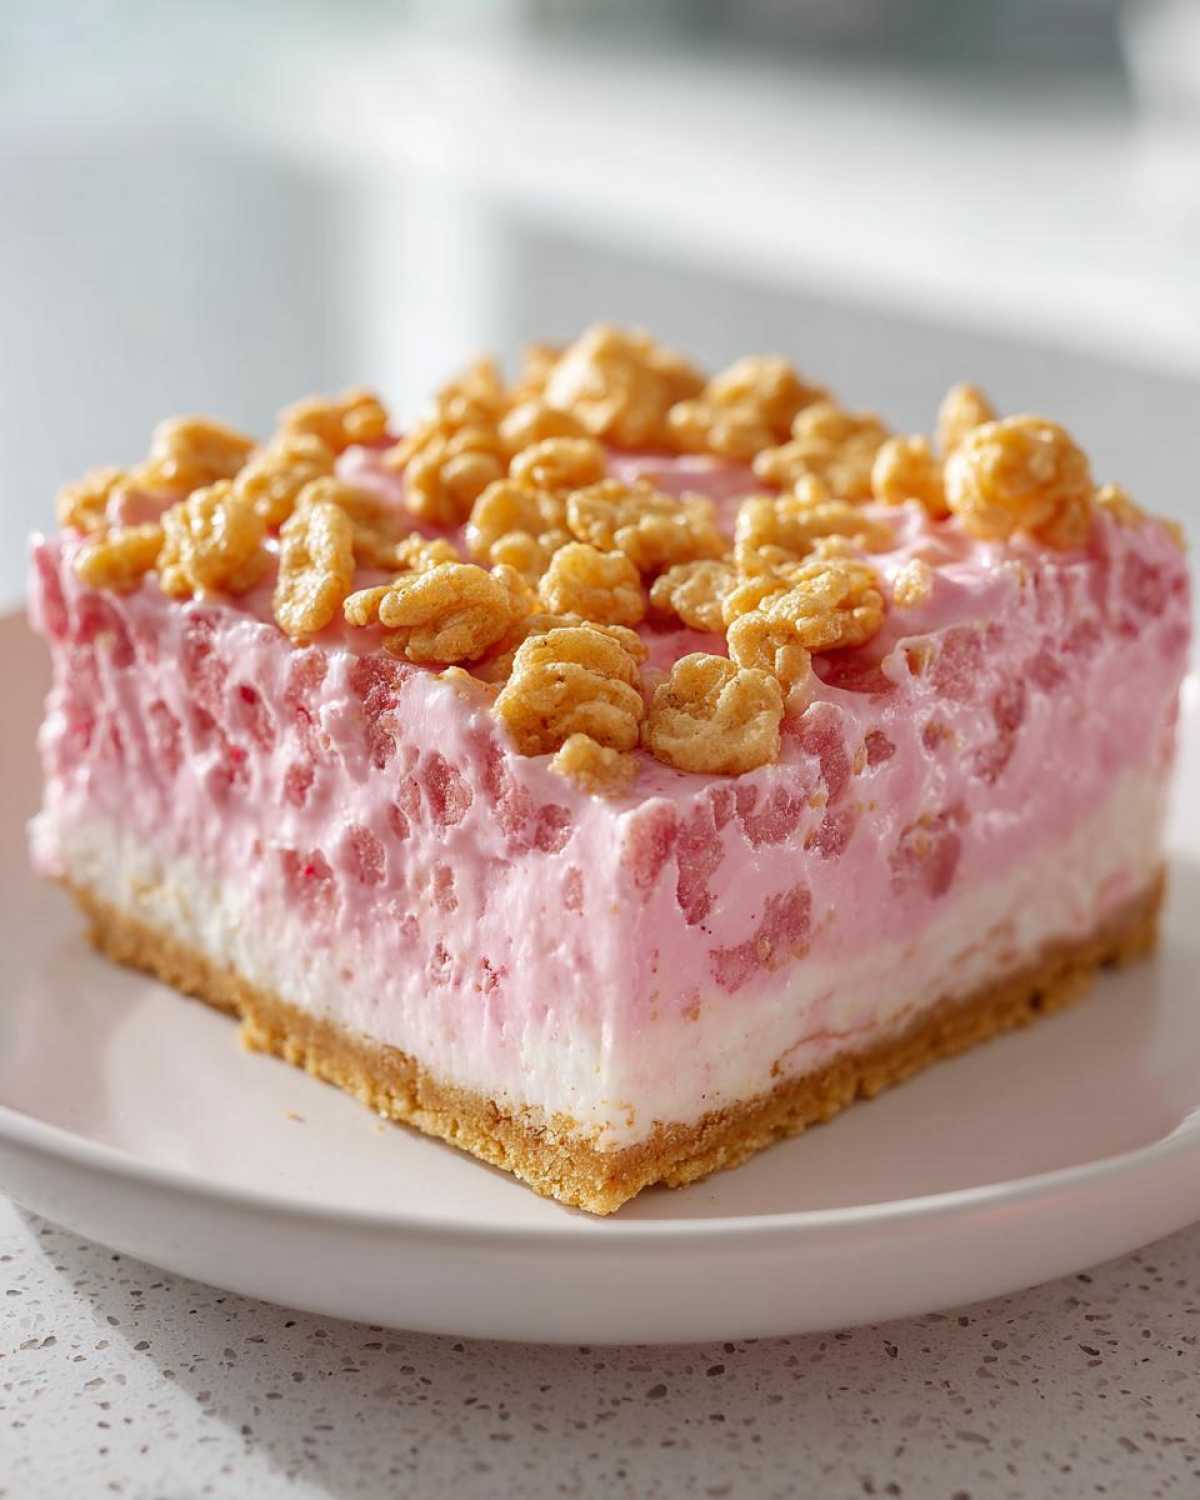
Storage and Make Ahead Tips for the No Bake Strawberry Crunch Cheesecake
The best thing about this **No Bake Strawberry Crunch Cheesecake** is how friendly it is to making things ahead of time for busy weekends! Since it has to chill for hours anyway, you might as well plan ahead, right?
You can definitely prep the components separately. The crust and the crunch topping can be made a day ahead! Just store the crust mixture in an airtight container at room temperature, and keep the crunch topping in a sealed container in the fridge. If you store the topping in the fridge, make sure to give it a good toss right before serving because some of that moisture from the cream cheese filling can sneak in and soften it up a bit.
Once the entire cheesecake is assembled and completely chilled (after those 6 hours!), it needs to stay covered tightly in the refrigerator. I find it tastes best within the first 24 to 48 hours. After that, while it’s still safe, the moisture from the filling starts to seep a little too much into the graham cracker crust, and the crunch topping really loses its snap. And just a quick reminder: since there’s no actual baking, there’s no reheating this beauty! It must come straight from the cold fridge to your table.
Frequently Asked Questions About Making No Bake Strawberry Cheesecake
I get so many questions when people first try this recipe, and usually, it’s just small adjustments that make a huge difference! Don’t be scared if you need to tweak something. That’s what I’m here for!
Can I use fresh strawberries instead of puree for the filling?
Oh, absolutely! I love using fresh ones when they are perfectly ripe. If you use fresh ones instead of thawed frozen, just blend them until they are beautifully smooth; it’s exactly the same amount of liquid we need. Honestly, the flavor is slightly brighter! The only small trade-off is that fresh puree might make the final set time a little longer, so make sure you give it that full 6-hour chill, or maybe even go the gelatin route if you’re in a hurry!
How long does the No Bake Strawberry Crunch Dessert last in the fridge?
For the best experience, I try to eat this within about 3 days maximum. It is a spectacular easy no bake strawberry cheesecake when fresh. My only warning is about that amazing crunch layer. If you layer the crunch topping on right away, it will start to soften up by day two because it’s absorbing moisture from the filling. If you know you won’t devour the whole thing immediately, keep the crunch topping stored dry in the fridge and sprinkle it on right before you serve each slice!
What can I use if I don’t have graham crackers for the crust?
If you’re out of graham crackers, don’t panic! We can pivot to another totally delicious base. Since we already love vanilla wafers for the topping, you can totally use those for the crust, too! Just crush up about 1 1/2 cups’ worth and mix them with the butter and sugar exactly the same way. It’s a great way to make this **No Bake Strawberry Crunch Dessert** taste super consistent throughout all the layers!
Estimated Nutritional Information for No Bake Strawberry Crunch Cheesecake
Now, look, I’m a baker, not a nutritionist, so take these numbers with a grain of salt—or maybe a sprinkle of that amazing crunch topping, ha! This information is just an estimation based on standard calculations for the ingredients listed. Your actual values might shift a tiny bit depending on the brands you use or exactly how much strawberry puree you end up draining.
This data is based on the final recipe yielding 9 generous slices. Remember, because we aren’t baking this **No Bake Strawberry Crunch Cheesecake**, we avoid any heat-related nutrient changes, but the fat and sugar content are what they are in any good cream cheese dessert!
If you’re tracking seriously, I always recommend cross-referencing with the specific products you buy, but this gives you a general idea of what you’ll be enjoying. For more lighter options in the no-bake category, check out my recipe for no-bake chocolate eclair dessert!
- Serving Size: 1 slice
- Calories: 350
- Sugar: 30g
- Sodium: 210mg
- Fat: 22g
- Saturated Fat: 13g
- Unsaturated Fat: 9g
- Trans Fat: 0g
- Carbohydrates: 35g
- Fiber: 1g
- Protein: 4g
- Cholesterol: 65mg
No Bake Strawberry Crunch Cheesecake
Make this simple, no-bake cheesecake featuring a creamy strawberry filling and a crunchy topping. This recipe requires no oven time.
- Prep Time: 25 min
- Cook Time: 0 min
- Total Time: 6 hr 25 min
- Yield: 9 servings
- Category: Dessert
- Method: No Bake
- Cuisine: American
- Diet: Vegetarian
Ingredients
- 1 1/2 cups graham cracker crumbs
- 1/4 cup granulated sugar (for crust)
- 6 tablespoons unsalted butter, melted
- 16 ounces cream cheese, softened
- 1 cup powdered sugar
- 1 teaspoon vanilla extract
- 1/2 cup heavy whipping cream, cold
- 1 cup strawberry puree (from fresh or thawed frozen strawberries)
- 1 cup crushed vanilla wafer cookies or shortbread cookies (for crunch topping)
- 2 tablespoons melted butter (for crunch topping)
- 1/4 cup granulated sugar (for crunch topping)
- 1/4 teaspoon red food coloring (optional, for topping color)
Instructions
- Prepare the crust: Mix graham cracker crumbs, 1/4 cup sugar, and 6 tablespoons melted butter. Press the mixture firmly into the bottom of an 8×8 inch pan or individual serving glasses. Chill for 15 minutes.
- Make the crunch topping: In a small bowl, combine crushed cookies, 2 tablespoons melted butter, 1/4 cup sugar, and food coloring if using. Toss until coated. Set aside.
- Prepare the filling: In a large bowl, beat the softened cream cheese until smooth. Gradually beat in the powdered sugar and vanilla extract.
- In a separate bowl, whip the cold heavy cream until stiff peaks form. Gently fold the whipped cream into the cream cheese mixture.
- Fold in the strawberry puree until just combined. Do not overmix.
- Spread the strawberry cheesecake filling evenly over the chilled crust.
- Refrigerate the cheesecake for at least 6 hours, or until firm.
- Before serving, sprinkle the prepared crunch topping evenly over the top of the set cheesecake. Slice and serve cold.
Notes
- For individual parfaits, layer the crust mixture, filling, and crunch topping in glasses for easy serving.
- If you prefer a firmer texture, you can add 1 teaspoon of unflavored gelatin dissolved in 2 tablespoons of hot water to the cream cheese mixture before folding in the whipped cream.
- Use high-quality vanilla wafers for the best crunch flavor.
Nutrition
- Serving Size: 1 slice
- Calories: 350
- Sugar: 30g
- Sodium: 210mg
- Fat: 22g
- Saturated Fat: 13g
- Unsaturated Fat: 9g
- Trans Fat: 0g
- Carbohydrates: 35g
- Fiber: 1g
- Protein: 4g
- Cholesterol: 65mg