

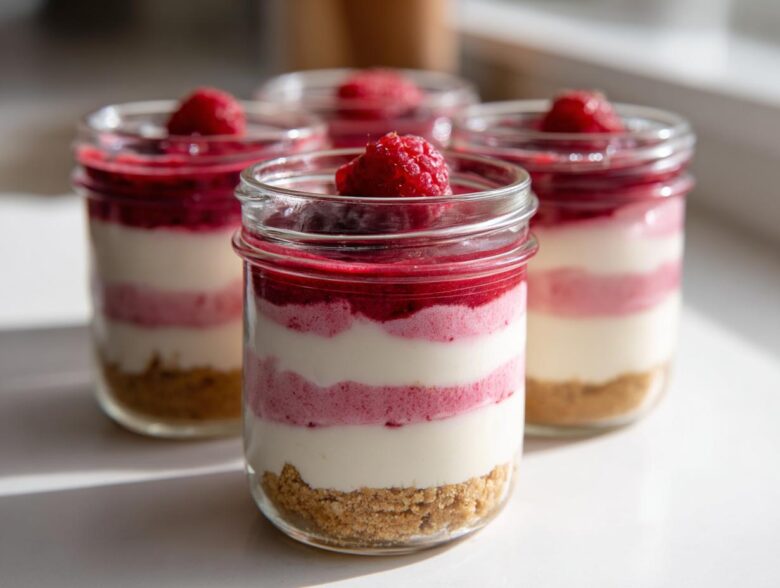
Oh my goodness, if you are looking for a dessert that screams effortless elegance, stop scrolling right now! I am so excited to share my absolute favorite party trick: making individual servings of cheesecake in little jars. Forget the stress of slicing a giant dessert; these **No-Bake Raspberry White Chocolate Cheesecake Jars** are already portion-controlled, portable, and seriously impressive.
I usually whip up a batch of these when the weather gets warm, but honestly, they are perfect any time you need something intensely creamy without turning on the oven. We’re talking rich white chocolate mixed with tangy raspberries, all resting on a buttery graham cracker base. It’s truly springtime in a jar, and trust me, you need this no-bake strawberry cheesecake cups neighbor in your dessert lineup!
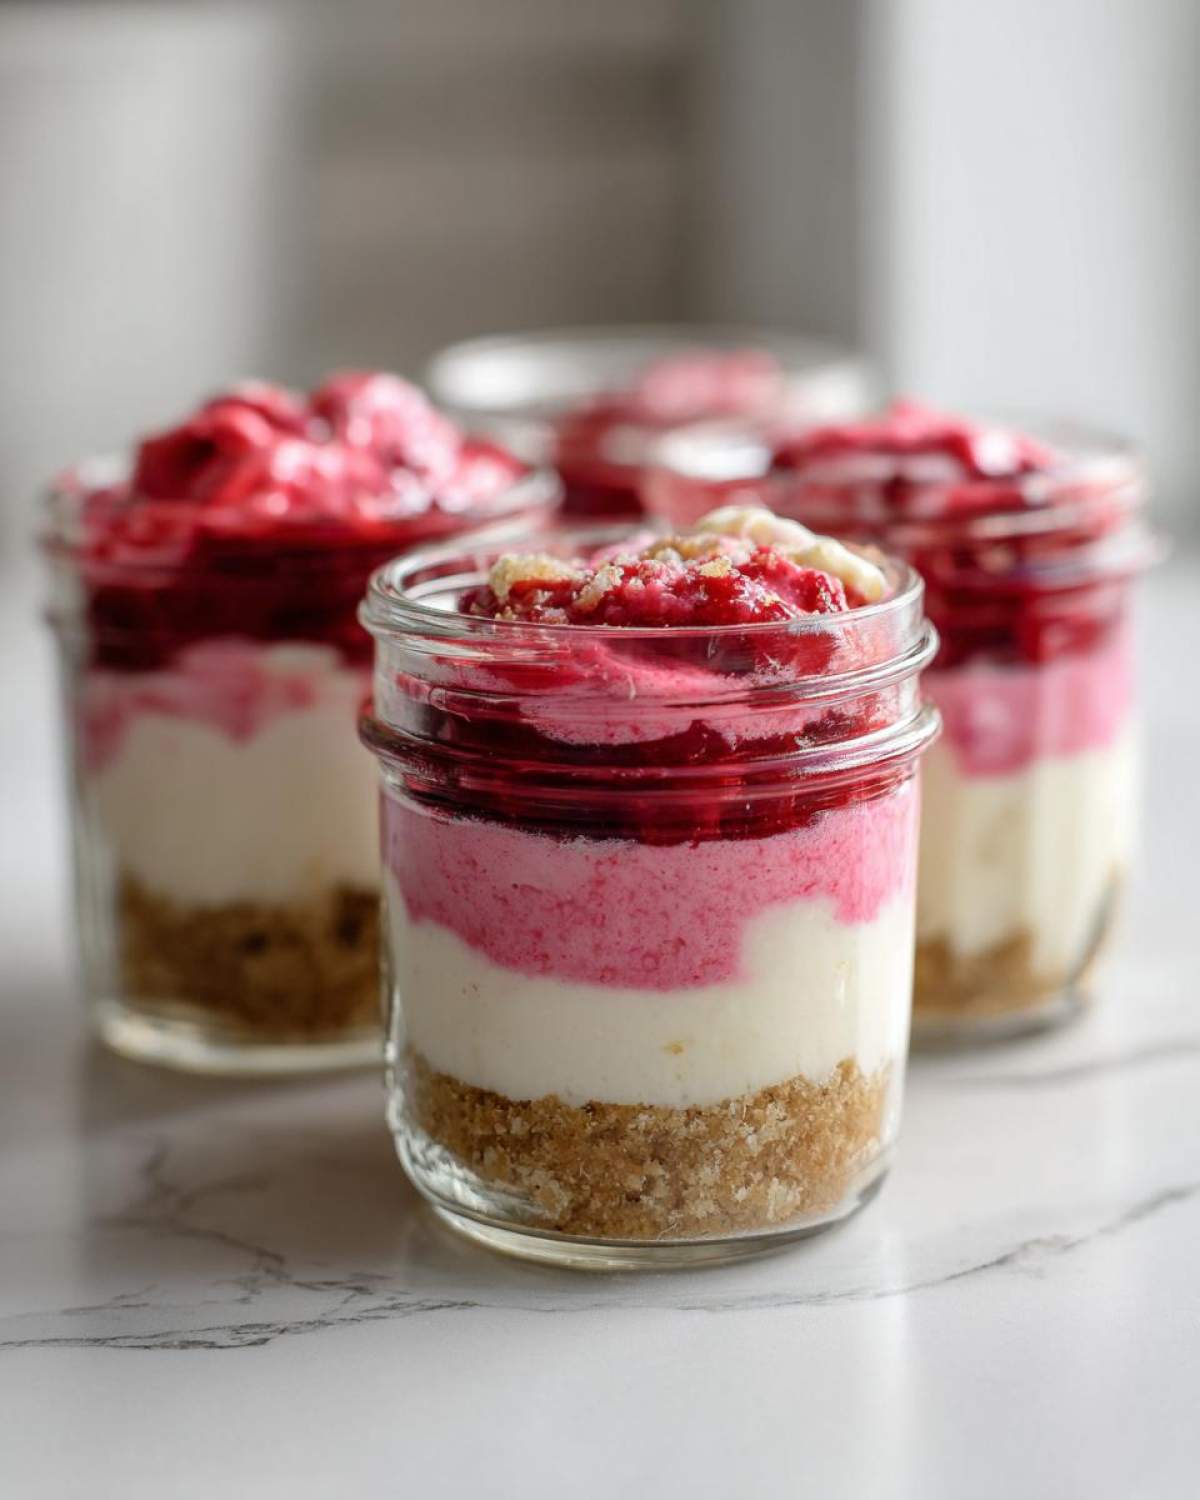
Why You Will Love These No-Bake Raspberry White Chocolate Cheesecake Jars
I promise you won’t find an easier showstopper recipe. When I bring these out, everyone asks if I spent all day stirring! But nope, these are so quick.
- Speed Alert: Since these are **No Oven Raspberry Desserts**, prep is done in under thirty minutes.
- Portion Perfection: Having **Single Serving Cheesecake Jars** means zero messy serving later. Hello, built-in portion control!
- Flavor Hit: The sweet, dreamy white chocolate pairs unbelievably well with that tart raspberry. They make fantastic **Easy Raspberry Dessert Cups**.
- Make Ahead Magic: You can prep these totally ahead of time. Check out this similar no-bake Biscoff cheesecake recipe for inspiration on timing!
Gathering Ingredients for Your No-Bake Raspberry White Chocolate Cheesecake Jars
Okay, let’s talk about what we need. Because this is a **Simple No Bake Cheesecake Filling**, the quality of what you use really shines through, especially since we aren’t baking anything to hide imperfections!
You need to make sure your cream cheese is fully softened—I mean, totally squishy and ready to go. That’s my biggest expert tip for avoiding lumps in these beautiful **Individual White Chocolate Cheesecakes**. Grab your jars, and let’s get everything measured out before we start the assembly process. If you’re stressing about how things are layered, sometimes seeing a different approach helps—like in my no-bake chocolate eclair dessert post, which uses a similar layering approach!
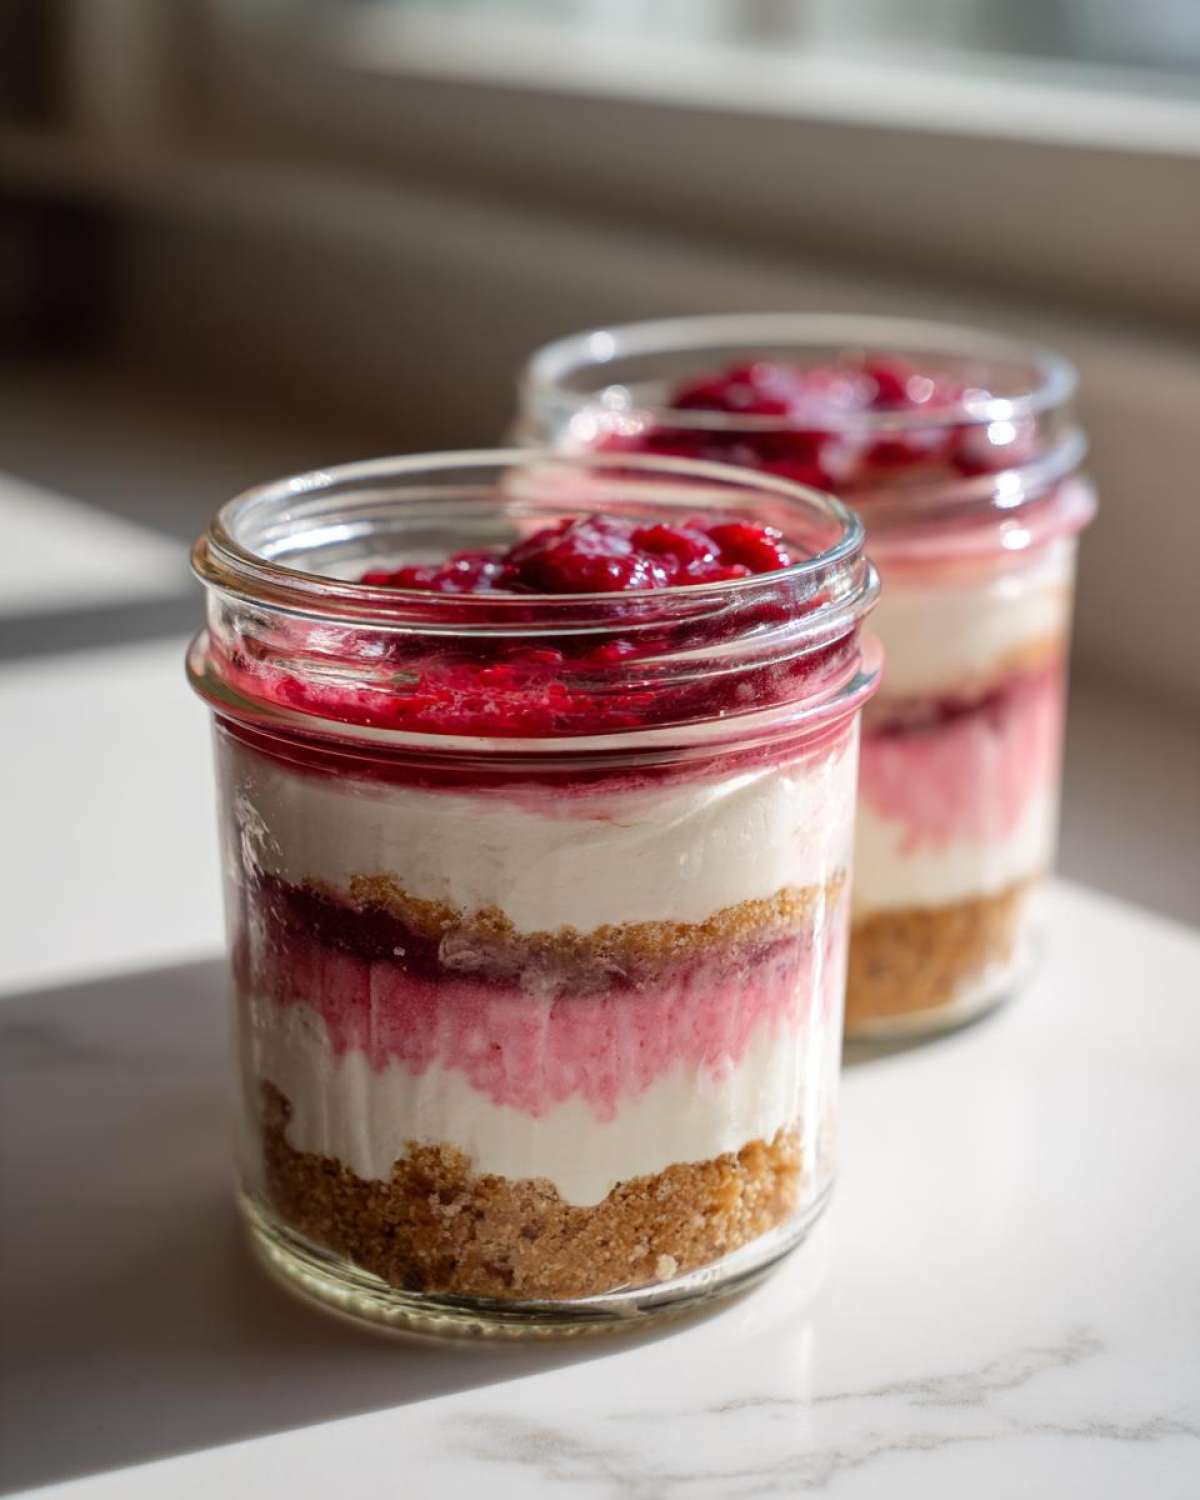
We’ll tackle this in three parts: crust, fruit, and the creamy magic. Remember, these ingredients are what make these desserts shine, so don’t skimp on the good stuff, like real butter!
For the Graham Cracker Crust
This crust is super straightforward! You only need two things:
- 1 1/2 cups graham cracker crumbs
- 6 tablespoons unsalted butter, melted
For the Tart Raspberry Puree Layer
This layer gives us that essential bright tang to cut through the richness. Don’t forget to let this cool completely, or it will melt our gorgeous filling!
- 1 cup fresh or frozen raspberries
- 1 tablespoon lemon juice
- 1 tablespoon granulated sugar
For the Simple No Bake Cheesecake Filling
This is where the white chocolate comes in! Since we need it smooth, make sure that 8 ounces of cream cheese is at room temperature.
- 8 ounces cream cheese, softened
- 1 cup powdered sugar
- 1 teaspoon vanilla extract
- 1 cup heavy whipping cream, cold (this needs to be cold for whipping!)
- 4 ounces white chocolate, melted and slightly cooled
If you want to see more deep dives on making fillings like this, check out my guide on simple no-bake cheesecake filling. We cover off all the little tricks!
Step-by-Step Assembly of No-Bake Raspberry White Chocolate Cheesecake Jars
Now for the fun part—putting these beauties together! Since we aren’t baking anything, assembly is quick, but timing those cooling stages is everything. We need patience for about four hours at the end, but the hands-on time is super short. Once you get the hang of assembling these **No-Bake Raspberry White Chocolate Cheesecake Jars** in layers, you’ll realize how easy they are for large crowds!
Knowing you can whip these up ahead of time is the best part. If you love recipes you can prepare in stages, you absolutely must check out my guide on make-ahead cheesecake jars later!
Creating the Base Layer for Your Individual White Chocolate Cheesecake
First things first, let’s make that crust. Just toss your graham cracker crumbs and the melted butter together until everything looks like wet sand. Then, grab your cute little jars and divide that crumb mix evenly among them. Use the back of a small spoon or a tiny muddler to press it down gently. You don’t want it rock solid, just nice and packed. Pop these foundational layers straight into the fridge while you tackle the next two steps!
Cooking and Preparing the Raspberry Puree
Grab a tiny saucepan because we are making a quick raspberry sauce. Toss in your raspberries, lemon juice, and that single tablespoon of sugar. Let them simmer gently for about five minutes until they are soft and bubbly. Here’s my little trick for that professional look: push the warm mixture through a fine-mesh sieve right over a bowl.
Oops! If you leave the seeds in, it gets a little chunky, and we want smooth flavor swooshes in our **Individual White Chocolate Cheesecake**. Once strained, this puree absolutely *must* cool down completely before it touches the cheesecake filling. Put it in the fridge right now!
Mixing the Creamy Raspberry Parfaits Filling
Go back to your cream cheese base. Beat it with the powdered sugar and vanilla until it’s perfectly silky smooth—no grainy bits allowed!
In a separate, very cold bowl, whip that heavy cream until stiff peaks form. You want peaks that stand up straight when you lift the whisk. Now, gently fold the whipped cream into the cream cheese mixture. Don’t be aggressive here! Once that’s combined, carefully fold in your cooled, melted white chocolate. I mean *gently* fold. If you overmix once the chocolate is in, the air deflates, and that gorgeous texture in your **Creamy Raspberry Parfaits** turns flat!
Don’t forget to check out my other layered ideas over at creamy raspberry parfaits!
Layering and Chilling the No Bake Dessert Ideas for Parties
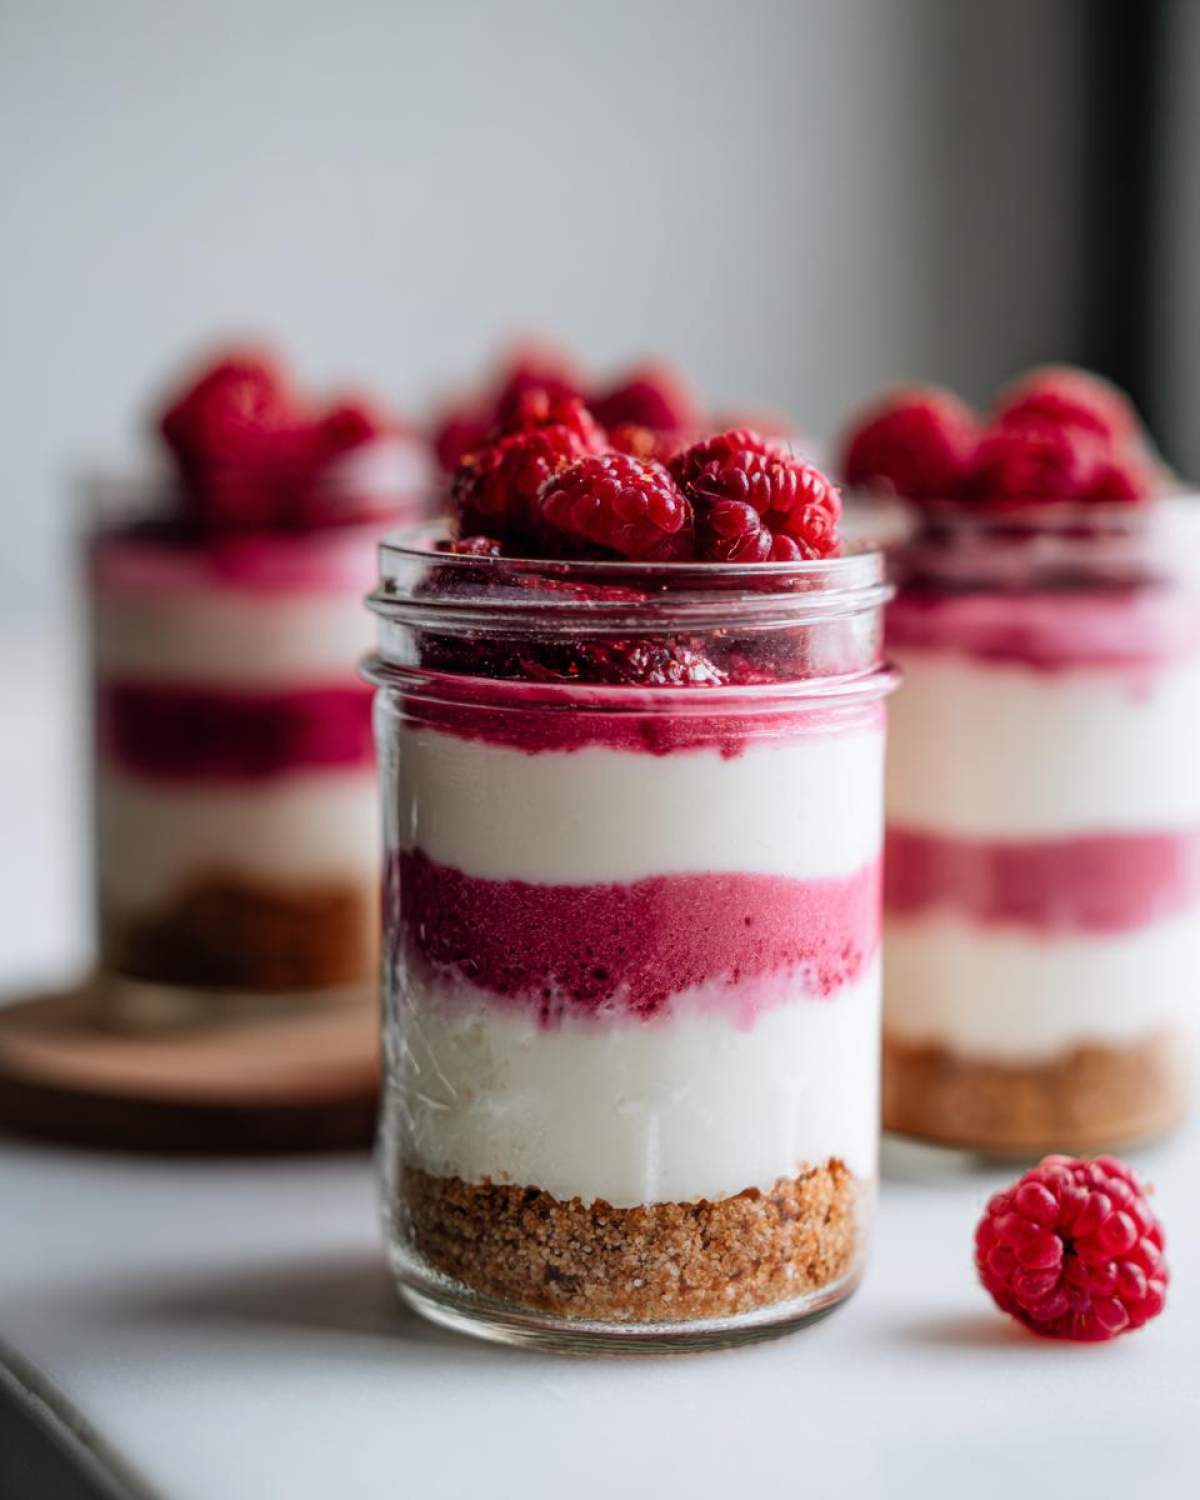
Time to layer this masterpiece! Start with a layer of your cheesecake filling over the cold crust in each jar. Next, spoon on some of that cooled raspberry puree—don’t drown it, just a nice layer! Repeat these steps: another layer of filling, and then maybe swirl a tiny bit of the remaining puree right on top for decoration. If you want perfect layers for your **No Bake Dessert Ideas for Parties**, use a piping bag for the filling!
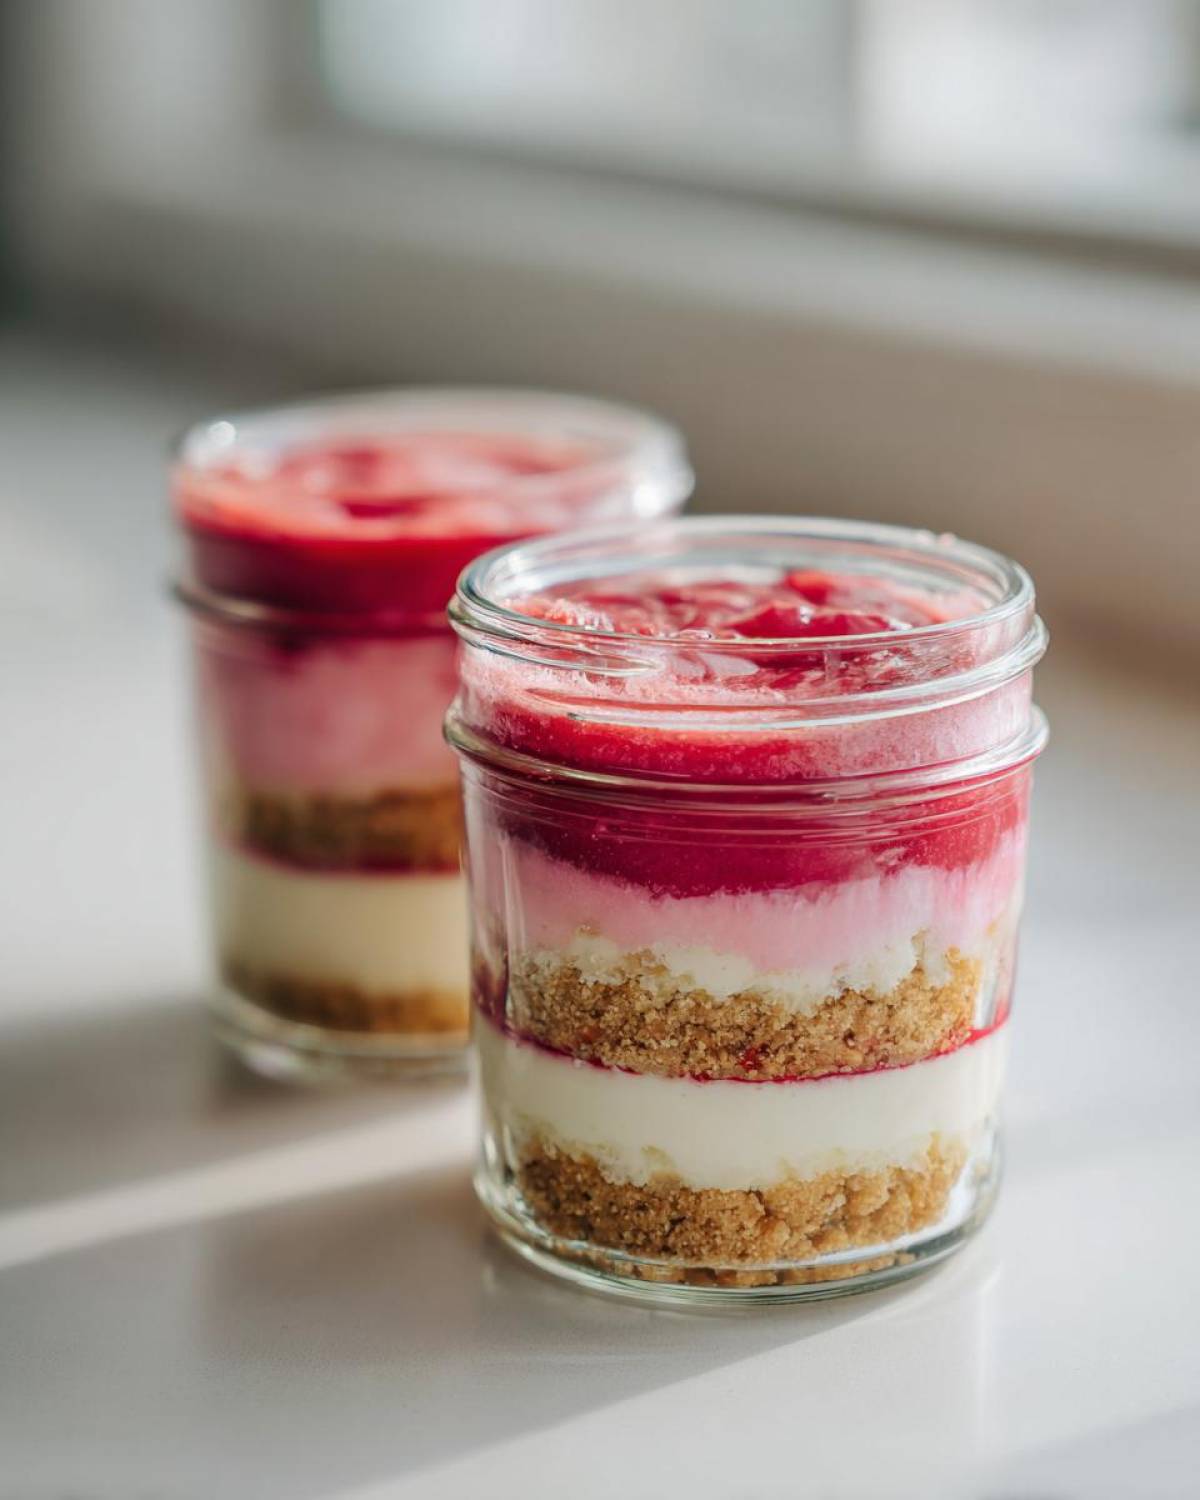
Cover them carefully—I use foil or plastic wrap right up against the top layer so no condensation drips on the filling. Then, they head back into the fridge for a minimum of four hours. Seriously, wait the four hours; they firm up beautifully when chilled!
If you need extra inspiration for party spreads, check out my article on no-bake dessert ideas for parties!
Tips for Perfect No-Bake Raspberry White Chocolate Cheesecake Jars
Okay, listen up, because these three little tips are what take these jars from good to OMG! Temperature control is secret sauce number one. Make sure your cream cheese is completely soft—like totally room temperature—for that smooth filling.
Secondly, when you melt the white chocolate, you have to let it cool down a bit before folding it in! If it’s warm, it will scorch your lovely whipped cream and deflate everything. We want fluffy layers in our **Quick Raspberry Dessert Recipe**, remember?
My last bit of advice for perfect presentation, especially if you are making **No Bake Raspberry Cheesecake Jars** for guests, is to skip the spoon for the filling. Grab a piping bag—even a simple zip-top bag with the corner snipped works! It keeps your sides clean and makes those layers crisp. It makes such a difference!
For more ideas on whipping up fast desserts, you really should check out my thoughts on a quick raspberry dessert recipe!
Storage and Make Ahead Cheesecake Jars Instructions
This is why I love these so much for entertaining: they are total champions when it comes to prepping ahead! You can mix these **No Bake Raspberry Cheesecake Jars** completely the day before you need them. Seriously, chilling overnight only makes the flavors blend even better.
When storing them, you have to be careful to cover them well. I usually press plastic wrap right down onto the top layer of filling or puree to stop any moisture seeping in. They keep beautifully in the fridge for up to three days. Don’t even think about freezing them, though! The texture of the cream cheese filling just doesn’t handle the thaw cycle well, and we need that creaminess.
If you need more tips on prepping desserts in advance, I have a whole post dedicated to make-ahead cheesecake jars you should look at!
Variations for Your Layered Raspberry Chocolate Cups
Don’t feel stuck just using graham crackers and raspberries, although that combination is divine! We can totally customize these **Layered Raspberry Chocolate Cups** to make them your signature treat. For the crust, try swapping those graham crackers out for crushed Oreos—the chocolate depth is amazing against the white chocolate filling!
If you want to make these a little more grown-up (maybe for an adult summer party?), here’s my expert tip for the fruit layer. Before you cook the raspberries down, mix in just a tiny splash—maybe a teaspoon—of Chambord or even a quality raspberry liqueur. It really deepens the flavor!
And if raspberries aren’t in season, feel free to use other fruits! Tangy passion fruit curd or even a dark, syrupy blueberry reduction works wonders in these jars. Check out my full breakdown of other fun ideas over at my post on layered raspberry chocolate cups!
Serving Suggestions for No Bake Raspberry Dessert
We’ve nailed the assembly, but presentation is half the fun, right? These **No Oven Raspberry Desserts** look pretty on their own because of those beautiful layers, but a little finishing touch makes them look like bakery masterpieces. My favorite garnish is definitely just a few extra fresh raspberries right on top.
If you want to lean into that white chocolate element, grab a vegetable peeler and shave a few curls of white chocolate over the top. They look so delicate against the pinkish hue of the raspberry layer peeking out. Seriously, it takes two seconds, and looks amazing for that Instagram shot!
If you’re serving these beauties right after chilling, pair them with something simple so the cheesecake flavor still pops. A strong, hot coffee cuts through the creaminess perfectly. For a lighter touch, I always keep a pitcher of ice-cold sparkling water infused with just a little lime nearby. It cleanses the palate nicely between bites!
For even more entertaining flair or ways to serve this dessert, take a peek at my tips on no oven raspberry dessert ideas!
Frequently Asked Questions About No-Bake Raspberry White Chocolate Cheesecake Jars
Whenever I share these **No-Bake Raspberry White Chocolate Cheesecake Jars**, I get the same few questions popping up! It makes total sense; baking novices and seasoned pros alike want to make sure their dessert sets up perfectly. I’ve gathered the most common worries right here so you can pull these off without a hitch. If you want more general advice on jar desserts, check out my full guide to dessert in a jar recipes!
Can I use fresh raspberries instead of frozen for the puree in the No Bake Raspberry Cheesecake Jars?
Oh yes, you absolutely can! If you have lovely fresh raspberries, go for it. The only tiny difference is that fresh berries sometimes release a little less liquid than frozen ones when you cook them down for the puree ingredient in the **No Bake Raspberry Cheesecake Jars**. You might find you only need to cook them for 3 or 4 minutes instead of the full 5 until they soften. Taste them after a minute or two, and cook until they are juicy, then strain as usual!
What is the best way to get clean layers when assembling the Single Serving Cheesecake Jars?
This is a big one for aesthetics! If you free-pour the filling, it tends to slide down the glass, making things look messy. My secret—and this is featured in my advice for single serving cheesecake jars—is to use a piping bag. You don’t need a fancy pastry tip either! Just use a regular zip-top bag, snip about a half-inch off one corner, and you control exactly where that thick, luxurious filling goes. It keeps your jar sides clean for those gorgeous, distinct layers!
How long does the white chocolate need to cool before folding it into the filling for the Easy Raspberry Dessert Cups?
This step is everything when making one of these **Easy Raspberry Dessert Cups** creamy and fluffy! You must let the melted white chocolate cool down until it is just barely warm to the touch, maybe even room temperature. If you fold in warm chocolate, it starts melting the air right out of your whipped cream before it even has a chance to set in the fridge. That will ruin the light structure, and you’ll end up with dense, heavy layers instead of that perfect airy texture we love!
Nutritional Estimate for No-Bake Raspberry White Chocolate Cheesecake Jars
Now, I know we aren’t making these for health food, but I always like to give you a ballpark idea of what you’re digging into when you grab one of these sweet jars. Remember, these are just my estimates based on the standard ingredients listed, so the actual count can change depending on the brands you use or if you sneak in extra white chocolate (and who hasn’t!).
When you enjoy one of these **No-Bake Raspberry White Chocolate Cheesecake Jars**, you are indulging in a rich treat, which is totally fine because we are eating them in perfect, manageable portions!
Here is the breakdown per jar (based on roughly 6 servings):
- Calories: About 450
- Fat: Around 30g (with 18g of that being saturated fat, mostly from the cream cheese and butter—so good!)
- Carbohydrates: About 40g
- Sugar: High, around 35g (Blame that white chocolate!)
- Protein: A small hit at 6g
- Sodium: Very minimal, about 150mg
Since this is a rich dessert, I always make sure to balance it out with something lighter the rest of the day! Enjoy these guilt-free because every bite is worth it!
Share Your No-Bake Raspberry White Chocolate Cheesecake Jars Creations
I just can’t wait to see your stunning **No-Bake Raspberry White Chocolate Cheesecake Jars**! Seriously, please rate this recipe down below—it helps me know I’m sharing recipes you love. If you snapped a picture of those beautiful layers, tag me on social media! I love seeing how you decorate your jars.
Head over to the main blog page and let me know what other easy summer desserts you’re dreaming up!
PrintNo-Bake Raspberry White Chocolate Cheesecake Jars
Make individual servings of creamy, no-bake cheesecake layered with sweet white chocolate and tart raspberry puree, presented in small jars.
- Prep Time: 25 min
- Cook Time: 5 min
- Total Time: 30 min
- Yield: 4 to 6 servings
- Category: Dessert
- Method: No-Bake Assembly
- Cuisine: American
- Diet: Vegetarian
Ingredients
- 1 1/2 cups graham cracker crumbs
- 6 tablespoons unsalted butter, melted
- 8 ounces cream cheese, softened
- 1 cup powdered sugar
- 1 teaspoon vanilla extract
- 1 cup heavy whipping cream, cold
- 4 ounces white chocolate, melted and slightly cooled
- 1 cup fresh or frozen raspberries
- 1 tablespoon lemon juice
- 1 tablespoon granulated sugar (for raspberry layer)
Instructions
- Prepare the crust: Mix graham cracker crumbs and melted butter until combined. Divide this mixture evenly among 4 to 6 small jars, pressing lightly to form a base layer. Place jars in the refrigerator.
- Make the raspberry puree: Combine raspberries, lemon juice, and granulated sugar in a small saucepan. Cook over medium heat for 5 minutes until soft. Mash slightly and strain through a fine-mesh sieve to remove seeds, if desired. Cool completely.
- Prepare the cheesecake filling: In a large bowl, beat the softened cream cheese, powdered sugar, and vanilla extract until smooth.
- In a separate bowl, whip the cold heavy cream until stiff peaks form. Gently fold the whipped cream into the cream cheese mixture.
- Fold in the cooled, melted white chocolate until just combined. Do not overmix.
- Assemble the jars: Spoon or pipe one-third of the cheesecake filling over the crust layer in each jar.
- Spoon a layer of the cooled raspberry puree over the filling.
- Top with another layer of cheesecake filling.
- If you have remaining puree, swirl a small amount on top for decoration.
- Chill the jars for at least 4 hours, or until firm, before serving.
Notes
- For a smoother texture, ensure your cream cheese is fully softened before mixing.
- You can substitute digestive biscuits for graham crackers if needed.
- Make these up to one day ahead for easy party preparation.
Nutrition
- Serving Size: 1 jar
- Calories: 450
- Sugar: 35
- Sodium: 150
- Fat: 30
- Saturated Fat: 18
- Unsaturated Fat: 12
- Trans Fat: 0
- Carbohydrates: 40
- Fiber: 1
- Protein: 6
- Cholesterol: 75