

Introduction
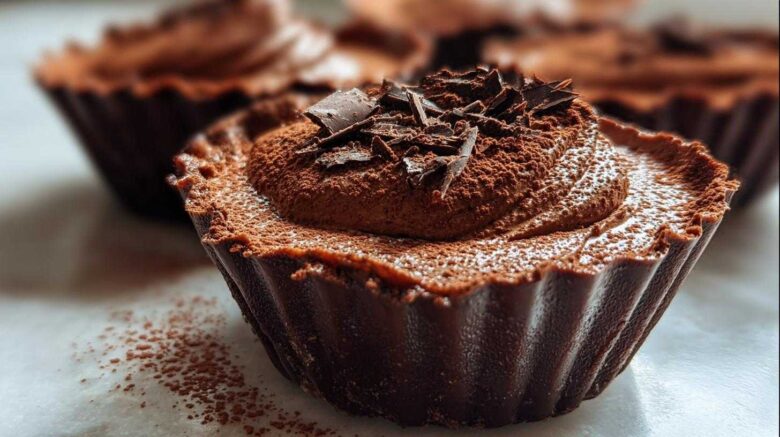
When Richard and I opened our kitchen diary, I wanted recipes that felt like immediate comfort. Some days you just crave something rich. You want that deep, satisfying chocolate flavor. But who has time for complicated baking? Not us anymore, that’s for sure! That’s why I’m so thrilled to share these No Bake Chocolate Mousse Cups with you today. They are pure magic. We finally cracked the code for a truly airy chocolate mousse without a single raw egg in sight. It’s the perfect quick dessert for when memory calls for a sweet ending.
Why You’ll Love These No Bake Chocolate Mousse Cups
This recipe is a winner, truly. It takes simple ingredients and makes something spectacular fast. I think you’ll appreciate how easy this turns out.
- They whip up with zero oven time.
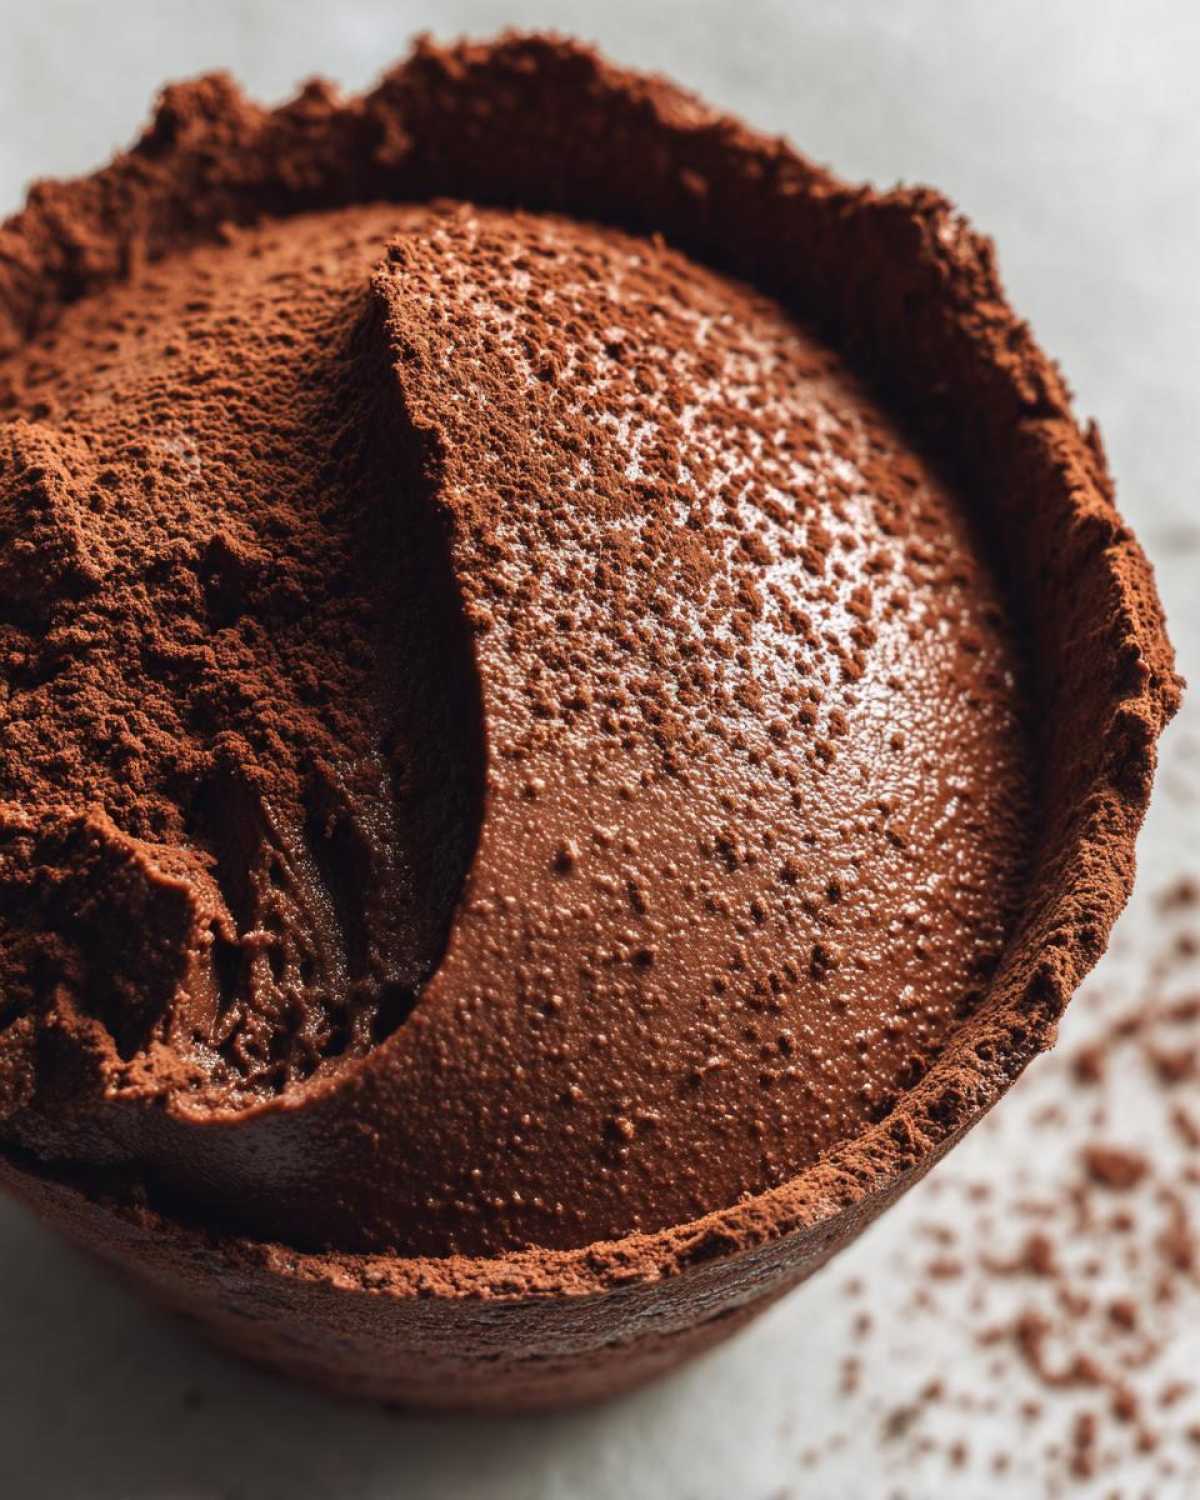
- The texture is incredibly light and fluffy.
- You get that rich chocolate taste instantly.
- These No Bake Chocolate Mousse Cups set beautifully.
The Perfect Ingredients for No Bake Chocolate Mousse Cups
When Richard and I traveled, we learned good food starts simply. Quality matters most. I kept our ingredient list short here. We want the chocolate flavor to really shine through.
You only need a handful of things for these delightful No Bake Chocolate Mousse Cups. Don’t substitute cheap chocolate. It truly affects the final taste, you’ll see.
Ingredient List Clarity
- One cup heavy whipping cream. Measure this cold.
- Four ounces semi-sweet chocolate, finely chopped.
- Two tablespoons powdered sugar for sweetness.
- One teaspoon pure vanilla extract.
Essential Equipment for Your No Bake Chocolate Mousse Cups
Having the right tools makes all the difference. I learned this over forty years!
You don’t need fancy gadgets for this recipe. Just a few basics help you succeed here.
- Heatproof bowl for melting chocolate.
- Small saucepan for warming cream.
- A chilled mixing bowl and whisk.
- Small serving cups or ramekins.
Mastering the No Bake Chocolate Mousse Cups Instructions
Now for the fun part. Follow these steps closely. They create that wonderful, light texture we crave. Remember, this is where we build the airy chocolate mousse foundation. We avoid eggs completely here.
The process is straightforward. It just needs a little patience between stages. Don’t rush the cooling, okay?
Melting the Chocolate Base
First, get your four ounces of chopped chocolate ready in a safe bowl. Heat just half of your heavy cream in a small pot. Watch it carefully. You want it steaming, not boiling hard. Pour that hot cream right over the chocolate pieces.
Let it sit quietly for two minutes. Don’t touch it yet. Then, whisk everything gently until it’s completely smooth and glossy. This is your chocolate base. It must cool down fully now. Seriously, let it become room temperature. This cooling is key for the final product.
Achieving Stiff Peaks for Your No Bake Chocolate Mousse Cups
While that cools, let’s tackle the cream. Grab your other half cup of cream. I always chill my bowl first. Richard says I talk to the mixer sometimes. Use the powdered sugar and vanilla too. Whip this mixture hard. You want stiff peaks for these No Bake Chocolate Mousse Cups. Stiff peaks mean the cream holds its shape perfectly.
If your bowl feels cold, the cream whips up better. This helps us get the best lift possible.
The Folding Technique
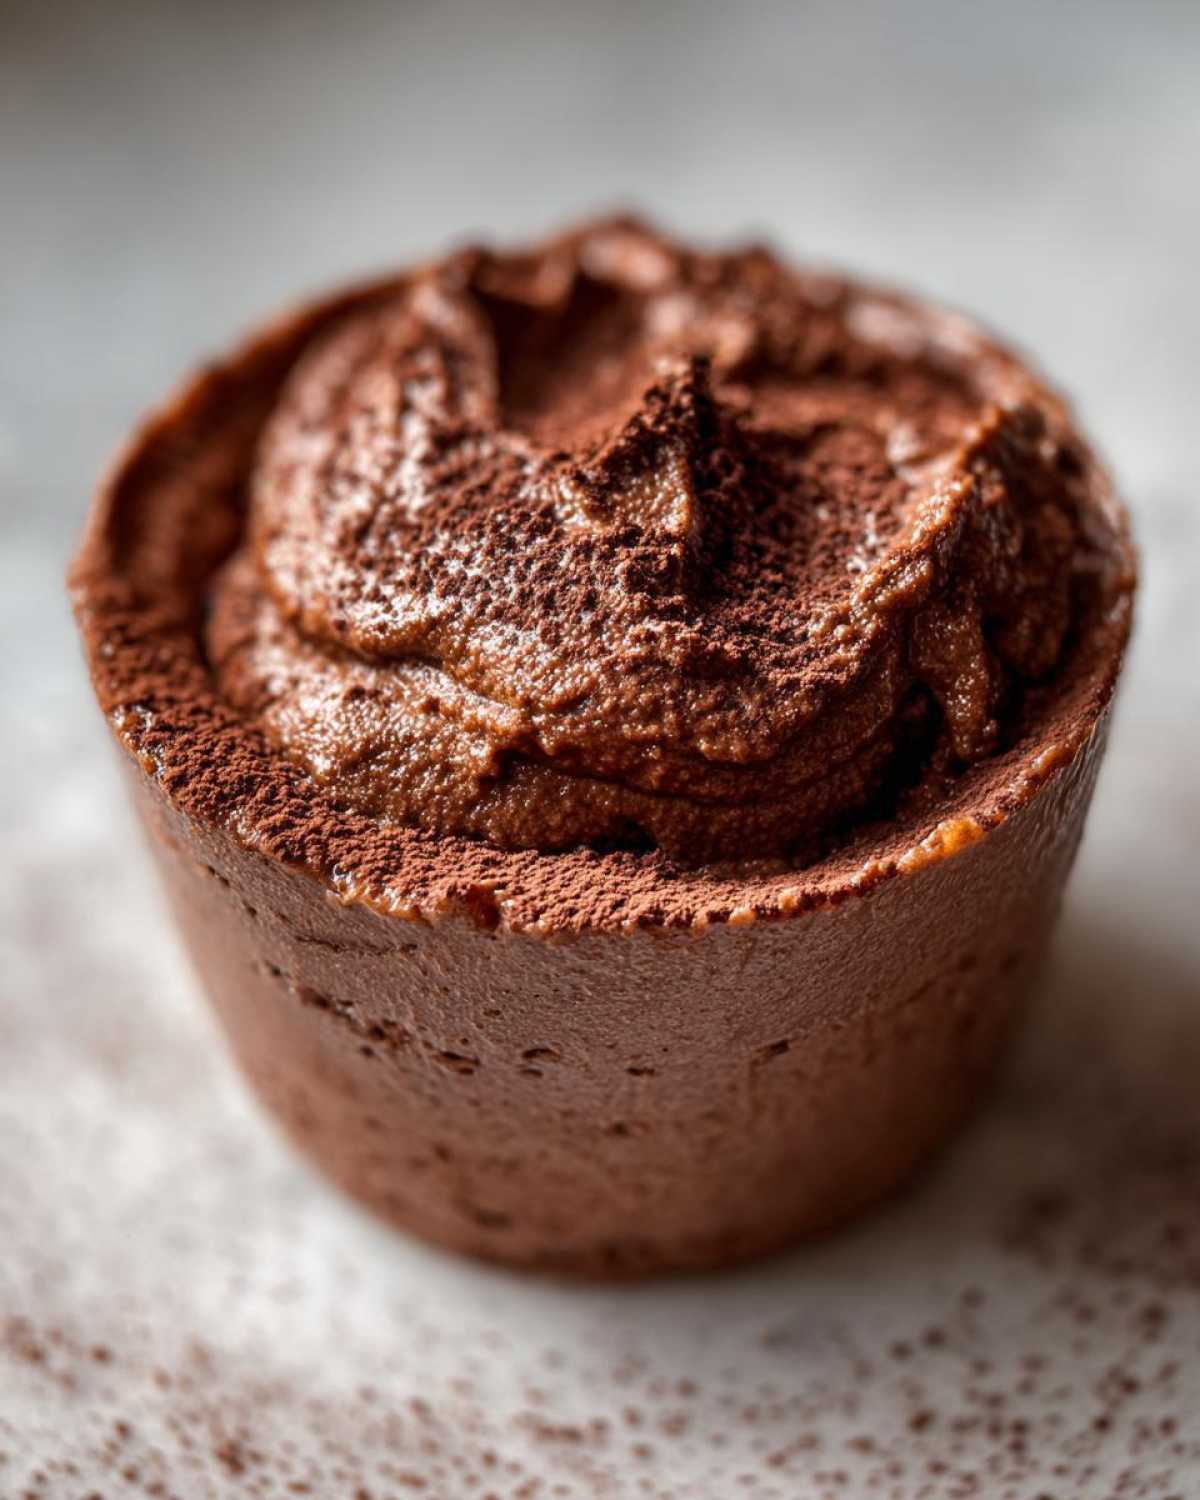
This step is crucial for airiness. Take about a third of your stiff whipped cream. Fold it gently into the cooled chocolate. This lightens the heavy chocolate first. Then, add the rest of the whipped cream in batches. Fold very carefully. Stop mixing the moment it looks just combined. Overmixing deflates everything. Spoon the mixture into your serving cups now. Chill them for at least one hour before enjoying!
Tips for Success with No Bake Chocolate Mousse Cups
Making these No Bake Chocolate Mousse Cups is easy. But a few tricks make them truly memorable. I’ve learned that small details matter most in the kitchen. These tips come from years of kitchen experiments, trust me.
Don’t skip chilling your tools. Cold equipment makes for superior whipped cream. That airiness is what makes this dessert shine.
- Always use heavy cream that is very cold.
- Fold slowly like you are tucking in a blanket.
- Chill time is non-negotiable for setting properly.
Ingredient Variations
While I adore semi-sweet chocolate here, feel free to play. Richard loves when I switch it up sometimes. You can certainly use dark chocolate. It brings a deeper, more intense flavor profile. If you prefer something sweeter, milk chocolate works too. Just know the final result will be less rich.
These variations keep our No Bake Chocolate Mousse Cups interesting over time. Always use good quality chocolate, no matter the type you choose. For more dessert inspiration, check out our blog.
Serving Suggestions for Your Quick Dessert
Once these little cups are perfectly chilled, it is time to present them! Presentation is half the fun, isn’t it?
I love simple garnishes that add a little texture. Think about what you have on hand. A little sprinkle goes a long way for a quick dessert.
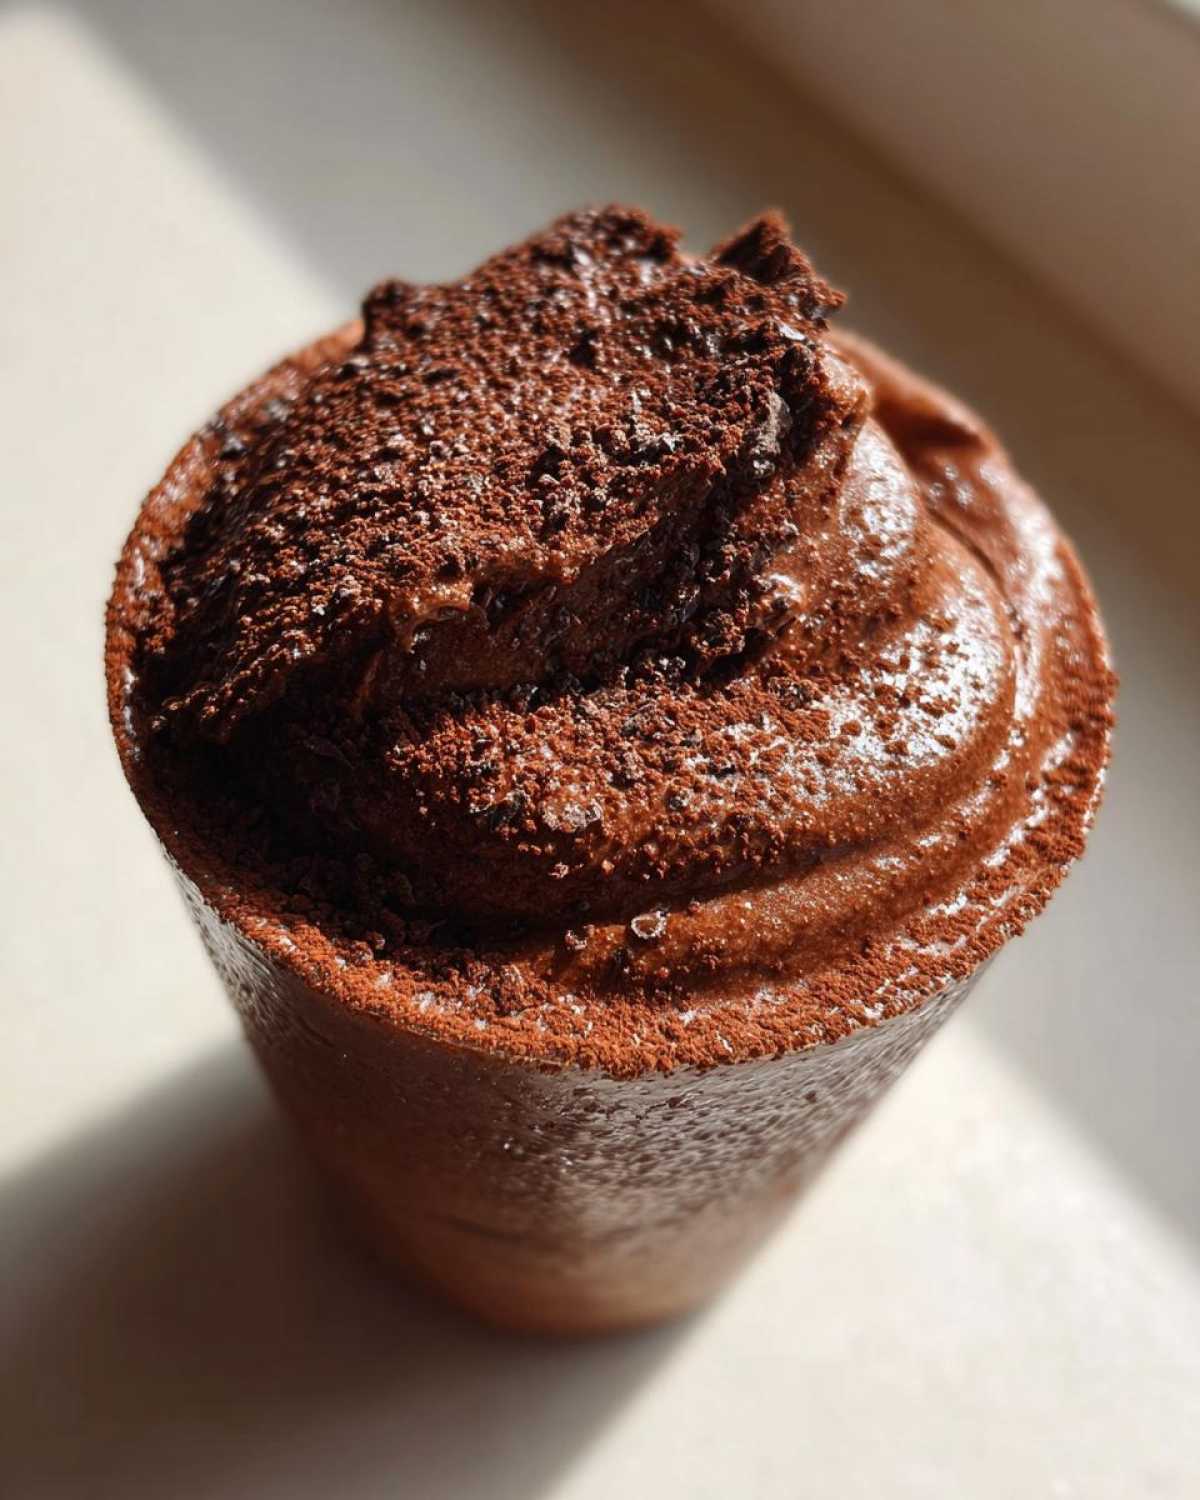
- A dusting of cocoa powder looks so professional.
- Add one fresh raspberry on top for color.
- A tiny curl of shaved chocolate looks elegant.
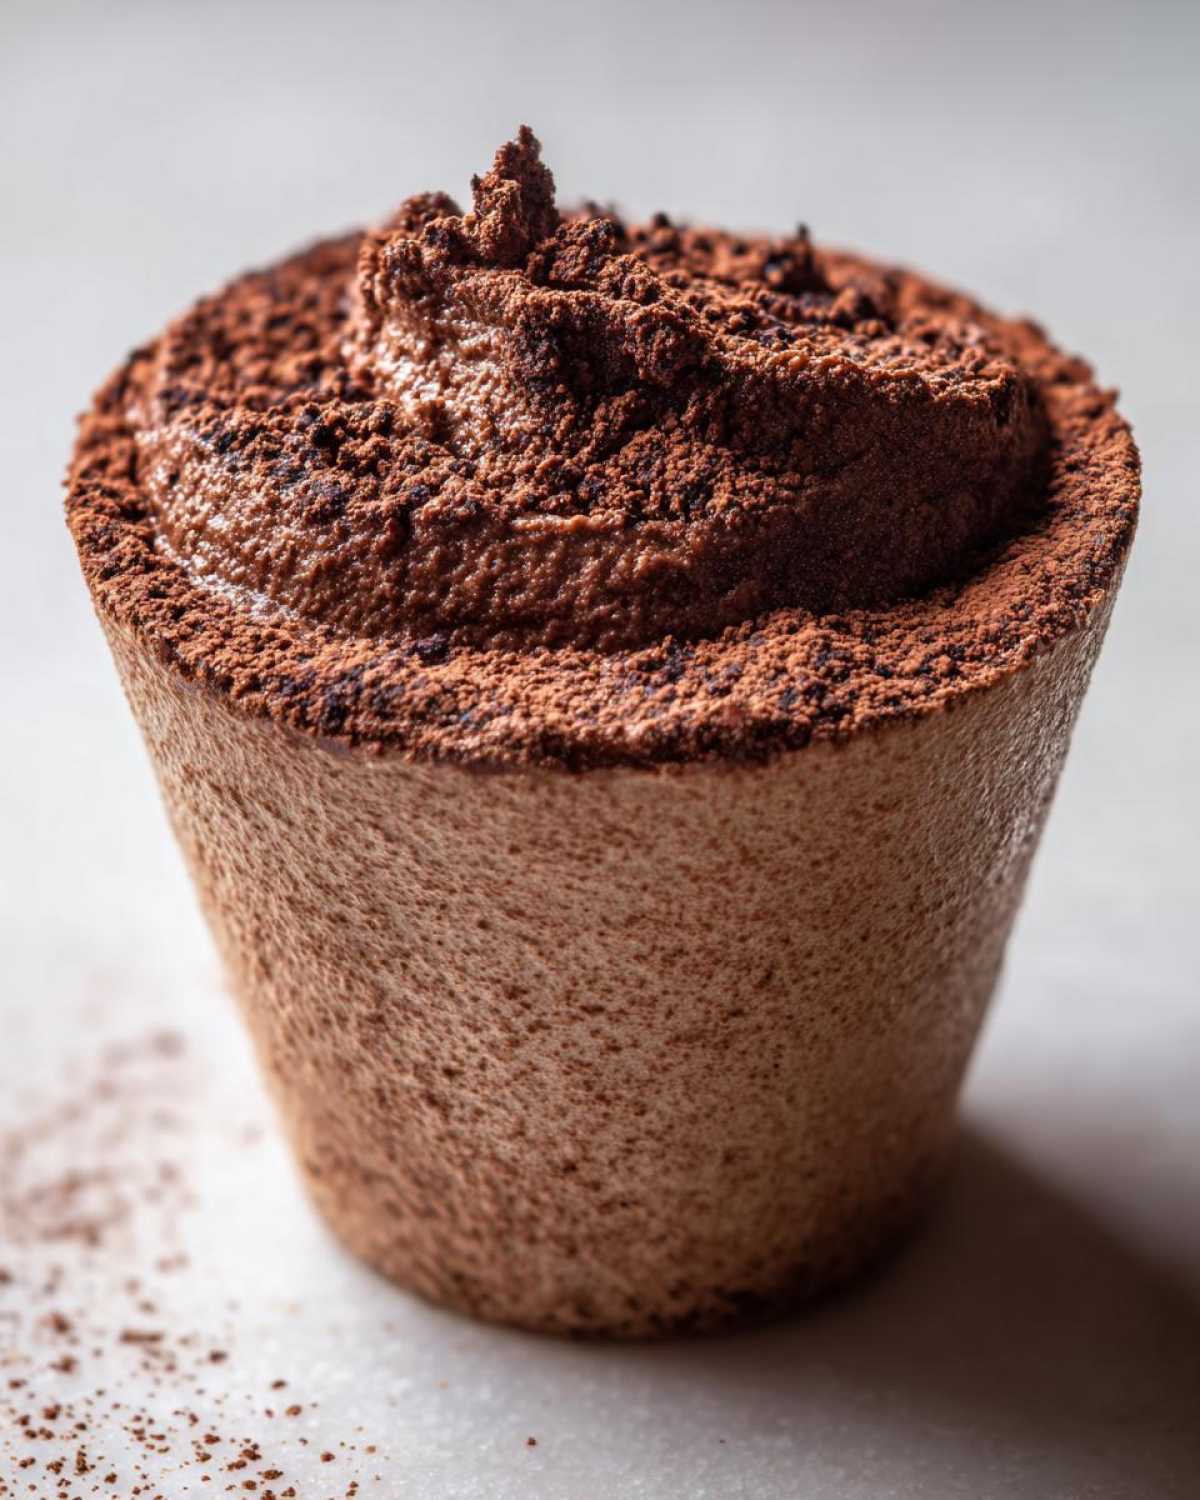
We often serve these after a big meal. They are the perfect light finish. For another light, elegant dessert option, consider our blood orange olive oil cake recipe.
Storing and Reheating No Bake Chocolate Mousse Cups
These lovely treats are best enjoyed fresh from the fridge. Since there are no eggs, storage is quite simple. Cover your serving cups tightly with plastic wrap. This keeps any fridge odors out. You can keep them chilled for up to two days easily. I find the texture is best within the first day, though.
Remember, this is a chilled dessert. Reheating is not recommended at all. It will melt the structure completely. Just plan ahead for serving time! Understanding proper food storage can help keep your desserts safe; for general guidelines, consult resources like the FDA Food Safety Basics.
Frequently Asked Questions About No Bake Chocolate Mousse Cups
I know you might have questions. Cooking from memory often brings up little doubts. Don’t worry at all. We can solve those texture mysteries!
Here are a few things readers often ask me about these delicious No Bake Chocolate Mousse Cups.
Can I Make These No Bake Chocolate Mousse Cups Ahead of Time?
Yes, you absolutely can make them early. I suggest preparing them the day before. They need that minimum one hour chill time to firm up. Serving them within 24 hours is ideal. This keeps the airy texture perfect.
Why is My Chocolate Mousse Not Airy?
This usually comes down to two things. First, did you fold gently enough? Overmixing collapses the air bubbles we worked so hard to create. Second, was your chocolate base too warm? Hot chocolate melts the whipped cream instantly.
If your No Bake Chocolate Mousse Cups seem dense, you mixed too vigorously. Next time, fold lighter. Think soft motions. If you are looking for other light desserts, perhaps try our caramel macchiato tiramisu recipe.
Another common question is about substitutes. Can I use whipped topping instead of real cream? I advise against it. Real heavy cream gives the best structure.
Sharing Your Delish Diarist Experience
Now the kitchen diary is yours too. Did these cups bring back sweet memories for you? I hope so.
Please leave a comment below. Tell Richard and me how they turned out. Sharing your taste results is like writing a new page in our journal. We love hearing from you all!
PrintAmazing 1-Step No Bake Chocolate Mousse Cups
Make light and airy chocolate mousse without using raw eggs. This recipe delivers a rich, satisfying dessert perfect for a quick treat.
- Prep Time: 15 minutes
- Cook Time: 0 minutes
- Total Time: 1 hour 15 minutes
- Yield: 4 servings
- Category: Dessert
- Method: No Bake
- Cuisine: American
- Diet: Vegetarian
Ingredients
- 1 cup heavy whipping cream
- 4 ounces semi-sweet chocolate, chopped
- 2 tablespoons powdered sugar
- 1 teaspoon vanilla extract
Instructions
- Place the chopped chocolate in a heatproof bowl.
- Heat half of the heavy whipping cream in a small saucepan until just simmering.
- Pour the hot cream over the chocolate. Let it sit for two minutes, then whisk until smooth. Let this chocolate mixture cool completely.
- In a separate, chilled bowl, whip the remaining half cup of heavy cream with the powdered sugar and vanilla extract until stiff peaks form.
- Gently fold one-third of the whipped cream into the cooled chocolate mixture to lighten it.
- Fold in the remaining whipped cream until just combined. Do not overmix.
- Spoon the mousse into small serving cups.
- Chill for at least one hour before serving.
Notes
- For the airiest texture, make sure your bowl and whisk attachments are cold before whipping the cream.
- You can use dark chocolate or milk chocolate based on your preference.
- If you want a slightly firmer mousse, chill it for longer, up to four hours.
Nutrition
- Serving Size: 1 cup
- Calories: 350
- Sugar: 20g
- Sodium: 40mg
- Fat: 28g
- Saturated Fat: 17g
- Unsaturated Fat: 11g
- Trans Fat: 0.5g
- Carbohydrates: 25g
- Fiber: 2g
- Protein: 5g
- Cholesterol: 90mg