

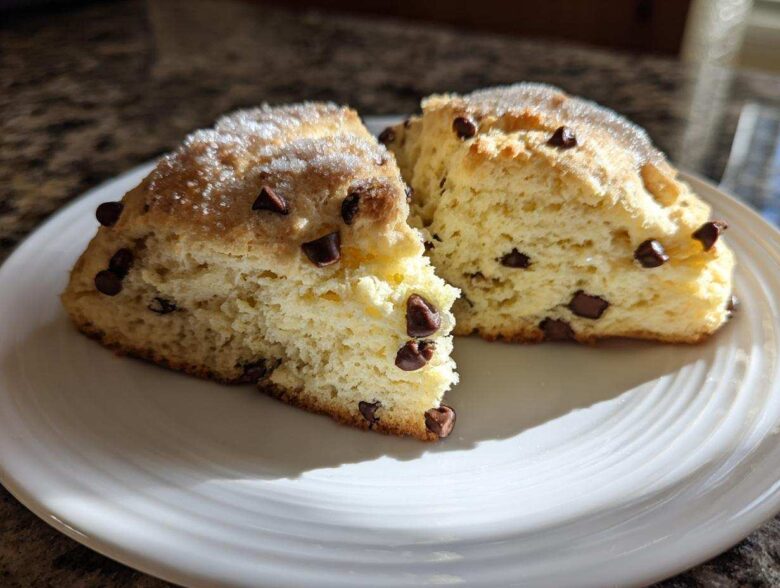
Oh, the trials and tribulations of gluten-free baking! If you’ve ever tried making a traditional pastry without the help of gluten, you know the terror: dry, crumbly messes that disintegrate the moment you look at them sideways. It took me seriously *years* and countless rock-hard results before I cracked the code for truly flaky, tender baked goods.
But wow, have I finally done it! These **Gluten-Free Chocolate Chip Scones** are the real deal. I’m talking about a texture that feels buttery and light, never gritty or dense. We aren’t messing around with substitutes that leave you feeling disappointed. After endless tweaking, I hit the perfect balance using a good 1-to-1 blend, and I am so excited to share my full method with you. You absolutely deserve a scone that tastes like something special, even without the wheat!
If you want to see some of my other baking journeys and tips, maybe check out the general blog area here: my favorite baking insights. But for now, let’s focus on pure, chocolatey perfection!
Why This is the Best Gluten Free Chocolate Chip Scones Recipe
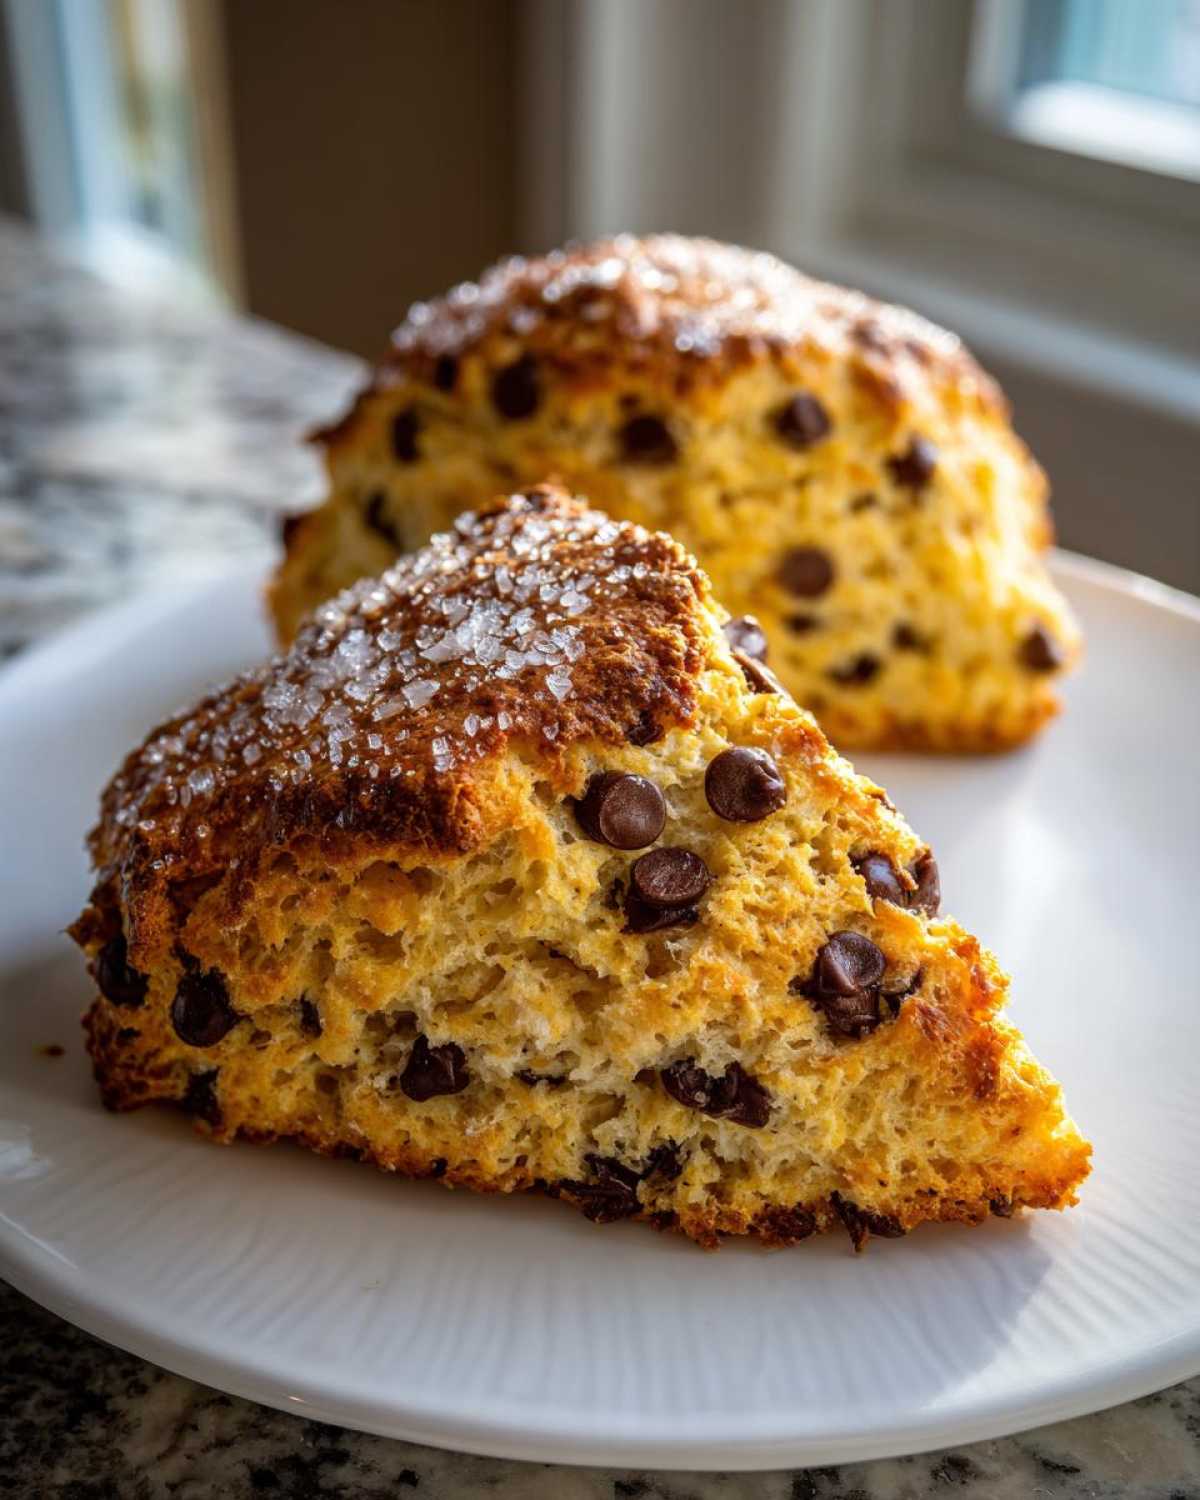
When you’re baking without gluten, you have to respect the ingredients, or they definitely fight back! That’s why I truly believe this is the **Best gluten free chocolate chip scones** recipe out there. Most gluten-free pastries turn out tasting like a slightly crunchy brick, but not these. I focused obsessively on two things: making sure the texture was right and keeping the chocolate chips gooey. If you want more proof on how to keep things moist, check out my chocolate chip banana bread secrets!
We’re aiming for that **perfect flaky gluten free scones** structure, which means we treat this dough delicately. The combination of cold butter and the right GF blend makes all the difference. Trust me, once you try this method, you’ll never go back to those dry, disappointing versions again. It’s a game-changer for **tender gluten free chocolate chip baked goods**!
Achieving Tender Gluten Free Chocolate Chip Baked Goods Texture
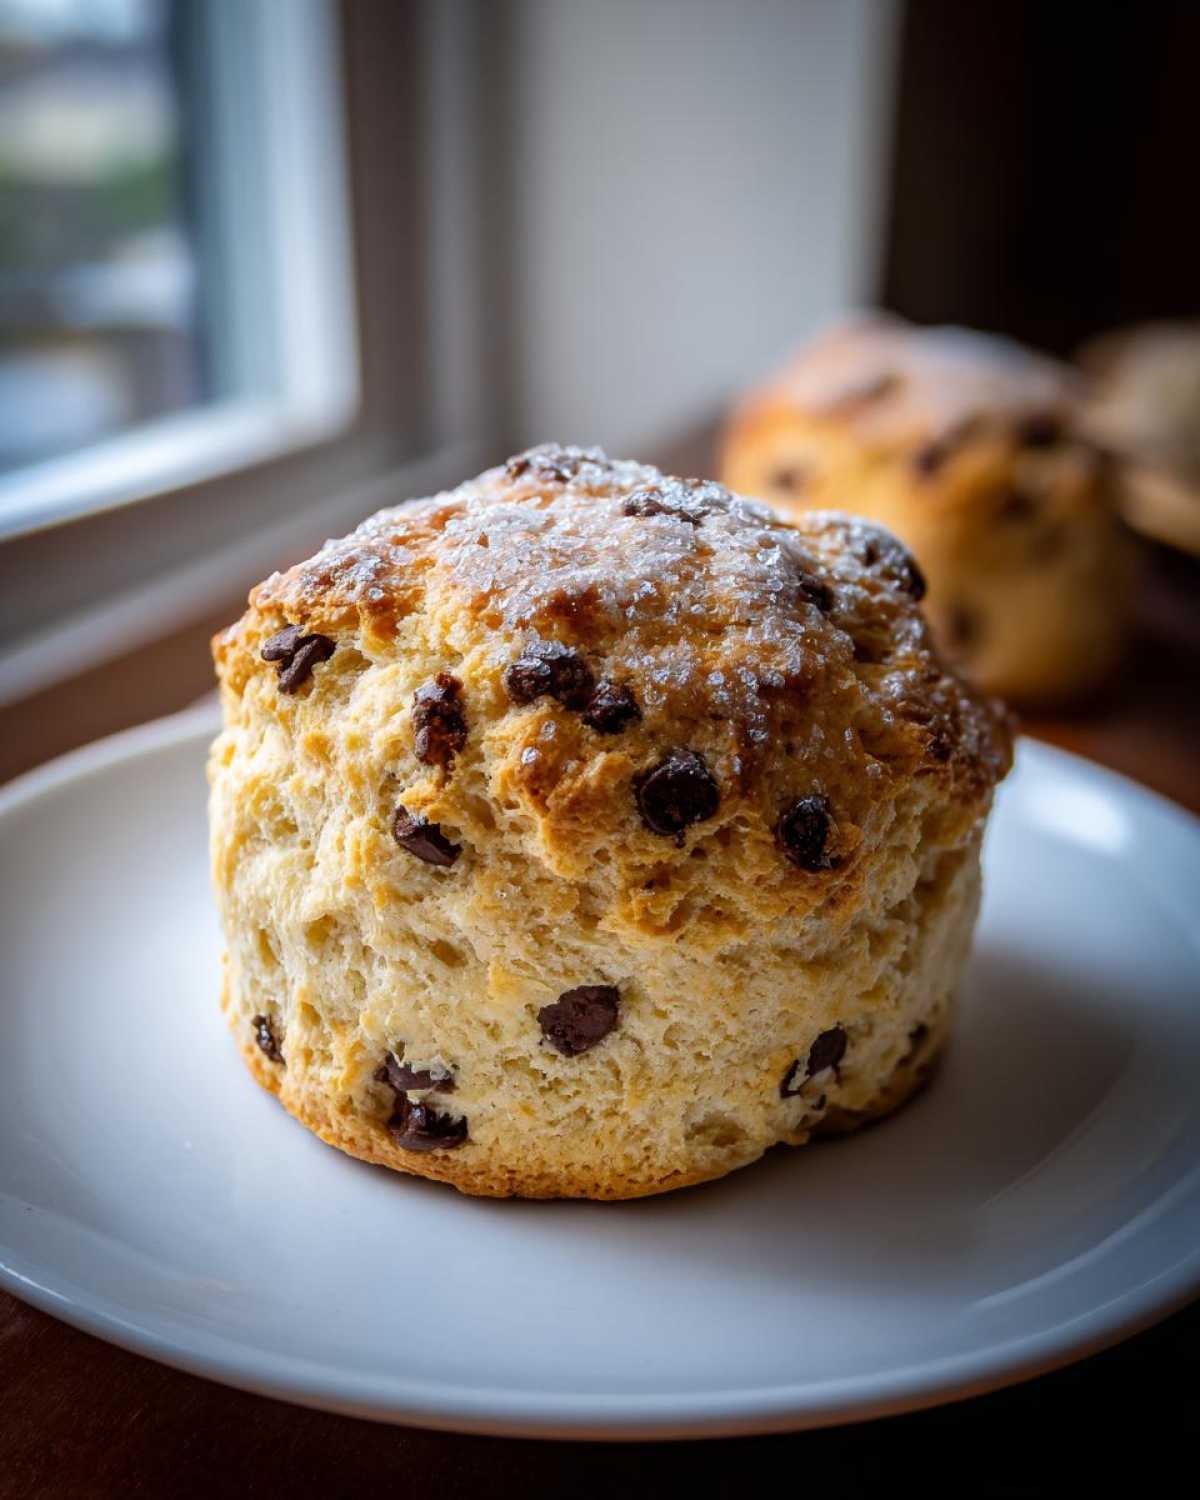
The secret really lies in the temperature and how much you handle the dough. You need that butter freezing cold—I mean arctic cold! When you cut that cold butter into the flour, you create little pockets. Those pockets steam as they bake, which is what creates the desired flakes. Stop stirring the minute everything looks *just* combined. The second you overwork it? Any hope for tenderness is completely gone. It’s a quick, gentle process, and that’s key to flaky success.
Ingredients for Perfect Gluten-Free Chocolate Chip Scones
Gathering your ingredients is where the magic starts for this **Easy GF chocolate chip scones recipe**. You’ll need a good quality gluten-free all-purpose flour blend, and this is important—it absolutely needs to include xanthan gum already mixed in. That little ingredient is doing heavy lifting for our structure! Make sure your butter, cut into tiny cubes, is deeply chilled, straight from the back of the fridge. Honestly, I even chill my heavy cream ahead of time because temperature control is everything when baking gluten-free. If you’re looking for tips on getting liquid ratios right in other recipes, check out what I learned about high-protein chia pudding!
We keep the sugar simple, just a bit of white sugar, and we boost the rise with baking powder. Then, of course, we need those gorgeous semi-sweet chocolate chips thrown into the mix. Don’t skimp on the chips; these are treats, after all!
Ingredient Notes and Substitutions for Gluten Free Scones
If your favorite GF flour blend is missing that xanthan gum, don’t panic! Just stir in about one teaspoon of pure xanthan gum yourself with the dry ingredients. That little bit of gum is what stops them from crumbling apart when you try to pick them up. Now, if you’re trying to make **dairy free chocolate chip scones gluten free option**, you can swap the heavy cream for full-fat canned coconut cream (the thick part only) or a really rich oat cream. Also, remember you are measuring 2 cups of that GF blend, leveled off—don’t pack it in there!
Step-by-Step Instructions for Easy GF Chocolate Chip Scones Recipe
Alright, let’s get baking! This is so simple, maybe twenty minutes of work before they hit the oven. We want to move quickly but gently, since we are making **Easy GF chocolate chip scones recipe** that need that light structure. First things first: get that oven preheated to 400°F (200°C). I always line my baking sheet with parchment paper because once these are golden, I don’t want any sticking drama!
In a big bowl (the bigger the better, less splatter!), whisk together your GF flour mix, the sugar, the baking powder, and the salt. You want this fully mixed so your leavening agents are evenly distributed. Next up is the butter. It has to be ice cold. Toss those little cubes in and use a pastry blender—or even just your fingertips if you’re fast—to cut it in, until it looks like really coarse sand or tiny peas swimming in the flour. That’s your flaky base, so don’t skip this feeling!
In a separate smaller bowl, quickly whisk your heavy cream, the egg, and the vanilla. Pour that lovely liquid right into your dry mix. Now, listen closely: mix with a fork *just* until it comes together. I mean it! If you see a tiny bit of flour streak, stop stirring. Overmixing the dough is the number one killer of fluffy scones. Once it’s barely mixed, toss in those chocolate chips and fold them in quickly using a spatula. This dough will look a little messy and sticky—that’s absolutely okay!
Flour your counter lightly with extra GF flour, turn the dough out, and pat it gently into a circle about 3/4 of an inch thick. Don’t press it down hard, just pat it! Then, cut it into 8 triangles, like slicing a pizza. They go onto the parchment paper, and for that pretty golden top, brush them lightly with a bit more heavy cream and maybe a tiny sprinkle of sugar. Bake them for 14 to 16 minutes. I’ve learned from trial and error with my own oven that checking at 14 minutes is always smart!
Tips for Baking Gluten Free Chocolate Chip Scones
My biggest expert tip when baking these **chocolate chip scones for gluten allergies** is handling. Treat the dough like it’s a precious, delicate thing! The warmth from your hands melts the butter right away, and melted butter means flat, dense scones instead of the fluffy ones we want. Work fast when you are patting it out.
Also, keep an eye on that baking time. Because we are using alternative flours, they can sometimes look golden on top before the center is perfectly cooked through. If you are going for a softer center, pull them closer to the 14-minute mark. If you like a sturdier crust that holds up during travel, let them go the full 16 minutes. If you’re interested in other quick-bake tricks that save time, you have to check out my tips for cooking onions in foil—it’s surprisingly handy!
Serving Suggestions for Delicious Gluten Free Breakfast Pastries
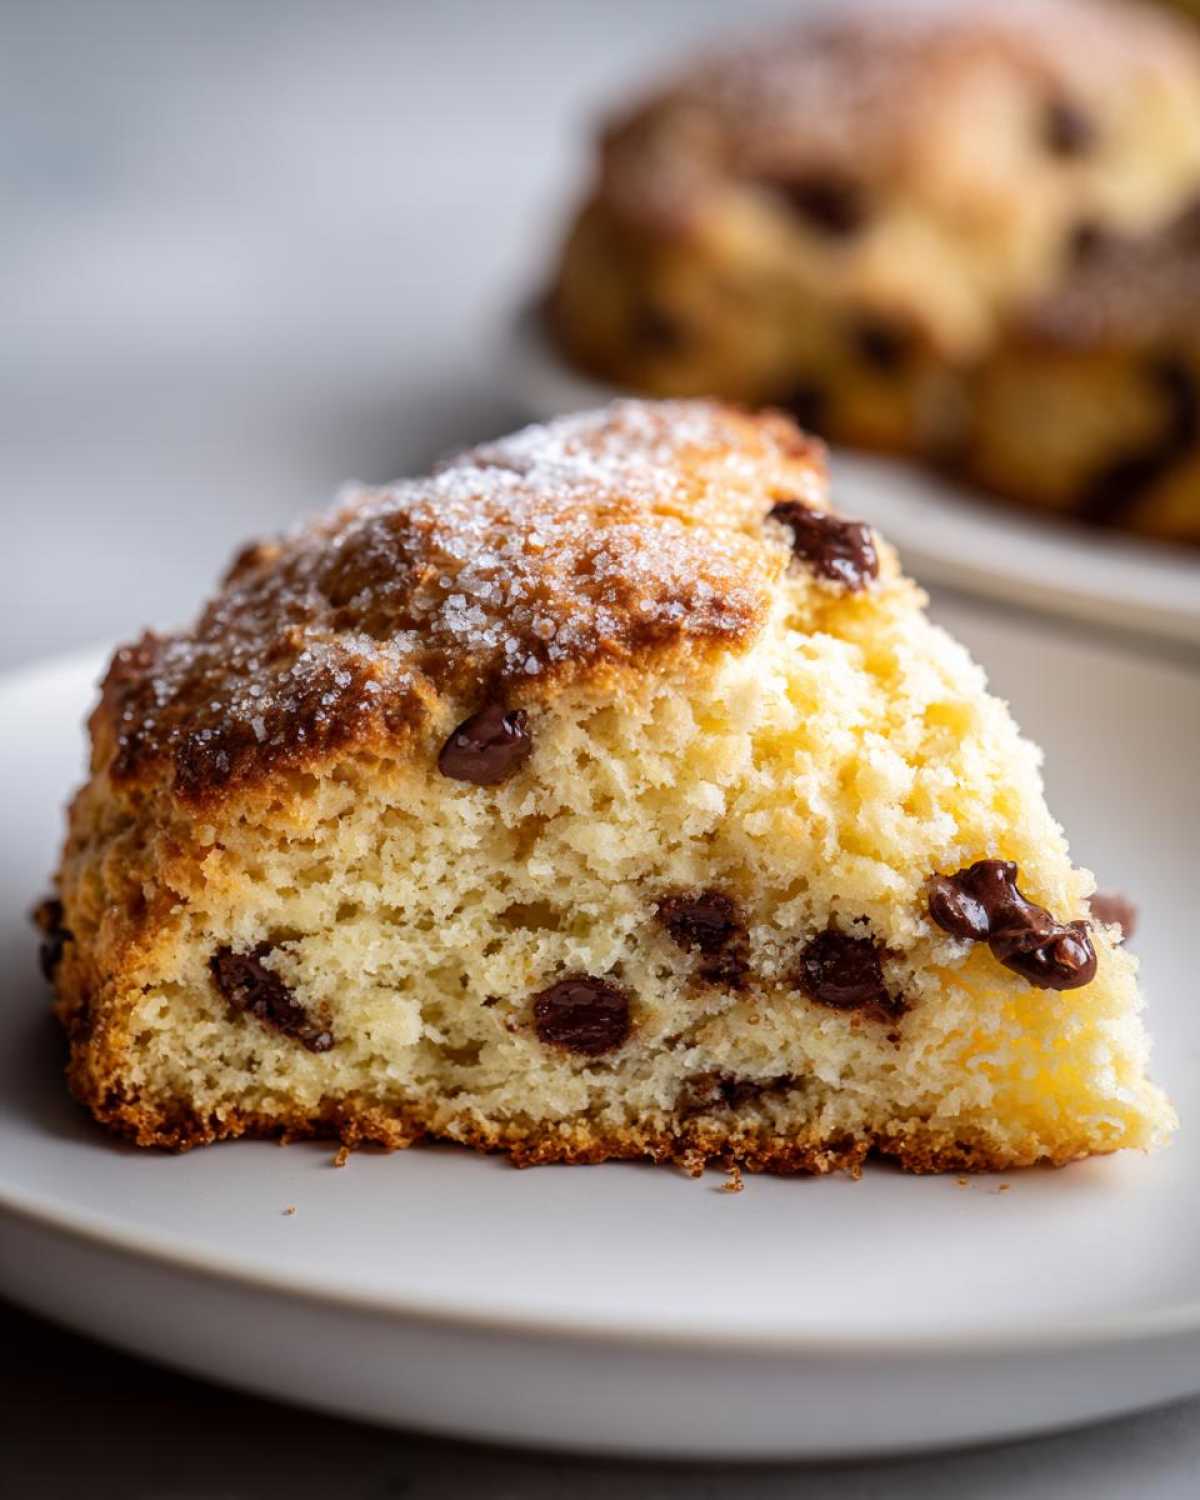
Now that you have these warm, incredible **Gluten-Free Chocolate Chip Scones**, the real enjoyment begins! They are fantastic all by themselves, but serving them right is how you turn a good morning bite into a truly special occasion or a lovely afternoon tea time treat. I always feel they shine brightest when served alongside something slightly tart or creamy.
My favorite way is definitely with a dollop of real clotted cream, though a good quality raspberry jam cuts through the richness beautifully. If you’re having these for breakfast, make sure you have a robust cup of coffee brewing. If you want to explore other amazing flavor pairings, sometimes even a little savory glaze works, like the one I use for my honey mustard chicken glaze—just use far less sugar!
Storage and Make Ahead Gluten Free Breakfast Options
The beauty of a great scone is that it tastes just as good the next day, provided you store it right! Once your **Gluten-Free Chocolate Chip Scones** are completely cool—and I mean *completely* cool, otherwise you get steam condensation and soggy bottoms—put them in an airtight container. You can leave them on the counter for two days, easy, as long as your kitchen isn’t super humid.
But the real trick for a fantastic **Make ahead gluten free breakfast** is freezing! You can freeze the baked scones for up to a month. When you crave one, just pop it in a 350°F (175°C) oven for about five minutes to warm through and crisp up the exterior again. It comes out tasting bakery fresh!
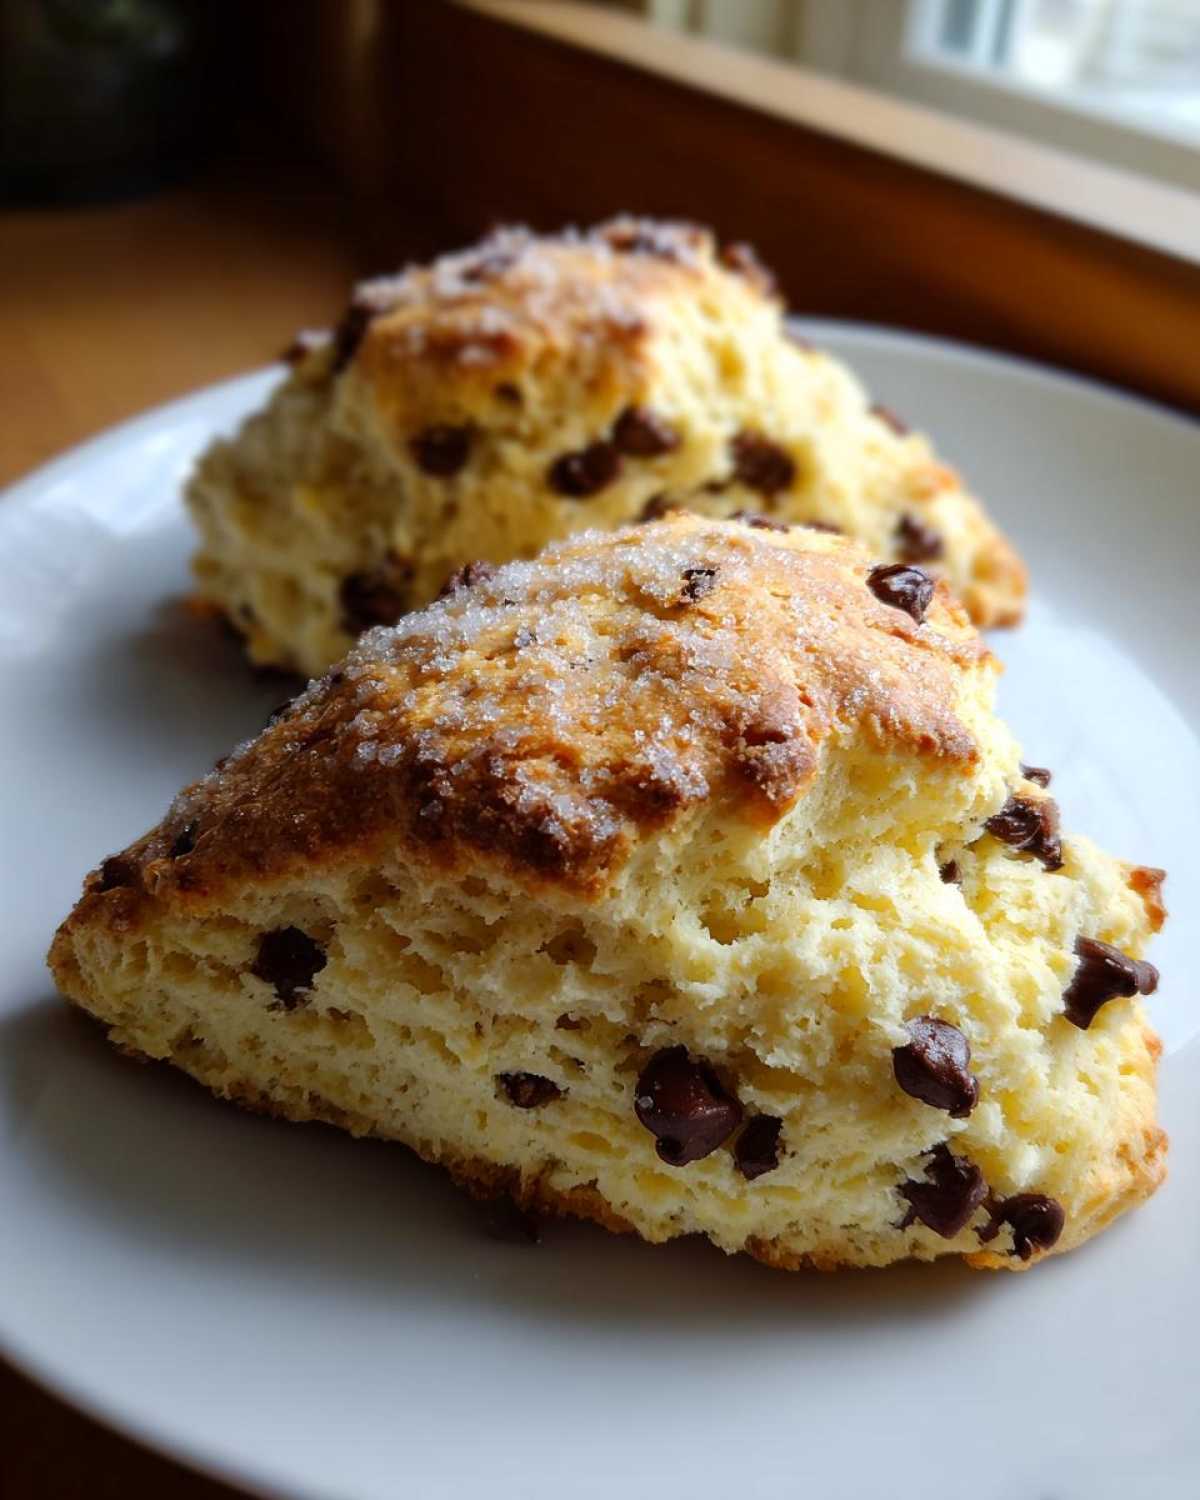
If you want to get ahead even further, you are in luck! You can totally prepare the scone dough, cut it into wedges, and freeze the unbaked dough pieces right there on the baking sheet. Once they are solid little hockey pucks, transfer them to a freezer bag. Then, when morning hits, just throw them straight onto the baking sheet and add 5-7 extra minutes to the original baking time. This way, you have the most amazing, fresh-smelling breakfast ready whenever you need it. Learn how I use similar methods for weekly prep with my protein breakfast sandwiches!
Frequently Asked Questions About Gluten-Free Chocolate Chip Scones
I know you might have a few lingering questions since GF baking always feels a bit mysterious! That’s totally fine; I have answers backed by my endless kitchen experiments. I want you to feel totally confident bringing these **Gluten-Free Chocolate Chip Scones** to your table. If you’ve ever made my gnocchi, you know I’m serious about texture, and these scones deserve that same attention! Check out how I make creamy chicken gnocchi for another texture win.
Can I substitute almond flour for the GF blend in these Gluten-Free Chocolate Chip Scones?
That’s a really common question, especially for those looking at “grain-free” options. Listen, if you use *only* pure almond flour instead of the 1-to-1 GF blend specified here, you’re going to end up with something closer to a dense cookie than a scone. Almond flour lacks the structure needed to mimic wheat’s proteins, even with xanthan gum present. For these scones to achieve that **perfect flaky gluten free** texture, you really need that balanced GF blend that already contains some rice flours or starches to mimic wheat structure. Stick to the blend for the best results!
How do I ensure my Gluten Free Chocolate Chip Scones are moist, not dry?
This is the biggest worry in making **tender gluten free chocolate chip baked goods**, right? My main advice is twofold: temperature and mixing. First, keep everything ice cold—the butter, the cream—it has to be that way so the fat doesn’t melt before it melts in the oven! Second, and this is crucial, stop mixing the second the flour disappears. If you keep mixing your **easy GF chocolate chip scones recipe** dough past that point, you develop the starches in the flour too much, and bam, you get dry results. Gentle handling prevents dry scones every time!
What if I am nervous about using xanthan gum?
I totally get it; it seems like a weird ingredient if you’ve never baked gluten-free before! But honestly, for anything remotely biscuit-like, it’s our saving grace. It acts as the glue that gluten normally provides. If you are trying to bake these **chocolate chip scones for gluten allergies**, you really need that binding agent. If you skip it, the scone will just shatter when you cut into it. It’s safer to stick to a flour blend that includes it already, as mentioned in the ingredients. If you don’t, you’ll need to add it!
Can I make these gluten free scones ahead of time for a quick breakfast?
Oh, yes, you absolutely can! I love having **home baked gluten free treats** ready to go. You can prepare the dough, cut the wedges, place whatever you’re not baking that morning onto a tray, cover it well, and refrigerate it overnight. They will bake up beautifully the next morning! (Just check them around the 14-minute mark, as cold dough sometimes needs a tiny bit longer.)
Nutritional Estimates for Gluten Free Chocolate Chip Scones
I know some of you are counting things, so I put together the best estimate I could for these **Gluten-Free Chocolate Chip Scones**! Remember, since we are using different gluten-free flour blends and chocolate chips, these numbers are just a starting point. My numbers are based on an 8-scone yield and should give you a good idea of what you’re enjoying in one of these tender breakfast pastries.
Here is a quick rundown:
- Serving Size: 1 scone
- Calories: 320
- Fat: 18g
- Carbohydrates: 35g
- Protein: 5g
It’s pretty amazing how much flavor we pack into just 320 calories for a genuinely satisfying **delicious gluten free breakfast pastry**!
Share Your Home Baked Gluten Free Treats
I am so excited for you to try these **Gluten-Free Chocolate Chip Scones**! When you do, please come back and leave a rating—I want to know exactly how they turned out for you. Did they get flaky? Let me know in the comments below!
I truly love seeing your creations! Tag me on social media if you share pictures of your amazing **home baked gluten free treats**. If you enjoyed these, maybe you’ll love my recipe for air fryer chocolate croissants next time—you can find the secrets here: air-fryer chocolate croissants secrets!
PrintFluffy Gluten-Free Chocolate Chip Scones
A simple recipe for tender, flaky chocolate chip scones made using a gluten-free flour blend.
- Prep Time: 15 min
- Cook Time: 16 min
- Total Time: 31 min
- Yield: 8 servings
- Category: Breakfast
- Method: Baking
- Cuisine: American
- Diet: Gluten Free
Ingredients
- 2 cups gluten-free all-purpose flour blend (with xanthan gum included)
- 1/4 cup granulated sugar
- 1 tablespoon baking powder
- 1/2 teaspoon salt
- 6 tablespoons cold unsalted butter, cut into small pieces
- 1/2 cup cold heavy cream, plus extra for brushing
- 1 large egg
- 1 teaspoon vanilla extract
- 3/4 cup semi-sweet chocolate chips
Instructions
- Preheat your oven to 400°F (200°C). Line a baking sheet with parchment paper.
- In a large bowl, whisk together the gluten-free flour blend, sugar, baking powder, and salt.
- Cut the cold butter into the dry ingredients using a pastry blender or your fingertips until the mixture resembles coarse crumbs.
- In a separate small bowl, whisk together the heavy cream, egg, and vanilla extract.
- Pour the wet mixture into the dry ingredients. Mix gently with a fork until just combined. Do not overmix.
- Fold in the chocolate chips. The dough will be slightly sticky.
- Turn the dough out onto a lightly floured surface (use extra GF flour). Gently pat the dough into a 3/4-inch thick circle or square.
- Cut the dough into 8 wedges or use a round cutter. Place the scones on the prepared baking sheet.
- Brush the tops lightly with extra heavy cream and sprinkle with a little extra sugar, if desired.
- Bake for 14 to 16 minutes, or until the tops are lightly golden brown.
- Let the scones cool on the baking sheet for 5 minutes before transferring them to a wire rack to cool completely.
Notes
- If your GF flour blend does not contain xanthan gum, add 1 teaspoon to the dry ingredients.
- Keep all ingredients, especially the butter and cream, very cold for the best flaky texture.
- For softer scones, bake them closer to 14 minutes. For a firmer crust, bake closer to 16 minutes.
Nutrition
- Serving Size: 1 scone
- Calories: 320
- Sugar: 10
- Sodium: 250
- Fat: 18
- Saturated Fat: 11
- Unsaturated Fat: 7
- Trans Fat: 0
- Carbohydrates: 35
- Fiber: 2
- Protein: 5
- Cholesterol: 65