

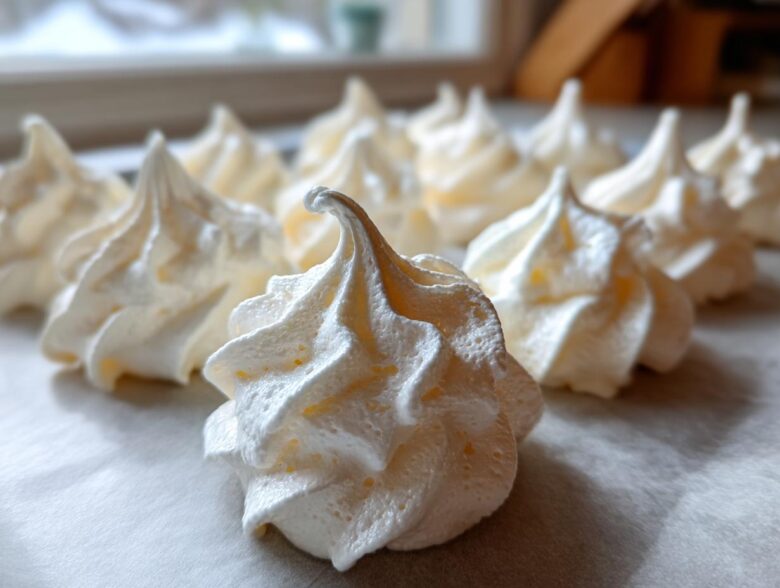
There is truly nothing in this world quite like biting into a dessert that just dissolves on your tongue, isn’t there? It’s pure magic, and it’s what we are chasing today. Forget those stiff, chewy things you’ve had before; we are focusing on the Ultimate Easy Meringue Cookies Recipe that promises that crisp outside and soft, melting center. When Eleanor and I were living abroad, I once tried to recreate these delicate sweets for a neighbor in Lisbon, and I used olive oil in the bowl by accident—disaster!
Trust me when I say attention to detail matters with these light and airy meringue cookies. But don’t let that scare you; with this French method, we’ve ironed out all the tricky parts, making it absolutely foolproof for even the newest baker. You can always find more of our stories and recipes over at our main blog page if you get hooked! We’re going to get you those perfect little meringue kisses. It’s easier than you think!
Why This Easy Meringue Cookies Recipe Works Every Time
If you’ve been shy about making meringue cookies before, you can officially throw that worry away! Eleanor calls this method our ‘No-Fail Meringue.’ We’ve stripped away complexity so you get that satisfying snap when you bite in, followed by that gorgeous melt-in-your-mouth center.
- You get guaranteed crispness without needing a specialized oven setting.
- The structure holds up beautifully, which is perfect for gifting or piling high on a dessert platter—you won’t have sad, slumped cookies!
- It’s a wonderfully simple egg white dessert that feels fancy but takes minimal effort. Check out my guide on how I get clean slices in tricky desserts, because knowing structure helps here too!
Achieving Perfect, Light and Airy Cookies
We stick to the classic French meringue technique here because it’s the most straightforward for baking beginners. The entire trick comes down to two things that you absolutely cannot skip. First, your mixing bowl must be spotless—I’m talking wipe-it-down-with-vinegar clean. Second, the egg whites absolutely must be at room temperature. Cold whites just don’t whip up to the proper volume we need to make these treats light and airy, and we want maximum lift!
Gathering Ingredients for Your Meringue Cookies
Alright, here is what you need laying out on the counter before you even think about turning on the mixer. For this vanilla meringue cookies recipe, we only need a few simple things, which is why it’s so brilliant! If you want to see what else we do with egg whites—hello, breakfast!—check out my moist high-protein egg muffins.
The most critical thing, and I mean this from the bottom of my heart, is using room temperature egg whites. If they’re cold, you won’t get that volume needed for a truly light and airy cookie. Don’t cheat on this step!
- 4 large egg whites (room temperature is mandatory!)
- 1 cup granulated sugar
- 1 teaspoon pure vanilla extract
- 1/4 teaspoon cream of tartar
- Pinch of salt
Essential Equipment for Perfect Meringue Kisses Recipe
Before we even think about mixing, we have to talk tools. Getting your setup right ensures nothing ruins those delicate whites later on. Eleanor jokes that I spend more time cleaning the mixer bowl than actually mixing, but honestly, a perfectly clean surface is the foundation of these crispy meringue treats.
Any speck of grease—from a tiny bit of leftover yolk or even residue from your fingers—will stop those egg whites from ever reaching the beautiful stiff peaks we need. I always give my stand mixer bowl a quick wipe down with vinegar and then dry it thoroughly. It’s non-negotiable!
Here is what you need ready to go:
- A large, absolutely spotless mixing bowl (metal or glass is best!).
- Your electric mixer (handheld or stand mixer—either works if you’re patient).
- Parchment paper to line your baking sheets.
- A piping bag.
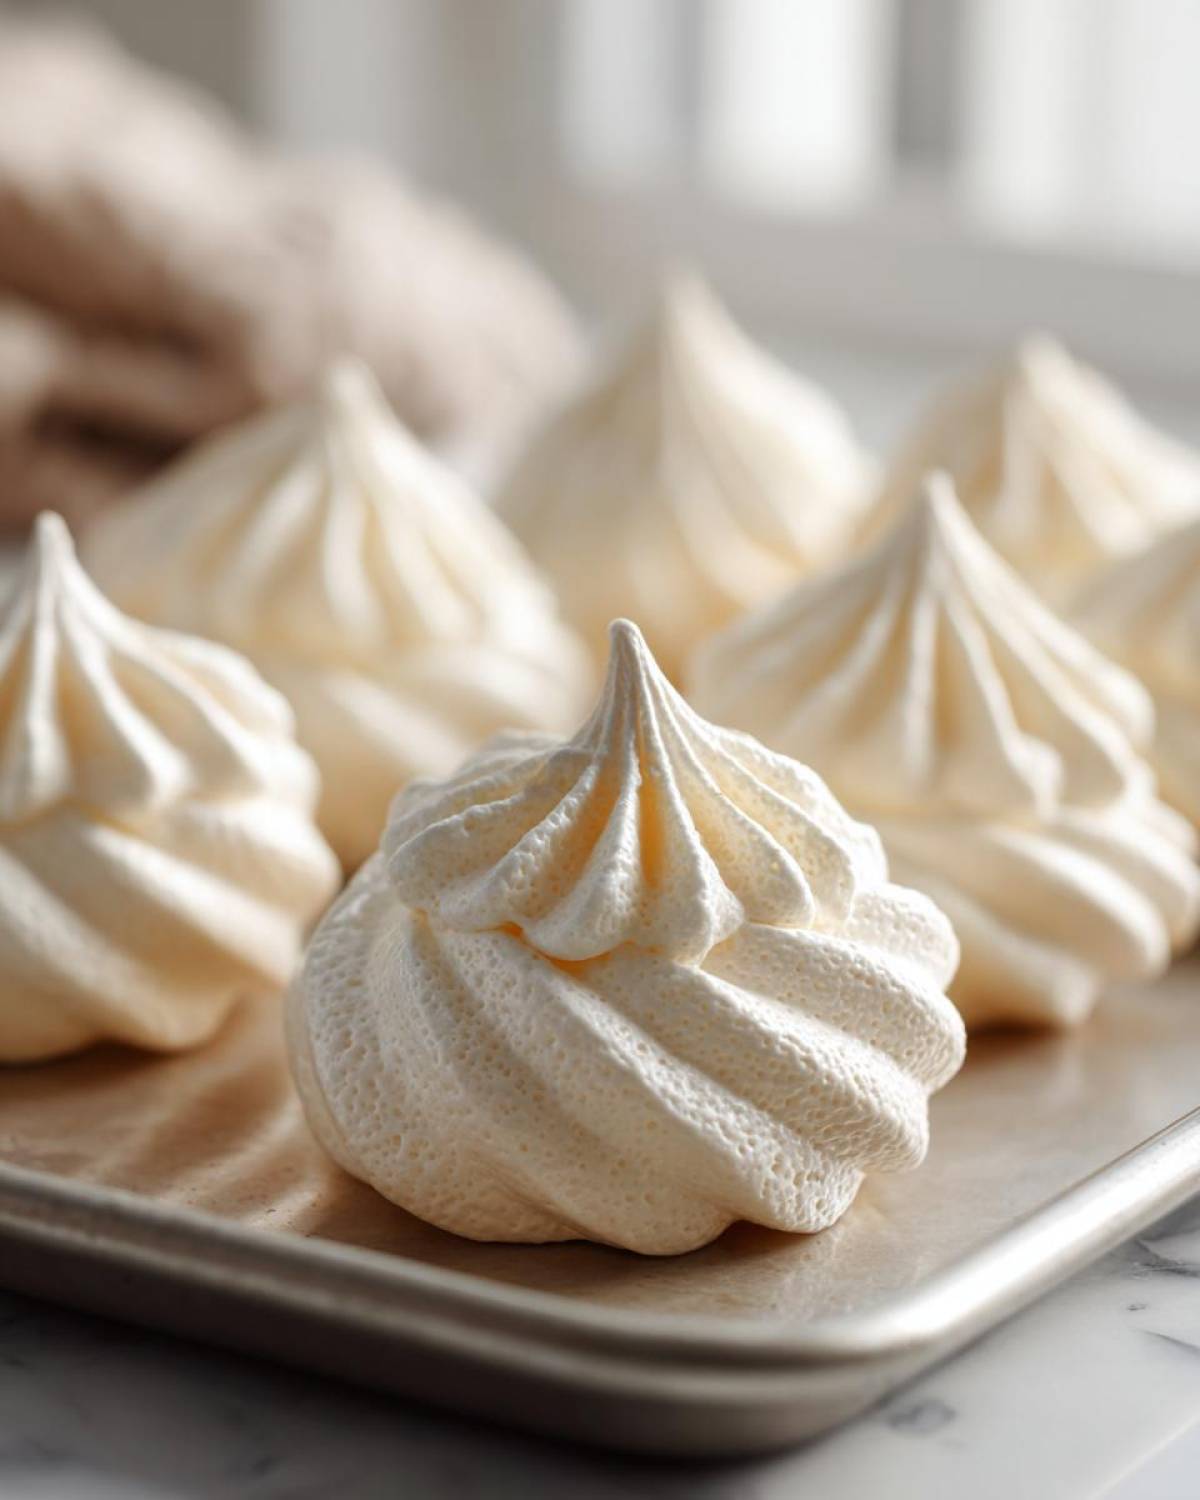
- A large star piping tip—this gives you those classic, pretty meringue kisses shape that everyone loves.
Step-by-Step Instructions for Crispy Meringue Treats
Now for the fun part—turning those simple ingredients into something spectacular! Remember that clean bowl tip? Before I even pull out my mixer, I often take a paper towel soaked in white vinegar and wipe down the inside of the bowl and the whisk attachment one last time. Grease is the enemy of a tall, stable meringue! I learned that lesson the hard way hosting a mixer demonstration years ago—disaster! Preheat your oven to the absolute lowest setting it goes—we are drying these out, not baking them brown, so aim for 175°F (about 80°C).
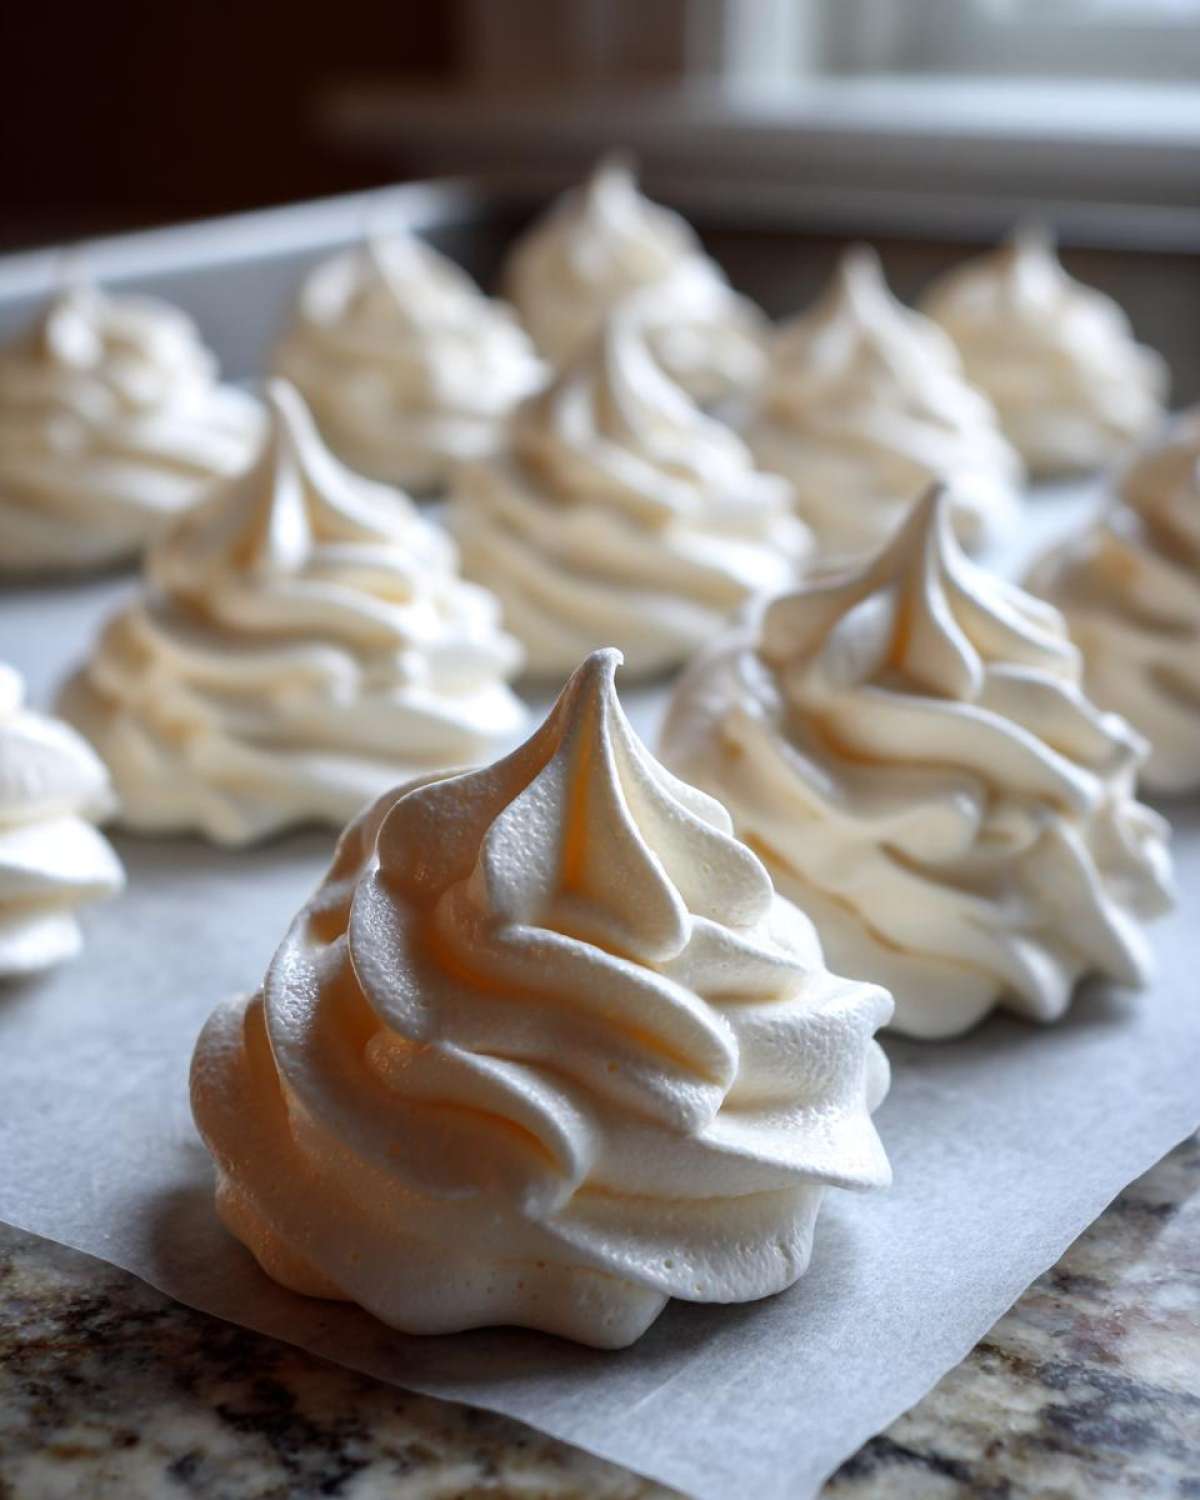
First, get those egg whites and a pinch of salt whipping on medium speed until they look nice and foamy—that’s the first stage. Then, add the cream of tartar to help stabilize things, and crank that speed up high. Once you get those soft peaks, which means the tips curl over a bit when you lift the whisk, you must start adding the sugar very slowly. I mean one tablespoon, wait about 30 seconds, then the next. This slow pace is what builds the structure for incredible meringue cookies.
Whipping the Egg Whites to Stiff Peaks
Keep adding that sugar patiently, one spoonful at a time! You’re building volume and gloss simultaneously. When you think you are done, test it. Pinch a finger-full of the meringue between your thumb and forefinger. If you feel even a tiny bit of grit, keep mixing! We need that sugar completely dissolved so they won’t deflate later. They should look like blinding white, shiny paint when they are absolutely perfect and holding a rigid peak straight up. For more on the foundational technique, I always refer back to the basics on how to make meringue correctly.
Piping and Drying Your Meringue Cookies
Once you’ve folded in that vanilla (on low speed, quickly!), get everything into your piping bag fitted with that star tip—that’s how you get those gorgeous meringue kisses shapes everyone loves. Pipe them about an inch apart on your parchment-lined sheets.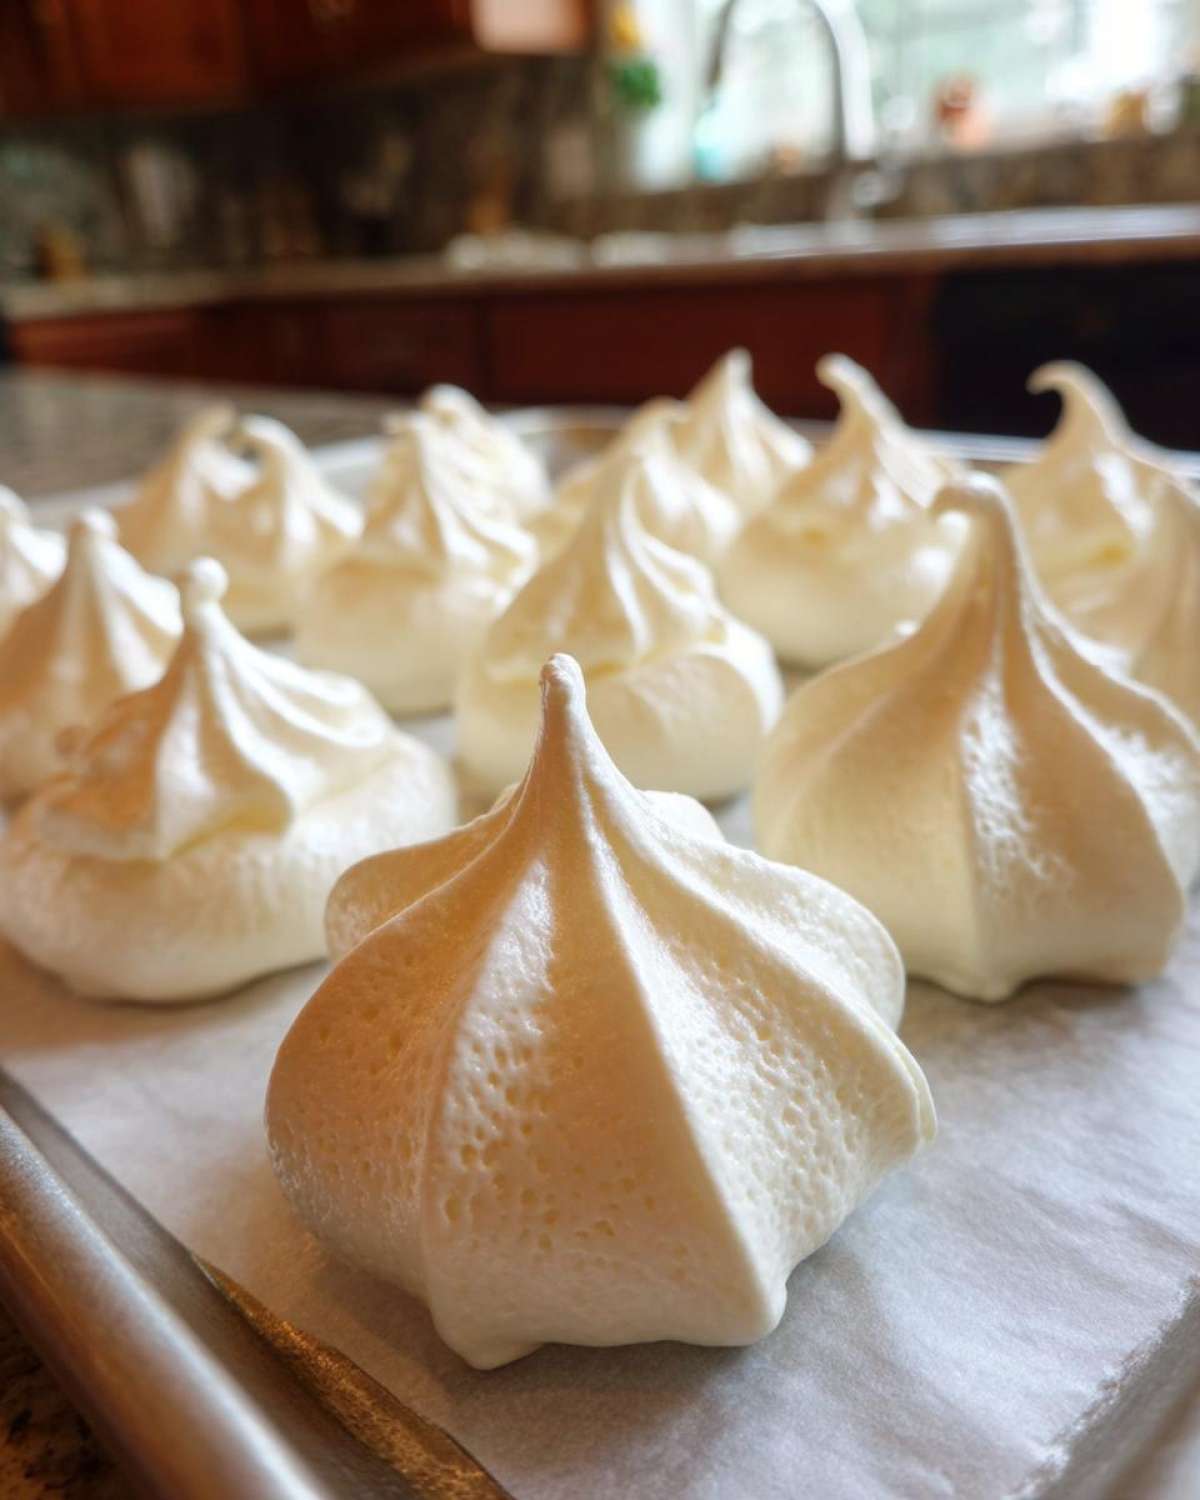 They go into the low oven for a long, slow dry. We are talking 1.5 to 2 hours here. Don’t rush! The goal isn’t browning; it’s creating that delicate shell for your meringue cookies. If you want to see a deep dive on the French method we use, check out this great resource on making French meringue to ensure your foundation is solid.
Tips for Success: Perfect Meringue Texture
We’ve got the perfect stiff, glossy meringue base, but the real secret to those amazing, light and airy treats comes after they leave the mixer. This dessert is notoriously sensitive to temperature, which is why paying attention now prevents heartbreak later! Humidity is your absolute worst enemy here, so if it’s a rainy day, maybe save this for tomorrow.
We are focusing on drying, not baking. That means oven temperature is everything. If your oven runs hot, even five degrees too high, you’ll end up with cookies that brown too quickly and might even weep a bit of sugar water later on. I always have a separate, good oven thermometer sitting right next to mine when I make these. You need the oven heat as low as it possibly can go—that gentle warmth is what cures the egg white perfectly.
But here is the step Eleanor swears by, and honestly, I can’t argue: the cool-down period is non-negotiable. Once the time is up, turn the oven off. Don’t crack the door open even a fraction! Just switch the heat off completely and leave those delicate structures alone inside that warm oven chamber for at least an hour, or if you can manage it, let them sit overnight untouched. This gradual temperature change stops them from shrinking suddenly or collapsing when they meet the cool kitchen air. This slow process ensures they are bone-dry and beautifully crisp when you finally pull them out.
Flavor Variations for Your Delicate Sweet Treats
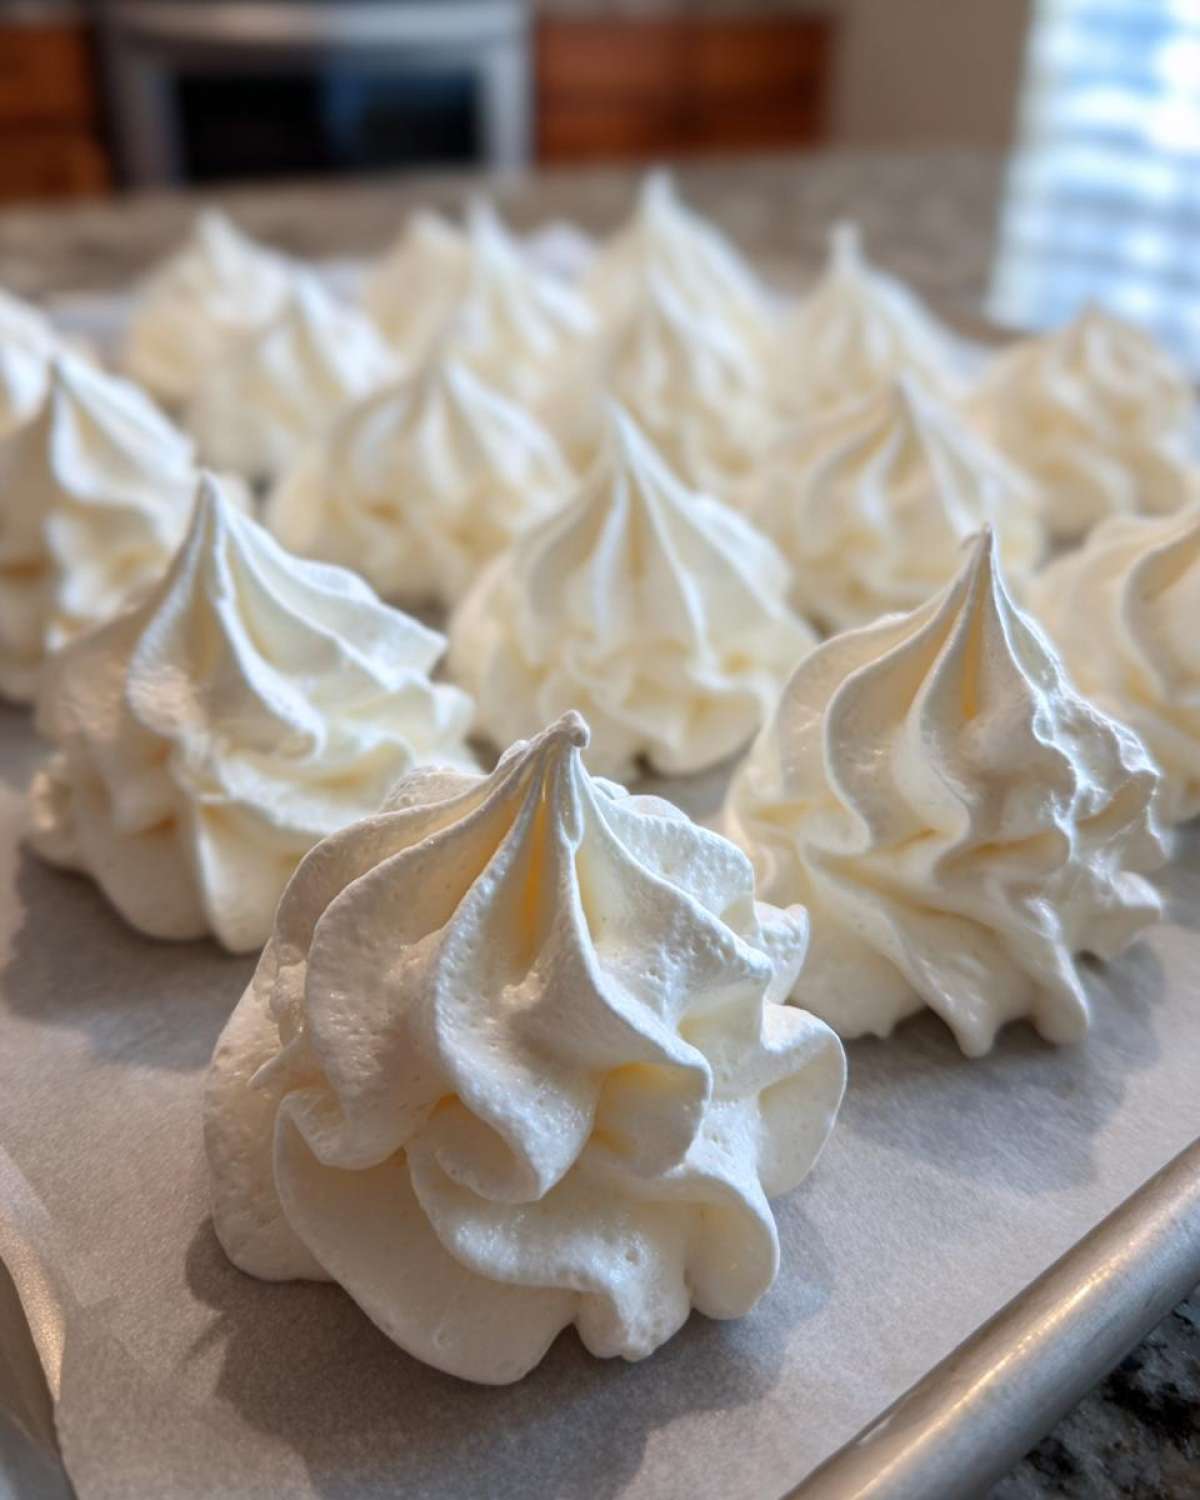
The vanilla version of these meringue cookies is a classic for a reason—it lets the texture really shine! But part of the fun in the kitchen is playing around, right? We included a couple of little twists in the notes because I know some of you look for that holiday flair or just love bright colors. These are simple additions that won’t mess up the technique we just mastered.
For instance, if you want those vibrant, colorful Jello Meringue Cookie Recipe treats, it’s incredibly easy. You just need to swap out that vanilla extract for about a tablespoon of your favorite flavored Jello powder. When you add it matters: wait until you’ve already added all the sugar and the meringue is stiff and glossy. I use the lowest speed on the mixer and add the powder quickly. You’ll see the color bloom right there! You can check out a beautiful example of how vibrant they get on this great Jello meringue recipe.
If you’re baking for the winter holidays and want something festive, try the peppermint swirl. Again, ditch the vanilla. Instead, mix in about half a teaspoon of peppermint extract. If you want them to look purely festive, add just a couple of drops of red food coloring right at the end before piping. That red-and-white swirl looks stunning when baked up as little meringue kisses!
No matter which flavor you pick, remember that after you pipe them, they still need that long, slow dry in the oven—the process is the same for all of them. It’s just a swap of the final flavoring agent. If you’re looking for other ways to use up ingredients in fun ways, you should definitely check out my chocolate chip banana bread recipe!
Storage and Keeping Meringue Cookies Crisp
You’ve done the hard work! You’ve reached into the oven and pulled out these beautiful, airy, delicate sweet treats. Now, the biggest challenge is trying to keep them exactly as they are—crisp as a cracker on the outside and impossibly light. Meringues do not like moisture one bit; it’s their kryptonite, folks. They will slowly start to absorb the humidity in the air, leading to that dreaded sticky, slightly chewy texture we worked so hard to avoid during the drying phase.
The rule here is simple but strict: airtight equals happy cookies. You must store them in a good quality, airtight container immediately after they have cooled completely—and I mean *completely* cool. If you seal them while they are even slightly warm, the trapped condensation will turn your delightful crisps into tiny, sugary puddles.
We always store them at room temperature. Do not be tempted to put them in the refrigerator or freezer! That cold, damp environment speeds up the moisture absorption process dramatically. If you do everything right, these delicate sweets should keep their perfect texture for a solid week, maybe longer if your kitchen is particularly dry. If you notice them losing their snap before the week is up, it means the air in your home is a little too humid, and next time you might want to bake them a little longer in that low oven!
Frequently Asked Questions About Making Meringue Cookies
These little meringue cookies are so simple, but sometimes the simplest things leave us with the biggest questions! Eleanor and I have compiled a few things that always pop up when we talk about these delightful, melt in your mouth cookies. If you’ve got pressing questions, I hope we’ve answered them here for you. Always feel free to drop us a line if you need more guidance; we love hearing from folks trying out our recipes over at our blog!
Can I substitute the sugar in this French Meringue Cookies Recipe?
This is a tough one. Because we rely on the sugar creating a stable structure with the egg whites—that glossy, stiff peak stage—you really shouldn’t substitute the granulated sugar. Powdered sugar doesn’t dissolve correctly during the whipping process, and alternative sweeteners often behave very differently under low heat. For this basic, foolproof meringue cookies formula, please stick to the white granulated sugar to guarantee that light texture!
Why are my meringue kisses weeping or sticky after baking?
Ah, the dreaded weep! This almost always comes down to heat, friends. Weeping—that little shiny bead of sugar syrup forming on the cookie—means the heat inside your oven was too high, or you didn’t dry them long enough. Remember, we are drying them out slowly at a very low temperature, usually 200°F or less. If they weep, it means the sugar didn’t fully integrate and started releasing moisture onto the surface. The second most common cause is humidity in the air, so try to avoid baking on super rainy days.
Can I make these Gluten Free Meringues ahead of time?
Yes, absolutely! In fact, I think they taste better the next day once they’ve fully set up after cooling in the oven. Since these are naturally made with just egg whites and sugar, they are wonderfully gluten free meringues right out of the gate—no substitutions needed! Just make sure you follow our storage advice strictly: airtight containers only, no fridge, and they are brilliant for making weeks ahead if you are planning for holiday baking.
What is the best way to get that classic Meringue Kisses Recipe look?
For that classic, beautiful shape, you need a piping bag fitted with a star tip—a large one works best because it gives you deep ridges that bake up beautifully crispy. Make sure you pipe them straight up from the parchment paper, letting the meringue hold its own weight. Don’t swirl too much as you pipe, or the peak might collapse before it hits the heat. They should look like little, elegant swirls!
Nutritional Snapshot of These Simple Egg White Desserts
Now, I know some of you are counting calories, and honestly, when you are working with only egg whites and sugar, you aren’t going to find much fat here! These delicate sweet treats are naturally very low in virtually everything except sugar, which is where they get their incredible flavor.
Here is a quick rundown of what you can expect per cookie based on our testing. These are just estimates, mind you, because the exact weight of your egg whites and how long you dry them will change the final numbers just a little bit. But this gives you a solid idea of what you are getting when you enjoy one of these light and airy things!
- Serving Size: 1 cookie
- Calories: 45
- Sugar: 11g
- Sodium: 5mg
- Fat: 0g
- Protein: 0.5g
See? Almost entirely just airy sweetness! They are a wonderful, naturally gluten free option when you are looking for a beautiful and simple egg white dessert. Enjoy them without too much guilt, because remember, the main ingredient is air!
PrintThe Ultimate Easy Meringue Cookies Recipe: Light, Crisp, and Perfect Every Time

Learn how to make light, airy meringue cookies that are crisp on the outside and melt in your mouth soft on the inside. This simple French meringue method is foolproof for beginners.
- Prep Time: 20 min
- Cook Time: 2 hours
- Total Time: 2 hours 20 min
- Yield: About 3 dozen
- Category: Dessert
- Method: Baking
- Cuisine: American
- Diet: Gluten Free
Ingredients
- 4 large egg whites, room temperature
- 1 cup granulated sugar
- 1 teaspoon pure vanilla extract
- 1/4 teaspoon cream of tartar
- Pinch of salt
Instructions
- Preheat your oven to the lowest setting, usually between 175°F and 200°F (80°C to 95°C). Line two large baking sheets with parchment paper.
- Ensure your mixing bowl and whisk attachment are completely clean and free of any grease. Add the room temperature egg whites and salt to the bowl.
- Begin whipping the egg whites on medium speed until they become foamy. Add the cream of tartar and increase the speed to medium-high.
- Once soft peaks form (the peaks curl over when you lift the whisk), slowly begin adding the granulated sugar, one tablespoon at a time, waiting about 30 seconds between additions. This slow addition is key for stable meringue.
- Continue beating on high speed until the meringue is stiff, glossy, and holds firm peaks. When you rub a small amount between your fingers, you should not feel any sugar granules. This process takes about 8 to 10 minutes total.
- Beat in the vanilla extract on low speed just until combined.
- Transfer the meringue to a piping bag fitted with your desired tip (a large star tip creates classic meringue kisses).
- Pipe small mounds or kisses onto the prepared baking sheets, leaving about one inch between each cookie.
- Place the baking sheets in the preheated oven. Bake (dry) for 1.5 to 2 hours, depending on the size of your cookies and your oven’s temperature accuracy. The goal is to dry them out, not brown them.
- Turn off the oven, but leave the meringue cookies inside the closed oven for at least 1 hour, or preferably overnight, to cool completely and ensure they are crisp all the way through.
- Remove the cookies once fully cooled. Store them in an airtight container at room temperature.
Notes
- For Jello Meringue Cookies: Omit the vanilla extract. Add 1 tablespoon of flavored Jello powder along with the last additions of sugar for color and flavor.
- For Peppermint Meringue Cookies: Omit the vanilla extract. Add 1/2 teaspoon of peppermint extract and a few drops of red food coloring (optional) during the final mixing stage.
- If your meringue looks wet or weepy after baking, your oven temperature was likely too high, or you did not bake them long enough to dry completely. Patience during the drying phase is essential for that perfect texture.
Nutrition
- Serving Size: 1 cookie
- Calories: 45
- Sugar: 11g
- Sodium: 5mg
- Fat: 0g
- Saturated Fat: 0g
- Unsaturated Fat: 0g
- Trans Fat: 0g
- Carbohydrates: 11g
- Fiber: 0g
- Protein: 0.5g
- Cholesterol: 0mg