

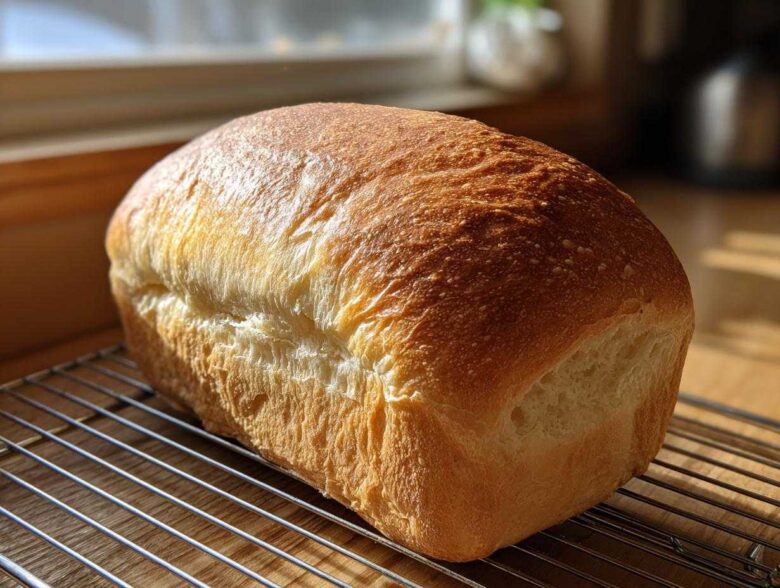
Oh my gosh, pulling a loaf of homemade bread out of the oven? Nothing beats that smell, trust me! It completely fills the house and makes everything feel cozy. I know so many of you feel intimidated by yeast and baking, especially when you look at those complicated, multi-day artisan recipes out there. Forget all that noise!
I’m going to show you the ultimate easy, fluffy homemade white sandwich bread recipe. Seriously, this is the one that turned me from a total bread novice into someone who bakes sandwich loaves weekly. It requires almost no technical skill and very little kneading time. If you want soft, tender slices perfect for the kids’ sandwiches, this is your new go-to. Check out all my other baking adventures over at my baking archives!
I felt like I needed a degree just to work with yeast at first, but this recipe proved that making fantastic bread at home is actually super simple. You are going to love this loaf!
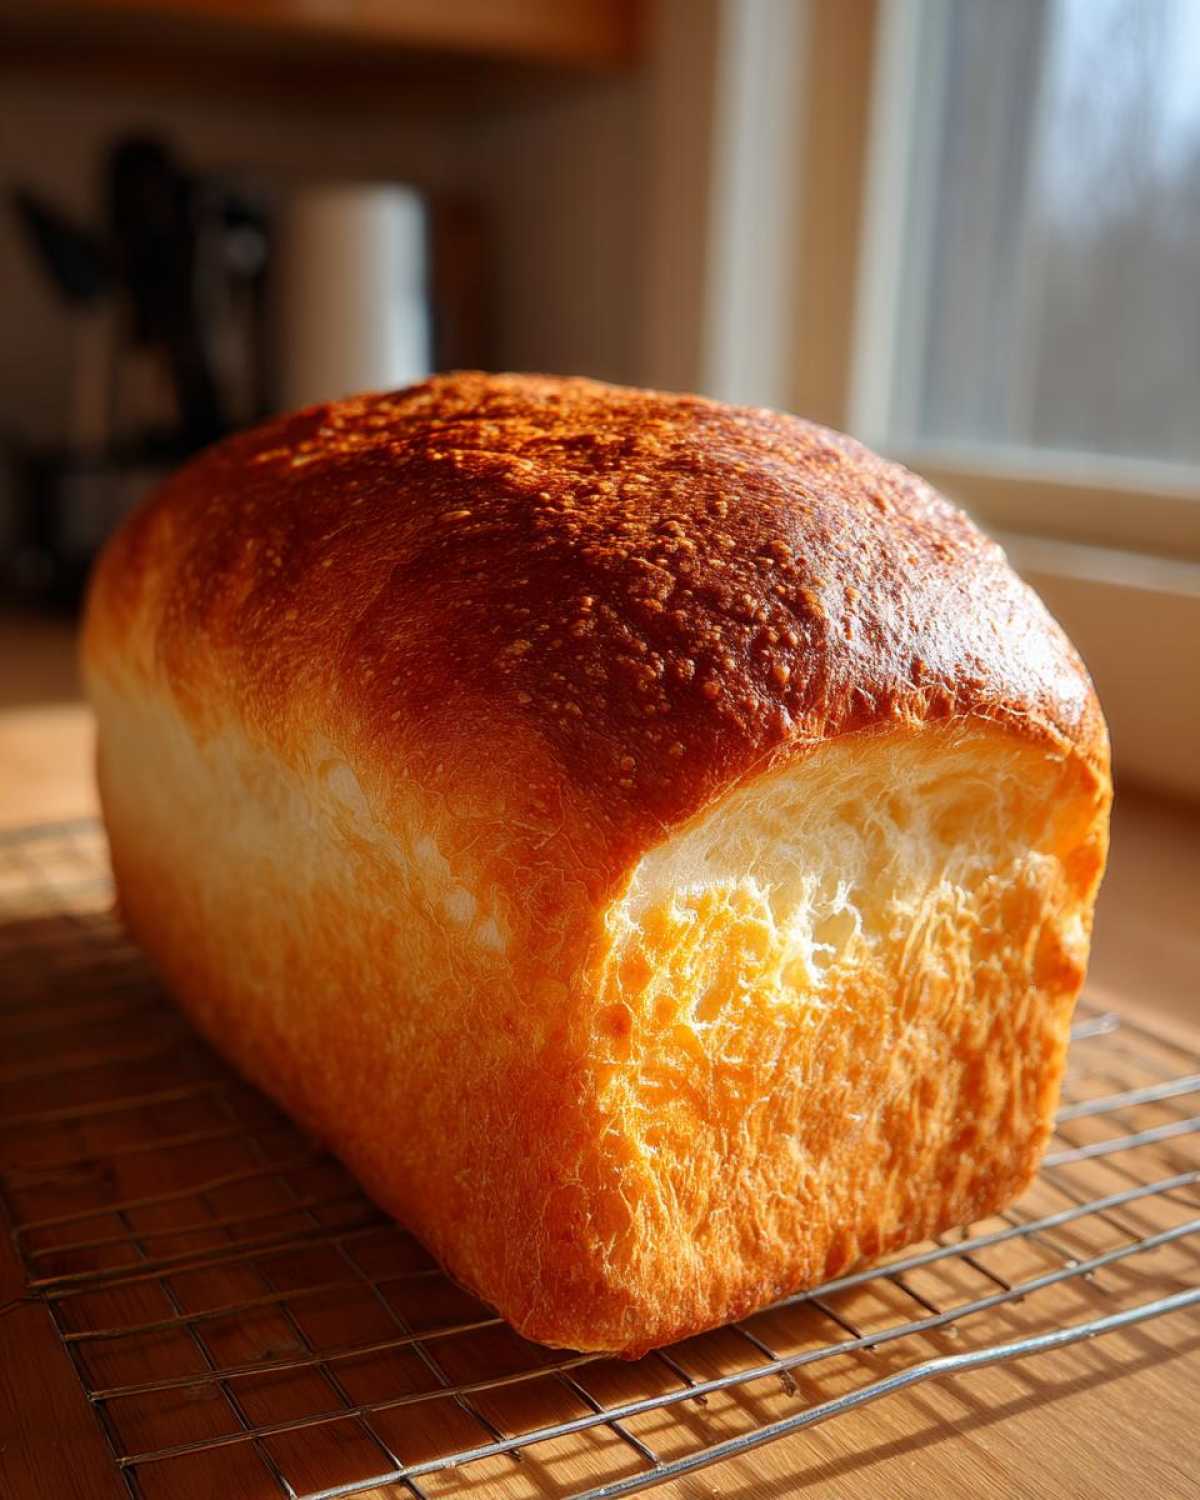
Why This Is The Easiest Homemade White Sandwich Bread Recipe
If you’ve been scared off by the idea of making bread, this is the recipe that will change your mind! This is truly one of the top easy bread recipes for beginners because it cuts out all the confusing parts. We focus on just a few simple steps to get you that perfect, soft sandwich loaf recipe.
- You only knead for five minutes—seriously, five minutes!
- The ingredients are basic pantry staples. No weird flours needed here.
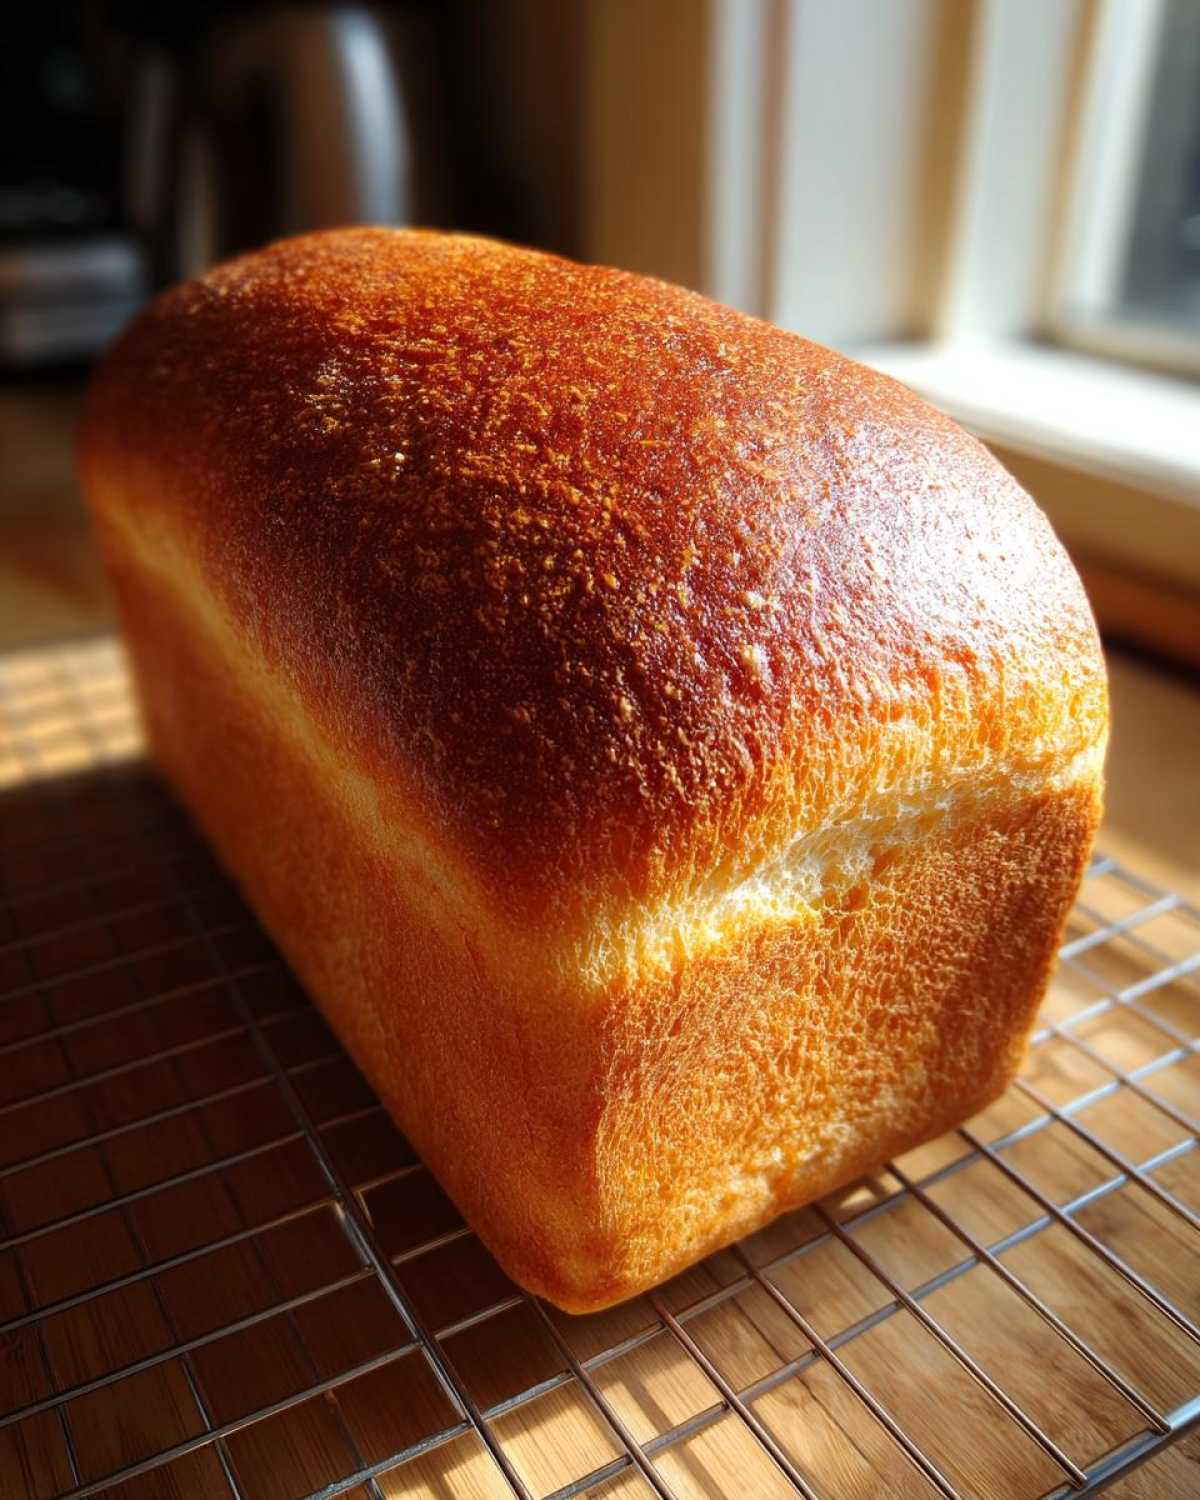
- It results in that undeniable soft, pillowy white bread texture that store-bought stuff just can’t touch.
We’ve put together all my best guidance on how to start baking over at my beginner tips page, too!
Achieving Fluffy Yeast Bread Texture Without Hard Work
The secret to this fluffy yeast bread texture isn’t hours of strenuous kneading; it’s in the milk and the butter! Warming the milk just right (don’t burn that yeast!) and using melted butter helps hydrate the flour gently. That short five minutes of kneading knocks most of the air out, but it organizes the gluten just enough so the yeast has something strong to work against during the rises. It’s an efficient system, I promise!
Gathering Ingredients for Your Simple White Bread From Scratch
Okay, let’s get down to business. Getting the right stuff ready ahead of time is half the battle when you’re making this simple white bread from scratch. You don’t need a huge shopping list, but the details matter!
For this loaf, grab your flour—I use three cups of all-purpose flour, but feel free to sift it first if you want a super-duper airy final product. You’ll activate the yeast with one cup of warm milk, and make sure that milk is between 105 and 115 degrees Fahrenheit. If it’s too hot, you kill the yeast, and your bread won’t rise. Don’t forget the flavor boosters: one tablespoon of sugar, one teaspoon of salt, two tablespoons of unsalted butter that you’ve melted down, and one lightly beaten egg.
Having everything measured out before you start mixing means you can move quickly to the fun part! You can find my full guide on how to make bread at home using this method right here.
Step-by-Step Instructions for Perfect Homemade Bread
We all want that perfect, airy loaf—and it starts right here! Follow these steps exactly, and you’ll get great results every single time, even if this is your first experience with yeast. It’s all about timing and gentle handling once those ingredients meet.
We whisk the dry stuff first, making sure the yeast is evenly distributed away from the salt until we’re ready to mix. Then, we introduce the warm liquid mixture containing the milk, melted butter, and richness from the egg. Mix until it looks messy—that’s the shaggy dough stage we’re aiming for!
You can see the full tutorial detailing the rising times and temperatures over at my beginner yeast guide if you need a little visual boost!
Mixing and The Gentle Kneading for Your Bread
Time to bring it together! Once you have that shaggy mass, turn it out onto a lightly floured counter. Now, we knead, but only for about five minutes. Don’t go crazy trying to make it tough! You’re just looking for the dough to stop sticking everywhere and feel smooth, almost like the surface of a baby’s cheek. When you poke it lightly and it springs back slowly, that means the gluten is happy. Put it in that oiled bowl as fast as you can after that!
The Two Essential Rises for Fluffy Bread
The rising stages are where the magic truly happens for your bread. The first rise needs about an hour to an hour and a half in a warm spot—you’re waiting for it to double in size, no cheating! Once you punch it down and get it into that greased 9×5 loaf pan, cover it loosely. The second rise is shorter, maybe 30 to 45 minutes. This time it needs to crown about an inch over the top rim of the pan.
Crucially, make sure you start preheating that oven to 375°F during the *last* 15 minutes of that second rise. That way, the oven is perfectly hot and ready to set that beautiful shape right when it’s proved enough!
Expert Tips for the Best Homemade Bread Recipe Success
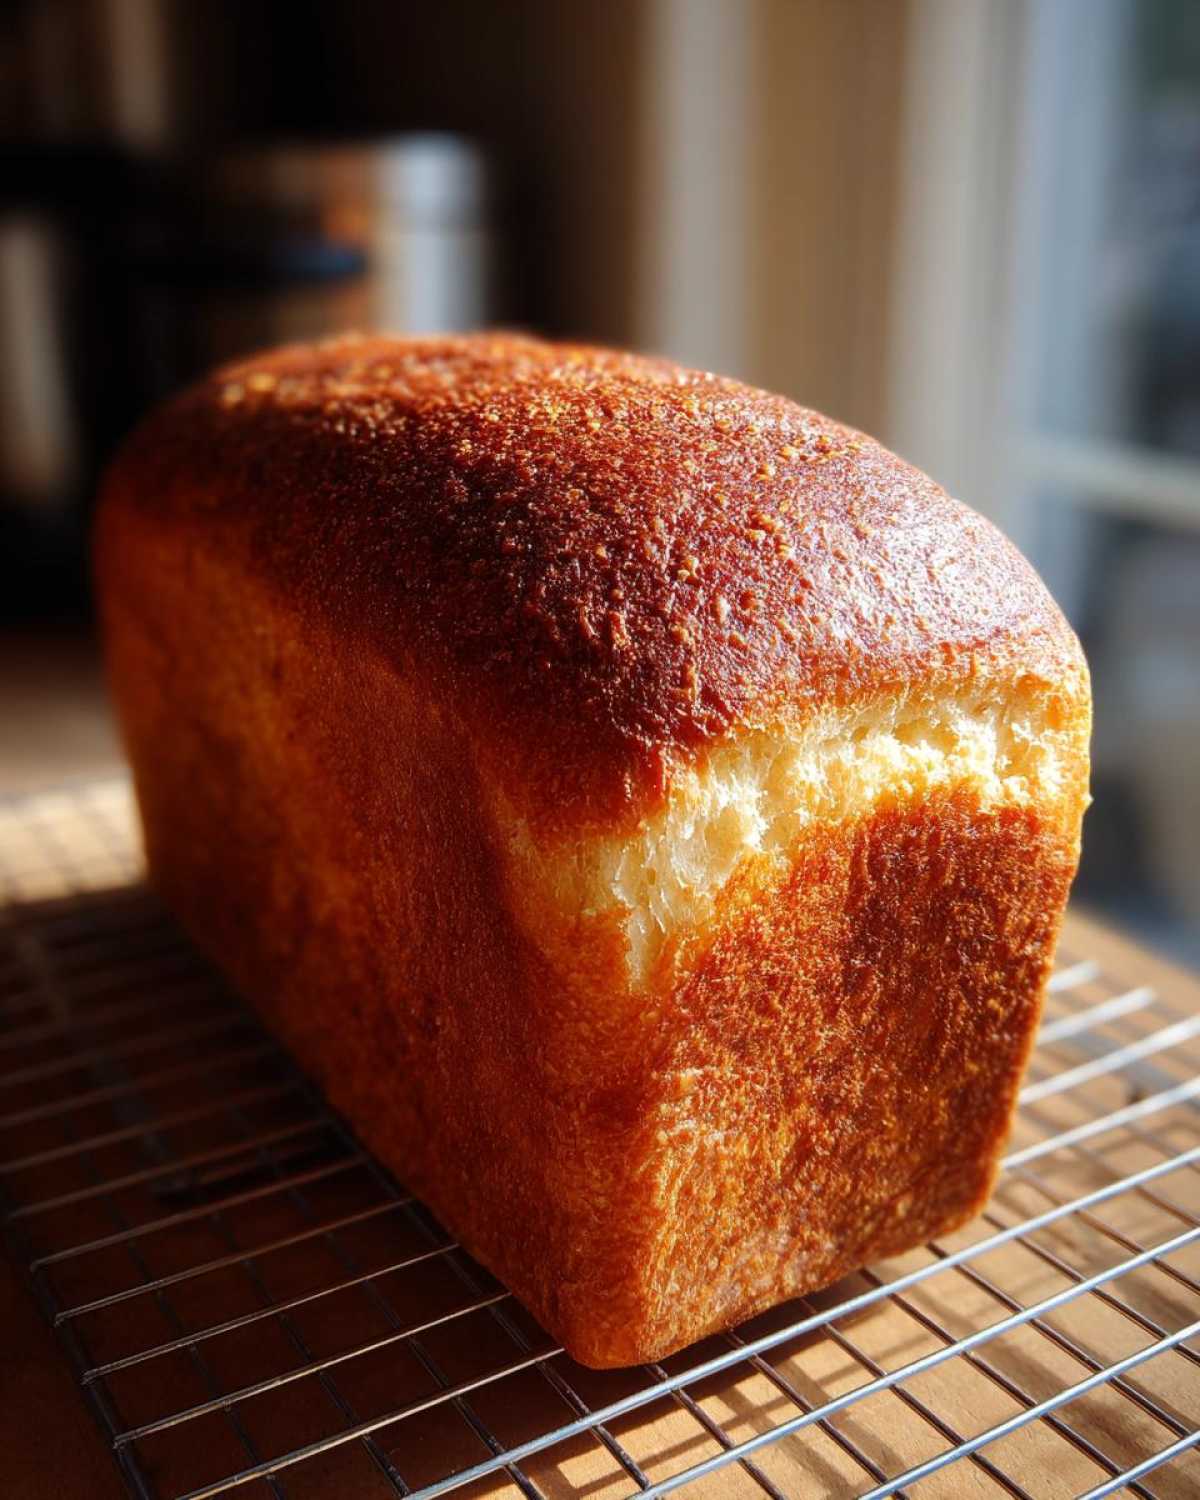
You want the absolute best homemade bread recipe experience, right? It’s all in the finishing touches after baking! One of Grandma’s favorite tricks—which I always use—is brushing the top immediately when it comes out of the oven with melted butter. It seals in moisture and gives that perfect soft crust finish required for a true sandwich loaf.
If your kitchen is chilly in the winter, don’t let your dough suffer! I always put my covered bowl into the oven with *just* the light turned on. It creates the coziest little proofing box, and your dough will thank you. Also, if you have a stand mixer, use the dough hook; it saves your arms from that 5-minute knead, though I still love doing it by hand sometimes. Keep an eye on that internal temp reaching 200°F for perfect bake!
If you want to read about how bakers chase those perfect crusts on artisan loaves, check out my deep dive into best artisanal bread baking.
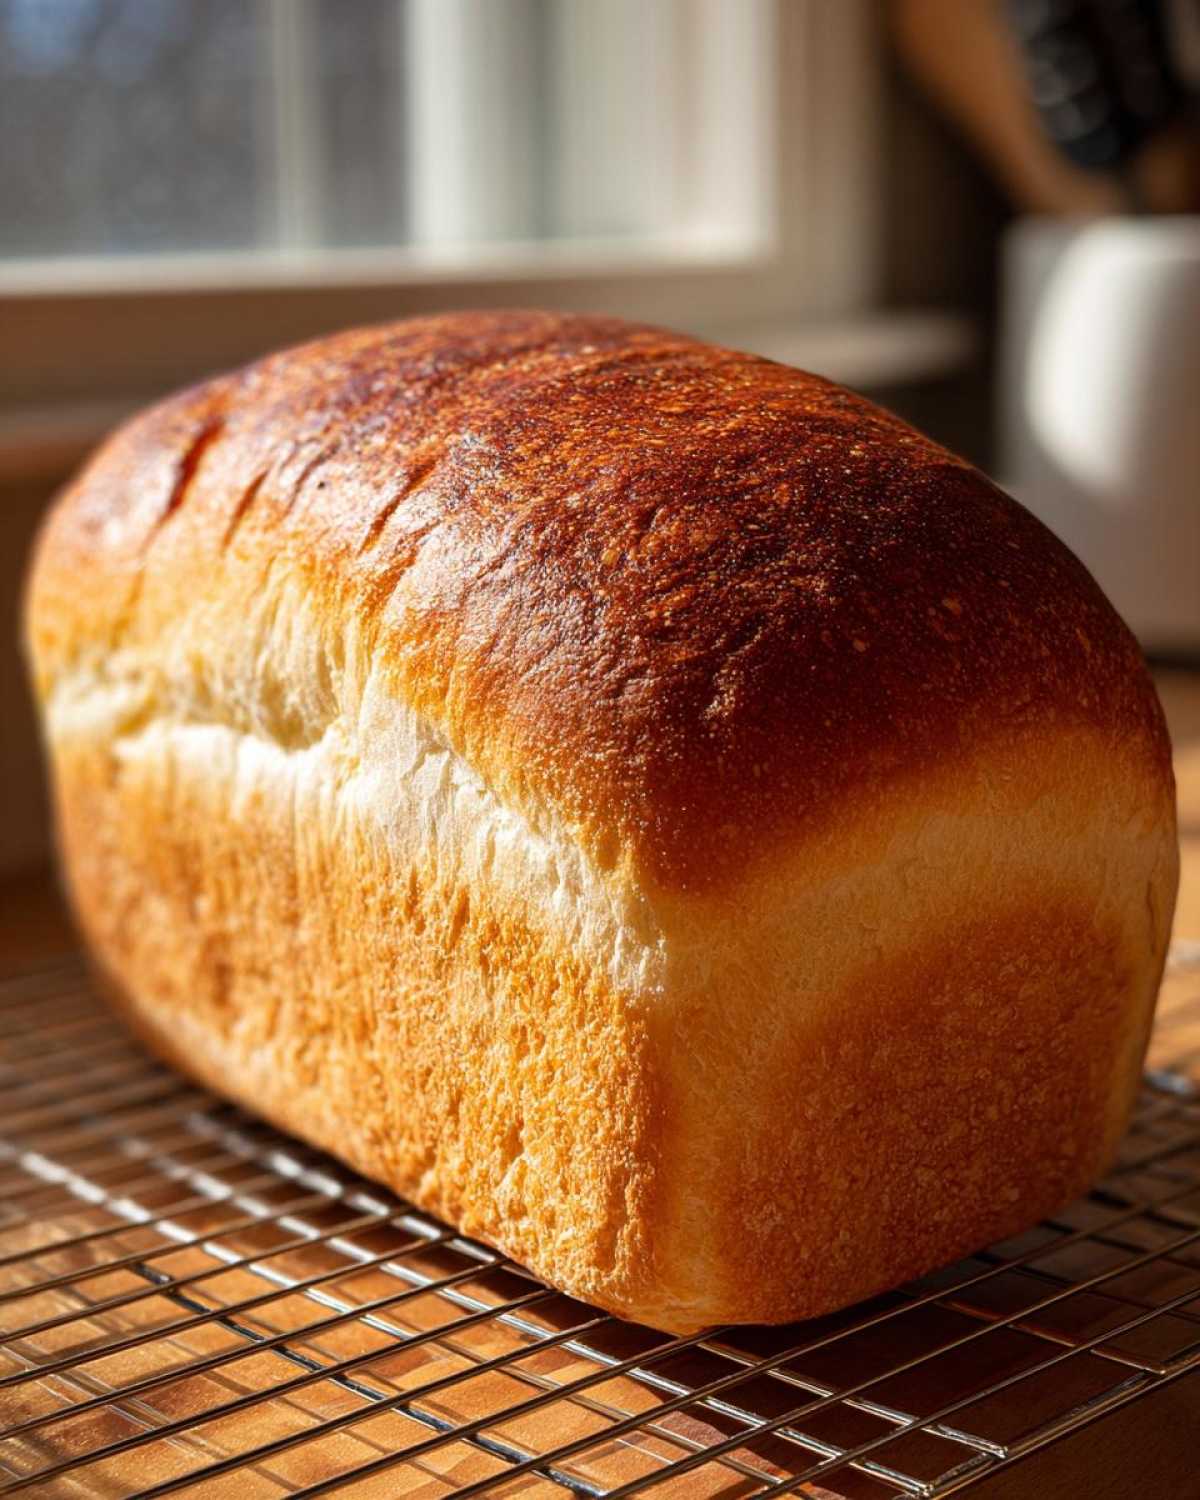
Ingredient Notes and Substitutions for Your Bread
Now that you’ve mastered the basic mix, let’s talk about swapping things out! Sometimes you run out of milk, or maybe you’re dairy-free, and that’s totally fine. If you’re out of liquid milk, you can use water mixed with a couple of tablespoons of powdered milk to mimic it—it works beautifully because the yeast just needs that warmth and liquid.
For non-dairy folks, oat milk or soy milk are wonderful substitutes here. If you decide to try swapping in whole wheat flour, be warned: it will change the crumb texture! Whole wheat absorbs more liquid, so your resulting loaf will be denser, not quite as fluffy as this classic white bread. Head over to see how I adapt things for sweet homemade bread ideas if you want to play around!
Storage and Reheating Instructions for Your Soft Sandwich Loaf Recipe
The hardest part is waiting for this soft sandwich loaf recipe to cool, but you must! Slicing it hot releases all that steam and makes it gummy, which is a sad waste of effort.
Once it’s completely cool, store your bread in an airtight container right on the counter—no need for the fridge, as that actually makes it go stale faster! If you want to refresh a day-old slice? Pop it in the toaster, or for two seconds in the microwave, it gets that fresh-baked softness back. Want some dipping sauce ideas for leftovers? Give my favorite bread dipping sauce recipe a try!
Troubleshooting Common Issues When Making Bread
Even for the easiest bread, things sometimes go sideways, and that’s okay! Don’t toss that dough! If your dough totally refused to rise, nine times out of ten it’s the water temperature being too hot when you killed the yeast, or maybe it was too cold and the yeast just took a nap. Give it a warm spot!
If your loaf turns out really dense, you probably fussed with it too much. See? That’s why we only knead for five minutes! Over-kneading makes the gluten too tight, trapping the gas. Another common issue is under-proofing—skipping that second rise time means the dough can’t expand properly and you get a small, squat brick. Just check the visual cues, and for more heavy-duty problem-solving, look at my tips for no knead crusty bread dutch oven baking!
Frequently Asked Questions About This Beginner Friendly Yeast Bread
I get so many questions from folks trying this out for the first time! Honestly, it’s one of the most common things people ask me about this beginner friendly yeast bread.
Can I use instant yeast instead of active dry yeast?
Yes, you absolutely can! Instant yeast is super forgiving, which is great for making bread easy. The only difference is how you mix it in. With active dry yeast (like we use here), you need to proof it in the warm liquid first. If you’re using instant yeast, just skip that first proofing step and dump the instant yeast right in with the flour, salt, and sugar. It’ll still rise beautifully!
What is the best flour for this bread if I don’t have all-purpose?
For this specific soft sandwich loaf recipe, all-purpose flour gives you that classic structure we want. If you *only* have bread flour, you can totally use it! Bread flour just has a bit more protein, so your dough might feel a touch stronger after kneading. I wrote a whole post on different flours for my bread machine recipes if you want to compare!
Can I skip the egg in this recipe?
You technically *can*, but I really wouldn’t recommend it for your first time making this loaf. That single egg provides richness, a gorgeous golden color to the crumb, and helps stabilize the texture we’re aiming for. If you skip it, you might end up with a slightly drier, less tender crumb, which goes against the whole ‘fluffy’ goal!
How long will this homemade bread stay fresh?
Because we used milk and butter, this bread stays wonderfully soft longer than a lean, water-based loaf. Stored properly, wrapped airtight at room temperature, you should get a solid 3 to 4 days before it starts to firm up. After that, it’s toast time!
Nutritional Estimates for Homemade White Bread
Now, I know some of you are watching your macros, so here’s a quick look at what you can expect from this loaf. Remember, since this is homemade, these figures are just estimates based on the recipe ingredients, and things like flour density or how much butter you brush on the crust can change things!
For one slice—and I know it’s hard to stop at one slice of this soft loaf—we’re looking at about 140 calories. It runs about 3 grams of fat and 25 grams of carbohydrates in that serving. That little bit of sugar (only 2 grams!) is what helps feed the yeast and gives our bread that lovely flavor profile. Always remember to check my full nutrition disclaimer page for more context on this data!
This is still way better than most store-bought sandwich loaves, which often sneak in loads of preservatives and extra sweet stuff to keep them soft on the shelf. With this recipe, you know exactly what went into it!
PrintThe Ultimate Easy, Fluffy Homemade White Sandwich Bread

A simple recipe for soft, fluffy white bread perfect for beginners. This method requires minimal kneading for a tender sandwich loaf.
- Prep Time: 20 min
- Cook Time: 35 min
- Total Time: 1 hour 50 min
- Yield: 1 loaf
- Category: Baking
- Method: Baking
- Cuisine: American
- Diet: Vegetarian
Ingredients
- 3 cups all-purpose flour
- 1 packet (2 1/4 teaspoons) active dry yeast
- 1 teaspoon salt
- 1 tablespoon granulated sugar
- 1 cup warm milk (about 105-115°F)
- 2 tablespoons unsalted butter, melted
- 1 large egg, lightly beaten
Instructions
- In a large bowl, whisk together the flour, yeast, salt, and sugar.
- In a separate small bowl, combine the warm milk, melted butter, and beaten egg.
- Pour the wet ingredients into the dry ingredients. Mix with a wooden spoon until a shaggy dough forms.
- Turn the dough out onto a lightly floured surface. Knead gently for about 5 minutes until the dough is smooth and elastic.
- Place the dough in a lightly oiled bowl, turning once to coat. Cover the bowl with plastic wrap or a clean towel. Let the dough rise in a warm place for 1 to 1.5 hours, or until doubled in size.
- Gently punch down the risen dough. Shape it into a loaf and place it into a greased 9×5 inch loaf pan.
- Cover the pan loosely and let the dough rise again in a warm place for 30 to 45 minutes, or until the dough has crowned about 1 inch over the rim of the pan.
- Preheat your oven to 375°F (190°C) during the final 15 minutes of the second rise.
- Bake for 30 to 35 minutes, or until the top is golden brown and the internal temperature reaches 200°F (93°C).
- Remove the bread from the pan immediately and cool completely on a wire rack before slicing.
Notes
- For a softer crust, brush the top of the loaf with melted butter immediately after removing it from the oven.
- If your kitchen is cold, place the covered dough bowl inside your oven with just the light turned on to create a warm environment for rising.
- Use a stand mixer with a dough hook for easier mixing if you prefer not to knead by hand.
Nutrition
- Serving Size: 1 slice
- Calories: 140
- Sugar: 2
- Sodium: 200
- Fat: 3
- Saturated Fat: 2
- Unsaturated Fat: 1
- Trans Fat: 0
- Carbohydrates: 25
- Fiber: 1
- Protein: 4
- Cholesterol: 25