

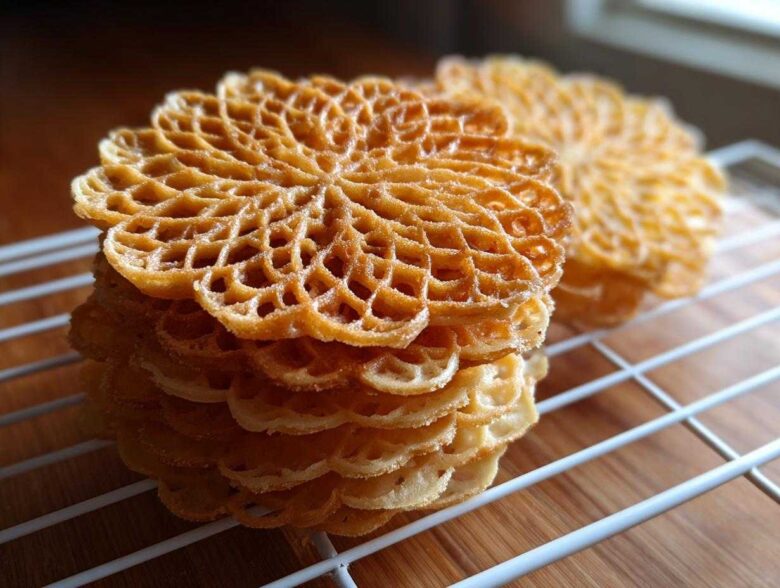
Oh gosh, if you’ve ever walked into a kitchen smelling like sweet melted butter, vanilla, and just a hint of something mysteriously licorice-y, you know the magic I’m talking about! Making homemade pizzelle cookies is probably the most satisfying baking project you can tackle. Seriously, forget those delicate, store-bought things—we’re making the real deal here. I remember watching my Nonna make these every Christmas; the sound of that old iron hissing was the soundtrack to the holidays.
The best part? This Classic Italian Pizzelle Recipe is unbelievably easy, even if this is the first time you’re pulling out that special pizzelle maker. Trust me, you don’t need to be an expert to get these beautiful, patterned, buttery delicate cookies perfectly thin and crispy on the first try. I’ve streamlined Nonna’s method so you can have these authentic Italian waffle cookies cooling on your rack in about 35 minutes total. Let’s get baking!
Why This is the Best Easy Classic Vanilla and Anise Pizzelle Cookies Recipe
I know there are a million Italian dessert recipes floating around, but this one is my absolute go-to for pizzelle cookies because it’s just so reliable. It doesn’t require you to cream butter for ages, and the batter is forgiving—perfect for beginners who are just learning how to make pizzelle cookies. Seriously, you just mix, heat the iron, and press!
- It’s fast! Total time is under 40 minutes.
- The texture is consistently light and beautifully crisp.
- The recipe is perfectly balanced for both vanilla and anise profiles.
Achieving Perfect Crispy Thin Cookies at Home
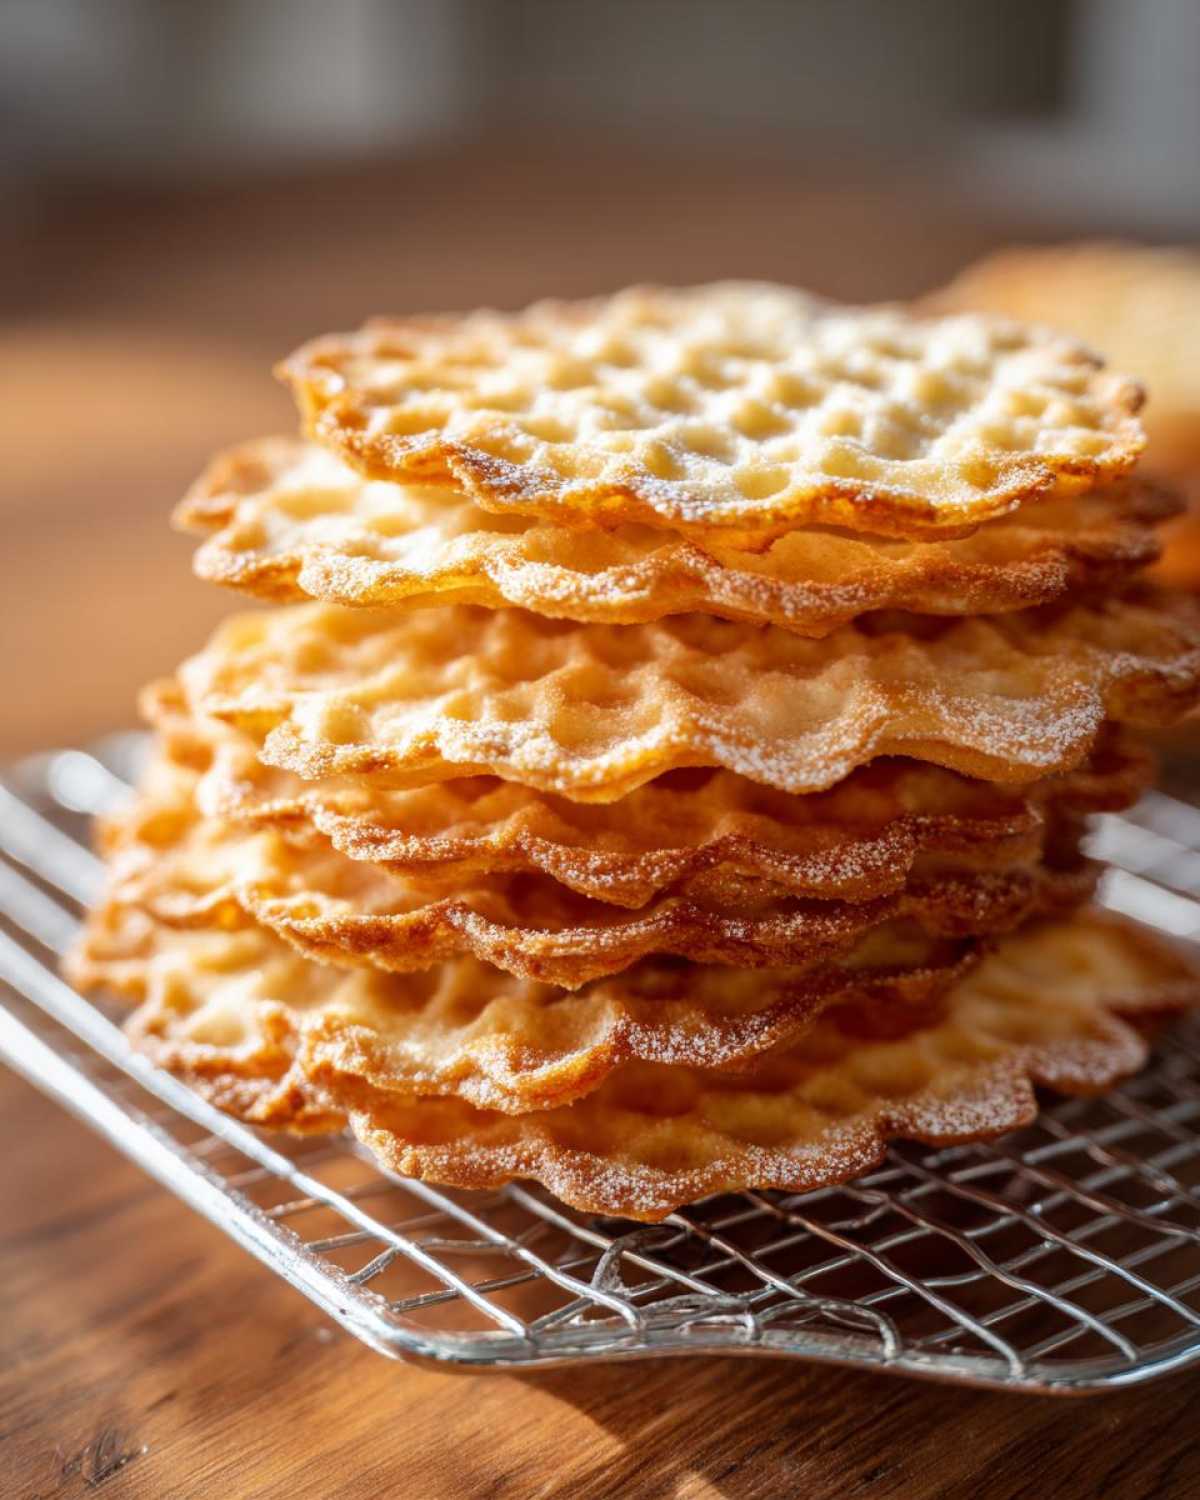
Listen, nobody wants a chewy pizzelle if they’re aiming for that snap, right? The secret to crispy thin cookies at home comes down to two things in this formula. First, using that melted, cooled butter instead of softened butter helps keep the final cookie super delicate and flat. Second, and this is huge, you must let them cool completely on a wire rack. They are floppy when they come off the iron, but don’t panic! That cooling process is where all the crispness happens.
Flavor Options: Vanilla Flavored Waffle Cookies vs. Anise Italian Cookies
This is where you get to decide if you’re keeping it modern or going full old-school Italian! My recipe makes it so simple to choose. If you want gorgeous, universally loved vanilla flavored waffle cookies, just stick to the pure vanilla extract. But if you want that true, strong aroma that screams Nonna’s house, go heavy on the anise extract. You can use one, the other, or even a mix, but keep in mind that for the best pizzelle cookies, you pick a side!
Essential Equipment for Authentic Pizzelle Baking
Okay, let’s talk gear for a second, because you can’t make these without the right tool! This isn’t a chocolate chip cookie recipe where you can fudge it with a regular baking sheet. For authentic pizzelle baking, you absolutely need a pizzelle maker, or as Nonna called it, an iron. If you don’t have one yet, you need to get one—they’re small, they don’t take up much space, and they’re the ONLY apparatus that gives you those beautiful, intricate patterns on your pizzelle cookies.
The most important ritual for making these cookies is preheating. I mean it! You have to get that iron screaming hot before the batter even touches it. If you try squeezing a teaspoon of batter onto a lukewarm iron, you’ll end up with a sad, sticky mess that is impossible to clean. Patience here pays off massive dividends later.
Choosing and Using Your Pizzelle Iron
If you’re shopping for one, most modern irons heat up pretty quickly, and many claim to be non-stick. Don’t trust them completely, okay? Even if yours promises you won’t need any oil, I always brush on a *super* thin layer of neutral oil—like canola—or use a quick spritz of non-stick spray right before the first cookie of the session. This small step completely prevents sticking while you’re making your batch of pizzelle cookies.
When you close that lid after dropping the batter, you need to press *firmly*. The steam tells you when it’s done; when the hissing or bubbling noise slows down significantly or stops, that’s usually your cue. Don’t be afraid to peek! The cooking time can range from 30 seconds to a full minute, depending on how thin or browned you like your pizzelle cookies. If one batch looks too pale, just bump up the heat setting for the next go!
Gathering Ingredients for Your Pizzelle Cookies
Alright, let’s pull out the pantry staples for these amazing pizzelle cookies! Getting the measurements exact here is really the foundation. We aren’t dealing with a huge, complicated recipe, which is why this Traditional Italian Dessert is so approachable. I always lay out my ingredients first—it saves so much trouble when you’re working quickly near a hot iron later!
Here is exactly what you need for about three dozen of these buttery, delicate treats. Notice we have whole eggs *and* extra yolks? Don’t skip those extra yolks; they are essential for that slightly richer, more tender crumb we’re aiming for in our pizzelle cookies.
- 3 large eggs
- 3 large egg yolks
- 3/4 cup granulated sugar
- 1/2 cup unsalted butter, melted and cooled (Make sure it’s cooled!)
- 1 teaspoon vanilla extract
- 1/2 teaspoon anise extract (If you’re feeling traditional!)
- 1 3/4 cups all-purpose flour
- 2 teaspoons baking powder
- 1/4 teaspoon salt
Ingredient Notes and Flavor Substitutions
Every ingredient here plays a specific role in making sure you get that perfect snap. The combination of both whole eggs and those extra yolks really helps bind the batter and adds richness without making the dough heavy. If you’re wondering why we use melted butter instead of softened, it’s because it helps the batter stay thin enough to spread perfectly without spreading *too* much outside your iron press.
Now for the fun customizations! If you found yourself missing the anise extract at the store, don’t stress. You can get completely different, yet equally delicious, results. If you’re looking for bright, summery Lemon Pizzelle Flavor Twist, simply swap the anise extract for 1 teaspoon of lemon zest and about 1/2 teaspoon of lemon extract. It makes these pizzelle cookies instantly different!
If chocolate is more your style, you don’t need to change much at all for a lovely cocoa flavor. Just remember this rule when moving to Chocolate Pizzelle Recipe Ideas: for every four tablespoons of flour you take out of the recipe, put in four tablespoons of unsweetened cocoa powder instead. You might need to dust the iron a tiny bit more carefully with chocolate batter, so watch it closely!
Step-by-Step: How to Make Pizzelle Cookies
Okay, now that our ingredients are ready and our iron is humming happily, it’s time to make some magic happen! This is the fun part where you see those gorgeous patterns emerge. Remember that the goal with pizzelle cookies is speed and precision once the iron is hot. Preparation is everything because the shaping step happens incredibly fast. If you’re making a huge batch—like for a party or the holidays—get a couple of clean racks ready for cooling so you can work non-stop.
First things first: Preheat your pizzelle maker really well. I mean it! Let it heat up for a solid five to ten minutes longer than the indicator light tells you. This is the ultimate trick for crispy cookies. Now, take a teaspoon of that thick batter—don’t be tempted to use a big scoop, or it will ooze everywhere! Drop that little dollop right dead center onto the lower plate of your iron.
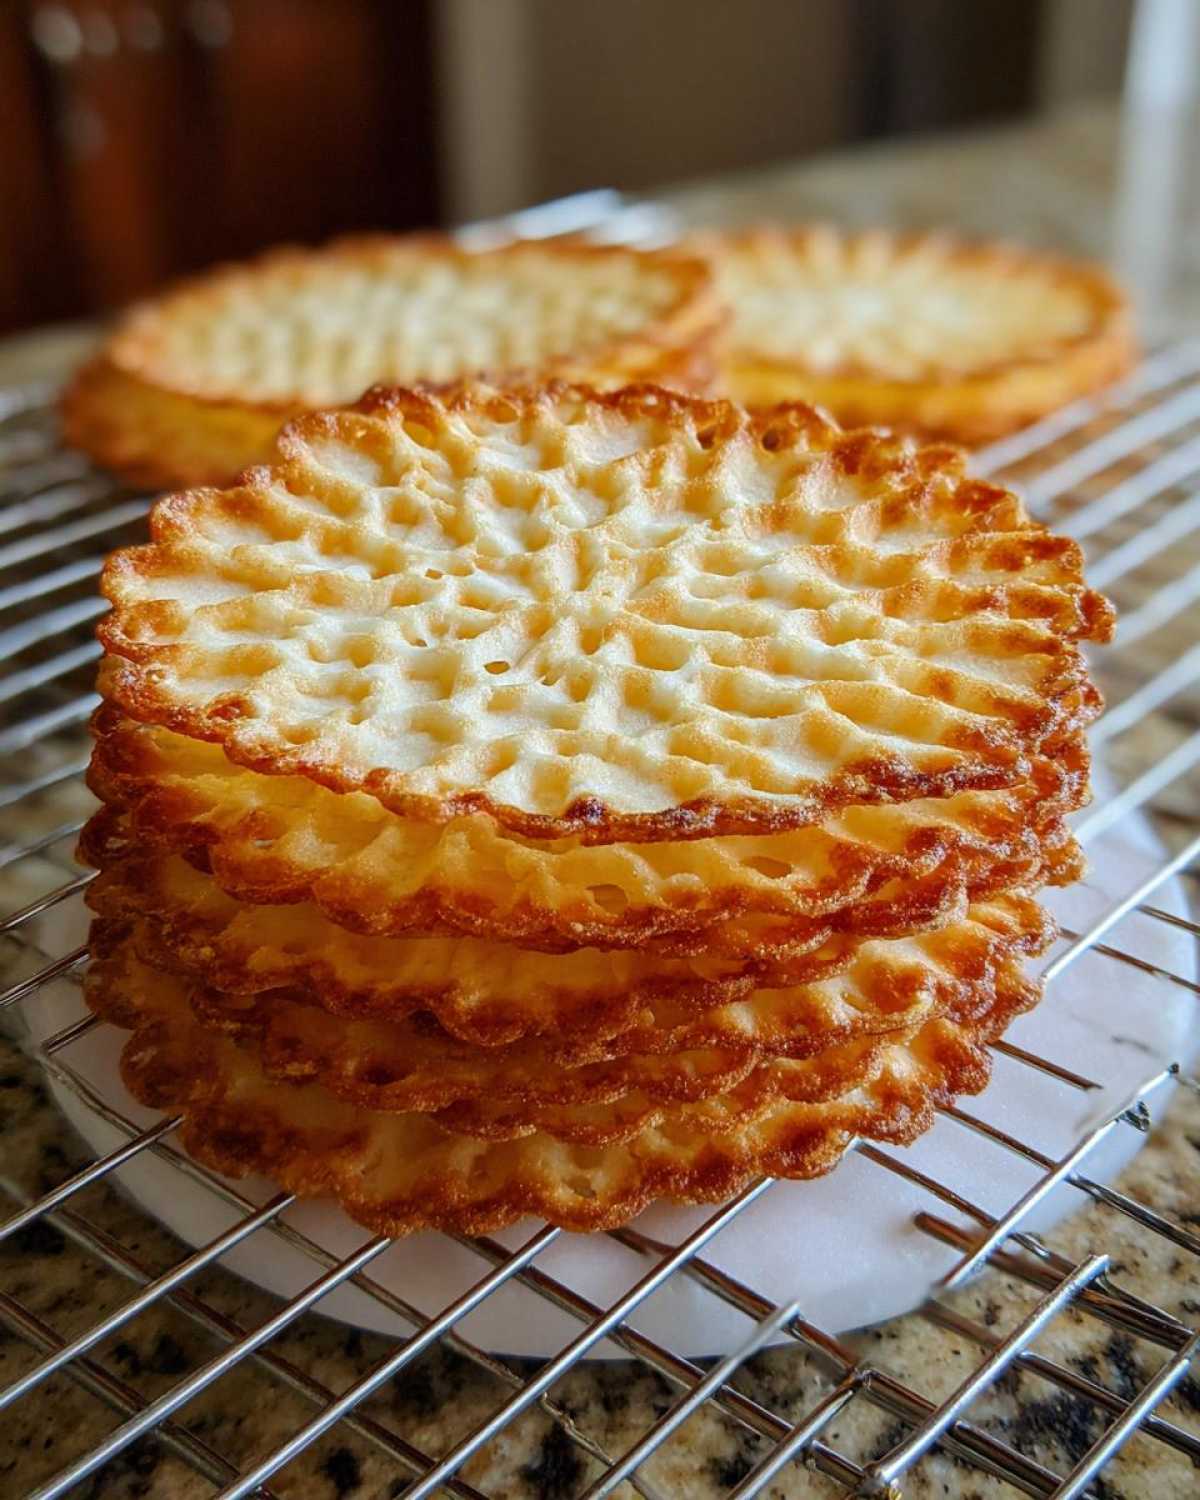
Quickly close the lid and press firmly down. You’ll hear it sizzle and see steam puff out the sides. The steam is moisture leaving the cookie, which is exactly what we want for a crispy thin cookie! It usually takes between 30 seconds and a minute, but watch for the steam to slow down. When it quiets down, it’s done! Carefully slide a thin spatula underneath the pizzelle cookies to lift them off. They feel soft, like a thin waffle, but don’t worry. Immediately transfer them onto a wire cooling rack. If you’ve got any shaping to do—turning them into cannoli shells or little cups—you must do it right now before they firm up for good! Then, go right back for the next teaspoon of batter and keep that iron working! Repeat until all of your wonderful pizzelle cookies are baked.
Tips for Success with Your Pizzelle Recipe for Beginners
I’ve learned a few hard-won lessons over the years making these pizzelle cookies, mostly involving sticky batter and wasted cookies, so I want to save you the headache! While this recipe is touted as being easy, the speed at which things happen once the iron is hot means you need to be quick and prepared. Don’t let a little mishap scare you off; every baker accidentally gums up their pizzelle iron once in a while! If you’re looking for more general baking advice or want to check in with me, feel free to contact me at my contact page.
My biggest piece of advice is simple: humidity is your enemy. These pizzelle cookies thrive in a dry environment. If it’s raining or super muggy out, you might need to bake them a little longer or accept that they won’t be *quite* as snappy as they are on a dry winter day. That’s just science, I guess, but we can fight it with proper cooling!
Shaping Buttery Delicate Cookies While Hot
This is the crucial, time-sensitive part of making pizzelle cookies that many beginners get wrong! The second those crisp discs come out of the iron, they are incredibly hot and totally pliable—like a soft, flexible waffle. If you leave them on the cooling rack for even 10 seconds, they start to set hard, and trying to bend them then will just snap them in half. Ouch!
If you want to make those beautiful, traditional shapes—like hollow cannoli shells or small cones for filling with chocolate mousse or whipped cream—you need to work fast. I keep a couple of tools handy: a thin bamboo skewer works great for rolling them into tight cannoli shapes, and I gently wrap the warm edges around a wooden spoon handle to make little cups. You only have about five seconds before the surface cools down enough to lock that shape in forever. It takes practice, but soon you’ll be whipping up perfectly formed, buttery delicate cookies without even thinking about it!
Holiday Italian Cookies: Christmas Pizzelle Variations
Once you nail the basic recipe for pizzelle cookies, you realize they are the most versatile little cookie on the planet! That light, buttery base is just waiting for you to dress it up for whatever season you’re celebrating. For me, the winter holidays are when these truly shine. Forget trying to squeeze out a dozen different cookie recipes; you can use this one base for all your Christmas pizzelle variations and look like a baking genius!
We already talked about how easy it is to pivot to those bright Lemon Pizzelle Flavor Twist cookies, which are lovely for a Christmas dessert platter, but if you want to lean into the deep, warm spice of Holiday Italian Cookies, you have options. Remember how we added cocoa powder easily for chocolate pizzelles? You can do something similar for a gingerbread-style cookie, which smells absolutely amazing coming off the iron!
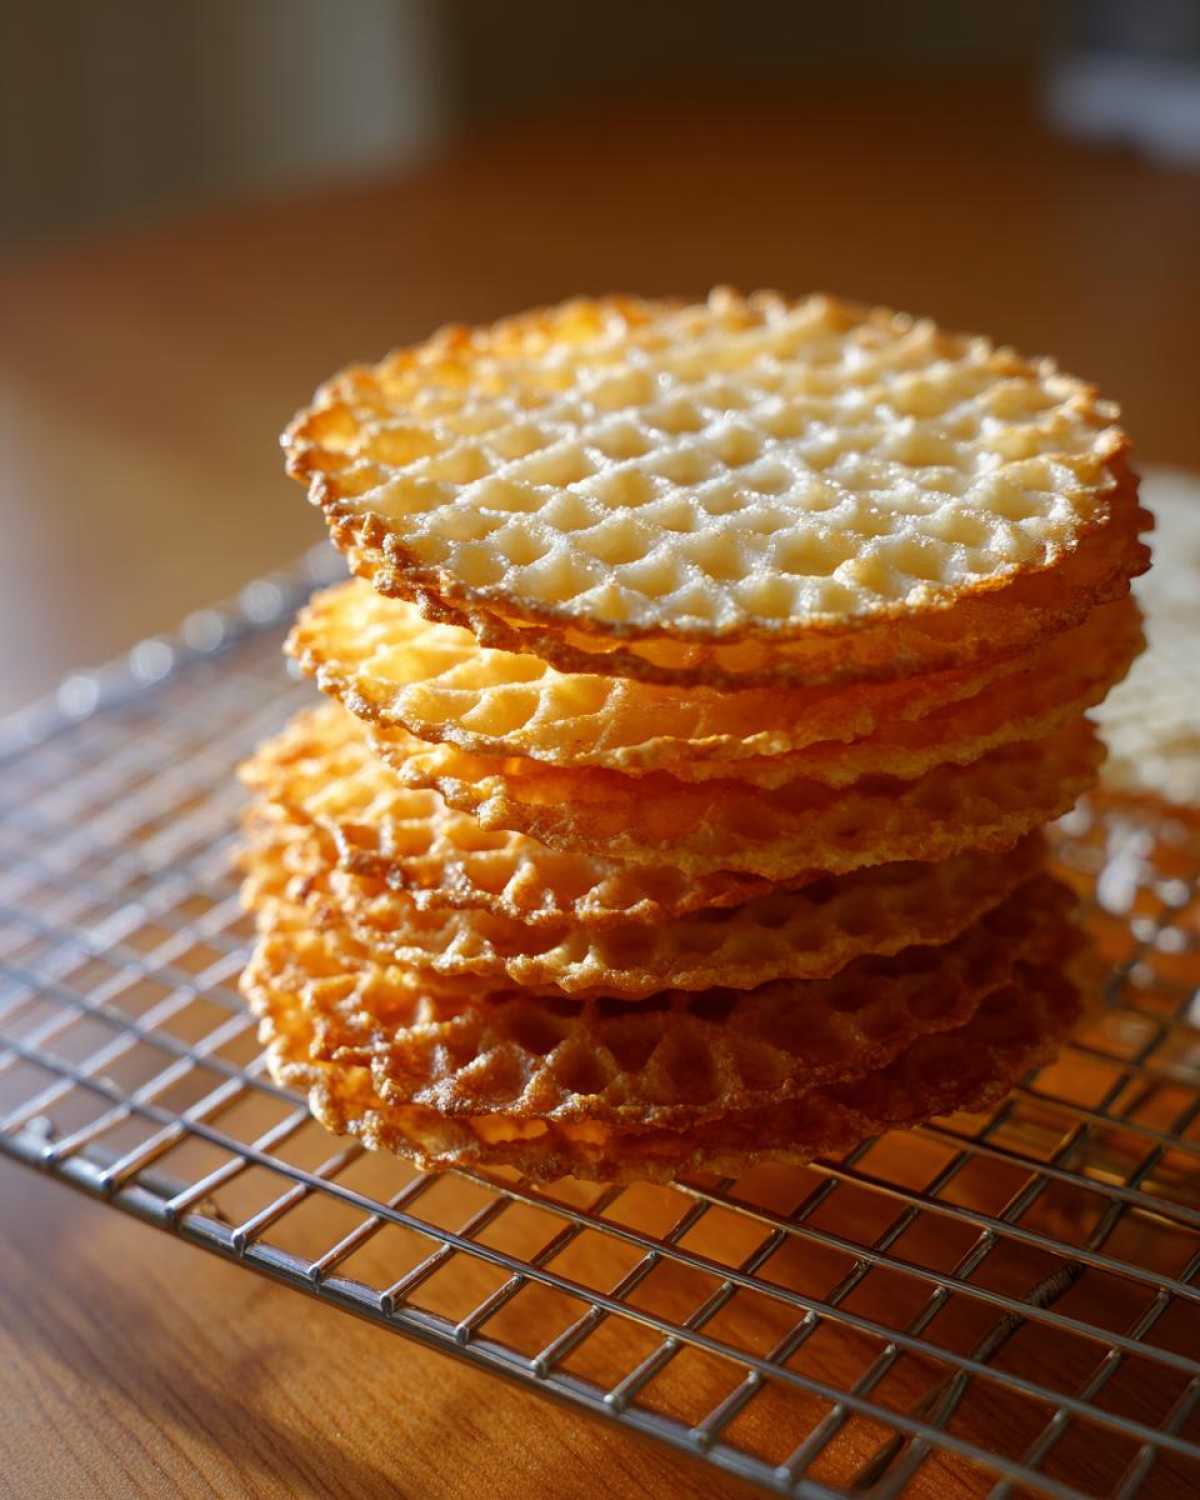
To get that classic gingerbread warmth—which is perfect for dipping into hot chocolate or coffee—I suggest skipping the citrus and doubling down on the spice. Omit the anise and vanilla entirely. Instead, use 1 teaspoon of cinnamon, 1/2 teaspoon of ground ginger, and a tiny pinch of cloves stirred right into your dry ingredients. You’ll need to adjust the flour slightly, maybe by adding a tablespoon or two while mixing, because those spices soak up moisture, but wow—the aroma when they bake is incredible. These spiced pizzelle cookies are a totally different experience, yet they come from the exact same simple batter. If you ever need to chat about substitutions or have a quick question while you’re experimenting, you can always reach out via my contact page!
Storage and Keeping Your Pizzelle Cookies Fresh
So, you did it! You’ve got mounds of gorgeous, crisp Italian waffle cookies cooling on the racks. Congratulations! Now, the real test: keeping them that perfect way until you eat them all. Because these pizzelle cookies get their snap from being thin and dry, humidity is their arch-nemesis. You can’t just dump them into any old container and hope for the best, or you’ll wake up to disappointing, soft discs.
The solution is actually really simple, and it comes straight from my experience watching Nonna store hers after the big holidays. You must use an airtight container, that’s non-negotiable. If you layer them, make absolutely sure you put a piece of wax paper or parchment paper between the layers. If you don’t separate them, that little bit of residual moisture escaping from the bottom layer can make the top layer go soft, and nobody wants that!
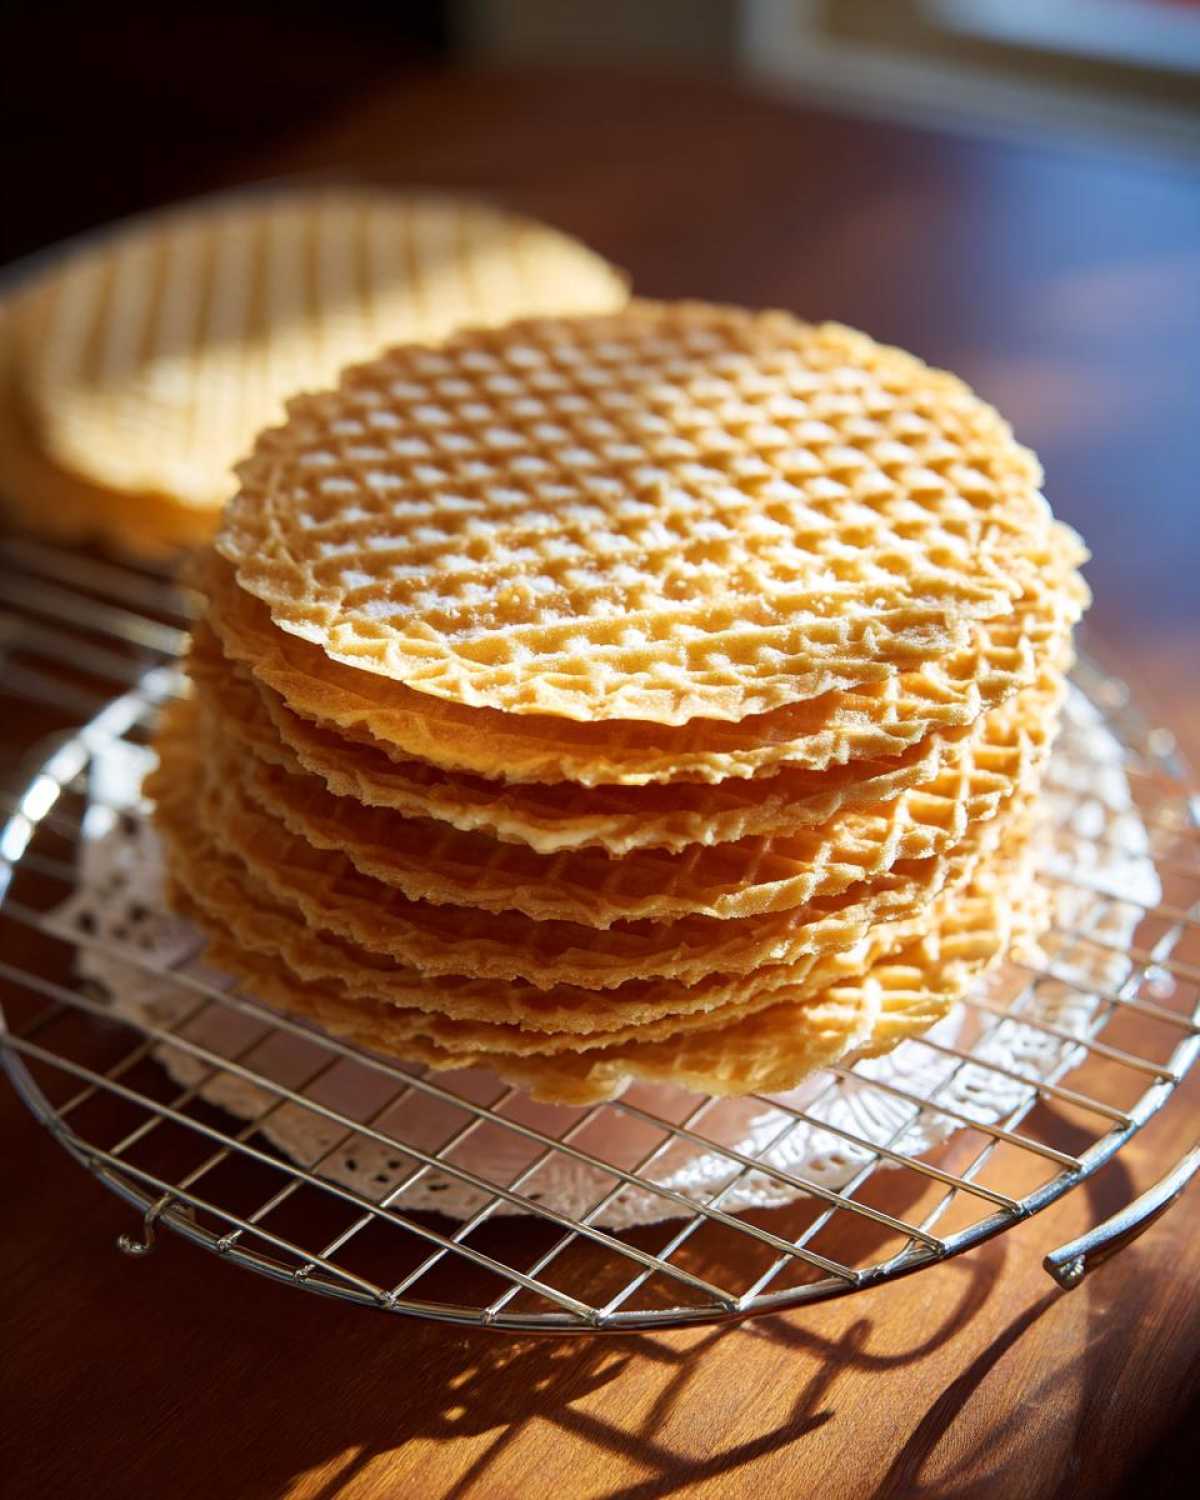
I usually aim to eat them within the first two days while they are at their absolute peak crispness. But honestly, if you store them correctly in a cool, dry pantry—and I mean *airtight*—they hold up incredibly well for about a week. If you notice they’ve lost a little snap after day five or six, don’t throw them out! Just pop a few cookies back into a warm oven (about 300°F) for maybe three to four minutes. Let them cool again on the rack, and they usually recapture most of that satisfying crunch. It’s like instant rejuvenation for your buttery delicate cookies!
Frequently Asked Questions About Making Pizzelle Cookies
I know when you first dive into making a specialized cookie like this, you’re going to have questions, especially if this is your first dive into an Easy Waffle Cookies Tutorial. That’s totally normal! I tried to keep this whole process as straightforward as possible, but sometimes specific details about texture or flavor can be tricky. Here are some of the things I get asked most often about creating the perfect batch of pizzelle cookies.
Can I make these pizzelle cookies without anise extract?
Absolutely, yes! Please don’t feel obligated to use anise if that flavor isn’t your favorite—it’s deeply traditional, but it’s definitely not mandatory for a fantastic cookie. If you hate anise, just skip that half teaspoon entirely. You’ll still get a beautiful, buttery delicate cookie that tastes like lovely vanilla. If you want a little extra something without the licorice kick, try adding a bit of lemon zest or almond extract instead. Either way, you are still making delicious pizzelle cookies!
What is the best way to store pizzelle cookies to maintain crispness?
If you want to keep that fantastic snapshot texture you worked so hard to achieve, sealing them away from moisture is the key. I always say, the minute they are completely cool—and I mean *totally* cool, not even slightly warm—they go straight into a Ziploc bag or a rigid, airtight cookie tin. Make sure you put parchment paper between the layers if you stack them. Storing those lovely pizzelle cookies at room temperature is fine; keeping them out of the fridge or away from steamy areas is the goal!
Can I use a different type of oil or butter in this Easy Waffle Cookies Tutorial?
For this recipe, I really insist you stick with melted butter. Butter is what gives these pizzelle cookies their signature rich flavor and delicate crumb structure. Using something like canola oil instead of butter will technically work in a pinch, but you’ll lose that wonderful buttery depth that makes these a standout Traditional Italian Dessert. If you must substitute the butter due to allergies or dietary needs, clarified butter (ghee) is the closest you’ll get, but for the absolute best results and that rich mouthfeel, whole butter is the way to go. Feel free to reach out via my contact page if you have other substitution questions!
Serving Suggestions for This Traditional Italian Dessert
Now that you’ve mastered making these beautiful, patterned cookies, the real fun begins: eating them! While they are wonderful all on their own, these buttery delicate cookies really shine when paired with other traditional Italian favorites or given a little extra treatment. It’s how we always ended our big family meals.
The absolute simplest way to serve them is just dusted. Seriously, a light, snowy blanket of powdered sugar after they cool is perfection. It’s quick, it looks elegant, and it lets that vanilla or anise flavor really come through. But if you’re looking to really dress them up for a party, you have so many options!
For me, the best holiday presentation involves filling the cannoli-shaped ones. You can whip up a quick batch of ricotta filling—think ricotta cheese mixed with powdered sugar and a splash of that wonderful orange zest—and pipe it right inside. It turns your simple cookie into an impressive bite-sized treat. Or, if you’re having coffee and dessert after dinner, pair them alongside a rich, creamy dessert like classic Italian tiramisu. The crispness of the cookie is just the perfect counter to soft, creamy desserts. They’re honestly perfect dipped quickly into a strong espresso, too. Enjoy every crumb!
PrintEasy Classic Vanilla and Anise Pizzelle Cookies
Make authentic, crispy Italian waffle cookies at home using your pizzelle iron. This recipe features both classic vanilla and traditional anise flavor options.
- Prep Time: 15 min
- Cook Time: 20 min
- Total Time: 35 min
- Yield: About 3 dozen
- Category: Dessert
- Method: Waffle Iron
- Cuisine: Italian
- Diet: Vegetarian
Ingredients
- 3 large eggs
- 3 large egg yolks
- 3/4 cup granulated sugar
- 1/2 cup unsalted butter, melted and cooled
- 1 teaspoon vanilla extract
- 1/2 teaspoon anise extract (optional, for traditional flavor)
- 1 3/4 cups all-purpose flour
- 2 teaspoons baking powder
- 1/4 teaspoon salt
Instructions
- Preheat your pizzelle maker according to the manufacturer’s instructions. This is essential for crisp cookies.
- In a large bowl, whisk together the eggs and egg yolks until they are light and slightly frothy.
- Gradually whisk in the sugar until the mixture is pale yellow.
- Slowly mix in the cooled melted butter, vanilla extract, and anise extract, if using.
- In a separate bowl, whisk together the flour, baking powder, and salt.
- Gradually add the dry ingredients to the wet ingredients, mixing until just combined. Do not overmix the batter. The batter will be thick.
- Lightly brush the hot plates of the pizzelle iron with non-stick spray or a neutral oil, if necessary (check your maker’s instructions).
- Drop one teaspoon of batter onto the center of the lower plate of the iron.
- Close the lid quickly and press firmly. Cook for 30 to 60 seconds, or until the steam stops escaping and the cookie is golden brown. Cooking time varies by iron.
- Carefully remove the hot pizzelle using a thin spatula. It will be soft.
- Immediately place the hot cookie onto a wire cooling rack to cool completely. The cookie will crisp up as it cools. If you want to shape them (into cannoli or cones), do so while they are still hot and pliable.
- Repeat with the remaining batter, placing cookies on the rack in a single layer to prevent sticking.
Notes
- For the crispiest texture, let the cookies cool completely on a wire rack away from humidity.
- If you prefer a strong anise flavor, use the full 1/2 teaspoon of anise extract and omit the vanilla.
- To make chocolate pizzelles, substitute 1/4 cup of the flour with 1/4 cup of unsweetened cocoa powder.
- For lemon pizzelles, replace the anise extract with 1 teaspoon of lemon zest and 1/2 teaspoon of lemon extract.
- Store cooled pizzelles in an airtight container at room temperature for up to one week.
Nutrition
- Serving Size: 1 cookie
- Calories: 85
- Sugar: 5
- Sodium: 35
- Fat: 4
- Saturated Fat: 2.5
- Unsaturated Fat: 1.5
- Trans Fat: 0
- Carbohydrates: 11
- Fiber: 0.2
- Protein: 1.5
- Cholesterol: 30