

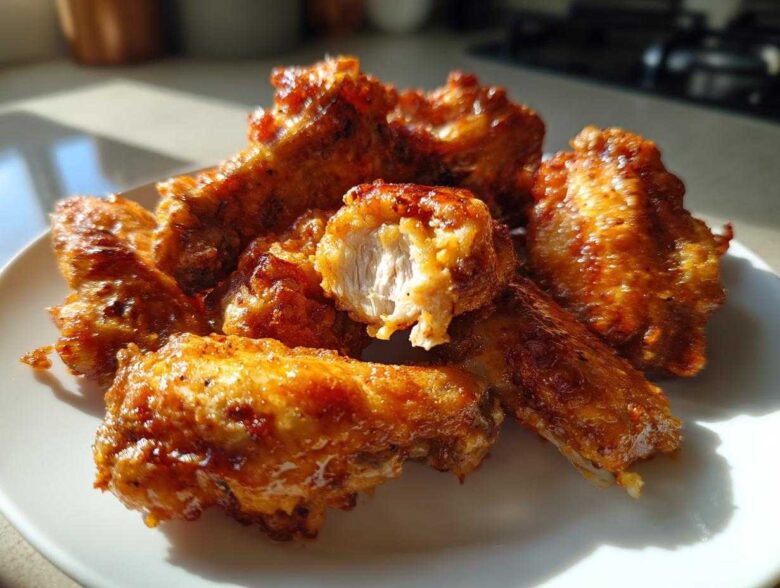
Oh, the heartbreak of a baked wing, right? You pull them out of the oven, full of hope, only to realize you’ve made little steamed pillows instead of crunchy delights. Richard and I have waged war against soggy wings for years, especially when the grandkids are coming over for football. We don’t always have time (or the desire!) to deal with deep frying, but we absolutely refuse to settle for anything less than perfection. Well, I’ve finally cracked the code to get shatteringly crispy baked chicken wings without ever heating up a vat of oil. It all comes down to one unassuming pantry item, and trust me, once you try this, you’ll never look back. This technique is our go-to game day secret now. If you’re looking for more of our kitchen diaries filled with these little breakthroughs, you can check out our main blog archive anytime!
Why Our Crispy Baked Chicken Wings Recipe Works (The Science of Crunch)
I know, I know, it sounds almost too simple to be true. We aren’t using any fancy deep-fryer oil or bizarre rubs here. The real miracle worker in this process is the baking powder. Don’t reach for the baking soda; it’s not the same thing at all! Baking powder, my friends, actually raises the pH level on the chicken skin slightly. This slight chemical shift is what encourages intense browning and helps dry out that skin faster while it bakes. It’s magic, really, and that’s why we get those amazing crispy baked chicken wings!
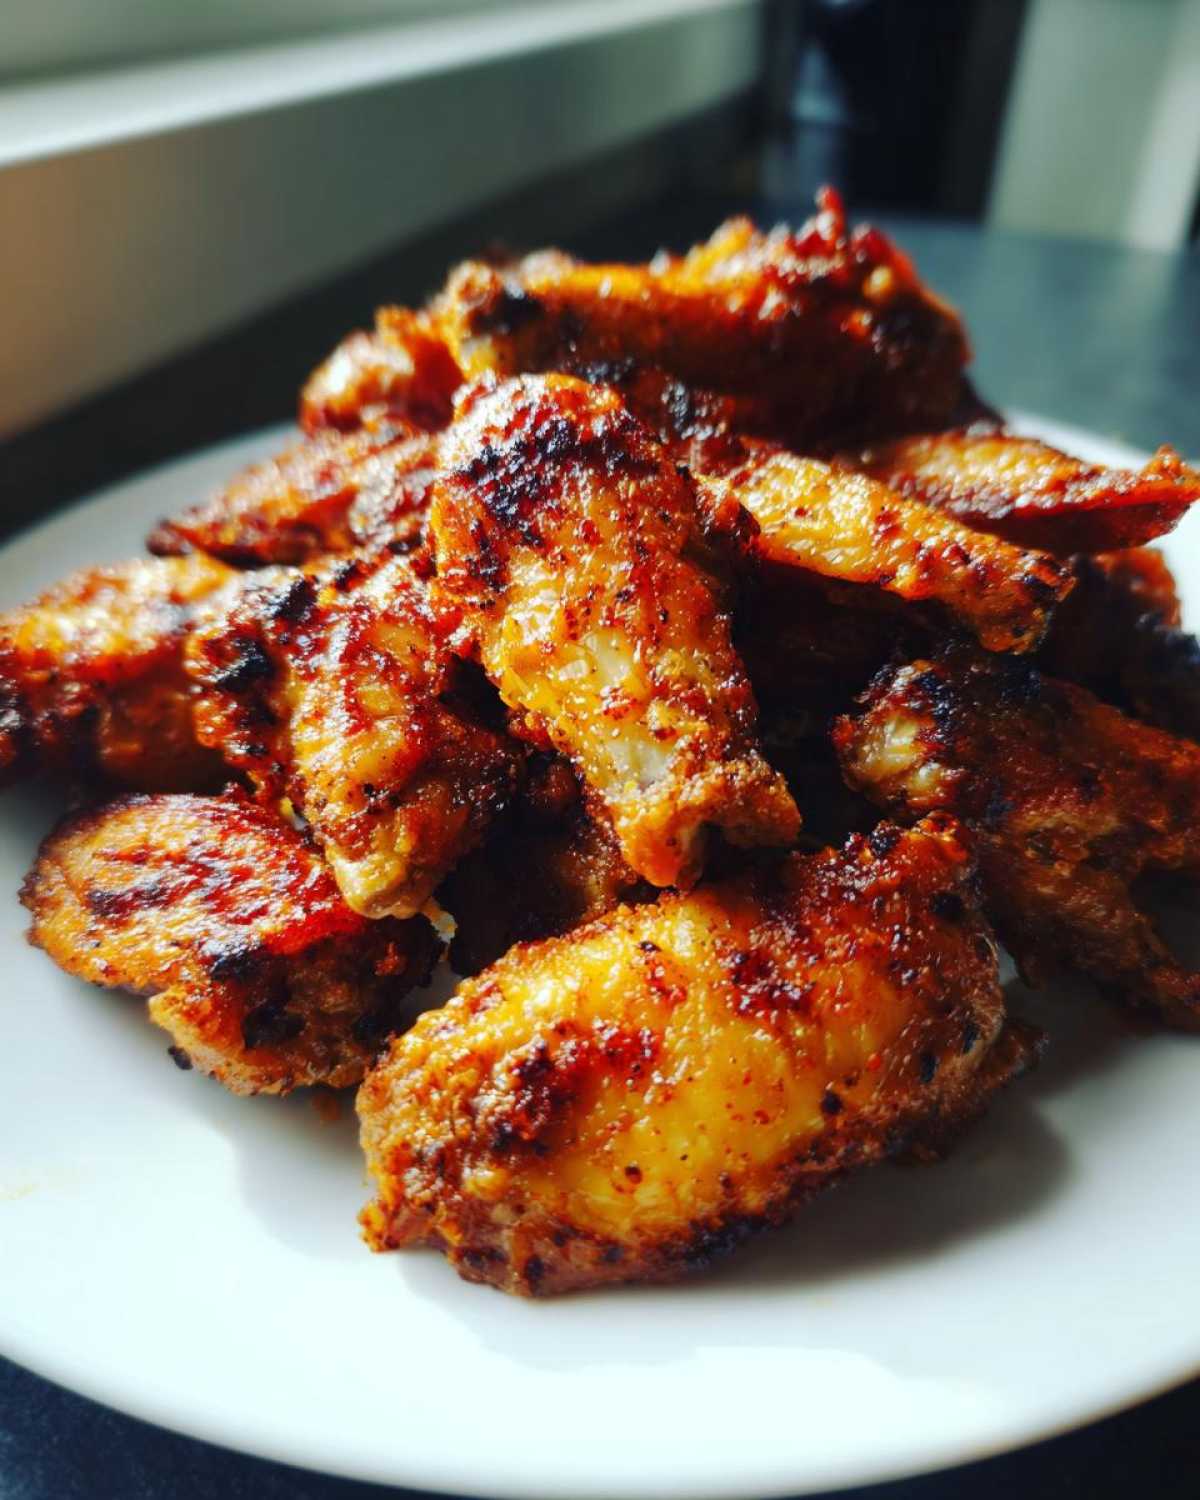
The other non-negotiable step, which Richard always insists I state clearly, is drying the wings. If you skip this, oil and moisture fight each other in the oven, and you end up with that sad, steamy mess we talked about. We must remove every droplet of surface moisture so the baking powder mix can get right to work on the skin.
The Essential Ingredients for Crispy Baked Chicken Wings
So, what do you need besides your trusty oven? You’ll start with about two pounds of chicken wings, making sure they are already separated into the easy-to-manage drumettes and the slightly trickier flats. Then, you toss them with our signature blend. The star, of course, is that tablespoon of baking powder. We also mix in about a teaspoon each of salt, garlic powder, and paprika, plus just a half teaspoon of black pepper to round it out. That’s it! These simple additions turn drab wings into the ultimate crispy baked chicken wings. If you want to try another baked winner that uses a different approach, check out my recipe for baked garlic parmesan wings; it’s fantastic!
Gathering Your Tools: Equipment Needed for Crispy Baked Chicken Wings
Before we even think about preheating the oven, we need to gather our staging area. This is where the magic starts happening! You’ll need a good, sturdy baking sheet, but listen closely—the absolute hero piece here is a wire rack. You need that rack to elevate the wings so air can whip right underneath them. That air circulation is the difference between slightly crisp and truly shatteringly crunchy crispy baked chicken wings. Other than that, just grab a big mixing bowl for seasoning, and plenty of paper towels because drying those wings is key!
If you’ve already mastered making my garlic parmesan chicken skewers, you know the importance of proper equipment setup!
Step-by-Step Instructions to Achieve Perfect Crispy Baked Chicken Wings
This process is straightforward, but that’s where folks often rush! We need precision when aiming for that fantastic crunch. First things first: get that oven roaring hot to 425 degrees Fahrenheit. Line your sheet pan with foil—Richard insists on this so cleanup is a breeze, and then set that essential wire rack right on top. We are building an aerating stage for our wings!
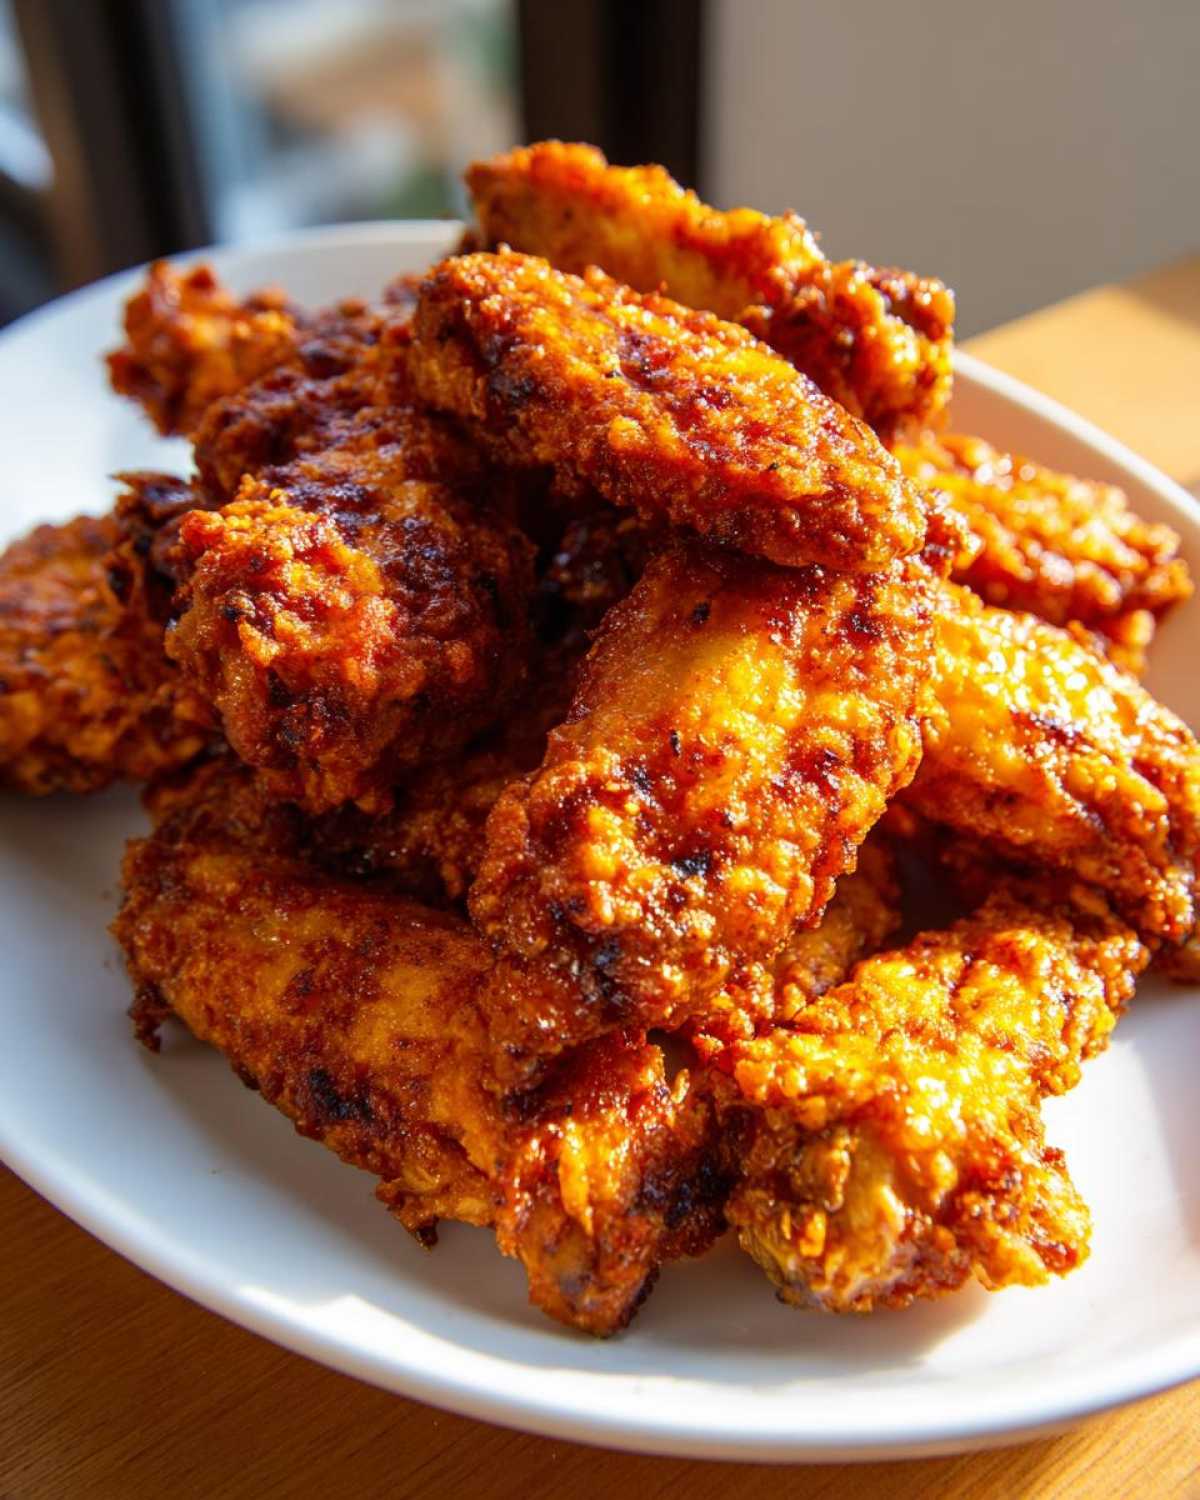
Once everything is prepped, we move onto the actual application. This is the part I love; when you place those perfectly coated wings on the rack, you just *know* they are going to be amazing. It’s a very satisfying moment, knowing that you’re about to beat deep-frying at its own game! The first bake is vital for rendering the fat, so don’t peek too soon. For the full rundown on timing sauces, I sometimes reference my notes on glaze timing, even though this is baking.
The Critical Drying and Seasoning Phase
I can’t stress this enough: pat those chicken wings completely dry. Use paper towels until you think they can’t get any drier, and then give them five more swabs, just in case! Any water left on the surface turns to steam the second it hits the hot oven air, and steam is the sworn enemy of crispiness. While you are drying, mix up your seasonings. Make sure that baking powder, salt, pepper, garlic powder, and paprika are mixed until they are totally homogenous. You want that powder clinging evenly to every nook and cranny of the wing before they hit the heat.
Baking and Flipping for Maximum Crispy Baked Chicken Wings Texture
Lay those seasoned wings out on the wire rack. You must give them space; overcrowding smothers them and traps steam, undoing all our hard work toward getting crispy baked chicken wings! We start with a solid 20 minutes on the first side. Then, it’s time to flip them all over and give them another 20 to 25 minutes on the flip side. If you’re looking for extra guidance on cooking them to perfection, you can check out this great recipe from Al Dente Diva here. I usually use my eye first—they should be deeply golden brown—and then I might gently tap one; if it sounds slightly hollow or crackly, we’ve nailed the texture!
Saucing Your Crispy Baked Chicken Wings After the Bake
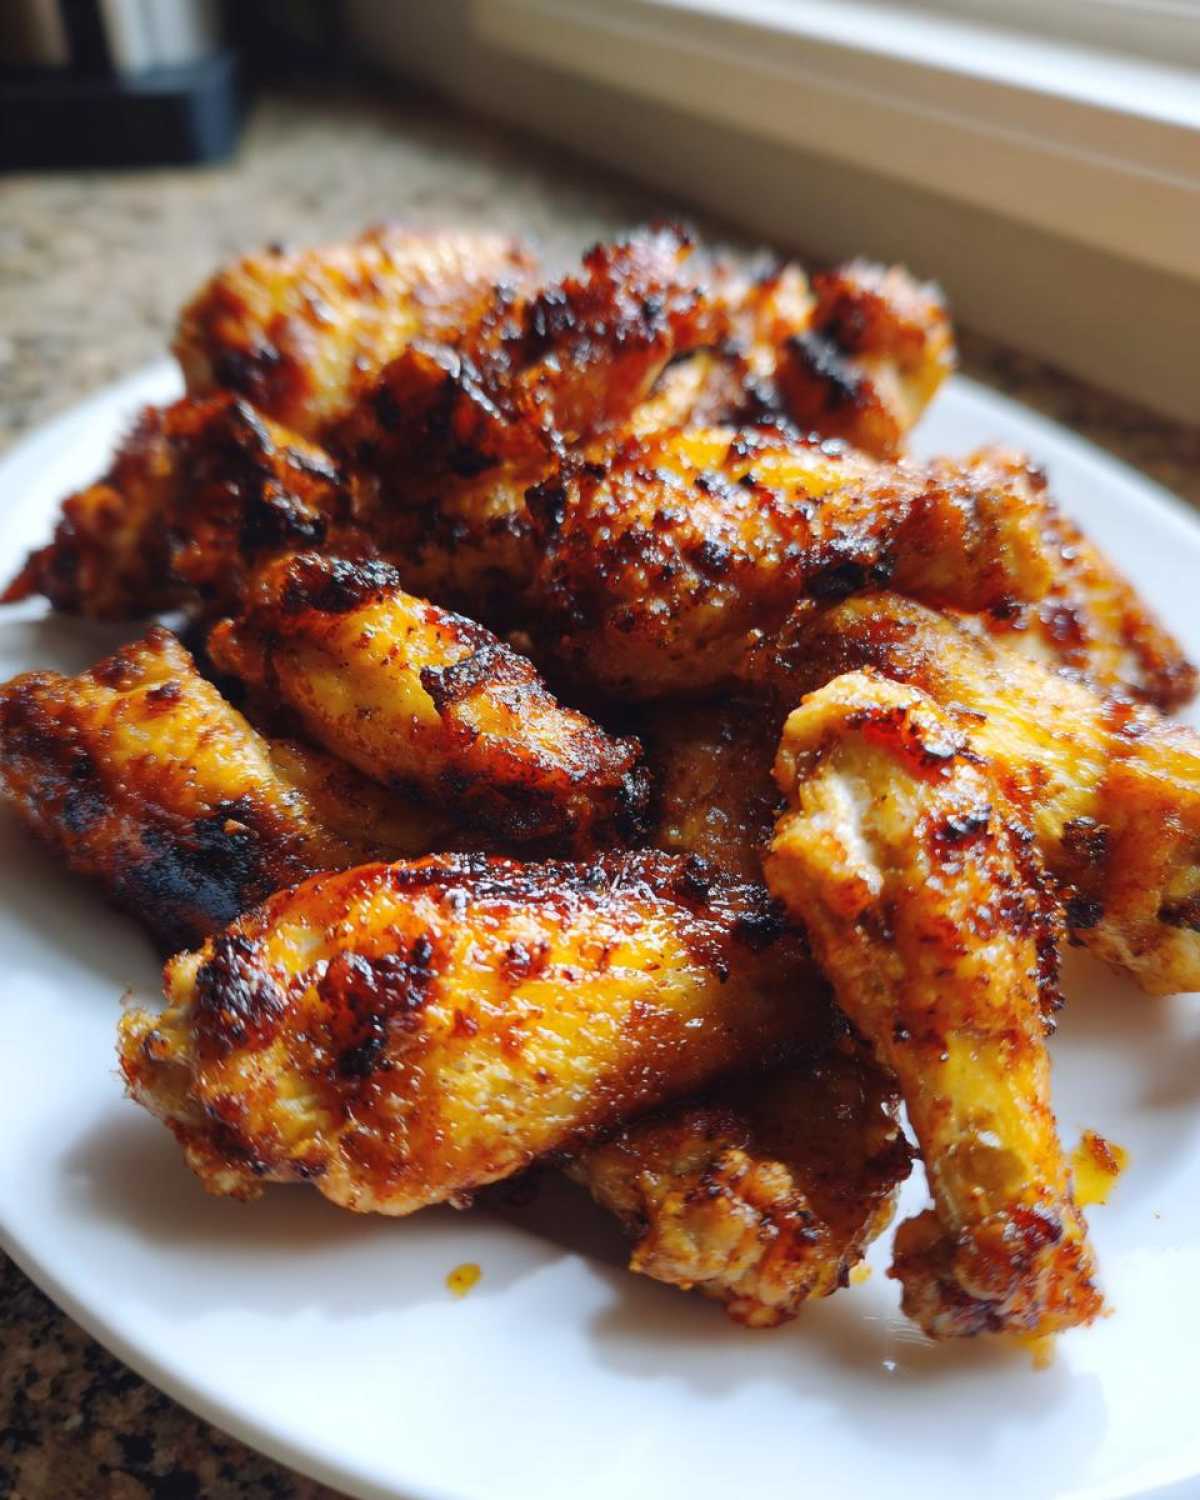
This is where some recipes go wrong—they sauce the wings too early! If you toss them in Buffalo or BBQ while they are still baking, that moisture immediately turns your glorious crisp exterior soggy again. No, thank you! When those beautiful crispy baked chicken wings come out of the oven, you need to strip them from the rack and put them straight into a clean, large bowl. Toss them quickly but completely with your favorite sauce while they are piping hot. They’ll soak up just enough flavor without losing that crunch.
If you really, really want that sauce to almost set onto the skin—like a sticky BBQ glaze—you can absolutely slide them back under the broiler for just two or three minutes after saucing. Just watch them like a hawk, you don’t want smoke! For tips on getting a glaze just right, I followed a similar method when making my honey mustard glaze. It works wonders for setting flavor!
Tips for Success with Oven Baked Wings
Richard is always fiddling with the small details, and honestly, that’s how we get these results consistently. One thing he noticed that makes a difference is the starting temperature of the wings. If you’re pulling them straight from the fridge, they’ll take longer to start rendering fat, which can affect the crisping process. Try setting your wings out on the counter for about 20 minutes before you begin the drying process. We aren’t aiming for room temperature, just not bone-chilling cold.
Also, remember wing size varies wildly! If you have tiny little wingettes, they might be done closer to the 40-minute mark total. If you’ve ended up with bigger, meatier drumettes, you might need that full 45 to 50 minutes to ensure the inside is cooked and the outside is perfectly crisp. Trust me, you want that high heat (425°F) working hard on them. For another great tip on getting crispy skin, you should look at how I handle my garlic butter chicken thighs—the principle is similar! If you want a look at another great recipe for crispy wings, this one is solid: The Chickn’s buffalo style wings.
Making Crispy Baked Chicken Wings Ahead of Time and Storage
Now, because these are so good, sometimes we make a double batch for gatherings, or frankly, just so Richard has lunch the next day! If you need to prep your crispy baked chicken wings ahead of time, you have a couple of options. If you plan to sauce them, do that mixing and cooking right before serving, as the sauce moisture will deflate that lovely crunch pretty quickly.
If you’ve already sauced them, or if you just baked them plain, you must cool them completely before putting them in an airtight container in the fridge. Never put hot wings straight into the fridge; that just creates soup! To bring back that beautiful texture after they’ve chilled, forget the microwave—it turns everything rubbery. Instead, you have to return those wings to a 375 degree oven or, even better, blast them in an air fryer for about 5 to 7 minutes. That quick blast of dry, hot air wakes up the skin again! For more tips on prepping food ahead, check out my guide on reheating meal-prepped items; same rules apply!
Serving Suggestions for Your Perfect Crispy Baked Chicken Wings
Once you’ve achieved that glorious crunch on your crispy baked chicken wings, you have to serve them right away! We always have plenty of classic celery sticks and a couple of dipping sauces—maybe ranch for the kids and blue cheese for Richard. But honestly, wings need something cool and fresh to balance the heat and richness.
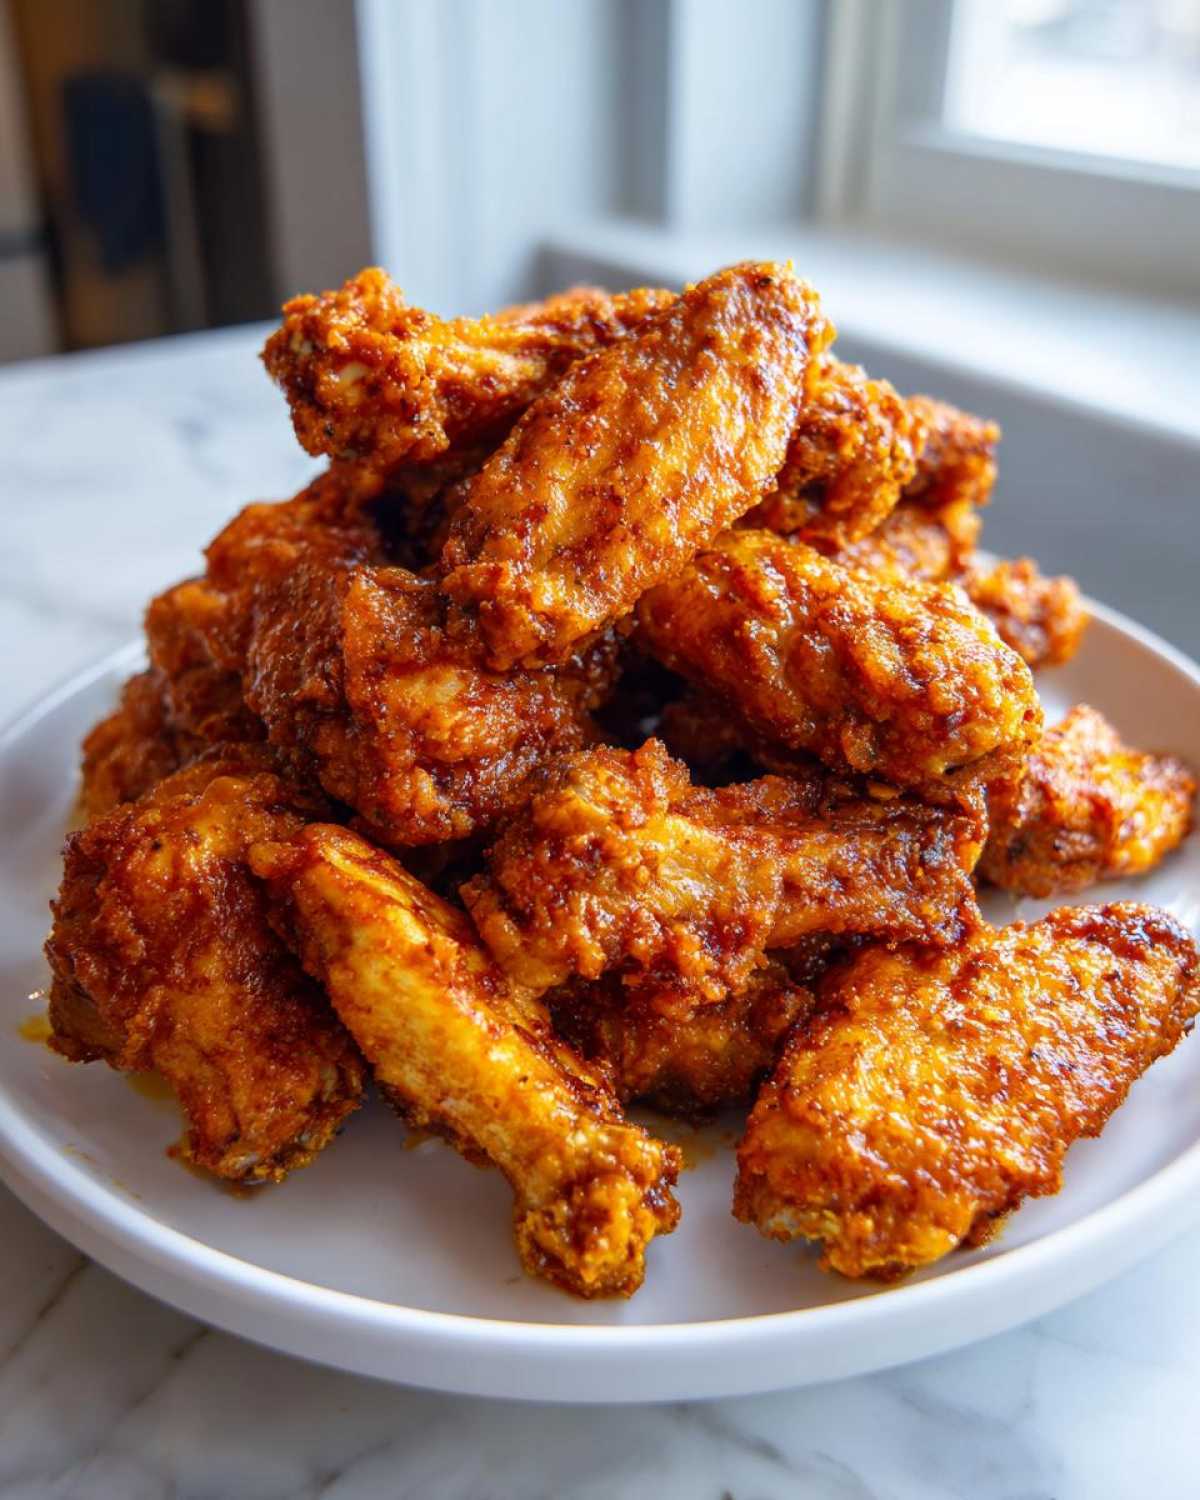
My favorite thing to serve alongside them is a simple, sharp Oriental Ramen Broccoli Cole Slaw. That crunch from the nuts and cabbage in the slaw just mirrors the wing texture perfectly, but it’s cool and refreshing. If you’re serving them as a main meal, a small bowl of plain white rice is surprisingly perfect for soaking up any extra sauce!
If you want to try that slaw I mentioned, you can find my easy recipe for the Oriental Ramen Broccoli Cole Slaw right here on the site.
Frequently Asked Questions About Crispy Baked Chicken Wings
Richard always says that the best recipes answer the questions you didn’t even know you had yet! People often ask me about the texture balance or if they can cheat the method a bit. No problem, let’s tackle a few common worries about making these crispy baked chicken wings delicious. For more great ideas on crispy wings, you can always check out this favorite recipe next door: Recipes Xpert’s crispy wings.
Q1: Can I skip the baking powder if I don’t have any?
Oh, my dear, I strongly advise against it! If you skip the baking powder, you are skipping the chemical reaction that changes the skin’s pH, which is what gives you that incredible crunch we are aiming for. If you absolutely cannot find it, you can try tossing them in just a tiny bit of cornstarch—maybe a teaspoon—but trust me, they just won’t be the same shatteringly crispy baked chicken wings you see here. It’s worth the extra trip to the store!
Q2: Can I use frozen wings straight from the freezer?
Please don’t try that! If you put frozen wings into the seasoning mix, you’ll just end up with ice crystals mixed with spices, and when they bake, they’ll steam themselves into mush. You have to thaw them completely, and then—this is the crucial part—you must pat them bone dry before seasoning or they won’t crisp up. Better yet, plan ahead!
Q3: What internal temperature should my wings reach?
Since we are dealing with chicken, safety is key! You are aiming for an internal temperature of 165 degrees Fahrenheit, which you can check with a reliable instant-read thermometer. Because we are baking at such a high heat (425°F), they usually hit that target right when the outside skin has achieved that deep golden color and perfect crunch.
Q4: I want a saucier wing. Should I toss them before baking?
If you want the absolute crispiest wing possible, no, you don’t sauce them before baking! If you toss a saucy wing mixture in the oven halfway through, the sauce will burn before the chicken is done, and the moisture will steam the skin. No, thank you! For a saucier payoff, bake them plain until crisp, toss them in sauce immediately when they come out of the oven, and then you can return those sauced wings to the rack for 2-3 quick minutes under the broiler to set that glaze. If you want to see what I mean about glazes, my recipe for creamy chicken gnocchi actually has a beautiful sauce that adheres well when finished right! We want those wings to stay crunchy!
Sharing Your Delish Diarist Kitchen Creations
Well, that’s it from our little corner of the kitchen! Richard always insists that a recipe isn’t truly complete until it’s been tested by others. Please feel free to leave a comment below telling us how your crispy baked chicken wings turned out. Did you use Buffalo sauce? Did you manage to keep them crisp? We love seeing your results, so don’t forget to share a photo!
If you want to send us a note privately, you know where the digital post box is here at the contact page. Happy cooking, dear friends!
PrintGet Truly Crispy Baked Chicken Wings Without Deep Frying
Follow our simple method to make shatteringly crispy baked chicken wings right in your oven. This technique, using a common pantry item, delivers the crunch you want without the mess of deep frying. It is perfect for game days or a satisfying weeknight meal.
- Prep Time: 10 min
- Cook Time: 45 min
- Total Time: 55 min
- Yield: 4 servings
- Category: Appetizer
- Method: Baking
- Cuisine: American
- Diet: Low Fat
Ingredients
- 2 lbs chicken wings, separated into drumettes and flats
- 1 tablespoon baking powder (this is our secret for ultimate crunch)
- 1 teaspoon salt
- 1 teaspoon garlic powder
- 1 teaspoon paprika
- 1/2 teaspoon black pepper
- Your favorite sauce for tossing (e.g., Buffalo, BBQ)
Instructions
- Preheat your oven to 425 degrees Fahrenheit. Line a large baking sheet with foil for easier cleanup. Place a wire rack on top of the baking sheet.
- Pat the chicken wings completely dry using paper towels. This step is crucial for achieving crispy baked chicken wings.
- In a large bowl, combine the baking powder, salt, garlic powder, paprika, and black pepper.
- Add the dried chicken wings to the bowl and toss them thoroughly until every piece is evenly coated with the seasoning mixture.
- Arrange the seasoned wings in a single layer on the wire rack, ensuring there is space between each wing for air circulation. Do not overcrowd the rack.
- Bake for 20 minutes.
- Flip the wings over. Return them to the oven and bake for another 20 to 25 minutes, or until the skin is golden brown and very crisp.
- Remove the wings from the oven. Immediately place them in a clean bowl.
- Toss the hot, crispy wings with your desired sauce until they are fully coated.
- Serve your extra crispy baked wings right away with celery sticks and dipping sauce.
Notes
- Using a wire rack allows air to circulate completely around the wings, which helps render the fat and creates that perfect, shatter-crisp skin.
- For the juiciest inside and crispiest outside, do not skip drying the wings thoroughly before seasoning.
- If you prefer a saucier wing, toss them in the sauce after the initial bake, then return them to the oven or under the broiler for 2-3 minutes to set the sauce.
Nutrition
- Serving Size: 4 wings
- Calories: 280
- Sugar: 1
- Sodium: 350
- Fat: 18
- Saturated Fat: 5
- Unsaturated Fat: 13
- Trans Fat: 0
- Carbohydrates: 2
- Fiber: 0
- Protein: 26
- Cholesterol: 90