

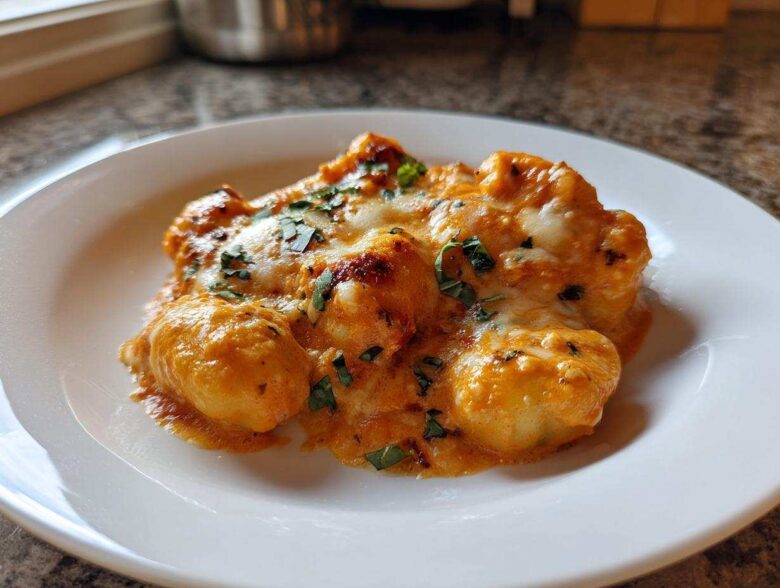
Oh boy, get ready for a hug in a bowl! Sometimes you just need something ridiculously cozy, right? Forget plain old spaghetti; we’re leveling up to pure comfort food heaven with this Creamy Roasted Garlic Tomato Gnocchi Bake. I’m telling you, mixing sweet, melt-in-your-mouth roasted garlic with bright tomatoes and coating those little potato pillows in the richest cream sauce? It’s magic. This isn’t just dinner; this is a destination. Trust me, once you taste how the slow-roasted garlic melts right into that creamy sauce, you’ll never go back to using raw garlic in your tomato bakes again.
This recipe, which I started tinkering with last winter, uses that essential oven time to build serious flavor before everything comes together for a bubbly, golden finish. It’s the definition of an easy baked gnocchi dinner, even though it tastes like you spent all day coaxing flavor out of every single ingredient. If you’re looking for the recipe you’ll make when you need a serious win, you’ve found it. You can check out my faster version here if you’re in a rush: Creamy Chicken Gnocchi, but for this baked version, the slow roasting is worth every second!
Why This Creamy Roasted Garlic Tomato Gnocchi Bake Works So Well
I know, I know, there are a thousand baked pasta recipes out there, but this Creamy Roasted Garlic Tomato Gnocchi Bake is the one you need in your rotation. It hits every comfort food note perfectly. It’s genuinely easy to pull together, especially since we start with store-bought gnocchi, but the flavor? It tastes like it simmered for hours. That’s the magic of roasting the garlic first!
- The gnocchi cooks up unbelievably soft and pillowy, never tough.
- That creamy tomato sauce clings perfectly to every single dumpling.
- The final 15 minutes in the oven creates a delicious, cheesy crust on top.
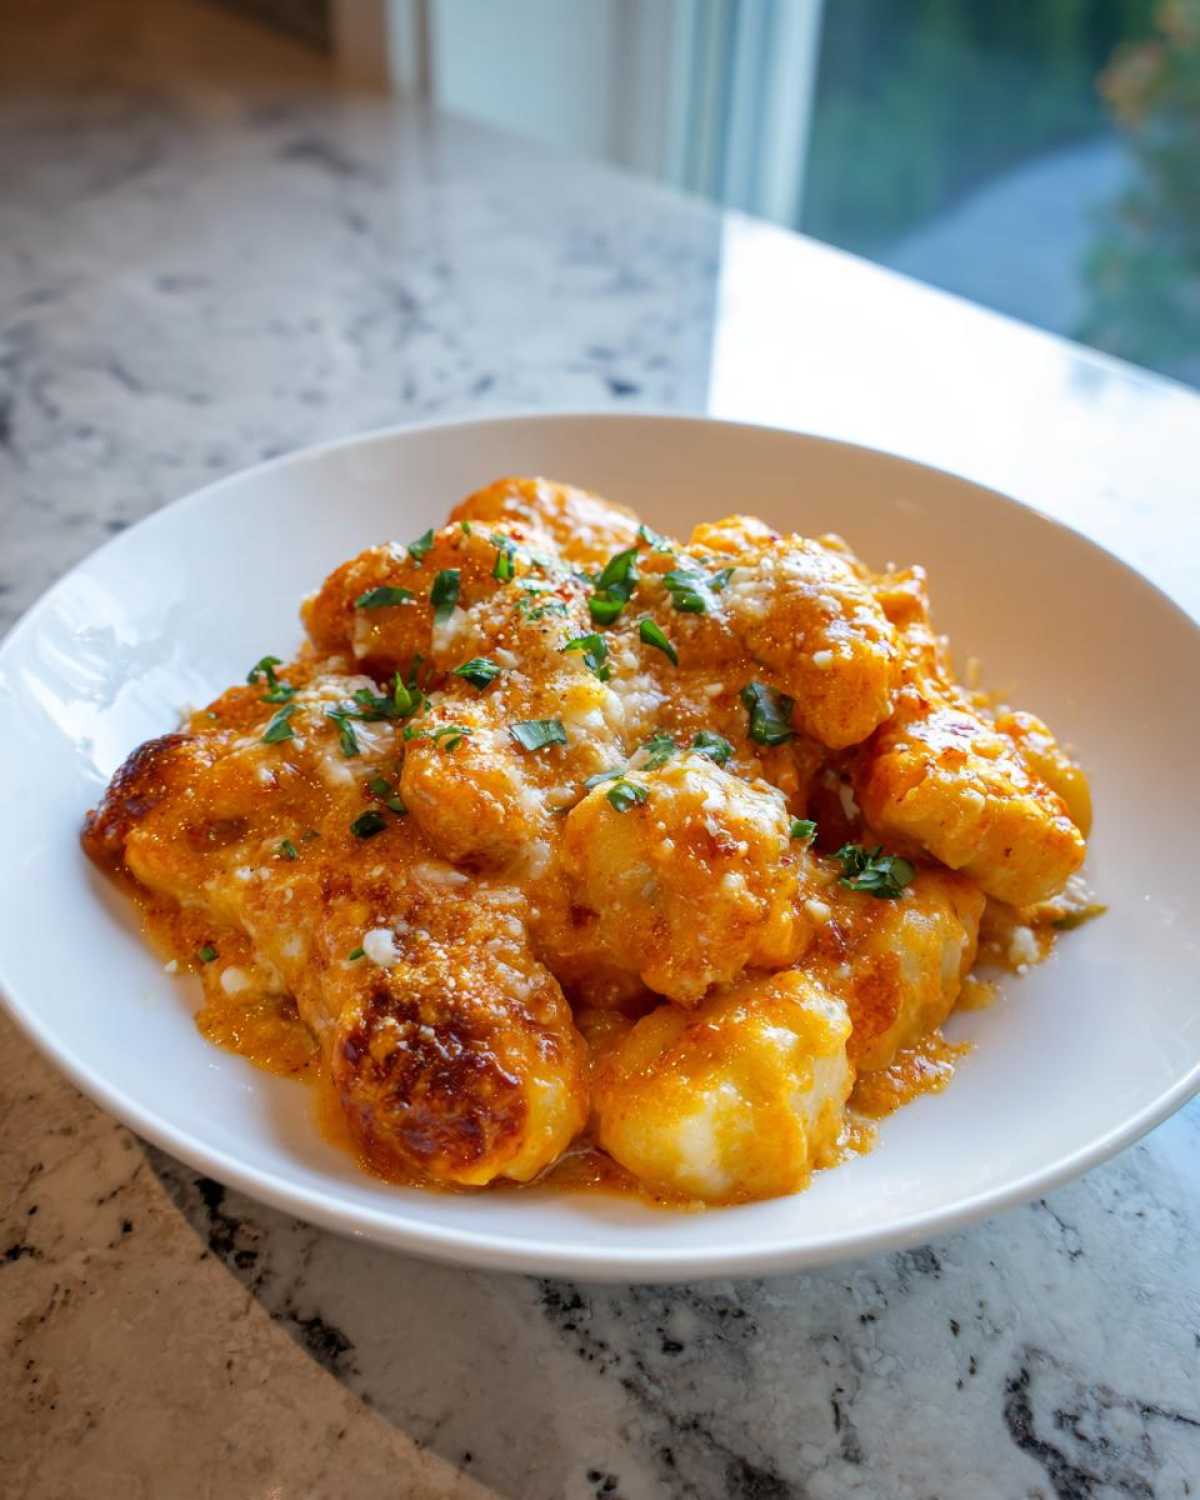
Flavor Depth from Roasted Garlic Tomato Gnocchi Bake Technique
When you roast garlic, you’re doing something marvelous to it. Raw garlic is sharp and punchy, but when you roast it low and slow, it caramelizes and transforms into this sweet, nutty paste. This flavor melts right into the sauce base, making the whole dish much warmer and deeper than just tossing in raw chopped garlic. It’s essential!
Achieving the Perfect Creamy Texture in Your Gnocchi Bake
The ‘creamy’ part isn’t just hype here! We rely on high-quality heavy cream and a generous amount of grated Parmesan cheese stirred in off the heat. This combination emulsifies beautifully with the tomato liquid and broth, giving you that velvety coating that just screams Italian comfort food. You won’t have any thin, watery sauce here, I promise!
Gathering Ingredients for Your Creamy Roasted Garlic Tomato Gnocchi Bake
Okay, let’s get our battlefield ready, which in this case is our pantry! This recipe is simple, but sourcing the right components makes all the difference, especially achieving that perfect savory depth. You’re going to need two full heads of garlic—yes, two! We need that much bulk to get enough of that sweet, roasted pulp once we bake them. Don’t worry about the rest of the prep list for now; let’s just focus on what we need to grab.
We’re using standard shelf-stable potato gnocchi here, but honestly, if you find the fresh stuff at the market, grab that! We’ll also need one 14.5-ounce can of diced tomatoes—and make sure you keep the juice, that’s going into the sauce! For the creamy element, you’ll need a solid cup of heavy cream, half a cup of broth (chicken or veggie works), and about a half cup of freshly grated Parmesan cheese. Don’t skimp on grating the Parmesan yourself; the pre-grated stuff just dissolves weirdly in baked dishes! Finish up with some diced yellow onion, dried oregano, salt, pepper, and fresh basil waiting for garnish duty. If you want to see how I make a similar dish but add some sausage for protein, check out my One Pot Creamy Sausage Gnocchi Recipe!
Gnocchi Selection and Preparation Tips
The little potato dumplings are the star, so think about your timing. If you are using the shelf-stable kind from a vacuum pack, you absolutely have to boil them first! Packages usually say just 2 to 3 minutes. We need them cooked just until they float, drained, and ready to absorb that amazing sauce later. If you use fresh gnocchi, they cook even faster, maybe only a minute or two. Whichever you choose, boiling them briefly before they go into the oven is mandatory. We pre-cook them because the oven time is just for melting the cheese and getting those bubbly edges, not for cooking raw potato dough!
Essential Equipment for the Creamy Roasted Garlic Tomato Gnocchi Bake
Before we even think about slicing up that garlic, we need to make sure our kitchen tools are ready to go. The great thing about this recipe being a full “bake” is that we can minimize dishes, which is always a win in my book! The most crucial piece of gear you’ll need is something that can handle the stovetop and the oven. I usually reach for my trusty, heavy-bottomed Dutch oven or a large, cast-iron skillet that has a handle safe for high heat.
Why must it be oven-safe? Because we are building the entire creamy tomato sauce base right on the cooktop, folding in the cooked gnocchi, and then sliding the whole thing into the oven to get that golden, bubbly top. Trying to transfer all that sauce and those delicate dumplings from a frying pan into a separate casserole dish just leads to splatters everywhere—and we don’t want to waste any of that sauce!
Here’s what you absolutely must have on hand:
- An oven-safe skillet or Dutch oven (if you don’t have one, a standard 8×8 inch baking dish works fine for the final assembly).
- An aluminum foil piece large enough to wrap a head of garlic securely for roasting.
- A standard box grater for your Parmesan cheese (trust me on the fresh grating!).
- A small pot for boiling the gnocchi until they float.
- A sharp knife for slicing the tops off the garlic heads—be careful, it’s easy to slip!
Step-by-Step Instructions: Making the Creamy Roasted Garlic Tomato Gnocchi Bake
Alright, time to get cooking! You’ll want to start this process by getting the oven hot right away so everything is ready to go when the sauce is done. We follow the instructions exactly here because the timing of the roast is super important for that signature sweet garlic flavor. Preheat your oven to 400 degrees Fahrenheit (200 degrees Celsius). This heat needs to be cranked up for the final baking step, so let it get nice and ready while we work on the stovetop components.
While the oven heats up, we tackle the star flavor builder. Next up, we cook those little gnocchi dumplings until they are perfectly ready to soak up all that sauce. You’ll want to boil them according to the package directions—usually just until they float to the top, which is always such a satisfying moment! Drain those babies immediately and set them aside while we get the sauce going. Don’t rinse them; we want them slightly sticky so they marry the sauce nicely later on.
Roasting Garlic: The Key to Deep Flavor in Your Gnocchi Bake
This is where the patience pays off, folks! Take your two heads of garlic and carefully slice about a quarter-inch off the very top of each one—you just want to expose the tops of the individual cloves, like preparing them for a tiny harvest. Place these exposed heads on a square of aluminum foil. Drizzle them generously with about a tablespoon of olive oil; make sure it seeps down into those cuts!
Now, wrap that foil up tightly around the garlic heads so they seal in all that steam and oil. Pop this foil packet into that 400-degree oven, right alongside everything else we’ll be baking later, for about 30 to 40 minutes. You’ll know they are done when the cloves look soft and golden brown when you carefully sneak a peek. Let them cool just enough so you can handle the foil without burning yourself. If you want a detailed walkthrough on this technique, I have a more in-depth guide on just this part: How to Roast Garlic for Pasta Sauce.
Building the Creamy Tomato Sauce Base
While that garlic is taking its sweet time getting sweet in the oven, grab your oven-safe skillet or Dutch oven. Pour in one tablespoon of olive oil and set it over medium heat. Toss in your diced yellow onion and cook them down until they are softened and smelling fantastic—that usually takes about 5 minutes. Don’t rush this softening stage; soft onions are less abrasive in the final creamy sauce.
Once the onions are done, you need to get that roasted garlic in there! Carefully squeeze the soft, buttery garlic pulp right out of the skins directly into the skillet. It should come out like a smooth paste. Stir that sweet garlic pulp into the onions until they are combined. Now, toss in the entire can of diced tomatoes, juice and all, along with your heavy cream, broth, dried oregano, salt, and pepper. Bring this whole mixture up to a gentle simmer—I mean just a friendly bubble, nothing too aggressive!
Once it’s simmering softly, turn that heat way down to low. This is critical for the cream! Stir in your half-cup of grated Parmesan cheese slowly until it melts completely and the sauce looks wonderfully smooth and creamy. If you’re short on time, you can cheat with some of my tips for a quick Creamy Tomato Sauce for Gnocchi, but the roasted garlic makes this one so much better.
Assembly and Final Bake of the Garlic Tomato Gnocchi Casserole
Now we bring in our pre-cooked gnocchi. Gently fold those little potato pillows into the sauce until every piece is coated evenly in that luxurious tomato-cream mixture. Taste it here and adjust salt or pepper if you think it needs it. Don’t stir too vigorously; we don’t want to break the gnocchi!
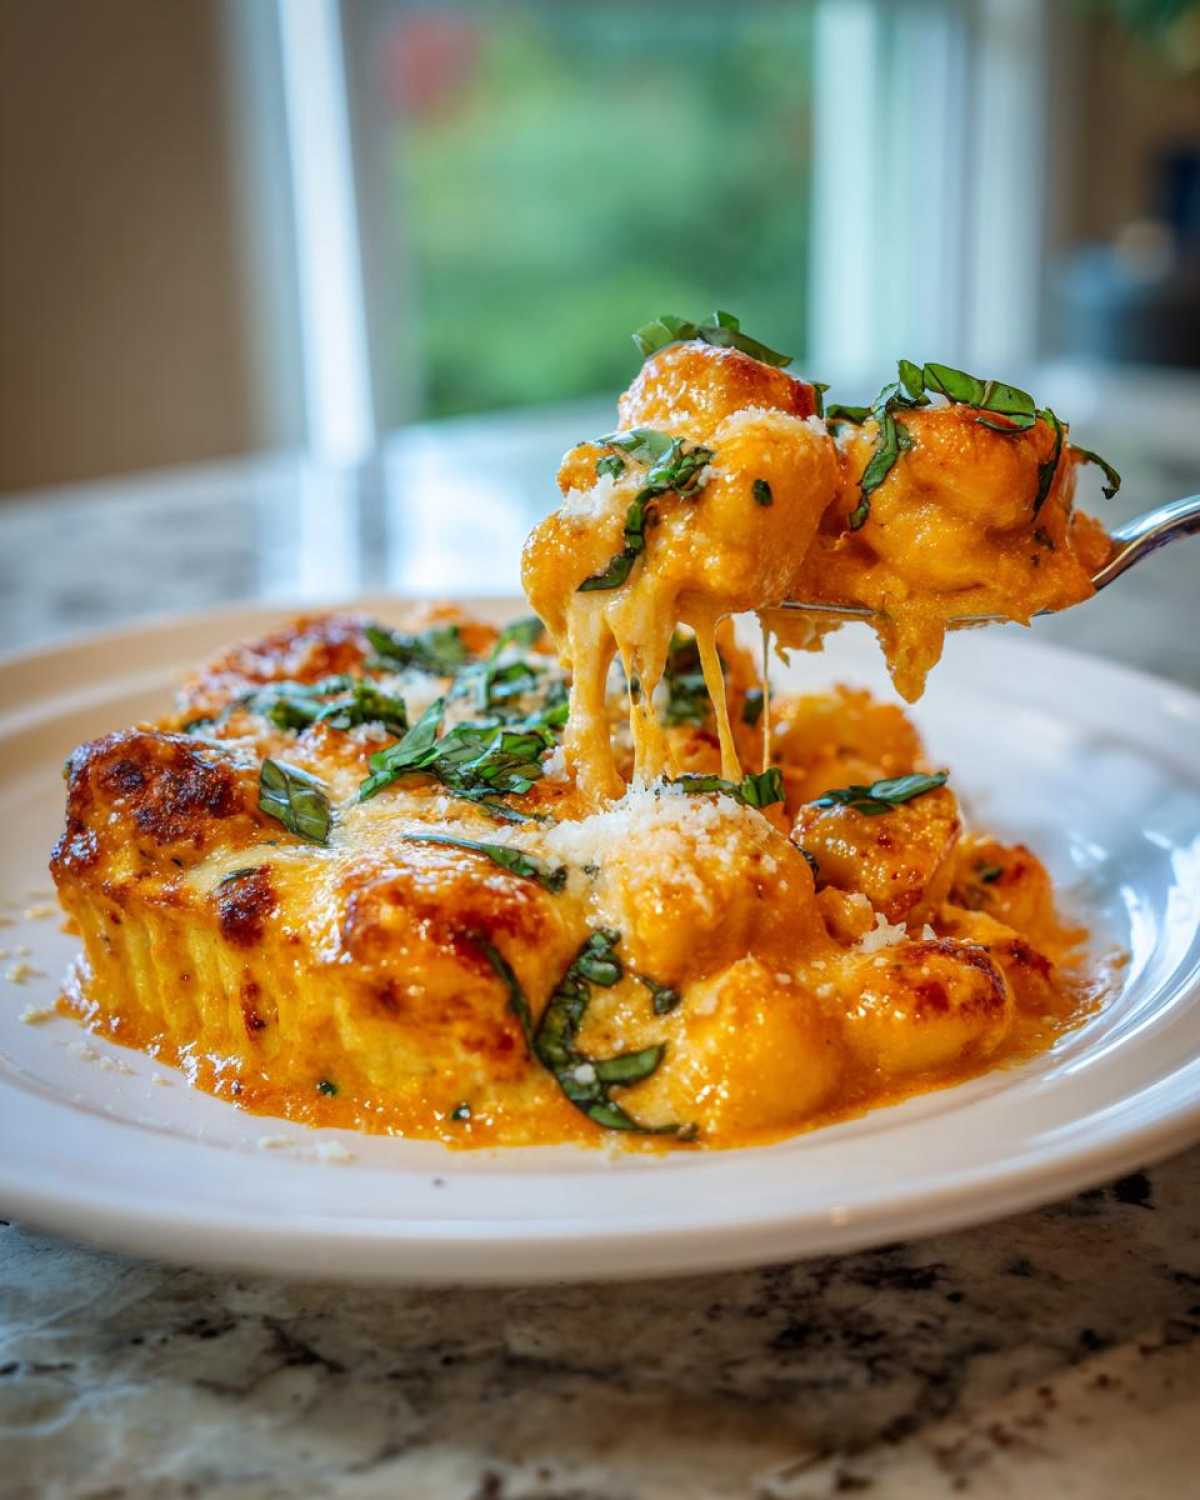
Sprinkle a generous handful of extra Parmesan cheese right over the top of the entire skillet mixture. This creates that beautiful crust we all love in a good Casserole. Transfer that skillet straight into your 400-degree oven. Let it bake for about 10 to 15 minutes. You are looking for the sauce around the edges to be visibly bubbly and the top Parmesan layer to be nicely melted and maybe just starting to brown a little. That’s your cue!
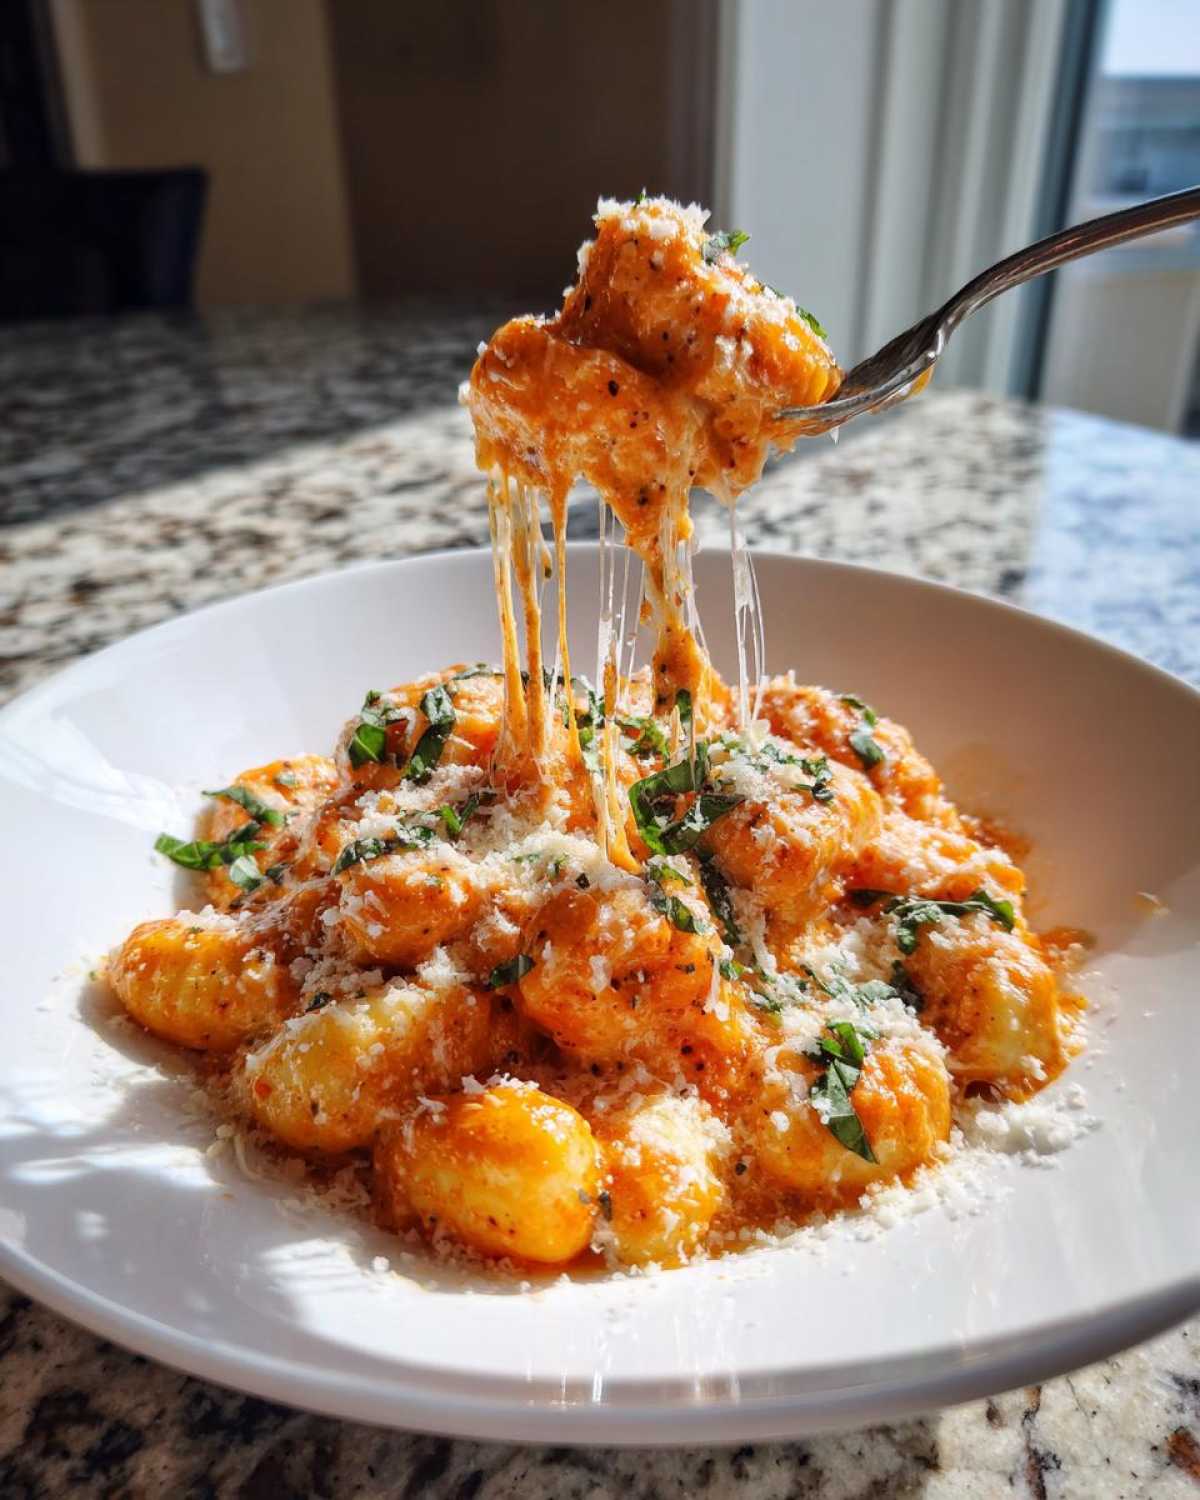
Carefully pull the skillet out—it’s hot! Let your Garlic Tomato Gnocchi Casserole rest for about five minutes; the sauce continues to thicken as it cools slightly. Finally, if you haven’t run out of fresh basil, chop some up finely and shower it over the top right before serving. That little fresh, green pop cuts through the richness perfectly!
Tips for Success with Your Creamy Roasted Garlic Tomato Gnocchi Bake
Making this dish is pretty straightforward, but when dealing with cream and cheese, sometimes things can go sideways if you rush a step. Don’t worry, though! I’ve learned a few tricks over the years—mostly by making mistakes—that will guarantee you get that perfect, velvety sauce every single time and keep your gnocchi happy.
The biggest rule? Temperature control when adding dairy. If you throw the Parmesan cheese into a sauce that is violently boiling, it can seize up and get grainy instead of melting smoothly. You must let the sauce cool down to a gentle simmer—that low heat—before stirring in that grated cheese. This keeps the sauce homogenous and silky smooth. We want beautiful cream, not cheese clumps!
Handling the Oven-Safe Skillet Situation
I absolutely love using my cast iron skillet because you build the whole dish right in it, from cooking the onions to setting it under the broiler. But if your favorite skillet has a plastic handle or you just don’t trust it in the 400-degree oven, don’t risk it! That’s just a ruined dinner waiting to happen. Take the time to transfer everything before the final bake.
When you get to the step where you mix the cooked gnocchi into the sauce, just scrape the whole mixture over into a standard 8×8 inch glass baking dish. Make sure you scrape every single bit of that creamy sauce out of the large skillet! You’ll still get that lovely bubbly bake and golden top, and you save your favorite pan from potential heat damage. It’s all about minimizing stress in the kitchen.
Preventing Gnocchi from Getting Mushy During the Bake
We pre-boil the gnocchi, but since they are still going into the oven for 10 to 15 minutes, they are still absorbing liquid, even when coated in sauce. If you overcook them initially, they turn into gummy little blobs during the second bake. Boil them only until they float and then drain them immediately!
Another thing I noticed? If you let the sauce cool too long before adding the gnocchi, the dumplings might start to stick to each other in clumps. You want to fold them in while the sauce is still hot. That thin layer of sauce acts as a shield, preventing them from sticking to the bottom of the pan and keeping them separated and pillowy until they hit the oven.
Maximizing Roasted Garlic Flavor
If your roasted garlic doesn’t squeeze out easily like butter, it means it didn’t roast long enough or your oven runs a little cool. Don’t be tempted to just stir in raw garlic if your roast looks pale! The flavor will be too sharp. If you think it didn’t get soft enough, just pop the foil back in the oven for another 10 minutes before proceeding. A perfectly roasted head of garlic is sweet, caramelized gold—it’s the soul of this specific Roasted Garlic Tomato Pasta Bake.
Variations for Your Roasted Garlic Tomato Gnocchi Bake
Now, I’m all about honoring the original recipe because, well, it’s perfect! But hey, cooking should be fun, and sometimes we need to make things work with what we have on hand, or maybe just jazz things up a bit. This Creamy Roasted Garlic Tomato Gnocchi Bake is super adaptable. It acts like a fantastic blank canvas for whatever savory flavors you’re craving. Don’t change the garlic roast or the cream base, but everything else? Go wild!
If you’re looking to sneak in some greens or add a little texture, I have a couple of my favorite ways to modify this Italian Baked Pasta. You can make this dish heartier if you’re serving it to hungry people, or lighter if you want to sneak in some veggies!
Adding Veggies Without Losing the Creamy Gnocchi Bake Texture
Spinach is my go-to addition here. It wilts down to almost nothing, but it adds color and nutrients without disrupting the sauce structure at all. About five ounces of fresh spinach stirred in right after you mix the gnocchi with the sauce works perfectly. It will wilt down so much while baking, you’ll barely notice it’s there, except for that lovely boost of green!
If you want something with more bite, try sautéing mushrooms right alongside your diced onion in step four. Use about 8 ounces of sliced cremini mushrooms. Sauté them until they release all their moisture and start to brown before adding the garlic paste in. That earthiness pairs beautifully with the creamy tomato flavor.
Turning This Into a Heartier Meal with Protein
If you need this to feel more like a complete meal, adding cooked protein is super simple. Since we are already using an oven-safe skillet, you can easily adapt this for leftovers from other meals. Cooked Italian sausage—the pork or turkey kind, crumbled and browned—is amazing stirred in with the onions. Or, if you have leftover shredded chicken breast, just fold that in towards the end with the cooked gnocchi.
For a really luxurious twist, sometimes I’ll make this using chicken broth instead of vegetable broth, and then stir in some shredded cooked chicken right before the final bake. It turns the whole thing into a satisfying casserole that feels totally decadent. If you are looking for another way I incorporate cream and chicken, you should definitely check out my Creamy Ranch Chicken Skillet Recipe—it uses a totally different flavor profile but gets that same amazing creaminess!
Herb Swaps and Enhancements
While dried oregano is classic and hardy, don’t be afraid to switch up your herbs if you have fresh ones growing! If you have fresh thyme, use about a teaspoon of the leaves instead of the dried oregano. Thyme really plays up the roasted flavor of the garlic beautifully. If you’re going heavy on the fresh basil garnish anyway (which you should be!), you can skip the dried oregano entirely and just rely on the fresh herbs for brightness at the end.
Serving Suggestions for This Italian Baked Pasta with Tomatoes
After all that work embedding deep flavor into that garlic and coaxing that sauce into perfection, you deserve a flawless presentation! Since this Italian Baked Pasta with Tomatoes is so rich, heavy, and utterly delicious, we don’t want to weigh the whole meal down with another heavy side dish. The meal needs contrast—something bright, something crunchy, or something perfect for soaking up that last little bit of creamy tomato sauce left in the dish.
The fresh basil garnish we put on at the very end is crucial, but you can elevate that garnish a bit, too! A simple finishing touch can make this look like it came straight from a fancy trattoria rather than your oven. I always recommend having a few extras ready when serving this to company.
Elevating the Garnish Beyond Simple Basil
When you pull that bubbling Gnocchi Bake out of the oven, the sprinkle of fresh basil is non-negotiable, but let’s discuss textures! A little crunch goes a long way when everything in the main dish is soft and yielding.
- Toasted Panko: Seriously, try this! Toss a handful of panko breadcrumbs with a drizzle of olive oil and a pinch of salt. Toast them quickly in a dry pan until they are golden brown. Sprinkle this right over the top along with the basil. It gives you the crunch of a true baked casserole without adding more cheese.
- Red Pepper Flakes: If you like a little kiss of heat, finish it with a light dusting of crushed red pepper flakes. This is especially good if you didn’t sneak any heat into the sauce earlier. It wakes up the palate!
- Lemon Zest: This sounds weird, I know, but a tiny bit of finely grated lemon zest over the top just brightens *everything*. It cuts through the heavy cream so nicely. A little goes a long way here, but it’s my secret weapon for rich cream sauces.
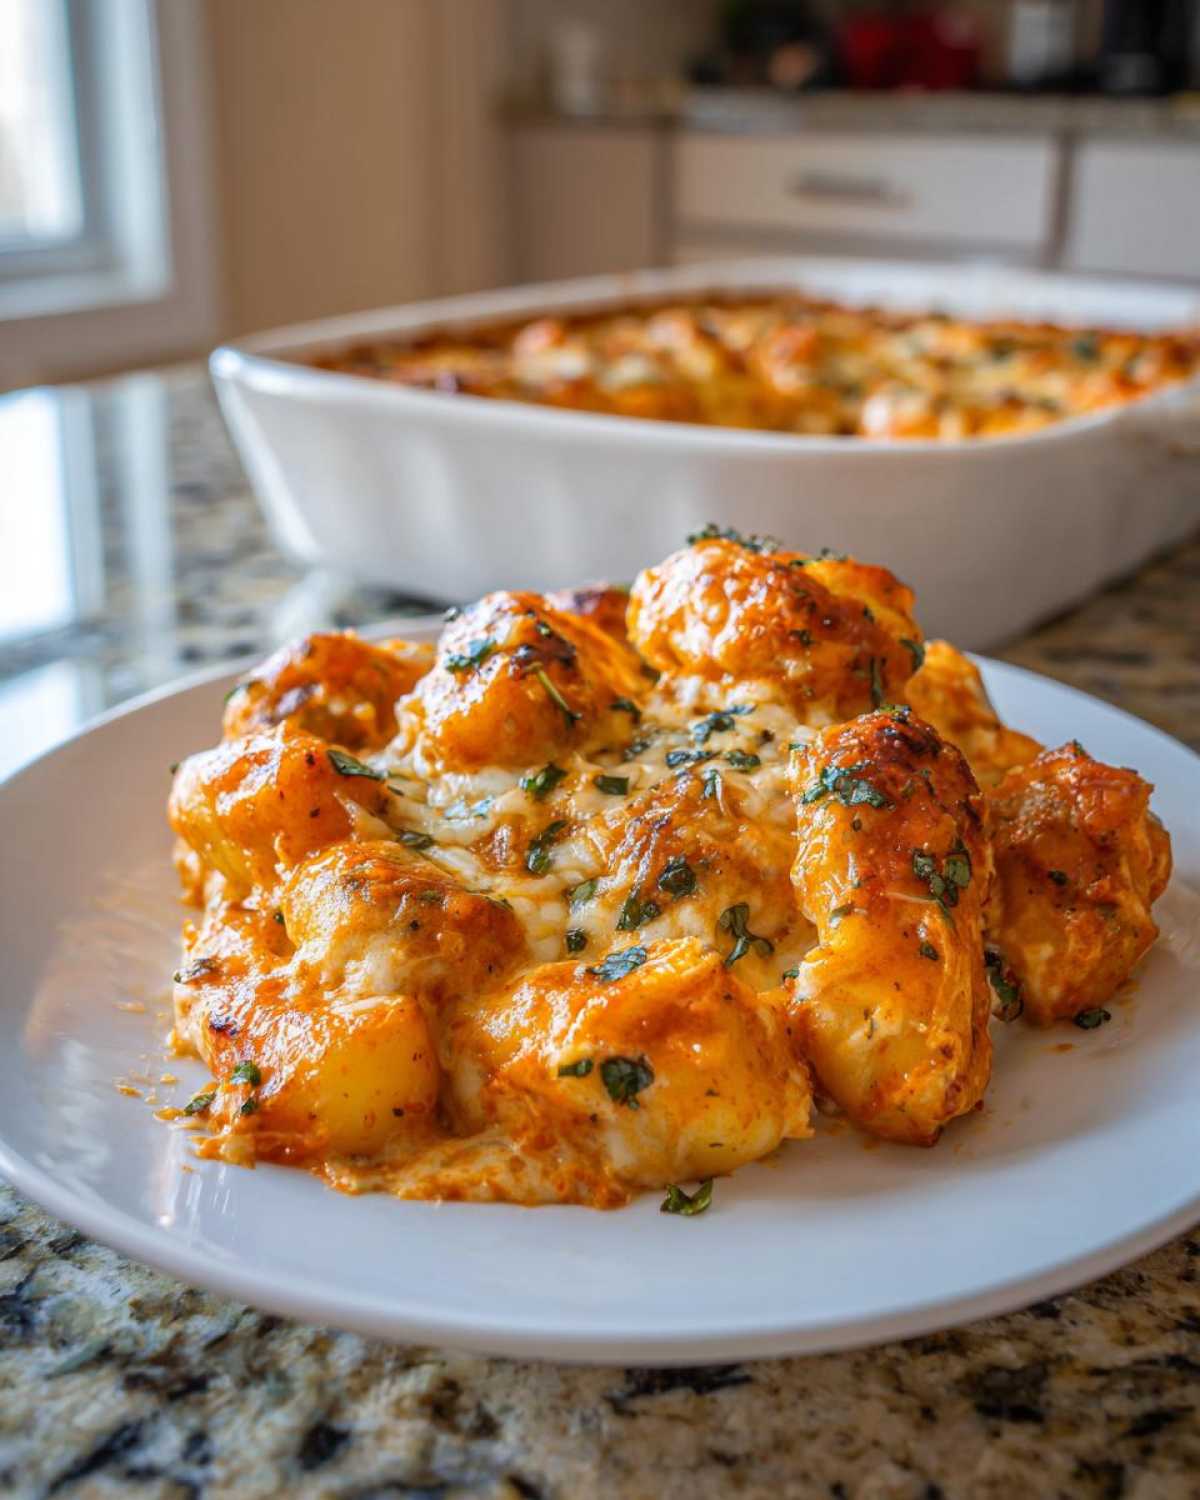
The Perfect Light Salad Counterpoint
Because this dish is decadent, you want a side that’s refreshing. A sharp, acidic salad is the perfect partner. I usually whip up a simple arugula salad. All you need is arugula, maybe some very thinly sliced red onion, and a bright lemon vinaigrette—super simple olive oil, fresh lemon juice, salt, and pepper. That peppery green flavor cleanses the palate after every creamy, warm bite of gnocchi.
Now, I know some people swear by pairing pasta bakes with a side salad of cucumbers and tomatoes, which is fine, but I stick to greens to keep things light. If you are looking for something totally off-the-wall for a side dip, I’ve got a recipe for a surprisingly amazing dip you’d never expect to pair with Italian food, but it’s worth checking out if you’re feeling adventurous: Homemade Guacamole Recipe Simple & Fresh. Okay, maybe stick to the arugula salad first!
The Essential Tool for Sopping Up Sauce
If you have any sauce leftover that didn’t perfectly cling to the gnocchi—which never happens in my house, wink—you need a vehicle for that creamy goodness! Stop everything and grab a loaf of crusty bread. A good French baguette that you can slice and maybe toast lightly under the broiler for two minutes. You want that sturdy crust to hold up when you dive into the remaining sauce. It’s the best part, honestly!
Don’t waste a drop of that sauce! Crusty bread is the classic way to finish any great Italian sauce. Just make sure you cut those slices thick enough so they don’t just dissolve into mush when you try to scoop up the leftovers.
Storage and Reheating Instructions for Leftover Gnocchi Casserole
Oh boy, if you actually manage to have leftovers of this Creamy Roasted Garlic Tomato Gnocchi Bake, you are seriously lucky! This dish is so good, but honestly, it microwaves okay—if you plan correctly. Because it’s so rich and creamy, the main challenge when reheating is preventing the sauce from either splitting or getting too thick and pasty.
My first piece of advice? If you know you’ll have leftovers, make a little extra broth or heavy cream specifically for reheating later. If you just blast this rig in the microwave without adding moisture back in, you’ll end up with a stiff, dry brick of cheese and potato dough. We want creamy leftovers, not a dense Gnocchi Casserole surprise!
Properly Storing Your Creamy Baked Gnocchi
When storing, you need to treat this like any dairy-based casserole. Once the dish has cooled down to room temperature—and please don’t leave it out for more than two hours, we are keeping things safe here—transfer the leftovers into an airtight container. A good quality glass container works brilliantly for me because I can see what’s inside! I find that if you keep it relatively shallow, it cools down faster in the fridge, which is safer.
How long does it hang out in there? I find that leftovers of this Easy Baked Gnocchi Dinner are best eaten within three to four days. Beyond that, the gnocchi texture starts to change, and while it’s still safe, it just won’t have that same pillowy bite. My kids don’t complain, but I’m a texture snob, so four days is my personal maximum!
The Absolute Best Way to Reheat Creamy Gnocchi
Forget the microwave if you can—that’s the fast way, but not the *best* way. If you have time, the stovetop is superior for restoring that creamy texture. Scoop the portion you want into a small saucepan over medium-low heat. Here’s the trick: add a small splash—maybe a teaspoon or two—of broth or even just regular milk. Stir gently and continuously until it heats through and the sauce loosens up again. This little bit of added liquid re-emulsifies the sauce perfectly.
If you absolutely must use the microwave (because sometimes you just need that quick fix!), you need to do two things. First, scoop the portion into a microwave-safe bowl. Second, put a tiny drizzle of liquid over the top, and then cover the bowl loosely with a paper towel. The paper towel catches some splatters and traps a bit of steam, which helps prevent the sauce from drying out completely. Heat in 30-second increments, stirring well between each blast, until it’s hot all the way through. It takes longer, but it saves the sauce!
Can This Gnocchi Bake Recipe Be Frozen?
This is a tricky one! Because of all that cream and cheese, freezing baked pasta dishes can sometimes result in a slightly grainy sauce when thawed and reheated, especially if you used a lot of Parmesan like we did. It’s *possible*, but I only recommend it if you are desperate!
If you do freeze it, make sure it’s completely cooled before sealing it tightly in freezer-safe containers. Label it clearly with the date. When you are ready to thaw, let it sit in the fridge overnight. Then, you must reheat it slowly on the stovetop, adding extra liquid (broth or cream!) as it thaws and warms up. Honestly, for the best results, I recommend making this fresh when you want it, but if you have to freeze it, aim to eat it within about a month for the best texture.
Frequently Asked Questions About the Creamy Gnocchi Bake Recipe
I always get so many questions after posting this, since everyone wants their ultimate Creamy Baked Gnocchi Recipe to turn out perfectly! Baking pasta dishes can sometimes be intimidating, but these little queries usually cover all the bases. Let’s clear up any lingering doubts so you can get this delicious comfort food casserole on your table with total confidence!
Can I use dried pasta instead of gnocchi in this recipe?
That’s a great question! Yes, you absolutely can substitute dried pasta in a pinch if you don’t have gnocchi, turning this into a wonderful Roasted Garlic Tomato Pasta Bake. However, you have to adjust your cooking steps significantly. Since dried pasta requires 8-10 minutes of boiling time, unlike the 2-3 minutes for gnocchi, you’ll need to boil it until it’s very al dente—like, almost undercooked!
Remember, the pasta will continue cooking in the oven during the final 15-minute bake. If you cook it fully on the stovetop, it will turn mushy in the oven. Also, because dried pasta is denser than gnocchi, you might need to add an extra quarter cup of broth to the sauce base to ensure everything stays moist enough during that longer bake time. I talk more about how I handle full pasta bakes, like my famous ziti, over here: Baked Ziti with Ricotta Recipe.
Can this Creamy Gnocchi Bake Recipe be made ahead of time?
Yes, this is a fantastic dish for prepping ahead! If you want to save time on a busy weeknight, you can assemble the entire Tomato and Garlic Cream Sauce, fold in the pre-cooked gnocchi, and put it all in your baking dish (covered tightly, of course). You can assemble this up to 24 hours in advance, keeping it refrigerated.
When you are ready to bake, just pull it out of the fridge and let it sit on the counter for about 30 minutes to take the chill off. You might need to add an extra 2 to 5 minutes to the baking time since it’s starting cold, but the end result will be just as bubbly and delicious.
Is this dish freezer-friendly?
As I mentioned in the storage section, while it *can* be frozen, I don’t personally recommend it for this specific recipe. The high ratio of cream and cheese in this Creamy Tomato Sauce for Gnocchi means the texture often changes slightly after freezing and thawing, sometimes becoming a little watery or grainy when reheated. If you must freeze it, make sure you use a slow, gentle reheating method on the stovetop with added liquid to try and save that creamy texture!
Can I make this a one-pan dish without boiling the gnocchi first?
That’s tempting, aiming for a true One Pan Creamy Gnocchi experience, right? Unfortunately, for this specific recipe, no. Gnocchi are delicate little pillows made mostly of potato. They need that initial quick boil to hydrate them and start the cooking process. If you toss completely raw, hard gnocchi into the sauce and bake it, they won’t cook through properly; they’ll just end up hard or chewy in spots, even under the sauce.
The pre-boil is super fast—just a few minutes—and it’s the secret handshake to ensuring they are perfectly soft and ready to absorb that amazing roasted garlic flavor once they hit the oven for the final bake. It’s a non-negotiable step for the best results in this Comfort Food Gnocchi Casserole!
PrintCreamy Roasted Garlic Tomato Gnocchi Bake
A simple recipe for a baked gnocchi dish featuring sweet roasted garlic, bright tomatoes, and a rich, creamy sauce.
- Prep Time: 15 min
- Cook Time: 50 min
- Total Time: 65 min
- Yield: 4 servings
- Category: Dinner
- Method: Baking
- Cuisine: Italian-American
- Diet: Vegetarian
Ingredients
- 2 heads garlic
- 1 tablespoon olive oil (for roasting)
- 1 pound potato gnocchi, shelf-stable or fresh
- 1 tablespoon olive oil (for sautéing)
- 1 small yellow onion, diced
- 1 (14.5 ounce) can diced tomatoes, undrained
- 1 cup heavy cream
- 1/2 cup vegetable or chicken broth
- 1/2 cup grated Parmesan cheese, plus extra for topping
- 1 teaspoon dried oregano
- 1/2 teaspoon salt
- 1/4 teaspoon black pepper
- 1/4 cup fresh basil, chopped (for garnish)
Instructions
- Preheat your oven to 400 degrees Fahrenheit (200 degrees Celsius).
- Prepare the garlic: Slice about 1/4 inch off the top of each garlic head to expose the cloves. Place the heads on a small piece of aluminum foil, drizzle with 1 tablespoon of olive oil, and wrap tightly. Roast for 30 to 40 minutes until the cloves are soft and golden brown. Let cool slightly.
- While the garlic roasts, cook the gnocchi according to package directions. Drain the gnocchi and set aside.
- In a large, oven-safe skillet or Dutch oven, heat 1 tablespoon of olive oil over medium heat. Add the diced onion and cook until softened, about 5 minutes.
- Squeeze the roasted garlic pulp out of the skins directly into the skillet. Stir to combine with the onions.
- Add the undrained diced tomatoes, heavy cream, broth, oregano, salt, and pepper to the skillet. Bring the mixture to a gentle simmer, stirring occasionally.
- Reduce the heat to low and stir in the 1/2 cup of Parmesan cheese until the sauce is smooth and creamy.
- Add the cooked gnocchi to the sauce and stir gently to coat everything evenly.
- Sprinkle extra Parmesan cheese over the top of the gnocchi mixture.
- Transfer the skillet to the preheated oven and bake for 10 to 15 minutes, or until the top is lightly golden and the sauce is bubbly.
- Remove from the oven, let stand for 5 minutes, and garnish with fresh chopped basil before serving.
Notes
- If you do not have an oven-safe skillet, assemble the dish in a separate baking dish after completing step 5.
- Use store-bought dried gnocchi for a quicker preparation time.
- For a richer flavor, substitute half of the heavy cream with mascarpone cheese.
Nutrition
- Serving Size: 1 serving
- Calories: 580
- Sugar: 9
- Sodium: 650
- Fat: 35
- Saturated Fat: 19
- Unsaturated Fat: 16
- Trans Fat: 1
- Carbohydrates: 50
- Fiber: 4
- Protein: 18
- Cholesterol: 85