

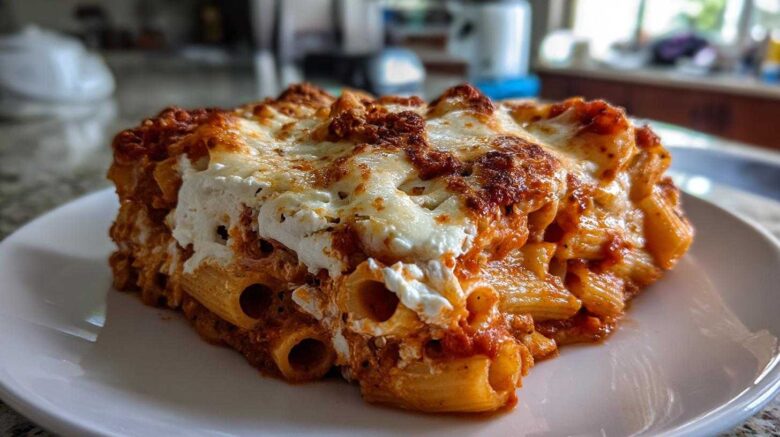
The Comfort of Baked Ziti with Ricotta: A Memory on a Plate
Welcome to our kitchen, friends. I’m Eleanor, and I’m so happy you’re here. This recipe for Baked Ziti with Ricotta is pure comfort food. It feels like a warm hug on a chilly evening. Richard and I collected flavors globally for years. Now, we bring those tastes home. This layered pasta dish is special to us. It brings back so many happy memories. We share this classic recipe with you now. It’s simple, honest, and delicious.
This isn’t fancy cooking. It’s real food. Food made with love and experience. We want you to taste the care in every bite. That’s why we trust this method completely.
Why This Baked Ziti with Ricotta Recipe Works
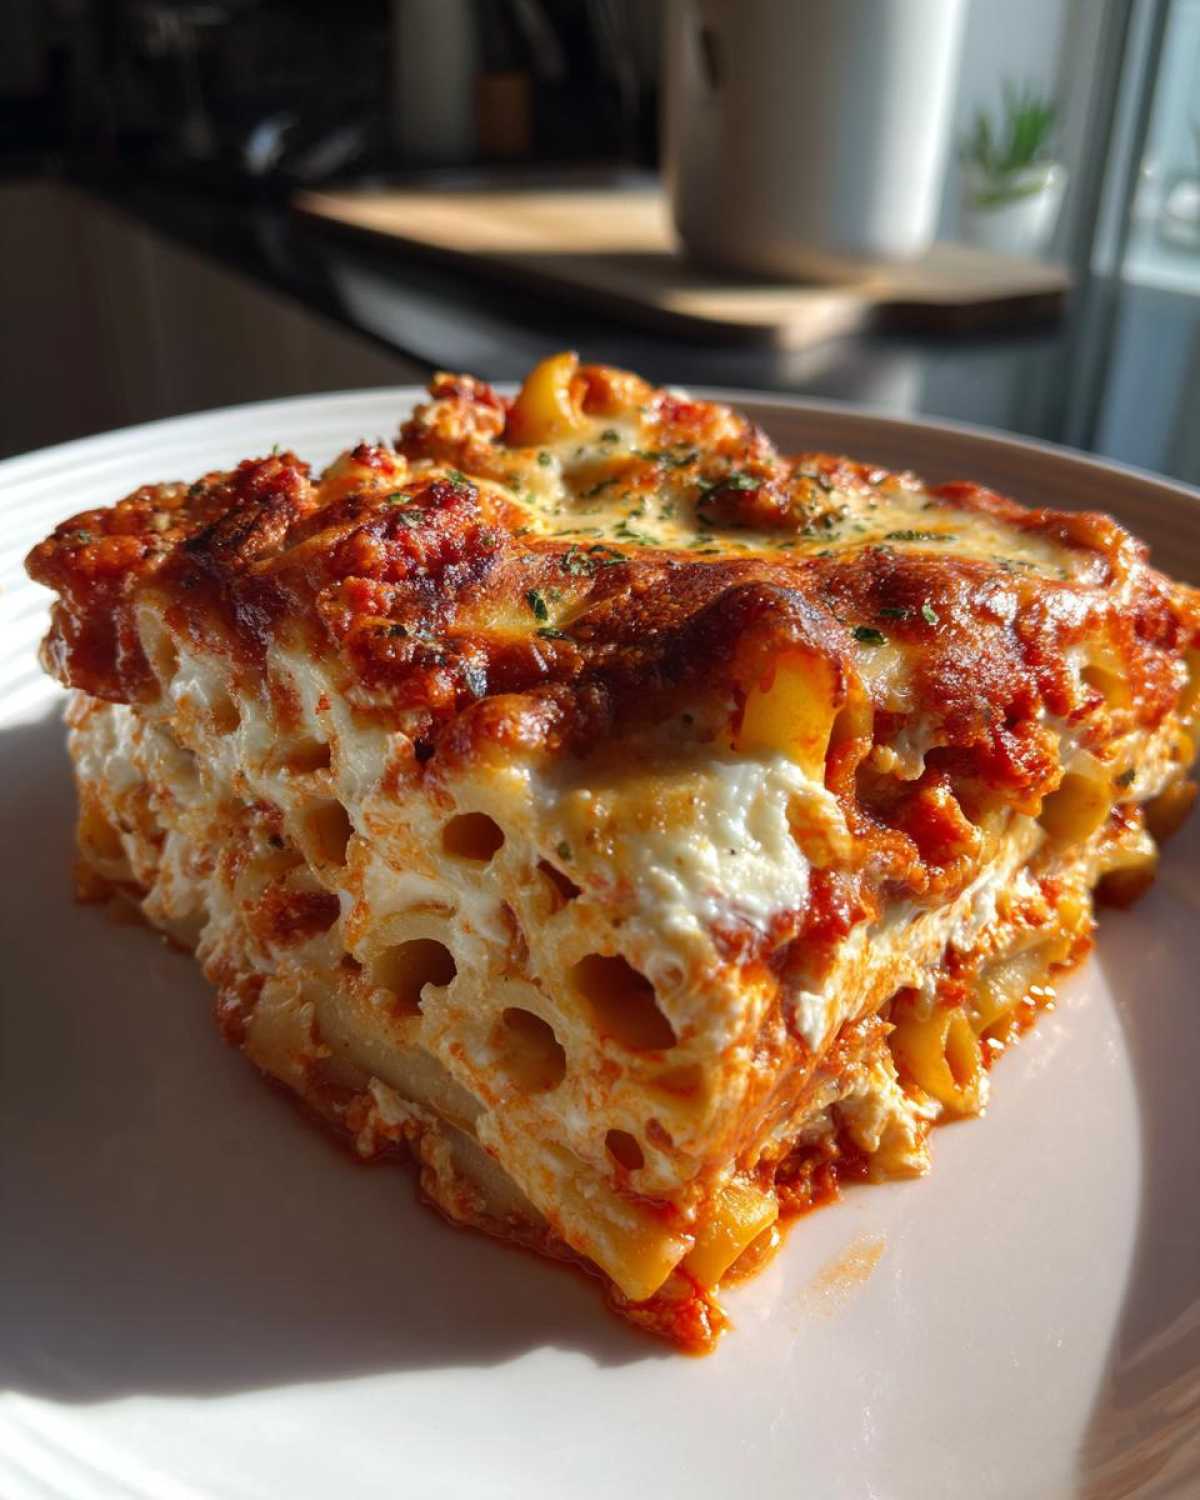
What makes our version truly sing? It’s the layering, honestly. Many casseroles just mix everything up. We believe in structure. You need defined layers for the best texture. Think of it like building a delicious, cheesy tower.
The creamy ricotta filling stays moist. It doesn’t dry out during baking. Spreading sauce on the bottom keeps things from sticking too fast. This simple structure locks in moisture. It gives you that perfect, bubbly, cheesy top layer. You get sauce, pasta, and creaminess in every forkful. It’s wonderfully satisfying, I promise you that.
Essential Components for Perfect Baked Ziti with Ricotta
Getting this layered pasta dish right starts way before the oven preheats. You need good building blocks. Richard always says, “Garbage in, garbage out,” even with pasta!
The quality of your simple ingredients really shines through here. Let’s look at what you’ll need for this Italian comfort food.
Ingredients for the Meat Sauce
- One pound of ziti pasta.
- Ground beef or Italian sausage, one pound (optional, skip for veggie).
- One large onion, chopped fine.
- Two cloves of garlic, minced.
- Two cans crushed tomatoes (28 oz each).
- Six ounces of tomato paste.
- Oregano and basil, dried.
- Salt and pepper for seasoning.
Ingredients for the Creamy Ricotta Filling
- Fifteen ounces of ricotta cheese.
- One large egg for binding.
- One quarter cup grated Parmesan cheese.
That little egg is key for the filling. It keeps the ricotta from just melting away. It holds that creamy layer together beautifully.
Ingredients for the Pasta and Cheese Topping
- One tablespoon of olive oil.
- Two cups of shredded mozzarella cheese.
Remember, cook that ziti until it’s just al dente. It keeps its shape better that way.
Equipment Needed for Your Baked Ziti with Ricotta
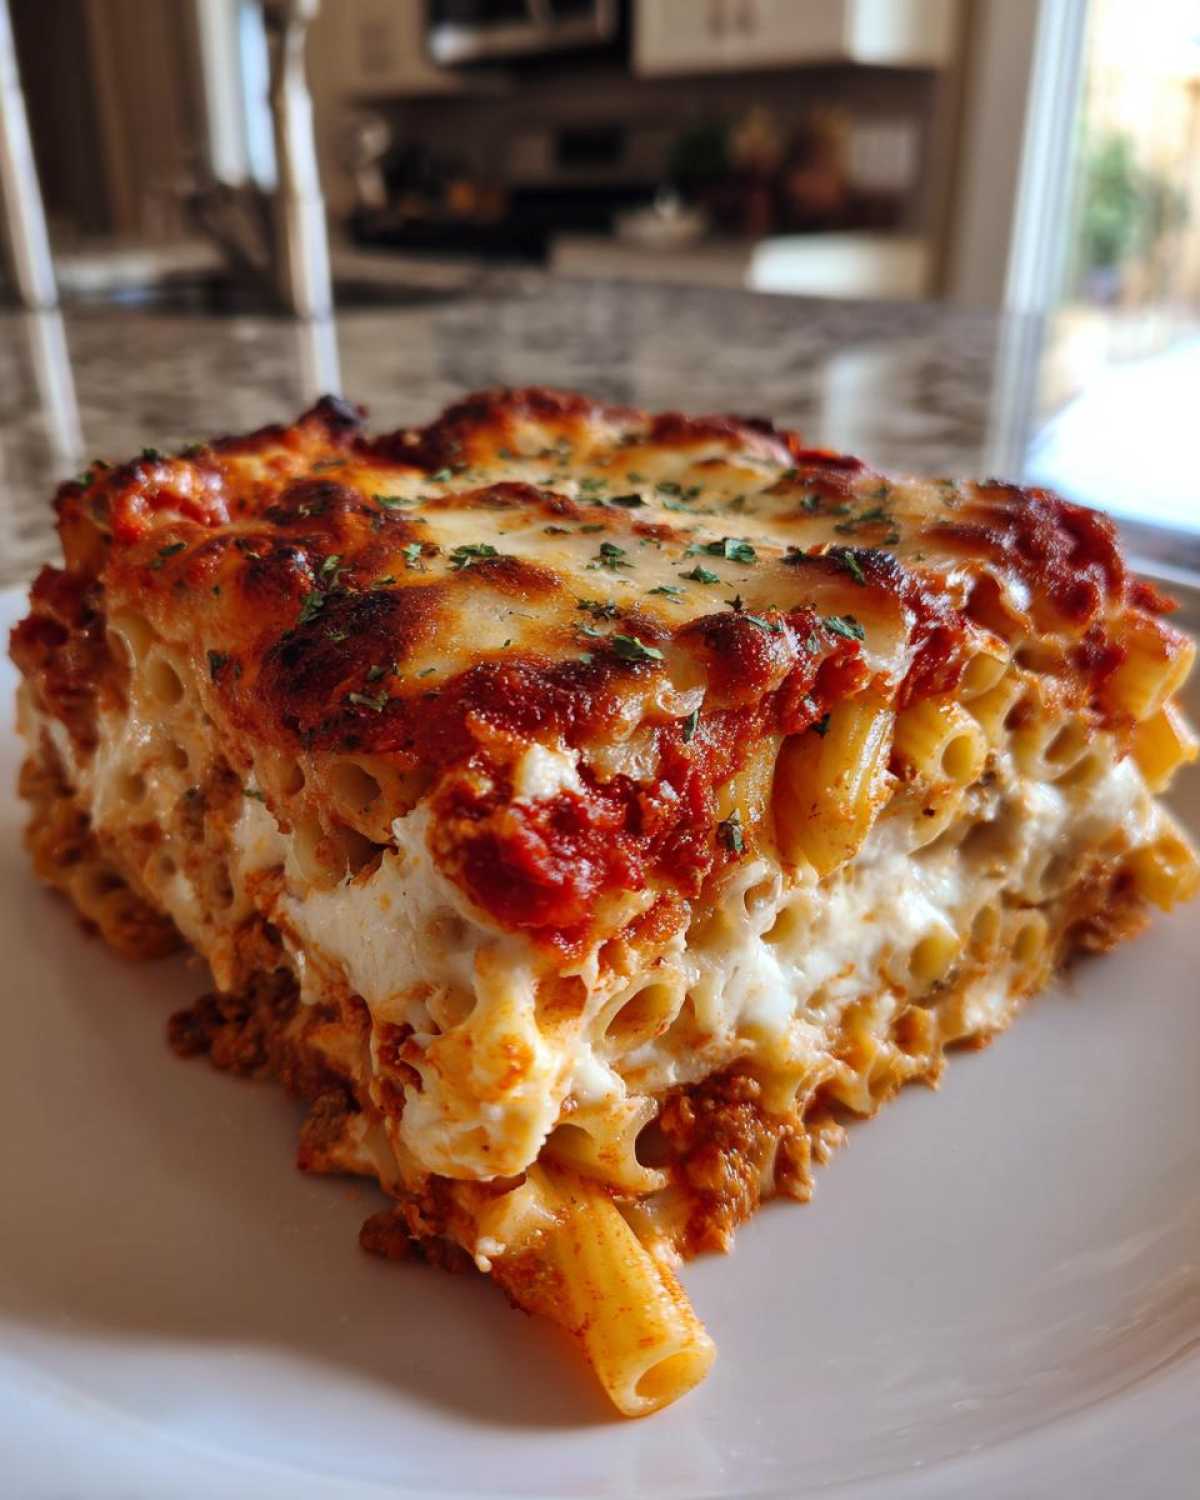
You don’t need fancy gadgets for this recipe. Great food often needs simple tools. Having the right gear makes assembly a breeze. It keeps the process smooth and fun.
Cookware and Prep Tools
- One large skillet for your sauce.
- Several medium mixing bowls.
- A standard 9×13 inch baking dish.
Make sure your baking dish is ready to go. Grease it lightly first. This prevents sticking later.
Step-by-Step Instructions for Baked Ziti with Ricotta
Now for the fun part—putting it all together! This is where the magic happens. Follow these steps closely for the best results. We are making a truly memorable Baked Ziti with Ricotta.
Preparing the Sauce Base
First, set your oven to 375 degrees F. Lightly grease that 9×13 baking dish now. Get your skillet hot with olive oil.
Sauté the chopped onion until it softens up. That takes about five minutes.
If you use meat, add it in now. Cook until it browns nicely. Drain off any extra grease you see.
Stir in the minced garlic. Then add the crushed tomatoes and paste. Season with salt, pepper, oregano, and basil. Let this rich sauce simmer gently for fifteen minutes. This step builds deep flavor.
Cooking the Ziti and Mixing the Ricotta
Cook the ziti pasta following the package directions. Stop cooking when it is just al dente. Drain it very well. Set the pasta aside for layering.
In a separate bowl, combine your ricotta. Add the egg and Parmesan cheese. Mix these ingredients thoroughly until smooth. This creamy filling needs to be uniform.
Layering Your Baked Ziti with Ricotta Casserole
We start by spreading a thin layer of meat sauce on the dish bottom. This prevents sticking, remember?
Next, add half of your cooked ziti over that sauce layer. Dollop half of the prepared ricotta mixture evenly on top. Spoon half of the remaining sauce over the ricotta dollops. Sprinkle half of the mozzarella cheese across this layer.
Repeat everything once more. Top with the last of the mozzarella cheese. This double layering ensures every bite is perfect.
Baking and Resting the Baked Ziti with Ricotta
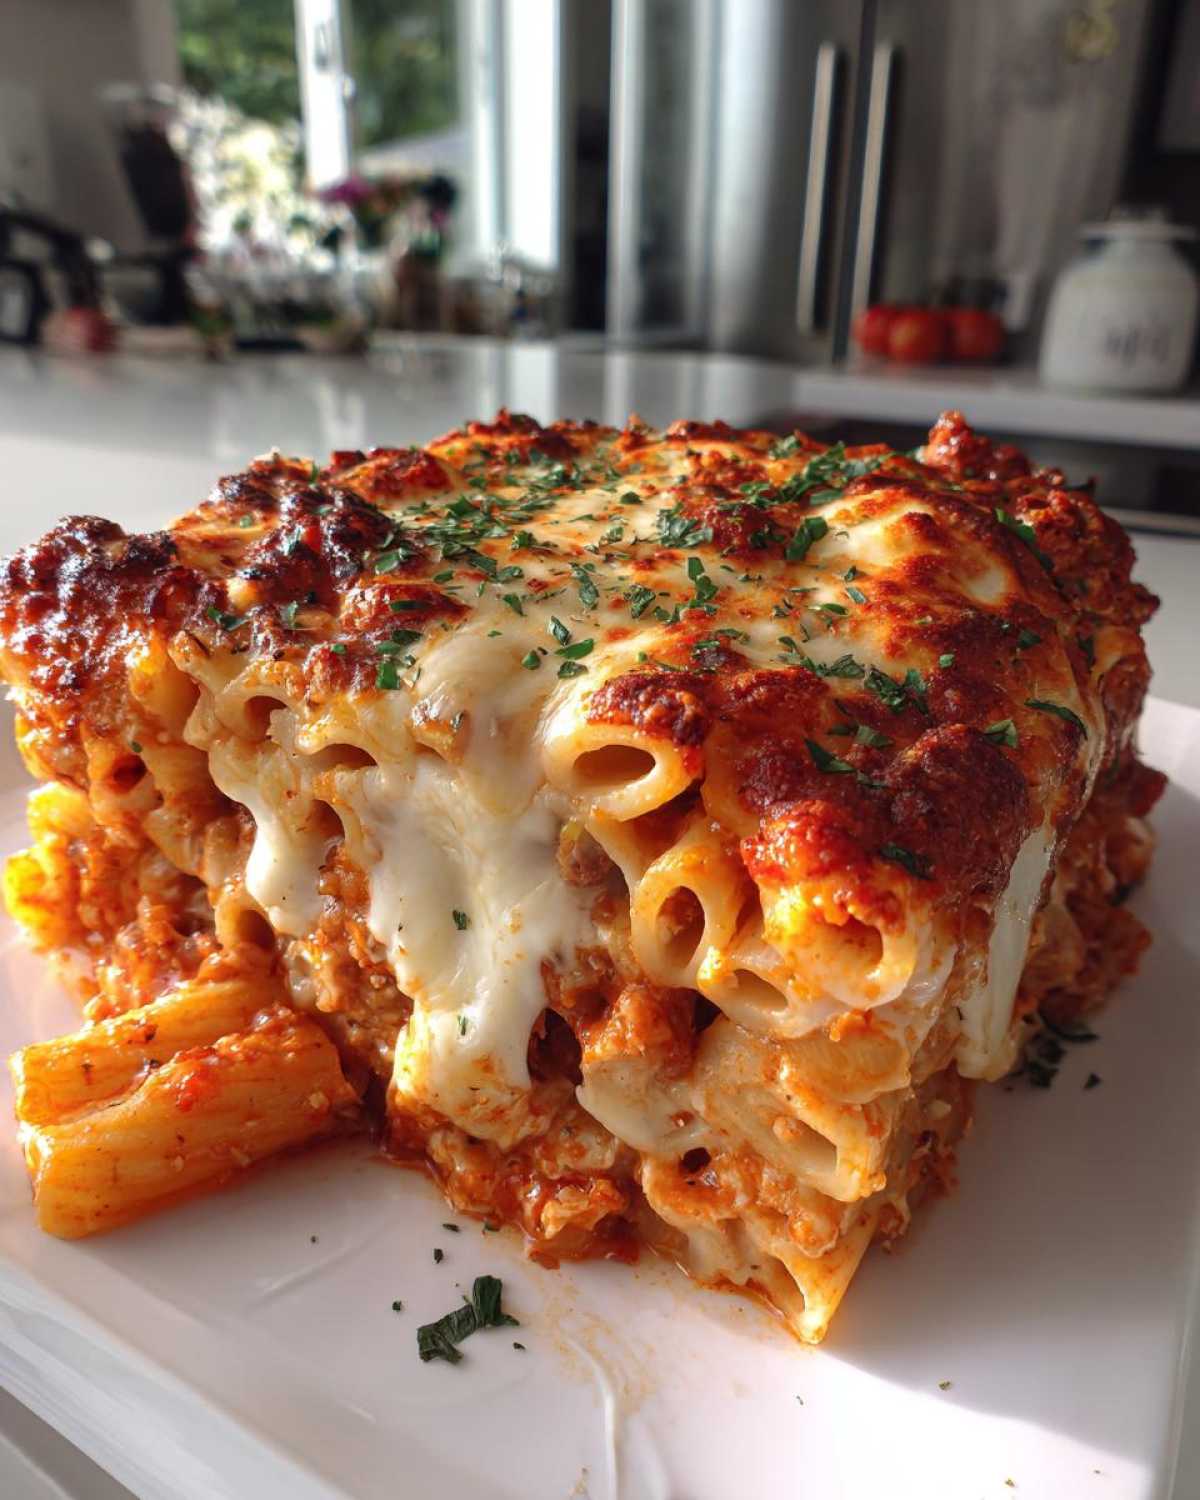
Bake the casserole for twenty-five to thirty minutes. You want that cheese melted and bubbly. The edges should just start to brown up nicely.
This next part is tough but necessary. Let the dish rest for ten minutes. Resting sets the layers. It makes serving so much cleaner. Then, enjoy your hearty meal!
Tips for Perfect Baked Ziti with Ricotta Every Time
We’ve made this dish countless times. Experience teaches you little tricks. These tips help lock in that homemade flavor. They make your Baked Ziti with Ricotta truly shine.
Richard is very particular about texture. He insists on a few small adjustments first. These small steps really matter, trust me.
Pasta Doneness and Sauce Adjustments
Always undercook your ziti slightly. It keeps cooking in the oven heat. Mushy pasta is a tragedy we must avoid. Overcooked pasta gets lost in the bake.
Richard loves some gentle heat in the sauce. He adds a small pinch of red pepper flakes. This adds warmth, not fire, to the dish.
Making a Meatless Baked Ziti with Ricotta
If you skip the meat, don’t worry at all. You can easily make this vegetarian. Just skip browning any ground meat. Instead, use extra veggies in your sauce base.
Try adding sautéed mushrooms or zucchini there. This keeps the sauce hearty and satisfying. It works wonderfully well for a meatless option.
Frequently Asked Questions About Baked Ziti with Ricotta
I always get questions after I share a favorite recipe. Cooking is about learning, too. Here are some common things folks ask me about this dish.
These answers come from years of kitchen trial and error. Ask away if you have more!
Can I make this Baked Ziti with Ricotta ahead of time?
Yes, you absolutely can prep this ahead. Assemble the whole casserole. Do not bake it yet.
Cover it tightly with foil. Store it in the fridge for up to a day. Bake it a bit longer, maybe ten extra minutes. Baking from cold takes more time.
What is the best cheese to use besides mozzarella?
Mozzarella gives that great melt. But other cheeses add flavor depth. Try adding some provolone cheese slices. Provolone melts well too. It adds a nice little tang.
A blend works best for me sometimes. Mix mozzarella with a little sharp provolone.
Why is my Baked Ziti with Ricotta watery?
Watery pasta happens easily, sadly. First, drain your ziti really well after boiling. Shake the colander hard. Second, simmer the sauce long enough. That fifteen minutes is important.
If the sauce is thin, it adds liquid. Cook it down more before layering. This helps absorb excess moisture later.
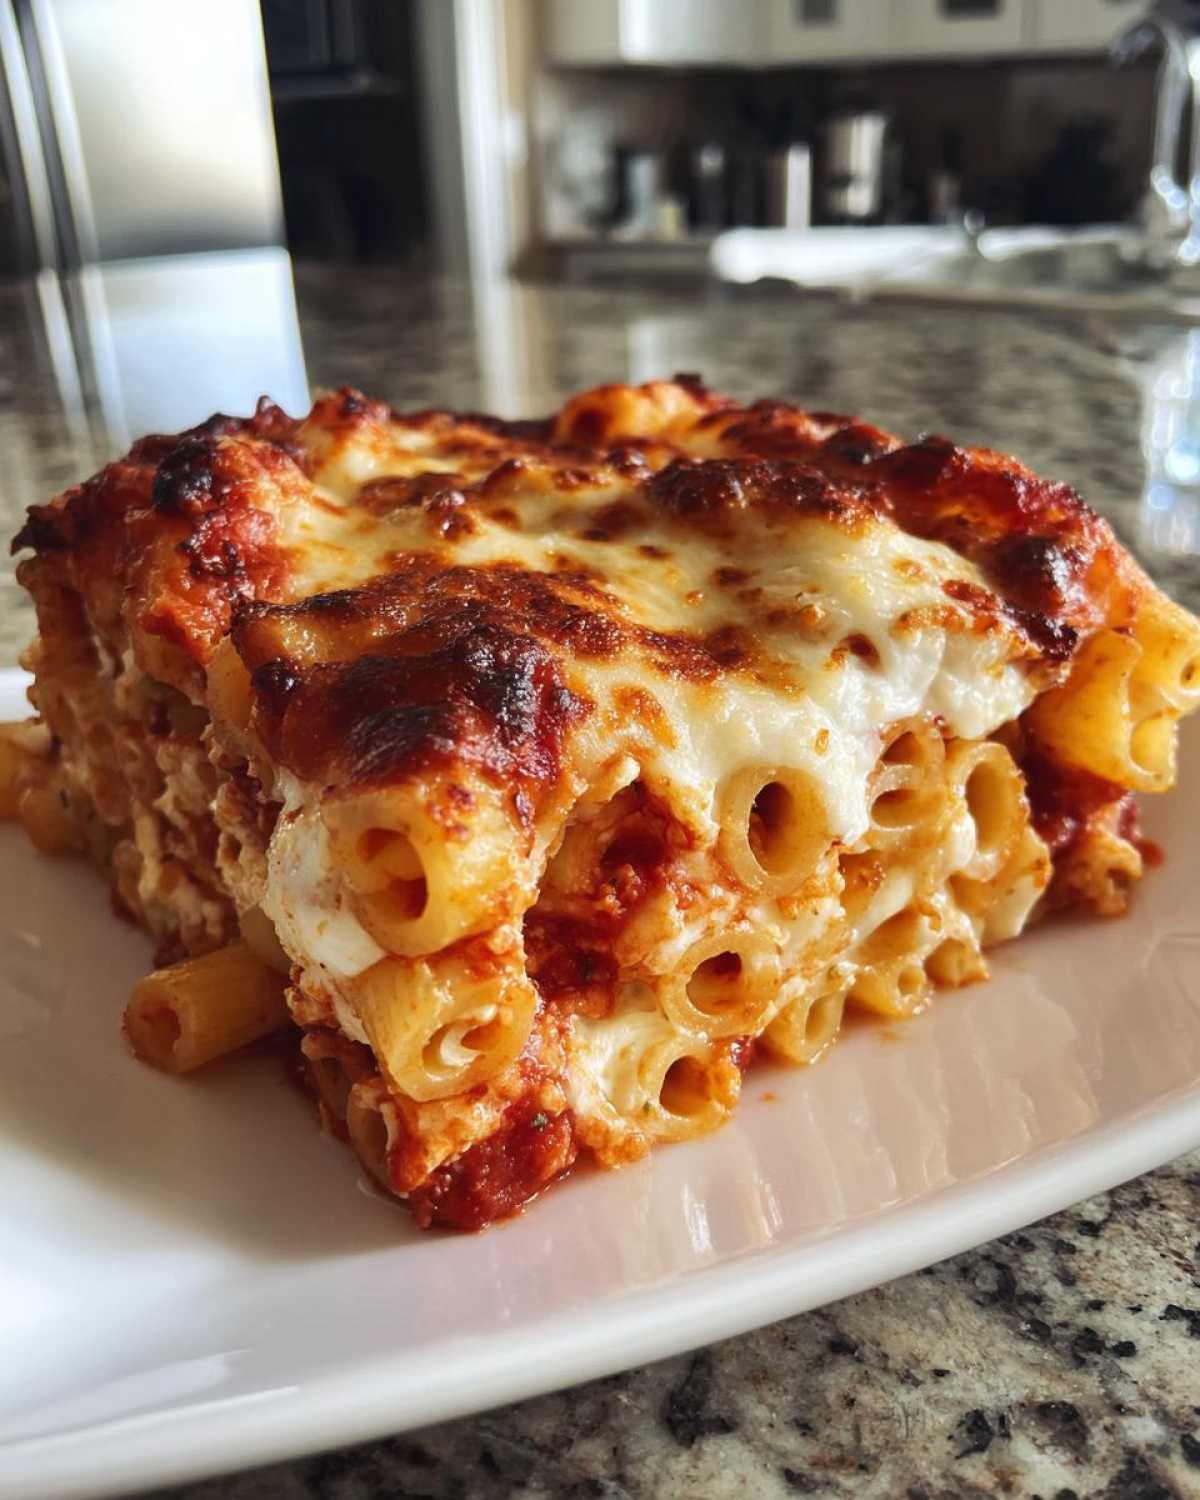
Serving Suggestions for Your Italian Comfort Food
This Baked Ziti with Ricotta is rich and comforting. It deserves great partners on the plate. We usually keep the sides simple. This lets the main dish truly shine through.
You want things that cut through that richness gracefully. Here are my favorite ways to round out the meal.
Pairing with Fresh Sides
- Garlic bread is non-negotiable sometimes!
- It’s perfect for soaking up extra sauce.
- Serve a simple green salad alongside it.
- Use a bright, sharp vinaigrette dressing.
That fresh, acidic salad balances the whole plate beautifully. Enjoy every hearty bite!
Storing Leftovers of Baked Ziti with Ricotta
Even the best meals sometimes leave us with too much goodness. Don’t worry about leftovers here. This casserole keeps well. Storing it right keeps the flavor strong.
We want to avoid soggy pasta later. Proper cooling is the first big step. This prevents steam from making things mushy.
Let the baked ziti cool down first. Leave it on the counter for maybe an hour. Don’t cover it while it’s still hot.
Refrigerating and Reheating Tips
Once cooled slightly, cover the dish tightly. Use plastic wrap or aluminum foil. Store the leftovers in the refrigerator. It keeps well for about three days.
Reheating is where you need a little care. I don’t like the microwave much here. It can dry out edges fast.
Try reheating individual slices in the oven. Cover the slice with foil first. Bake at 350 degrees F. Add a tiny splash of water or sauce. This keeps the pasta moist and tender.
It brings back that lovely bubbly texture. You’ll enjoy that second helping immensely!
Sharing Your Delish Diarist Experience
Now the diary entry is complete for you. You have all our secrets. I hope you enjoyed making this classic dish. Did you feel transported back in time?
Richard and I love hearing from you all. Your successes are our greatest reward. Tell us how your layers turned out. Did you add any personal touches?
Did you use sausage or keep it meatless? We read every single comment here. Please leave a rating for this Baked Ziti with Ricotta. Sharing your experience helps others. It keeps our memories alive in your kitchens too.
We are so grateful you stopped by our table today. Happy cooking always from Eleanor and Richard!
PrintAmazing Baked Ziti with Ricotta: 1 Secret Layer
This Baked Ziti with Ricotta brings a classic, comforting Italian flavor right to your table. Follow these steps to layer the sauce, pasta, and creamy ricotta for a truly heartwarming meal.
- Prep Time: 20 minutes
- Cook Time: 45 minutes
- Total Time: 65 minutes
- Yield: 8 servings
- Category: Main Dish
- Method: Baking
- Cuisine: Italian
- Diet: Vegetarian
Ingredients
- 1 pound ziti pasta
- 1 pound ground beef or Italian sausage (optional)
- 1 large onion, chopped
- 2 cloves garlic, minced
- 2 (28 ounce) cans crushed tomatoes
- 1 (6 ounce) can tomato paste
- 1 teaspoon dried oregano
- 1/2 teaspoon dried basil
- Salt and black pepper to taste
- 15 ounces ricotta cheese
- 1 large egg
- 1/4 cup grated Parmesan cheese
- 2 cups shredded mozzarella cheese
- 1 tablespoon olive oil
Instructions
- Preheat your oven to 375°F (190°C). Lightly grease a 9×13 inch baking dish.
- Cook the ziti according to package directions until al dente. Drain well and set aside.
- In a large skillet, heat the olive oil over medium heat. Add the onion and cook until softened, about 5 minutes.
- Add the ground meat (if using) and cook, breaking it up, until browned. Drain off excess fat.
- Stir in the garlic, crushed tomatoes, tomato paste, oregano, and basil. Season with salt and pepper. Let the sauce simmer gently for 15 minutes.
- In a medium bowl, mix the ricotta cheese, egg, and Parmesan cheese until combined.
- To assemble, spread a thin layer of meat sauce on the bottom of the prepared baking dish.
- Place half of the cooked ziti over the sauce.
- Dollop half of the ricotta mixture evenly over the pasta layer.
- Spoon half of the remaining meat sauce over the ricotta. Sprinkle with half of the mozzarella cheese.
- Repeat the layers: remaining ziti, remaining ricotta, remaining sauce, and top with the remaining mozzarella cheese.
- Bake for 25 to 30 minutes, or until the cheese is melted and bubbly and the edges are slightly browned.
- Let the ziti rest for 10 minutes before serving.
Notes
- For a meatless version, skip the ground meat and use extra mushrooms or vegetables in your sauce.
- Richard likes to add a pinch of red pepper flakes to the sauce for a little warmth.
- Make sure your pasta is slightly undercooked since it will continue to cook in the oven.
Nutrition
- Serving Size: 1 serving
- Calories: 450
- Sugar: 10g
- Sodium: 650mg
- Fat: 18g
- Saturated Fat: 9g
- Unsaturated Fat: 9g
- Trans Fat: 0g
- Carbohydrates: 45g
- Fiber: 4g
- Protein: 28g
- Cholesterol: 70mg