

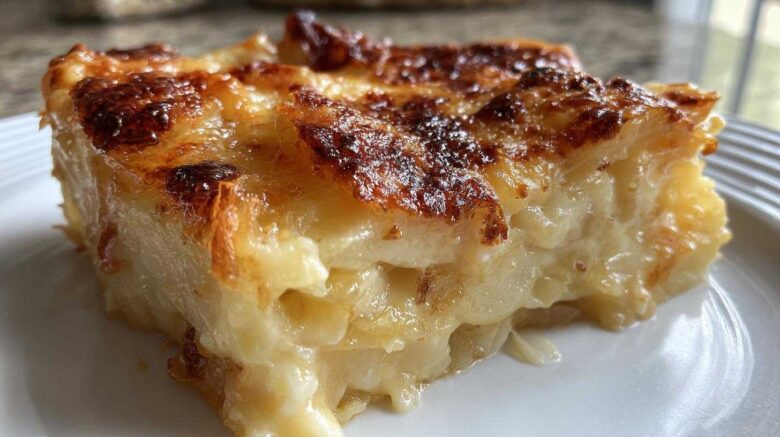
The Comfort of Classic Scalloped Potatoes: A Trip Down Memory Lane
Oh, friends, when I think of comfort food, my mind always drifts straight to a pan of rich, creamy Scalloped Potatoes. Richard and I have seen so many dishes come and go over the years. Yet, this classic side dish remains a steadfast favorite. It’s the dish I always made for Sunday dinners. Now, recreating these wonderful baked potatoes brings our whole family back to the table. I’m sharing this recipe because food truly is the best way to revisit cherished memories. I want you to capture that same comforting feeling. This version is pure nostalgia, Eleanor style.
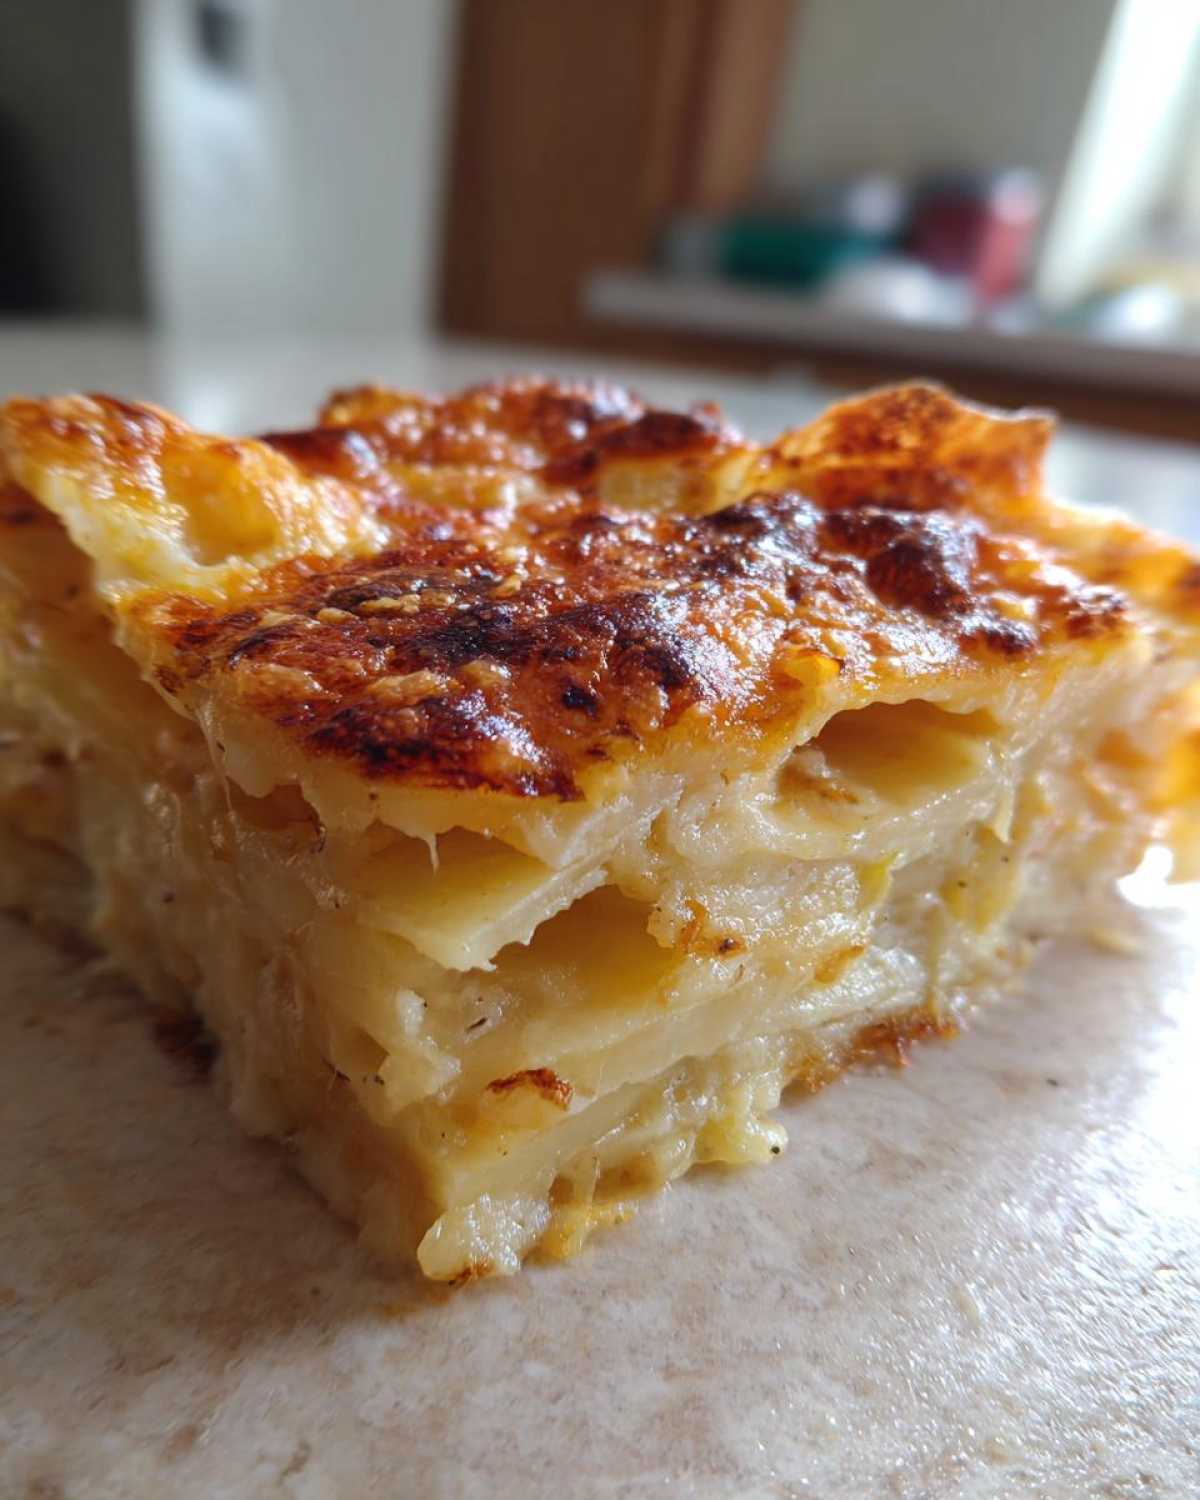
Why You Will Cherish This Scalloped Potatoes Recipe
This recipe transforms simple ingredients. It delivers pure, cheesy comfort every time. You will love the results.
- It boasts an incredibly creamy texture.
- The steps are surprisingly easy to follow.
- The rich flavor sings at any holiday table.
- It makes a perfect centerpiece side dish.
Quick Overview of Scalloped Potatoes Details
Let’s look at the timing first. Prep takes about 20 minutes. Cooking runs around 70 minutes total. Yields 8 generous servings here. This fits perfectly as a vegetarian side dish.
Essential Ingredients for Perfect Scalloped Potatoes
Making truly wonderful Scalloped Potatoes starts right here. Quality matters a bunch. We need the right foundation for that creamy texture. Don’t skimp on your cheese choice!
Using precise measurements helps everything bake just right. I always measure my flour carefully. Richard laughs at my kitchen precision.
Potato Selection and Preparation
For this recipe, you must use 3 pounds of Russet potatoes. Peel them first, please. Uniform slicing is key for even cooking. Seriously, if you have one, grab that mandoline slicer. It gives you perfect, thin slices.
Crafting the Rich Cheese Sauce Base
The sauce needs 4 tablespoons of butter and 1/4 cup of flour. This makes our roux base. Then, slowly whisk in 3 cups of warmed whole milk. Don’t forget the seasonings: salt, pepper, and a tiny pinch of nutmeg.
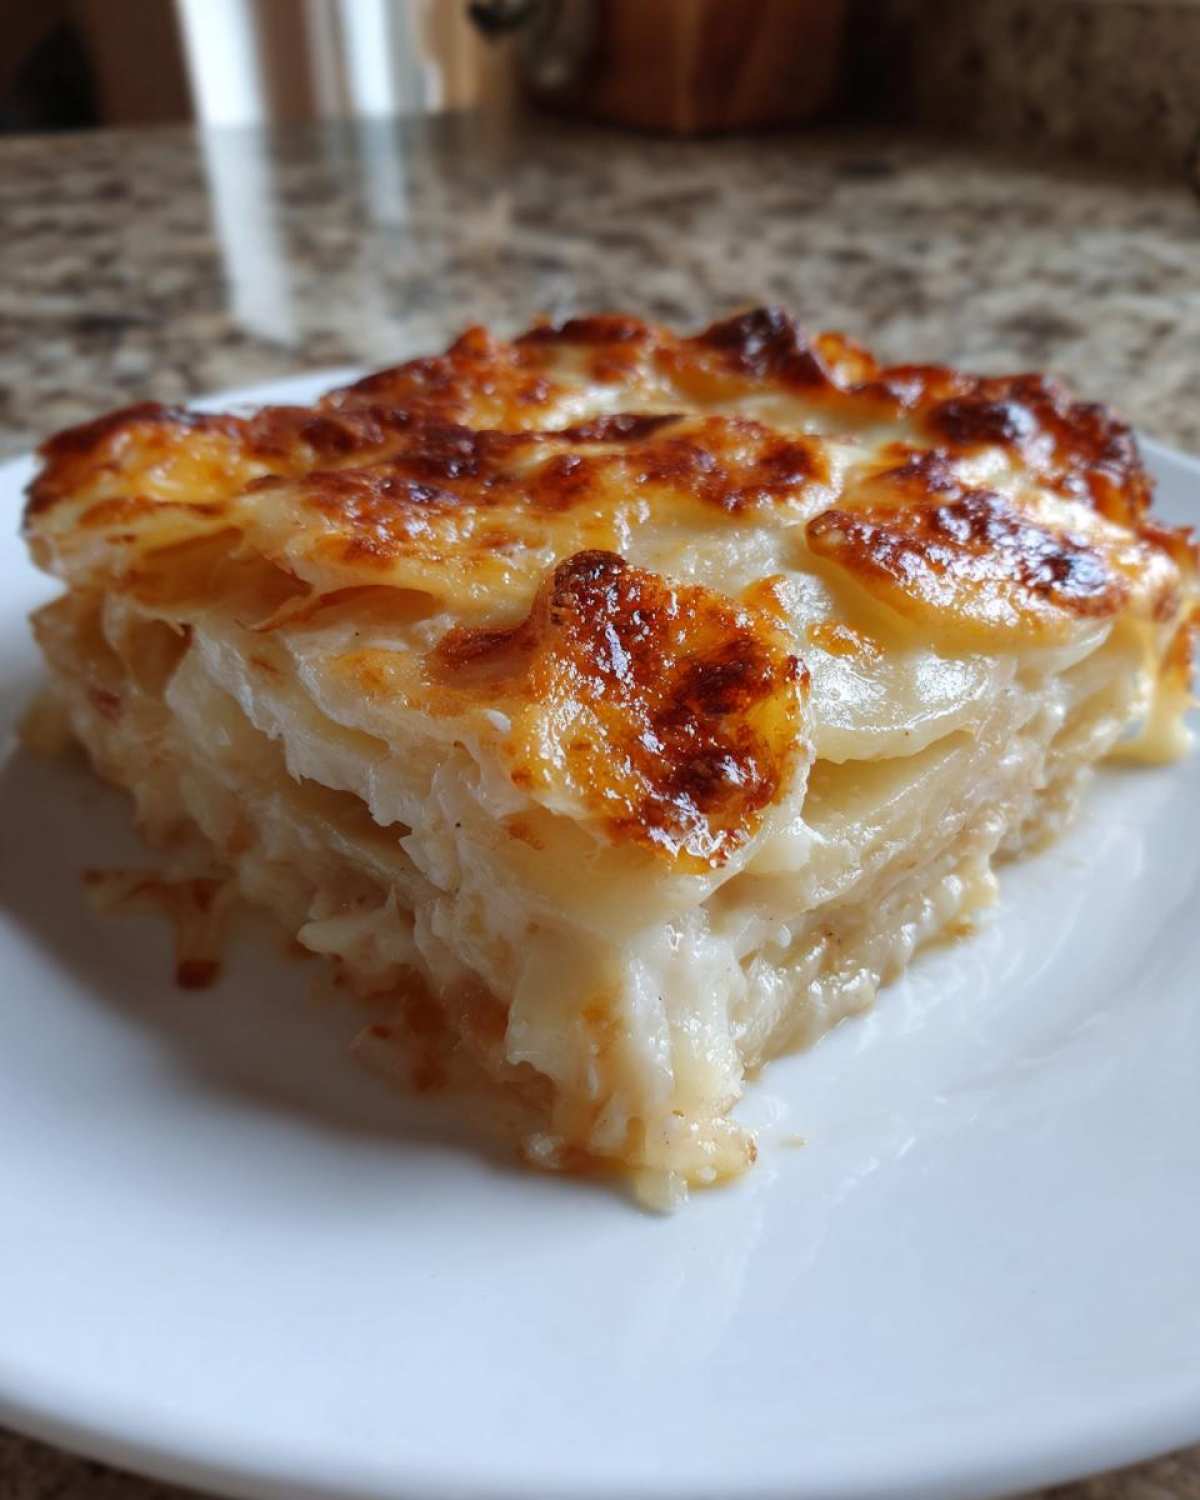
Equipment Needed for Your Scalloped Potatoes
You don’t need fancy gear for this dish. Basic kitchen tools get the job done well. I prefer using what I already own.
Gather these items before you start prepping your potatoes.
- A medium saucepan for making the sauce.
- A sharp knife or a mandoline slicer.
- A 9×13 inch baking dish. Grease this well.
- Measuring cups and spoons for accuracy.
- A whisk for a smooth sauce base.
- Aluminum foil for covering the dish initially.
Using the right size baking dish helps everything cook evenly. Too small means a dense bake. Too large makes the potatoes dry out fast.
Step-by-Step Guide to Making Scalloped Potatoes
Now for the fun part, folks! We are bringing these ingredients together. Follow these steps closely. You will have amazing Scalloped Potatoes ready soon.
Preparing the Potatoes and Preheating
First things first, get your oven warmed up. Set it to 375 degrees Fahrenheit. That is 190 Celsius for my international friends. Grease your 9×13 inch baking dish now. This prevents any sticking later on. Ready your sliced potatoes nearby.
Building the Roux and Cream Sauce Fidelity
Time to build that creamy magic. Melt your butter in a saucepan. Use medium heat, don’t rush this part. Whisk in the flour smoothly. Cook this roux for just one minute. It needs that little cooking time. Next, add the warm milk slowly. Whisk constantly as you pour. Warm milk keeps your sauce from getting lumpy!
Flavoring and Melting the Cheese Into the Scalloped Potatoes Sauce
Once the sauce thickens a bit, take it off the heat. Stir in the salt, pepper, and nutmeg. Now, mix in 1.5 cups of that sharp cheddar cheese. Keep stirring until it melts completely. This makes the sauce so rich.
Layering and Initial Baking Phase
We layer carefully now. Put half your potatoes in the prepared dish. Pour half the cheesy sauce over them evenly. Add the rest of the sliced potatoes on top. Pour the remaining sauce right over the top layer. Cover that dish super tight with foil. Bake it for 45 minutes first.
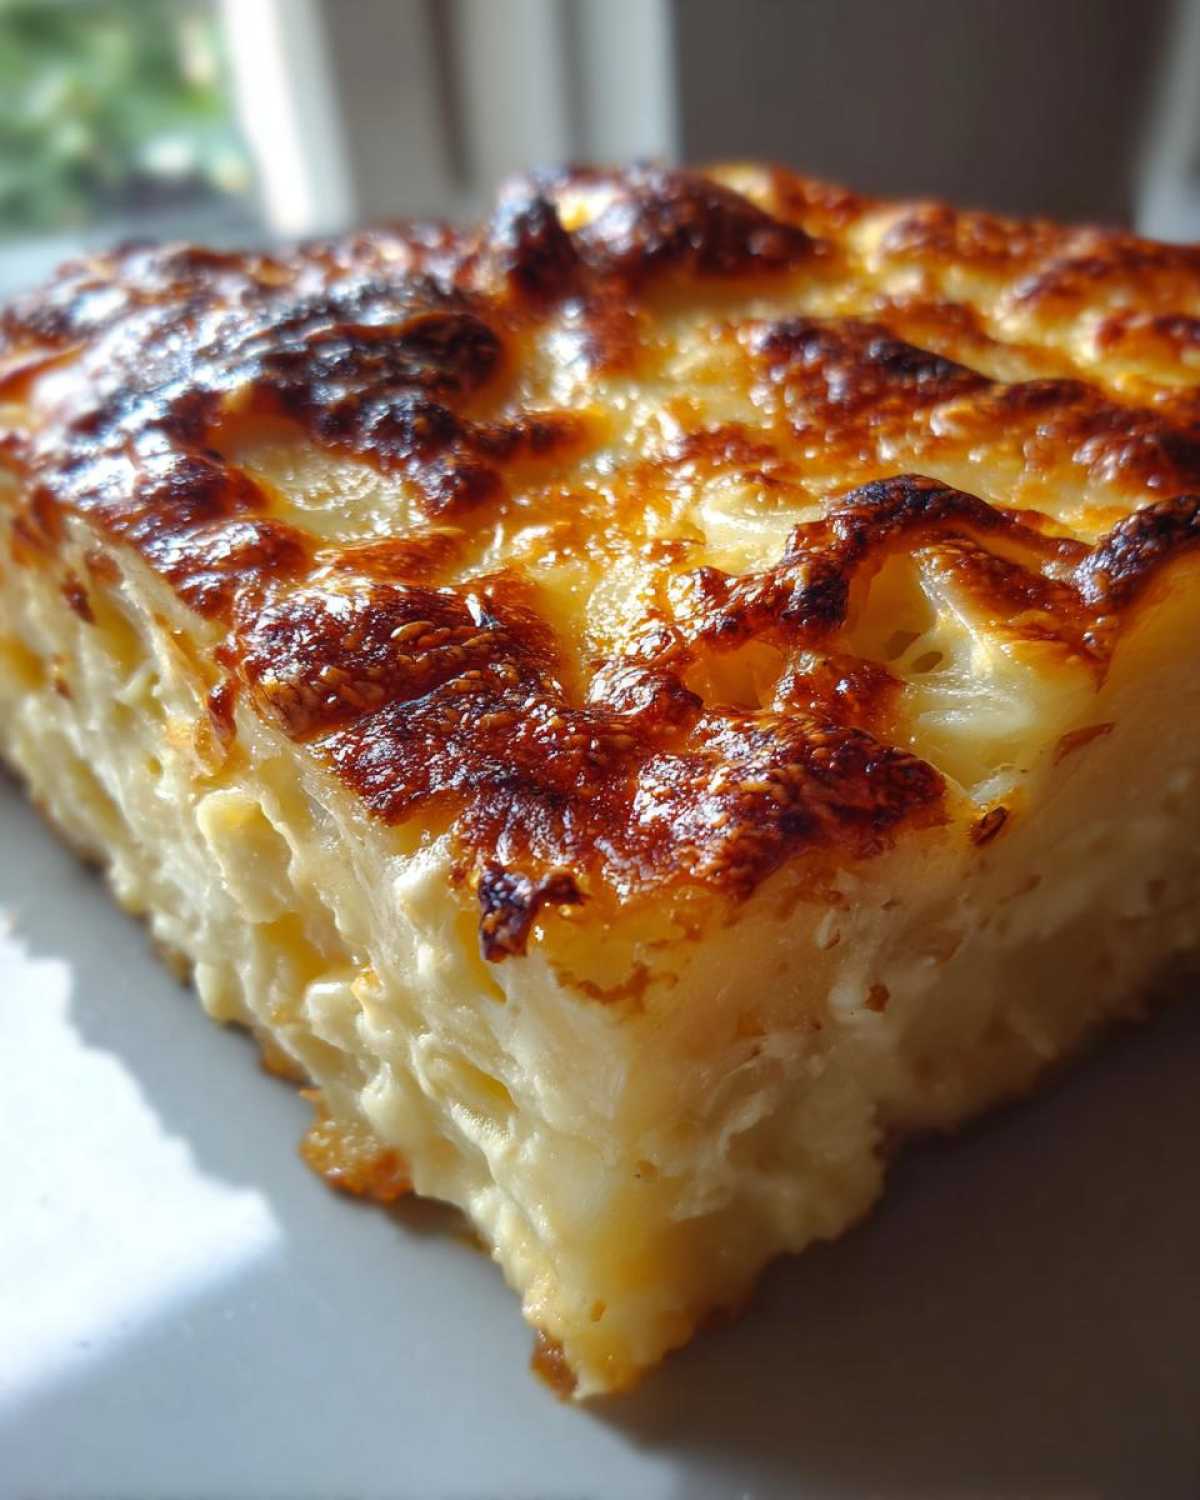
Finishing the Scalloped Potatoes: Browning the Top
After 45 minutes, it’s time to uncover. Carefully remove that aluminum foil. Sprinkle the last 1/2 cup of cheese across the top. Return the dish to the oven. Bake it uncovered for 20 to 25 minutes more. You want them tender. The top should look beautifully golden brown.
The Crucial Resting Period
I know you want to dig right in. Please wait just 10 minutes. This resting time is important. It lets the sauce set up nicely. It keeps your final dish from being too soupy. Then, serve your wonderful creation! If you are looking for other great side dishes, check out our general recipe blog.
Expert Tips for Flawless Scalloped Potatoes
Even the best recipes need a little tweak sometimes. I want your Scalloped Potatoes to be perfect. Uniform slicing is truly the biggest secret here. If slices vary, some cook too fast.
Don’t skip the resting time either. It firms up that creamy sauce. These little things make a huge difference. Trust me; I’ve made mistakes over the years.
Ingredient Swaps and Flavor Boosts
If sharp cheddar isn’t your favorite, try Gruyère cheese. It adds a lovely, slightly nutty taste. This substitution works beautifully. For an extra layer of flavor, try this trick.
Melt your butter first. Add one clove of minced garlic to it. Cook it briefly before adding flour. That subtle garlic kick is amazing. It elevates the whole dish!
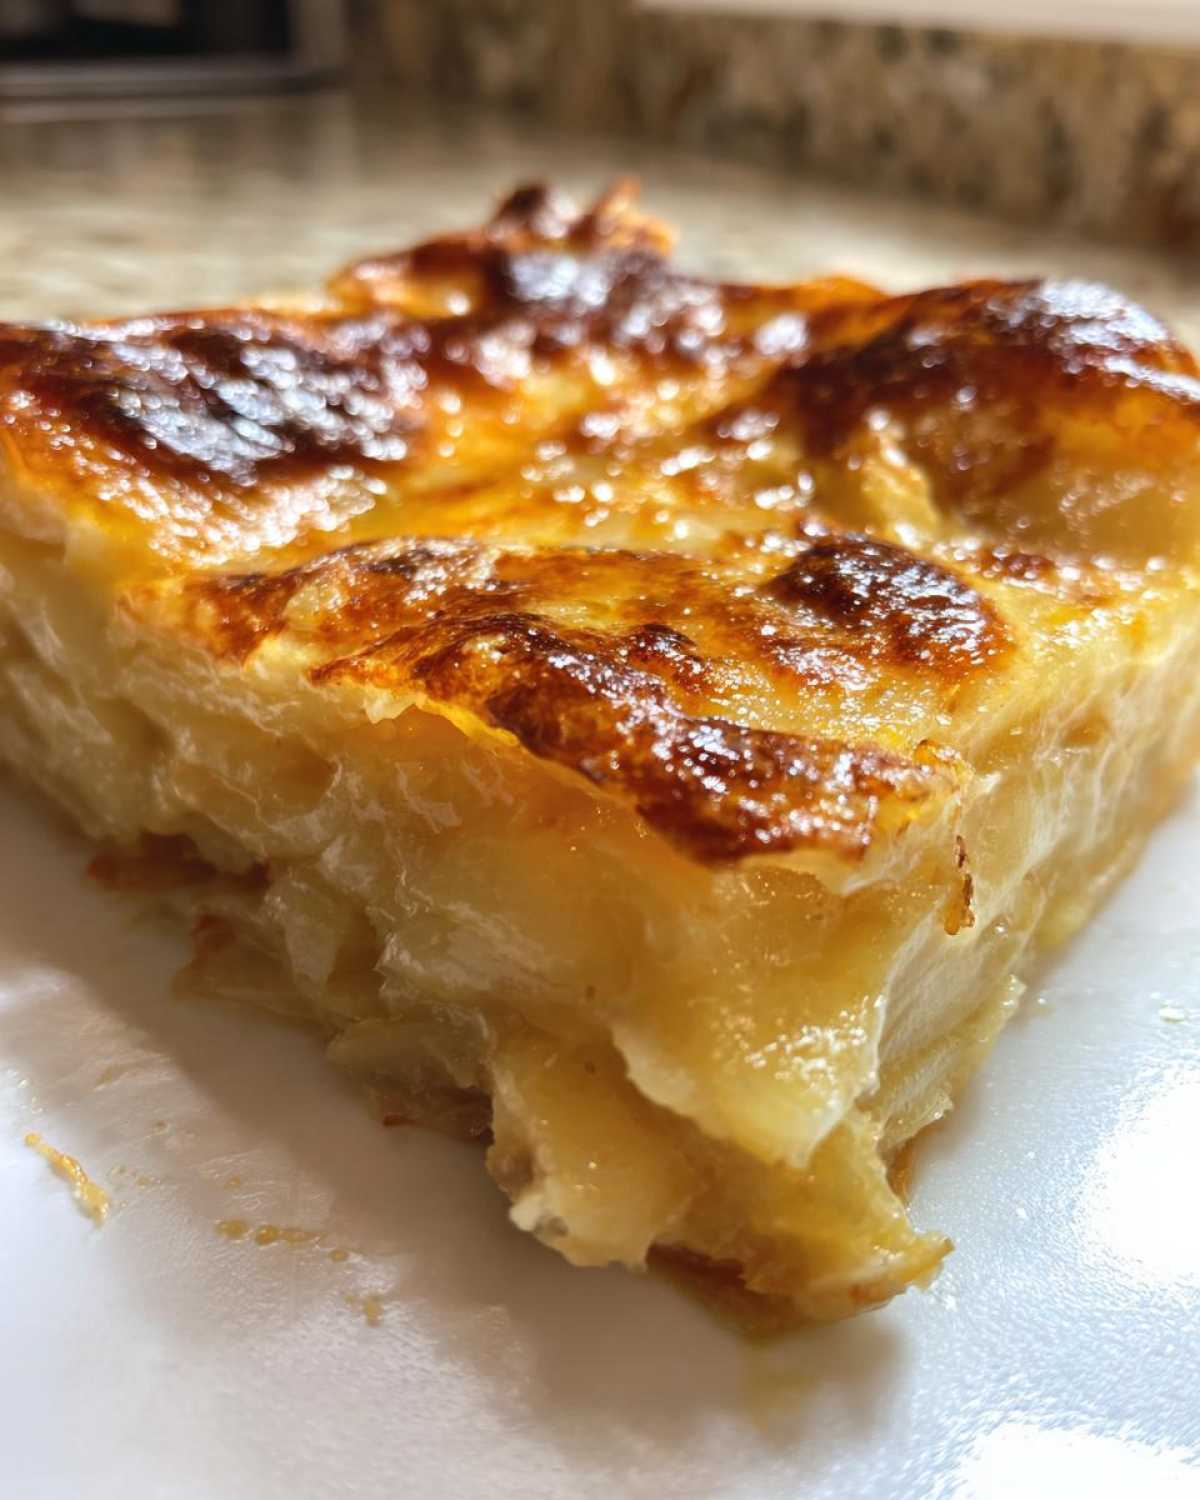
Frequently Asked Questions About Scalloped Potatoes
I know you might have a few lingering questions about this classic. We’ve all been there in the kitchen! These creamy potatoes can sometimes feel tricky. Here are some things Richard and I learned.
People often ask me about making these ahead of time. It’s a great way to prep for big meals.
Can I make Scalloped Potatoes Ahead of Time?
Yes, you certainly can! Assemble the entire dish, but cover it well. Don’t bake it yet. Store it in the fridge for up to a day. When ready, add about 15 minutes to the covered baking time. This lets it come up to temperature slowly.
What is the Best Potato Type for Creamy Potatoes?
Russets are my go-to choice here. Their high starch content helps thicken the sauce beautifully. They break down just right during baking. This gives you that perfect, soft texture you want in good scalloped potatoes. For more information on potato starch content, you can check resources like the United States Potato Board.
Why is My Scalloped Potatoes Sauce Thin?
A thin sauce usually means one thing. You need a good roux first. Remember to cook that flour and butter for a full minute. Also, make sure your milk is warm when added. If it’s still thin after baking, it often thickens as it rests. Give it that 10-minute cooldown time!
Storing and Reheating Your Delicious Scalloped Potatoes
Don’t let leftovers go to waste! Store any remaining Scalloped Potatoes tightly covered. Keep them in the refrigerator for three days max. They keep their flavor well.
Reheating needs a little care. The sauce can separate a bit. Add a splash of milk or cream first. Heat them slowly in the oven. Cover the dish when reheating. This keeps them moist and creamy. Enjoy that second helping! If you are interested in other potato dishes, you might like our recipe for Loaded Mashed Potato Casserole.
Share Your Delish Diarist Experience
I truly hope this recipe brings warmth to your table. Did you try these creamy potatoes? For general cooking tips and tricks, feel free to browse our About Us page.
Please leave a rating below for our diary entry. Tell me how your family loved this side dish.
We love hearing about your kitchen adventures!
PrintAmazing Scalloped Potatoes: 1 Secret Step

Create classic, creamy scalloped potatoes, a rich and tender side dish perfect for any special meal. This recipe brings comforting, cheesy goodness to your table.
- Prep Time: 20 minutes
- Cook Time: 70 minutes
- Total Time: 90 minutes
- Yield: 8 servings
- Category: Side Dish
- Method: Baking
- Cuisine: American
- Diet: Vegetarian
Ingredients
- 3 lbs Russet potatoes, peeled and thinly sliced
- 4 tablespoons unsalted butter
- 1/4 cup all-purpose flour
- 3 cups whole milk, warmed
- 1 teaspoon salt
- 1/2 teaspoon black pepper
- 1/4 teaspoon nutmeg
- 2 cups shredded sharp cheddar cheese
Instructions
- Preheat your oven to 375°F (190°C). Grease a 9×13 inch baking dish.
- Melt the butter in a medium saucepan over medium heat.
- Whisk in the flour until smooth, creating a roux. Cook for one minute.
- Gradually whisk in the warm milk until the sauce thickens slightly.
- Stir in the salt, pepper, and nutmeg. Remove from heat and mix in 1.5 cups of the shredded cheese until melted and smooth.
- Arrange half of the sliced potatoes in an even layer in the prepared baking dish.
- Pour half of the cheese sauce evenly over the potatoes.
- Layer the remaining potatoes on top, then pour the rest of the sauce over them.
- Cover the dish tightly with aluminum foil.
- Bake for 45 minutes.
- Remove the foil, sprinkle the remaining 1/2 cup of cheese over the top.
- Bake uncovered for another 20-25 minutes, or until the potatoes are tender and the top is golden brown.
- Let stand for 10 minutes before serving.
Notes
- Thinly slice your potatoes uniformly for even cooking. A mandoline helps achieve this.
- Warming the milk prevents the sauce from seizing when added to the roux.
- You can substitute Gruyère cheese for a nuttier flavor.
- For a richer dish, add a clove of minced garlic to the melted butter before adding the flour.
Nutrition
- Serving Size: 1 slice
- Calories: 350
- Sugar: 4g
- Sodium: 550mg
- Fat: 20g
- Saturated Fat: 12g
- Unsaturated Fat: 8g
- Trans Fat: 0.5g
- Carbohydrates: 32g
- Fiber: 3g
- Protein: 14g
- Cholesterol: 60mg