

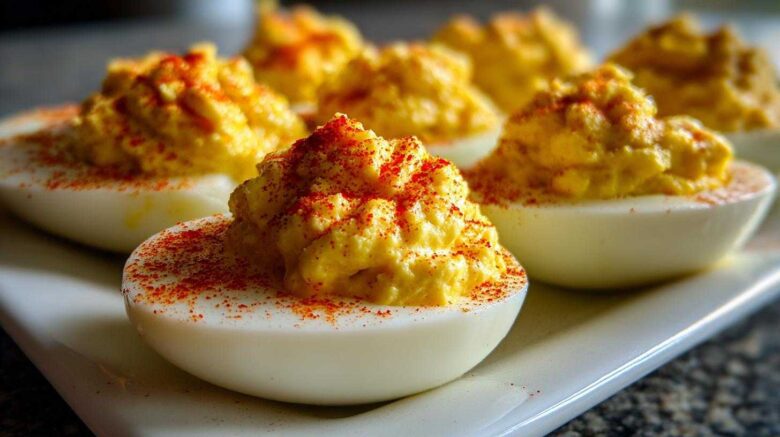
The Taste of Memory: Our Go-To Classic Deviled Eggs
Welcome to our kitchen diary, friends. I’m Eleanor. I’m sharing our recipe for Classic Deviled Eggs today. This simple appetizer brings back so many wonderful moments.
Richard and I spent decades collecting tastes globally. We ate everywhere we traveled. Our goal was always to eat like the locals did.
Now that we are home, our kitchen is our time machine. We recreate those flavors here often. This dish is pure comfort food for us. It feels like a warm hug.
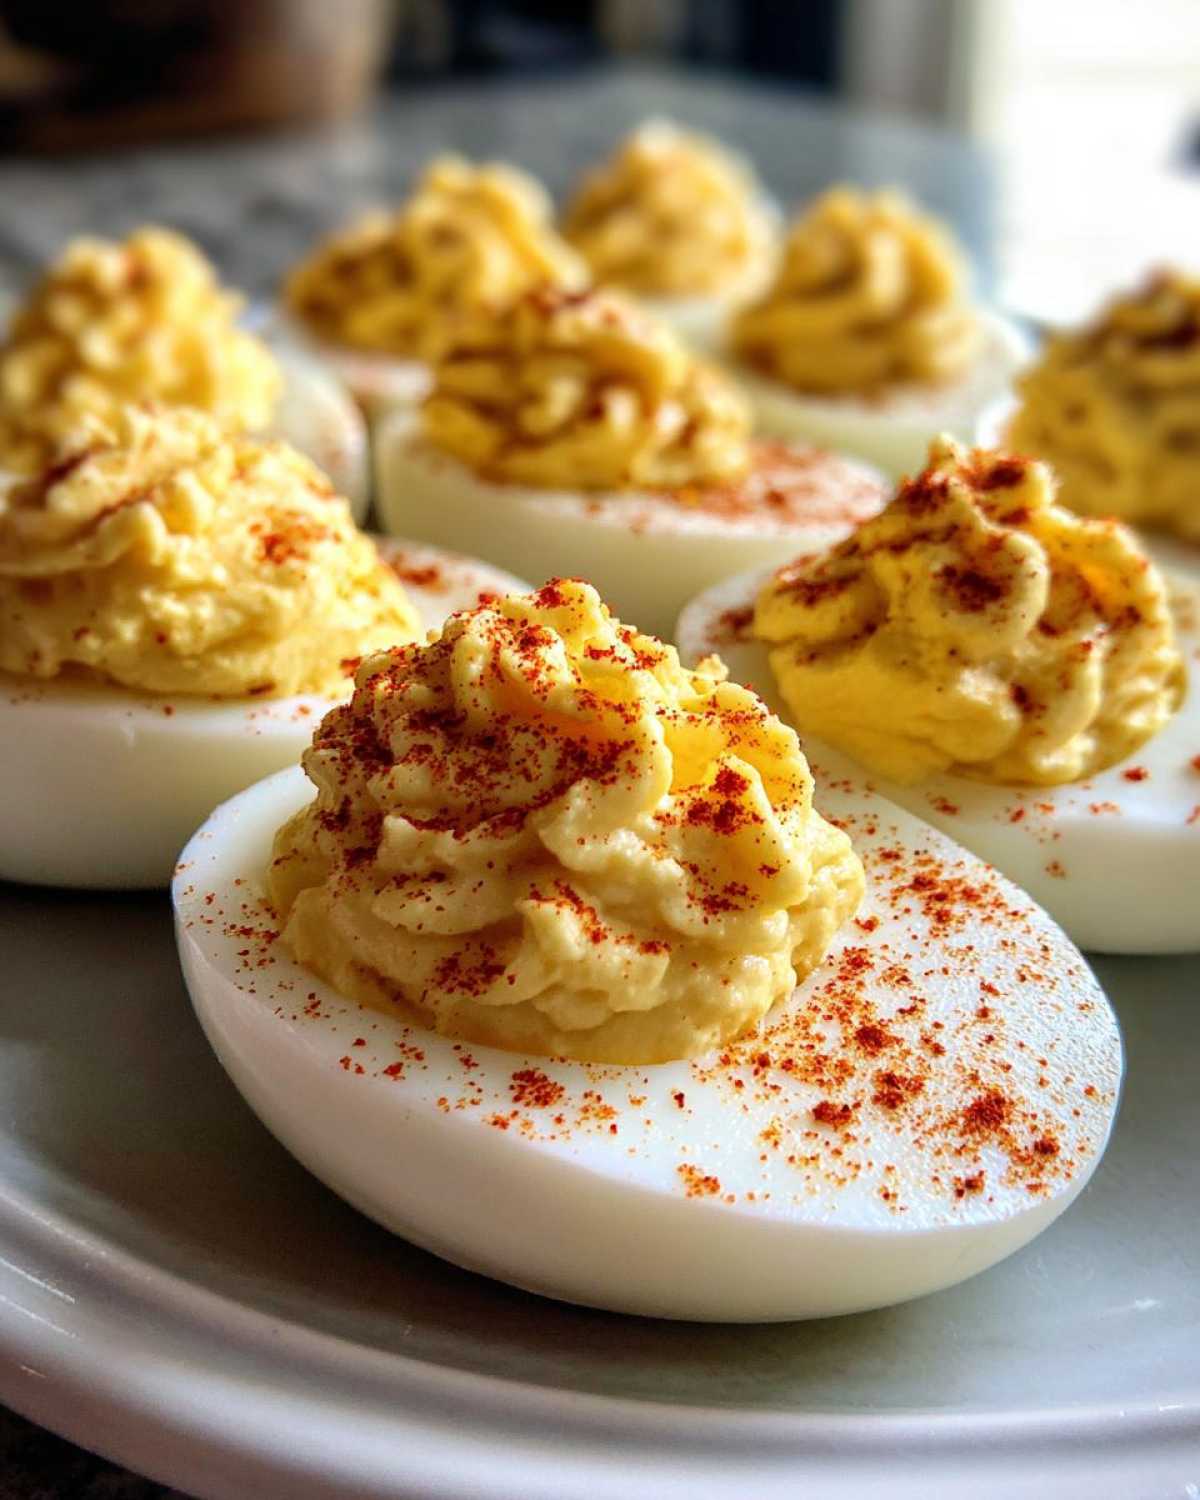
We used to make hundreds of these for neighborhood parties. They vanished fast every single time. They are the ultimate easy appetizer, truly.
This recipe is our diary entry for pure, simple joy. It’s food that tells a story. Let me show you how easy it is to make them your own favorite again.
Why You’ll Love This Recipe for Classic Deviled Eggs
I promise you’ll adore making these. They are simple but taste like a million bucks. They hit that perfect spot every single time. This recipe for Classic Deviled Eggs is a winner.
- Super speedy preparation time.
- Creamy texture and balanced flavor profile.
- Perfect potluck favorite for any crowd.
Quick Prep for Classic Deviled Eggs
You’ll notice the prep time is only twenty minutes. That’s fast, right? I love how quickly we get these ready. No fuss needed here at all. It means less time working, more time visiting.
Essential Equipment for Making Classic Deviled Eggs
Setting up your space saves so much time later on. You don’t need fancy gadgets for this recipe.
Grab a medium saucepan for boiling the eggs well. You’ll want a sharp knife, too. A medium bowl holds the mashed yolks nicely. Finally, a spoon or a piping bag finishes the job.
Having these items ready makes the process smooth.
Ingredients for Perfect Classic Deviled Eggs
Gathering your supplies is like setting the stage. These few simple items make all the difference. We rely on quality here. It really shows in the final taste.
You will need twelve large eggs for this batch. That gives us twenty-four lovely halves.
For the creamy filling, measure out half a cup of mayonnaise. Don’t skimp on this part, please!
Next, grab two tablespoons of bright yellow mustard. That adds that familiar tang we all crave. We also stir in one teaspoon of white vinegar.
- 12 large eggs
- 1/2 cup mayonnaise
- 2 tablespoons yellow mustard
- 1 teaspoon white vinegar
- Salt, to taste (Adjust this yourself)
- Black pepper, to taste (Freshly ground is best)
- Paprika, for garnish (Just a light dusting)
Remember, salt and pepper are adjustments only. Taste your filling before you fill the whites!
Step-by-Step Instructions for Classic Deviled Eggs
Now for the fun part, friends! We move from gathering to creating. Follow these steps closely. You’ll have beautiful, creamy treats ready soon.
The secret to great results is following the timing exactly. Don’t rush the cooling process at all. It matters a great deal, trust me.
Cooking and Cooling the Eggs Perfectly
First, place your twelve eggs in a saucepan gently. Cover them fully with cold tap water.
Next, place the pan over high heat. Bring that water to a strong, rolling boil quickly.
Once it boils hard, turn off the stove right away. Cover the pan tightly with a lid. Let the eggs stand off the heat for twelve minutes. This cooks them perfectly every time.
When the timer rings, move fast! Transfer the eggs immediately to an ice bath. They must cool completely. This step is key for easy peeling later.
Preparing the Creamy Yolk Filling for Classic Deviled Eggs
Once cool, peel those eggs carefully now. Slice every egg in half lengthwise gently. Scoop out every bit of yolk.
Put all those yolks into a medium bowl. Mash them well with a fork until they are fine. I mean really fine, like sand almost.
Now, mix in the mayonnaise, mustard, and vinegar smoothly. Richard always tastes right here. He says, “Eleanor, does it sing?” Taste it yourself now.
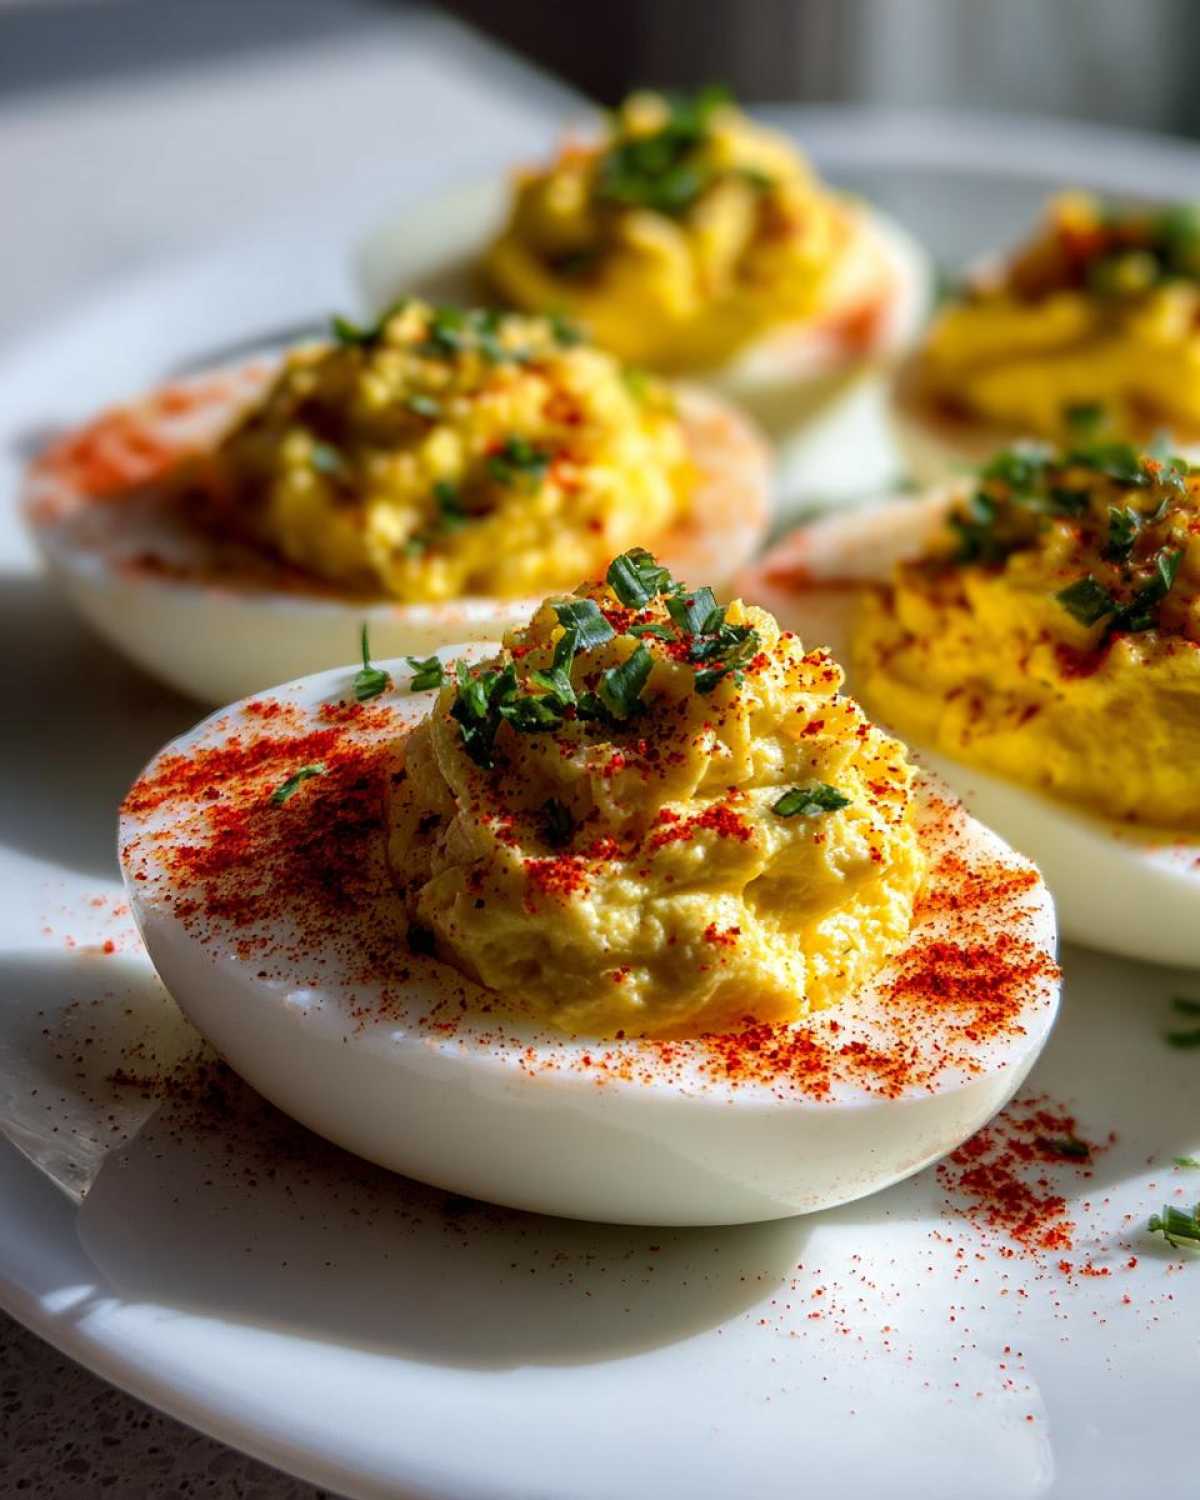
Adjust your salt and pepper until the filling sings nicely for you. This is your perfect creamy yolk mixture.
Assembling and Garnishing Your Classic Deviled Eggs
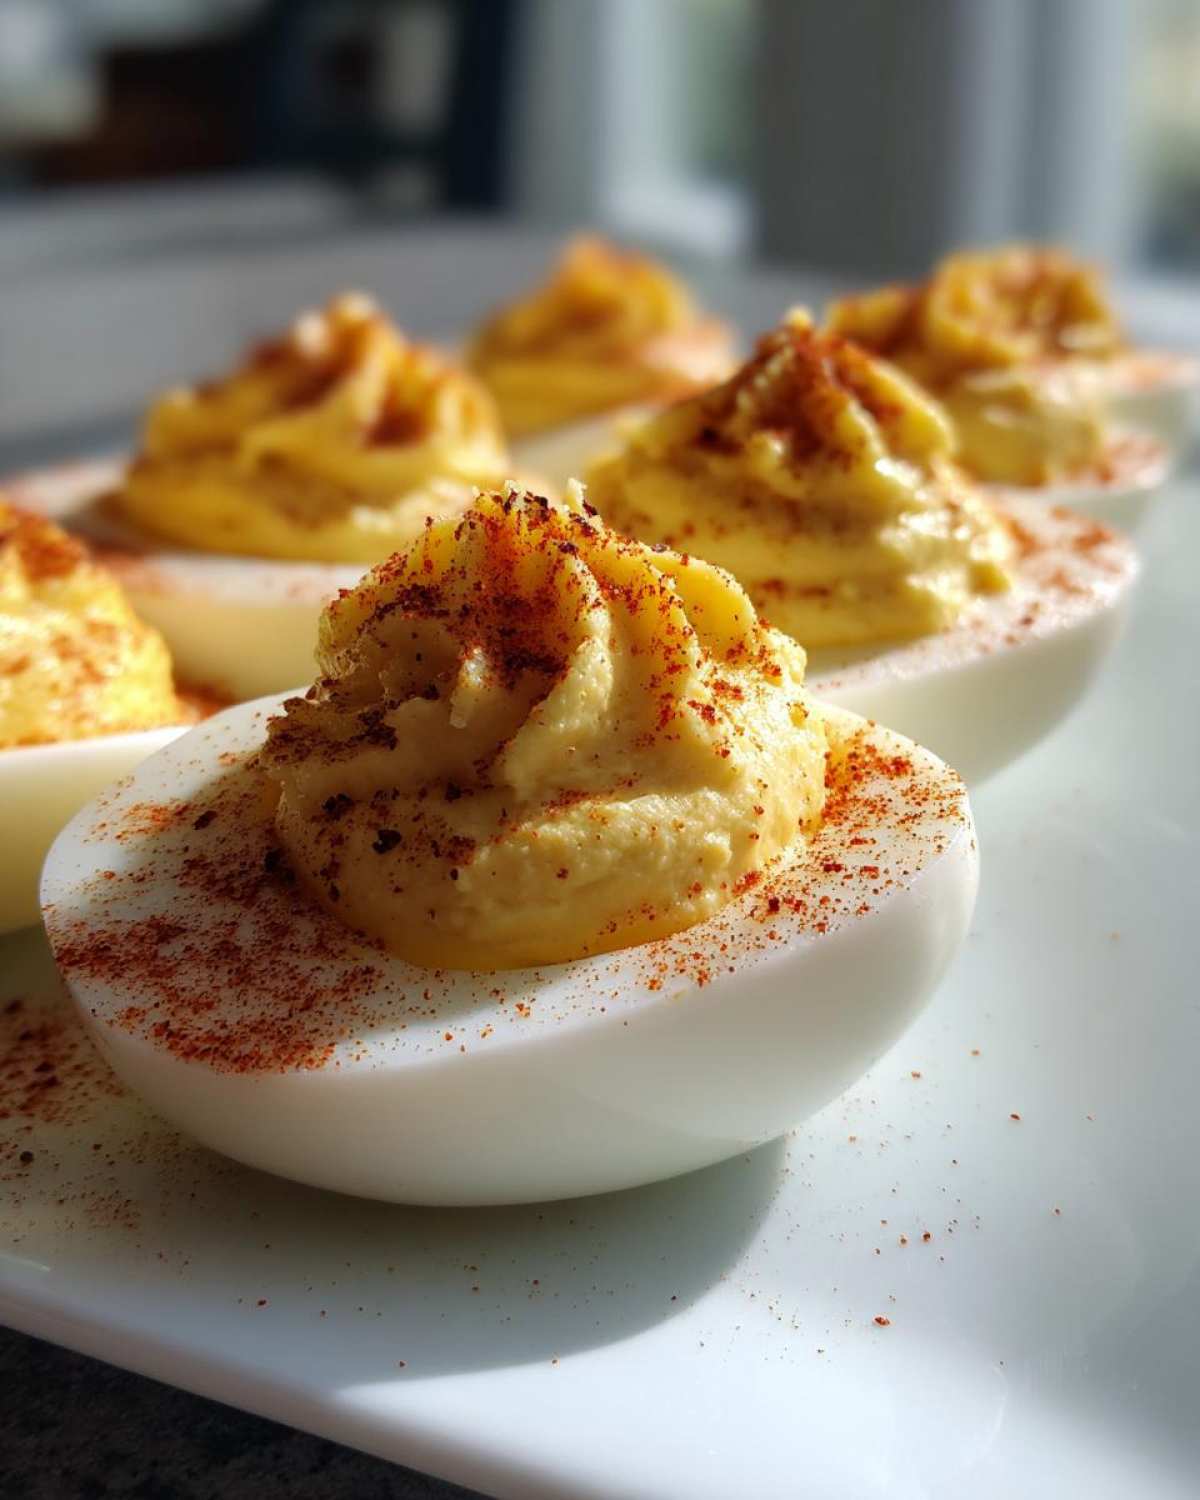
Spoon the filling back into the egg white cups. Or use a piping bag for pretty edges. Either way works great for these simple deviled eggs.
Make sure each half gets a nice, generous mound of filling. Don’t be shy with the delicious center.
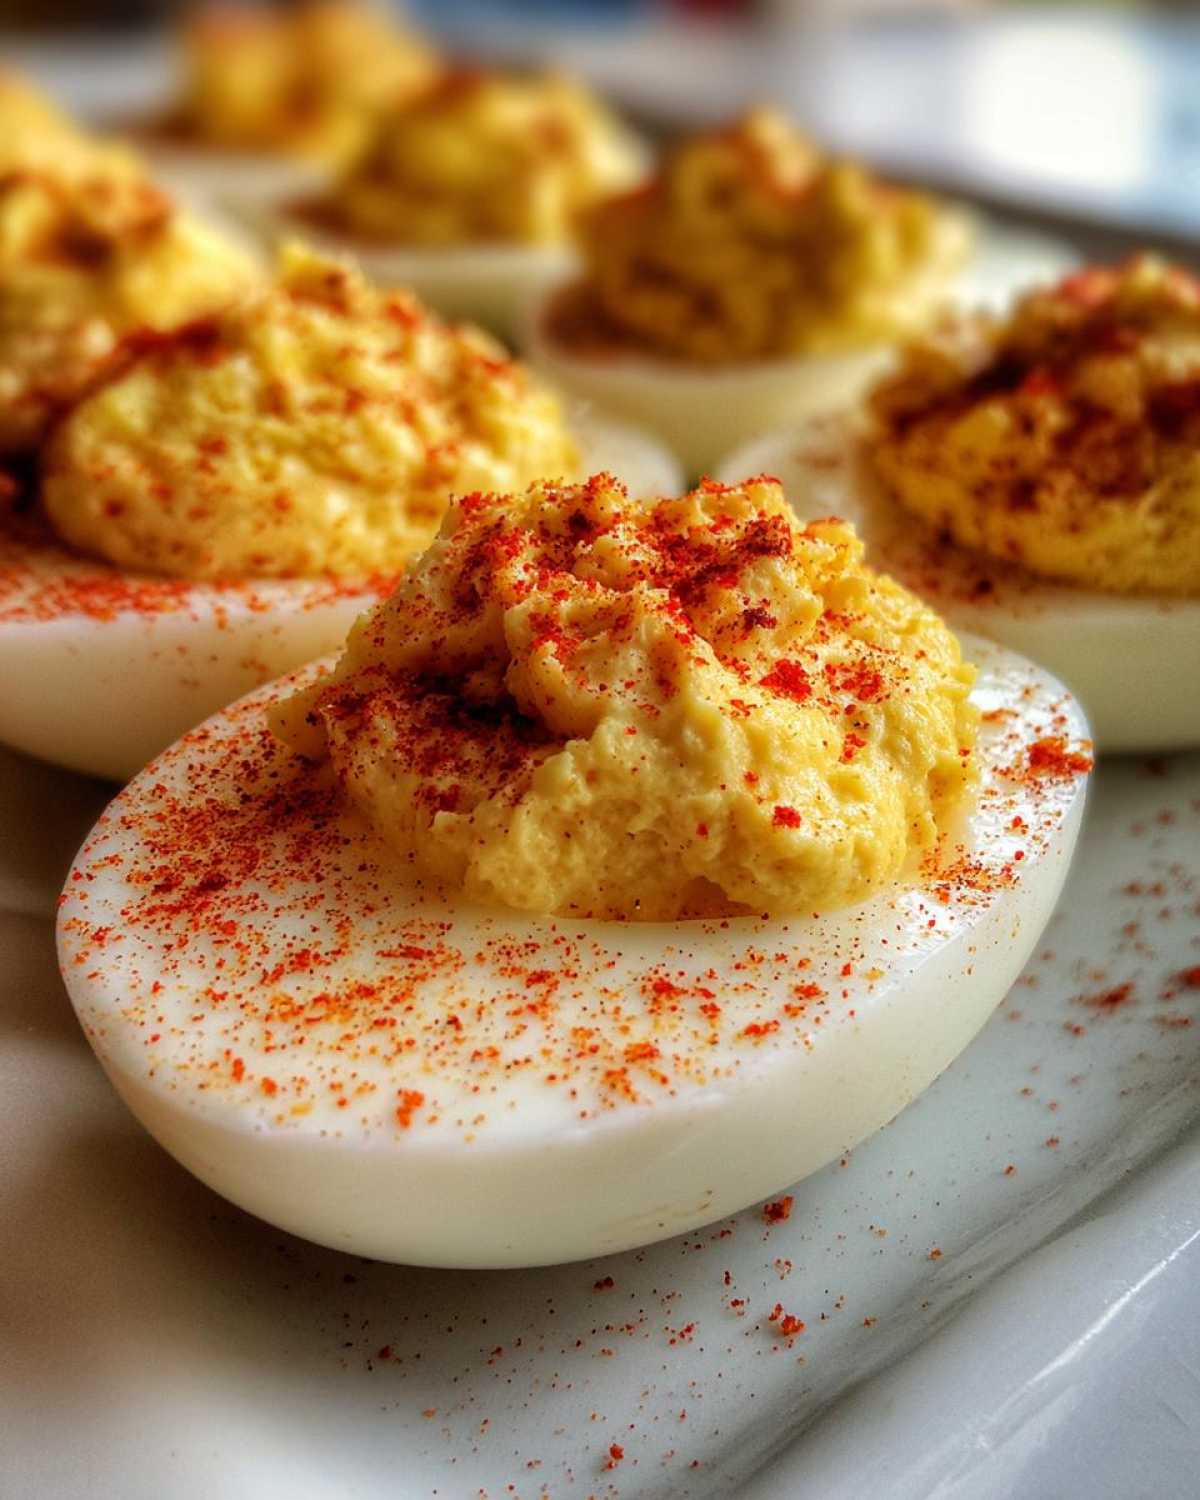
Finish them with a light dusting of paprika on top. This adds color and a little something extra.
Cover them loosely and chill them well before serving. Cold eggs taste much better, believe me.
Tips for Success with Simple Deviled Eggs
Even the simplest recipes have little secrets. I’ve learned a few tricks over the years. These tips help guarantee fantastic results every time you make them.
Don’t worry if your first batch isn’t magazine-perfect. Cooking is about practice and tasting. Here are a couple of my favorite shortcuts.
Selecting Eggs for Easier Peeling
The freshest eggs are wonderful for frying. They are terrible for boiling, though. Seriously, they stick like glue!
I always use eggs that are about a week old. They peel like a dream when they are slightly older. Try reserving some eggs for a week.
Achieving the Smoothest Yolk Texture
If you want that super velvety filling, I have a trick. After mashing the yolks, press them through a fine-mesh sieve. Achieving a smooth texture often involves sifting or using a food mill for the finest results.
It takes an extra minute, but wow, the texture is amazing. It becomes unbelievably smooth. Richard loves that ultra-creamy mouthfeel.
Frequently Asked Questions About Classic Deviled Eggs
I get so many lovely notes about this recipe. People always ask the same few things. Let me clear up some common points here for you.
How long can I keep these on the counter?
Since these are a creamy appetizer, food safety matters. Never leave them out longer than two hours. That includes any picnic or party time. Food safety guidelines recommend limiting time in the temperature danger zone.
Keep them refrigerated until serving time, please. They are best served quite cold anyway.
Can I make the filling ahead of time?
Yes, you absolutely can make the yolk filling early. I often do this the night before sometimes.
Store the filling in an airtight container in the fridge. Fill the egg whites just before you plan to serve them. This keeps the filling fresh.
Why are my egg yolks green around the edges?
That greenish ring means you overcooked the eggs slightly. It’s harmless, just not pretty. It happens when the sulfur reacts.
Remember my instructions for the 12-minute stand time? Stick to that time closely. An ice bath stops the cooking fast.
Are these good for a large potluck favorite?
They are the ultimate potluck favorite, truly! People always ask for the recipe. They are easy to transport if kept cold. These disappear faster than anything else, I guarantee it.
Storing Your Delicious Classic Deviled Eggs
Proper storage keeps these treats safe and tasty. I always keep leftovers refrigerated immediately.
Use an airtight container for best results. This stops them from drying out too fast.
They stay perfectly good for up to three days this way. Never stack them too tightly in the container.
Cold storage maintains their creamy texture well. Enjoy your leftovers soon! If you are looking for more appetizer ideas, check out our Spinach Artichoke Pinwheels recipe.
Sharing Your Delish Diarist Creation
Well, that’s our simple story for today.
I truly hope you enjoyed making these. Did this recipe bring back memories for you?
Tell Richard and me about your batch.
Share what moment your Classic Deviled Eggs recalled. We love hearing from fellow travelers! For more simple, comforting recipes, feel free to browse our full blog archive.
PrintClassic Deviled Eggs: Eleanor’s 12 Minute Secret
Create classic deviled eggs, a simple, creamy, and flavorful appetizer perfect for any gathering. This recipe brings back cherished memories with every bite.
- Prep Time: 20 minutes
- Cook Time: 12 minutes
- Total Time: 45 minutes
- Yield: 24 halves
- Category: Appetizer
- Method: Boiling and Mixing
- Cuisine: American
- Diet: Vegetarian
Ingredients
- 12 large eggs
- 1/2 cup mayonnaise
- 2 tablespoons yellow mustard
- 1 teaspoon white vinegar
- Salt, to taste
- Black pepper, to taste
- Paprika, for garnish
Instructions
- Place eggs in a saucepan and cover with cold water.
- Bring the water to a rolling boil over high heat.
- Remove the pan from the heat, cover it, and let the eggs stand for 12 minutes.
- Immediately transfer the eggs to an ice bath to cool completely.
- Peel the cooled eggs and slice them in half lengthwise.
- Carefully scoop the yolks into a medium bowl.
- Mash the yolks with a fork until fine.
- Mix in the mayonnaise, mustard, and vinegar until smooth.
- Season the filling with salt and pepper.
- Spoon or pipe the yolk mixture back into the egg white halves.
- Sprinkle paprika over the top of each deviled egg half.
- Chill before serving.
Notes
- For easier peeling, use eggs that are about a week old, not super fresh.
- If you prefer a smoother filling, you can press the mashed yolks through a fine-mesh sieve before mixing in the other ingredients.
- Taste your filling before piping it back in; adjust salt or mustard as needed.
Nutrition
- Serving Size: 2 halves
- Calories: 90
- Sugar: 0.5g
- Sodium: 100mg
- Fat: 8g
- Saturated Fat: 2g
- Unsaturated Fat: 6g
- Trans Fat: 0g
- Carbohydrates: 0.5g
- Fiber: 0g
- Protein: 3g
- Cholesterol: 90mg