

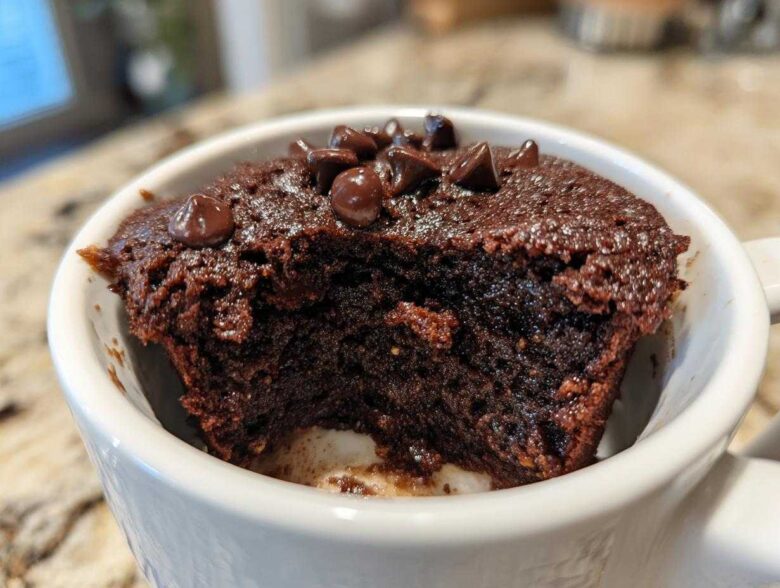
Oh, my dears, there are times, aren’t there, when the craving hits, and it hits *hard*? It’s usually late, Richard is already reading, and I suddenly need something sweet—and I mean right now! Collecting recipes for forty years taught me one huge lesson: if it takes more than five minutes, the moment is usually gone. That’s why I adore the **mug cake**. It’s the ultimate, no-fuss solution for those sudden **late night cravings dessert** moments. This little **mug cake** is proof that you don’t need a whole afternoon or a fancy oven to bake up something truly comforting. It brings back the energy of my early married days, only faster!
Why This Chocolate Mug Cake is Your New Favorite Quick Dessert in a Mug
When I tell you this is my go-to **quick dessert in a mug**, I mean it. We’re talking about a rich, fudgy treat that’s ready before the kettle even whistles! Richard and I were traveling last year, staying in these adorable little Airbnbs, and sometimes the craving for real chocolate would strike at 10 PM. We didn’t want to wake the host or drive to a store, so I perfected this system. Honestly, knowing I can have a personal **dessert in under 5 minutes** completely changes your evening!
The best part, besides the speed, is the cleanup. Zero fuss! You mix it, microwave it, and eat it from the same vessel. That’s what makes this concept so brilliant for modern life.
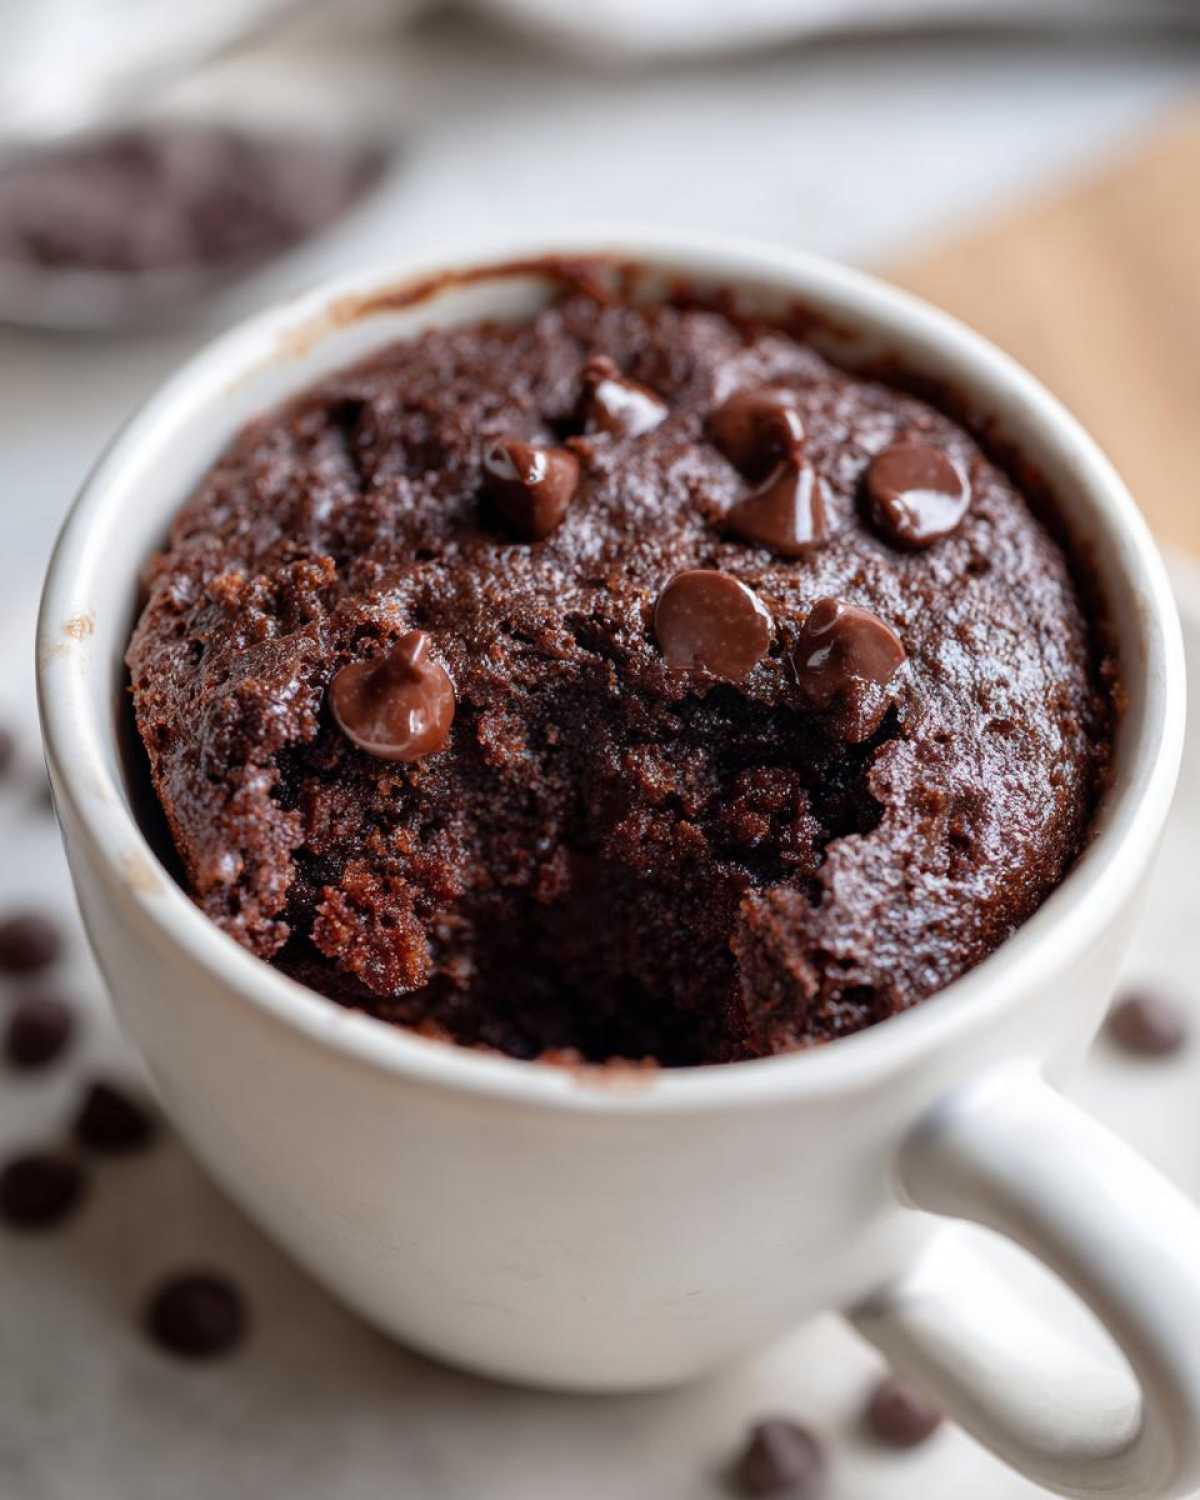
The Magic of the Microwave Mug Cake
You might worry that the microwave gives you rubbery results, but not with this batter! The combination of liquid and leavening agent reacts instantly, trapping steam and turning the batter into a proper, dense cake lightning fast. This isn’t some sad, flat disc; it’s a legitimately **fluffy microwave cake**, provided you don’t walk away from it. Seriously, 90 seconds max, and you’ve got your dessert. It’s the simplest act of baking I know, and it always satisfies that deep need for something warm and sweet. Check out some of my other kitchen experiments when you have a bit more time!
Ingredients for the Perfect Chocolate Mug Cake Recipe
Now that you know how fast this is, let’s talk about what goes into the mug. When I developed this recipe, I kept Richard’s pantry in mind—simple stuff that everyone usually has on hand. This is the magic ratio for one perfectly sized, **easy single serve cake**. Don’t try to double this recipe in one mug, though, or you’ll end up with a messy, sticky explosion in your microwave! Stick to one mug, one serving, every time.
Here’s what you need assembled right next to your microwave:
- 4 Tablespoons all-purpose flour
- 4 Tablespoons granulated sugar
- 2 Tablespoons unsweetened cocoa powder
- 1/4 teaspoon baking powder
- Pinch of salt
- 3 Tablespoons milk (any kind works for me!)
- 1 Tablespoon vegetable oil
- 1/4 teaspoon vanilla extract
- 1 Tablespoon chocolate chips (optional, but please try them!)
Ingredient Notes and Substitutions
Every ingredient plays a starring role, even the humble salt, which really wakes up that chocolate flavor. I want you to feel confident substituting where you need to, but know what you are changing!
For instance, the vegetable oil is what keeps this cake astonishingly moist because it remains liquid at room temperature. If you swap that out for melted butter—which is lovely, by the way—you’ll get a slightly richer, maybe denser flavor, but the moisture level shifts just a bit. This recipe is designed to be an effortless **fudgy microwave dessert**, and those chips really seal the deal on that texture.
I urge you to use the chocolate chips, even if you think you don’t need them. They melt down into these little pockets of gooey goodness. For me, that little extra indulgence takes it from good to magnificent.
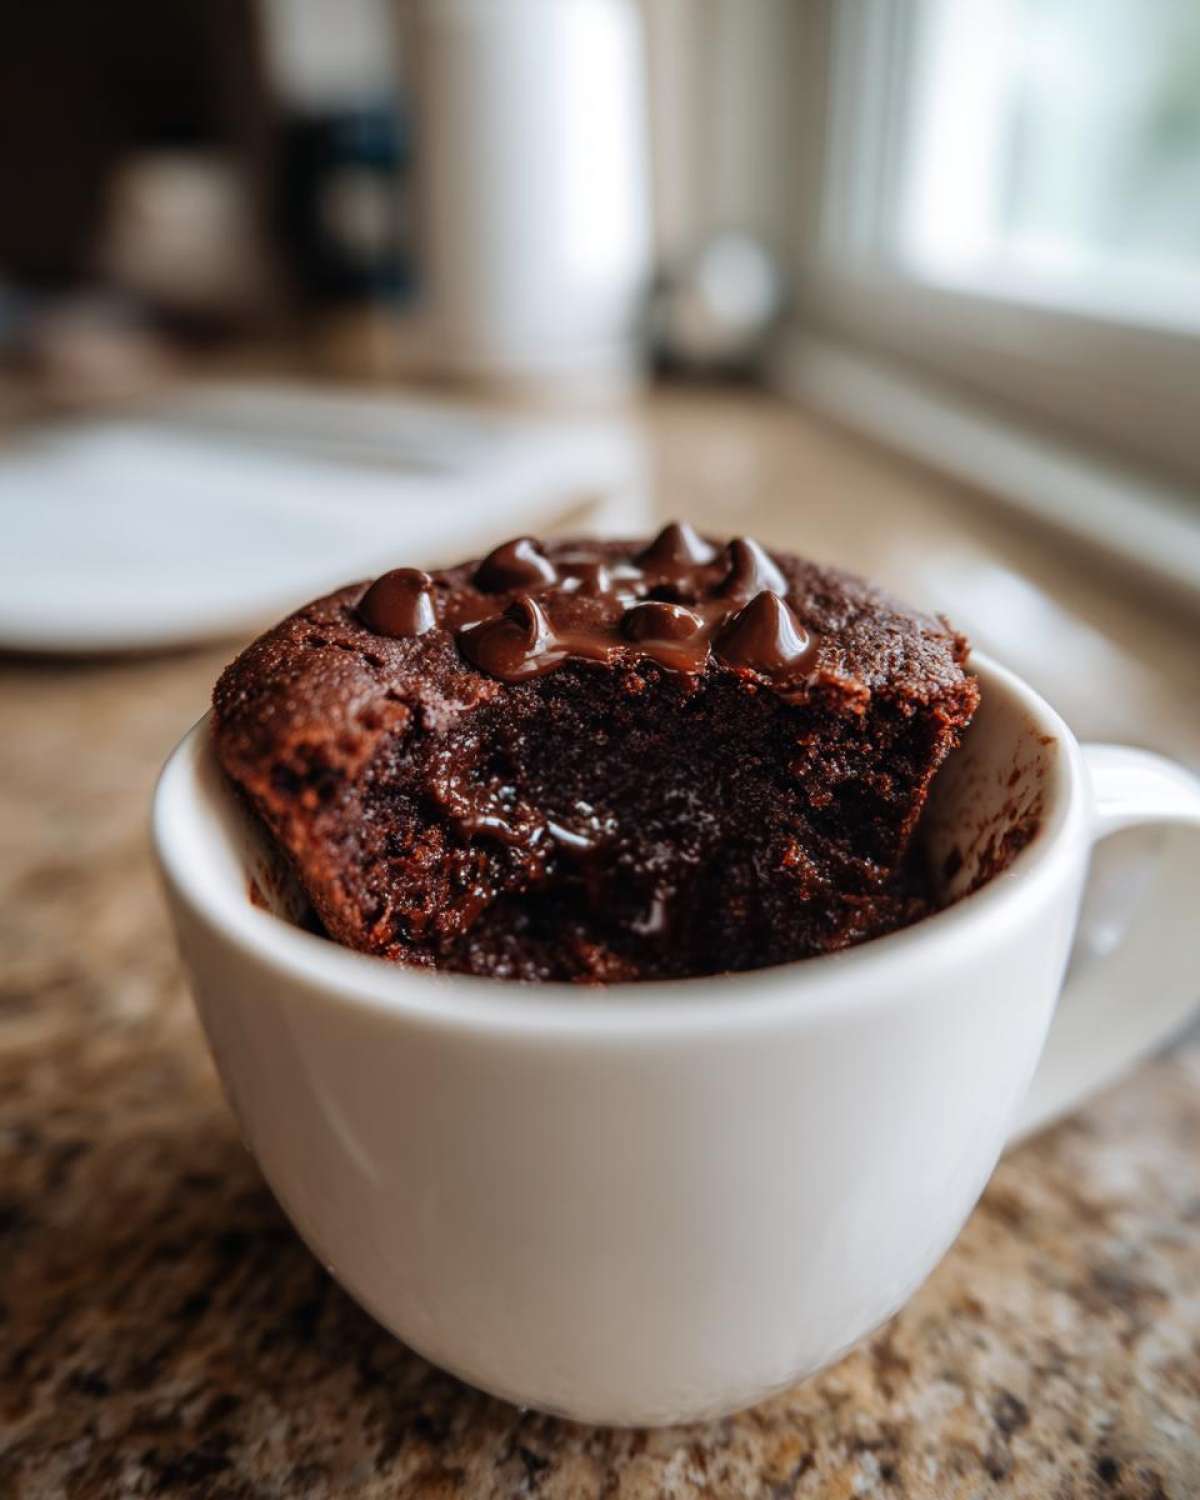
Step-by-Step Instructions for Your One Mug Wonder
This is where the magic really happens, and I mean *fast*. If you’ve assembled your ingredients, you’re practically done! The secret to making sure this is a proper cake and not just chocolate-flavored paste is the order of operations. We always treat the dry ingredients like they need a good introduction before the liquids arrive. Trust me, I learned the hard way years ago when trying to rush a quick sauce—mix the dry stuff first from the very bottom of the mug!
The entire mixing process should take you no time at all, making this a true **2 minute dessert**. You don’t need a fancy stand mixer! Just get a small fork or a tiny whisk handy.
- Find a standard, microwave-safe mug (about 10-12 ounces). If it’s too small, your batter will overflow when it puffs up when cooking.
- Add the dry ingredients to the mug first: flour, sugar, cocoa powder, baking powder, and salt. Use that small fork to mix these thoroughly until you can’t see any white streaks of flour. I spend a little extra time here, really getting into the corners.
- Now, add the wet ingredients right on top of your dry mix: milk, vegetable oil, and vanilla extract.
- Stir everything together in that one mug until you have a smooth, shiny batter. This is vital: use your fork to scrape the absolute bottom corners of the mug because that’s where the dry mix loves to hide! We don’t want any unmixed flour pockets, do we?
- If you decided to be decadent—and you should!—stir in your chocolate chips now.
- Place the mug carefully into the microwave.
- Let the mug cake cool for one minute before attempting to eat it. It will be volcanically hot! You can enjoy it right out of the mug, or carefully tip it out onto a small plate if you prefer. For ideas on what to serve alongside it, check out my guide to making moist banana bread if you ever have leftover flours!
Microwave Timing: The Secret to a Fluffy Microwave Cake
This is where home chefs often go wrong! Every microwave oven has a different personality—mine is 1000 watts, but yours might be weaker or stronger. If you overcook this just a bit, your lovely cake turns into something oddly chewy. We are aiming for that perfect, light crumb, the sign of a truly **fluffy microwave cake**.
Here is my rule of thumb: Always start checking at 60 seconds on high power. You will likely need 75 to 90 seconds total. Watch the top of the batter through the microwave door. The moment it stops looking like wet goo and firms up in the center, stop the microwave! It should still look slightly glossy on top. If you see steam rising vigorously, you’ve gone too far!
Tips for Success with Every Mug Cake
I’ve made hundreds of these little cakes over the years. Seriously, sometimes I’ll make one after dinner, and then Richard will want a *second* one an hour later—it’s that easy! But even with something so simple, there are a few tiny secrets that elevate it from being just ‘okay’ to truly wonderful. These little nuggets of wisdom are things I’ve picked up through trial and—I’ll admit it—a few microwave cleaning sessions!
First, let’s talk texture control. If you want that dense, almost molten center, you want to lean toward less cooking time. Think of it as walking the high-wire between undercooked batter and dry sponge. Aiming for 60 seconds total is your best bet for fudgy results. If you prefer a slightly more traditional cake texture, go the full 90 seconds, but be vigilant!
And please, please, please listen to me about the cooling time. That mug comes out HOT. Not ‘warm’ hot, but ‘melted everything on the counter’ hot. You need to let it rest for at least 60 seconds, just like I noted in the instructions. This resting period allows the internal steam pressure to equalize, which stops the cake from collapsing into a puddle when you try to eat it. It’s impatient, I know, but waiting one minute is worth avoiding that molten lava situation.
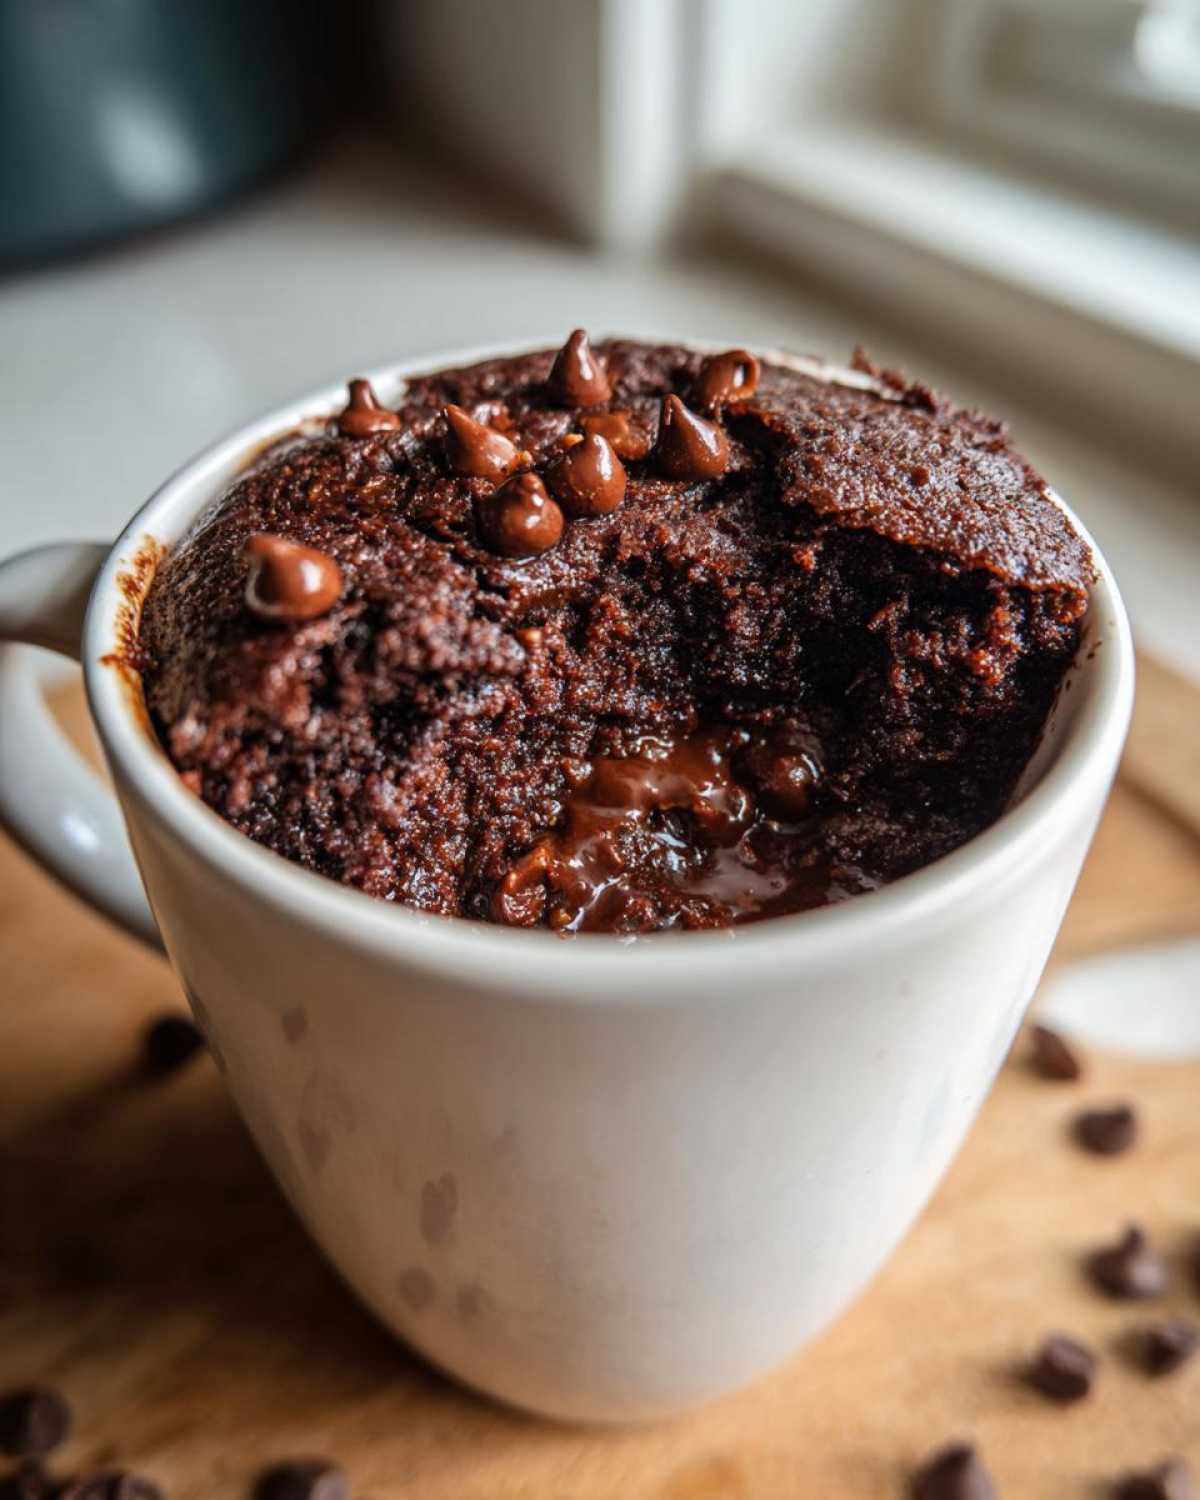
One small trick Richard swears by is adding a tiny pinch of instant espresso powder into the dry mix along with the cocoa. It doesn’t make it taste like coffee; it just deepens the chocolate flavor immensely, making it taste like you worked on it for hours. It’s a tiny adjustment that gives your **dessert in a mug** a professional edge. For more exciting baking hacks utilizing modern tools, you might enjoy reading about my latest air fryer adventures!
Serving Suggestions for Your Easy Single Serve Cake
We’ve mastered the art of the quick fix, but just because this cake is fast doesn’t mean it can’t look like you spent hours lovingly crafting it! Making this **easy single serve cake** special is all about the presentation, or, as Richard calls it, “dressing up the masterpiece.” We usually eat ours right out of the mug when the craving strikes, but if we have company (or if I’m feeling particularly fancy), a few simple additions make all the difference.
When the cake is still warm, the toppings melt just perfectly. My favorite, hands-down, is a small scoop of good quality vanilla bean ice cream right on top. The hot, fudgy chocolate meeting the cold, creamy vanilla is just heavenly. It’s the perfect balance, and it’s ready in seconds.
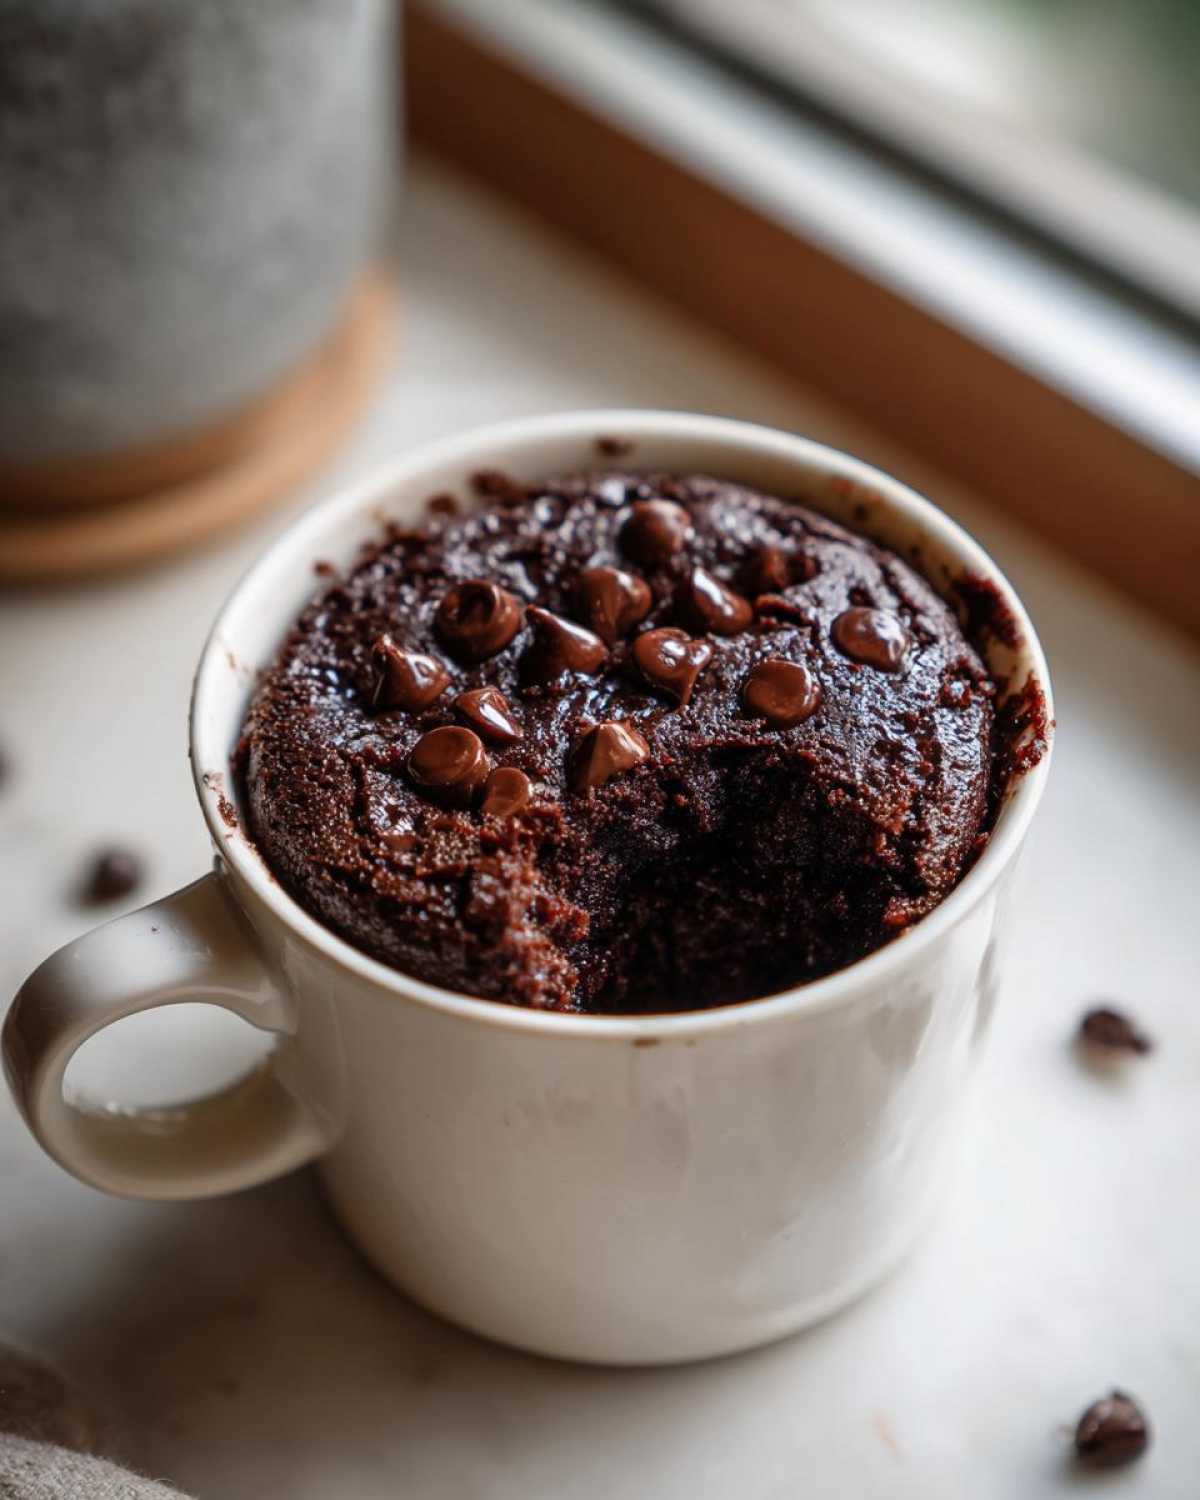
If you want something lighter, a simple dusting of powdered sugar is elegant and takes about five seconds. Or, whip up some heavy cream with a tiny splash of vanilla extract until it holds soft peaks—that only takes a minute in the mixer! That homemade whipped cream makes the dish feel a bit like something from a lovely Parisian café, but without any of the wait time. You can even drizzle a little caramel sauce over it if you happen to have some leftover from making my no-bake Nutella pie!
Remember, the beauty of this **mug cake** is its simplicity. Don’t feel pressured to buy a dozen things to top it with. A small dollop of something creamy or a simple sprinkle of sugar transforms it instantly into a truly satisfying ending to any meal.
Storage and Reheating Instructions for Leftover Mug Cake
Now, let’s be practical. I write this recipe for one serving because, usually, when the craving hits, Richard and I want one *right now*! But, I know some of you are planning ahead or maybe you made two by accident (oops!). Traditional cake leftovers are one thing, but these **mug cake** creations are meant to be eaten immediately. They are at their peak texture the second they come out of the microwave.
If you happen to have any leftover, though, you can cover the mug tightly with plastic wrap or an airtight lid and keep it in the refrigerator for up to two days. I’ll confess, I’ve never kept one longer than that; they just never seem to last!
Reheating is where you need to be careful. The microwave is wonderful for speed, but it’s a harsh master when bringing a previously cooked cake back to life. If you try to blast it for 30 seconds, it will go hard and rubbery almost instantly. The goal here is to gently wake up the moisture again, not re-cook it into an eraser!
You must reheat on 30% or 50% power in 10-second bursts. Seriously, watch it closely. If you zap it for 10 seconds on high power, you are guaranteed to ruin that lovely texture we worked so hard to create in the first place. A quick, gentle reheat on lower power is the only way to bring this **late night cravings dessert** back to life without turning it into a hockey puck. I find that if you stick to 10-second intervals, you can save a leftover cake and it will be nearly as good as fresh!
Variations on the Classic Mug Cake
Once you’ve mastered the basic chocolate batter—which is incredibly simple, thank goodness—the world of the **mug cake** opens up! I love encouraging people to play a bit here. Since we are using such basic pantry ingredients, swapping just one or two things can give you a whole new dessert experience. We’ve already mentioned the espresso powder trick for a deeper chocolate flavor, but there are so many other fun ways to go!
If chocolate isn’t what you’re after *this* time, you can easily pivot this recipe into a lovely **Vanilla Mug Cake**. All you need to do is cut out the cocoa powder completely (reduce the flour by just one tablespoon to balance the dryness). Then, bump that vanilla extract up to a full 1/2 teaspoon. It becomes a perfect little blank canvas ready for whatever toppings you choose. It’s amazing how different the very same base recipe can taste!
For those deep, cozy craving nights where you want something richer than cake—think decadent and chewy—you want to go the **Brownie in a Mug** route. This one is so easy! You just need to cut the milk down to 2 tablespoons and add an extra half tablespoon of oil or melted butter. This slightly higher fat ratio is what pulls it away from cake territory and into that glorious, fudgy brownie realm. It’s pure indulgence, served instantly.
And if you’re feeling adventurous one day, try incorporating peanut butter! Mix one tablespoon of creamy peanut butter right in with your wet ingredients. It pairs magnificently with the chocolate chips, creating a flavor profile that reminds me of my travels through the American South. It’s richer and heavier, but absolutely worth the slight change in texture. For more dessert inspiration that requires no baking at all, you should take a peek at how I make my no-bake Biscoff cheesecake!
Frequently Asked Questions About Making a Mug Cake
It’s lovely that so many of you are trying this! Whenever I share a recipe this fast, people always have the best questions, usually centering on how to keep that texture perfect. I’ve gathered the ones I receive most often right here so you can feel like an absolute expert the next time you whip up this treat. Making a **mug cake** shouldn’t be confusing; it should be joy!
Can I use baking soda instead of baking powder in my mug cake?
That’s a fantastic question that gets right into the chemistry of things! Baking powder already contains both the acid and the base needed to create lift when it meets moisture and heat. Baking soda, on the other hand, is purely base and needs an acid added to it—like buttermilk or vinegar—to activate properly. Since this recipe uses milk (which is only slightly acidic) and already relies on the lift from the baking powder, swapping to baking soda alone won’t give you the results you want. You’ll get a flatter, slightly off-tasting cake. Stick to the baking powder for reliable, **quick sweet treats** when you need them!
What is the best mug size for this mug cake recipe?
I specify a 10 to 12-ounce mug, and that’s a very important detail for your **easy baking recipes**! The batter itself only fills about half of that space once mixed. When you put it in the microwave, the cake rises up quite dramatically, sometimes doubling in volume before settling down a tiny bit. If your mug is smaller than 10 ounces, you risk overflow, which makes a huge, sticky mess in your microwave that is no fun to clean up later. Always give your batter plenty of room to breathe and puff up!
Can this be made ahead of time or frozen?
Ah, the eternal question of meal prep! For this specific **Microwave Mug Cake**, I strongly advise against making it ahead or freezing it. Because it relies on the immediate reaction of the leavening agent with the heat, the texture degrades incredibly fast once it cools. If you keep a portion in the fridge, you’ll find that when you reheat it, the cake will likely become dense and rubbery, losing that delightful fluff we aimed for. It truly is a “mix and eat immediately” kind of dessert. If you’re looking for make-ahead options, perhaps try my recipe for creamy comfort meals instead, which handle storage much better!
Nutritional Estimates for This Quick Sweet Treats Mug Cake
Now, Richard and I aren’t baking for calorie counts usually—we’re baking for joy! But I know that many of you like to keep track, especially when you find something so satisfying like this **quick sweet treats** mug cake. Since this recipe is so straightforward, calculating the nutrition is relatively easy, but I must stress, these numbers are just my estimates based on standard pantry items. They will shift a bit depending on the exact brand of milk or the type of oil you choose.
This information is just a guideline for you, my dear bakers, to show you that even an indulgent little treat can fit into your day without too much fuss. It certainly helps to know that indulging in this **mug cake** doesn’t mean you have to halt your efforts for the rest of the week!
For reference, here are the details for one single serving, calculated using average ingredient values:
- Serving Size: 1 mug cake
- Calories: 280
- Sugar: 22g
- Fat: 11g (with 3g saturated fat)
- Carbohydrates: 43g
- Protein: 5g
- Sodium: 150mg
See? Not too bad for a dark, fudgy chocolate cake made in under five minutes! If you wanted to make this a slightly more substantial treat, you could certainly try my high-protein egg muffins for breakfast. But for a late-night fix, this little wonder is just perfect. If you’re curious about other quick sweets that people love, you can always see what other home cooks are making over at Home Cooking Live!
PrintClassic Chocolate Mug Cake Recipe: Your 2-Minute Dessert Fix
Whip up a rich, fudgy chocolate cake right in your mug using the microwave. This single-serve dessert is perfect for late-night cravings and is ready in under five minutes.
- Prep Time: 2 min
- Cook Time: 1.5 min
- Total Time: 3.5 min
- Yield: 1 serving
- Category: Dessert
- Method: Microwave
- Cuisine: American
- Diet: Vegetarian
Ingredients
- 4 Tablespoons all-purpose flour
- 4 Tablespoons granulated sugar
- 2 Tablespoons unsweetened cocoa powder
- 1/4 teaspoon baking powder
- Pinch of salt
- 3 Tablespoons milk (any kind)
- 1 Tablespoon vegetable oil
- 1/4 teaspoon vanilla extract
- 1 Tablespoon chocolate chips (optional)
Instructions
- Find a standard, microwave-safe mug (about 10-12 ounces).
- Add the dry ingredients to the mug: flour, sugar, cocoa powder, baking powder, and salt. Use a small fork to mix these thoroughly until no clumps remain.
- Add the wet ingredients to the mug: milk, vegetable oil, and vanilla extract.
- Stir everything together in the mug until you have a smooth batter. Be sure to scrape the bottom corners to incorporate all the dry mix.
- Stir in the chocolate chips, if you are using them.
- Place the mug in the microwave. Cook on high power for 60 to 90 seconds. Cooking time varies by microwave wattage; start checking at 60 seconds.
- The cake is done when the top looks set but still slightly moist. Do not overcook, or it will become dry.
- Let the mug cake cool for one minute before eating directly from the mug.
Notes
- For a richer, fudgier texture, reduce the cooking time by 10 seconds.
- You can substitute the vegetable oil with melted butter for a different flavor profile.
- Top your warm mug cake with a scoop of ice cream or a dusting of powdered sugar before serving.
- This recipe makes one perfect single-serve cake.
Nutrition
- Serving Size: 1 mug cake
- Calories: 280
- Sugar: 22
- Sodium: 150
- Fat: 11
- Saturated Fat: 3
- Unsaturated Fat: 8
- Trans Fat: 0
- Carbohydrates: 43
- Fiber: 2
- Protein: 5
- Cholesterol: 5