

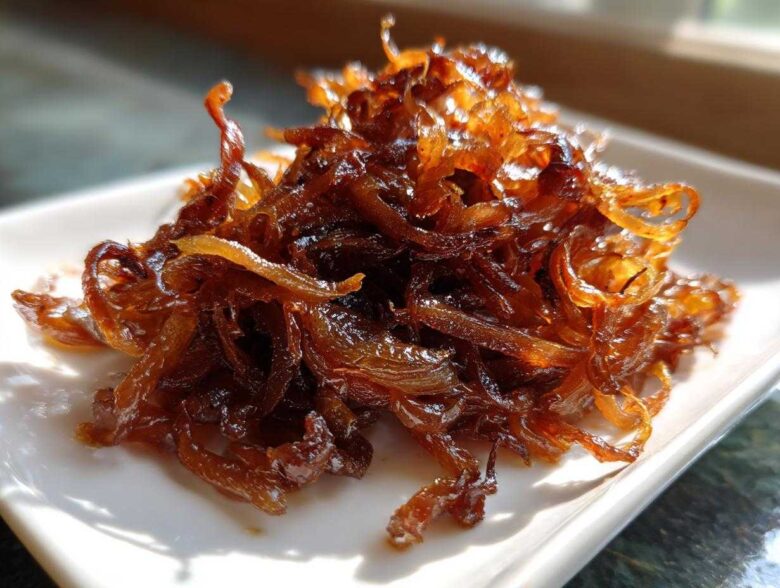
Oh, my dears, there is nothing quite as magical in the kitchen as taking something sharp, pungent, and frankly, almost tear-inducing—a simple onion—and slowly coaxing out its inherent sweet potential. Richard and I have collected flavors for decades, and I can tell you, achieving truly perfect caramelized onions is one of the foundational skills that separates a good cook from a great one. Don’t rush this, trust me! Patience is the main spice here. If you follow these steps, you’ll learn the definitive method for creating that deep, savory-sweet flavor that makes all your meals feel instantly gourmet. This truly is the easiest way to turn a humble vegetable into an absolute kitchen staple. You can always find more of our culinary adventures over in the main blog archives!
Why You Need Perfect Caramelized Onions in Your Kitchen Staple Collection
Once you master this technique, you’ll wonder how you ever managed without them! These slow cooked onions aren’t just a garnish; they are flavor transformers. Richard often says that a spoonful of these tucked into something simple instantly takes the whole dish back to Morocco or Paris. It’s that depth, honestly!
- They take the harsh edge off the onion, creating a rich, naturally sweet foundation.
- They are incredibly versatile—perfect for quick weekday meals or fancier dinner parties.
- They create true comfort food, ready when you need them for that last-minute boost.
- They are an essential building block for so many of our favorite recipes, like our classic onion rings!
The Secret to Deep Flavor Onions
It all comes down to chemistry, my dear. When you cook them low and slow, you encourage that beautiful Maillard reaction. Think of it this way: you are gently transforming those sharp, almost acrid sulfuric compounds into gorgeous, complex sweetness. We go from raw punch to golden richness—that’s the magic!
Versatile Uses for Your Sweet Onion Topping
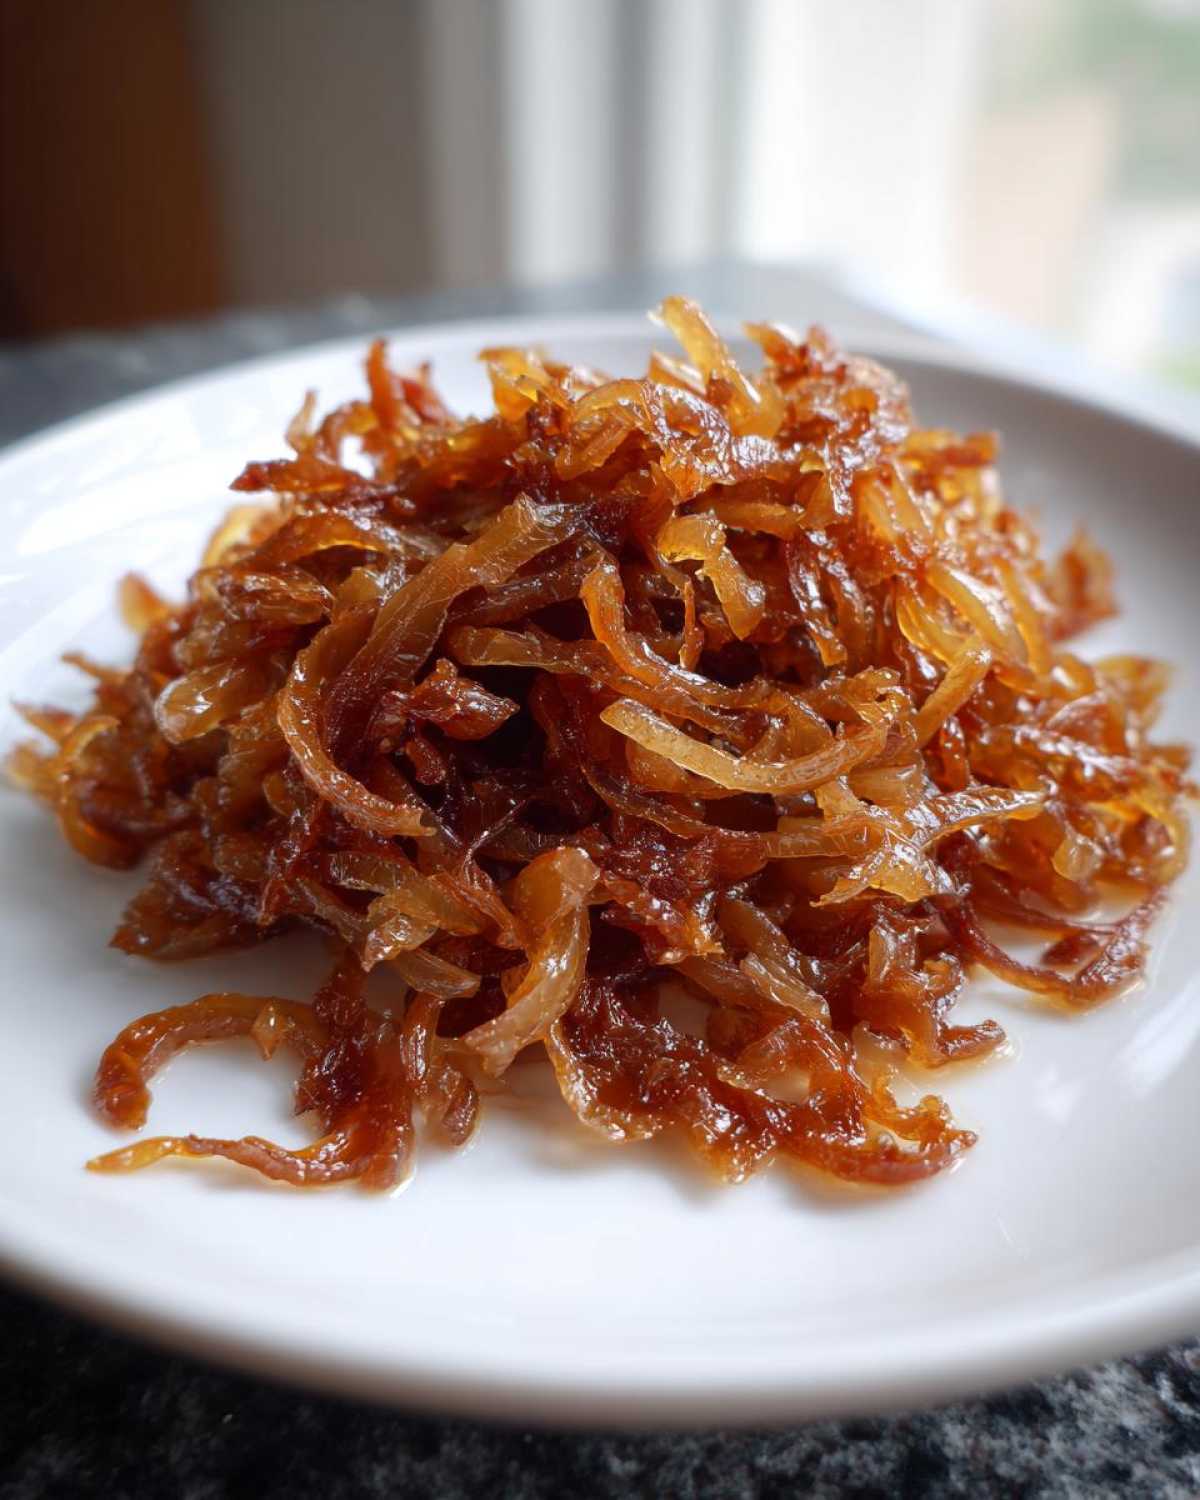
Honestly, once these are ready, you’ll want to put them on everything! They are divine spread over warm toast with a sprinkle of salt. They become the essential base for rich dips or the savory element in a creamy French onion pasta sauce. Our goal here is to give you a supply of this wonderful kitchen staple onions base to elevate anything at a moment’s notice.
The Essential Ingredients for Perfect Caramelized Onions
Now, let’s talk about what goes into the pan because getting the right foundation here really sets us up for success. Remember, we are using four large yellow onions for this batch. We need two tablespoons of butter melted alongside one tablespoon of olive oil to give us that perfect balance of flavor and smoke point.
Don’t forget the salt; that’s key for drawing out moisture! You’ll also want a quarter cup of water or low-sodium broth ready because that’s our secret weapon for scraping up all that good flavor later.
Ingredient Notes and Substitutions
I always stick to yellow onions for this classic approach—they just have the best balance of moisture and sugar concentration for that deep mahogany color. You can certainly use sweet onions, but they break down a little faster.
Now, about the sugar you see listed—that little bit is optional! If I’m feeling impatient (which happens, even to me!), I add half a teaspoon of sugar to help kickstart the browning, but if you allow the full 45 minutes, the onions are sweet enough on their own. The liquid component, whether it’s water or broth, is absolutely non-negotiable; it’s what prevents scorching and helps build that amazing fond on the bottom of the skillet.
How to Caramelize Onions: The Slow Cooked Onions Method
This part right here is where the magic happens, and this is where I get most of my mail reading, “Eleanor, mine burned!” Now, Richard and I learned this lesson the hard way about thirty years ago in Florence when we tried to hurry a batch for a simple supper. He gave me the firmest look and said, “A memory isn’t made in haste, my dear.” That’s why we follow the low and slow rule for these slow cooked onions.
You start by getting your skillet warm over medium-low heat with the fat. Add the onions and salt, and let them sweat until they turn translucent—about 15 minutes. They won’t brown yet, and that’s okay! Then, we reduce the heat to true low. This slow rendering releases all that inherent sweetness.
Step-by-Step Guide to Making Caramelized Onions
The trick I can’t stress enough is the scraping! As those lovely brown bits—the fond—start to stick to the bottom, those are concentrated flavor bombs! Every ten minutes or so, pour in just a splash of that water or broth and use your wooden spoon to scrape it all up. This process, called deglazing, keeps the onions moist and builds that incredible color. Total time will be around 35 to 45 minutes until they are that gorgeous, deep mahogany color. You’ll see a lot of success stories about the technique on sites like Running to the Kitchen, which confirms our long-held beliefs!
Quick Onion Hack: Reducing Cook Time
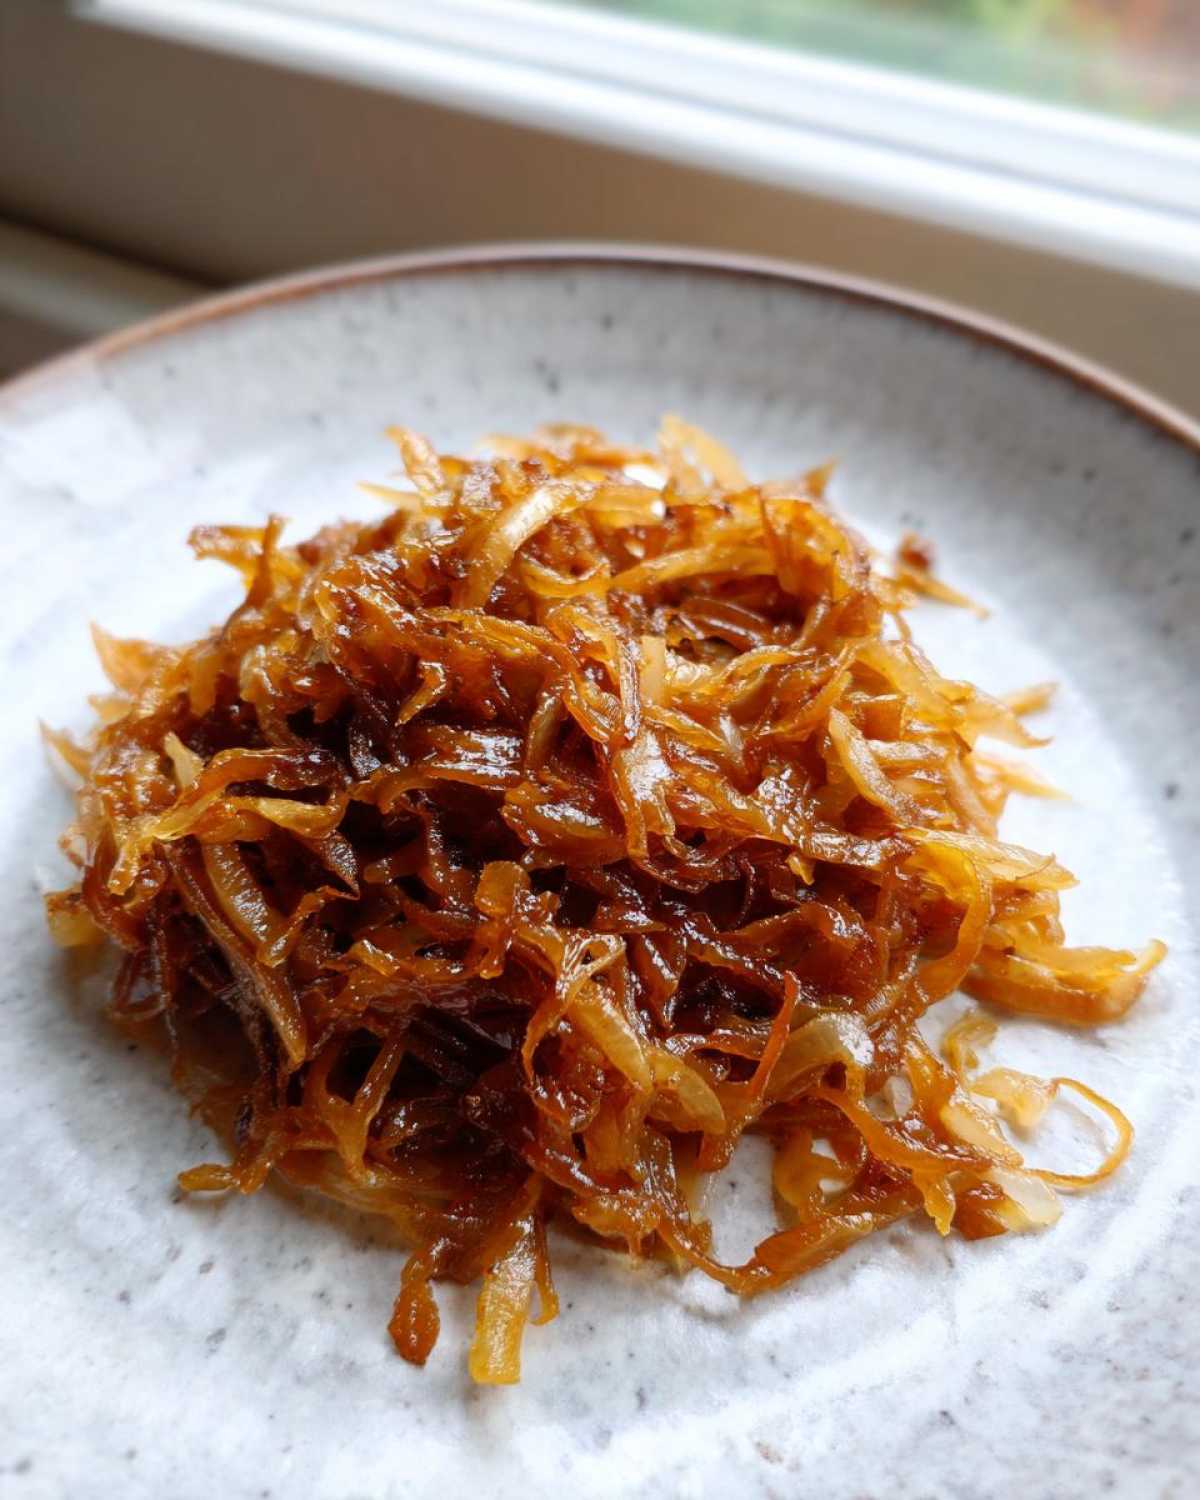
Now, if you’re in a real pinch—say, you need these for a base for a quick foil packet dinner and simply can’t spare 45 minutes—there is a way, but you have to listen closely. You can push the heat up slightly to medium-low. The trade-off is that you must stir constantly, I mean truly every two or three minutes, to keep those sugars from scorching into bitterness. It works in a pinch, but you miss some of that deep, layered flavor that the slow method gives you.
Troubleshooting Common Issues When Making Caramelized Onions
Even with the best instructions, sometimes things go sideways in the kitchen, right? That happens to me too, especially when I’m trying to balance Richard’s memories with my own timing! The biggest issue folks run into is burning. If you see black spots instead of rich brown bits, your heat is simply too high, or you forgot to deglaze with that little bit of water or broth. Pull them off the heat immediately and stir in a splash of liquid!
If your onions are steaming but never seem to brown, that means they are too crowded or you skipped the initial salt. Too many onions in one pan means they release too much moisture and end up stewing instead of caramelizing. If that happens, pull half of them out! Let the first batch brown beautifully, then add the rest back in.
Finally, if they look watery, let them cook uncovered for a good 10 minutes after they’ve softened. We need that evaporation to happen so the sugars can start to concentrate. Remember, these cooking tips for onions are all about managing moisture!
Using Caramelized Onions in Savory Sweet Onion Topping Applications
Now that you’ve poured your time and love into these beautiful, dark treasures, the fun part begins—using them! Honestly, these sweet, savory gems elevate everything. We often make a huge batch just to keep around because they feel like a secret shortcut to gourmet cooking. Think beyond just a topping; these are a true gourmet onion side dish waiting to happen.
They are perfect spooned next to roasted chicken, or even mixed into scrambled eggs for breakfast. Richard loves them smeared on toast before adding a slice of sharp cheddar. It turns a simple bite into something truly memorable.
Creating a French Onion Pasta Sauce Base
If you want ultimate comfort food, you must try using these as the base for a French onion pasta sauce. You simply sauté a little garlic in the same pan (if you have extra onions left over—otherwise just use these!), add some broth, a splash of cream or white wine, and let these deeply flavorful onions melt right into the sauce. They provide that essential sweet note that makes a creamy onion pasta ingredient sing without needing heavy cheese.
The Best Onion Topping for Burgers and Sandwiches
When it comes to sandwiches or burgers, using these caramelized onions is the difference between a standard lunch and something you’d pay extra for at a nice bistro. Just pile them high! They provide moisture and that deep savory-sweet complexity. If you’re looking for a way to use these as a standalone enhancement, look at how they interact with savory main courses, like my recipe for honey mustard glazed chicken.
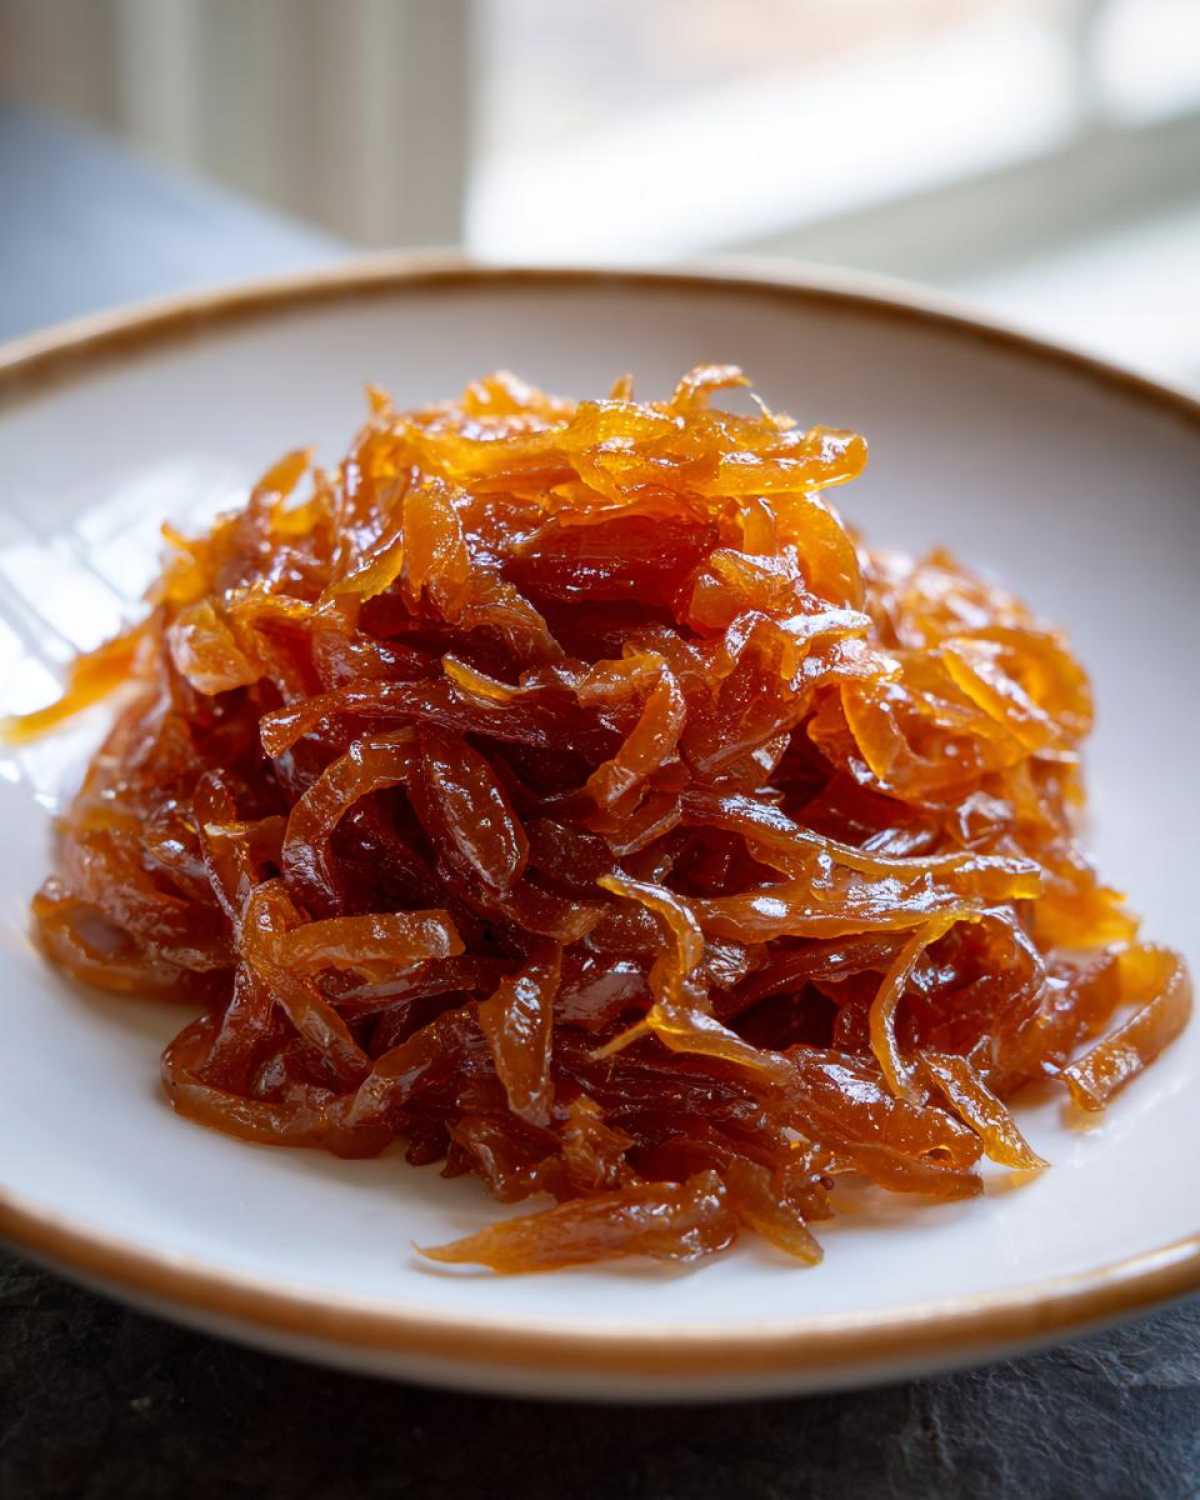
For a slightly different twist on using a small batch, check out the lightning-fast version over at Flavor Nectar—it’s quick, but remember, slow always beats fast for the true depth!
Recipe Ideas: Caramelized Onion Dip Recipe and More
Oh, darling, now that we have this glorious pot of sweet, dark onions, we have to put them to good use! I always feel like this ingredient is my secret weapon for making casual gatherings feel really special. The sweetness these provide turns even simple spreads into something spectacular. We can use them to create a truly irresistible caramelized onion dip recipe that everyone will rave about, or we can preserve them into a quick jam!
For a cozy night in, one of our favorites is making a simple cheese board topping—just pile these savory sweet onions on top of a soft brie or some sharp cheddar. If you’re looking for something heartier, try incorporating them into a sauce for a comforting meal like my creamy gnocchi; they add unbelievable body and flavor!
Making Homemade Onion Jam
If you want to preserve that flavor for future sandwiches or cheese plates, turn them into a jam! It’s so easy after the hard work of caramelizing is done. Once your onions are deeply browned, just let them cool down completely. Then, you’ll stir in a splash of balsamic vinegar—maybe just a tablespoon or two—and a little more brown sugar or even maple syrup until it tastes perfectly balanced between sweet and tangy. Cook it down just for another 10 minutes until it thickens up. That’s your homemade onion jam ready to go! It keeps beautifully in a jar in the fridge for a couple of weeks, or you can seal it properly for longer storage.
Vegan Caramelized Onion Recipes Inspiration
This technique is wonderful because it’s naturally vegetarian, but for my friends following a strict vegan diet, these caramelized onions are a flavor powerhouse! They eliminate the need for heavy, concentrated broths because the inherent sweetness does all the flavor work. If you omit the butter and only use olive oil (or even vegan butter), you still get incredible results.
For a satisfying main dish, think about those creamy pasta options we talked about earlier—you can easily use cashew cream or coconut milk as the base for a rich vegan caramelized onion pasta sauce. It proves that depth and richness don’t need dairy!
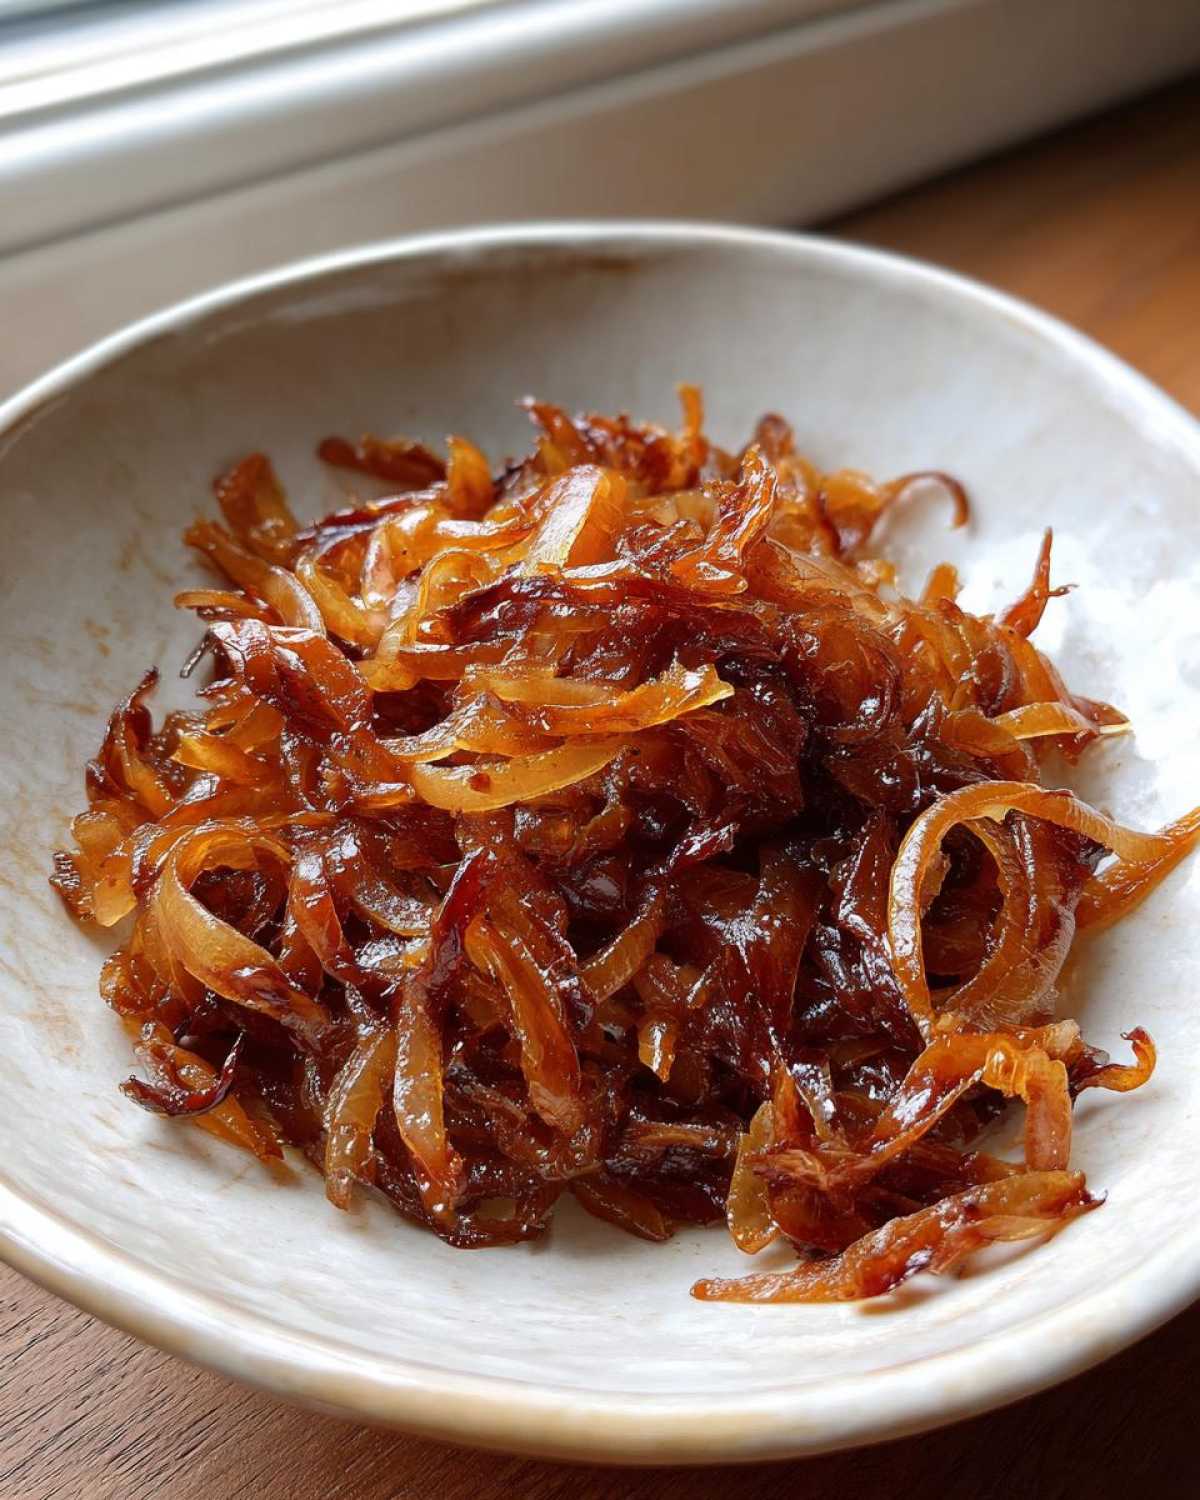
If you’re looking for a fantastic dip that skips the Brie but keeps the richness, I saw a lovely recipe for a baked dip that uses these golden mounds paired with Gruyere; you can check out the concept over at Pure Flavor Recipes for inspiration. Honestly, once you have these onions, the possibilities for new vegan caramelized onion recipes are endless!
Storage and Reheating Instructions for Caramelized Onions
Now, listen here, because once you have this glorious batch of sweet flavor made, you don’t want to waste a single bite! The good news is that these beauties keep really well, which is why I always recommend making a double batch. They will happily hang out in the refrigerator in an airtight container for about a week. Just pop a dollop on top of leftovers for an instant flavor upgrade!
If you truly want to save them for later—and you absolutely should—you can freeze them! Cool them down completely after they finish cooking, seal them tightly in a freezer-safe bag, and they’ll keep that amazing flavor profile perfectly preserved for up to three months. When you pull them out, just let them thaw overnight in the fridge before reheating gently in a pan. Easy peasy preservation!
Frequently Asked Questions About Cooking Onions Sweet
It seems you all have excellent questions about achieving the perfect savory sweet onion! Making this technique foolproof is what Delish Diarist is all about. Here are a few things Richard and I hear most often when folks are deep in the process of making these deep flavor onions.
Do I really need to cook onions for 45 minutes?
For the very best flavor, yes, you do! That deep, rich mahogany color only happens when you allow the natural sugars to fully develop over that longer, slow cooking period. If you absolutely cannot wait the full time, you can use the quick hack we talked about earlier—cranking the heat just a little and stirring constantly—but that risks bitterness. Honestly, the 45 minutes is worth it for true caramelization!
Can I use a different type of fat instead of butter and oil?
You certainly can, but I always recommend having some butter in there for that classic taste. If you really want to amp up the savory side—especially if you are making these as an onion topping for burgers—you can use bacon fat instead of the olive oil. Just be cautious! Bacon fat is much richer, so use a little less than the recipe calls for, and remember that it might speed up the browning process a bit, so keep an eye on that skillet. These onions pair beautifully with the glaze in my garlic butter chicken recipe, no matter the fat you use!
What is the best way to cook onions sweet without adding sugar?
That’s a fantastic question that gets right to the heart of this recipe! The best way to cook onions sweet is by allowing the slow heat to fully evaporate the water content, thus concentrating the natural sugars that are already in the onion. The salt also helps them release that moisture faster. If you follow my instructions and skip the optional added sugar, the onions will still achieve incredible sweetness just based on time and temperature control alone!
Share Your Delicious Diary Entry
Well, that’s it, my dear friends! We’ve walked through the low and slow process together, transforming those sharp little rings into the beautiful, decadent caramelized onions that make every meal feel like a special occasion. Richard is waiting with a cracker and some aged Gruyère right now, just to test the final batch, he always does!
I truly hope you feel confident now taking on this technique. It’s not about quick fixes; it’s about creating a memory in that pan. Are you using these dark, rich onions for a phenomenal caramelized onion dip recipe? Or maybe you’re stirring them into something richer for a side dish? I want to hear all about it!
Please leave a comment below and tell me what dish you’re making first. And if you loved this guide, consider giving it a quick rating—it helps us know which culinary memories are worth diving deep into next time. If you have any lingering questions about the process, don’t hesitate to zip us a message over on the contact page. Happy cooking, and may your sweet onions always turn out perfectly!
PrintThe Ultimate Guide to Perfect Caramelized Onions: From Sharp to Sweet
Learn the best way to cook onions until they are deeply sweet and savory. This guide shows you the simple technique for making perfect caramelized onions, a kitchen staple for gourmet toppings, dips, and pasta sauces.
- Prep Time: 10 min
- Cook Time: 45 min
- Total Time: 55 min
- Yield: About 1.5 cups
- Category: Side Dish
- Method: Stovetop Slow Cooking
- Cuisine: General
- Diet: Vegetarian
Ingredients
- 4 large yellow onions, thinly sliced
- 2 tablespoons unsalted butter
- 1 tablespoon olive oil
- 1 teaspoon salt
- 1/2 teaspoon sugar (optional, for faster browning)
- 1/4 cup water or low-sodium vegetable broth (for deglazing)
Instructions
- Prepare the onions: Peel and slice the onions thinly and uniformly. Uniform slices help them cook evenly.
- Start the heat: Place a large, heavy-bottomed skillet or Dutch oven over medium-low heat. Add the butter and olive oil. Let the butter melt completely.
- Add onions and salt: Add all the sliced onions to the skillet. Sprinkle with salt. Stir to coat the onions evenly with the fat.
- Initial cooking (Sweating): Cook the onions uncovered for 10 to 15 minutes, stirring occasionally, until they soften and become translucent. Do not let them brown yet.
- Begin caramelization: Reduce the heat to low. If using, sprinkle the sugar over the onions. Continue cooking, stirring every 5 to 7 minutes. This slow process draws out the natural sugars.
- Scrape the pan: As the onions cook, brown bits (fond) will form on the bottom of the pan. This is flavor. Every 10 minutes, add 1 to 2 tablespoons of water or broth to the pan and scrape up the browned bits using a wooden spoon. This process is called deglazing and keeps the onions moist while building deep flavor.
- Continue cooking: Maintain low heat and continue stirring every 5 to 10 minutes. The total cooking time for deep caramelization is usually 35 to 45 minutes, depending on the heat level and quantity. You are looking for a deep, rich, mahogany brown color.
- Finish: Once the onions reach your desired sweetness and color, remove them from the heat. These are now your perfect caramelized onions, ready to use as a sweet onion topping or ingredient.
Notes
- For a quick onion hack, you can use slightly higher heat (medium-low), but you must stir every 3 to 4 minutes to prevent burning. This reduces the time but requires more attention.
- These slow cooked onions freeze well. Cool them completely, place them in an airtight container, and freeze for up to three months.
- Use these onions as a base for French onion pasta sauce or mix them with cream cheese for a delicious caramelized onion dip recipe.
Nutrition
- Serving Size: 1/4 cup
- Calories: 75
- Sugar: 8
- Sodium: 250
- Fat: 4
- Saturated Fat: 2
- Unsaturated Fat: 2
- Trans Fat: 0
- Carbohydrates: 10
- Fiber: 2
- Protein: 1
- Cholesterol: 5