

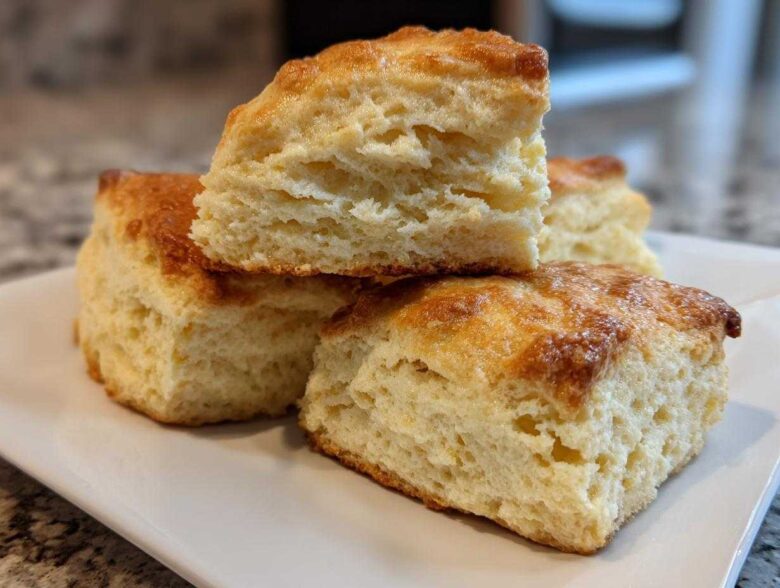
There is simply nothing that beats the smell of fresh scones coming out of the oven on a quiet morning. Forget those dry, crumbly hockey pucks you sometimes get at coffee shops! I spent years trying to get that perfect texture—you know, the kind where the layers separate slightly and the inside is tender and buttery, not tough. I finally nailed what everyone calls the Best Scone Recipe because of one tiny, cold thing. Trust me, getting the butter just right was a learning curve involving flour everywhere, and believe me, my early attempts were more like doorstops than delicate pastries! But once you master keeping that butter ice-cold—similar to how we handle the fat for my flaky buttermilk biscuits—you’ll unlock the secret to truly light, flaky scones, every single time.
Why This Classic Buttermilk Scones Recipe Delivers the Best Scone Recipe Results
Folks ask me all the time what makes these scones different from all the others out there. Honestly, it boils down to texture! We aren’t aiming for cakey; we want those beautiful, buttery layers that pull apart gently. This recipe is my go-to for consistently **Moist and Tender Scones** because we focus on the reaction happening inside the oven.
These simple steps ensure you get beautiful, **Buttery Scones Baking** results without needing a whole afternoon in the kitchen.
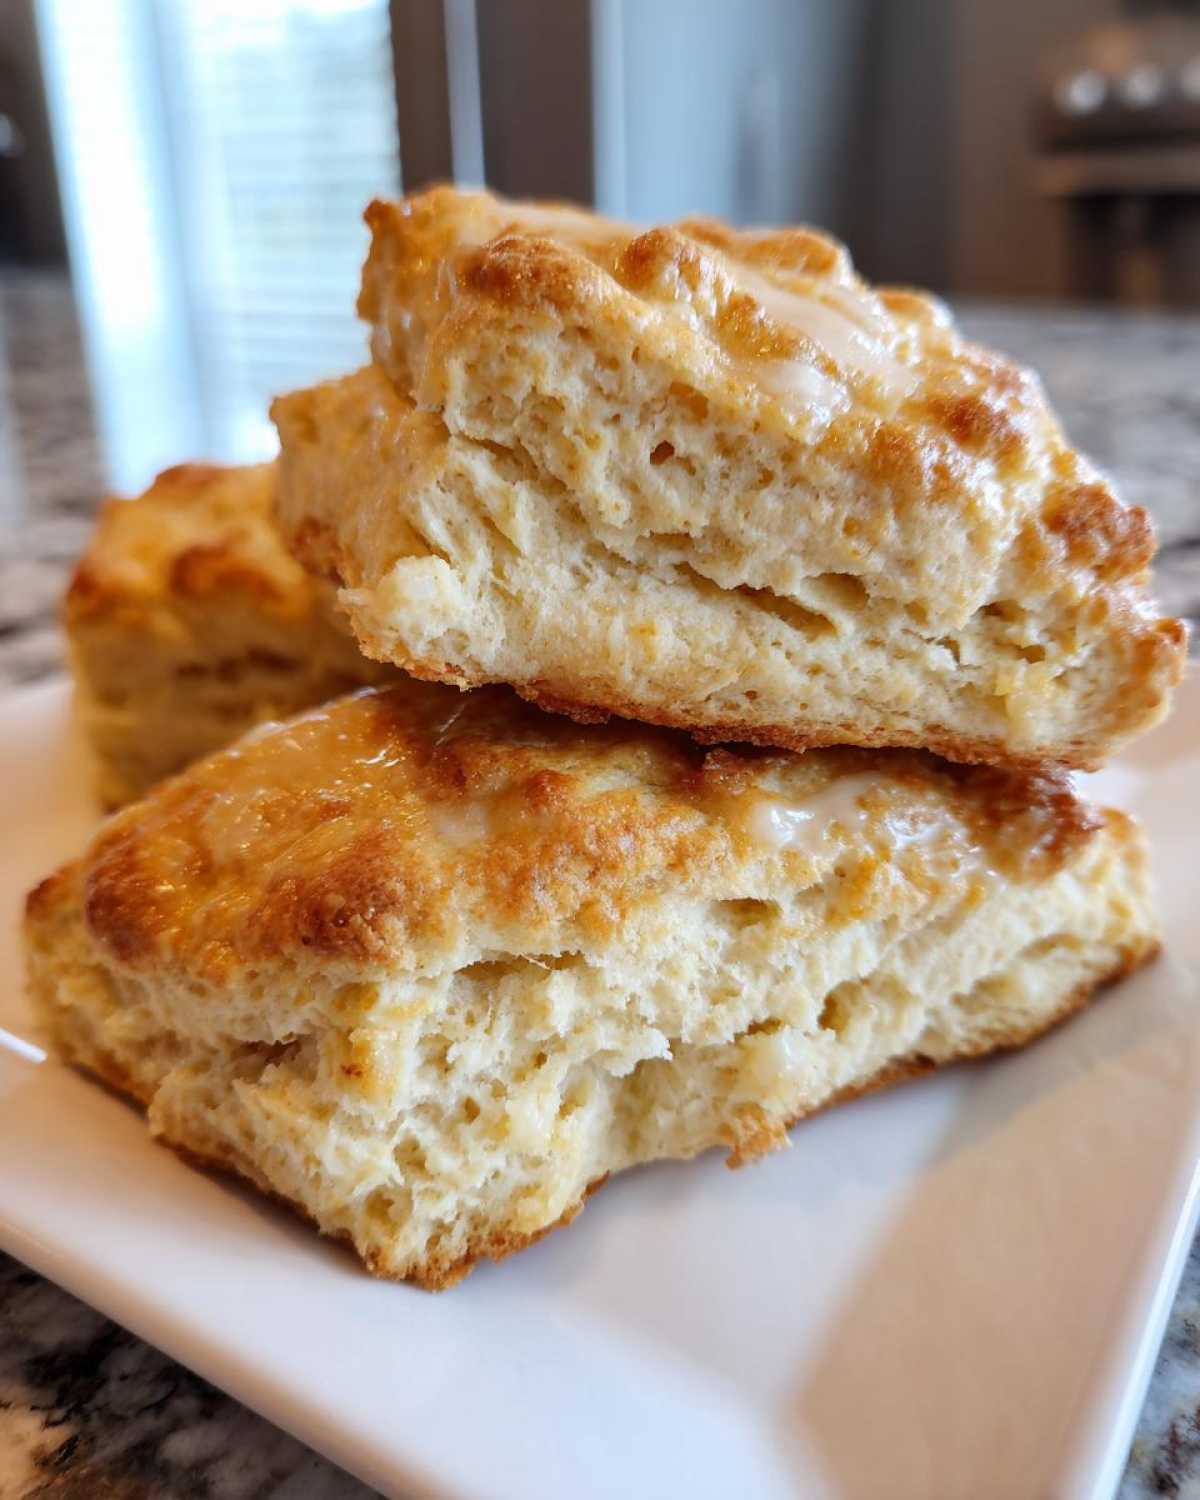
Achieving Fluffy Scones: The Buttermilk Difference
Buttermilk is our secret weapon here for that stunning lift you see in professional bakeries. When the acid in the cold buttermilk hits the baking powder, it creates this fantastic, immediate reaction. That eruption is what pushes the dough up quickly, resulting in wonderfully light and **Fluffy Scones Tutorial** texture. Don’t skip the cold factor, though!
Quick Scone Baking for Any Occasion
The best part? These are genuinely fast. We’re talking just 15 minutes of prep time and 15 minutes baking, meaning you can whip these up before anyone even realizes they want homemade pastry. They make incredible **Breakfast Scone Ideas** because they’re ready almost as fast as making fried eggs!
Essential Ingredients for Perfect Homemade Scones from Scratch
If you want truly superior scones—the kind that tastes like you grabbed them from a little shop in the English countryside—you have to treat the ingredients right. Forget shortcuts here; we’re aiming for the best. This list is short, but every item needs attention, especially regarding temperature. This is how you guarantee success when aiming for **Homemade Scones from Scratch**.
I love how simple these are, just a few pantry staples! If you’re curious about adding fruit, I have a great banana bread scones variation that uses a similar base, but for the classics, stick to this list:
- 2 cups all-purpose flour (Sift if you feel like it, but whisking works too!)
- 1/4 cup granulated sugar
- 1 tablespoon baking powder
- 1/2 teaspoon salt
- 1/2 cup (1 stick) cold unsalted butter, cut into small cubes
- 3/4 cup cold buttermilk
- 1 large egg, beaten (for egg wash)
- 1 tablespoon milk (for egg wash)
Ingredient Breakdown and Cold Butter Technique
The butter is absolutely non-negotiable. It must be unsalted, and it needs to be straight from the fridge—we want rock-hard cubes, not soft stuff! Cutting that cold butter into the flour creates those tiny pockets of fat. When the scone hits the hot oven, that cold butter melts fast, creating steam which then forces the dough layers apart, giving you that beautiful flakiness we’re chasing.
Also, please make sure your buttermilk is also ice-cold! We need exactly 3/4 cup of cold buttermilk to activate everything just right without warming up the butter.
How to Make Flaky Scones: Step-by-Step Scones Instructions
Okay, here’s where the magic happens! Getting the instructions right is key to achieving those light, airy scones you see in magazines. Before you even touch the flour, make sure that oven is screaming hot at 400 degrees Fahrenheit (which is 200 degrees Celsius). Line up a baking sheet with parchment paper—it saves so much cleanup later, trust me.
This whole process moves fast, so have everything ready to go once the dry ingredients are mixed. We want to respect the cold butter, remember?
Preparing the Dough for Tender Scones
Once your butter is cut into those coarse crumbs—look for pieces about the size of little peas—it’s time for the buttermilk. Pour that cold liquid right into the center of your flour mixture. Now, grab a fork. I mean it, only a fork! You need to mix super gently, just until the dry bits disappear and everything comes together into a shaggy mess. The second it looks cohesive, STOP mixing. Overworking this dough is the fastest way to a tough scone. We are aiming for **Moist and Tender Scones**, not bread dough!
If you mix too long, the gluten tightens up, and those beautiful, flaky layers we worked so hard to create just melt away. It should look messy—that’s a good sign!
Shaping and Baking Your Scones for Golden Tops
Dust your counter lightly and turn that shaggy dough out. Resist the urge to start kneading like crazy! You only need to gently handle it about 3 or 4 times until it just holds its shape. Pat it down evenly until it’s about 3/4 of an inch thick. I usually cut mine into 8 wedges, like a pizza, but using a round cutter works great too!
Brush the tops lightly with that egg wash—that’s the secret to achieving those gorgeous, professional golden tops. Pop them onto the hot sheet and slide them straight into that 400°F oven. They only need 12 to 15 minutes. When they look deeply golden brown and smell unbelievable, they’re done! Pull them out and let them cool slightly on a wire rack. You did it!

If you want a deeper dive specifically on making sure they rise tall, check out my dedicated tutorial on achieving maximum flakiness! It goes into the science behind the rise.
Expert Scone Baking Tips and Tricks for Success
I can give you the perfect recipe, but sometimes baking throws you a curveball! That’s why I always share my little collection of **Scone Baking Tips and Tricks**. These are the things I learned after trying (and sometimes failing!) to replicate bakery-style scones at home. Remember, baking is chemistry, but it’s also intuition!
For example, if you ever find yourself out of buttermilk—don’t panic and run to the store! Just take the required 3/4 cup of regular milk, stir in 3/4 of a teaspoon of white vinegar or lemon juice, and let it sit for about five minutes. It curdles slightly, and bam! You have a perfect substitute ready to go. That trick has saved my Sunday brunch more times than I can count.
Troubleshooting Common Scones Issues
The single biggest heartbreak in scone making is when they spread out instead of puffing up tall. Usually, this means one of two things happened: either your butter wasn’t cold enough when you cut it in, or you handled the dough way too much while patting it out. If your dough starts getting too warm while you’re cutting the rounds, just slide the entire tray back into the freezer for 5 minutes before you brush it with egg wash. That quick chill sets the butter again, ensuring you get those wonderful high, flaky sides when they bake.
Flavor Variations: Moving Beyond Classic Scones
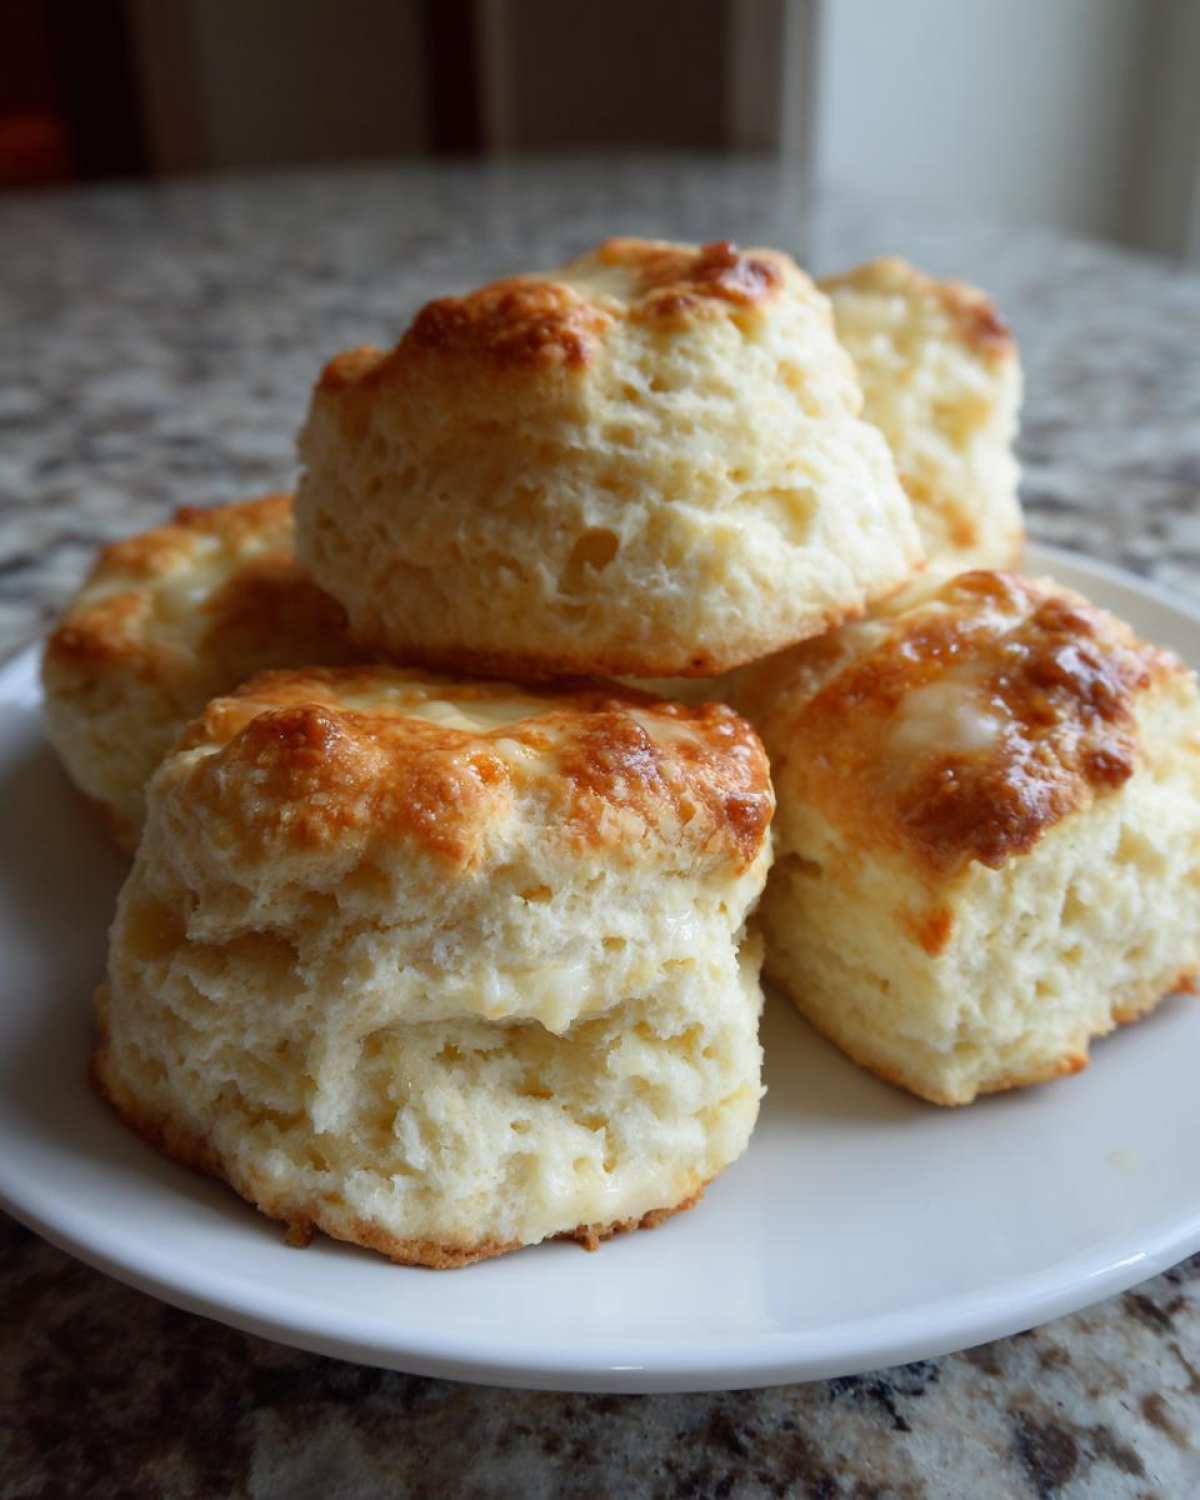
While these plain buttermilk scones are heavenly on their own—especially with jam—I know some of you are craving something a little more exciting! The beauty of this base recipe is that it’s an absolute blank canvas for almost anything. If you want to pivot into those gorgeous, fruit-forward flavors people crave, this is where you do it.
You can easily customize these to make incredible **Fruit Scones Variations** without changing the fundamental instructions for cold butter and quick mixing.
Creating Fruit Scones Variations
The rule for adding anything extra? You treat it like adding chocolate chips or nuts. Toss your mix-ins right in with the dry flour, sugar, and baking powder mixture before you cut in the butter. This helps coat the fruit pieces so they don’t bleed color all over your dough.
For a showstopper, try my absolute favorite: Lemon Blueberry Scones! Zest one whole lemon into the dry ingredients, and fold in about 3/4 cup of fresh or frozen blueberries. The tartness from the lemon works magic with the sweet buttermilk. Another winner, especially in the fall, is Cranberry Orange Scones. Whatever you choose, remember to keep everything cold, and you’ll have bakery-style scones ready for dipping!

If you want a recipe focusing totally on one of the best fruit additions, you can check out my guide to blueberry muffins for inspiration on flavor balance!
Serving Suggestions for Your Scones for Afternoon Tea or Brunch
Now that you have these gorgeous, flaky things cooling on the rack, the best part begins: how to eat them! These **scones** are truly masters of ceremony. For the classic, proper approach, you absolutely must serve them warm with high-quality strawberry jam and, if you can find it, a luxurious dollop of clotted cream. That combination is the blueprint for amazing **Scones for Afternoon Tea**.
But don’t limit them to just tea time! They make fantastic **Brunch Baking Recipes** served alongside savory dishes, maybe with a little butter if you didn’t add a glaze. They pair surprisingly well with tangy yogurt dips, too! If you’re looking for another cozy, comforting brunch idea, check out my recipe for classic banana pudding—it hits that same comforting spot!
Storage and Reheating Instructions for Leftover Scones
Oh, how I wish we never had leftovers, but if we do, we have to treat these delicate scones right! The absolute best way to store fresh scones is simple: let them cool completely, then place them in an airtight container at room temperature. They are usually wonderful for about two to three days this way. Don’t put them in the fridge, though! That cold air just sucks out the moisture and makes them firm.
When you want to relive that fresh-from-the-oven experience, the microwave is fast but can make them a little chewy. I always recommend reheating them in a toaster oven or a conventional oven set to about 350 degrees Fahrenheit for just 5 minutes. That short blast of dry heat brings back the crisp exterior so beautifully. If you want to prep a big batch, you can freeze them too! You can check out my tips for freezing cinnamon French toast sticks; the method for freezing baked goods is very similar!
Frequently Asked Questions About Making Scones
I always get so many great questions when people try this recipe for the first time, and honestly, I love hearing from you! Having these little Q&As handy is what separates a decent batch of scones from what I like to call the **Best Ever Scones**.
Can I substitute the buttermilk in these scones?
Yes, you absolutely can, so don’t stress if you don’t have buttermilk in the fridge! If you’re out, you can make a fantastic substitute right at home. Just take the 3/4 cup of regular milk required for the recipe, whisk in 3/4 teaspoon of either white vinegar or fresh lemon juice, and let it sit on the counter for about 5 minutes. It’ll curdle up a bit, and that acidity is what we need to activate the baking powder just right. It works like a charm!
What is the difference between American scones and Classic English Scones?
That’s a fun one! Typically, the **Classic English Scones** you see are often cut into triangles, and they tend to be a little less sweet than the American versions—they are practically begging for jam and cream, seeing as they are so plain! American scones, like the ones we are making here, are usually richer, sweeter, and we often shape them into those lovely rounds or wedges you cut from a large circle. Plus, we tend to load ours up with flavor variations like fruit or chocolate chips right in the dough!
How can I make my scones taller?
This is all about temperature control and gentle mixing, remember? If you want those super tall, flaky structures, you have to be militant about keeping your butter and your buttermilk ice-cold. If the butter starts warming up even slightly when you’re cutting it in or patting the dough, it melts instead of steaming, and you lose height. Also, and I can’t stress this enough: Do NOT overwork the dough when bringing it together or cutting the shapes. Just 3 or 4 gentle presses until it holds is plenty! If you knead it too much, you develop gluten and squash all that beautiful trapped air. For more ideas on making tall pastries, you might find my notes on Irish soda bread muffins helpful, as the rise technique is similar!
Estimated Nutritional Data for Classic Buttermilk Scones
Alright, folks, let’s talk numbers for a minute, just so we know what we’re dealing with when we devour these amazing scones! While I’m more focused on the butter and fluffiness, I know some of you track your macros or just want a general idea. Below you’ll find the estimated breakdown for one of our delicious yield servings.
Keep in mind these figures are just my best guess based on the exact ingredients I listed above, and they can change if you start adding heavy glazes or switching to whole wheat flour. But for the basic, perfect **Buttermilk Scones**, here is what you can expect:
- Serving Size: 1 scone
- Calories: 250
- Fat: 13g
- Saturated Fat: 8g
- Carbohydrates: 29g
- Sugar: 5g
- Protein: 5g
- Cholesterol: 55mg
For more ideas on making healthier swaps or looking at macronutrients in baked goods—especially when adding things like high-protein ingredients—I often reference these charts when I’m tinkering. You can check out some of my thoughts on getting more protein into baked items here: protein chia pudding liquid ratio. It’s a little different than scones, sure, but it gives you an idea of how I look at ingredients!
PrintClassic Buttermilk Scones

A straightforward recipe for making tender, flaky scones using buttermilk for a soft texture, perfect for afternoon tea or breakfast.
- Prep Time: 15 min
- Cook Time: 15 min
- Total Time: 30 min
- Yield: 8 servings
- Category: Breakfast
- Method: Baking
- Cuisine: American
- Diet: Vegetarian
Ingredients
- 2 cups all-purpose flour
- 1/4 cup granulated sugar
- 1 tablespoon baking powder
- 1/2 teaspoon salt
- 1/2 cup (1 stick) cold unsalted butter, cut into small cubes
- 3/4 cup cold buttermilk
- 1 large egg, beaten (for egg wash)
- 1 tablespoon milk (for egg wash)
Instructions
- Preheat your oven to 400 degrees Fahrenheit (200 degrees Celsius). Line a baking sheet with parchment paper.
- In a large bowl, whisk together the flour, sugar, baking powder, and salt.
- Add the cold butter cubes to the flour mixture. Use a pastry blender or your fingertips to cut the butter into the flour until the mixture resembles coarse crumbs with some pea-sized pieces of butter remaining.
- Make a well in the center and pour in the cold buttermilk. Mix gently with a fork until just combined. Do not overmix; the dough will be slightly shaggy.
- Turn the dough out onto a lightly floured surface. Gently knead it 3 or 4 times until it holds together. Pat the dough into a 3/4-inch thick circle or rectangle.
- Cut the dough into 8 wedges or use a round biscuit cutter to cut out rounds. Place the scones onto the prepared baking sheet, leaving a little space between them.
- In a small bowl, whisk the egg and milk together for the egg wash. Brush the tops of the scones lightly with the wash.
- Bake for 12 to 15 minutes, or until the tops are golden brown and the scones are cooked through.
- Transfer the scones to a wire rack to cool slightly before serving.
Notes
- For the flakiest results, keep the butter and buttermilk very cold before mixing.
- If you prefer a sweeter scone, you can add 1/2 cup of dried fruit, like raisins or dried cranberries, along with the dry ingredients.
- If you do not have buttermilk, mix 3/4 cup of regular milk with 3/4 teaspoon of white vinegar or lemon juice and let it sit for 5 minutes before using.
Nutrition
- Serving Size: 1 scone
- Calories: 250
- Sugar: 5
- Sodium: 280
- Fat: 13
- Saturated Fat: 8
- Unsaturated Fat: 5
- Trans Fat: 0
- Carbohydrates: 29
- Fiber: 1
- Protein: 5
- Cholesterol: 55