

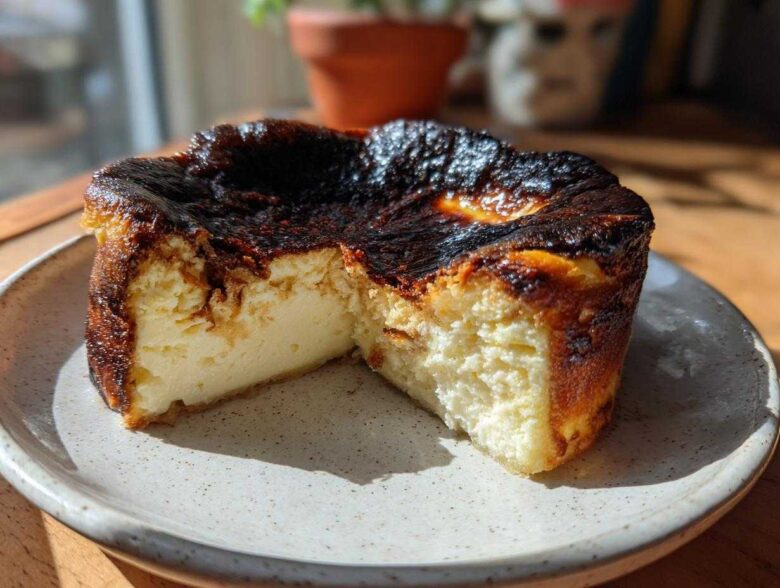
Listen, if you’ve ever wanted an absolutely decadent, silky-smooth cheesecake but groaned at the thought of that fiddly water bath or dealing with soggy crusts, I have found our soulmate dessert! I’m talking about the incredible **basque cheesecake**, this gorgeous, crustless wonder from San Sebastian that looks like it took days to perfect. Believe me when I say, it’s the easiest rich dessert you’ll ever make. After years of trying those fussy water bath methods—I swear they always leaked!—this **basque cheesecake** changed everything for me. The magic here is that high-heat bake which gives you that stunning, deeply caramelized top while keeping the inside unbelievably creamy. It’s rustic elegance on a plate, you can check out my no-bake biscoff cheesecake for another easy win, but trust me, this one is the gold standard. You just mix the ingredients and bake it. That’s it!
Why This Easy No Crust Cheesecake is the Best Cheesecake Recipe
Seriously, why fuss when you can have perfection with minimal effort? This **easy no crust cheesecake** is my go-to when I need a show-stopper that doesn’t require babying. It’s less about fussy technique and more about letting high heat do the heavy lifting. The appeal is huge, and I think you’ll agree once you try it. It’s definitely up there with the best no-bake options, like my strawberry cheesecake cups, but this one gives you that amazing baked depth.
Here’s why this **Burnt Basque Cheesecake Recipe** wins every time:
- No water bath necessary! That’s right, toss the roasting pan full of hot water. We bake this hot and fast.
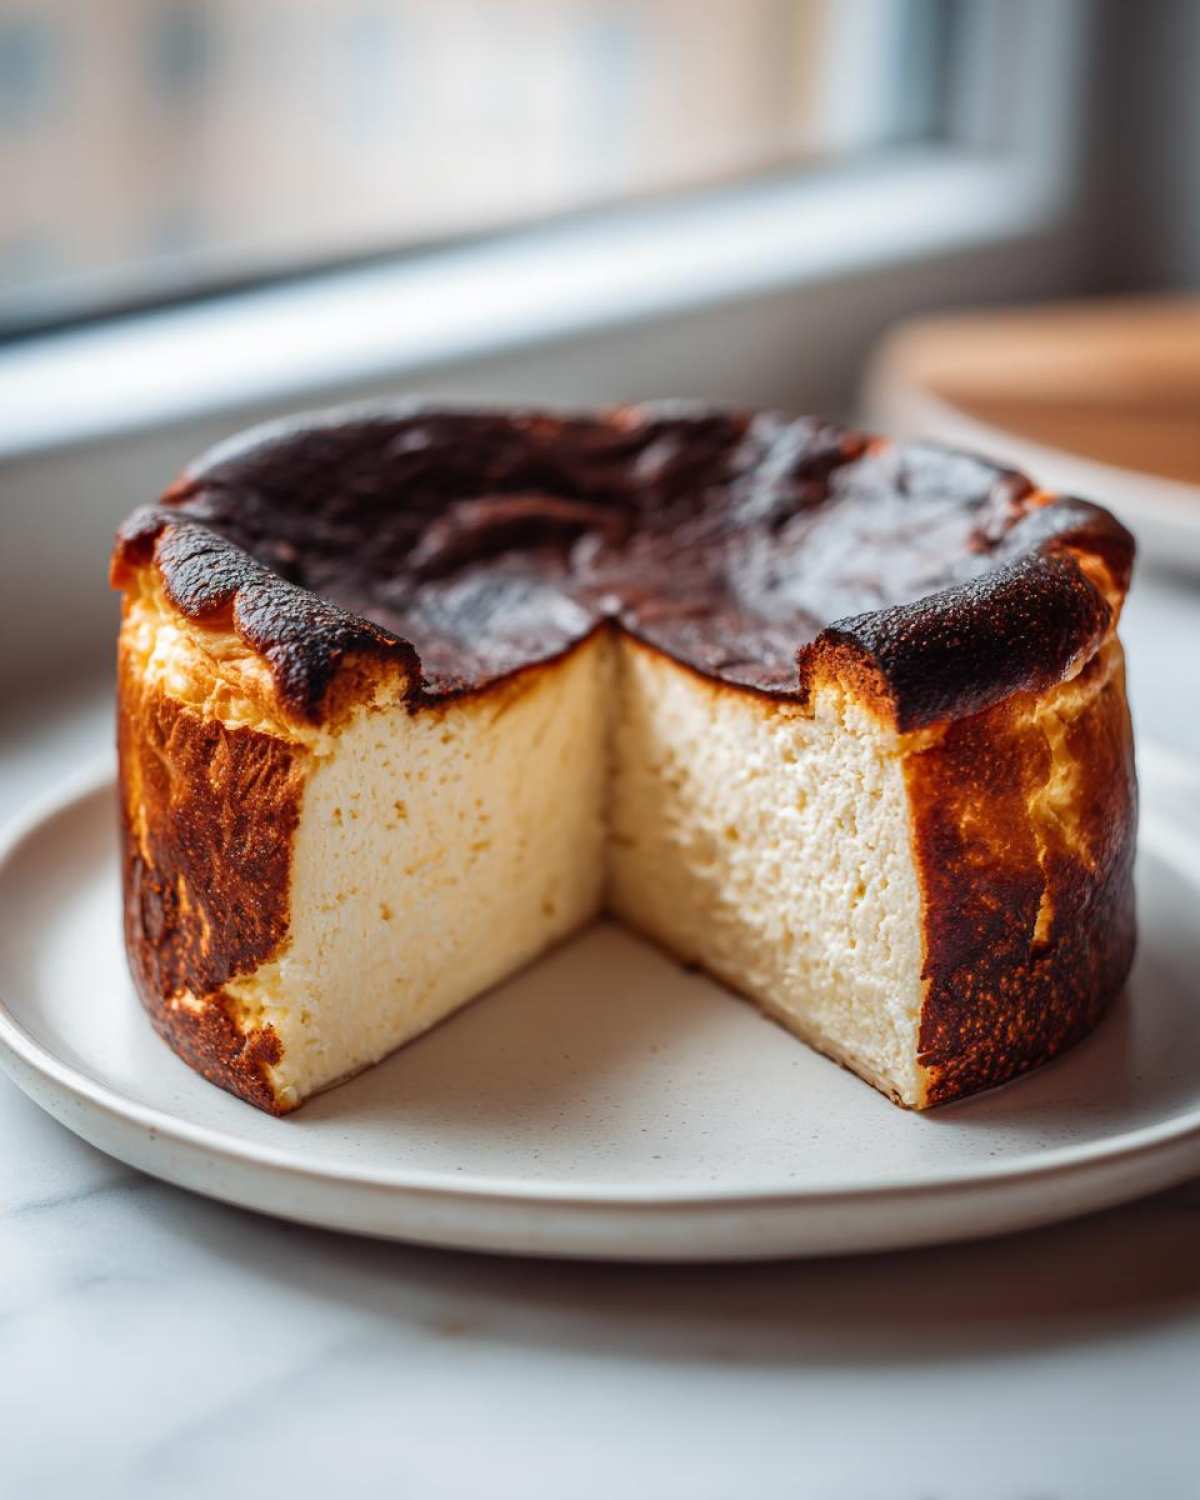
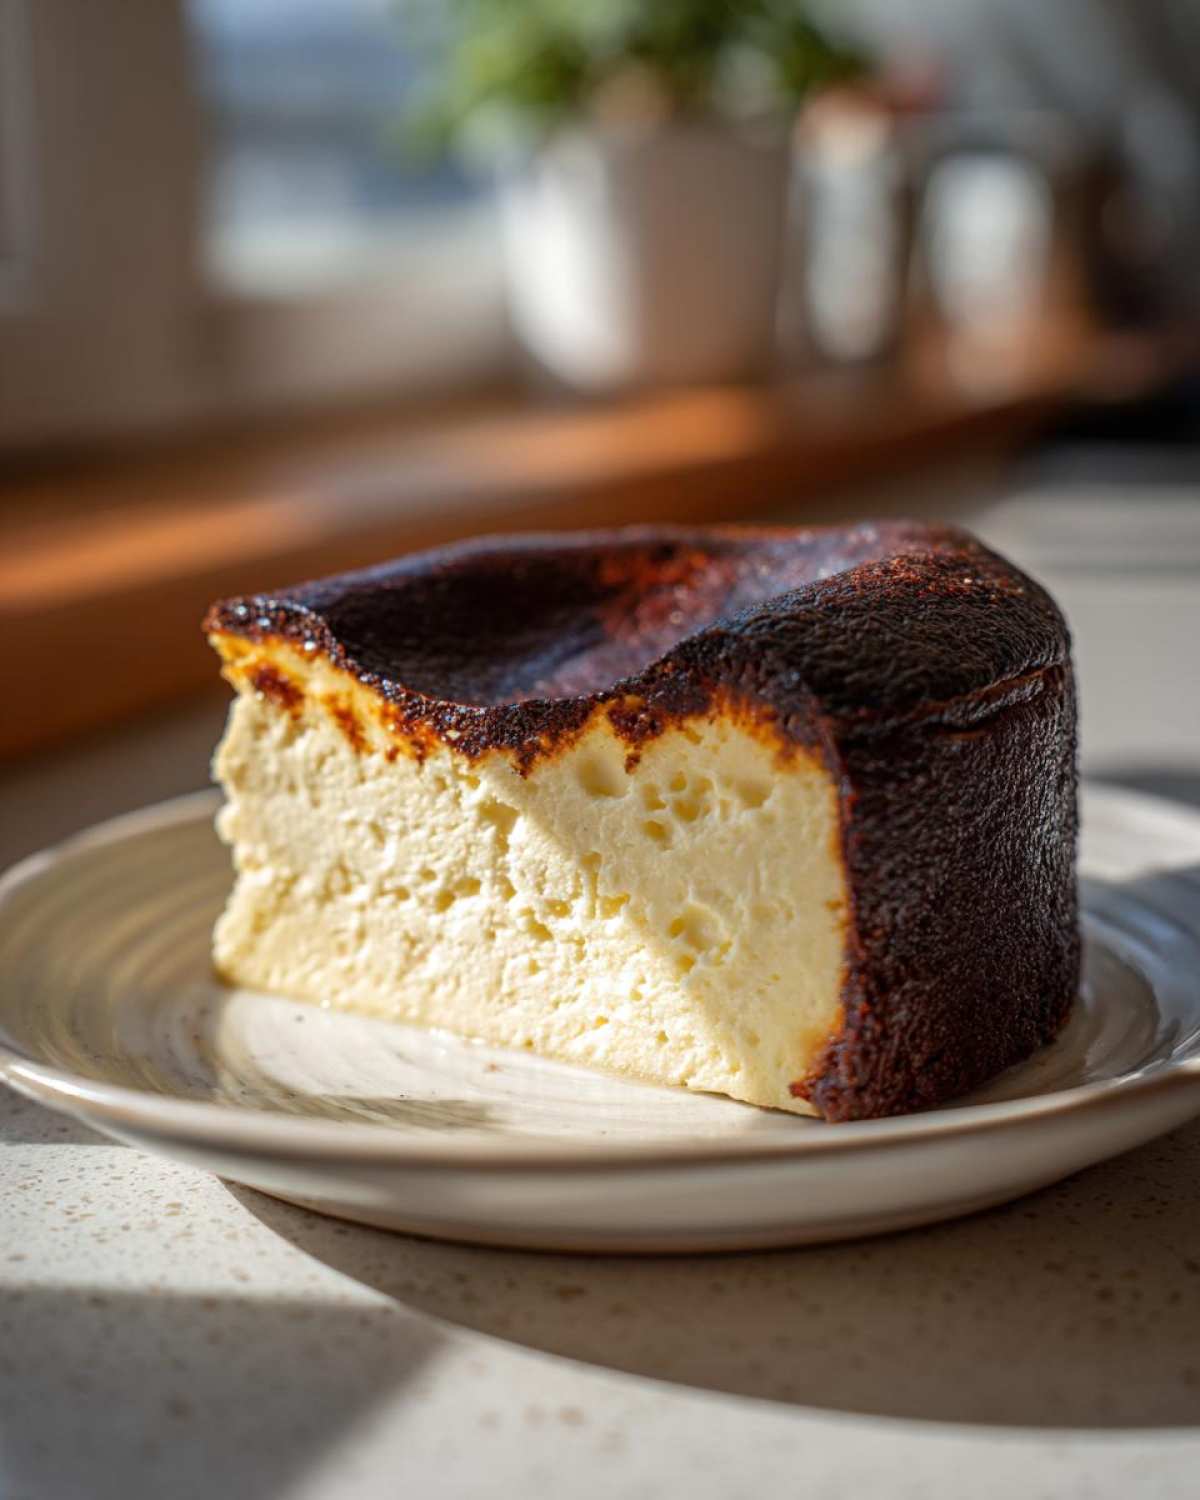
- The interior? Oh, the texture is what sells it. It’s an incredibly creamy texture, almost like a rich custard.
- The look is totally signature. That dark, almost-black, caramelized top dessert appearance? That’s supposed to happen!
- It’s naturally crustless, which cuts down on prep time and keeps the focus purely on that decadent filling.
It feels fancy, but it’s really just mixing and baking—my kind of baking!
Ingredients for Your Ultimate Burnt Basque Cheesecake Recipe
Okay, let’s talk about what you need for this rich baked cheesecake. The list is wonderfully short, which is part of what makes the **Authentic Basque Cheesecake** so wonderful. You don’t need a pantry full of extracts or weird thickeners!
You’ll need:
- 1.5 lbs cream cheese, softened completely—this is crucial for a smooth batter!
- 1.5 cups granulated sugar
- 6 large eggs
- 2 cups heavy cream
- 1 teaspoon vanilla extract
- 1/4 teaspoon salt
- 2 tablespoons all-purpose flour
That’s really it! See? It’s super minimal. You just need to make sure that cream cheese isn’t cold straight from the fridge. I like to leave mine out for at least two hours before I even think about mixing. If you want to check out my tips on getting the perfect liquid balance, I talk about ratios for my chia pudding, which teaches a lot about gentle mixing, too.
Preparing the Pan for Your Basque Cheesecake
This is where we embrace imperfection, and honestly, it’s my favorite part of making the basque cheesecake! We are skipping any fancy greasing sprays or complicated trimming. For this rustic elegant cake, we need a 9-inch springform pan, but the trick is the parchment paper.
You want to line that pan with parchment paper, but you have to crumple it up first! Yes, really! Make it messy. Then fit it into the pan, letting it stick up way over the sides—like several inches higher than the rim. Don’t worry about neatness at all; those big, uneven wrinkles are exactly what you want. They help the sides of the cake climb up high and give you that beautiful, craggy, classic look when it sets.
If you ever struggle with getting slices out of desserts, you should check out my notes on slicing a no-bake Nutella pie, but for this recipe, the parchment paper acts as the perfect sling.
Step-by-Step Instructions for the Creamy Cheesecake Dessert
Now for the fun part! Don’t let the deep color fool you; making this **basque cheesecake** is mostly about gentle mixing. First things first, get your oven preheated to 400 degrees Fahrenheit (that’s about 200 Celsius). Remember that rumpled parchment paper we stuck into the pan? It’s ready to go. No need to fuss with that batter too much!
If you overdo the mixing once the flour gets involved, you risk developing gluten, and we want creamy, not chewy, right? I always start the process with the cream cheese, making sure it’s totally smooth before adding anything else. It’s like making gravy; start smooth and build from there. Speaking of smooth sauces, you can see how I build flavor gently in my lemon parmesan pasta sauce—same principle applies here!
Mixing the Basque Cheesecake Batter
We start by beating that softened cream cheese by itself until it’s perfectly smooth—no lumps allowed! Then, add in your sugar, but only beat until it’s just combined. Don’t whip it for ages! Next, add your six eggs, but here’s the key: add them one by one, and only mix briefly after each egg goes in. We are incorporating, not aerating!
Once the eggs are shyly mixed in, pour in the heavy cream, vanilla extract, and salt. Mix that until the batter looks uniform and happy. Finally, sprinkle that small amount of flour over the top and mix it on the absolute lowest speed just until you don’t see any white streaks left. Stop immediately! That lovely, liquid batter is ready for the pan.
Baking the Basque Cheesecake for the Perfect Caramelized Top Dessert
Pour that beautiful batter right into your prepared pan. Now, we crank up the heat to 400°F (200°C). This high temperature is what gives us that spectacular, almost-black, caramelized top dessert look we love so much. Bake this for about 45 to 55 minutes.
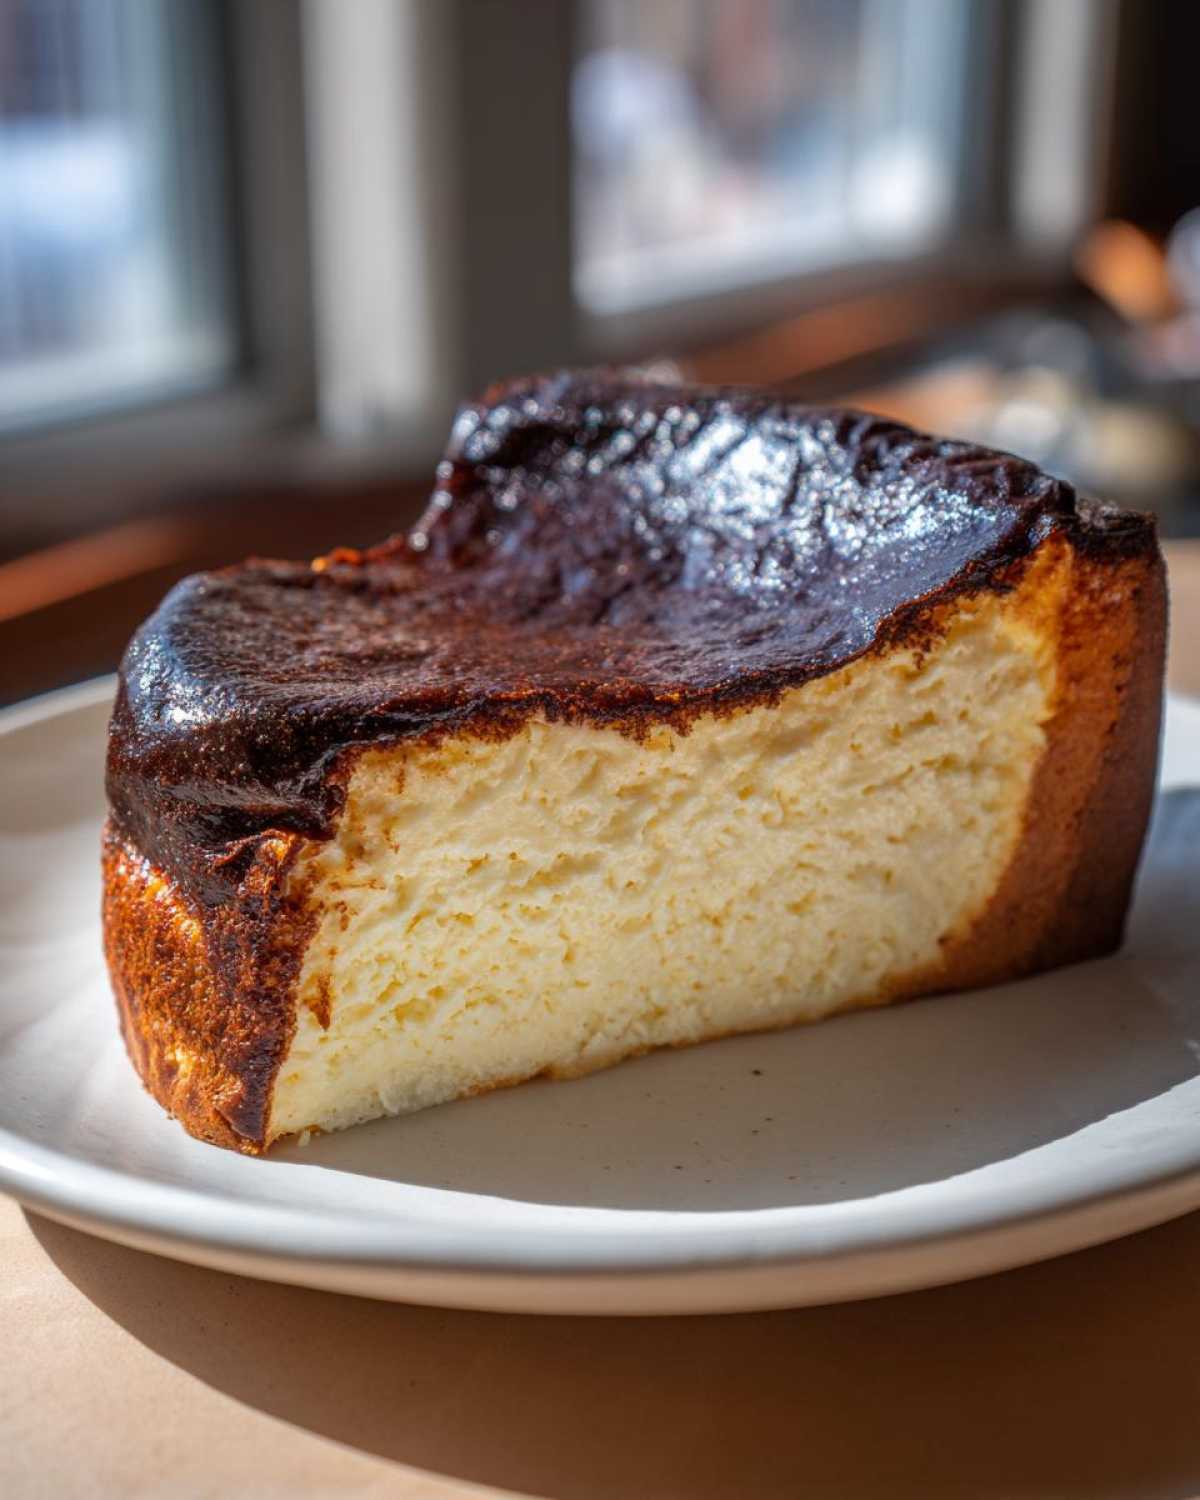
You’re looking for a specific visual cue: the edges should look set and firm, but the very center needs to have a definite, jiggly wobble—almost like Jell-O. If the top is turning deeply brown, bordering on black, you’ve nailed it! Don’t pull it out early just because the top is dark; that wobble means the creamy texture inside is perfect. The dark spots equal flavor, so don’t panic when it looks so dramatic!
Cooling and Chilling: Secrets to a Perfect Basque Cheesecake
Okay, this part is non-negotiable if you want that melt-in-your-mouth, creamy cheesecake dessert texture. Resist the urge to slice into this gorgeous thing as soon as it comes out of the oven! It’s still setting up, and patience is truly rewarded here.
First, let it sit right on the counter, on a wire rack, for a good three hours. It needs to cool down slowly to room temperature. You’ll notice it starting to collapse a bit in the middle—maybe sinking several inches—and I want you to ignore it! Seriously, trust the process; the sinking is what creates the dense, creamy center of the **basque cheesecake**.
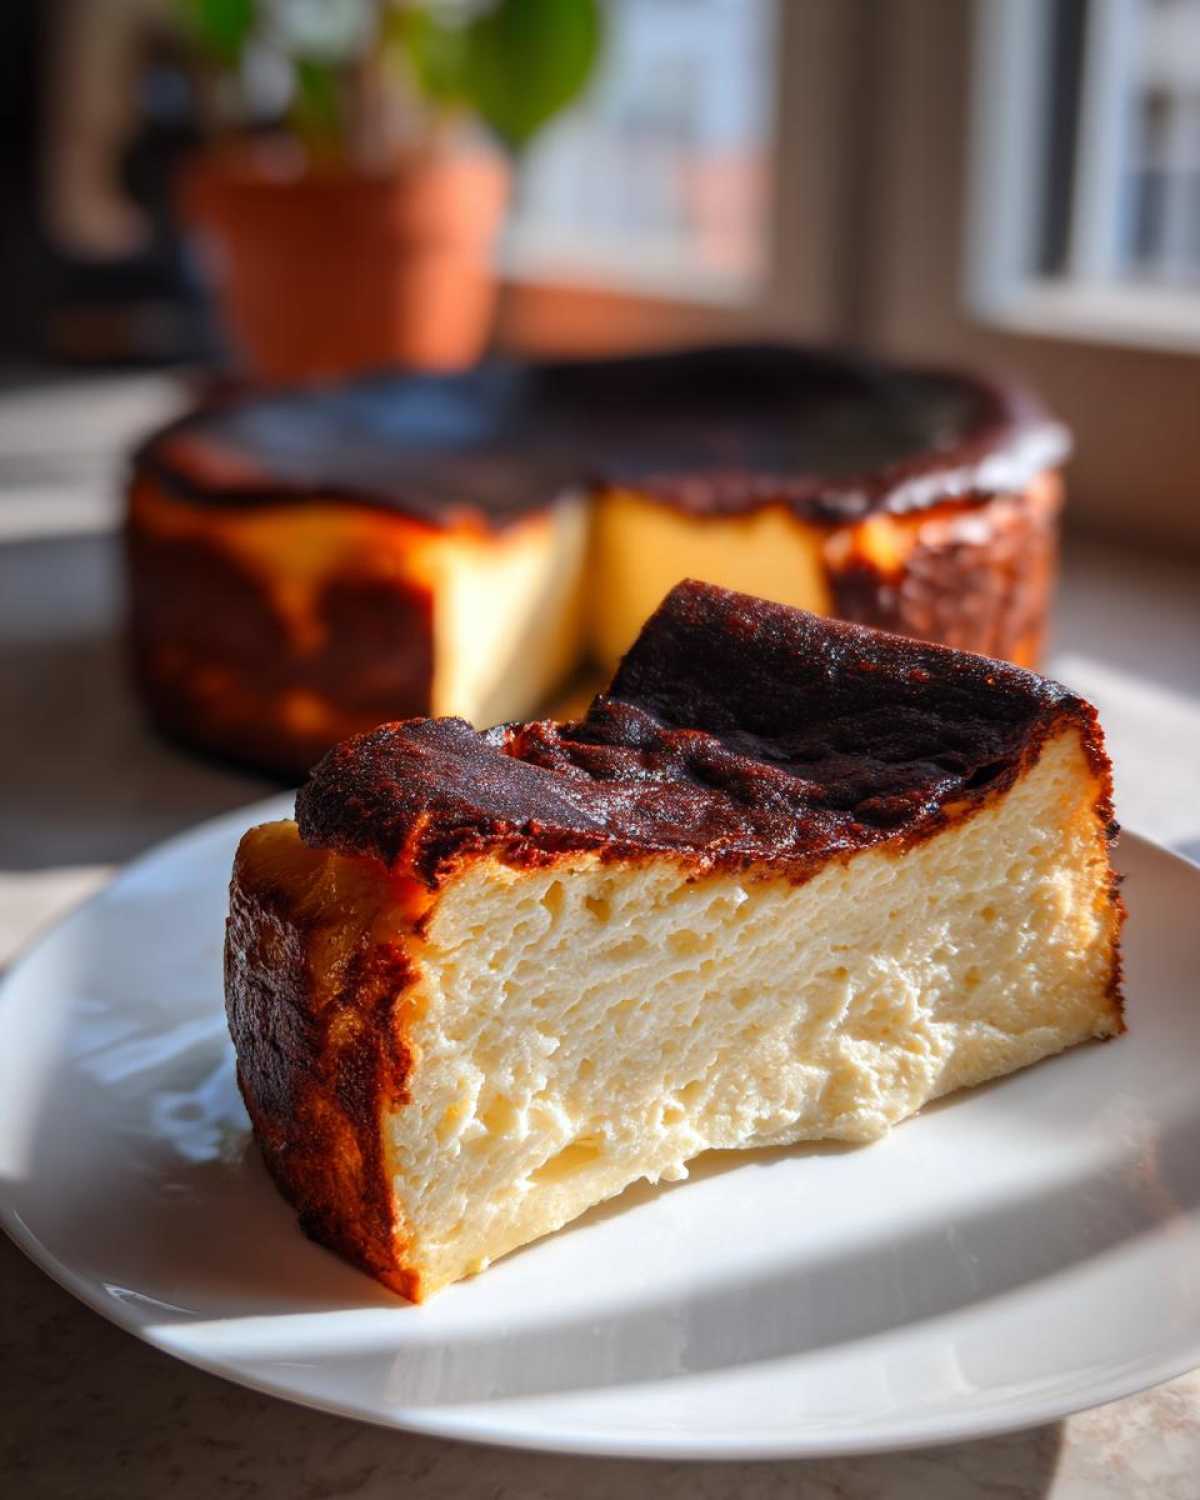
Once it’s totally cool to the touch, cover it gently and move it into the fridge. You need a minimum of six hours, but if you can hold out overnight, that’s when it truly transforms into the most decadent cake. It gets firmer, the savory and sweet notes balance perfectly, and slicing becomes way easier. If you want another incredibly simple, decadent treat, check out my guide for no-bake chocolate eclair dessert!
Tips for Success with Your Simple Cheesecake Baking
Listen, even though I call this an **Easy No Crust Cheesecake**, there are just a couple of tiny things you need to watch out for so you get that gorgeous, rustic look and unbelievably creamy center. Don’t worry, these aren’t complicated; they’re just little quirks of the **basque cheesecake** method that make all the difference.
First off, I need to say it one more time because people still try it: Do not use a water bath! That’s the whole point of this amazing recipe. The high, dry heat is required to get that signature dark, deeply caramelized top that tastes divine. If you try to keep it gentle, it just won’t burn right.
Secondly, lean into the messiness of the parchment paper. Don’t try to smooth out every wrinkle when you line the pan; those crinkles are what give the sides the texture we want. Also, if you’re trying to figure out how to get that incredible glaze on other things, like my garlic butter chicken thighs, remember the principle here: high heat = fast caramelization!
Variations: Loaf Pan Basque Cheesecake Idea
I truly love that this **basque cheesecake** is so flexible! While the round version is classic, sometimes you don’t need a huge cake, or maybe your springform pan is dirty (oops!). You can totally turn this into an elegant single-serving format by switching to a loaf pan.
I use an 8.5 x 4.5 inch loaf pan when I want a slightly smaller, easier-to-handle dessert. Just line it really well with parchment paper—remember to let that paper stick way out over the edges so you can lift the whole thing out later! Because the loaf pan is deeper, you need to watch the baking time closely.
It usually takes about 10 minutes less baking time than the 9-inch round. Keep an eye on that center wobble! If you’re making a sticky glazed item, like my honey mustard chicken, you know that deeper pans always need a little extra attention on the internal temperature, and this cheesecake is no different.
Storage & Reheating Instructions for Your Rich Baked Cheesecake
Now that you’ve baked this magnificent **Rich Baked Cheesecake**, you need to know how to keep it perfect. Since the best flavor and texture happen when it’s chilled, you’ll want to keep it refrigerated. Cover the pan lightly with plastic wrap once it’s fully cooled on the counter—don’t wrap it tightly until it’s cold! It usually keeps really well for about four or five days in the fridge.
When it’s time to serve, try to remember to take it out about thirty minutes before you plan to cut into it. This little rest time on the counter softens that super-creamy interior just enough so it melts beautifully on your tongue. It’s so simple, and it tastes just as good the next day as it did fresh from the fridge! For more tips on keeping baked goods fresh, check out how I store my famous chocolate chip banana bread.
Frequently Asked Questions About Authentic Basque Cheesecake
I get so many messages after people bake this, and usually, the questions are about color and texture! It’s totally understandable because this **Authentic Basque Cheesecake** looks so dramatic. I’ve tried to cover all the bases below so you can bake with total confidence and enjoy every slice of this gourmet homemade dessert.
If you’re looking for other great recipes that nail that creamy texture, you should definitely check out my guide for creamy chicken gnocchi—same principle of using high heat to create texture!
Why is my Basque Cheesecake top not burnt enough?
Oh, I run into this if my oven is running cold! The depth of color is everything for the flavor profile of this **Caramelized Top Dessert**. If your top isn’t looking very dark brown—like, approaching black—your oven temperature might be too low, or you just pulled it out too soon. You need that high heat! Make sure you’re hitting that 400°F. Don’t be scared of the dark color; that beautiful bitterness is what balances the sweetness of the filling!
Can I make this dessert without a springform pan?
Yes, you absolutely can, which proves how versatile this recipe is! We talked about the loaf pan option, which is great for smaller bakes. If you only have a standard deep cake pan, just make sure you go heavy on the parchment paper lining. You need those sides sticking up way over the rim so the batter can climb up high and get crispy on the edges. A well-lined high-sided pan will work just fine for this **minimal ingredient dessert**.
How long does the basque cheesecake need to chill?
The chilling time is super important for that perfect creamy set. You absolutely have to let it cool on the counter for about three hours first, but after that, the minimum chill time in the fridge is six hours. However, if you want truly spectacular results—the kind that makes people ask where you bought this **decadent creamy cake**—leave it overnight! Overnight chilling lets the center firm up just perfectly without losing any of that luscious, soft texture.
PrintEasy Burnt Basque Cheesecake
A simple recipe for a crustless cheesecake with a creamy interior and a signature deeply caramelized top.
- Prep Time: 15 min
- Cook Time: 50 min
- Total Time: 6 hours 5 min
- Yield: 10 servings
- Category: Dessert
- Method: Baking
- Cuisine: Spanish
- Diet: Vegetarian
Ingredients
- 1.5 lbs cream cheese, softened
- 1.5 cups granulated sugar
- 6 large eggs
- 2 cups heavy cream
- 1 teaspoon vanilla extract
- 1/4 teaspoon salt
- 2 tablespoons all-purpose flour
Instructions
- Preheat your oven to 400 degrees Fahrenheit (200 Celsius). Line a 9-inch springform pan with parchment paper, allowing the paper to extend several inches above the rim. Do not worry about neatness; the rustic look is part of the appeal.
- In a large bowl, beat the softened cream cheese until smooth.
- Add the sugar and beat until just combined. Do not overmix.
- Beat in the eggs one at a time, mixing briefly after each addition.
- Mix in the heavy cream, vanilla extract, and salt until the batter is uniform.
- Sprinkle the flour over the batter and mix on low speed until just incorporated.
- Pour the batter into the prepared pan.
- Bake for 45 to 55 minutes. The edges should be set, and the center should still have a significant wobble. The top will be very dark brown, almost black.
- Remove the cheesecake from the oven and let it cool completely on a wire rack at room temperature for about 3 hours.
- Chill the cheesecake in the refrigerator for at least 6 hours, or preferably overnight, before serving.
Notes
- The parchment paper should look wrinkled and uneven; this helps create the rustic, high-sided look.
- Do not use a water bath for this recipe. The high heat creates the burnt exterior.
- This cheesecake will sink significantly as it cools. This is normal.
- For a loaf pan variation, use an 8.5 x 4.5 inch loaf pan and reduce the baking time by about 10 minutes.
Nutrition
- Serving Size: 1 slice
- Calories: 450
- Sugar: 35
- Sodium: 150
- Fat: 35
- Saturated Fat: 22
- Unsaturated Fat: 10
- Trans Fat: 1
- Carbohydrates: 28
- Fiber: 0
- Protein: 7
- Cholesterol: 180