

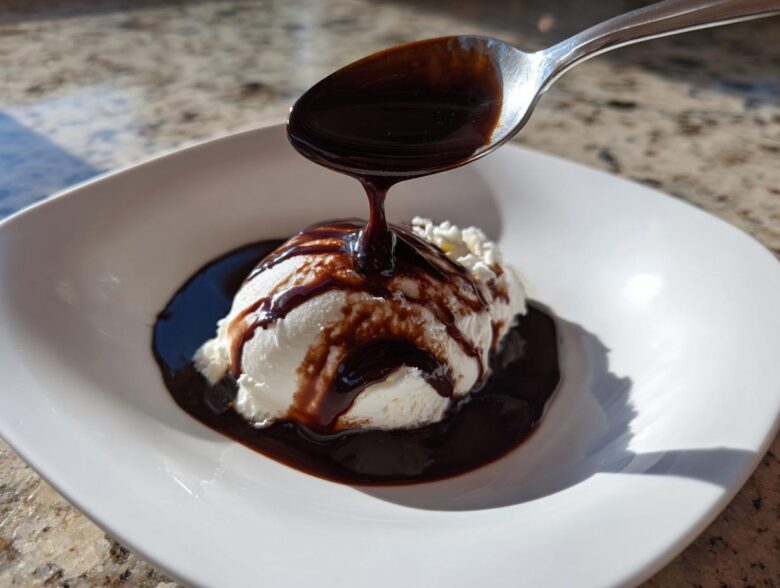
Okay, let’s get real for a minute. How many times have you reached for that bottle of store-bought chocolate syrup, only to find it tastes faintly of weird chemicals and corn syrup? Me too, way too many times! That’s why I stopped buying it altogether. If you’re ready to upgrade your chocolate game, this is it. We are making truly superior chocolate syrup—the kind that tastes deeply rich and velvety—right here on the stovetop in less than ten minutes flat. Trust me, once you use this chocolate syrup from scratch, you’ll never look back. It’s one of my absolute favorite easy pantry staple recipes because it saves the day when a chocolate craving hits fast!
Why This Homemade Chocolate Syrup Recipe Beats Store-Bought (Better Than Hersheys Recipe)
I’ve tried the big name brands, and honestly, they just don’t cut it when you want real chocolate flavor. This recipe is hands-down the best homemade syrup you’ll ever whip up. First off, speed! You’re looking at maybe five minutes of actual hands-on time, and 10 minutes total. That’s faster than running to the store, usually!
But the real difference is the texture. We are making a gorgeous, silky chocolate sauce here, not that stuff that separates in the fridge. Because we’re using real cocoa powder and granulated sugar, we’re completely avoiding that high-fructose corn syrup that gums up commercial bottles. This is truly a no corn syrup chocolate sauce. If you’ve been searching for a better than hersheys recipe, you’ve found it. It’s so rich and flavorful; it makes the perfect decadent chocolate drizzle for any dessert you can dream up. You’ll feel like a genius when you taste how much better this simple chocolate recipe turns out! Thinking about making some amazing dessert topping sauce?
Plus, think about control! You know exactly what’s going into your mug when you make your morning coffee. If you want to pivot later to a vegan chocolate syrup or try a sugar free chocolate syrup recipe, we cover those swaps too. For now, enjoy this incredible, fast, and deeply chocolatey topping.
Ingredients for Your Quick Chocolate Topping (Cocoa Powder Chocolate Syrup)
I love how basic the ingredient list is for this! It’s the ultimate cocoa powder chocolate syrup because it relies on items you probably already have when the craving strikes. No fancy specialty stores needed, I promise! We are just whisking a few things right into the pot before we even turn on the heat, which stops any horrible clumps from forming.
Here is what you need for about a cup and a half of this glorious sauce. Remember, these ratios are key to getting that perfect thickness when it cools down:
- 1 cup granulated sugar (This is the classic sweetener, giving it that familiar, rich taste!)
- 2/3 cup unsweetened cocoa powder (Make sure it’s unsweetened, otherwise, it will be way too sweet!)
- 1 cup water (Use plain filtered water if you have it; it makes a cleaner taste.)
- 1 teaspoon vanilla extract (Don’t skip this; it really wakes up the chocolate flavor.)
- 1/4 teaspoon salt (Yes, salt! It balances everything out and stops it from tasting flat.)
Keep these handy, and you are ready to whip up the most amazing dessert topping sauce in minutes.
How to Make Chocolate Syrup From Scratch in 10 Minutes
This stovetop method is so straightforward, it’s almost silly how good the results are! We’re keeping this quick because nobody wants to stand over a hot stove stirring when they need a chocolate fix. The key, and I mean the absolute key, is attention during the heating phase. You must incorporate everything properly before it gets hot to guarantee that lovely, smooth consistency we talked about. If you’ve made fudge before, this process will feel familiar, kind of like starting the base for my Kahlua fudge, but much faster!
Combining Dry Ingredients and Water
First up, take your sugar, your cocoa powder, and all that lovely water and dump them right into a small saucepan. Don’t turn the heat on yet! You need to whisk this first until it looks like smooth, thin chocolate milk. If you wait until it’s heating up to start whisking, you’ll end up with those annoying, dry little clumps of cocoa stuck to the bottom. Get it smooth first!
Simmering for the Best Homemade Syrup Texture
Now, turn the burner on to medium heat. Keep whisking as it warms up. Once it starts to steam and bubble—that’s your simmer—just let it gently boil for exactly one minute, stirring occasionally. Don’t walk away! Boiling too long is what ruins the texture and can make your quick chocolate topping taste slightly burnt or grainy. We are locking in that perfect, deep chocolate flavor in that single minute.
Finishing and Cooling Your Decadent Chocolate Drizzle
Once that minute is up, immediately pull the saucepan off the hot burner. This is crucial! Stir in your vanilla extract and that tiny pinch of salt. Then, you let it sit. Seriously, let it cool completely to room temperature. When it’s hot, it’s thin—almost watery. But as it cools down, the sugar sets up, and *poof*! You have the thickest, most incredible decadent chocolate drizzle imaginable. Pour the cooled syrup into your jar, and you’re done!
Tips for Success When Making Your Own Chocolate Syrup
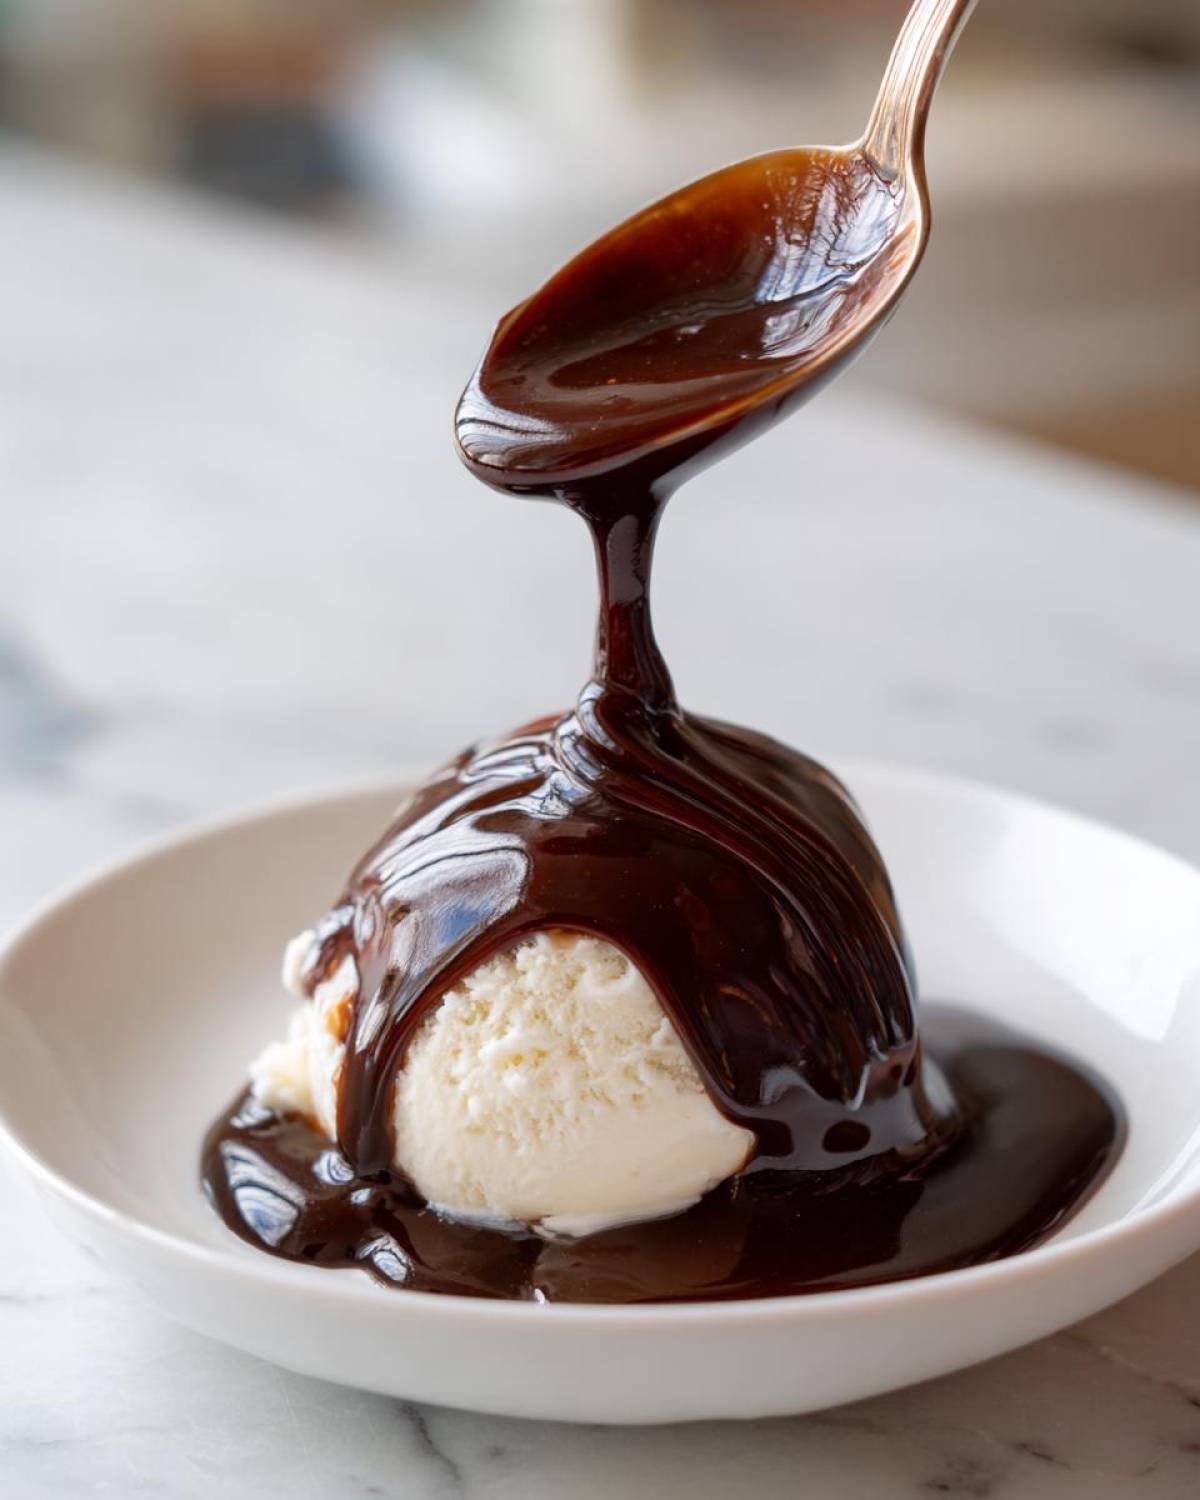
I want you to have success with this, so here are a few little tricks I’ve learned over the years of whipping up gallons of this stuff. The absolute biggest mistake people make when trying to make your own chocolate syrup is overthinking that simmer! Remember what I said: one minute, maximum. If you boil it much longer, you cook out the moisture that keeps it velvety, and it turns grainy fast. That’s not what we want for our luscious easy pantry staple recipes.
Also, don’t forget to be patient during the cooling phase. It feels like it takes forever, but that slow cool-down is what thickens and transforms the liquid into the perfect sauce instead of just flavored water. If you are really anal about the taste, use filtered water. I know it sounds fussy, but using tap water sometimes leaves a strange mineral taste, especially in something this simple.
If you decide to pour it into a pretty glass bottle for gifting, make sure the syrup is completely cold first. Warm syrup will create steam inside the sealed jar, which isn’t ideal if you want a nice presentation!
Variations: Vegan Chocolate Syrup and Sugar-Free Options
I love that this recipe is already flexible, which means we can easily tweak it for different needs without losing that amazing, thick texture. If you need a completely dairy-free option, turning this into a wonderful vegan chocolate syrup is super easy. You’ll swap out the granulated sugar for maple syrup. Now, here’s the part you need to keep track of: use slightly less maple syrup—cut it down to 3/4 cup instead of the full cup of white sugar.
Maple syrup brings its own lovely earthiness, but it’s also sweeter than white sugar, so that small reduction keeps the flavor balanced. We want rich, not tooth-achingly sweet, right? We’re still keeping that core cocoa flavor strong.
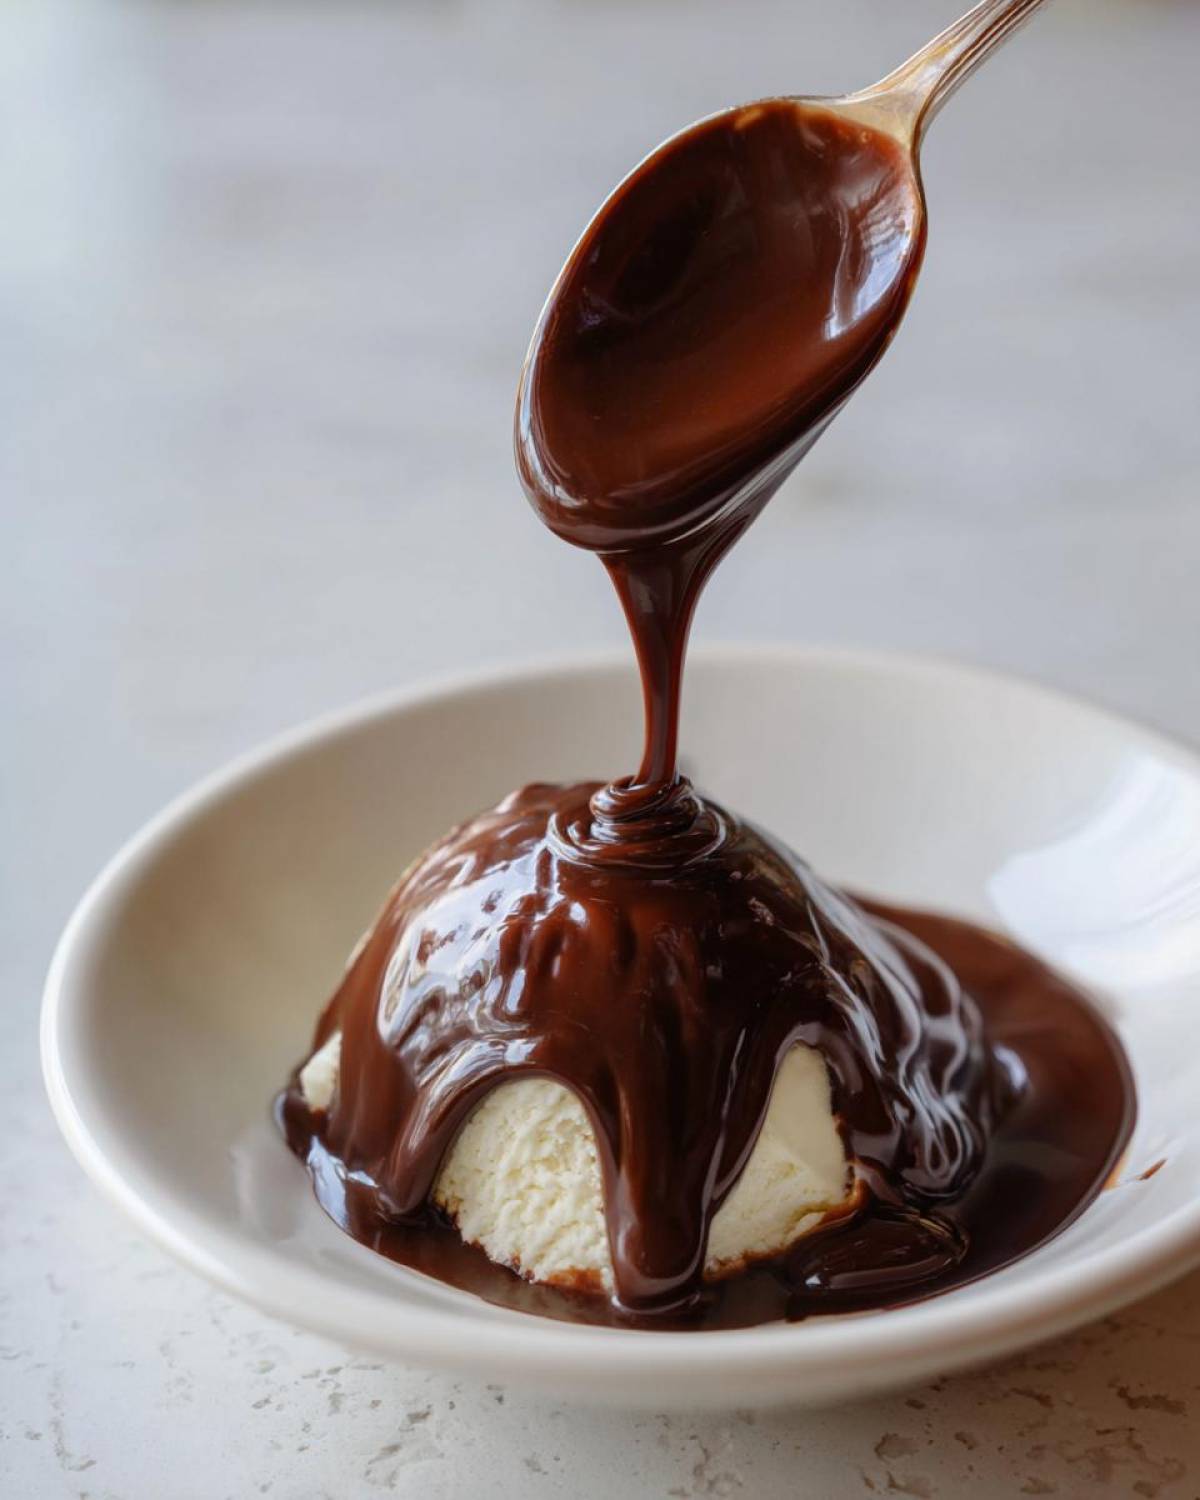
For those watching their intake, making this a sugar free chocolate syrup recipe is also doable. You’ll just substitute the sugar with about 3/4 cup of your favorite granular sweetener that’s meant for baking. Just make sure that sweetener measures cup-for-cup like sugar does, or you might end up with a thinner sauce. If you want to see how liquid ratios can change things, you might want to check out my tips on ratios for puddings—it’s the same idea!
The bottom line is that whether you’re whipping up a standard batch or making these special versions, the one-minute simmer rule stays the same to keep that incredible texture smooth and perfect!
Versatile Uses for Your Silky Chocolate Sauce
Okay, now that you have this gorgeous, silky chocolate sauce sitting on your counter, the real fun begins! This isn’t just a boring topping; it’s a total game-changer for so many things. I use mine for everything from jazzing up my morning coffee to making an afternoon treat for the kids. Seriously, you just need a little bit of this stuff to make something special. It makes even the plainest vanilla ice cream feel fancy!
If you’re aiming for that perfect homemade hot chocolate or an easy chocolate syrup for milk, you don’t need much. For one tall glass of cold milk, stir about two generous tablespoons of the syrup into about 8 ounces of cold milk. Whisk it really well—that’s the secret to avoiding a syrupy blob at the bottom of the glass! If you’re trying to recreate that coffee shop magic, this works perfectly as a homemade mocha sauce; just swirl a spoonful into your espresso before adding the steamed milk. I’ve got a whole post on making the perfect homemade mocha sauce if you want to go all out.
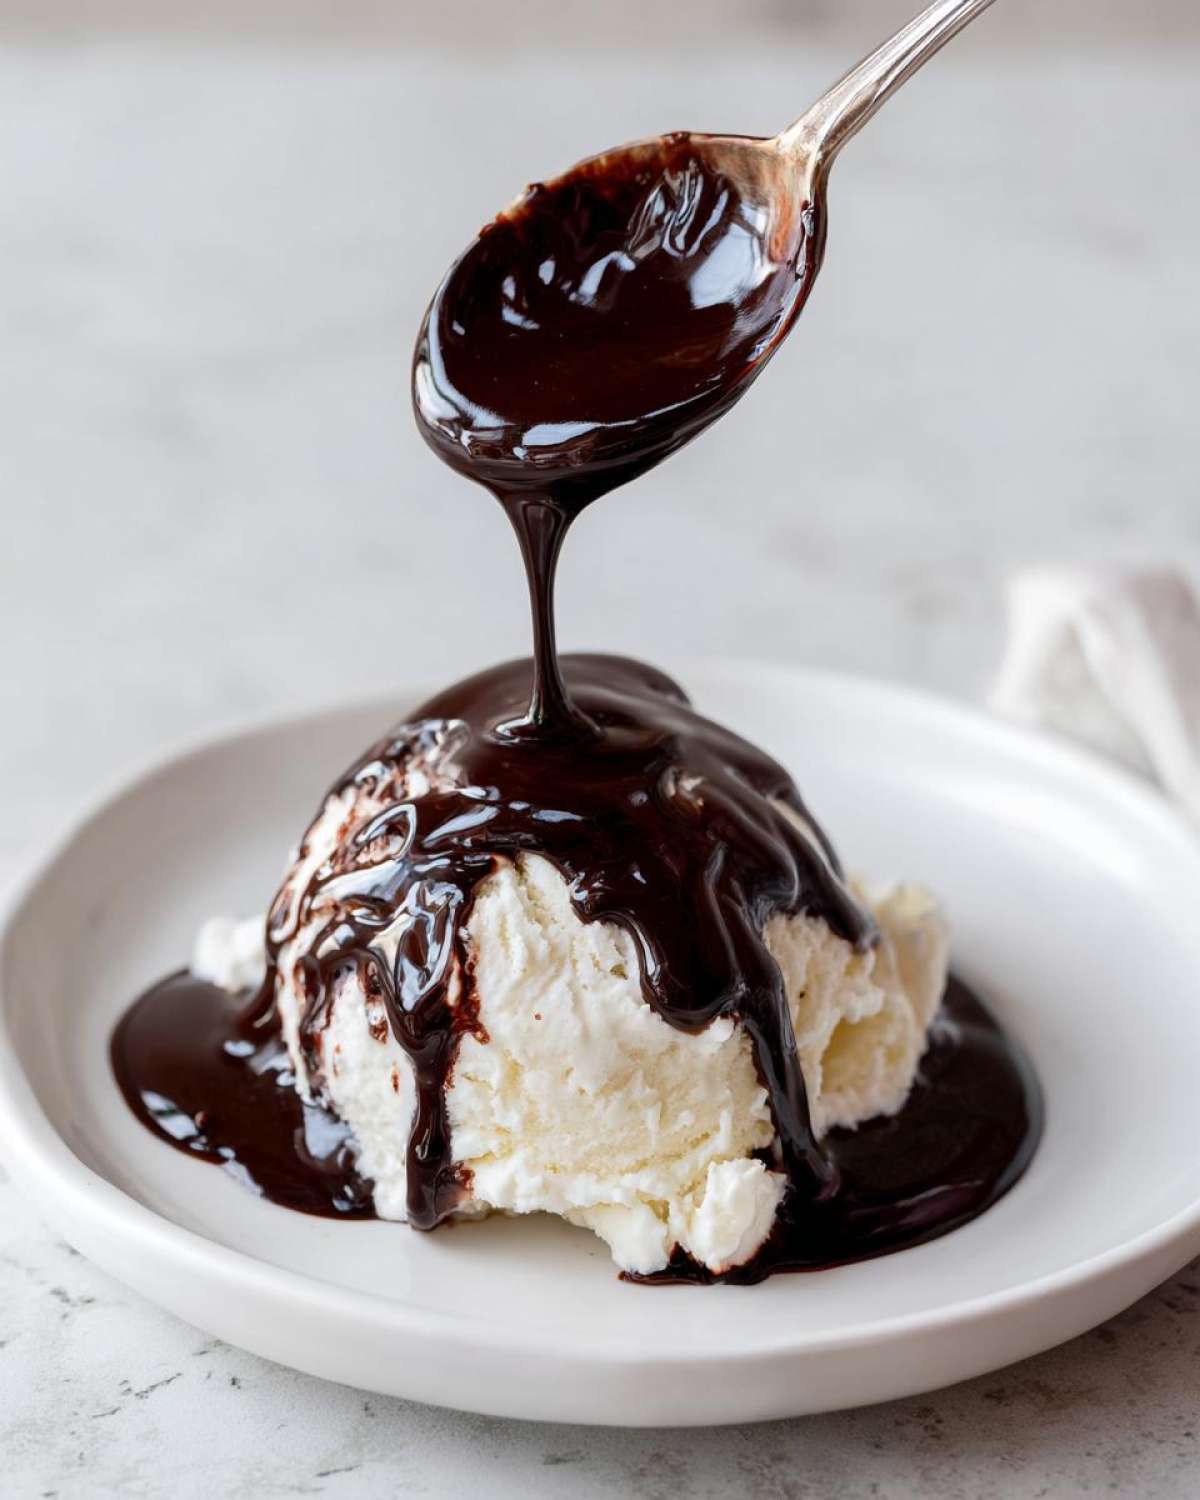
And for dessert? Oh boy. It’s the ultimate, foolproof chocolate drizzle for ice cream. Since it’s already thick, it sets up beautifully when it hits the cold surface. Don’t forget pancakes, waffles, or even drizzling over fruit salad. This recipe really is the easiest way to make a fantastic dessert topping sauce that tastes miles better than anything you buy in a squeeze bottle. If you want more ideas specifically for sundaes, check out my thoughts on the perfect chocolate drizzle for ice cream!
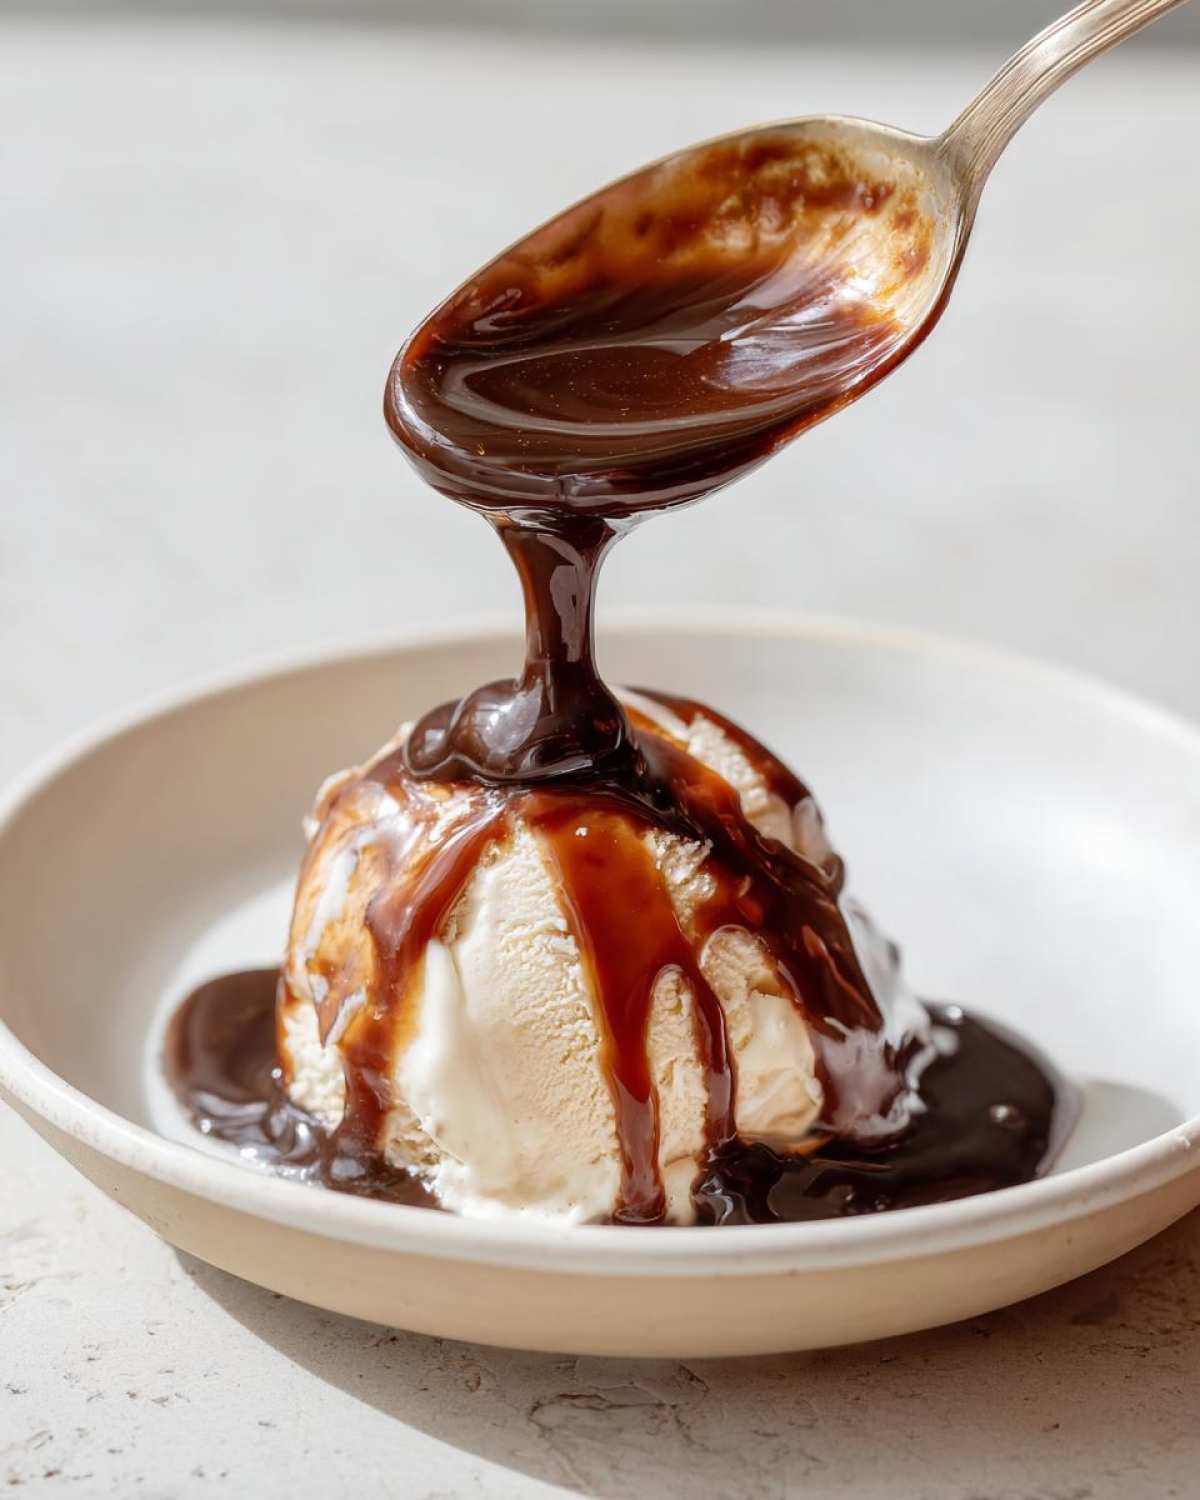
Storage and Shelf Life of Homemade Chocolate Syrup
This is the easy part—storage! Once your glorious batch of homemade chocolate syrup has completely cooled down—and I mean totally cool, guys—just pour it into an airtight jar or bottle. I love using those cute little swing-top bottles for mine, but any clean container works great.
You absolutely must keep this in the refrigerator. It tastes best when kept cold, and it’ll stay perfectly good for up to three weeks. Sometimes, if you forget it in the back of the fridge for a week, it gets a little stiff, right? No meltdown needed! If it’s too thick to pour, just spoon out what you need into a little microwave-safe bowl and zap it for about 10 or 15 seconds on low power. That little bit of warmth brings it right back to that pourable texture we want!
Frequently Asked Questions About Making Chocolate Syrup
I know when I first started playing around with making my own chocolate syrup, I had a million questions. It’s usually pretty foolproof, but a few little things can throw you off if you aren’t ready for them! If you want to check out more simple ideas, feel free to browse the main blog.
Can I use different sweeteners in this chocolate syrup recipe?
You absolutely can, as we talked about with the vegan swap! If you decide to try something like pure monk fruit or stevia blends, just be careful. Liquid sweeteners change the water ratio completely, so you need way less liquid in that case. If you stick to granular sugar substitutes, use about 3/4 cup like we did with the maple syrup, but always taste as you go. Sometimes artificial sweeteners leave a slight aftertaste that needs balancing, so maybe a tiny pinch more salt helps!
Why is my homemade chocolate syrup grainy?
Ugh, graininess is the worst, right? It almost always means one of two things happened during cooking. Either you didn’t whisk enough right at the beginning when combining the sugar and cocoa, so the sugar crystals didn’t fully dissolve into the water, or, more commonly, you boiled it too hard or too long! Remember that one-minute gentle simmer? If you boil it longer than that, you start evaporating the water too fast, and the sugar precipitates out as crystals when it cools. Sad face!
How do I make this into a decadent chocolate drizzle for gifts?
This makes such a thoughtful holiday food gift idea! Once the syrup is completely cool and thick, transfer it into cute little glass bottles—like mini milk bottles or old spice jars. Tie a simple kitchen twine around the neck and attach a little handwritten tag explaining that it’s homemade, what the ingredients are, and to keep it refrigerated. It looks so much more high-end than buying a jar off the shelf. Your friends will love this easy chocolate sauce recipe!
Nutritional Estimates for This Chocolate Syrup
Now, I always tell people that when you make your own chocolate syrup, you have better control over what goes in, but it’s still a treat! I’ve included some estimated nutritional information below based on the classic recipe using granulated sugar. Just remember, these numbers are helpful estimates for a 2-tablespoon serving size, but they can change a ton if you swap out sugar for maple syrup or a sugar-free alternative.
- Serving Size: 2 tablespoons
- Calories: 95
- Sugar: 22g
- Fat: 0.5g
- Carbohydrates: 24g
- Protein: 0.5g
Take those numbers with a grain of salt, though—they are based on the standard recipe, and I’m much more focused on how delicious it tastes poured over my homemade chocolate chip banana bread than tracking every little detail!
PrintThe Ultimate 10-Minute Homemade Chocolate Syrup

Make a rich, smooth chocolate syrup from scratch in under ten minutes using simple pantry ingredients. This sauce tastes better than store-bought versions and works for milk, ice cream, or coffee.
- Prep Time: 5 min
- Cook Time: 5 min
- Total Time: 10 min
- Yield: About 1 1/2 cups
- Category: Dessert Topping
- Method: Stovetop
- Cuisine: American
- Diet: Vegetarian
Ingredients
- 1 cup granulated sugar
- 2/3 cup unsweetened cocoa powder
- 1 cup water
- 1 teaspoon vanilla extract
- 1/4 teaspoon salt
Instructions
- Combine the sugar, cocoa powder, and water in a small saucepan.
- Place the saucepan over medium heat. Whisk the mixture constantly until the sugar dissolves and the mixture begins to simmer.
- Let the mixture boil gently for 1 minute, stirring occasionally. Do not overcook.
- Remove the saucepan from the heat. Stir in the vanilla extract and salt.
- Allow the syrup to cool completely. It will thicken as it cools.
- Pour the cooled chocolate syrup into an airtight container for storage.
Notes
- For a vegan option, use maple syrup instead of granulated sugar, reducing the amount to 3/4 cup.
- To make this sugar-free, substitute the sugar with 3/4 cup of your preferred granular sweetener blend designed for baking.
- This syrup is excellent for making homemade chocolate milk or as a mocha sauce for coffee drinks.
- Store the syrup in the refrigerator for up to three weeks.
Nutrition
- Serving Size: 2 tablespoons
- Calories: 95
- Sugar: 22
- Sodium: 25
- Fat: 0.5
- Saturated Fat: 0.3
- Unsaturated Fat: 0.2
- Trans Fat: 0
- Carbohydrates: 24
- Fiber: 1
- Protein: 0.5
- Cholesterol: 0