

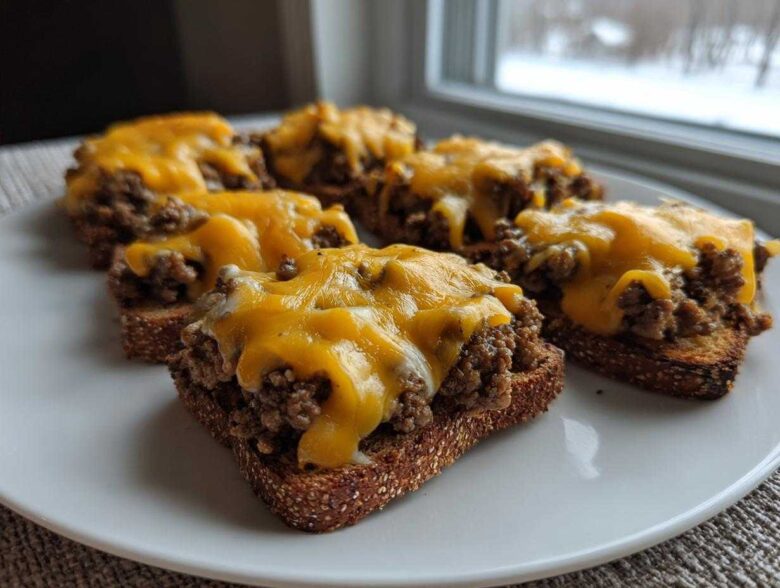
If you’re anything like me, you live for those old-school party appetizers that everyone pretends they’ve never seen before, only to raid the serving dish the second you set it down. I’m telling you, nothing clears a room faster than serving up something wonderfully rich and cheesy! The absolute champion in my book, the dish that never fails to disappear first at any gathering, is the famous **hanky panky recipe**. Seriously, people act surprised every single time it appears, like they forgot how incredibly good this savory, dreamy dip spread on little bits of bread is.
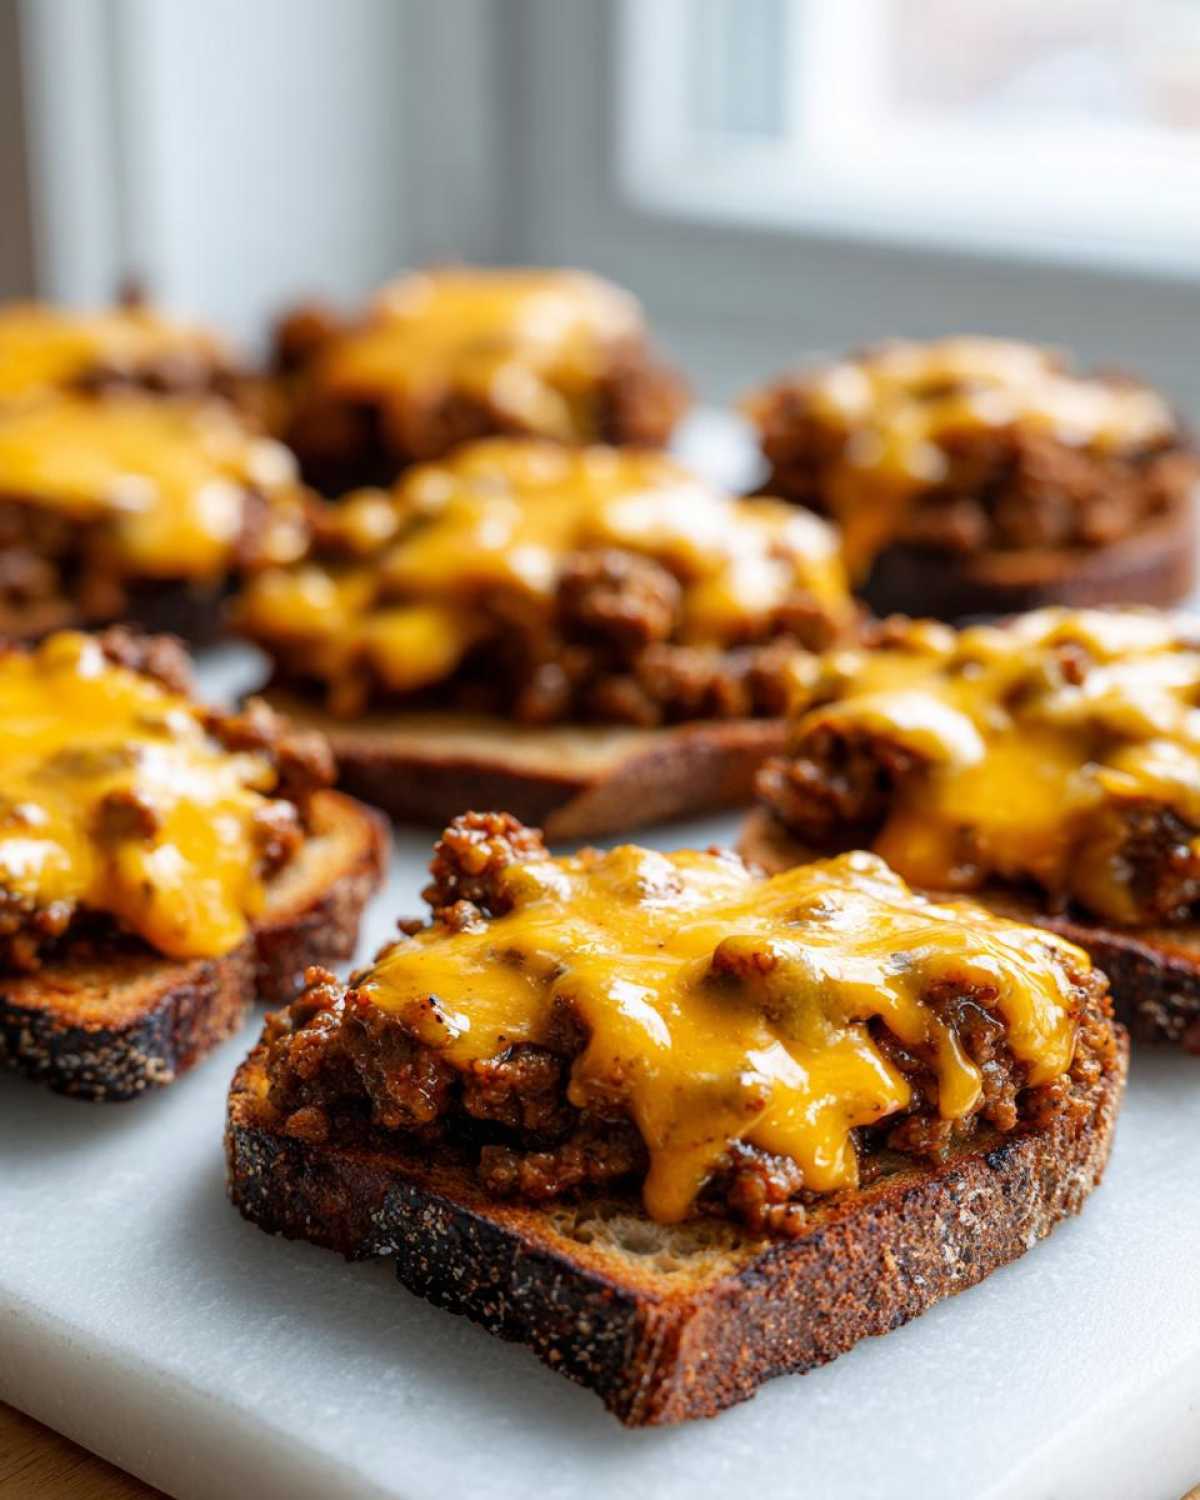
I’ve been making this recipe for years, usually when I need something that screams comfort food but looks completely party-ready. It’s truly one of those classics that spans decades because it just works! It’s what I whip up for the Super Bowl, Christmas Eve, or just on a random Tuesday when I need a nostalgic snack. If you want an appetizer that guarantees happy guests, you need this recipe in your rotation right now. For more easy-to-follow recipes, you can always check out my main recipe index. Trust me on this one!
Why This Hanky Panky Recipe Is a Party Essential (Easy Appetizer Bites)
Honestly, the best part about this dish is how little actual effort it takes! It’s the definition of **easy appetizer bites**. You brown two types of meat, stir in soup and cheese, and pop it in the oven. That’s it! It’s such a **crowd pleasing appetizer** because it’s warm, cheesy, meaty, and completely irresistible when served on those little slices of bread we use.
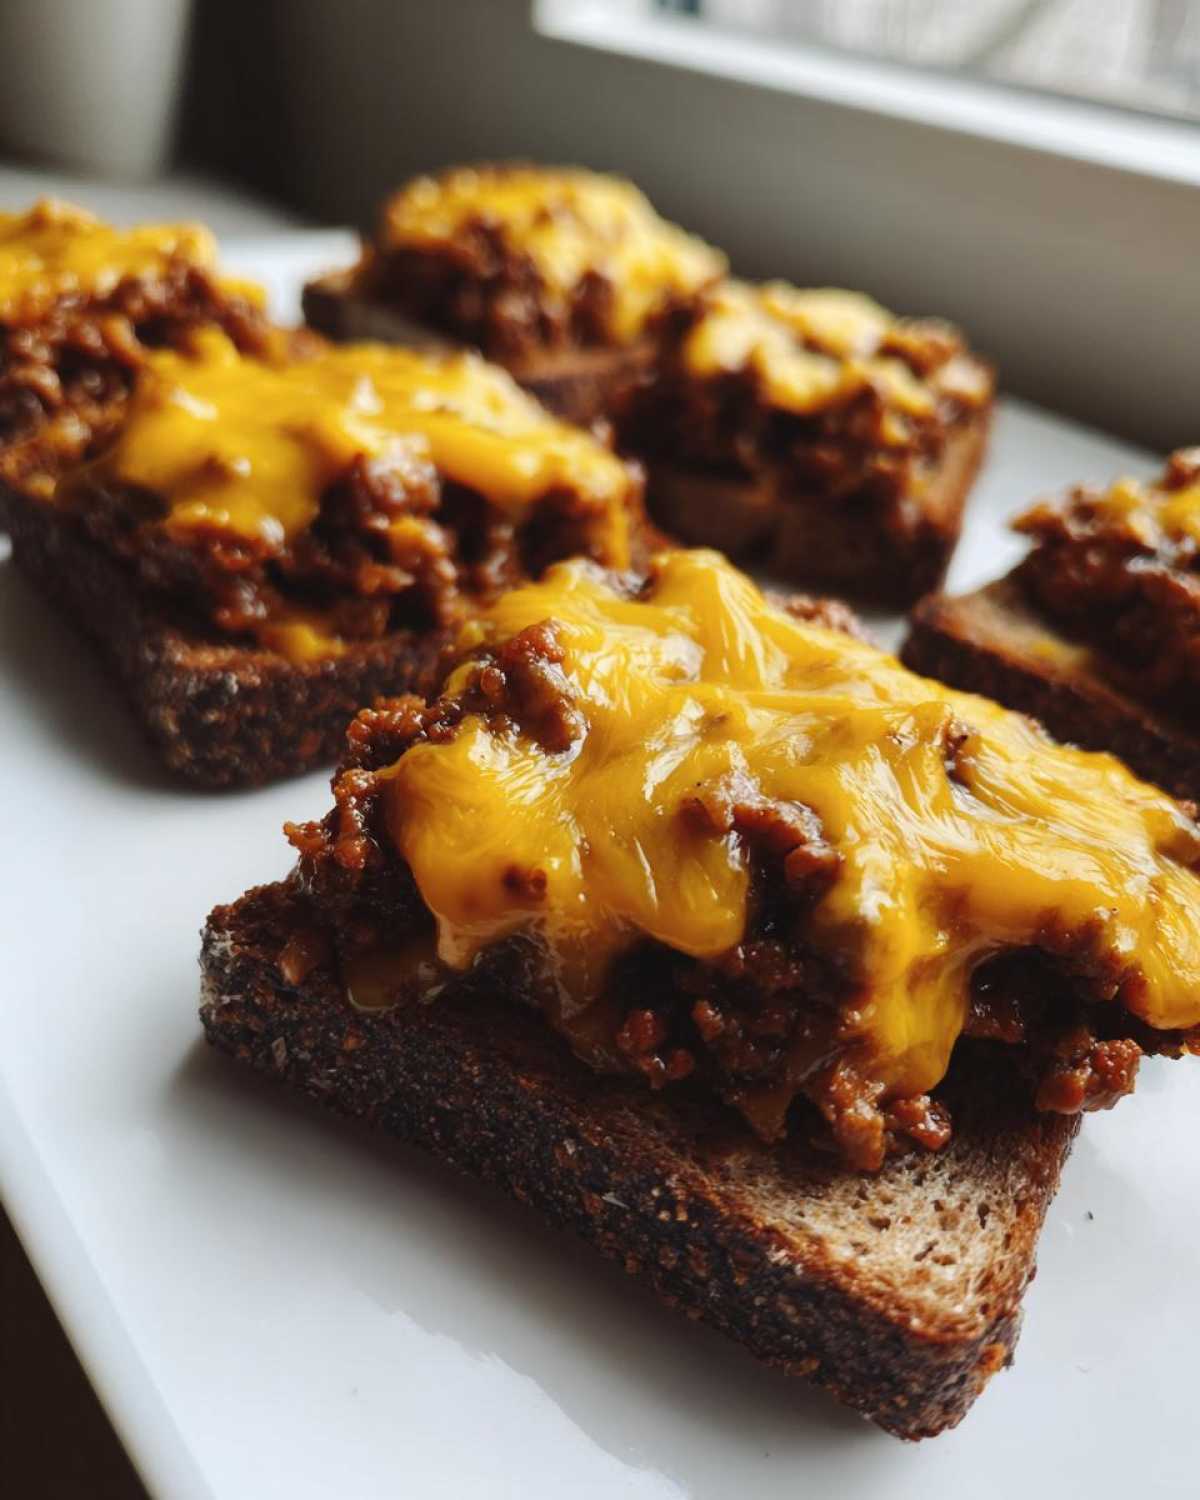
It has that wonderful, unapologetic retro appeal, which I just love. People recognize it as true **old school appetizers**, and there’s something comforting about familiar flavors. If you’re looking for something that requires zero fuss but gets huge compliments, this is your answer. You can see how I use similar crowd-pleasing dips in my Spinach Artichoke Dip, too!
Gathering Ingredients for the Classic Hanky Panky Recipe
You only need a small handful of things for the magic to happen here, and honestly, most of them are pantry staples! The core is getting the right meats right. We need a full pound of ground beef and a full pound of pork sausage. When I’m buying sausage, I always grab the bulk kind—don’t mess with links here. Make sure you drain that grease well when it cooks, because we want the creamy flavor, not the oil!
Next up is the creamy element: one can of condensed cream of mushroom soup. Don’t dilute it; we need that thickness! Off to the side, you’ll need sharp cheddar cheese, about one cup, shredded finely. I always shred my own cheese because the pre-shredded stuff just doesn’t melt right in these **cheesy sausage appetizers**.
For seasoning, keep it simple: onion powder, garlic powder, and pepper are all you need to give this great flavor base some oomph. See how easy that is? You can check out my vibrant Buffalo Chicken Dip if you ever want to skip the meat entirely, but for this classic, stick to the list.
Finally, the vehicle! Make sure you grab the small slices of pumpernickel or rye bread, often found near the bread aisle. These little bread slices are the perfect base for these **simple party starters**. If you can only find crackers, use those instead, but the bread just makes it feel truly retro!
Step-by-Step Instructions for the Perfect Hanky Panky Recipe
Okay, let’s get messy! Making this **hanky panky recipe** in the oven is actually super fast, which is why it’s one of my go-to **quick baked appetizers**. First things first, make sure your oven is humming along at 350 degrees Fahrenheit. While that warms up, grab your 9×13 inch baking dish—I always give mine a light coating of nonstick spray or a tiny bit of butter.
Don’t use butter if you’re using crackers later, though! If you’re interested in baking tips for different types of dishes, I cover pan prepping a bunch in my Bread Bowl Dip Guide, but for this, just a quick grease job will do just fine.
Preparing the Meat Base for Your **Hanky Panky Recipe**
Get your largest skillet hot over medium heat. Toss in that whole pound of ground beef and the whole pound of sausage right together. You want them to brown nicely, breaking up the meat as you go, almost like you’re making taco filling. This step is non-negotiable: once everything looks totally cooked through, you have to drain off every last bit of grease. I usually use a colander or tilt the pan drastically with a spoon holding the meat back. We want flavor, not an oil slick!
Mixing and Baking the Creamy **Hanky Panky Recipe** Filling
Once drained, put the meat right back in the warm pan. Now, dump in that whole can of undiluted soup, all your shredded cheddar, the onion powder, garlic powder, and pepper. Stir it like crazy until that cheese melts completely and everything looks like one thick, glorious, meaty mash. Spread this mixture evenly across your prepared baking dish. Pop it into the oven for about 15 to 20 minutes. You’ll know it’s done when the edges start looking bubbly and slightly darker—that means the cheese is happy!
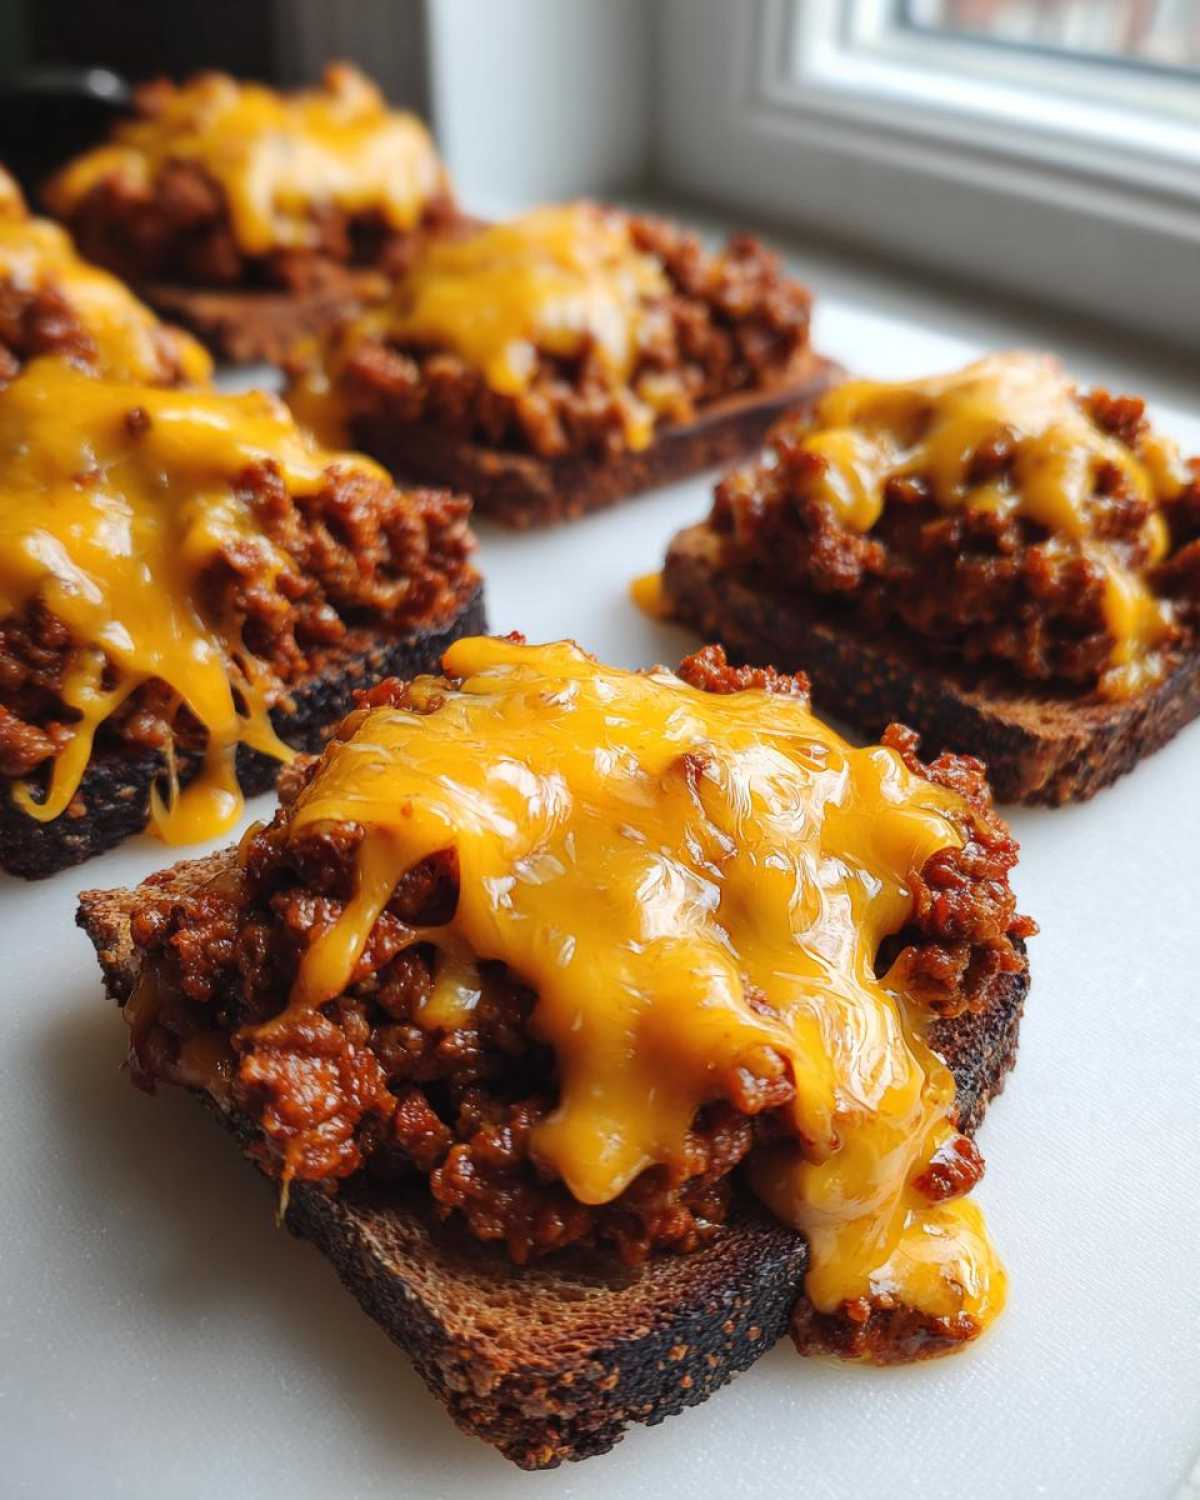
This step is important: pull it out and let it cool for just five minutes. If you try to scoop it immediately, it’s going to run everywhere! Those five minutes let the mixture settle just enough so it stays nicely mounded when you spread it onto your bread. Now you’ve made one of the best **comfort food appetizers**!
Ingredient Notes and Substitutions for Your Hanky Panky Recipe
Let’s talk ingredients for a second, because this is where you can really make or break this legendary **Hanky Panky recipe**. My number one rule is about the cheese. You absolutely must use sharp cheddar here. If you use mild, you lose that little bit of tang that cuts through the richness of the meat and the salty soup. If sharp cheddar isn’t your thing, Monterey Jack is a great swap—it melts beautifully, just maybe add a tiny pinch more onion powder to boost the background flavor.
When it comes to the meat, you can absolutely mess with the ratio if you want, though one pound of each (beef and sausage) seems to deliver the perfect savory punch. You could use all ground beef, but you’ll lose some of that classic pork fat flavor, so be prepared for a slightly leaner outcome. If you’re looking for something slightly zippier, check out my Creamy Ranch Chicken Skillet for different flavor profiles!
Now, for the bread versus cracker debate. The recipe calls for those perfect, small pumpernickel slices—they provide a sturdy, slightly tangy base that is essential for the authentic experience. If you use crackers, try to use sturdy ones, like water crackers or robust rye. Soggy cracker edges are not fun when you’re serving up these excellent **appetizer recipe for gatherings**!
Serving Suggestions for These Pumpernickel Bread Appetizers
Once this **hanky panky recipe** comes out of the oven, you want to serve it right away! It’s a warm dip appetizer, and we want that cheese nice and gooey, especially when served on those sturdy **pumpernickel bread appetizers**. I usually spread the warm mixture right onto the little bread squares as soon as it cools for five minutes, but if you’re serving a huge crowd, you can certainly transfer the hot filling back into a small slow cooker set to “warm” for self-scooping.
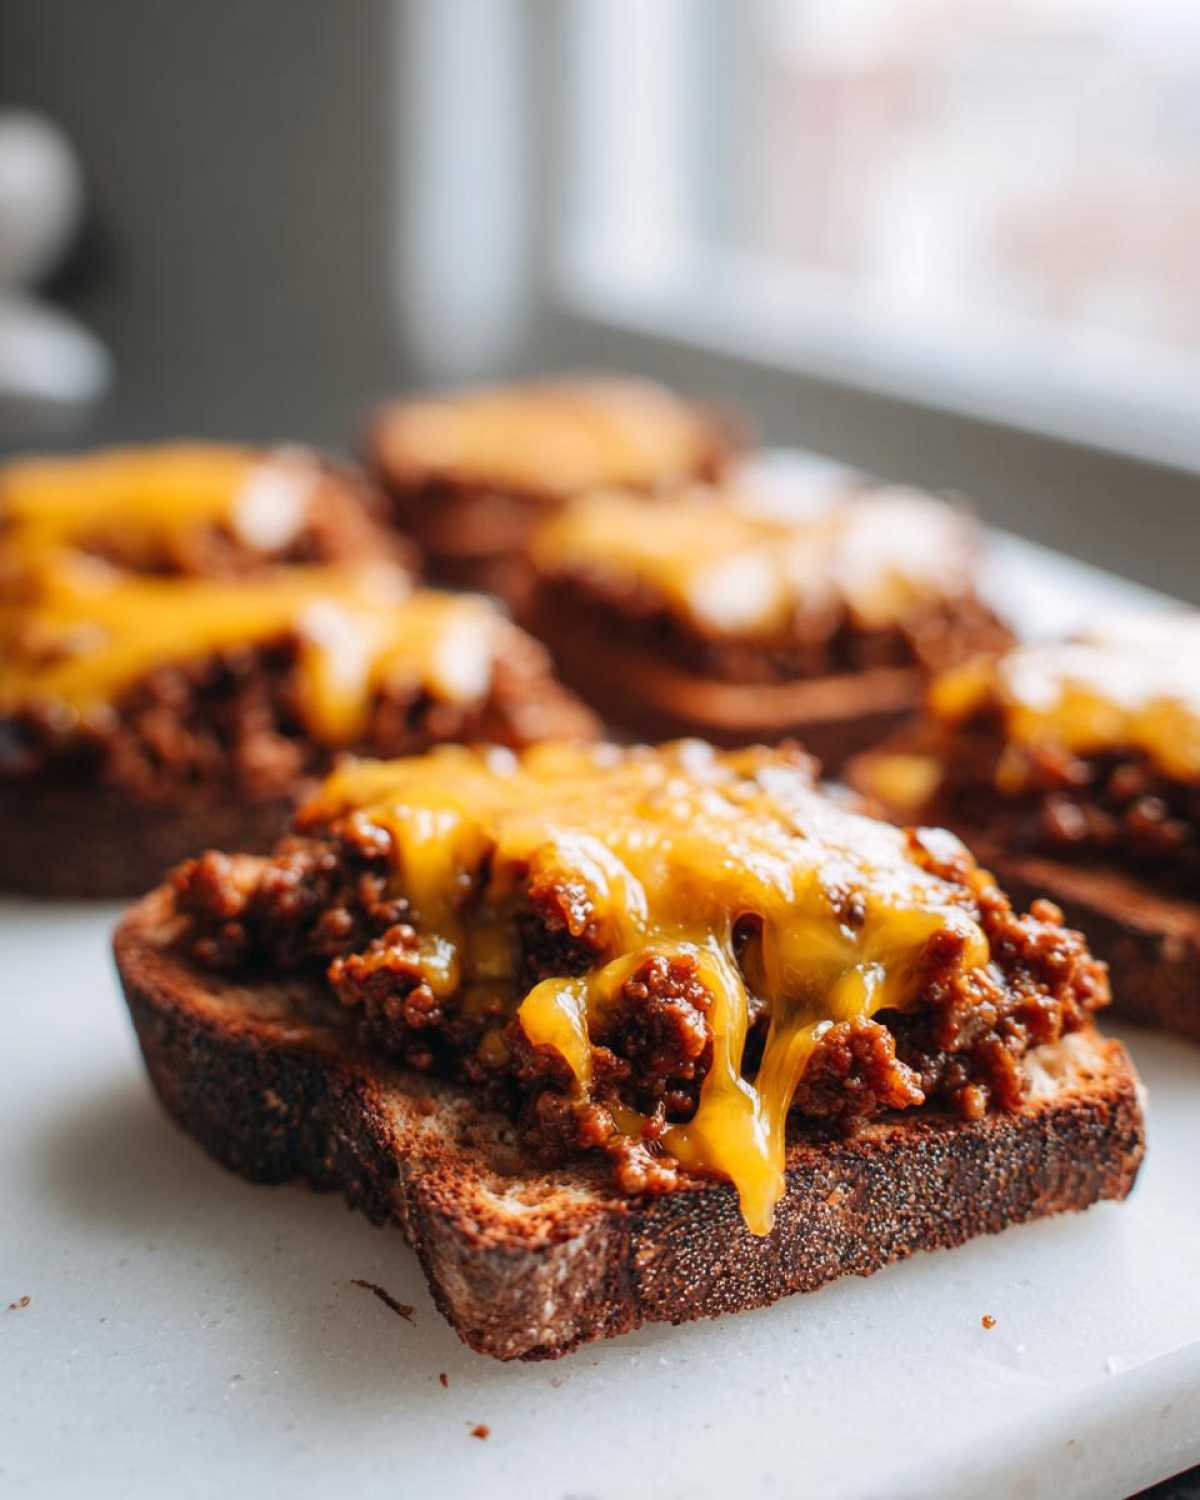
These are fantastic for game days, so don’t forget to put them out during the big match—they qualify as prime **game day food ideas**! My personal presentation trick for gatherings is lining a colorful wooden board with some fresh parsley. It gives that rich, meaty mix something green to pop against. Since this recipe yields so much, I always make a giant platter of these alongside my Loaded Nachos and watch the appetizers vanish!
Make Ahead and Storage Tips for Hanky Panky Recipe Leftovers
I know how hectic party days can be, so let me give you the inside scoop on prepping this **hanky panky recipe** ahead of time. The great news is that you can absolutely whip up the entire meat and cheese mixture two days before your big event! Just cook the meat, drain it, and mix in the soup, cheese, and seasonings just like you would for immediate baking. Don’t bake it yet, though!
Once mixed, transfer that creamy mixture into an airtight container and stick it right in the fridge. When you’re ready to serve, give it about 30 minutes on the counter to warm up a little bit before transferring it to your baking dish. Bake it as written—it might take an extra five minutes since it’s starting cold.
If you have leftovers (which is rare at my house!), store the dip covered in the fridge. Reheating is best done in the oven at 350 degrees until bubbly, so you don’t steam the texture. If you’re in a real rush, the microwave works, but give it short bursts and stir often so it doesn’t break. You can find more great tips on keeping party food perfect by browsing my make ahead party food collection!
Frequently Asked Questions About This Hanky Panky Recipe
I know you might have a few lingering questions about making sure this absolute classic turns out perfectly for your guests. It’s funny how many people ask about making huge batches for potlucks—I’ve got a link showing my best easy potluck recipes if you want more ideas!
But for this **hanky panky recipe**, people always want to know about substitutions, especially meat swaps or how to keep that amazing cheesy texture intact. Let’s tackle the most common ones so you can serve the best **simple party starters**!
Can I make this hanky panky recipe without pork sausage?
You totally can, but you’ll change the flavor a bit! The pork sausage adds a specific seasoning and fat content. If you skip it, just use one and a half pounds of plain ground beef, or try ground turkey if you need lighter fare. Just know the flavor will be less rich!
What is the best way to keep this **creamy meat appetizer** warm at a party?
For a long party where you’re serving this **creamy meat appetizer** buffet style, I highly recommend transferring the hot mixture into a small Crockpot or slow cooker set on the lowest “Warm” setting. If you use oven-safe ceramics, you can put it right in a chafing dish set over warm water. Just avoid the microwave for reheating, as it tends to make the cheese rubbery!
Estimated Nutritional Data for This Hanky Panky Recipe
I always try to give you guys a rough idea of what you’re whipping up when you make these **appetizer bites**! Now, remember, these numbers are just estimates because your beef fat content and the specific brand of soup you use will change things a little bit. I based this breakdown on the standard recipe measurements for one scoop of the dip served alongside about two of those little pumpernickel bread pieces (the recipe makes a ton, so this is per serving!).
For those tracking things closely, here’s the ballpark breakdown. Be sure to check out my full site disclaimer page for more details on how I calculate these numbers!
- Calories: Roughly 180
- Total Fat: About 12g
- Protein: Around 10g
- Carbohydrates: Near 8g
It’s definitely a rich number, but hey, that’s why they’re called Hanky Panky! They’re fantastic **comfort food appetizers** for a reason!
Share Your Experience Making This Hanky Panky Recipe
Whew! Now that you have all the secrets to making this absolute favorite, I really, really want to hear from you! Did you serve it for game day or maybe for a holiday gathering? Go ahead and leave a quick comment below, and please rate this **Hanky Panky recipe**! A quick star rating really helps other cooks take the plunge.
If you snap a picture of your glorious, cheesy spread, tag me on social media! You can reach out via my contact page if you have questions, but mostly, I hope you enjoy watching this retro snack disappear!
PrintClassic Hanky Panky Appetizer Recipe
Make this simple, creamy, cheesy sausage and beef mixture served warm on small pieces of bread. This is a popular retro party snack.
- Prep Time: 10 min
- Cook Time: 20 min
- Total Time: 30 min
- Yield: About 24 servings
- Category: Appetizer
- Method: Baking
- Cuisine: American
- Diet: Low Fat
Ingredients
- 1 pound ground beef
- 1 pound bulk pork sausage
- 1 (10.5 ounce) can condensed cream of mushroom soup, undiluted
- 1 cup shredded sharp cheddar cheese
- 1 teaspoon onion powder
- 1/2 teaspoon garlic powder
- 1/4 teaspoon black pepper
- 1 package (12 ounces) small pumpernickel or rye bread slices (or crackers)
Instructions
- Preheat your oven to 350 degrees Fahrenheit. Lightly grease a 9×13 inch baking dish.
- In a large skillet over medium heat, cook the ground beef and pork sausage together until fully browned. Drain off all excess grease.
- Return the cooked meat to the skillet. Stir in the cream of mushroom soup, cheddar cheese, onion powder, garlic powder, and black pepper. Mix until the cheese is melted and the mixture is well combined and heated through.
- Spread the meat and cheese mixture evenly over the bottom of the prepared baking dish.
- Bake for 15 to 20 minutes, or until the mixture is hot throughout and slightly bubbly around the edges.
- Remove from the oven. Let the mixture cool for about 5 minutes before serving.
- Serve the warm mixture with the small bread slices or crackers for scooping.
Notes
- You can prepare the meat and cheese mixture ahead of time and store it in the refrigerator for up to two days. Reheat before serving.
- For a slightly different flavor, substitute Monterey Jack cheese for the cheddar.
- If using crackers instead of bread, add them to the serving platter just before serving to prevent them from getting soggy.
Nutrition
- Serving Size: 1 serving (approx. 2 tbsp dip with 2 bread pieces)
- Calories: 180
- Sugar: 2
- Sodium: 450
- Fat: 12
- Saturated Fat: 5
- Unsaturated Fat: 7
- Trans Fat: 0
- Carbohydrates: 8
- Fiber: 0
- Protein: 10
- Cholesterol: 45