

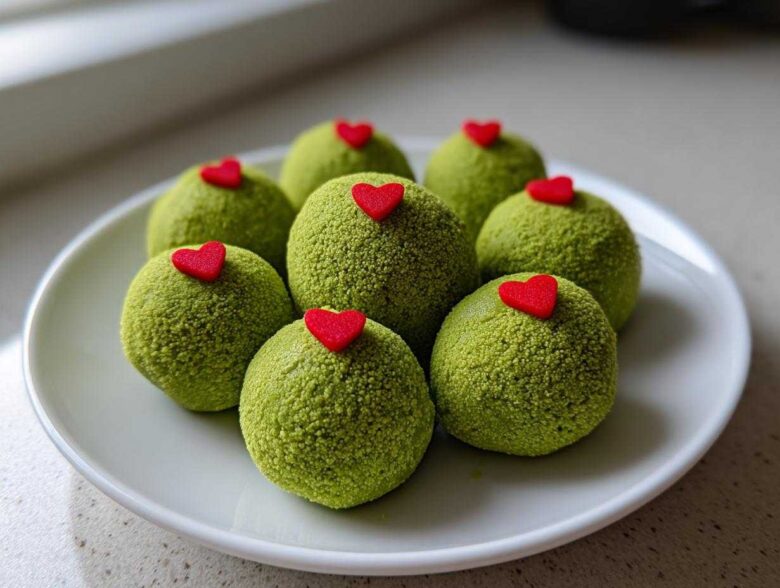
Oh my gosh, the holidays sneak up on you every single year, don’t they? I get so stressed trying to figure out what I can bake that’s fast, looks amazing under the Christmas lights, and doesn’t involve heating up the kitchen for three hours. If you feel me, I have the absolute life-saver you need this season: these incredible, no-bake grinch oreo balls!
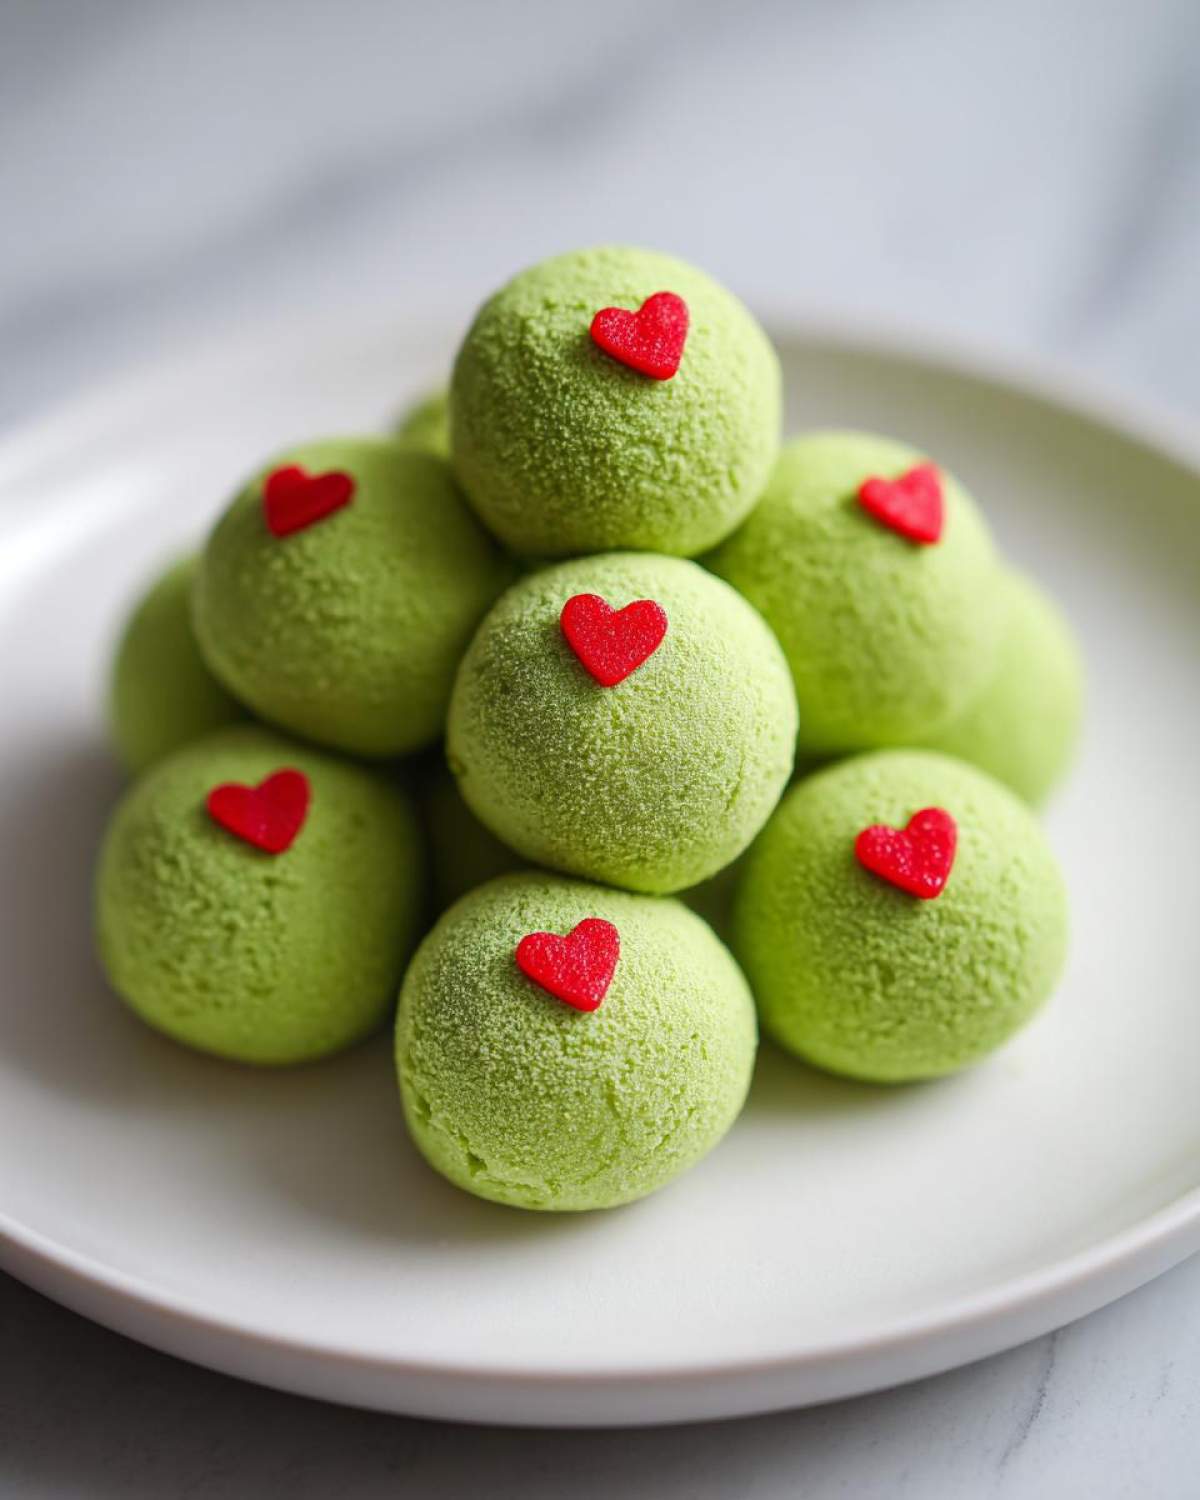
Seriously, these are magic. They take about thirty minutes, you don’t even need an oven, and they look like the cutest little Grinch faces you’ve ever seen with that sweet red heart right smack in the middle. I made a gigantic batch for my neighborhood cookie swap last week, and they vanished before anyone even got to the gingerbread men. They are just so perfectly bite-sized and fun. Trust me on this one; these little green truffles are about to become your favorite holiday tradition.
If you want the secret to my success, hop over to my general baking tips page! But for now, let’s get rolling on these!
Why You Will Make These Easy Christmas Desserts
When the holiday rush hits, you need recipes that work hard without demanding all your time. I swear by these treats because they check every single box! You can whip these up in a flash, making them one of the best last minute Christmas treats I know.
- They are completely no-bake, which means no frantic oven juggling during dinner prep!
- The visual impact is huge. Everyone asks where I bought these adorable easy Christmas desserts.
- They are ridiculously simple—even the kids can help roll them into balls.
- They taste just as good (maybe better!) the next day, so you can totally prep ahead.
Gather Your Ingredients for Grinch Oreo Balls
Okay, before we get our hands dirty, we need to make sure everything is lurking patiently in the pantry. This recipe is famous because it keeps the ingredient list short and sweet, but every single item plays a specific part in making these the best grinch oreo balls.
You’ll need just a few standard items, plus the specialized decorations, of course! Don’t skimp on quality where it matters, like your cream cheese—it really needs to be fully softened, or things get lumpy fast.
- One whole package of Oreo cookies—yes, the whole thing! You need them finely crushed, like, dusty sand consistency.
- 8 ounces of cream cheese, and this is crucial—it must be softened to room temperature so it mixes smoothly.
- 12 ounces of green candy melts. These are what give us that perfect, bright Grinch color right out of the bag.
- A tiny bit of shortening or coconut oil, usually about a tablespoon, only if you want the coating to be super silky when you dip!
- And the absolute non-negotiable: those small red heart sprinkles. If you can only find little round ones, they’ll work, but the hearts make the look!
For the full directions on how to put this all together, check out my no-bake cheesecake guide—the mixing technique is surprisingly similar!
Ingredient Notes and Substitutions for Grinch Oreo Balls
Now for the fun little tweaks! First, let’s talk Oreos. While the classic chocolate wafer is the standard base for these grinch oreo balls, I’ve had huge success using Red Velvet Oreos when I want a slightly richer, pinkish hue inside my green shell. Just try it once; it’s a fun twist!
That tiny bit of shortening or coconut oil I mentioned? Think of it as insurance. Candy melts can seize up if they get too hot, but adding a little fat helps them stay fluid and thin while you’re working. This is key so you don’t end up with a lumpy mess.
The big question is always the hearts! You must find those tiny red hearts. I usually grab mine online right after Halloween when they start stocking up on baking décor, or check the baking aisle at craft stores. They are the signature element that screams ‘Grinch’ and makes these Grinch Themed Food treats instantly recognizable!
Step-by-Step Instructions for Perfect Grinch Oreo Balls
Okay, here is where the magic happens! Because these are no-bake, everything is about technique and temperature control. Follow these steps for the most perfect little truffle spheres. If you’re looking for more no-bake inspiration, I’ve got a few fun cup recipes over in my strawberry cheesecake cups post!
The entire process moves quickly once you get going. Remember, the chilling time is your secret weapon—don’t rush it!
Mixing the Oreo Truffle Base
First things first: we make the dough. You want your cream cheese to be nice and soft, almost spreadable. Dump the crushed cookies right into the bowl with the cream cheese—no need to be shy! Mix it, stir it, use your hands if you have to, until it looks like one uniform, slightly dark gray mass. It shouldn’t be crumbly anymore; it needs to be firm enough that when you pinch a bit, it holds its shape easily.
Next, roll them out! I aim for about one inch diameter for each ball. They should look like little snowballs being readied for their green coat. Once they are all rolled, lay them out on a parchment-lined sheet. Now, this is the big move: pop that tray right into the fridge for at least 30 minutes, or even an hour if you have time. They must be cold!
Mastering the Green Candy Melt Coating for Grinch Oreo Balls
While those babies are chilling, melt your green candy melts. Pop them in a microwave-safe bowl and microwave in 30-second bursts, stirring well between each one. If they look a little stiff, stir in that optional shortening or coconut oil; it makes them flow like silk. Remember, if it’s too thick, it’s tough to get a smooth coat on your cold grinch oreo balls.
This is the most important part: Take the tray out of the fridge. Dip one cold ball at a time completely into the melted green coating. Use a fork to gently push it under the surface. When you pull it out, use the tines of the fork to gently scrape the bottom of the bowl as you lift it up. That tap-tap-tap motion gets rid of the excess coating so you don’t end up with big puddles around the bottom once they set.
Decorating Your Bite Sized Christmas Sweets
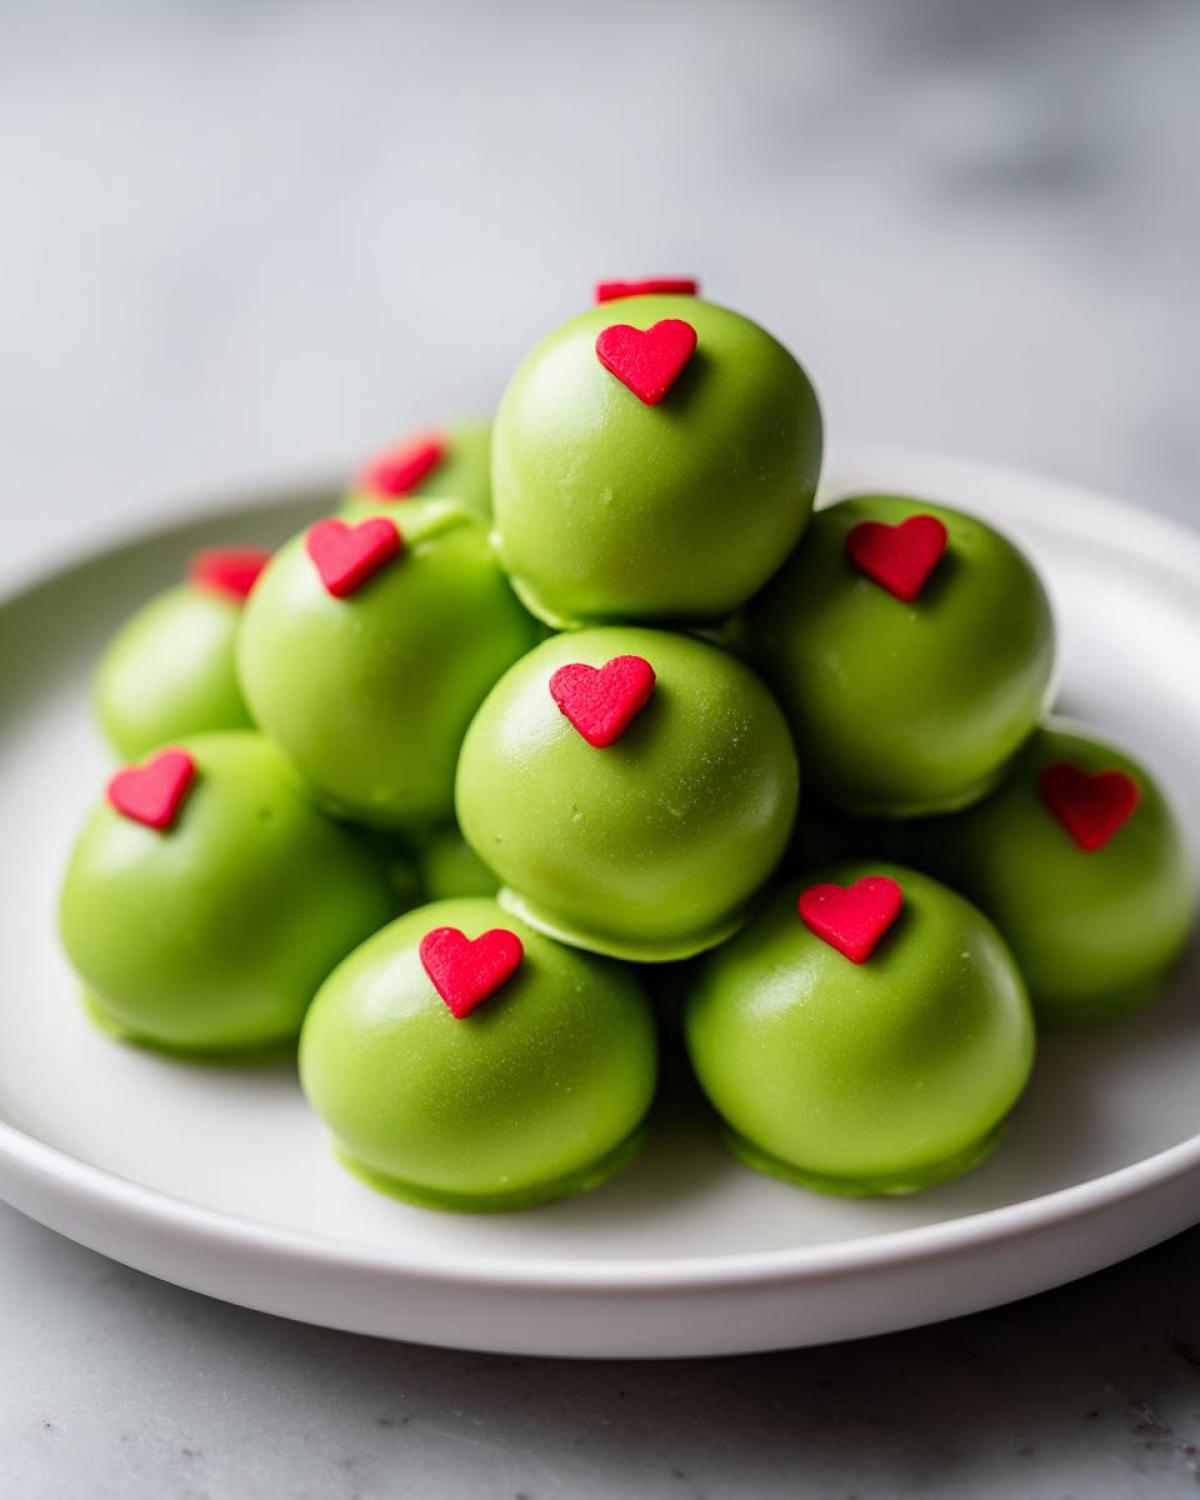
As soon as that green ball is back on the parchment, you’ve got about ten seconds before the coating sets. Grab one of those tiny red heart sprinkles and delicately press it right onto the top center of the ball. That’s the Grinch’s heart staring right back at you! If you wait too long, the sprinkle slides right off, so speed is key here.
Keep dipping and decorating until you run out of dough or melts. Pop the finished tray back into the fridge for about 15 minutes to let the candy coating harden completely. These adorable Bite Sized Christmas Sweets are seriously so satisfying to look at once they all line up perfectly!

Tips for Success with Your Oreo Truffle Recipe
Even though these are truly beginner-friendly, there are a few little secrets I’ve picked up over the years making batches of these things—especially when I’m rushing to get them ready for a party. You want beautiful, smooth, perfectly coated No Bake Oreo Truffles, and that takes a little finesse!
The coating consistency is the number one issue people run into. If you find your green candy melt is getting thick and clumpy while you are dipping batch two or three, don’t panic! If you try to force it, the coating will crack once it sets on the truffle. Just take whatever is left in the bowl and microwave it for 10 or 15 seconds, stirring really well until it loosens up again. That little bit of reheat time saves the whole batch.
Another thing that trips people up is the chilling time. I cannot stress this enough: make sure those little dough balls are rock solid before they hit the warm green bath. If they are even slightly soft, they can start to crumble right there in the dip bowl, or they end up squashed flat because they can’t hold their round shape under the weight of the melted candy. If you’re short on time, stick the tray in the freezer for 15 minutes instead of the fridge. Seriously! Cold means set!
If you see little hairline cracks forming in the green shell after the truffles have set, usually that means the coating was a little too thick going on, or possibly one of the truffles wasn’t perfectly round to begin with. Sometimes the best fix is just to do a very light, thin second coat, though I find most people don’t even notice! For more easy dessert fixes, you might find some hints useful over on my chocolate eclair post!
Storage and Make-Ahead Tips for Grinch Oreo Balls
One of the biggest reasons these grinch oreo balls are my absolute go-to for holiday parties is that you don’t have to stress about making them the day of the event! You can absolutely make these ahead of time, and honestly, my rule is they taste even better the next day once everything has really settled in.
Since these truffles rely on cream cheese in the center, you absolutely must keep them chilled. They are not like cookies that can just sit out on a platter for hours; the filling needs that cold structure. Store them in a single layer in an airtight container in the refrigerator. If you put them in the fridge, they stay perfectly good for a solid week, which gives you tons of flexibility when planning your holiday dessert menu!
If you’re making a gigantic batch for a huge Christmas bash or you want to get ahead seriously early, freezing is an option too! Lay them out on a baking sheet, let them firm up for an hour, and then transfer them to a freezer-safe, airtight container. I usually put a piece of wax paper between layers just so nothing sticks together. They freeze beautifully for about two months. When you need them, just pull out the amount you need and let them thaw in the fridge for a few hours before serving.
When you pull them out of the fridge to serve, remember that the chocolate coating can get a little soft if it sits out too long in a warm room, especially if you’re next to the fireplace! I like to pull them out about 30 minutes before guests arrive, just to take the deep chill off the truffle center, but no longer. For more no-bake ideas that are perfect for prepping ahead, check out my guide to chocolate peanut butter cups!
Serving Suggestions for These Festive Holiday Treats
Now that you’ve made the absolute cutest little things on the planet, you need to show them off! These grinch oreo balls are definitely showstoppers, and presentation really matters when you’re dealing with something so whimsical. They are perfectly designed for any holiday gathering because they require zero forks or plates—just grab and go!
When putting together your dessert table, think about color contrast. Since these are such a bold green, they look stunning next to pure white things. Try setting them on a silver platter surrounded by powdered sugar-dusted shortbread—the contrast makes the Grinch hearts really pop! They are also ideal for those big cookie trays you take to church or office parties.

If you’re trying to win your next holiday cookie exchange, place four or five of these in a small cellophane bag, tied with some festive red or plaid ribbon, and attach a little handwritten tag that says, “Hope your heart grows three sizes!” These are way faster than decorated sugar cookies but win just as many compliments.
These Festive Holiday Treats pair surprisingly well with rich, dark beverages, too. When I serve mine, I put out a pot of dark roast coffee and maybe some peppermint hot chocolate. The cool, minty flavor cuts through the sweetness of the truffle just perfectly. Honestly, once you get them out, you’ll wonder how you ever threw a Christmas party without these little green wonders!
Frequently Asked Questions About Grinch Oreo Balls
I always get so many questions when I post pictures of these adorable little guys online! It makes sense; they look complicated, but they are so simple once you know the little tricks. Here are some of the things I hear most often about making perfect grinch oreo balls.
Can I use different flavors of Oreos for these Grinch Themed Food treats?
Oh yes, you absolutely can! While the standard chocolate Oreo gives you that classic dark center that contrasts nicely with the green shell, I mentioned in the notes that using Red Velvet Oreos is a fantastic switch-up. It gives the inside a slight reddish undertone and a nice hint of chocolate tang. The structure doesn’t change much, either, which is great news for us no-bake cooks!
However, I always caution people against using Oreos that have a lot of creamy filling already in them, like the Birthday Cake flavor, unless you substantially reduce the cream cheese you add in the recipe. Too much fat in the dough mixture makes it super greasy and impossible to roll nicely. Stick to the classics or Red Velvet for the best results for your Grinch Themed Food!
How do I get the green color right for the Grinch Oreo Balls?
This is all about the candy melts versus chocolate chips. If you use green candy melts, you usually get a nice, vibrant color right out of the bag! If you opt to use white chocolate chips instead (which I sometimes do for a creamier shell), you absolutely must use oil-based gel food coloring. Do not, I repeat, do not even think about using those little droppers of water-based food coloring! Water and chocolate are mortal enemies; it will seize up into a hard, grainy paste almost instantly, and you’ll have to start over.
When coloring candy melts, start with just a tiny bit of green gel coloring and mix it in slowly. You can always add more color, but you can’t take it out once it’s in there! I aim for a bright, almost lime green shade, which looks wonderfully cartoonish for these grinch oreo balls.
Need more general advice on working with chocolate coatings? I covered some coating issues in my piece on moist banana bread, even though it’s a totally different recipe!
Can I freeze the finished Grinch Oreo Balls?
Yes, they freeze exceptionally well! I actually prefer serving them slightly chilled, so freezing is ideal if you need to make them a week in advance. Just follow the freezing instructions I laid out earlier: make sure they are completely set on the parchment paper, then transfer them to an airtight container with a layer of wax paper between them to prevent sticking. They last great in the freezer for up to two months!
Estimated Nutritional Data for Simple Winter Desserts
If you are tracking macros or just curious about what you’re munching on while decorating cookies, here is the basic rundown for these Simple Winter Desserts. Now, honey, you know that these numbers are just estimates, right? I mean, one person uses a slightly thicker coat of green melts than another, and that’s the beauty of home cooking!
I used the standard measurements for regular Oreos and cream cheese when calculating this, so if you swap to Red Velvet Oreos, the numbers might shift slightly. But this gives you a really good idea of what you are getting in one perfectly bite-sized truffle.
For the full breakdown per truffle, based on a yield of about 24 balls, here is what the math looks like. If you love reading more about balancing things like protein, check out my tips on chia pudding liquid ratios!
- Serving Size: 1 truffle
- Calories: Around 150
- Sugar: Roughly 15 grams
- Total Fat: About 9 grams
- Saturated Fat: Approximately 5 grams
- Carbohydrates: We’re looking at about 16 grams
- Protein: A small boost—about 2 grams
- Cholesterol: Around 10 milligrams
Don’t worry too much about the numbers, though! These are meant for joyful indulgence during the holidays, and they are certainly worth every single bite. Enjoy them!
Share Your Whimsical Holiday Sweets
Now that you have finished your incredible batch of grinch oreo balls, it’s time to show them off! I truly hope you had as much fun making these simple, festive treats as I do every year. They really are the perfect little dose of Christmas cheer, right?
I absolutely live for seeing your recreations! When you finish decorating your first batch and they are all shiny and green on the counter, please snap a picture! It makes my whole day to see how you styled your little Grinches.
When you post them on Instagram or Facebook, please tag me! I want to see your tiny red hearts placed perfectly. If you can leave a rating here on the blog—let me know if you gave these five stars!—it helps so many other cooks find the best recipes for their holiday baking lists.
If you have any final questions, or maybe you had a wild adaptation idea for these whimsical holiday sweets, please hop over to my contact page and send me a message! Happy holidays, and enjoy sharing your amazing work!
PrintNo-Bake Grinch Oreo Balls

Make these simple, no-bake Oreo truffles coated in green candy melts and decorated with a small red heart to look like The Grinch. They are perfect for holiday parties.
- Prep Time: 25 min
- Cook Time: 5 min
- Total Time: 30 min
- Yield: About 24 truffles
- Category: Dessert
- Method: No-Bake
- Cuisine: American
- Diet: Vegetarian
Ingredients
- 1 package (14.3 oz) Oreo cookies, finely crushed
- 8 oz cream cheese, softened
- 12 oz green candy melts (or white chocolate chips mixed with green food coloring)
- 1 tablespoon shortening or coconut oil (optional, for smoother melting)
- Small red heart sprinkles (for decoration)
Instructions
- Place the finely crushed Oreo cookies into a large bowl.
- Add the softened cream cheese to the crushed cookies. Mix well until a uniform dough forms.
- Roll the dough into small balls, about 1 inch in diameter. Place the balls on a baking sheet lined with parchment paper.
- Chill the Oreo balls in the refrigerator for at least 30 minutes to firm up.
- Melt the green candy melts according to package directions. If using, stir in the shortening or coconut oil for a smoother consistency.
- Dip each chilled Oreo ball into the melted green coating, ensuring it is fully covered. Tap off any excess coating.
- Immediately place the coated ball back onto the parchment-lined sheet.
- While the coating is still wet, press one small red heart sprinkle onto the top center of each ball to resemble the Grinch’s heart.
- Allow the candy coating to set completely at room temperature or chill briefly until firm.
Notes
- For a richer flavor, you can use Red Velvet Oreos instead of regular chocolate Oreos.
- If the candy coating becomes too thick while dipping, reheat it briefly in short intervals.
- Make sure the Oreo balls are very cold before dipping; this prevents them from falling apart in the warm coating.
Nutrition
- Serving Size: 1 truffle
- Calories: 150
- Sugar: 15
- Sodium: 80
- Fat: 9
- Saturated Fat: 5
- Unsaturated Fat: 4
- Trans Fat: 0
- Carbohydrates: 16
- Fiber: 0
- Protein: 2
- Cholesterol: 10