

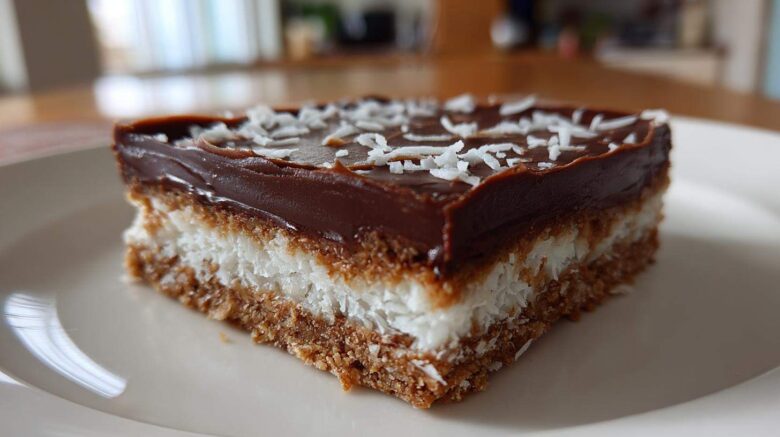
Remember those simple, layered treats from childhood? I sure do. They always signaled something special was happening. Back when Richard and I were raising our kids, life was busy, real busy. We didn’t always have time for fussy baking projects. That is why these No Bake Chocolate Coconut Bars became such a staple at our house. They were always a guaranteed hit. I’m Eleanor, and I’m sharing one of our treasured easy candy recipes today. These bars bring back such sweet memories with every bite we take. They hold their shape beautifully, too. That structure is something I really value in a good dessert. I know you’re going to love how simple these No Bake Chocolate Coconut Bars are to put together. It’s pure comfort food, no oven required!
Why You’ll Love These No Bake Chocolate Coconut Bars
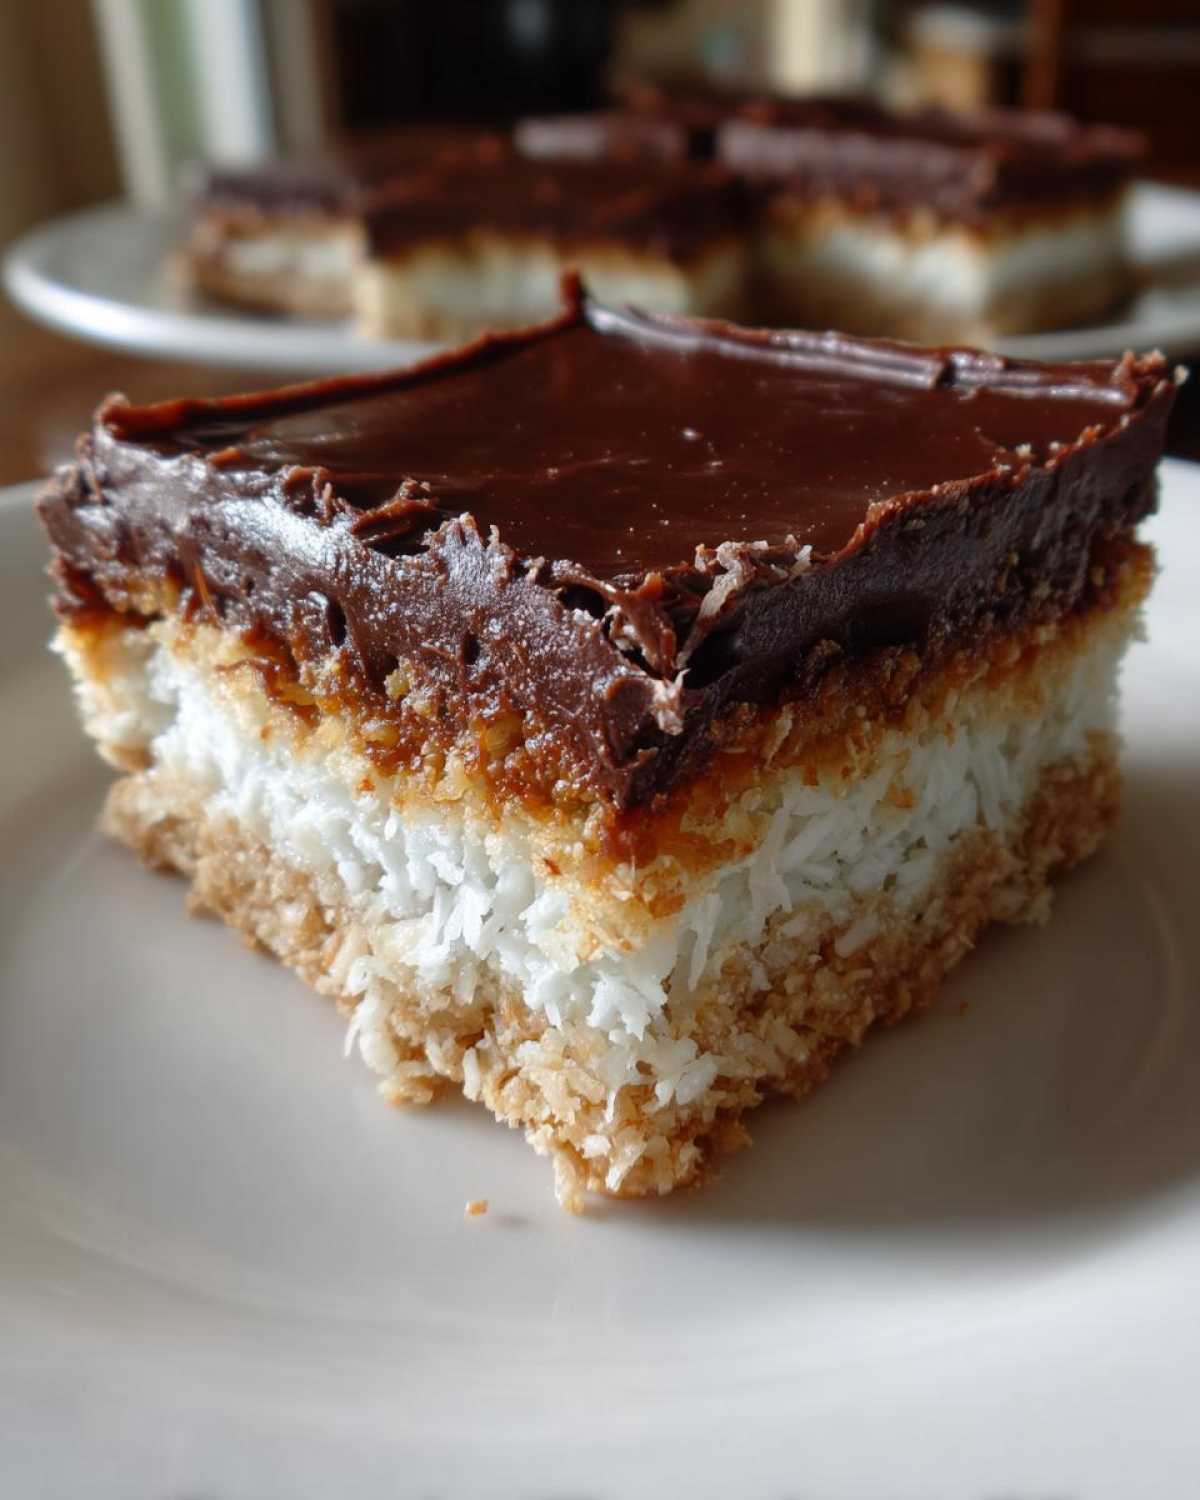
I promise you’ll adore these treats. They are quick to make. You can whip them up fast. These No Bake Chocolate Coconut Bars hold their shape perfectly. That nostalgic flavor is just unmatched. They taste like happy times.
Quick Assembly for Instant Gratification
Prep time is only 25 minutes total. That’s right, just 25 minutes! You mix, press, and pour. There is no waiting for an oven to preheat. This speed means dessert comes fast. You get sweet satisfaction sooner.
The Perfect Layered Dessert Experience
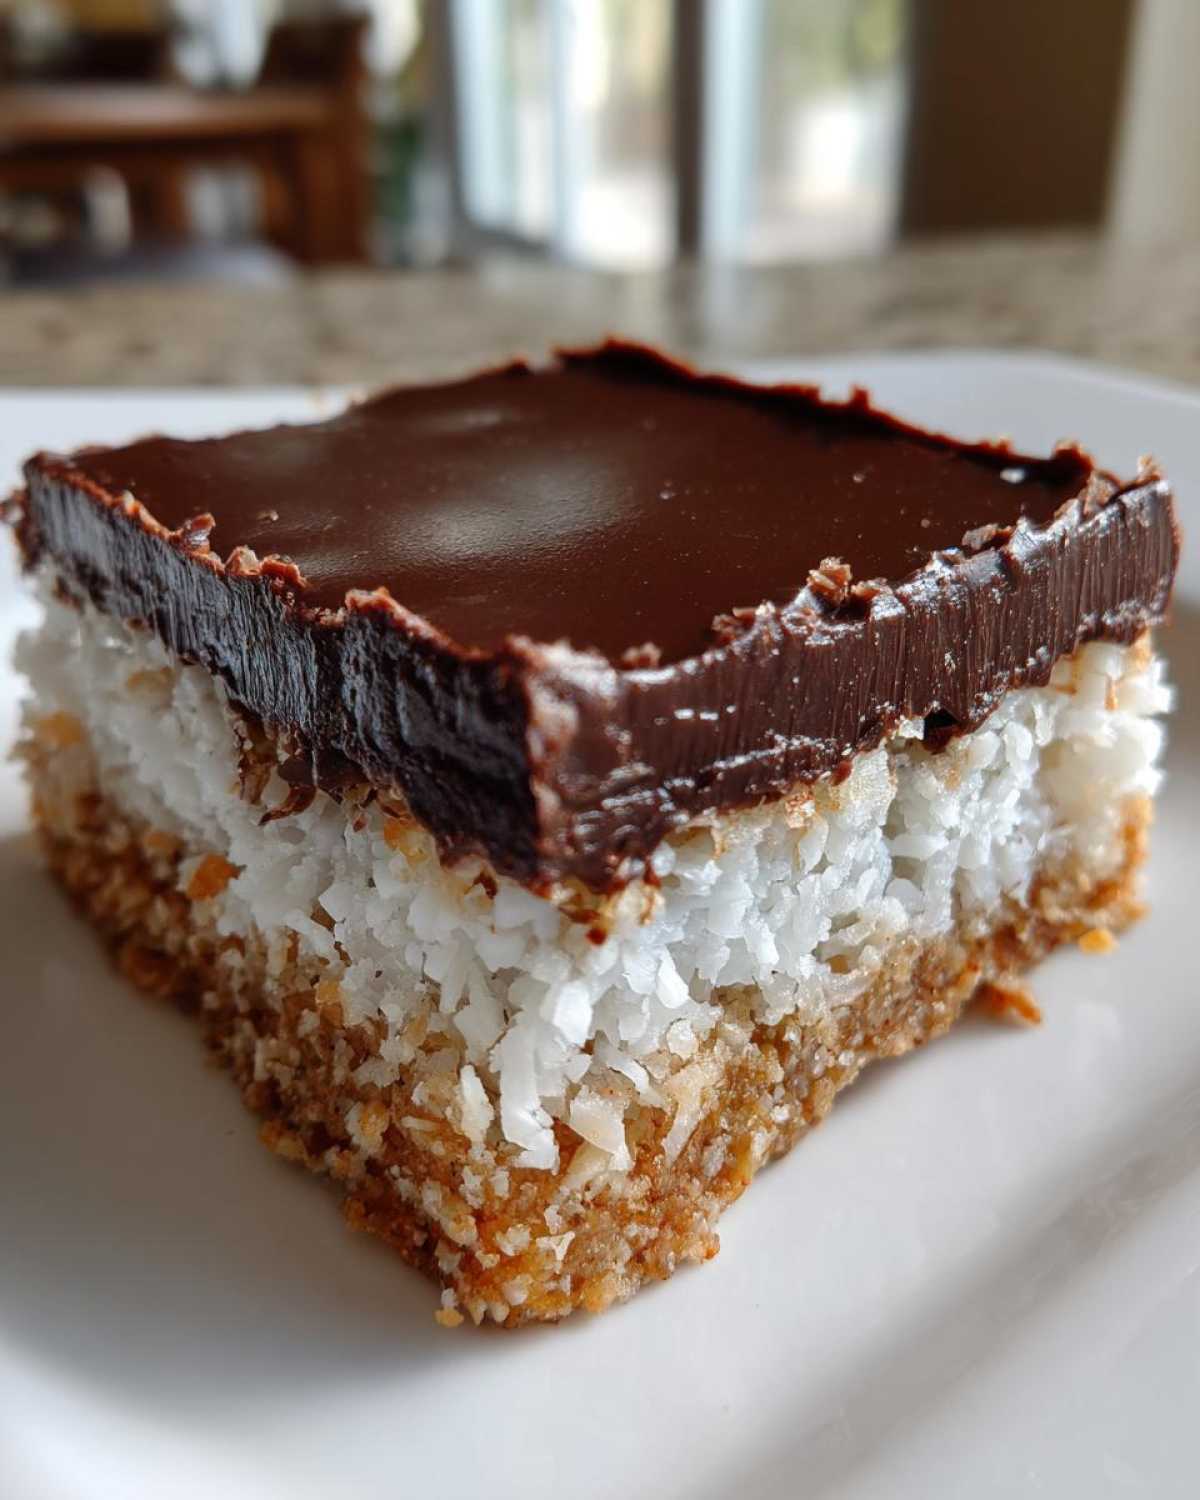
Each layer stacks up so nicely. The base stays firm under the topping. This structure helps them cut cleanly. You get that satisfying snap when you bite in. They look as good as they taste, really.
Richard’s Memory Lane: The Origin of Our No Bake Chocolate Coconut Bars
Richard always brings us back to the start. He recalls one trip vividly. We were visiting family overseas briefly. Things were hectic then, you know?
We needed a simple dessert fast. Something sweet for the kids. I had very few ingredients available. Richard remembered a similar treat from his youth. He called it “kitchen sink candy” back then.
We quickly made a batch right there. They set up beautifully in the small fridge. Seeing the kids enjoy those simple coconut squares felt like winning a gold medal. That trip solidified these bars for us. They are pure memory now.
Gathering Your Ingredients for No Bake Chocolate Coconut Bars
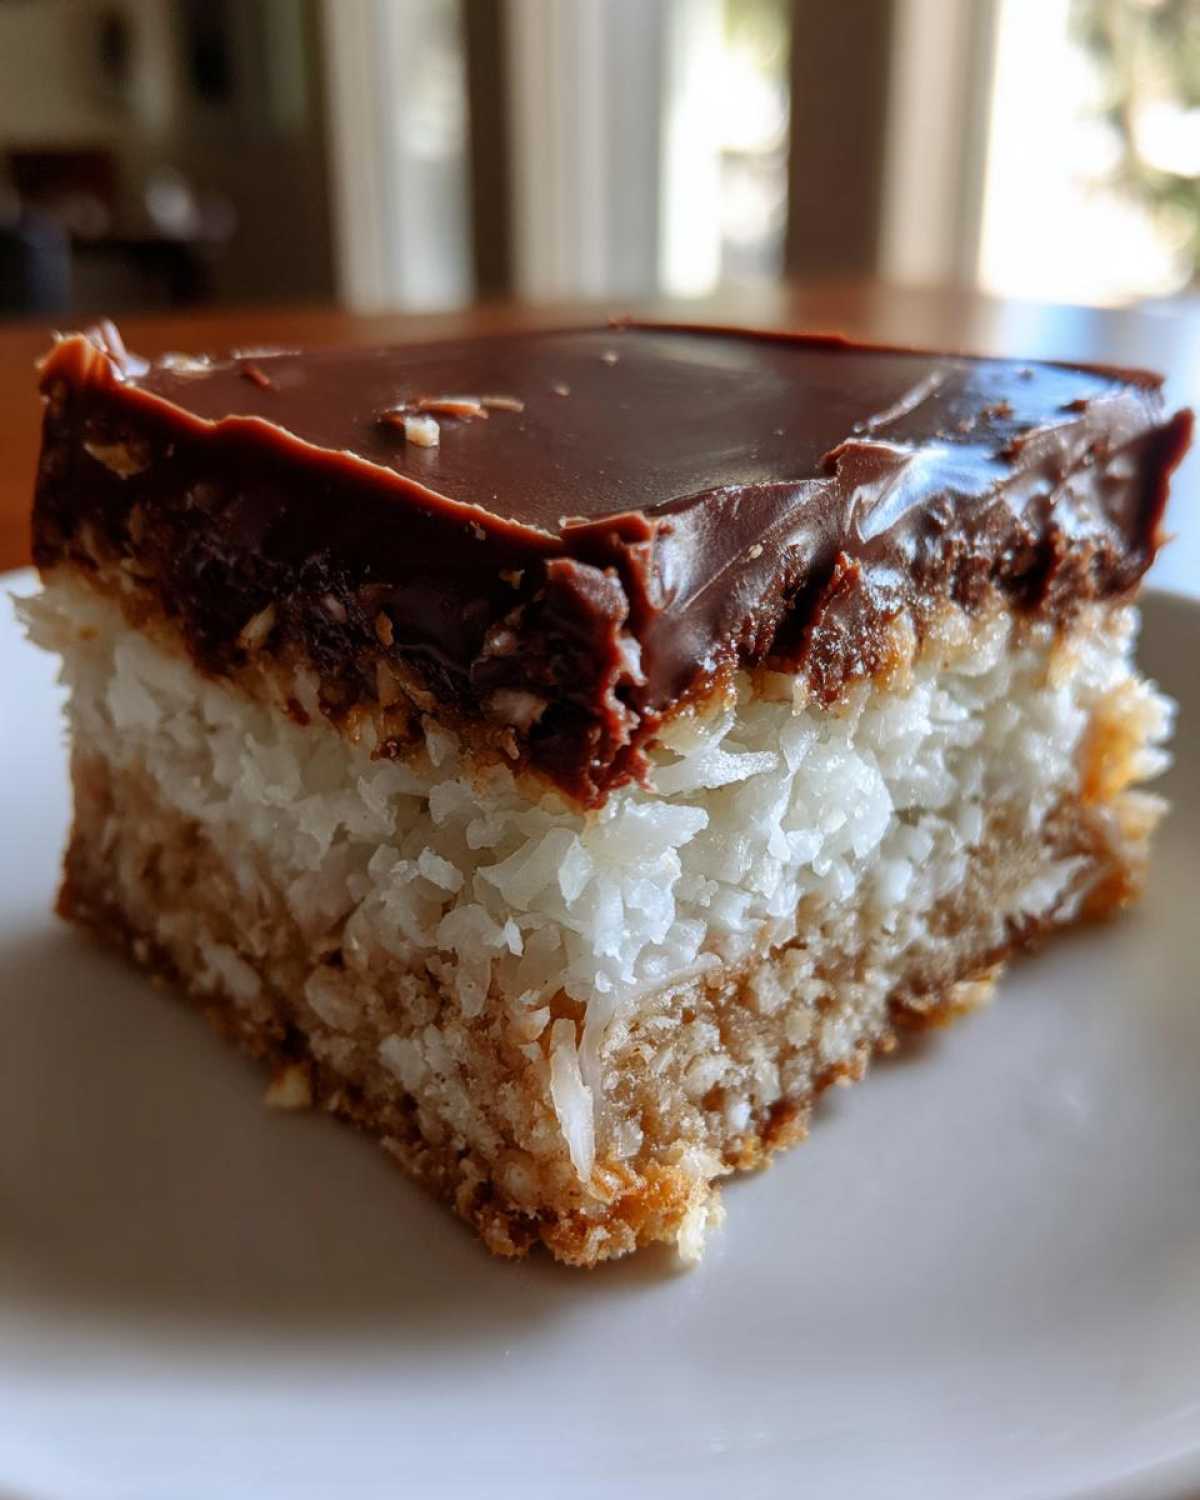
Getting everything ready first makes this recipe a breeze. I always say, “Mise en place is your kitchen best friend.” For these No Bake Chocolate Coconut Bars, having ingredients measured out helps the flow. We want zero stress when mixing begins. Let’s look at what we need for these layered delights.
Base Layer Components
The foundation needs to be solid. That graham cracker crust provides great texture. You’ll need one cup of unsalted butter, melted. Make sure that butter is fully liquid. Next, grab two cups of graham cracker crumbs. Two cups of powdered sugar go in too. Finish the base with one teaspoon of vanilla extract. Mix these until they look like damp sand.
Coconut Filling Elements
This layer adds chewiness and sweetness. We use half a cup of condensed milk. That sticky goodness binds everything together nicely. Then, add one cup of shredded coconut. I usually use sweetened coconut here. It gives a better texture for this specific filling.
Chocolate Topping Requirements
The final layer is pure decadence. You need one cup of semi-sweet chocolate chips. Semi-sweet balances the sweet filling perfectly. Remember, you must melt these gently. Don’t let the chocolate seize up on you. Smooth melting is key for a fine top coat.
Essential Equipment for Perfect No Bake Chocolate Coconut Bars
You don’t need fancy gadgets for this recipe. I love that about simple treats. Good tools make the job easier, though.
Gather these items before you start mixing things up. It keeps the process smooth.
- An 8×8 inch baking pan. This size works best.
- Parchment paper. This is a must-have item.
- A medium mixing bowl. For the base layer, of course.
- A small mixing bowl. For the coconut mixture.
- A sturdy spatula or spoon. For pressing and spreading.
- Microwave-safe bowl or double boiler. For melting chocolate.
Using the parchment overhang helps lift everything out later. Trust me on that tip. It saves so much scraping.
Step-by-Step Instructions for No Bake Chocolate Coconut Bars
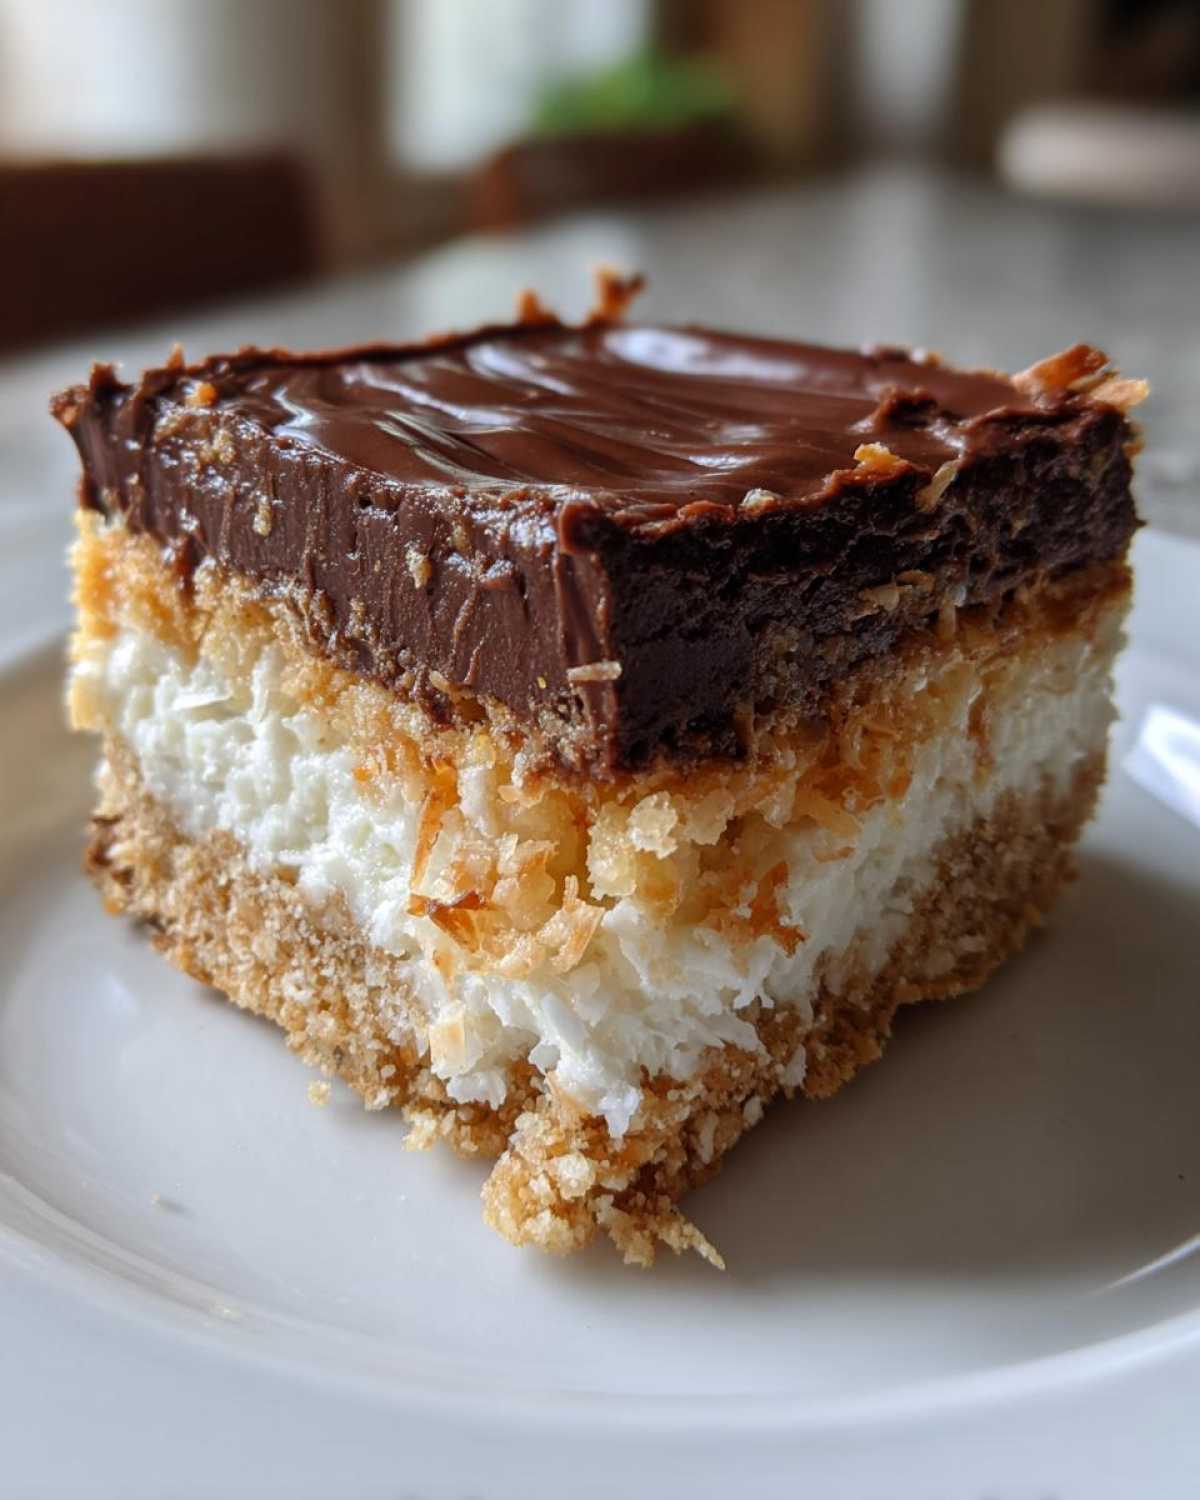
Now for the fun part! Making these No Bake Chocolate Coconut Bars is very straightforward. Follow these steps closely. You’ll have perfect layered candy in no time. Remember, we are building structure here. That means pressing firmly matters a lot.
Preparing the Pan and Base Layer
First, line your 8×8 inch pan. Use parchment paper here. Make sure it hangs over the sides. This overhang lifts the finished bars out later. In a bowl, mix the melted butter, crumbs, sugar, and vanilla. Stir it well now. Press this mixture down hard. Use the bottom of a measuring cup if needed. Make sure the layer is even. An uneven base causes cracks later.
Creating the Coconut Middle Layer
Time for the creamy layer next. In a separate small bowl, mix the condensed milk. Add the shredded coconut to it. Stir until everything is coated well. Gently spread this coconut mix. Lay it right over the graham cracker base. Keep the layer flat and smooth. This layer adds so much chewiness.
Applying and Setting the Chocolate Topping
Melt your chocolate chips slowly. Use short bursts in the microwave. Stir until it’s perfectly smooth. Pour this melted chocolate on top. Spread it very carefully. You don’t want to disturb the coconut layer beneath. Now comes the hard part, friend. You must chill them. Refrigerate for at least three hours minimum. Do not rush this setting time. Patience guarantees clean cuts later.
Tips for Success with Your No Bake Chocolate Coconut Bars
Even simple recipes need a few gentle nudges. I want your No Bake Chocolate Coconut Bars to shine, not slump. These little tricks turned my good bars into great ones. Pay attention to the base and the chill time. Those are your structural anchors.
Avoiding a Soggy Base
The base layer is crucial for holding shape. If it’s crumbly, the whole bar fails. Make sure that melted butter coats everything. I look for a uniform, damp texture. It should feel like very wet sand. If you see dry crumbs, add a tiny bit more butter. This fat binds the crumbs together properly. A well-bound base won’t crumble when you slice it.
Chilling Time is Non-Negotiable
This is where I used to rush things years ago. Don’t you dare peek early! The chocolate topping needs time to firm up completely. Three hours is the absolute minimum for setting. If you cut them too soon, you get goo. You want those clean, beautiful squares we talked about. Give them the full chill time. Think of it as setting cement for your candy.
Ingredient Notes and Substitution Ideas
While this recipe is perfect as written, I know you might need swaps. Cooking is about flexibility, right? We adapt based on what we have on hand.
For the crust, graham crackers are standard. You could try vanilla wafers instead. Even shortbread cookies work well here. Just crush them finely first. Make sure you still use the same volume measurement.
When it comes to the chocolate, semi-sweet balances the sweetness. If you prefer dark chocolate, go for it. Milk chocolate makes the top layer much sweeter, though. You might need to slightly reduce the powdered sugar in the base if you choose milk chocolate.
About the coconut: I prefer sweetened shredded coconut here. It hydrates better in the filling. Unsweetened coconut works, but the filling might taste a little drier. Add a tiny splash more condensed milk if you use unsweetened coconut.
Butter is best left as unsalted. It lets me control the saltiness. If you only have salted butter, skip adding any extra salt elsewhere. Cooking is all about these little adjustments, isn’t it?
Frequently Asked Questions About No Bake Chocolate Coconut Bars
I always get questions when I share simple recipes like this. People want to know the little secrets. I’m happy to share what Richard and I have learned making these over the years. Knowing the answers helps you get perfect No Bake Chocolate Coconut Bars every time.
How long do No Bake Chocolate Coconut Bars last?
These layered dessert bars keep quite well. Store leftovers in an airtight container. Keep them in the refrigerator, please. They stay fresh for about one week. They taste best within the first few days, though!
Can I use a different type of crumb for the crust?
Absolutely! The graham cracker crust is classic. But you can change it up. Try crushed vanilla wafers for a different flavor profile. Shortbread cookies also make a fantastic base. Just make sure it packs down firmly for a strong foundation.
Do I have to use semi-sweet chocolate chips?
Semi-sweet chips really balance the sweetness of the coconut layer. If you use milk chocolate, the whole bar gets quite sweet. Dark chocolate, however, gives a lovely slight bitterness. It contrasts beautifully with the filling. Use what you love most, really.
Why are my coconut squares crumbling when I cut them?
That usually means one of two things happened. Either you rushed the chilling time. Or the base wasn’t pressed down firmly enough. That initial pressing is key for structure. Make sure the chocolate is fully set before slicing.
Storing Your Homemade No Bake Chocolate Coconut Bars
Once you’ve waited patiently for them to set, storage is easy. We want these No Bake Chocolate Coconut Bars to stay fresh always. They are best kept cool. Heat ruins that lovely chocolate top layer.
Always use an airtight container for leftovers. This keeps out any fridge odors. It also stops them from drying out too fast. I place a layer of parchment paper between layers, too. This stops sticking, which is helpful.
The refrigerator is their best home. They firm up nicely there. Don’t leave them out on the counter long. They might get a little soft otherwise. Enjoying these chilled is my favorite way.
They keep well for up to a week in the fridge. That’s plenty of time for us to snack on them! Remember, they taste best when they are quite cold.
Sharing Your Delish Diarist Creation
Well, there you have it, friend. Our simple, layered treat is ready!
I truly hope making these brought back happy times for you. Did they taste like a memory unlocked?
Richard and I love hearing your kitchen stories. Did you try toasting the coconut? Tell us below! If you are looking for other fun, easy treats, check out our easy no bake recipes.
Please leave a rating for these bars. Your feedback helps our little diary grow. Share your beautiful squares with us in the comments section. We can’t wait to read about your success! For more of our favorite recipes, browse our main recipe blog.
PrintAmazing No Bake Chocolate Coconut Bars in 25 Tastes
These No Bake Chocolate Coconut Bars are simple, layered treats that hold their shape perfectly. They bring back sweet memories with every bite. You will love how easy they are to make.
- Prep Time: 25 minutes
- Cook Time: 0 minutes
- Total Time: 3 hours 25 minutes
- Yield: 16 bars
- Category: Dessert
- Method: No Bake
- Cuisine: American
- Diet: Vegetarian
Ingredients
- 1 cup (2 sticks) unsalted butter, melted
- 2 cups graham cracker crumbs
- 2 cups powdered sugar
- 1 teaspoon vanilla extract
- 1/2 cup condensed milk
- 1 cup shredded coconut
- 1 cup semi-sweet chocolate chips
Instructions
- Line an 8×8 inch baking pan with parchment paper, leaving an overhang for easy removal.
- In a medium bowl, combine the melted butter, graham cracker crumbs, powdered sugar, and vanilla extract. Mix well until fully incorporated.
- Press this mixture firmly and evenly into the bottom of the prepared pan. This is your base layer.
- In a separate small bowl, combine the condensed milk and shredded coconut. Spread this evenly over the graham cracker base.
- Melt the chocolate chips gently, either in a microwave safe bowl in short bursts or over a double boiler. Stir until smooth.
- Pour the melted chocolate over the coconut layer. Spread the chocolate layer carefully to cover completely.
- Refrigerate the bars for at least 3 hours, or until the chocolate is completely set.
- Use the parchment paper overhang to lift the bars from the pan. Cut into squares before serving.
Notes
- Chilling time is important for the bars to set properly. Do not rush this step.
- You can toast the coconut slightly before adding it for an extra layer of flavor, though this recipe is designed to be no-bake.
- Store leftovers in an airtight container in the refrigerator.
Nutrition
- Serving Size: 1 bar
- Calories: Approx. 250
- Sugar: Approx. 25g
- Sodium: Approx. 100mg
- Fat: Approx. 16g
- Saturated Fat: Approx. 10g
- Unsaturated Fat: Varies
- Trans Fat: Trace
- Carbohydrates: Approx. 26g
- Fiber: Approx. 1g
- Protein: Approx. 3g
- Cholesterol: Approx. 15mg