

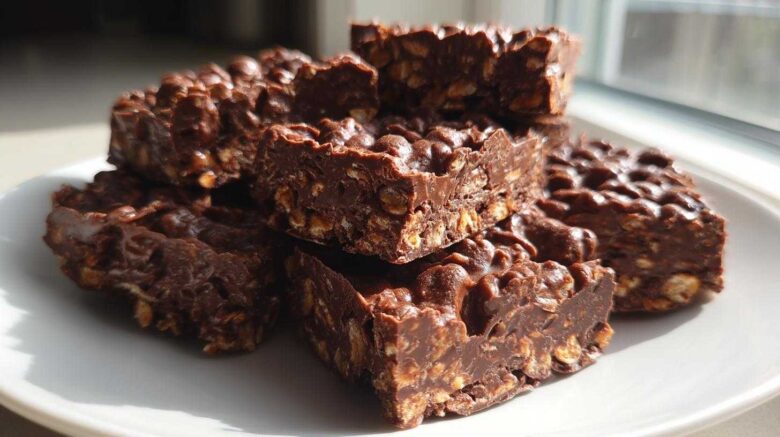
The Easiest Treat Ever: Making No-Bake Chocolate Cornflake Bars
Welcome to our kitchen diary, friends. I’m Eleanor, and Richard and I are happy you’re here. We’re ready to share a real treasure today. This recipe for No-Bake Chocolate Cornflake Bars brings me such joy. It’s pure, simple comfort food. We didn’t need fancy ovens for these treats. They were lifesavers during our busiest years raising our kids. These bars are crunchy, sweet, and deeply satisfying. They taste just like happy memories, I promise.
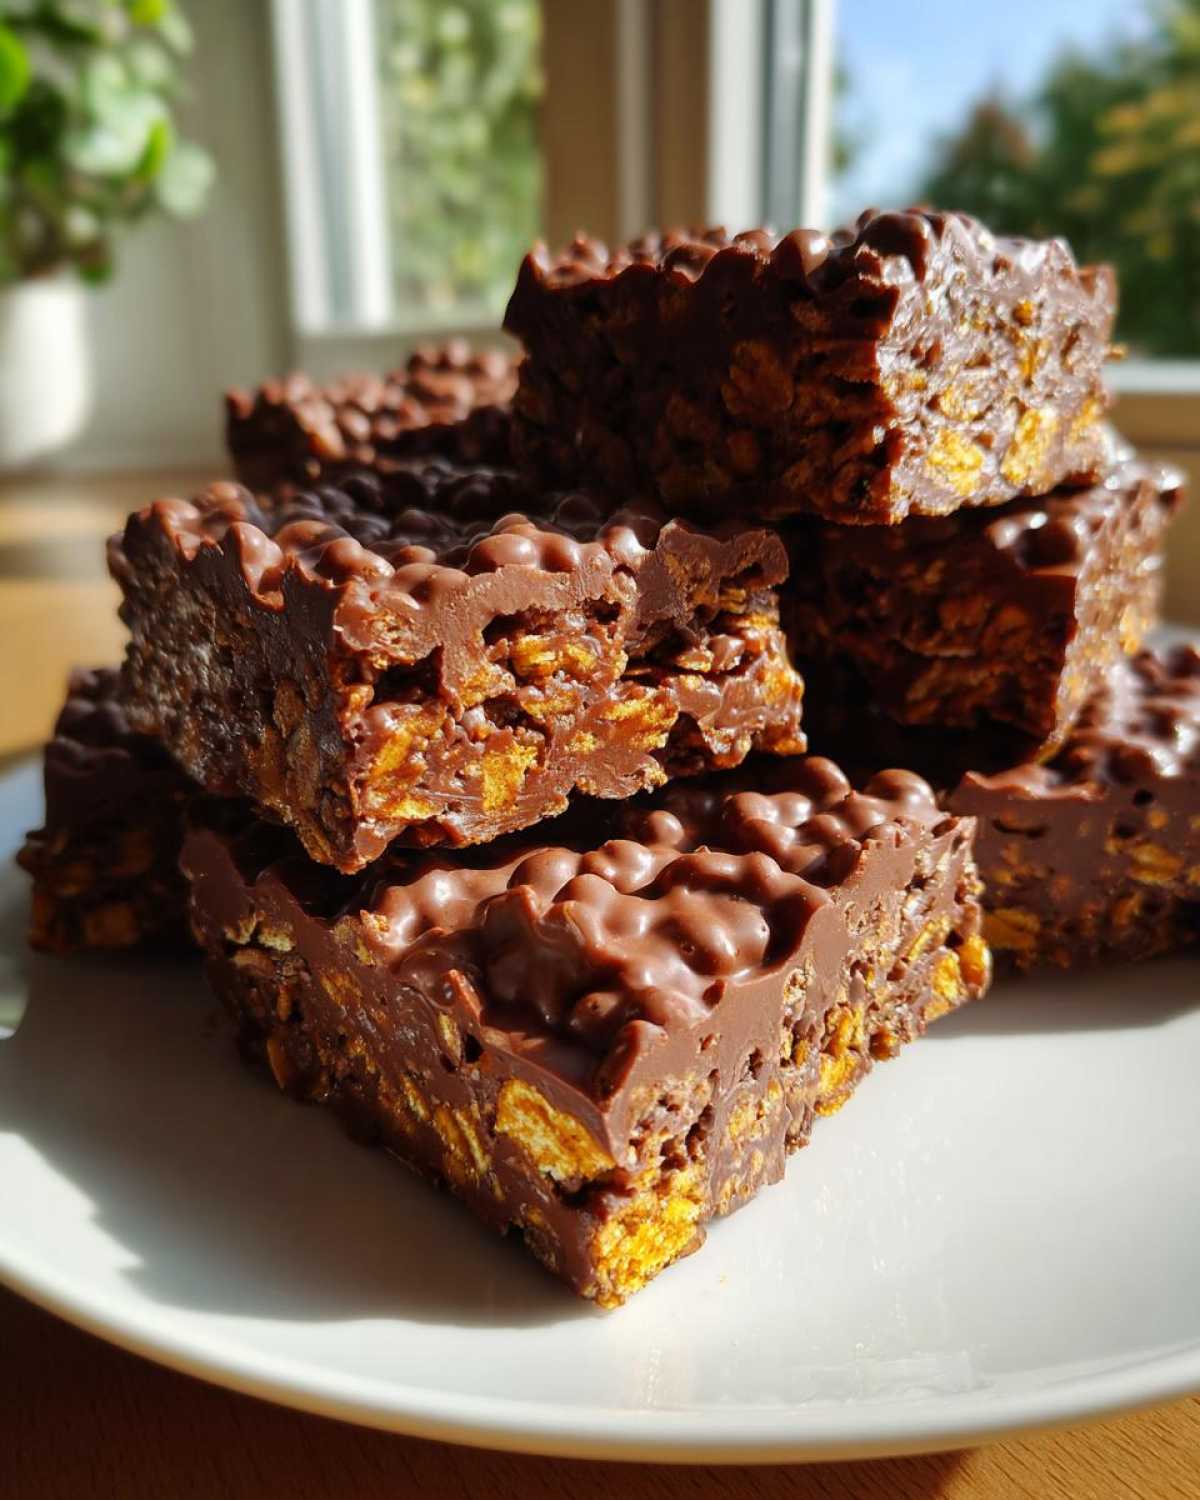
A Quick Trip Back in Time with No-Bake Chocolate Cornflake Bars
I remember the noise. Pots clanging, kids yelling, life happening all around us. Back then, quick desserts ruled the weeknights. Richard needed something fast. I needed something that didn’t heat up the house in summer. These No-Bake Chocolate Cornflake Bars fit the bill perfectly. They were always a massive hit. My children would race to the fridge hoping they’d set fast enough. We made batches often. This recipe echoes those loud, wonderful family times we cherish so much.
Gather Your Simple Ingredients for No-Bake Chocolate Cornflake Bars
Gathering supplies is the quickest part of this whole process. You won’t need a trip to a specialty store. Everything for these No-Bake Chocolate Cornflake Bars is likely already in your pantry. Let’s get everything ready to go. Simplicity is key here, my friends.
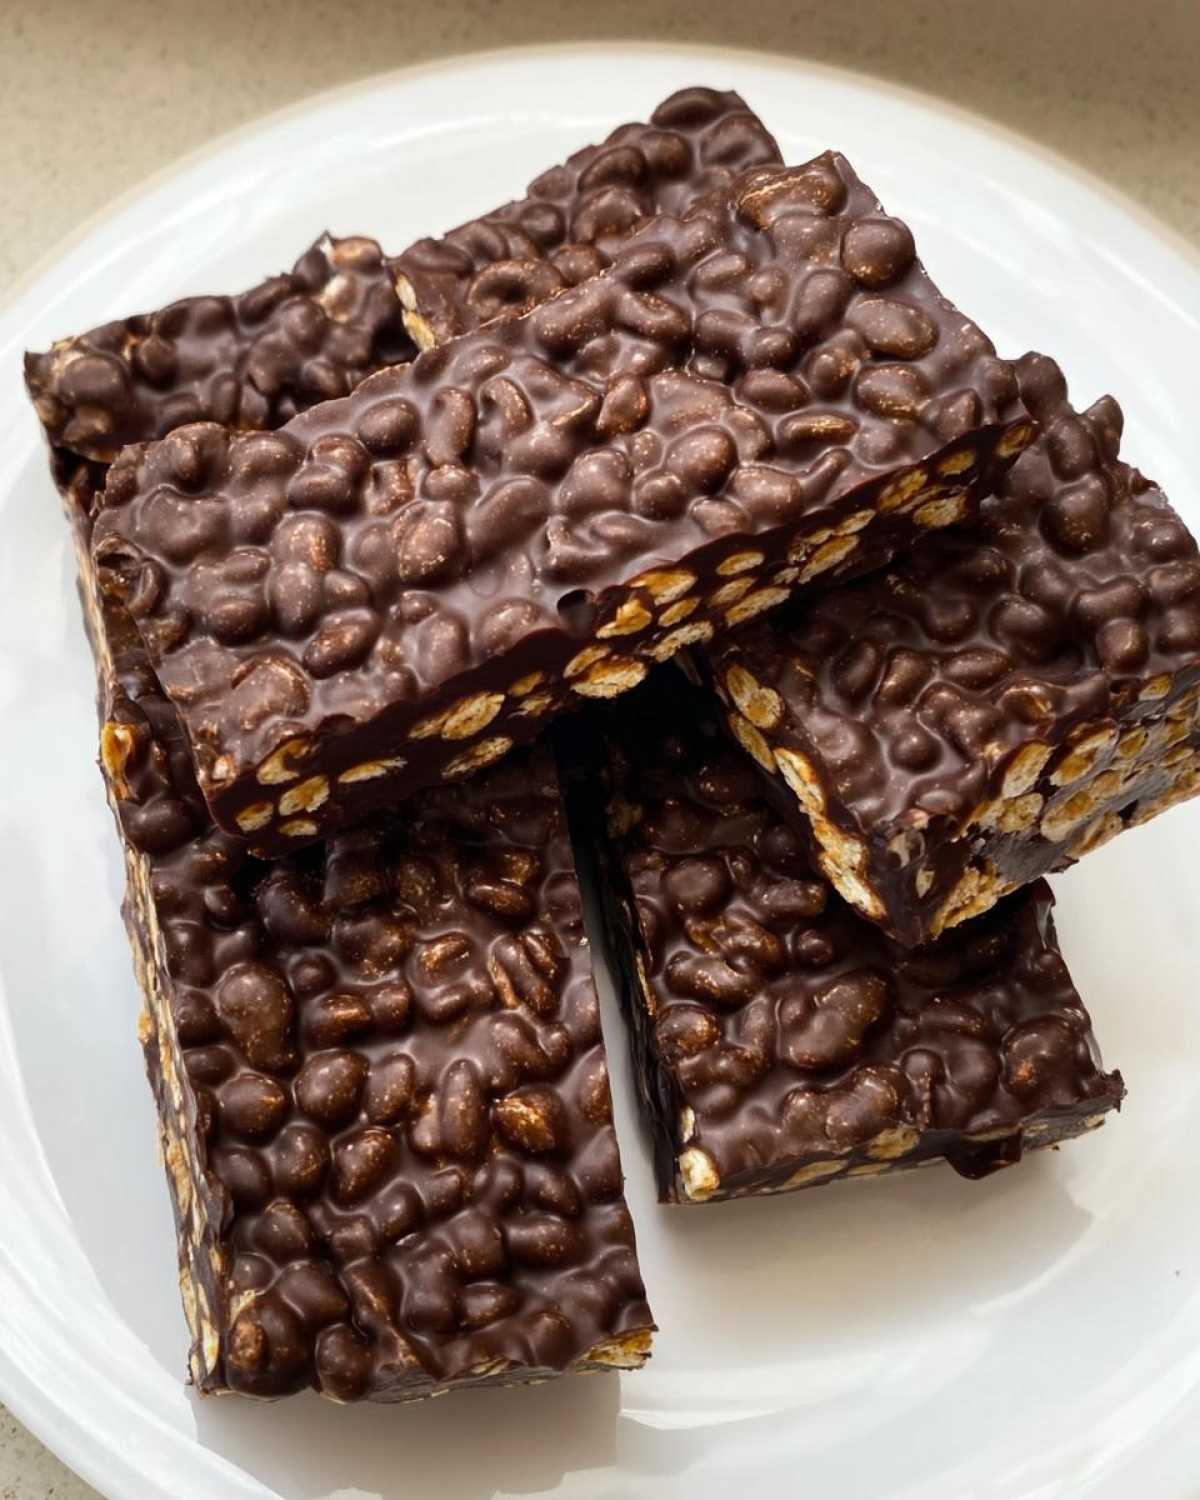
Precise Measurements for Crunchy Perfection
Having your ingredients measured out saves so much time later. We don’t want any scrambling once the chocolate starts melting. Here is exactly what you’ll need for this easy cereal treat:
Butter or Margarine
We need exactly one cup. Use it straight from the fridge, solid is fine because it melts down.
Granulated White Sugar
Measure out one full cup of this sweetness.
Cocoa Powder
Four tablespoons of cocoa powder will give us that deep chocolate punch.
Milk
Use four tablespoons of your regular milk here. Whole milk works best for richness.
Cornflakes Cereal
Grab four cups. Make sure they are plain, crisp cornflakes. No frosted ones, please!
Equipment You Need for No-Bake Chocolate Cornflake Bars
Before we start melting anything, let’s talk tools. Having the right gear makes making these No-Bake Chocolate Cornflake Bars so much smoother. I like to have everything out first. It keeps the process moving along nicely.
Essential Tools for Assembly
You don’t need much for this quick dessert. Keep it simple, just like the recipe itself. Here are the few items I always grab:
- An 8×8 inch baking pan.
- Parchment paper to line that pan.
- A medium saucepan for melting.
- One very large mixing bowl.
- A sturdy spatula or a wooden spoon.
Step-by-Step Instructions to Prepare No-Bake Chocolate Cornflake Bars
Now for the fun part, turning simple items into a fantastic treat. Following these steps ensures you get perfect chocolate cornflakes every time. Remember, with no-bake recipes, speed matters once things get hot. We’re creating those wonderful No-Bake Chocolate Cornflake Bars!
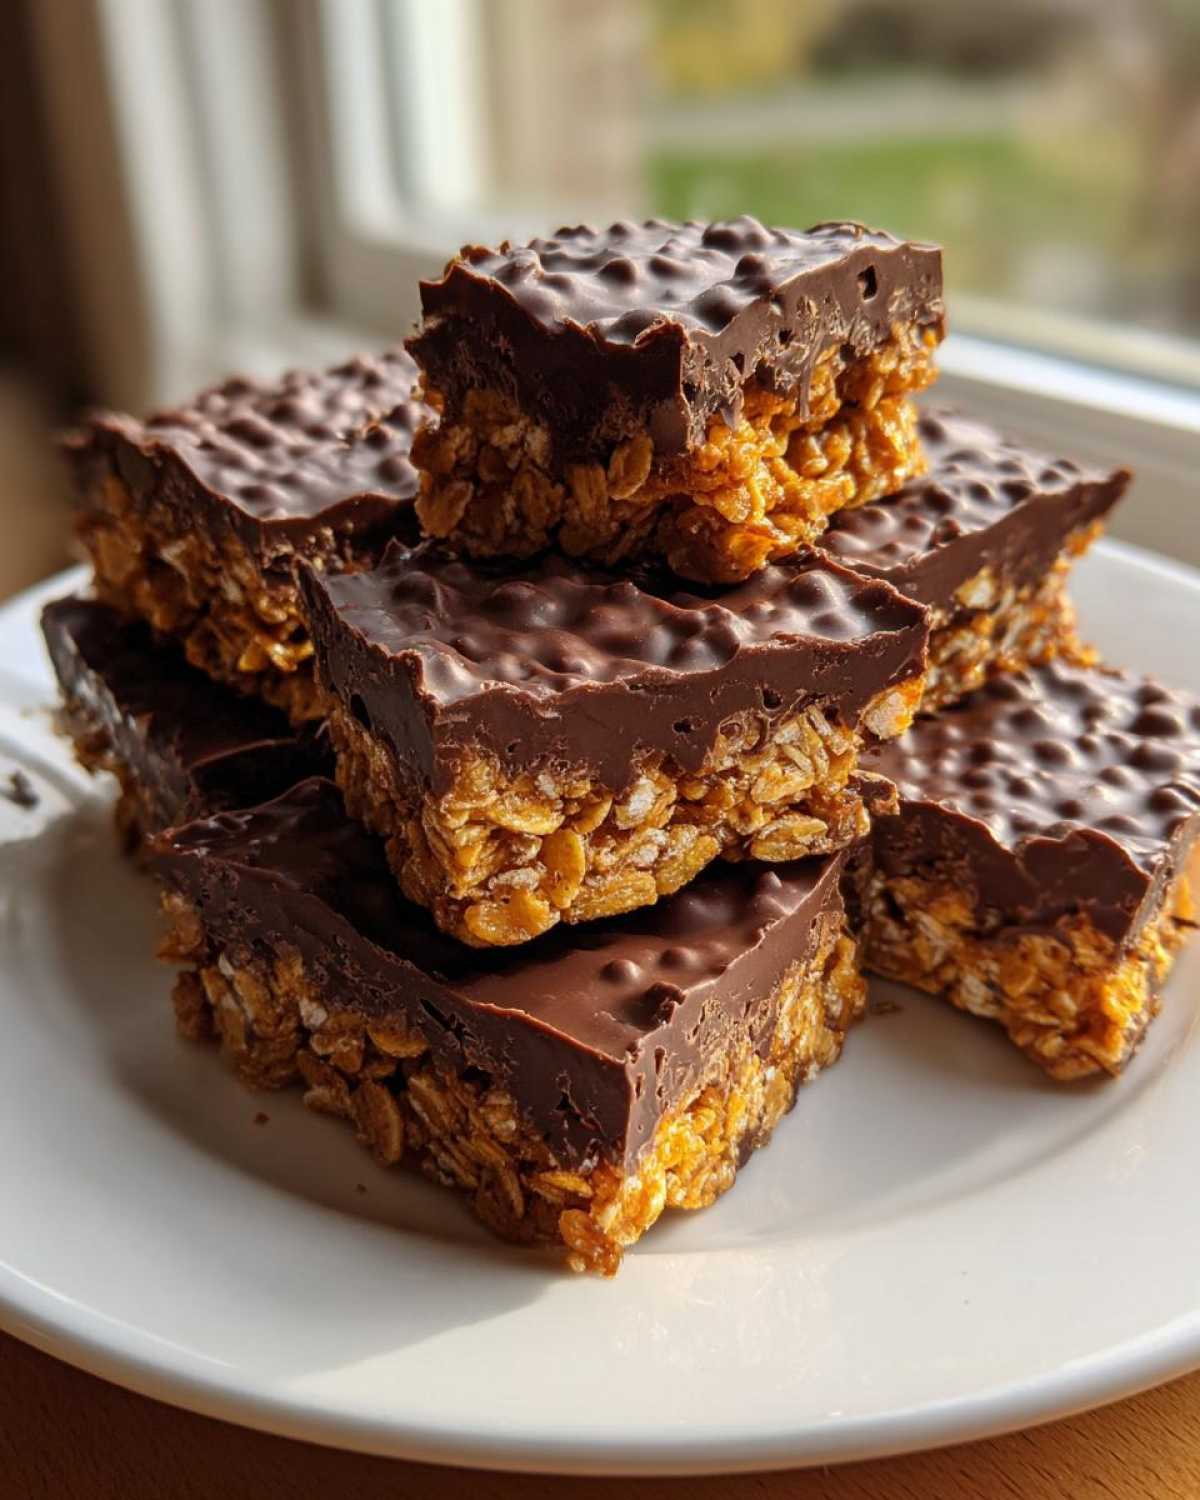
Preparing the Pan and Melting the Chocolate Base
First, line your 8×8 pan. Let the paper hang over the edges. This acts as a sling later on. Next, grab your saucepan. Add the butter, sugar, cocoa, and milk. Heat this over medium heat. Stir it constantly while it warms up. We want the sugar totally dissolved. Stop heating right away when it’s smooth. Do not let it boil hard, just a gentle melt.
Coating the Cereal and Pressing the No-Bake Chocolate Cornflake Bars
Remove that warm chocolate mixture from the stove. Pour it over your cornflakes in the big bowl. Fold everything gently but quickly. You must coat every flake evenly. Work fast before the chocolate cools off too much. Then, transfer this mixture to your lined pan. Press it down firmly. Use the back of a spoon for this job. Make sure the top is nice and flat.
Chilling and Cutting Your Finished Bars
The bars need time to set up nicely. Pop the pan into the refrigerator now. Let them chill for at least one hour. Patience pays off here, trust me. Once they feel totally firm, use the paper overhang. Lift the whole slab out carefully. Now you can slice them into sixteen squares. Enjoy that satisfying crunch!
Tips for Making the Best No-Bake Chocolate Cornflake Bars
Even the simplest recipes benefit from a little insider knowledge. Richard and I have refined this recipe over years. We want your No-Bake Chocolate Cornflake Bars to be absolutely perfect. Here are a couple of things we learned along the way.
Eleanor and Richard’s Personal Tweaks
Richard always reminds me about vanilla. Decades ago, we added one teaspoon. Add it after you take the pan off the heat. It really brightens the chocolate taste. Also, if you like extra texture, try this. Stir in a handful of chopped nuts with the cereal. It adds a lovely bite to the bars.
Troubleshooting Coating Consistency
Sometimes the mixture seems too thick too fast. Don’t panic if this happens. If it gets hard to stir, fix it gently. Put the pan back on the heat briefly. Keep the temperature very low. Stir constantly until it loosens up again. This usually does the trick.
Quick Answers About Your No-Bake Chocolate Cornflake Bars
I know you might have questions about making these treats. We’ve answered a few things readers often ask us. Getting these details sorted helps ensure success with your No-Bake Chocolate Cornflake Bars. Let’s clear up any confusion right now.
Can I substitute the butter in the No-Bake Chocolate Cornflake Bars?
Butter gives the best texture here. It helps them set firmly in the fridge. You can try margarine if needed. Coconut oil is sometimes suggested. However, the final set might be softer. Stick to the fat listed if you want classic results.
How long do these easy cereal treats last?
These easy cereal treats store well. Keep them in an airtight container. Store them in the refrigerator. They usually stay perfectly good for about five days. They taste best when fresh, though.
What if I want a richer chocolate flavor?
That’s a great idea for a deeper taste. Try using a higher quality cocoa powder. That makes a big difference instantly. You could also melt in some dark chocolate chips. Add them right after taking the pan off the heat source.
Serving Suggestions for Your Crunchy Dessert
These crunchy bars are wonderful all by themselves. But sometimes, a little pairing makes the moment even better. Think about what goes well with rich, simple chocolate. It’s all about balancing that sweetness and crunch.
Drinks Pairing
For the kids, nothing beats a tall, cold glass of milk. It’s classic for a reason. If you’re enjoying these later in the day, I love a strong, hot cup of coffee. The bitterness cuts right through the sugar. It creates a lovely contrast with the cereal treat.
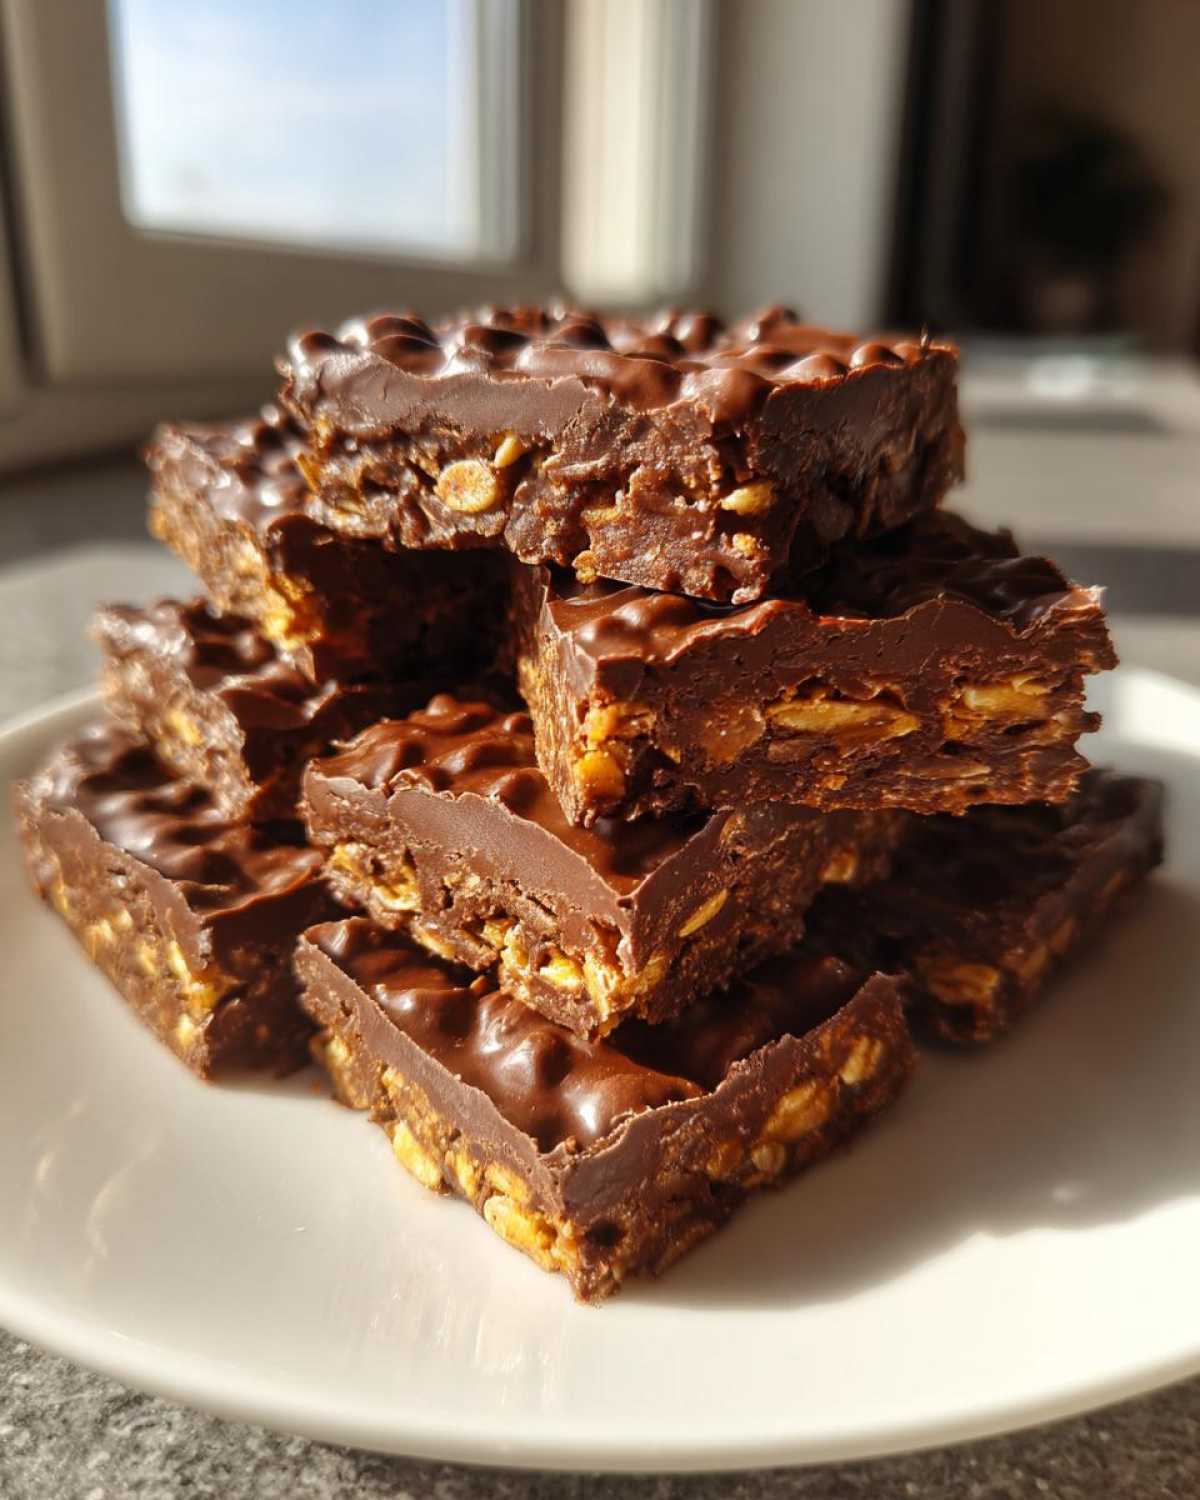
Storing and Keeping Your No-Bake Chocolate Cornflake Bars Fresh
We want these bars to stay crisp for days. Proper storage is key to enjoying your No-Bake Chocolate Cornflake Bars later. Nobody likes a soggy cereal bar, right? Let’s keep that crunch locked in securely.
Reheating and Shelf Life
Always use an airtight container for these. Keep the container in the refrigerator. This keeps them firm and fresh. They last about five days this way. If your kitchen is warm, they might soften slightly. Just pop them back in the cold for twenty minutes before serving them again.
Understanding the Estimated Nutrition for One Bar
When we made these treats years ago, nutrition wasn’t the first thing on my mind. It was pure joy in a square! But now, sharing recipes means sharing what we know. I’ve included the estimated nutritional breakdown below. Remember these are just guidelines for one serving.
- Serving Size: 1 bar
- Calories: Approx. 180
- Sugar: Approx. 15g
- Sodium: Approx. 150mg
- Fat: Approx. 11g
- Saturated Fat: Approx. 6g
- Carbohydrates: Approx. 18g
- Protein: Approx. 2g
Disclaimer on Nutritional Data
I want to be very clear about these numbers. They are estimates only. Richard and I calculate these based on standard ingredient types. Your actual content will change. It depends on the brands you select. For instance, using different types of butter changes the fat content. Please use this information for general knowledge. For more context on general food labeling standards, you can refer to resources like the U.S. Food and Drug Administration.
Share Your Delish Diarist Creations
We’ve shared our memory with you now. I hope this recipe brings you happiness too. Did you try making this simple treat? Please leave a comment below for Richard and me. We love hearing from our readers. Tell us how your bars turned out!
PrintGlorious 16 No-Bake Chocolate Cornflake Bars
Make these simple No-Bake Chocolate Cornflake Bars for a quick, crunchy treat. This recipe brings back happy memories of easy desserts we made when the house was full of family noise. You will love this chocolate and cereal combination.
- Prep Time: 10 minutes
- Cook Time: 5 minutes
- Total Time: 1 hour 15 minutes
- Yield: 16 bars
- Category: Dessert
- Method: No-Bake
- Cuisine: American
- Diet: Vegetarian
Ingredients
- 1 cup butter or margarine
- 1 cup granulated white sugar
- 4 tablespoons cocoa powder
- 4 tablespoons milk
- 4 cups cornflakes cereal
Instructions
- Line an 8×8 inch baking pan with parchment paper. Let the paper hang over the sides for easy removal later.
- In a medium saucepan, combine the butter, sugar, cocoa powder, and milk.
- Heat the mixture over medium heat, stirring constantly until the butter melts and the sugar dissolves completely. Do not let it boil rapidly.
- Remove the saucepan from the heat immediately once smooth.
- Pour the hot chocolate mixture over the cornflakes in a large bowl.
- Gently fold the mixture until all the cornflakes are evenly coated with chocolate. Work quickly before the mixture sets.
- Press the coated cereal mixture firmly and evenly into the prepared baking pan. Use the back of a spoon or a spatula.
- Place the pan in the refrigerator to chill and set for at least 1 hour.
- Once firm, lift the bars out using the parchment paper overhang. Cut into squares.
Notes
- Richard remembers a hint of vanilla added to the chocolate mixture when we first made these decades ago. You might want to try adding 1 teaspoon of vanilla extract after removing the pan from the heat.
- For extra crunch, you can stir in a handful of chopped nuts with the cornflakes.
- If your chocolate mixture seems too thick to coat the cereal, return it to very low heat for just a moment, stirring constantly.
Nutrition
- Serving Size: 1 bar
- Calories: Approx. 180
- Sugar: Approx. 15g
- Sodium: Approx. 150mg
- Fat: Approx. 11g
- Saturated Fat: Approx. 6g
- Unsaturated Fat: Varies
- Trans Fat: Trace
- Carbohydrates: Approx. 18g
- Fiber: Approx. 1g
- Protein: Approx. 2g
- Cholesterol: Approx. 15mg