

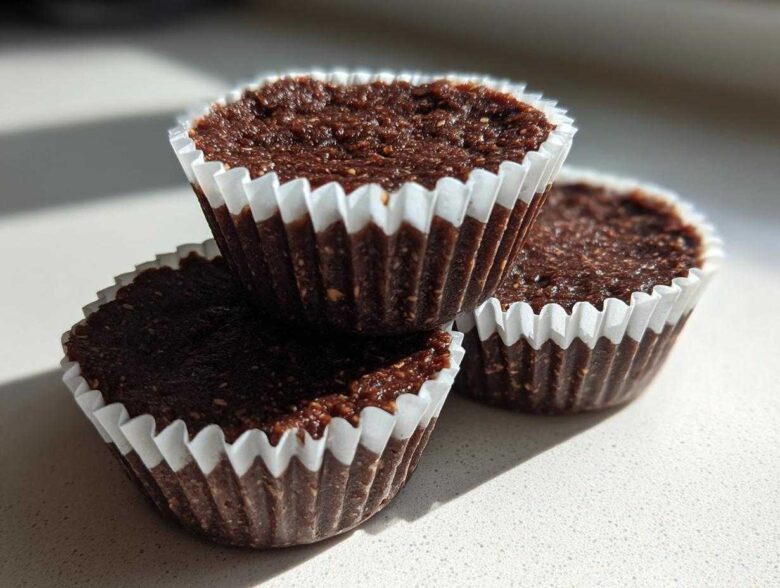
Look, sometimes the sweet tooth hits you like a truck, but you absolutely cannot justify turning on the oven when it’s 90 degrees outside. Or maybe you’re just trying to squeeze in protein between meetings, and that’s where these life-savers come in! I’m talking about my **No-Bake Chocolate Coconut Protein Cups**. Seriously, they are magic—five ingredients, about ten minutes of hands-on time, and zero heat required. I keep a batch of these in the fridge religiously; they are my go-to grab-and-go energy booster when I need something satisfying that doesn’t derail my whole day. Trust me, once you try these, they’ll become your favorite easy snack, too. You can check out more of my quick ideas over at my snacks section!
Why You Need These No-Bake Chocolate Coconut Protein Cups
Okay, so why make these little cups instead of, say, grabbing a boring old protein bar? It all comes down to speed and customization. These aren’t just snacks; they’re seriously handy little tools for a busy week. They take next to no effort, which is my favorite kind of recipe!
- Zero Oven Required, Ever: I mean it! No preheating, no worrying about burning the bottoms, and best of all, minimal cleanup. If you can stir a bowl, you can make these treats. They are the true definition of a quick healthy grab and go snack.
- Perfect Portion Control: Since they are set in muffin liners, you know exactly what you’re getting every single time. Forget slicing a protein bar unevenly; these are pre-portioned for exactly 12 servings of pure goodness.
- Protein Punch on Demand: With 12 grams of protein per cup, they satisfy that post-workout craving or help bridge the gap between lunch and dinner without all the unnecessary sugar of store-bought stuff. They’re fantastic for fitness enthusiasts!
- Ready for Meal Prep Dominance: These are my new favorite way to handle my weekly meal prep protein snacks. You make them all on Sunday, and you’ve got solid, healthy fuel ready for the entire week. Check out my meal prep guide for more ideas!
- Customizable for Any Diet: Whether you need low sugar, keto-friendly chocolate coconut, or just dairy-free protein snacks, the base recipe is so flexible. You swap out the sweetener and the protein powder, and boom—new snack alert!
Essential Ingredients for No-Bake Chocolate Coconut Protein Cups
Okay, listen up, because the beauty of these **No-Bake Chocolate Coconut Protein Cups** is that there are only five core things you need. It’s brilliantly simple! But the quality of those ingredients really makes the difference between a crumbly mess and a perfect, satisfying bite. Don’t skip the quality checks, especially on your powder!
Here is the simple roster we rely on for the best texture and flavor:
- Protein Powder (1 cup): You need vanilla or unflavored for the best base flavor. This is the big one—we’ll talk more about this below—but seriously, use a good quality powder. If your powder is super absorbent, you might end up needing a tiny splash more liquid later.
- Shredded Coconut (1/2 cup): Make sure this is unsweetened! That’s crucial for keeping the sugar down, and we want that chewiness we associate with bliss balls.
- Cocoa Powder (1/4 cup): Unsweetened, please! This is where the rich chocolate flavor blasts off, so don’t skimp here either.
- Smooth Nut Butter (1/2 cup): Peanut or almond works perfectly here. It has to be smooth, not chunky. The smooth variety acts as our main binder along with the sweetener, holding everything together beautifully for that chewy texture.
- Sweetener (1/4 cup): I usually reach for maple syrup because I love the hint of flavor it adds, but honey works just as well if that’s what you have on hand.
If you’re interested in how liquid ratios impact protein recipes in general, I wrote a little piece about that over at protein chia pudding ratios, which is a good general rule to keep in mind!
Ingredient Notes and Substitutions for Your No-Bake Chocolate Coconut Protein Cups
This recipe is amazing because it lets you customize it for your pantry or preferences. We talked about the binders, but let’s get specific about swapping things out safely.
First, the nuts. If you have a peanut or tree nut allergy, you can likely use sunflower seed butter, but be warned—it can sometimes be drier than almond butter, so you might need to add an extra teaspoon of water or milk while mixing just to get that dough to come together.
As for the sweetener, if you are strictly low-sugar or Keto-focused, you can absolutely swap the maple syrup for a liquid sweetener like a few tablespoons of liquid monk fruit extract or stevia drops. The key thing here is to add it slowly! Since they are liquids, they behave differently than thick maple syrup, so add just enough until your **No-Bake Chocolate Coconut Protein Cups** dough starts to hold its shape. Be careful not to add too much, or you’ll end up with sticky fingers instead of perfect cups!
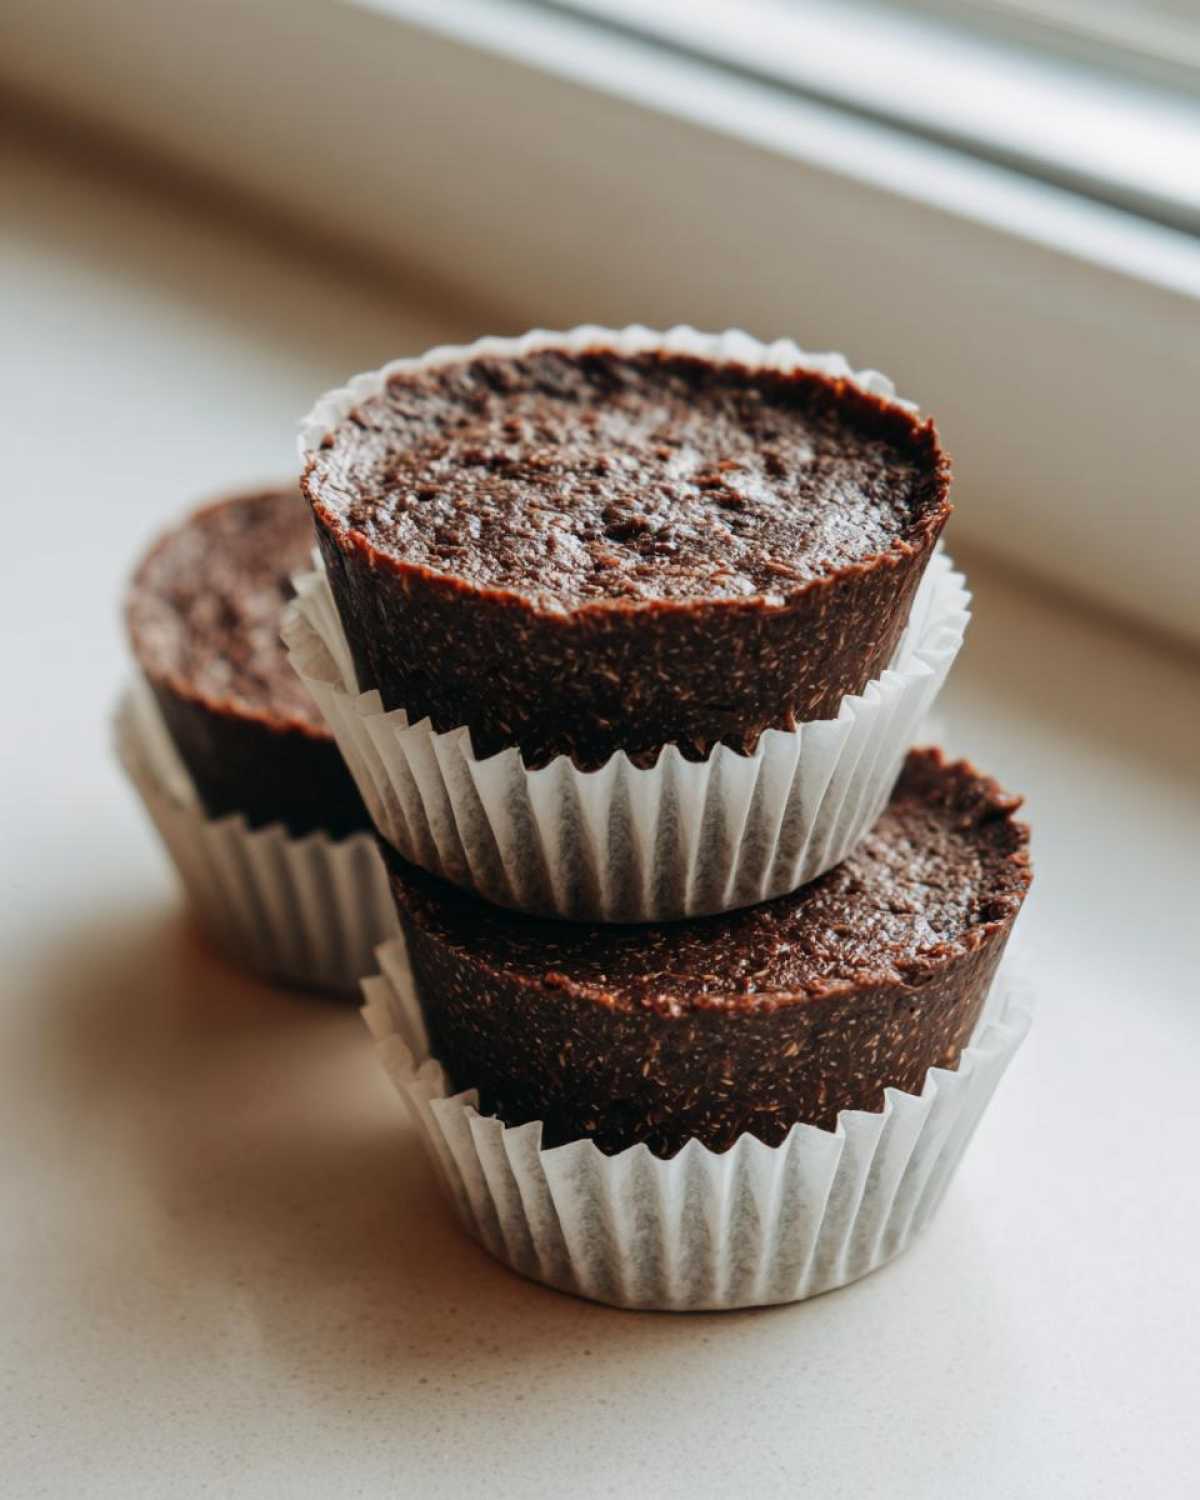
Step-by-Step Instructions for Perfect No-Bake Chocolate Coconut Protein Cups
This is the fun part—the assembly! I always do this while listening to a podcast because there’s zero active cooking required, just mixing, which is my definition of relaxation. It’s important to follow the order here, especially when combining the dry and wet elements, to make sure you don’t end up scraping down sticky sides!
- First things first: grab your standard 12-cup muffin tin and get those paper liners situated. I use them because it makes clean-up almost non-existent, which is a win for everyone!
- In a good-sized bowl, start by whisking together all your dry ingredients: the protein powder, the unsweetened shredded coconut, and that gorgeous cocoa powder. Mix them really well so there are no pockets of plain protein powder lurking around when you take a bite.
- Now, take your smooth nut butter and your sweetener—maple syrup or honey—and plop them right into the bowl with your dry mix.
- Get in there and mix! I usually start with a spoon, but honestly, my hands work best here. You need to mix it until it becomes a thick, uniform dough. It should feel heavy, almost like cookie dough that’s stiff enough to roll, but not dry.
- This is key: take your dough and divide it evenly among those 12 liners. You really need to press it down firmly into the base of each liner. Use the back of a spoon or your thumb to pack it down tight. This compression is what keeps them from crumbling when you pull them out later.
- Pop the whole tin into the refrigerator. They need at least an hour to chill out and firm up properly. Don’t try to rush this chilling step; that firmness locks everything in place!
- Once they are completely firm, just peel off those paper liners, and you’re good to go! Keep them in the fridge until you are ready to grab one. If you want more tips on keeping no-bake things firm after chilling, check out my guide to firm no-bake peanut butter bars.
Achieving the Right Consistency in Your No-Bake Chocolate Coconut Protein Cups
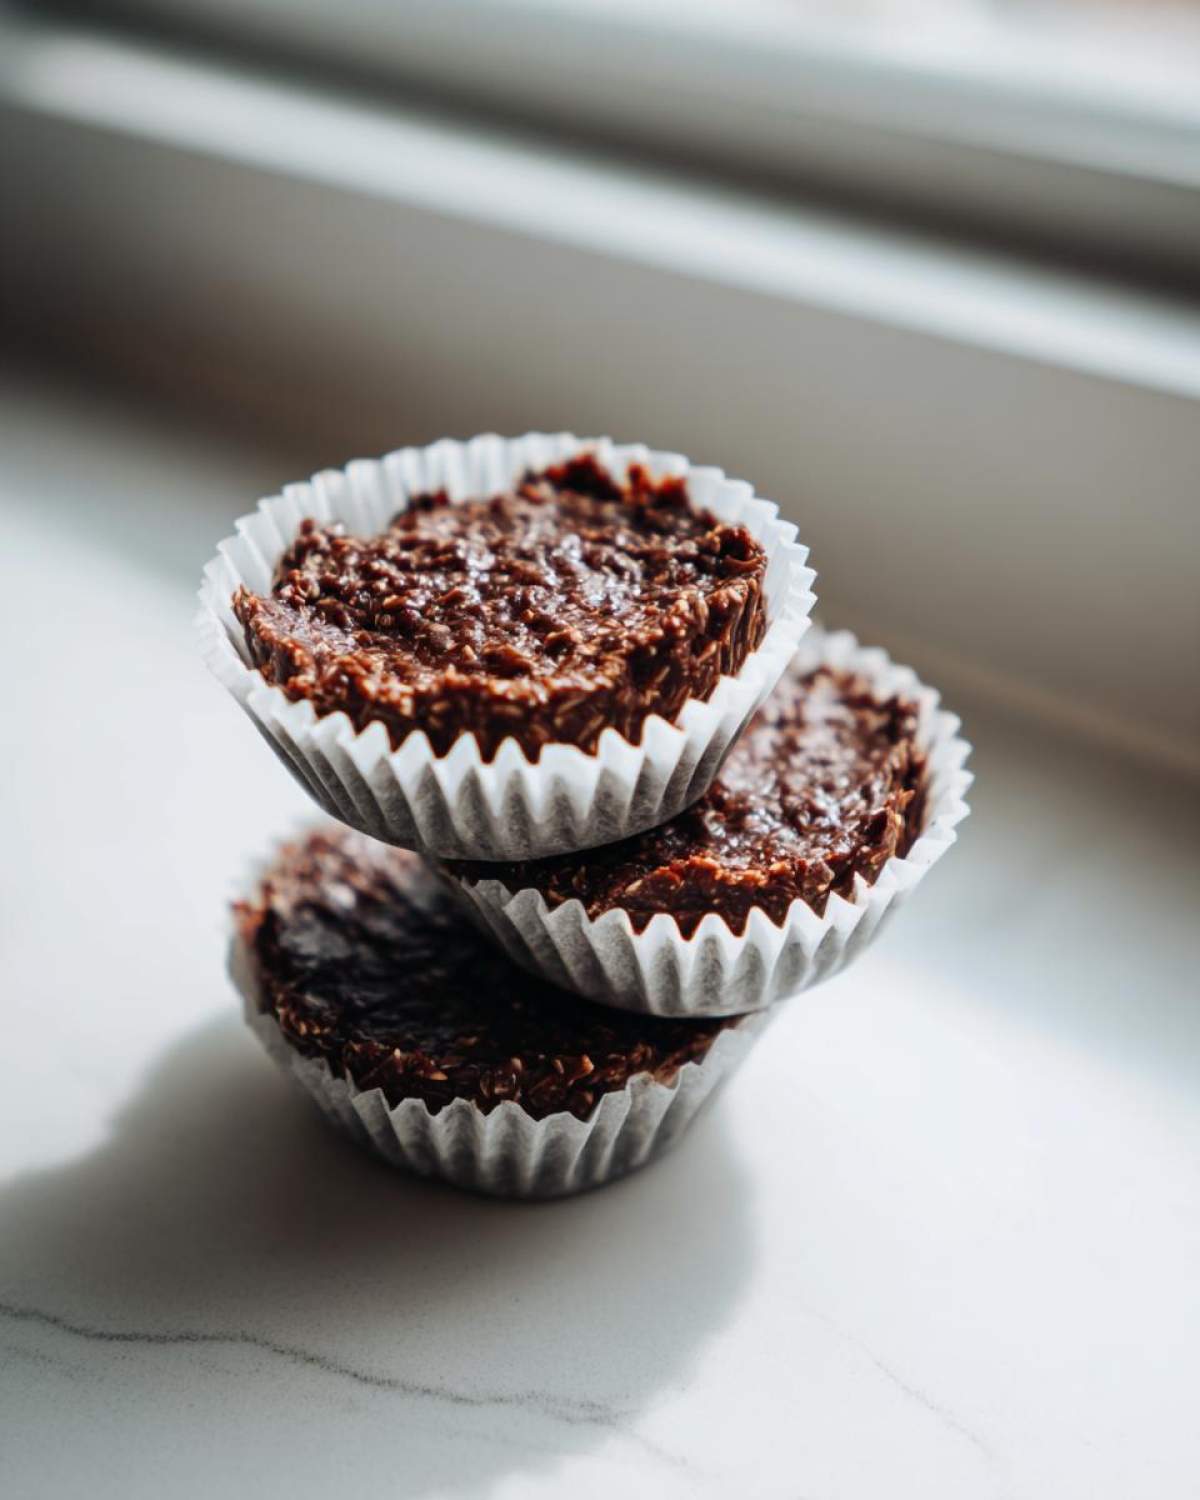
If you reach the mixing stage (Step 4) and things feel weird, don’t panic! Consistency is everything in these **No-Bake Chocolate Coconut Protein Cups** because we don’t have eggs or baking heat to set things. If your dough seems crumbly, like it won’t stick together even when you squeeze a handful, it means your protein powder absorbed more moisture than mine did.
This is when you pull out the emergency liquid. Add water or milk one teaspoon at a time. Just one teaspoon! Stir thoroughly after each addition. You are looking for that point where you can pick up a chunk and roll it into a ball between your palms without it flaking apart. It needs to be firm enough to hold its shape when you press it into the muffin liner. If it’s too loose or sticky, those cups will just slump into a chocolate puddle in your fridge, and we definitely don’t want that messy disaster!
Tips for Success When Making No-Bake Chocolate Coconut Protein Cups
I’ve made these probably fifty times now, and I’ve learned a few little tricks along the way that separate the ‘good’ batch from the ‘absolutely perfect, rock-solid, travel-proof’ batch. Since we are relying purely on chilling time to set these protein cups, paying attention to the small details before they go into the cold can save you a headache later!
My biggest piece of advice—and this is crucial—is about how you handle the dough packing. Remember, we are trying to mimic the structure that baking would normally give us. Take that mixture and really press it down into those paper liners. Use the bottom of a clean glass or just your fingers; you want it compressed so those little coconut shreds and the protein powder lock into place around the nut butter binder. If you leave it light and fluffy, you’ll pull out a cup that just flops over when you try to peel the paper away.
Speaking of chilling, don’t cheat the clock! The recipe says one hour minimum, but honestly? If you can wait two hours, do it. The colder and firmer the base mixture is, the cleaner the release will be when you peel off the liner. I sometimes leave them in there for three hours if I’m busy with other things. If you’re rushing and they seem soft, just pop them back in the fridge for another 20 minutes. It makes slicing or peeling so much easier.
Now, what if you’re working in a super warm kitchen and the dough starts getting tacky while you’re still scooping the last few cups? This happens, especially if your nut butter was a little runnier to start with. Don’t panic and dump in more powder! Instead, just chill the main mixing bowl! Stick the bowl of dough in the freezer for five minutes while you clean the first few liners and wash your hands. That quick blast of cold will firm the fats back up just enough so you can handle the rest of the batch without everything sticking to your palms. For more insights on getting clean cuts with chilled, sticky desserts, take a peek at my guide on clean slicing no-bake pies!
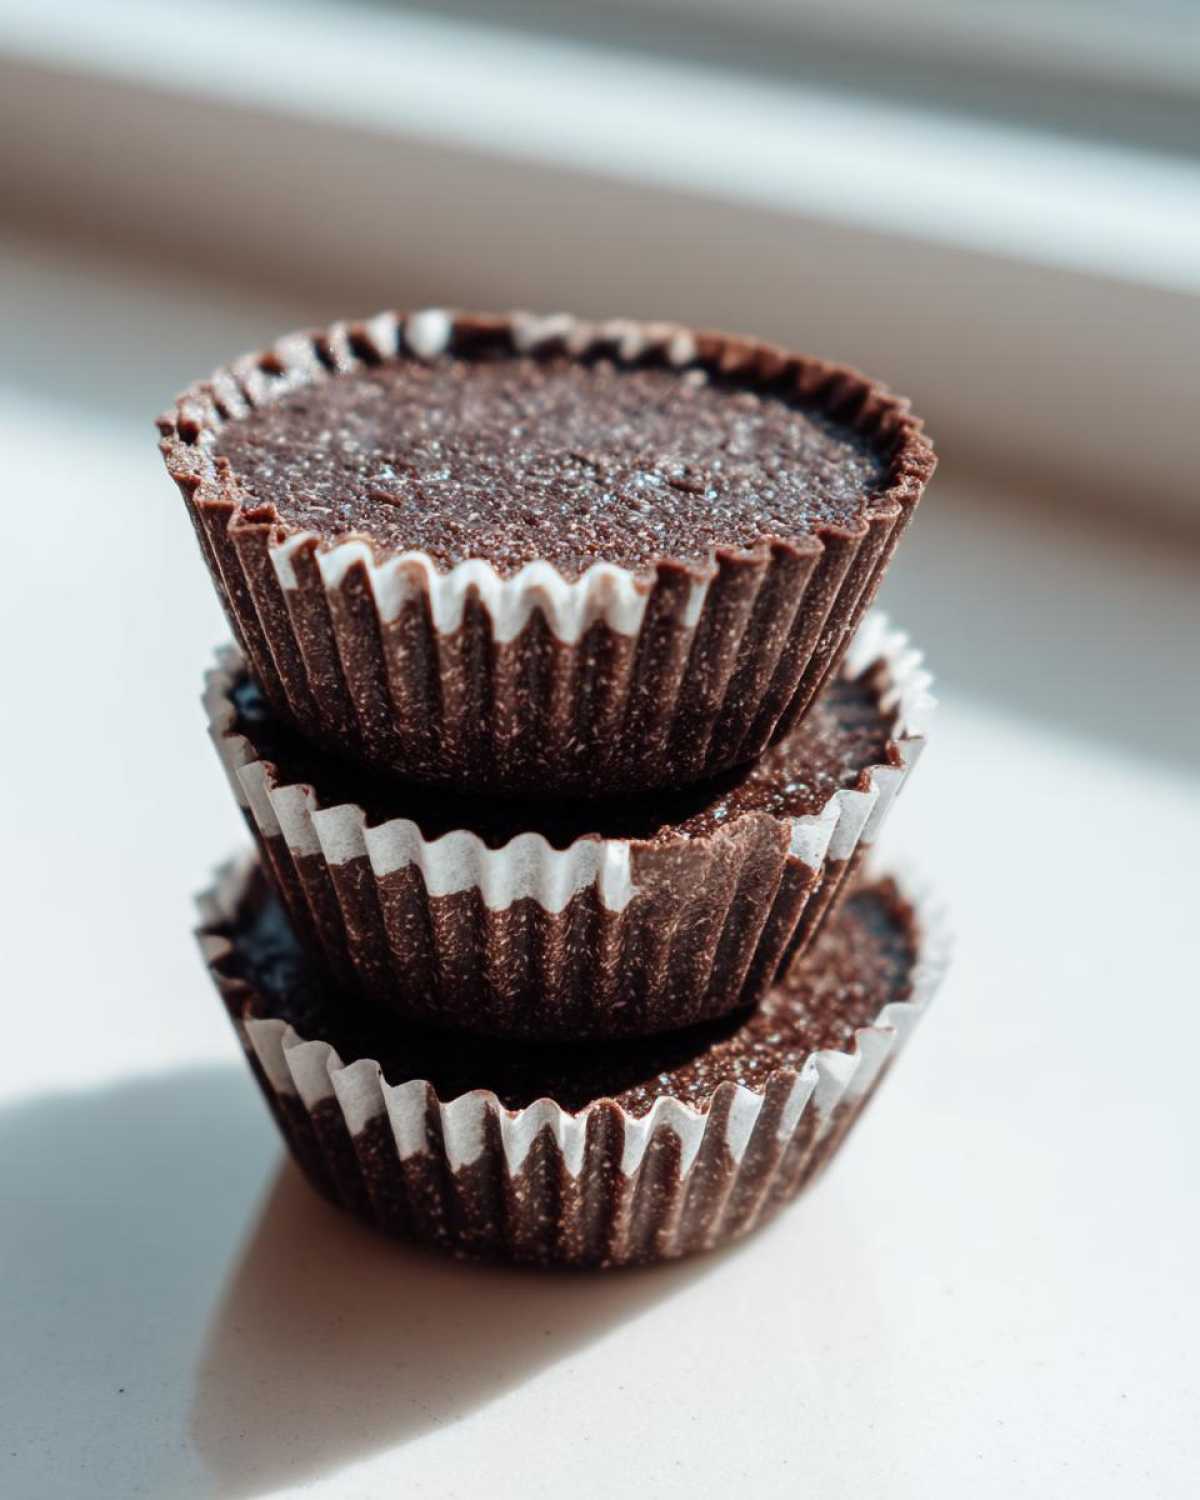
Finally, if you’re using a silicone muffin tray instead of paper liners—which I sometimes do because they’re eco-friendlier—you *must* chill them longer. Silicone trays conduct cold differently, and those treats will stay softer for longer. Give silicone trays at least 90 minutes in the fridge before even thinking about trying to pop them out!
Storage and Meal Prep for Your No-Bake Chocolate Coconut Protein Cups
This is where these little chocolate coconut delights really shine—they are the ultimate make-ahead snack! Since they have no eggs or dairy that spoils quickly (unless your protein powder has whey, which we should talk about!), these last ages in the fridge, making them the champions of my weekly meal prep protein snacks rotation.
First up: the refrigerator. This is the best place for daily snacking. Store your **No-Bake Chocolate Coconut Protein Cups** in an airtight container. You can totally layer them, but put parchment paper or wax paper between the layers, otherwise, they will stick together into one giant, beautiful, delicious, but impossible-to-separate brick. In the fridge, they stay perfectly firm and ready to eat for about 10 days. I find they taste best on days 2 through 5, but they are certainly safe longer!
Now, if you are a baker-in-bulk kind of person like me, you definitely need to know they freeze like a dream! Yes, you read that right. Freeze them! Just make sure they are completely chilled and firm from the main refrigeration step first. Line a freezer-safe bag or container with parchment paper, place the cups inside in a single layer if possible (or use layers separated by parchment), seal it up well, and pop them in the deep freeze.
Frozen protein cups can last for up to two glorious months. When you need one, just pull it out and let it sit on the counter for about 15 to 20 minutes while you finish getting ready for the day, or even better, just let it thaw in the fridge overnight. They thaw beautifully and regain their perfect texture. For anyone who preps breakfast sandwiches or other items ahead of time, this freezing method is a game-changer. If you want specific advice on freezing and reheating other protein-heavy meals, including my favorite sandwiches, check out my guide on reheating meal prep for general tips!
The only thing I caution against is leaving them out on the counter for too long, especially on a hot day. That nut butter and syrup mixture can soften up surprisingly fast, and you don’t want your perfectly shaped cup turning into a puddle of chocolate goodness right before your eyes!
Variations for Healthy Chocolate Coconut Bites
Now that you have the core recipe down—which, let’s be honest, is perfect as is because it’s chocolate and coconut!—we absolutely have to talk about taking these **No-Bake Chocolate Coconut Protein Cups** up a notch. Sometimes you just need a little flavor twist to keep things exciting, right? Since the base structure is so incredibly stable (thanks to that thick nut butter blend!), we can easily throw in other things without messing up the science of the no-bake process.
These are my favorite ways to turn this simple recipe into exciting new **healthy chocolate coconut bites** without needing to measure out a dozen new ingredients. It’s all about small, impactful changes!
First, let’s talk flavor extracts. Vanilla is already implied with the vanilla protein powder, but if you use unflavored powder, adding a full teaspoon of pure vanilla extract while you mix in the nut butter makes the chocolate taste richer, almost like a fudge. But if you want to go completely different, try a ½ teaspoon of almond extract. Almond and coconut? Yes, please! It gives it this wonderful, almost macaroon-like flavor, only packed with protein.
Next up, mix-ins! This is where you can really adjust to whatever your diet needs are. If you aren’t worried about keeping them super low-carb, I adore folding in about a quarter cup of mini chocolate chips right at the end when you are mixing the wet and dry ingredients. They melt just a tiny bit when you press them, creating little pockets of melty gooiness. If you want them to be crunchier, you can toss in some toasted, chopped pecans or walnuts.
For my friends who are obsessed with texture—and I know you’re out there—I like to swap some of the shredded coconut for chia seeds or hemp hearts. If you swap out a quarter cup of the coconut for hemp hearts, you boost your healthy fat intake and get a gorgeous, slight nutty depth. Just make sure you mix them in with the initial dry ingredients so they get evenly distributed.
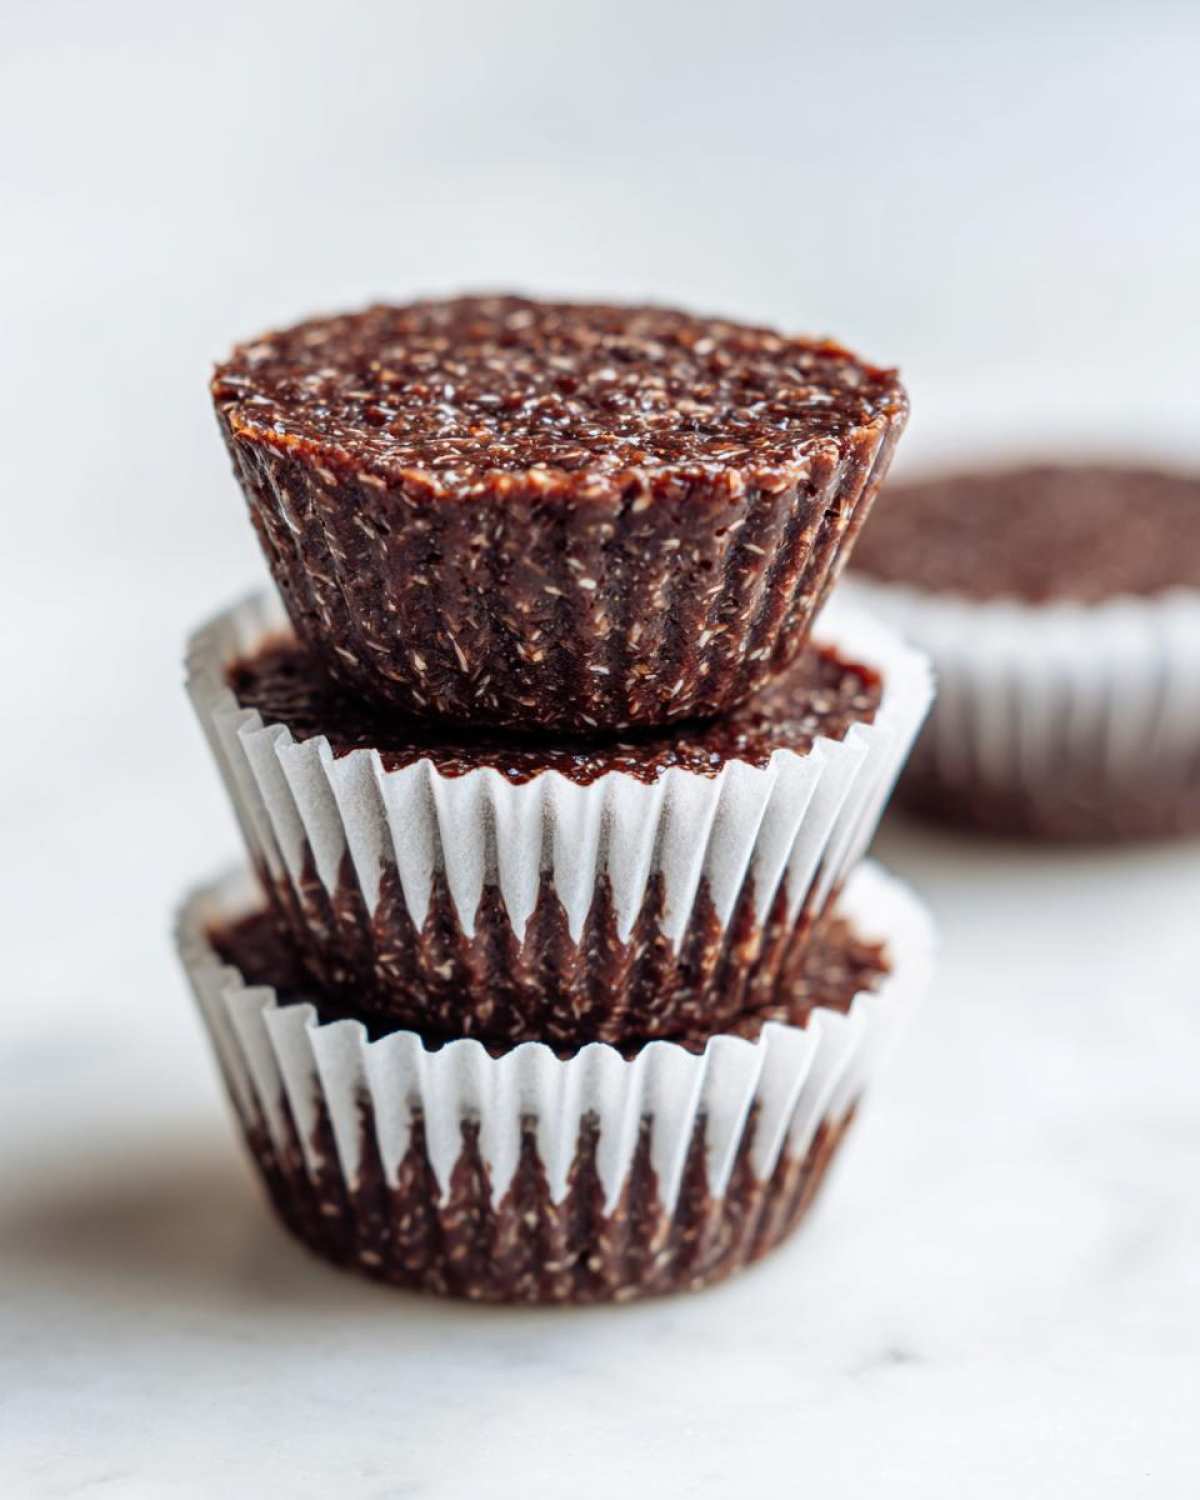
If you love that banana bread vibe but want to keep it no-bake and high protein, you could try mixing in a tablespoon of cocoa powder and a teaspoon of cinnamon powder with the dry ingredients, and skip the chocolate chips. It tastes shockingly close to a chocolate-banana energy ball! If you’re curious about other ways to keep your baked goods consistently moist when adding things like bananas or applesauce, you should check out my banana bread moisture guide for some inspiration!
Remember, the goal here is flexibility. These cups are hardy, so they can take a little bit of tinkering as long as you don’t drastically change the main binder ratio (the nut butter and syrup). Have fun experimenting!
Frequently Asked Questions About No-Bake Chocolate Coconut Protein Cups
I know when you try a new recipe, especially one that relies on things *not* getting baked, you end up with a million little questions swirling around. I get it! It’s hard to trust something that seems too easy. I’ve gathered up the ones I get asked the most when people first try making these simple protein bites. Hopefully, this covers whatever is on your mind so you can get mixing!
Can I make these No-Bake Chocolate Coconut Protein Cups vegan?
You absolutely can! That’s one of the built-in perks of this recipe—it’s so close to vegan already. The only swap you need to check is the sweetener. If you are using honey, you’ll need to switch that out for maple syrup (which I often use anyway because I love the hint of flavor it adds to the chocolate). The other place to watch out is the protein powder. Make sure you are using a plant-based powder, like pea, soy, or rice protein, instead of whey or casein.
If you’re into other high-protein vegan bakes, you should definitely check out my yogurt bagel recipe; it’s another great vegan trick for high-protein results!
What is the best type of protein powder for these protein snack cups recipe?
Oh, this is the million-dollar question for any no-bake recipe! The type of protein powder you use has a MASSIVE impact on the final texture of these **protein snack cups recipe**. Most of the time, I develop the recipe using a standard whey isolate and it works perfectly, giving that nice, dense, pliable dough.
But here’s the catch: plant-based powders (like pea or rice) are notorious for being much thirstier than whey. If you use a plant-based powder, you will almost certainly need that extra liquid we talked about earlier—maybe an extra teaspoon or two of water or milk until it holds together. Taste-wise, if you use chocolate protein powder instead of vanilla, you might need to bump up your cocoa powder a bit or you’ll end up with a less intense chocolate flavor. I always recommend sticking to unflavored or vanilla first so you can control the chocolate intensity with the cocoa powder!
Why did my cups turn out crumbly even after chilling?
If your **No-Bake Chocolate Coconut Protein Cups** came out crumbly, it boils down to one of two things, or maybe both! First, you didn’t press them down firmly enough into the liners. Remember, there’s no oven to fuse everything together, so your forceful packing is doing all the structural work! If you didn’t compress them tight, they’ll crumble when you try to peel the paper away.
Second, your binder might have been too dry. If your nut butter was really stiff straight from the fridge, or if your protein powder was overly absorbent, the mixture didn’t have enough ‘glue’ to hold it all together. Next time, try softening your nut butter slightly on the counter for 15 minutes before you start, and definitely add liquid carefully, one teaspoon at a time, until you can truly form a firm ball in your hand.
Can I make these lower in sugar?
Yes, you can definitely enjoy these as low sugar protein snacks! You just have to be careful with your sweetener choice. As I mentioned in the substitutions section, you can trade the maple syrup or honey for a liquid zero-calorie sweetener. This works great, but the texture might change just slightly because maple syrup adds some bulk.
The key is to reduce the maple syrup amount by about a quarter first, then add your liquid sweetener drop by drop until the dough just starts to stick together nicely. Since you’re cutting sugar, you might find that the coconut and nut butter flavor really pops, which is delicious! If you are looking for other ways to enjoy low-sugar treats, you might enjoy seeing how I keep my yogurt bagels light in my bagel recipe.
Do I have to use coconut in these cups?
You certainly don’t *have* to, but I sure hope you do! The coconut is essential to the recipe name and flavor profile—it’s what keeps these from just being boring chocolate-protein dough balls. It adds a lovely chewiness that contrasts perfectly with the smooth nut butter. If you absolutely must omit it, you will need to replace that 1/2 cup volume with something else to keep the structure right. I’d suggest using an extra 1/4 cup of your protein powder and then substituting the remaining 1/4 cup with 2 tablespoons of water/milk and 2 tablespoons of extra nut butter, then adjusting as needed. But honestly, try it with the coconut first!
Estimated Nutritional Breakdown for No-Bake Chocolate Coconut Protein Cups
I always get asked about the macros for these things, and honestly, that’s one of the best parts about making your own **No-Bake Chocolate Coconut Protein Cups**! You control exactly what goes in, which means you control the sugar and fat content—something you just can’t trust when you buy packaged snacks off the shelf.
Based on the standard recipe provided—using unsweetened coconut, vanilla protein powder, and real maple syrup—here is what you can generally expect for one single cup. Remember, this is an estimate, not a lab report! Your protein powder brand is the biggest variable here, so take these numbers as a fantastic starting point for your meal planning.
For a single serving (1 cup), here’s the approximate breakdown:
- Calories: 165
- Protein: 12 grams (Hello, muscle fuel!)
- Fat: 9 grams (Mostly good fats from that nut butter!)
- Carbohydrates: 14 grams
- Sugar: 7 grams (This varies wildly based on your sweetener choice!)
- Fiber: 3 grams
If you’re into prepping high-protein, grab-and-go meals, I highly recommend checking out my recipe for high-protein egg muffins. They are a fantastic savory counterpart to these sweet protein cups!
A Quick Disclaimer!
Because this recipe is totally reliant on what specific brand of protein powder you toss in, and whether you use almond butter versus peanut butter, these numbers can swing a little bit either way. If you use a zero-calorie sweetener instead of maple syrup, your sugar count will drop significantly, making these even more aligned with low-sugar protein snacks goals. If you are tracking meticulously, I always suggest inputting your exact ingredients into your favorite tracking app, but for general healthy eating, these 165-calorie cups are a phenomenal way to hit your protein targets!
Share Your Experience Making These Protein Snack Cups
Alright, that’s it! You’ve got the knowledge, the perfect recipe for **No-Bake Chocolate Coconut Protein Cups**, and now it’s your turn to get messy in the kitchen!
I truly hope you love how quick these are and how awesome they feel in your snack rotation. Honestly, knowing you’re whipping up these healthy chocolate coconut bites without any fuss is half the fun for me.
I’m dying to hear how they turn out for you! Did you try the almond extract trick? Did your protein powder need an extra splash of water? Tell me everything! Please don’t forget to leave a rating right here on the blog—it helps other folks see that these are legit quick healthy grab and go snacks. If you snap a picture, tag me on social media so I can see your beautiful little protein cups!
And hey, if you want to explore even more recipes that skip the oven entirely—because who needs the heat?—head over to my main blog page! Happy snacking!
Print5 Ingredient No-Bake Chocolate Coconut Protein Cups
Make these simple, high-protein chocolate coconut cups without turning on your oven. They are quick to assemble and perfect for meal prep.
- Prep Time: 10 min
- Cook Time: 0 min
- Total Time: 70 min
- Yield: 12 cups
- Category: Snack
- Method: No-Bake
- Cuisine: American
- Diet: Vegetarian
Ingredients
- 1 cup vanilla or unflavored protein powder
- 1/2 cup unsweetened shredded coconut
- 1/4 cup unsweetened cocoa powder
- 1/2 cup smooth nut butter (almond or peanut)
- 1/4 cup maple syrup or honey
Instructions
- Line a standard 12-cup muffin tin with paper liners.
- In a medium bowl, combine the protein powder, shredded coconut, and cocoa powder. Mix well until uniform.
- Add the nut butter and maple syrup (or honey) to the dry ingredients.
- Mix everything together using a sturdy spoon or your hands until a thick, uniform dough forms. If the mixture is too dry, add one teaspoon of water or milk at a time until it holds together.
- Divide the dough evenly among the 12 prepared muffin cups, pressing firmly into the bottom of each liner.
- Place the muffin tin in the refrigerator and chill for at least 1 hour, or until firm.
- Remove the liners before serving. Store leftovers in an airtight container in the refrigerator.
Notes
- For a richer chocolate flavor, use dark cocoa powder.
- If you need a lower-sugar option, substitute the maple syrup with a liquid zero-calorie sweetener, adjusting the liquid content as needed.
- These cups freeze well for longer storage.
Nutrition
- Serving Size: 1 cup
- Calories: 165
- Sugar: 7
- Sodium: 85
- Fat: 9
- Saturated Fat: 4
- Unsaturated Fat: 5
- Trans Fat: 0
- Carbohydrates: 14
- Fiber: 3
- Protein: 12
- Cholesterol: 0