

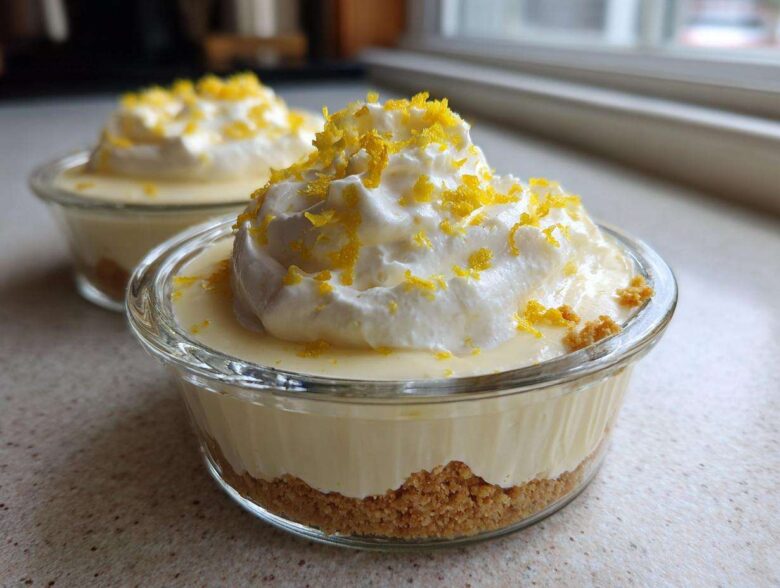
Oh, trust me, I totally get it. Sometimes you need a showstopper dessert, but the thought of turning on the oven when it’s already boiling outside makes you want to quit baking forever! That is why these little beauties have become my absolute go-to when company shows up unexpectedly or when that mid-week citrus craving hits hard. We are talking individual servings, creamy bliss, and absolutely *no* baking required. Seriously, these **No-Bake Lemon Cream Pie Cups** are sunshine in a little dish. They come together faster than you can decide which movie to watch! I think they are the perfect summer treat because they are so ridiculously tangy and cool.

Why You Will Love These No-Bake Lemon Cream Pie Cups
Honestly, these recipes are my lifeline when I need something delicious fast! If you’re looking for some amazing Quick No Bake Desserts that taste way harder than they actually are, this is it.
- They are already perfectly portioned! Goodbye messy slicing—hello Individual Creamy Desserts every time.
- Maximum tang with minimum effort. We are talking five minutes of mixing, tops!
- They are totally refreshing, which is essential for those ridiculously hot summer days.
Gathering Ingredients for Your No-Bake Lemon Cream Pie Cups
Okay, the best thing about this recipe is how it relies on pantry staples! You won’t need much fuss, but don’t even think about skipping the fresh lemon juice, seriously. That zest is where all the perfume comes from, so if you can grab beautiful, bright lemons, your dessert will leap off the charts. For a similar recipe that also shines with citrus flavor, you absolutely have to check out my easy lemon dessert bars sometime!
For the Graham Cracker Crust
Making this base is so straightforward, but make sure your measuring cup for those crumbs is level! You want that perfect 1 1/2 cups measurement so it presses down nicely for the bottom of our cups.
- 1 1/2 cups graham cracker crumbs
- 1/4 cup melted unsalted butter
For the Creamy Lemon Filling
Here is where we get really creamy! The secret to avoiding lumps is making absolutely certain your cream cheese is truly softened—like room temperature soft. If it’s fighting you, your filling won’t be smooth, and that’s a tragedy!
- 8 ounces cream cheese, softened
- 1 (14 ounce) can sweetened condensed milk
- 1/2 cup fresh lemon juice
- 1 tablespoon lemon zest
- 1 teaspoon vanilla extract
- 1 cup frozen whipped topping, thawed
Step-by-Step Instructions for Perfect No-Bake Lemon Cream Pie Cups
Alright, here’s where the magic happens! Even though we aren’t baking, technique still matters if you want that satisfying, thick, creamy layer. You’ll find that the acid in the lemon juice actually reacts with the condensed milk, which helps this whole setting process along. If you’ve made my No-Bake Biscoff Cheesecake, you know the drill when it comes to chilling! Let’s get these cups ready for the fridge.
Preparing the Crust Base
First, we mix up the crumbs and butter until everything is nice and damp. Don’t be shy here—you want that mixture to stick together! Take about a tablespoon of that buttery crumble and press it down firmly into the bottom of each of your six little ramekins or cups. I use the back of a small spoon to really compact it. Once they are pressed, pop them in the fridge for just 10 minutes. That short chill firms up the crust so it doesn’t just turn into mush when we add the filling.
Mixing the Tangy Lemon Filling
Grab a bowl—no need to use the stand mixer for this! Start by beating that softened cream cheese until it looks totally velvety smooth. Now, add the sweetened condensed milk slowly, mixing until it’s completely incorporated. Once that’s smooth, whisk in your fresh lemon juice, the bright zest, and the vanilla. You’ll notice the mixture starts to thicken up right away because of the lemon acid hitting the milk. That’s exactly what you want!

Assembling and Chilling Your No-Bake Lemon Cream Pie Cups
This is the crucial step for airiness! Take your thawed whipped topping and gently fold it into the thickened lemon mixture. I mean gently—use a spatula and cut down the middle and sweep up the side, turning the bowl as you go. We don’t want to deflate all those lovely air bubbles! Once it’s just barely combined, spoon that glorious filling over your chilled crusts. Then, they need at least 4 hours in the refrigerator, but honestly, overnight is even better for these **No-Bake Lemon Cream Pie Cups** to get wonderfully firm. Finish off with a little sprinkle of extra zest right before serving!
Tips for Making the Best No-Bake Lemon Cream Pie Cups
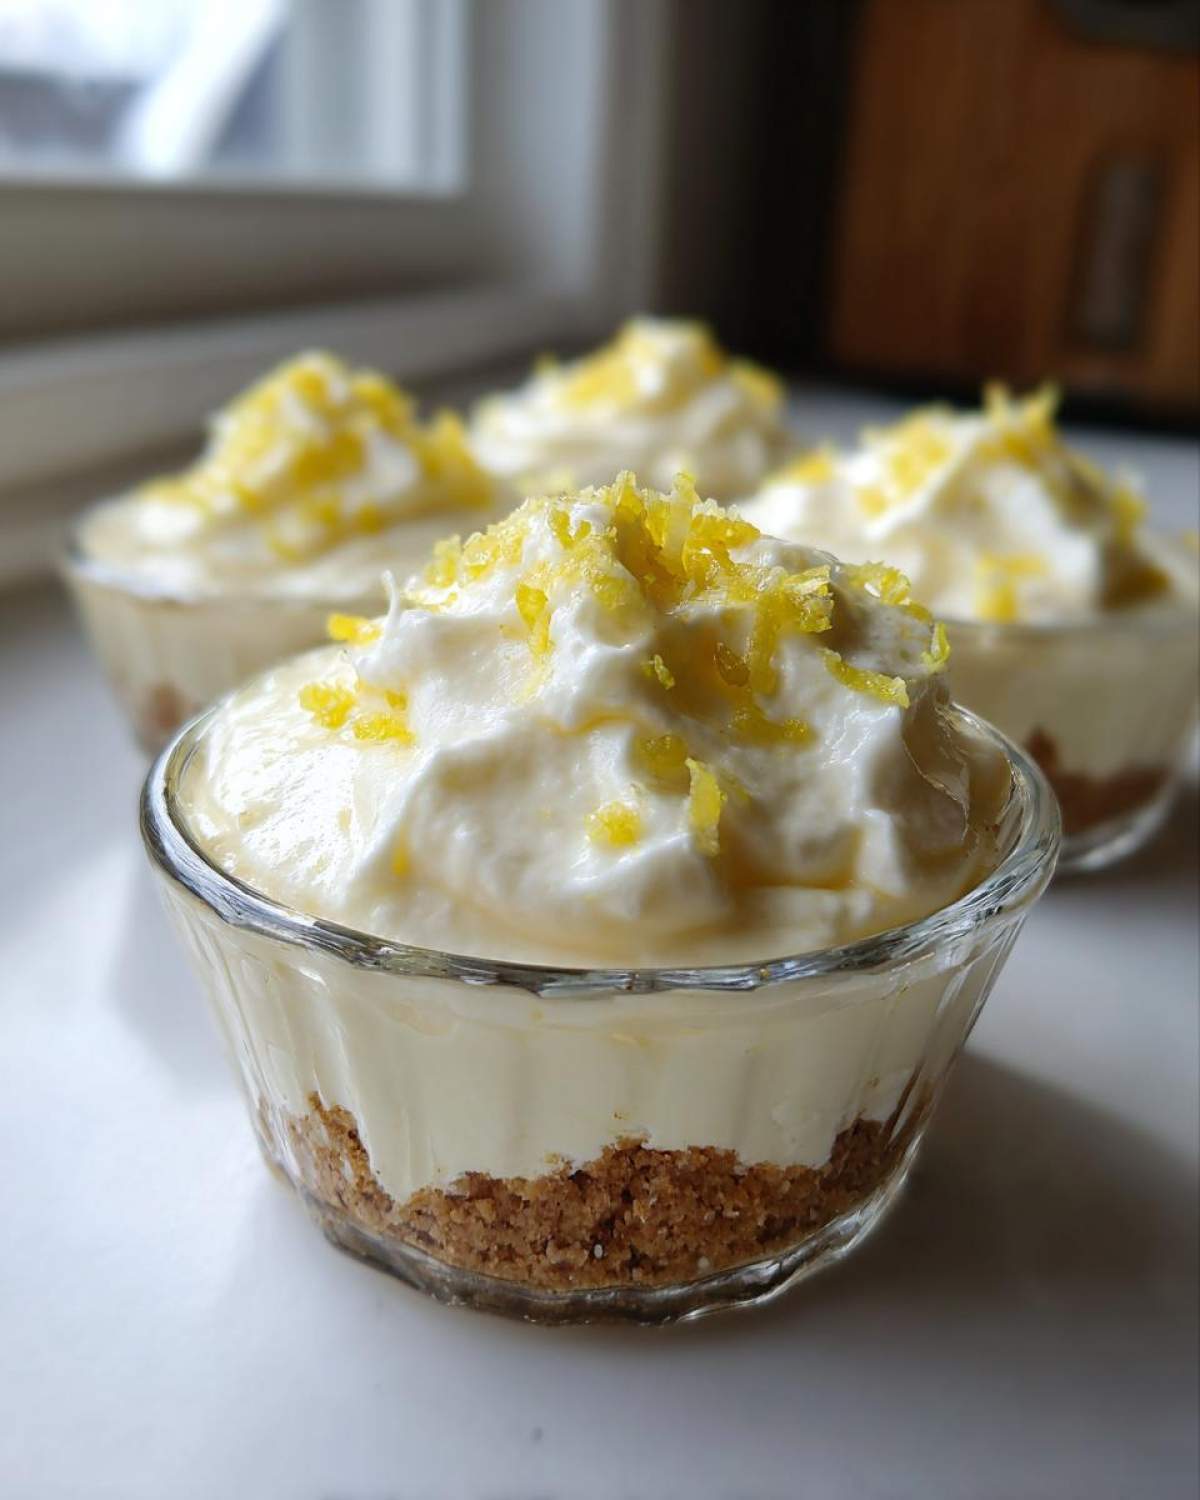
You’ve got the recipe down, but here are the little secrets that make sure you get that perfect silky texture every single time you make these No-Bake Lemon Cream Pie Cups. If you’re worried about them not setting up enough, don’t stress! While 4 hours often does the trick, I always aim for an overnight chill. The longer they sit, the firmer and more pie-like the filling gets, which is fantastic if you need to take them to a party.
Also, don’t feel boxed in by the graham crackers! They are classic, but if you have some vanilla wafers or even crushed shortbread cookies hanging around, those make an incredible, buttery crust variation. Just use the same amount of melted butter for whatever cracker you choose. These small tweaks ensure your **No-Bake Lemon Cream Pie Cups** are always a personal win!
Ingredient Notes and Substitutions for Individual Citrus Desserts
I always get questions about ingredients, especially when people are trying to make these because they’re so easy to look up last minute! Let’s talk lemons first, because that’s the heart of this whole thing. Fresh lemon juice is really what makes the filling bright, tangy, and gives it that amazing texture when mixed with the condensed milk, so please, always try to use fresh if you can!
If you absolutely *have* to swap in bottled juice—maybe for a quick batch during the week—you totally can make these Individual Citrus Desserts. Just know that bottled juice sometimes doesn’t have the same fragrant lift as juice squeezed from a ripe fruit. Think of it as going from a symphony to a solo instrument, if that makes sense! You might need a tiny bit more zest to bring the flavor back up.
Now, let’s circle back to the crust, since that’s a fun place for substitutions! While the graham crackers give us that classic, slightly salty base that cuts through the sweetness perfectly, don’t feel stuck. If you have some vanilla wafers, crush those up! They make a fantastic, buttery alternative. Even shortbread cookies work wonderfully well, giving you a richer, almost buttery foundation for your next batch of Creamy Layered Desserts. The key is to use the same 1/4 cup of melted butter with whatever you choose!
Serving Suggestions for Your Creamy Layered Desserts
Since these are little individual treats, plating them up can be almost as fun as making them! Presentation really matters when you’re making Creamy Layered Desserts like this because every cup is its own perfect little portion. A simple garnish can take these lemon cups from ‘quick snack’ to ‘fancy party centerpiece’ in about thirty seconds flat.
The obvious choice, and my personal favorite, is topping each one with just a tiny bit more fresh lemon zest right before you serve them. It makes the scent pop again when guests lean in for a bite! That bright yellow peel on the pale white filling just looks so inviting.
If you want color, you can never go wrong with fresh fruit, especially since the bright acid of the lemon pairs beautifully with sweet berries. Think about laying a single perfect raspberry or two sliced strawberries right on top. They look gorgeous! For something really elegant, a tiny sprig of fresh mint tucked beside the fruit adds an unexpected layer of green contrast. It really elevates these **No Oven Lemon Treats**!
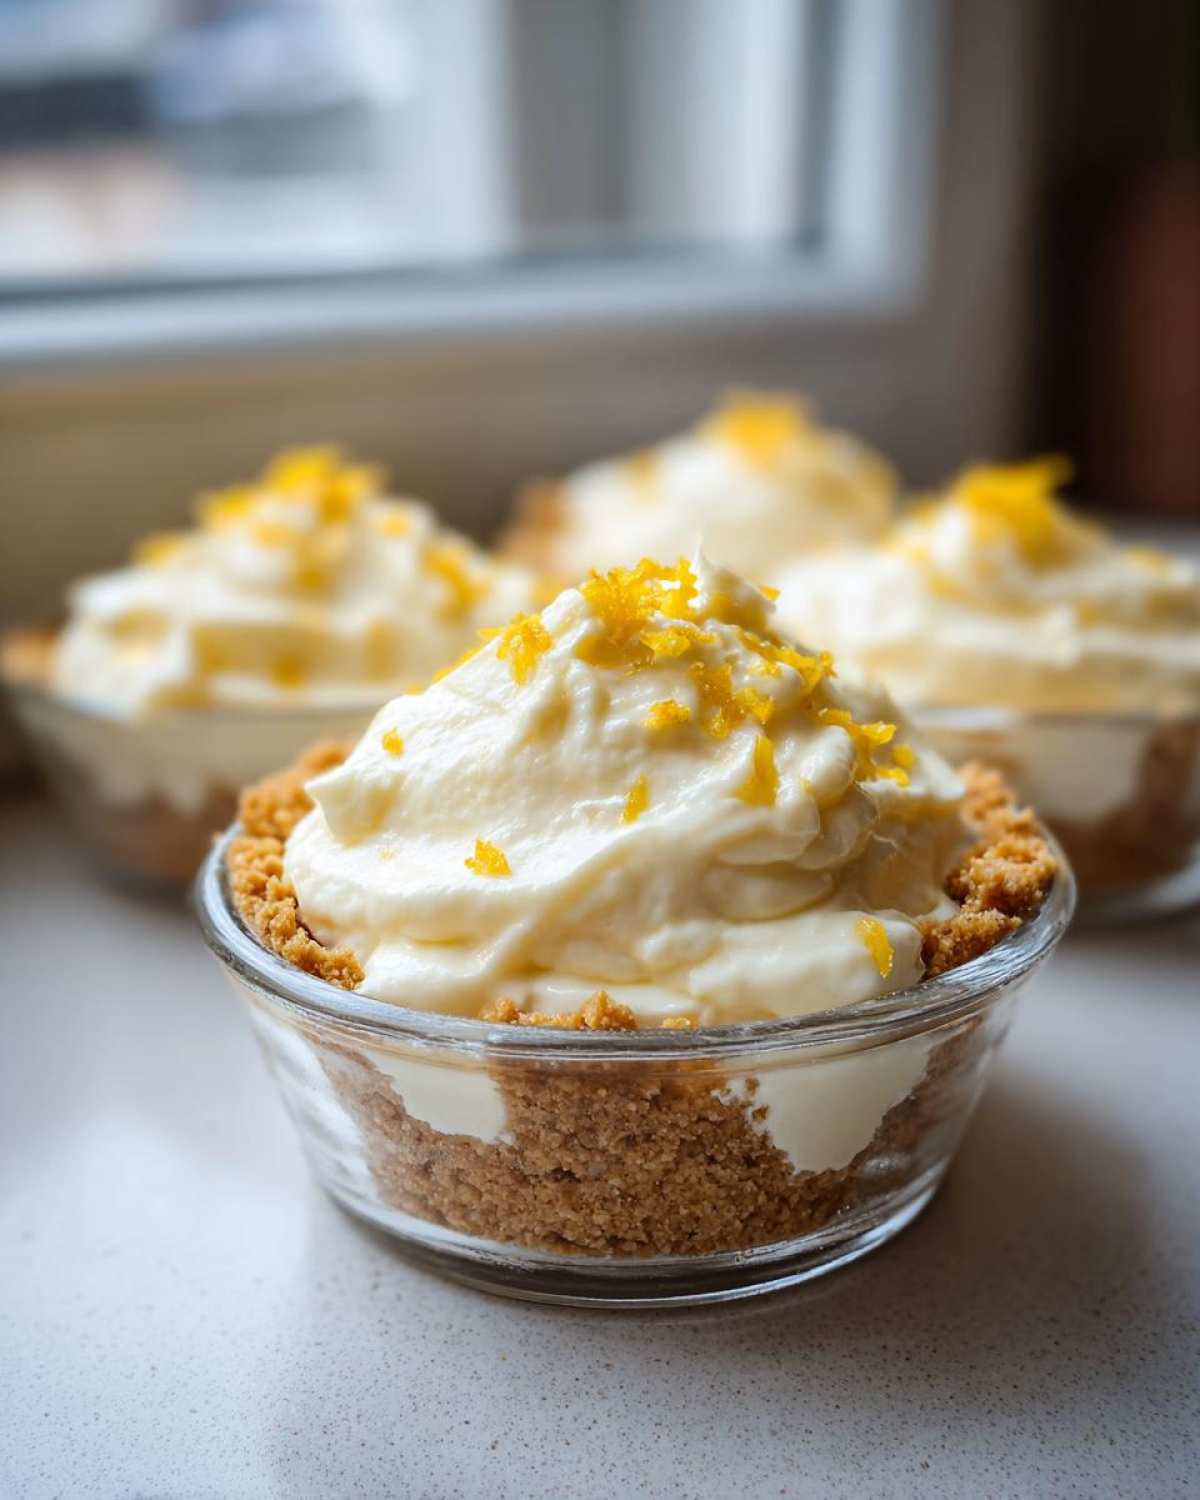
Another really simple option is layering them alongside a small, buttery shortbread cookie on the plate itself. It gives whoever is eating one a little something extra crunchy to alternate with the smooth lemon filling. Honestly, they look fantastic just sitting on a simple white plate because the contrast is so strong!
Storage and Make Ahead Tips for No-Bake Lemon Cream Pie Cups
These are truly the ultimate make-ahead treat because chilling them is the *only* required final step! You can certainly whip these up a day ahead of time. In fact, I highly recommend that, since the flavors mingle and the filling firms up beautifully in the fridge. They need at least four hours to set properly, but if you’re prepping for a party, chilling them overnight is the best bet for the firmest texture in your **No-Bake Lemon Cream Pie Cups**.
You should absolutely keep them covered tightly in the refrigerator. They stay wonderfully fresh for up to three days, though honestly, they never last that long in my house! Remember, these Make Ahead Citrus Desserts must stay cold; they get too soft if left out on the counter for more than an hour or so. They are definitely best served straight from the cold!
Frequently Asked Questions About No-Bake Lemon Cream Pie Cups
I always get the same few questions when people try this recipe for the first time. It’s totally normal, especially when dealing with **Quick No Bake Desserts** where chilling time is the main event! Don’t worry, I’ve got the answers to make sure your treats turn out perfectly creamy every time.
Can I make the filling firmer without gelatin?
Yes, you absolutely can! The structure for these comes from the reaction between the cream cheese and the sweetened condensed milk, magically thickened by the fresh lemon juice. You don’t need gelatin here at all. However, if you want the absolute firmest texture—especially if it’s super humid or you’re taking them outside—just let them chill overnight instead of the minimum four hours. Overnight is my secret weapon for the best set!
What is the best way to serve these No-Bake Lemon Cream Pie Cups?
Since these are technically **No Oven Lemon Treats**, they taste miles better when they are ice cold! You should serve them directly from the refrigerator. Don’t let them sit out on the counter for too long, or that creamy filling will get a little too soft again. They are perfect for slicing in those little cups when you are hosting friends for outdoor gatherings, especially since they fit right into the whole vibe of my favorite Summer Lemon Recipes!
Can I use a different crumb for the crust?
Oh yes, please do experiment with the crust if you want to change things up! The graham cracker is classic, but I love using vanilla wafers sometimes; they give the bottom a slightly different, softer crunch. You could even crush up some ginger snaps if you wanted to add a spicy layer underneath the creamy lemon. Just remember to stick to that 1/4 cup of melted butter quantity regardless of which cookie you choose!
Share Your Experience Making These No-Bake Lemon Cream Pie Cups
Now that you’ve seen how simple it is to whip up these gorgeous, chilled treats, I absolutely need to hear all about it! Baking, or in this case, *no-baking*, is always better when we share the results, right?
Please leave a rating for these **No-Bake Lemon Cream Pie Cups** using the star system below! Did you follow the recipe exactly, or were you inspired to try a different cookie for the crust? Did you serve them at a party? Tell me everything in the comments!
Most importantly, I want to know what you thought of that filling texture! Was it perfectly smooth and tangy? Did it set up just the way you hoped it would? Your feedback truly helps me make sure every recipe I share is the absolute best it can be. Head over to my main recipe index if you’re already planning your next easy, no-oven creation!
PrintNo-Bake Lemon Cream Pie Cups

Make these simple, individual lemon cream pie cups without turning on your oven. They feature a graham cracker base and a smooth, tangy lemon filling.
- Prep Time: 20 min
- Cook Time: 0 min
- Total Time: 4 hr 20 min
- Yield: 6 servings
- Category: Dessert
- Method: Chilling
- Cuisine: American
- Diet: Vegetarian
Ingredients
- 1 1/2 cups graham cracker crumbs
- 1/4 cup melted unsalted butter
- 8 ounces cream cheese, softened
- 1 (14 ounce) can sweetened condensed milk
- 1/2 cup fresh lemon juice
- 1 tablespoon lemon zest
- 1 teaspoon vanilla extract
- 1 cup frozen whipped topping, thawed
Instructions
- Combine the graham cracker crumbs and melted butter in a small bowl. Mix until the crumbs are evenly moistened.
- Press about 1 tablespoon of the crumb mixture into the bottom of six small serving cups or ramekins. Chill the crusts for 10 minutes.
- In a medium bowl, beat the softened cream cheese until smooth.
- Gradually beat in the sweetened condensed milk until fully combined.
- Stir in the lemon juice, lemon zest, and vanilla extract until the mixture is smooth and thickens slightly.
- Gently fold the thawed whipped topping into the lemon mixture until just combined. Do not overmix.
- Spoon or pipe the lemon filling evenly over the chilled crusts in the cups.
- Refrigerate the cups for at least 4 hours, or until the filling is firm.
- Garnish with extra lemon zest before serving.
Notes
- You can substitute vanilla wafers or shortbread cookies for the graham crackers if you prefer a different crust flavor.
- For a firmer set, chill the cups overnight.
- If you do not have fresh lemons, you can use bottled lemon juice, but fresh zest provides better flavor.
Nutrition
- Serving Size: 1 cup
- Calories: 410
- Sugar: 35
- Sodium: 250
- Fat: 23
- Saturated Fat: 14
- Unsaturated Fat: 9
- Trans Fat: 0
- Carbohydrates: 48
- Fiber: 1
- Protein: 6
- Cholesterol: 65