

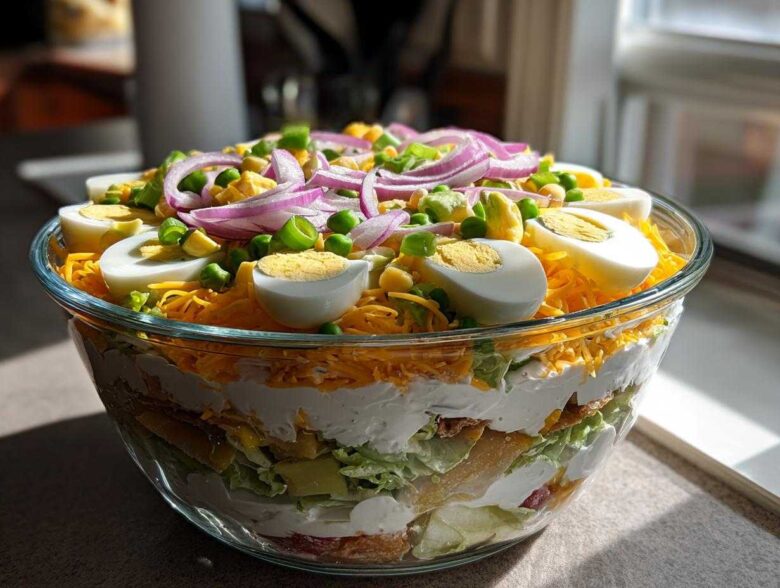
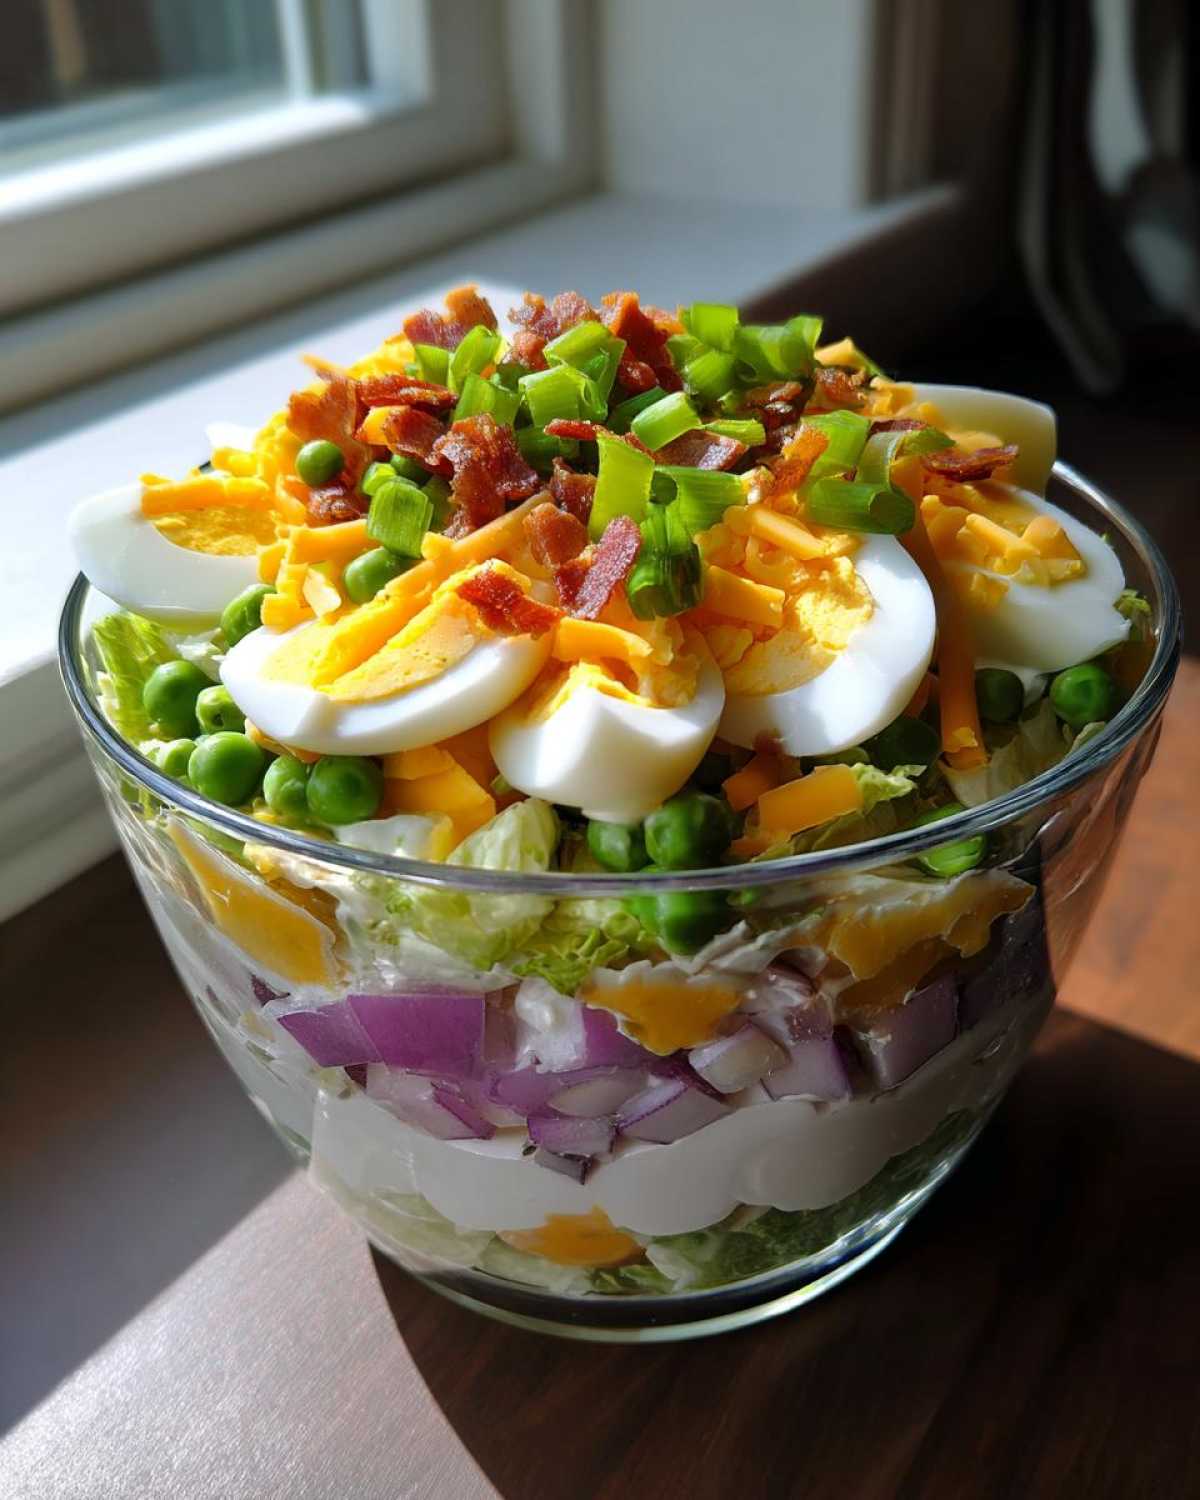
There are certain dishes that just scream ‘weekend BBQ’ or ‘busy holiday table,’ right? For me, nothing beats the sheer delight of staring down a glorious, towering **7 layer salad**. Forget those sad, soggy bowls of mixed greens; this recipe is different. It’s truly the definitive version that always shocks people when they realize how easy it is to assemble! I remember the first time I brought this to a neighborhood potluck—I swear everyone lined up just to see the pretty layers before they even realized it tasted incredible. It felt like I brought a giant, edible rainbow, and now every single gathering requires I bring this showstopper. Trust me, getting the layers right is half the fun! You can explore more of my favorite party tips over on the main blog section if you’re looking for more ideas!
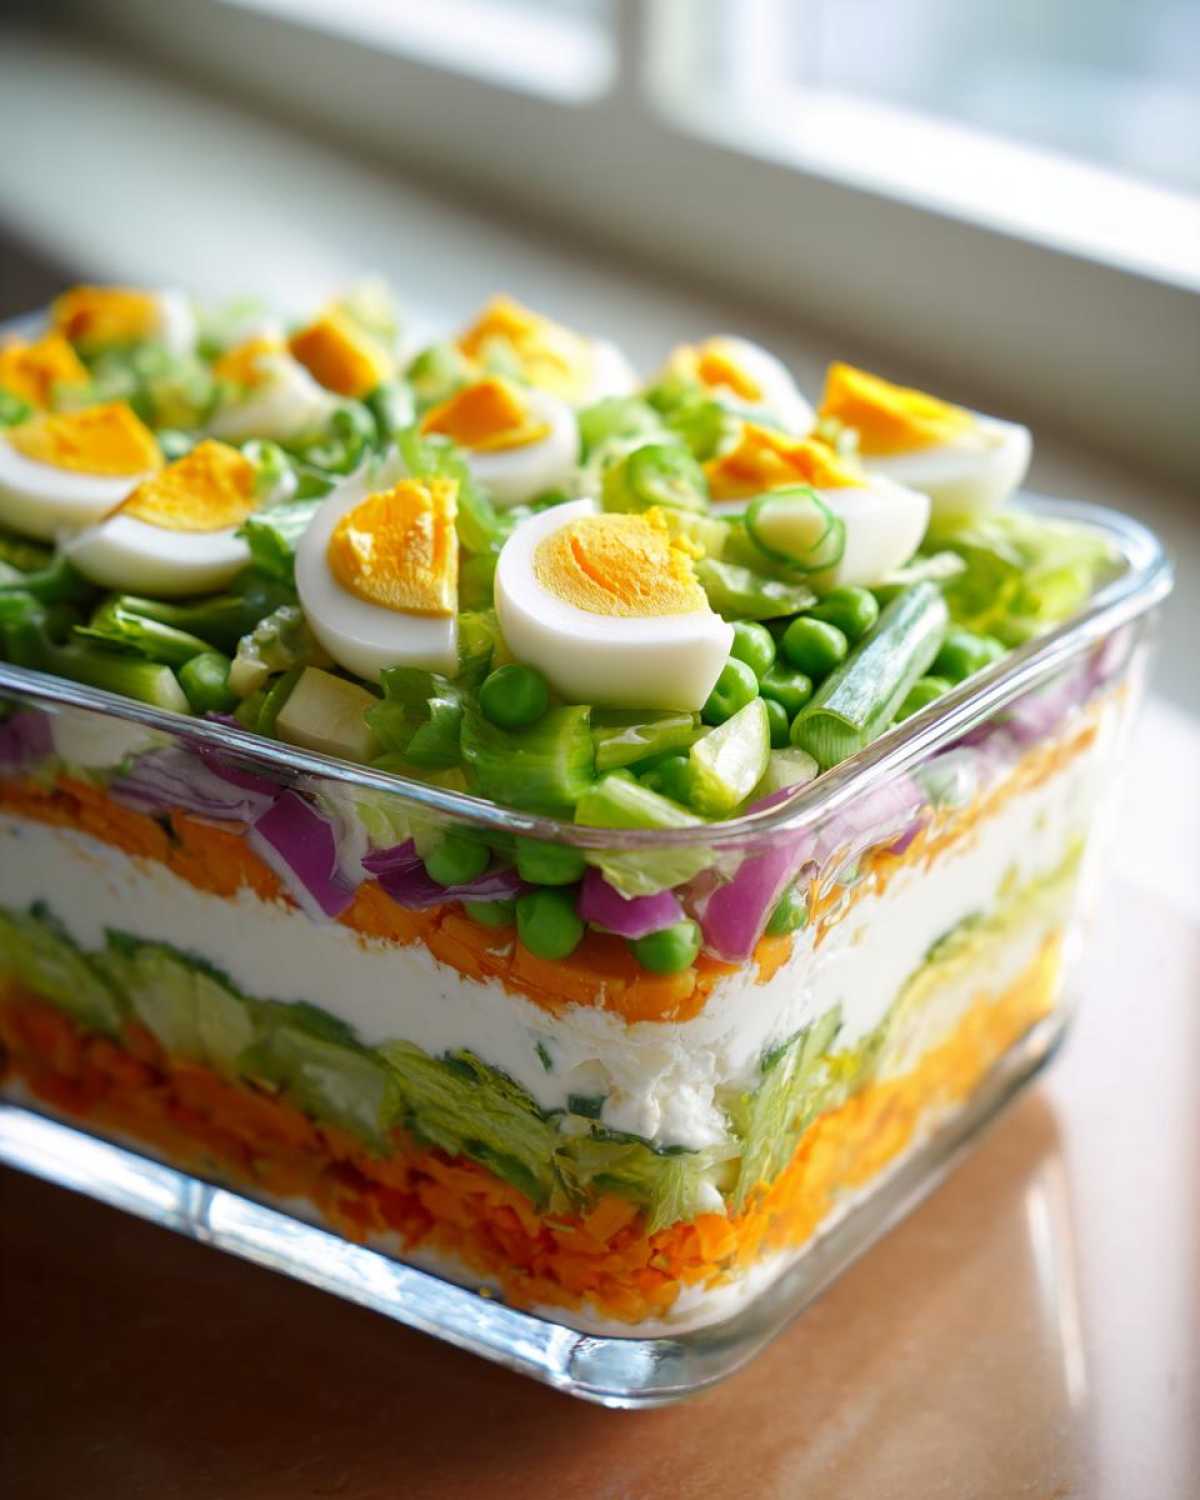
Why This is the Best 7 Layer Salad Recipe You Will Ever Make
So many people think making a classic **7 layer salad** means scrambling to chop everything right before guests arrive. Not true! That’s exactly why I love this recipe so much – it’s the ultimate potluck salad idea because it demands you make it ahead! Layering, instead of mixing, is the absolute magic trick here. When you toss everything together, all those lovely textures just turn into mush. But keeping them separate means your lettuce stays crisp and your bacon stays crunchy all the way until serving time.
For anyone looking for brilliant make ahead salad options that save you stress on party day, this is your hero. It’s simple, sturdy, and looks gorgeous sitting on the buffet.
Key Features of Our Classic Seven Layer Salad
- Make-ahead convenience that lets you relax before guests arrive.
- Incredible visual appeal—it truly earns its name as a colorful side dish.
- The creamy dressing seals in all the freshness until you’re ready to dig in.
Assembling Your Perfect 7 Layer Salad: Ingredients List
Okay, let’s get down to business! The beauty of the **7 layer salad recipe** is that it uses ingredients you probably already have hanging out in your fridge, but the magic happens when you stack them just so. We aren’t getting fancy here; we’re sticking to the absolute classics that make this a staple for any salad with hard boiled eggs and bacon spread.
When you are gathering your ingredients, follow these measurements exactly, especially for the dressing components! I use a big, clear glass bowl for this—you need to be able to admire all that hard work before you serve it. If you don’t have crisp iceberg, you’ll lose some of that essential crunch that separates a good salad from a great one.
Here’s what you’ll need to round up for the layers:
- 1 head iceberg lettuce, chopped (Make sure it’s nice and crisp!)
- 1 cup frozen green peas, thawed completely
- 1 cup chopped celery
- 1/2 cup chopped red onion (Use less if onions are too sharp for your crowd!)
- 4 hard-boiled eggs, sliced or chopped
- 1 cup shredded cheddar cheese
- 1/2 cup crumbled cooked bacon. Yes, you need the bacon!
Then, for the essential top layer—the seal—we’ll mix up our dressing in a separate little bowl first. You want everything ready to go so you can stack it high and seal it tight before it goes chilling!
Crafting the Best 7 Layer Salad Dressing
Listen, this creamy dressing is what truly transforms this from a pile of veggies into a proper, decadent creamy layered salad. It’s so simple, but you have to make it separately first. Don’t just dollop mayonnaise on top of the bacon—that leads to uneven coverage, and we want zero gaps!
Just grab a small bowl. We’re whisking together your favorite rich mayonnaise, a splash of white vinegar for tang, a little sugar to balance everything out, and the salt and pepper. Whisk until it looks completely smooth. Here’s my little secret for taking it up a notch—and this is chef-level stuff, honestly—throw in just a tiny pinch of dry mustard powder. Don’t skip it! It adds a depth you can taste but can’t quite place, which makes people ask for the recipe every time.
Once that dressing is whisked until beautiful, just set it aside. It’s ready to go on last, like icing on a cake, to seal all those lovely layers inside!
Step-by-Step Instructions for the 7 Layer Salad Assembly
Alright, moment of truth! This is where we put all that prep work to good use. You absolutely need a great, clear 3-quart bowl—seriously, if you can’t see the rainbow, what’s the point? When you place each ingredient down, give it a very gentle press. We aren’t trying to squash the lettuce into a patty here, but we need the layers to settle evenly so they don’t slip and slide when you get ready to serve this beauty. Keep that creamy dressing nearby; it’s coming out at the very end!
This assembling process is quick, which is such a relief after all the chopping. Getting that perfect stack is how you ensure every single forkful has a taste of everything, which is the real goal of any layered salad recipe. Just work slowly and deliberately through the list!
Layering Technique for Visual Appeal in Your 7 Layer Salad
Think of this order like constructing a mini-skyscraper designed to keep moisture locked in! Start right on the bottom of that clear bowl:
- First, pack down that chopped iceberg lettuce. That’s your sturdy base!
- Next, spread your thawed peas evenly across the top of the lettuce.
- Then comes the chopped celery, adding that satisfying crunch right in the middle.
- Sprinkle on your thinly chopped red onion.
- Carefully arrange those sliced hard-boiled eggs over the onions.
- Next, shower the cheese evenly over the eggs.
- Finally, the last food layer is your crumbled bacon. Try to get it covering most of the cheese!
Once the bacon is perfectly placed, take that beautiful dressing we whipped up earlier. Use a spatula or the back of a spoon and spread it completely from edge to edge. This layer is crucial because it acts like a protective seal against the air, keeping your lettuce crisp!
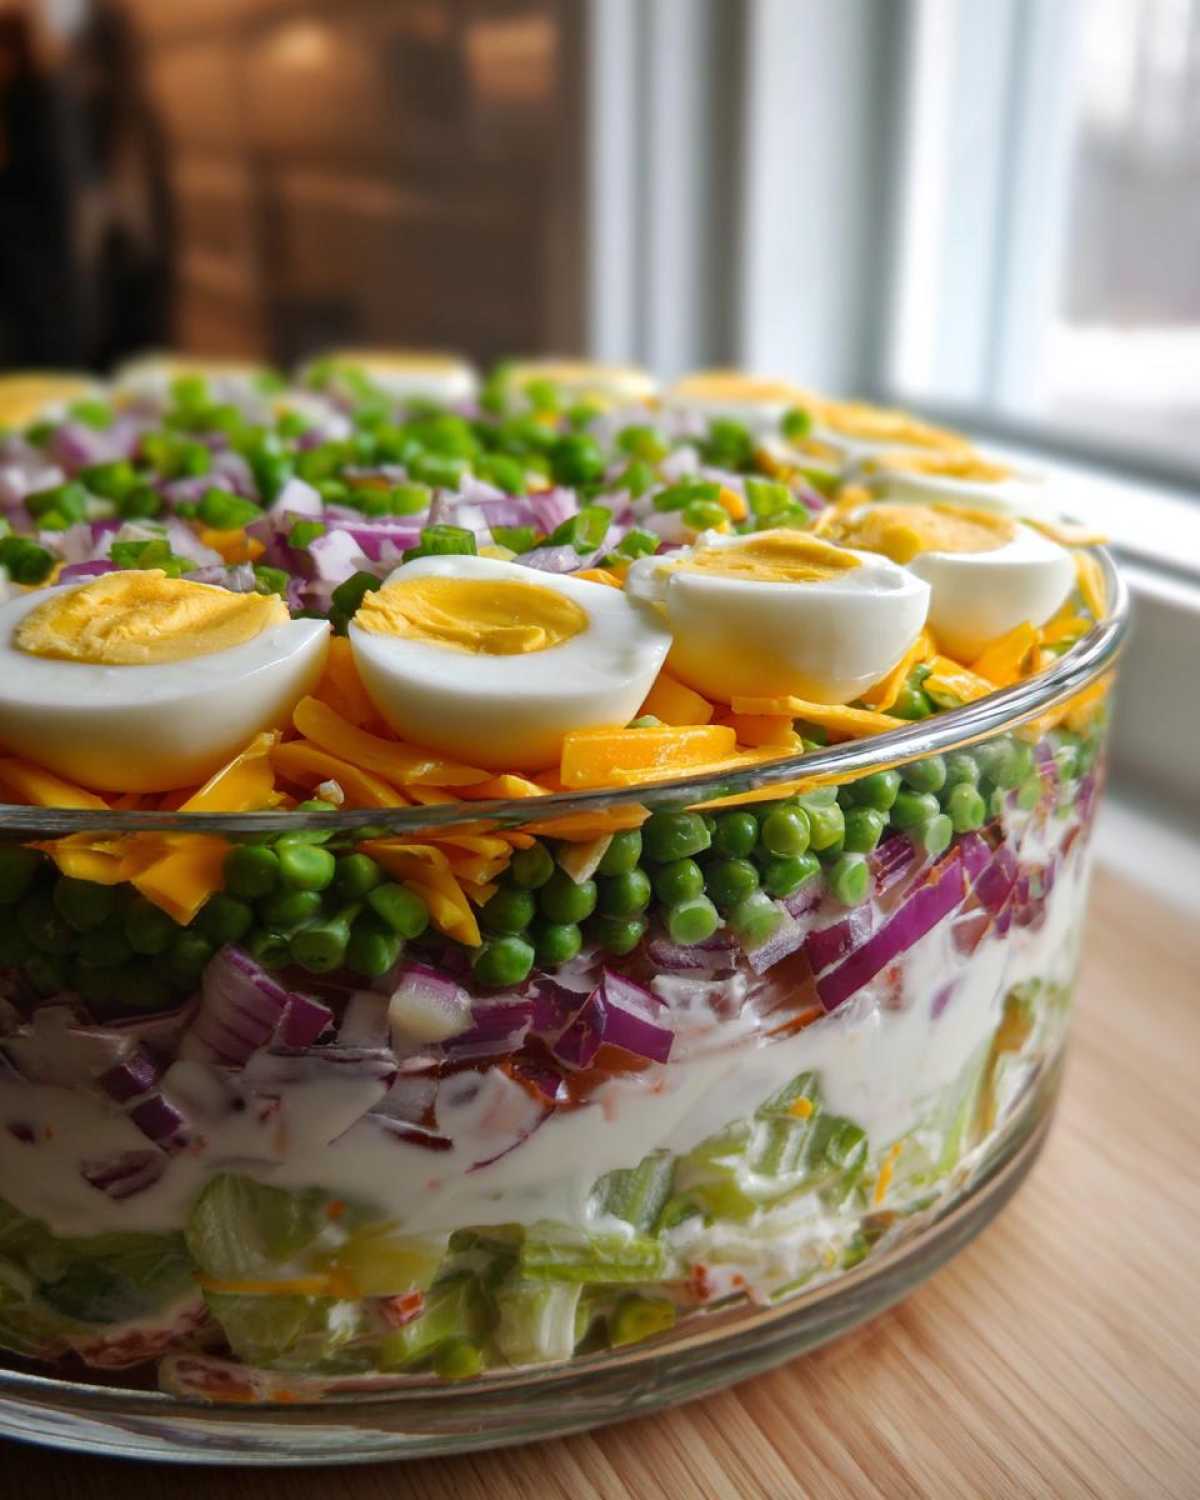
Chilling Time: The Secret to a Perfect 7 Layer Salad
Okay, I know you’re tempted to eat this right away, but please, I beg you, resist! The chilling step is not just a suggestion; it’s mandatory for a show-stopping make ahead salad like this. If you rush it, the dressing stays stiff and the flavors are walking around separately. Nope! We want them to get to know each other!
You need to cover this baby up tight with plastic wrap—make sure it’s touching the dressing surface if you can, or sprayed lightly with cooking spray on the underside of the wrap—and pop it in the fridge. Four hours is the absolute bare minimum time for the layers to set up. But here’s the real truth that every seasoned potluck veteran knows: overnight is where the magic truly happens. When you chill this overnight, the flavors settle in, the celery gets the slightest bit tender-crisp from the dressing, and you’re guaranteed a salad that holds its shape perfectly when you scoop it out!
Tips for Success When Making This Vegetable Layered Salad
You’ve got your layers stacked and your dressing sealing the deal! Now, let’s talk about keeping this whole operation perfect until it hits the buffet table. If you are taking this to a distant picnic or a party that won’t happen until late afternoon, I have one very important piece of advice: Bacon last! I know it hurts to wait, but mixing that cooked bacon in too early means it soaks up the dressing and loses all that wonderful crispness we worked so hard to achieve. It’s better served crunchy than soggy, right?
My biggest structural tip for this **vegetable layered salad** involves the base. You absolutely must use crisp iceberg lettuce. That tight crunch is what gives the whole tower something firm to lean on. Don’t swap it out for something flimsy! Also, remember that chilling time? Don’t peek! Every time you take the plastic wrap off, you invite warmer air in, and that’s how you lose that perfect, cold structure. Keep it wrapped tight, keep it cold, and it’ll look just as stunning five hours later as it did right after assembly. You can find some other great vegetable layered salad inspiration on the blog, too!
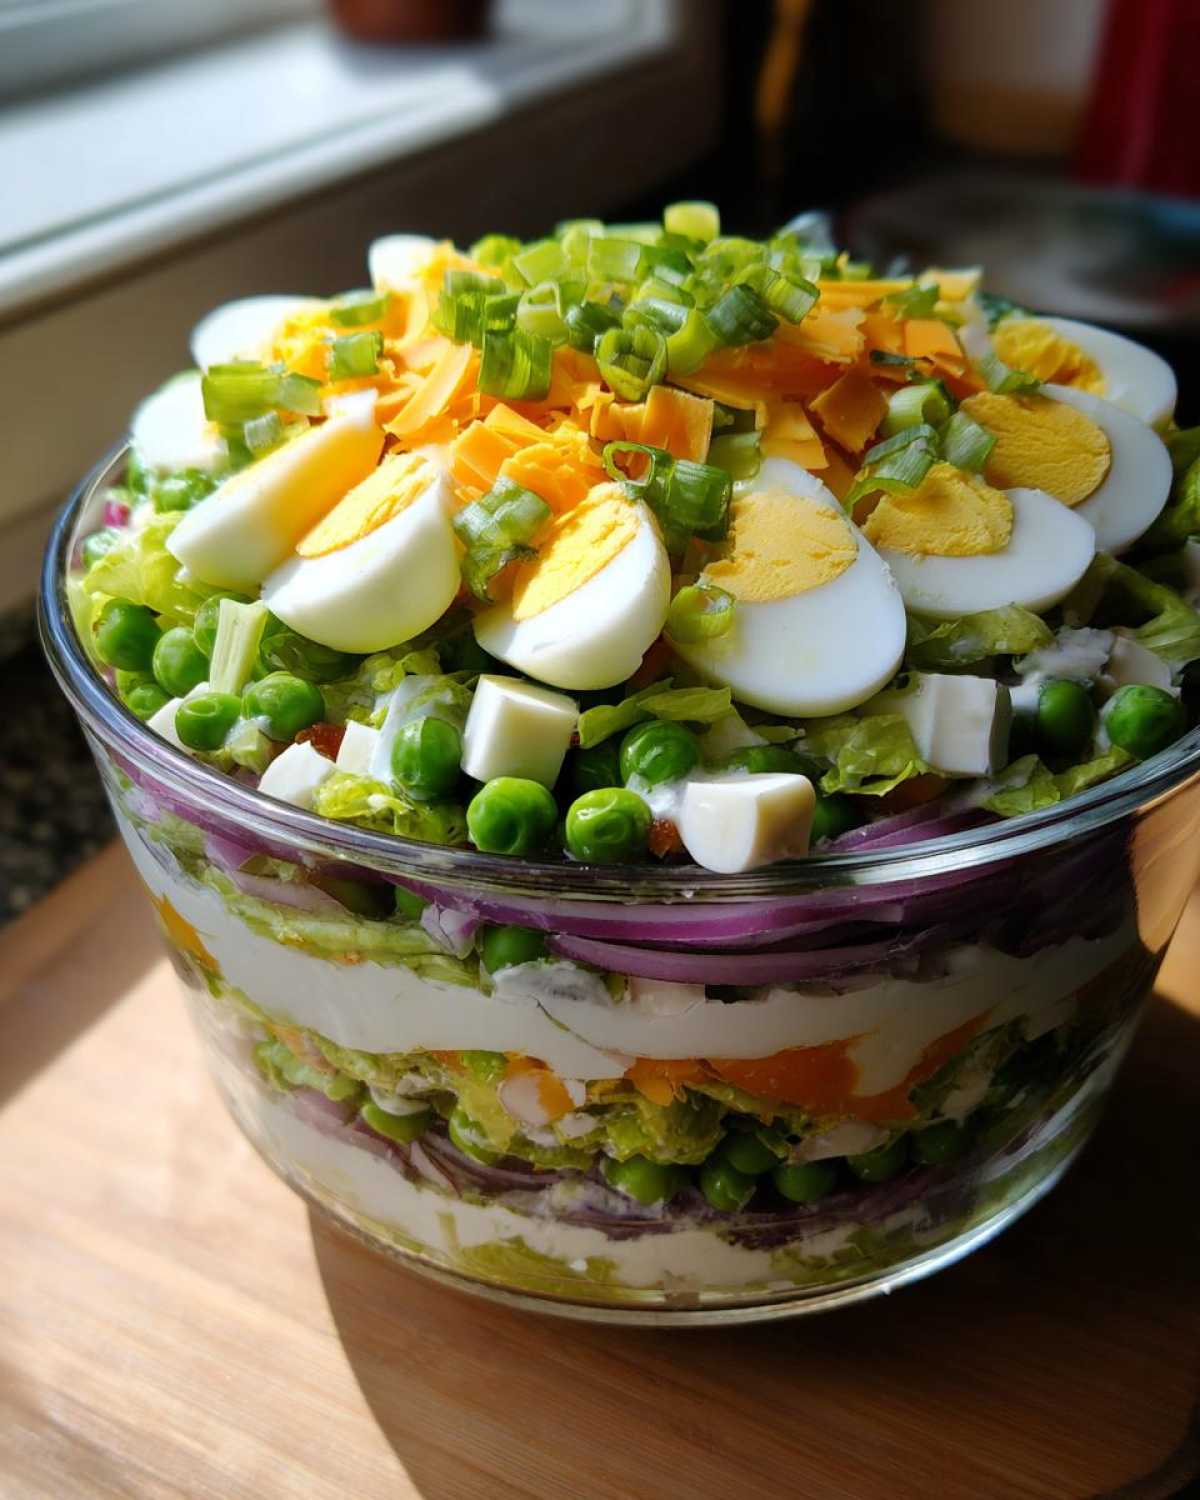
Variations for Your Next 7 Layer Salad
Now, I love keeping this recipe super traditional—it just feels right. But if you are going to feed the same crowd constantly, you might need a little refresh! This **retro salad recipe** is incredibly forgiving, which is why it’s survived so long. You can absolutely sneak in some extra color without messing up the structure. Think about swapping that cheddar cheese for something smokier like Pepper Jack if you like a little kick!
If you want more crunch besides the bacon, try tossing in some toasted pecans or sunflower seeds right on top of that cheese layer—that little extra nuttiness is divine. Some people even sneak in finely chopped green bell pepper along with the celery for more freshness. Just make sure whatever you add is chopped small so it doesn’t poke holes in your beautiful dressing layer!
For a bit of sweetness (if that’s your thing), you could always try mixing a tablespoon of finely chopped dried cranberries in with the peas. It’s a fun twist! Check out some of my other favorite ways to lighten up old classics over at my retro salad recipes page!
Serving Suggestions for This Iconic Deli Salad
Since this **7 layer salad** is so rich and beautiful, it needs stand-up partners on the table. Honestly, you could serve this as the main event at lunch! But for summer cookouts or BBQs, I always pair it with something lighter. Grilled lemon herb chicken or slow-cooked pulled pork work perfectly because they balance out that creamy dressing.
This salad truly shines as one of the best picnic food ideas because it travels so well when chilled and sealed. It’s a fantastic centerpiece for any buffet or spread of potluck side dishes. Just remember to keep it on ice if you’re outside for a long time!
Frequently Asked Questions About the 7 Layer Salad
I always get a flood of questions whenever I post a picture of this salad on social media! It seems like everyone wants to know the tricks for keeping those layers perfect. Don’t stress if you have questions about swapping ingredients or making it ahead—this is what I’m here for!
Can I use romaine or green leaf lettuce instead of iceberg?
Oh, I get this one a lot! Look, you *can* use romaine or green leaf lettuce, but honestly, I wouldn’t recommend it for this specific recipe. Iceberg lettuce is key because it’s mostly water and has this really firm, crisp structure that keeps the layers from collapsing under the weight of the cheese and eggs. Romaine wilts faster and doesn’t offer the same sturdy support for this style of creamy layered salad. Stick to the iceberg if you want that perfect, tall presentation!
How long will this salad last in the refrigerator?
Because we used that mayonnaise dressing to completely seal the top layer, this **classic seven layer salad** lasts surprisingly well. If you made it and it sat untouched in the fridge, it’s usually good for up to three days. However, I find the texture is undeniably best within the first 24 hours. After that, the peas might start to leech a little color into the celery layer, and the bacon loses a lot of its snap. For the absolute best results, aim to eat it within a day of assembly.
Why do I absolutely have to layer it instead of mixing it all up?
This is the heart of the whole dish! Mixing it up turns it into, well, just a salad, not a *7 Layer Salad*! The whole appeal of this buffet style salad is the visual drama and the textural experience. You want that first bite to include the crisp lettuce foundation, followed by the soft peas, the crunch of the celery, and then that burst of creamy dressing. It’s an eating journey, not a mush pile! Keeping them separate ensures that satisfying textural contrast in every single serving spoon.
Can I make the dressing ahead of time?
Yes, absolutely! In fact, I highly encourage it. I usually make the dressing the day before, whisk it up perfectly, and keep it in a sealed jar in the fridge along with the crumbled bacon (if you’re waiting to add that last). The dressing never seems to separate or change texture, which is great. As long as it’s cold and sealed, it’s ready to go onto your final layer when you finish stacking the veggies!
PrintClassic 7 Layer Salad
A popular, make-ahead layered salad featuring crisp vegetables, hard-boiled eggs, cheese, and a creamy dressing, perfect for gatherings.
- Prep Time: 25 min
- Cook Time: 15 min
- Total Time: 40 min
- Yield: 8 servings
- Category: Side Dish
- Method: Assembling/Chilling
- Cuisine: American
- Diet: Vegetarian
Ingredients
- 1 head iceberg lettuce, chopped
- 1 cup frozen green peas, thawed
- 1 cup chopped celery
- 1/2 cup chopped red onion
- 4 hard-boiled eggs, sliced or chopped
- 1 cup shredded cheddar cheese
- 1/2 cup crumbled cooked bacon
- 1 cup mayonnaise
- 2 tablespoons white vinegar
- 1 teaspoon sugar
- 1/2 teaspoon salt
- 1/4 teaspoon black pepper
Instructions
- Prepare the dressing: In a small bowl, whisk together the mayonnaise, vinegar, sugar, salt, and pepper until smooth. Set aside.
- Prepare the layers: In a large, clear glass bowl (at least 3 quarts), begin layering the ingredients in the order listed below.
- Layer 1: Place the chopped iceberg lettuce in the bottom of the bowl. Press down lightly.
- Layer 2: Spread the thawed peas evenly over the lettuce.
- Layer 3: Add the chopped celery.
- Layer 4: Sprinkle the chopped red onion over the celery.
- Layer 5: Arrange the sliced or chopped hard-boiled eggs over the onions.
- Layer 6: Sprinkle the shredded cheddar cheese evenly over the eggs.
- Layer 7: Top the cheese layer with the crumbled cooked bacon.
- Spread the prepared creamy dressing evenly over the top layer of bacon, covering the entire surface to seal the salad.
- Cover the bowl tightly with plastic wrap. Refrigerate for at least 4 hours, or preferably overnight, before serving.
- When ready to serve, remove the plastic wrap and serve directly from the bowl.
Notes
- This salad tastes best when chilled for 8 to 12 hours, allowing the flavors to meld.
- Do not mix the salad until you are ready to serve it.
- If you are making this ahead, wait to add the bacon until just before serving for maximum crispness.
Nutrition
- Serving Size: 1 serving
- Calories: 310
- Sugar: 4
- Sodium: 350
- Fat: 28
- Saturated Fat: 8
- Unsaturated Fat: 20
- Trans Fat: 0
- Carbohydrates: 8
- Fiber: 2
- Protein: 11
- Cholesterol: 115