

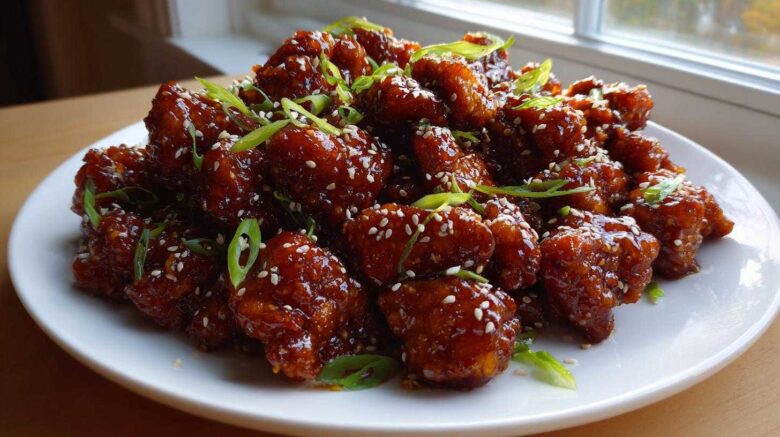
Recreating Takeout Magic: Your Guide to Sticky Honey Soy Chicken
Oh, those late-night takeout cravings hit hard, don’t they?
We all love that salty, sweet flavor bomb. My goal here is simple.
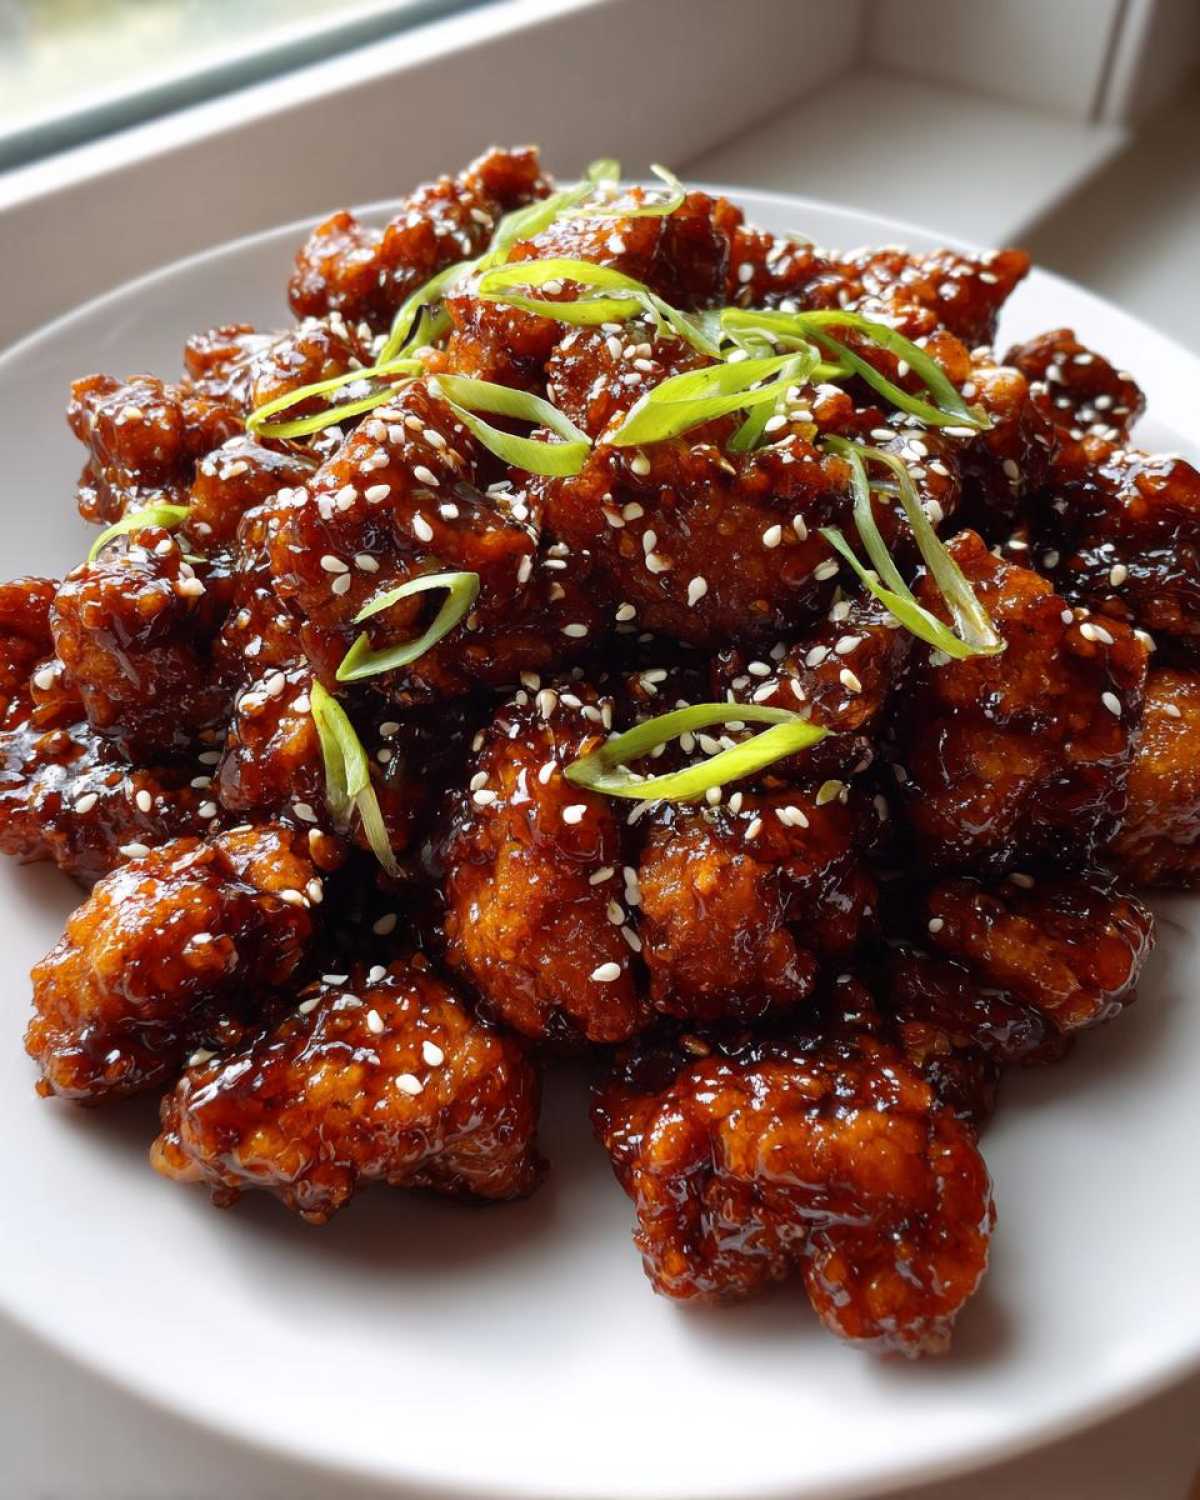
We’re bringing that amazing flavor home today. This Sticky Honey Soy Chicken recipe nails it perfectly.
The biggest fear is that sticky glaze burning up fast. I’ve learned a few tricks over the years.
I’m Eleanor, and I translate our global food memories into kitchen reality.
This dish is proof we can nail tricky textures.
Meet the Delish Diarists and Our Flavor Mission
Richard and I love sharing our kitchen stories.
For decades, we collected tastes worldwide.
We ate everything from street stalls to small cafes.
Now, our kitchen chronicles those moments.
This recipe is one such cherished memory, Eleanor here.
We want you to taste the adventure with us.
The Ingredients for Perfect Sticky Honey Soy Chicken
Gathering your supplies is half the fun.
This easy weeknight meal needs simple things.
I always lay everything out first, you know?
It keeps the cooking flow smooth and fast.
We need chicken for the main event, of course.
Then we build that glorious, thick Asian chicken glaze.
Chicken Preparation and Marinade Components
For the protein, grab about 1.5 pounds of chicken.
I prefer thighs; they stay juicier when pan-fried.
Cut these into nice, bite-sized pieces for us.
Next, mix them with 2 tablespoons of soy sauce.
One tablespoon of cornstarch is key here.
This coating helps create that lovely outer crust.
Crafting the Signature Sticky Honey Soy Chicken Glaze
Now for the magic sauce ingredients you’ll need.
You’ll use 1/4 cup of sweet honey.
Measure out 2 tablespoons of soy sauce for the glaze.
A tablespoon of rice vinegar adds needed brightness.
Fresh ginger, grated, and minced garlic are non-negotiable.
Don’t skimp on these aromatics; they make the flavor deep.
Essential Equipment for Your Sticky Honey Soy Chicken
You don’t need a whole arsenal for this dish.
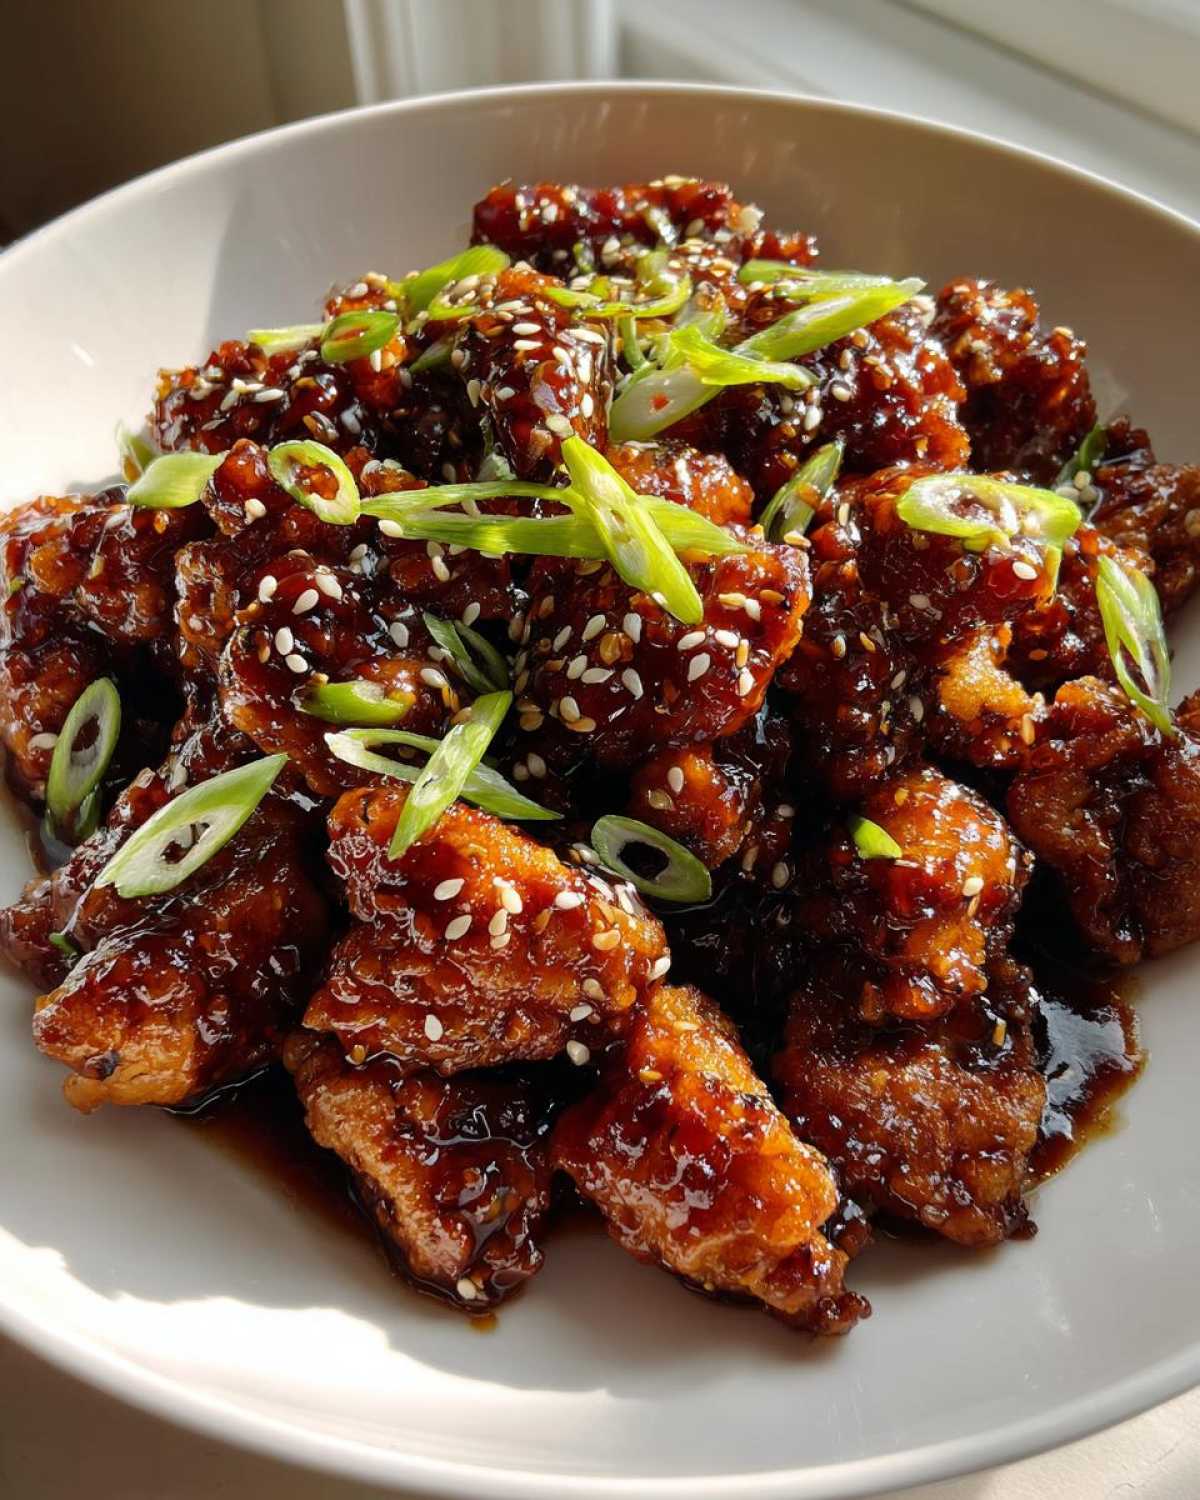
A good, large skillet works wonders here.
If you have a wok, even better for quick cooking.
Make sure you have your measuring spoons ready.
This keeps the glaze ratios accurate for you.
Simple tools make for a great quick chicken dinner.
Step-by-Step Instructions for Sticky Honey Soy Chicken
We are moving fast now. Dinner is almost ready.
Follow these steps closely, especially the sauce part.
This process gets you that takeout texture quickly.
Don’t rush the searing, though. That builds flavor.
We want golden brown chicken before the glaze goes on.
Let’s get cooking, shall we?
Preparing and Searing the Chicken First
First, toss your cut chicken with that initial soy sauce.
Add the cornstarch right into that mixture.
Let that sit for ten minutes while you heat your pan.
Get your vegetable oil hot in that large skillet.
It needs to be medium-high heat for a good sear.
Add the chicken in a single layer; don’t crowd it.
Cook it well, about five to seven minutes per side.
Remove the cooked chicken and let it rest nearby.
Achieving the Ideal Sticky Honey Soy Chicken Glaze
This next part needs your full attention now.
Lower the heat slightly in the same skillet.
Add the honey, the second soy sauce amount, and vinegar.
Toss in your fresh ginger and minced garlic too.
Stir this mixture constantly as it comes to a simmer.
Cook this sauce for about two minutes only.
That two-minute mark is your glaze timing sweet spot.
It should look slightly thickened when you stir it.
Finishing and Serving Your Sticky Honey Soy Chicken
Quickly return the cooked chicken to the skillet now.
Toss everything fast to coat every piece evenly.
Take the pan off the heat right away after coating.
Honey scorches fast, so move with purpose here.
Stir in that teaspoon of sesame oil just before serving.
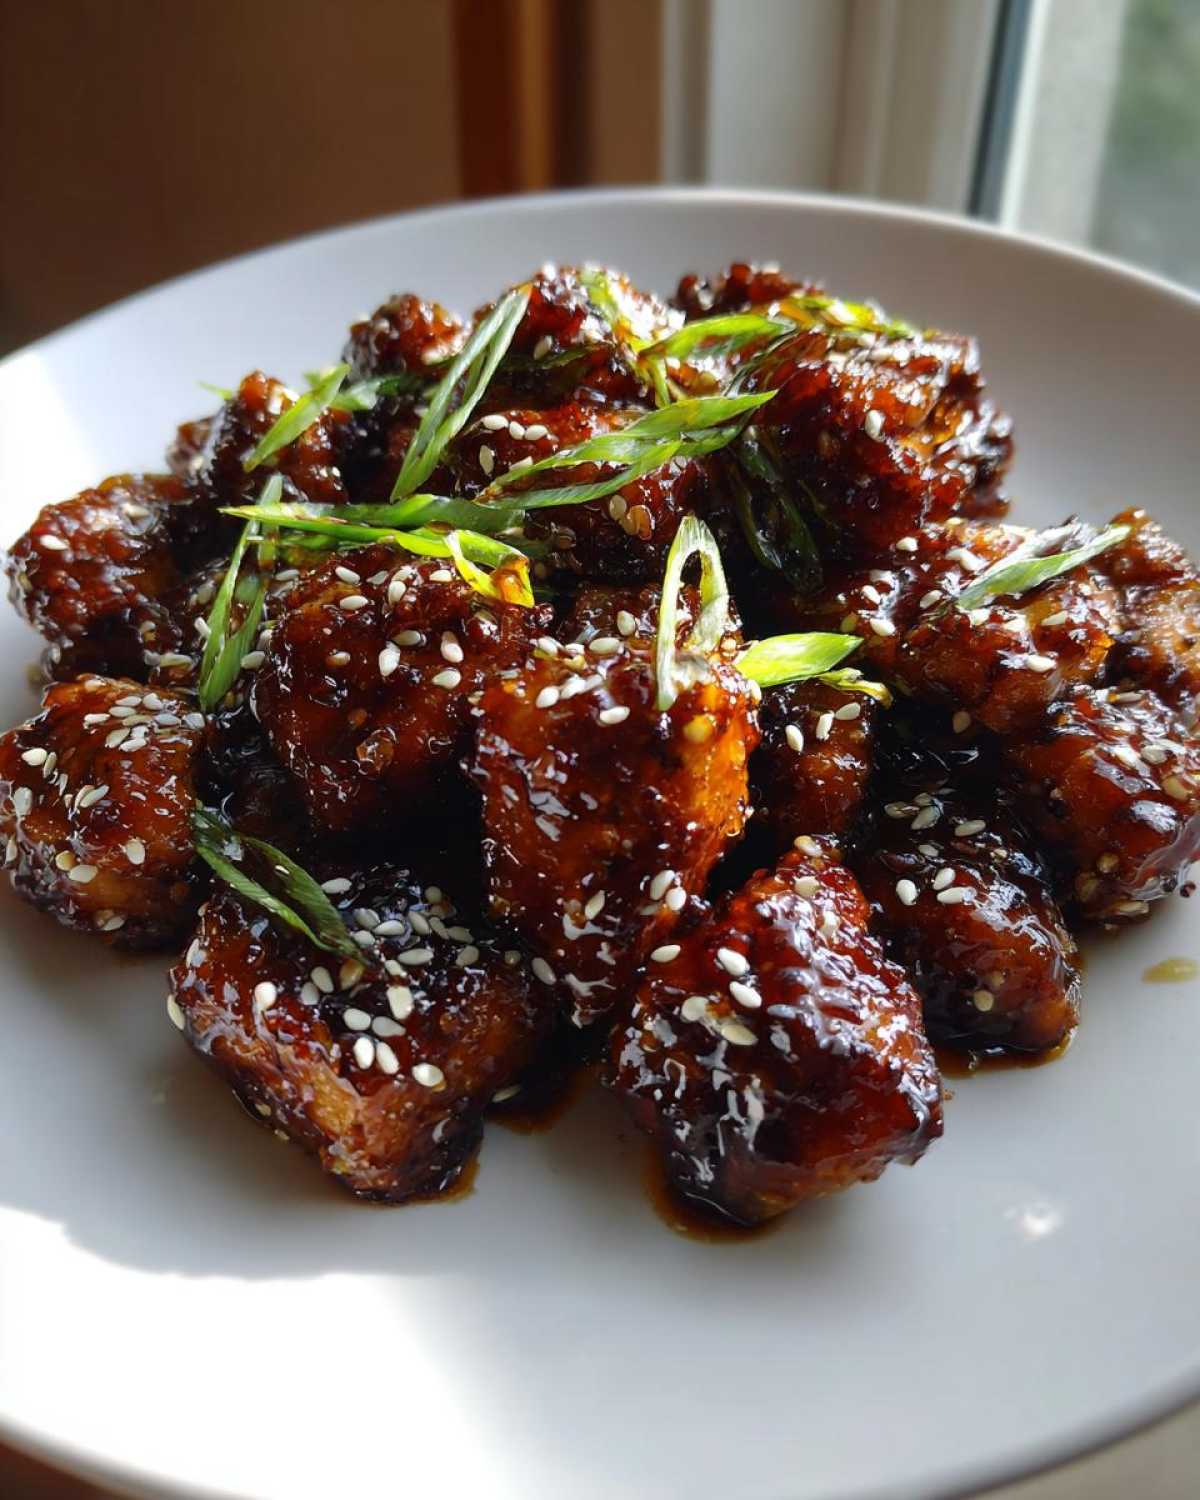
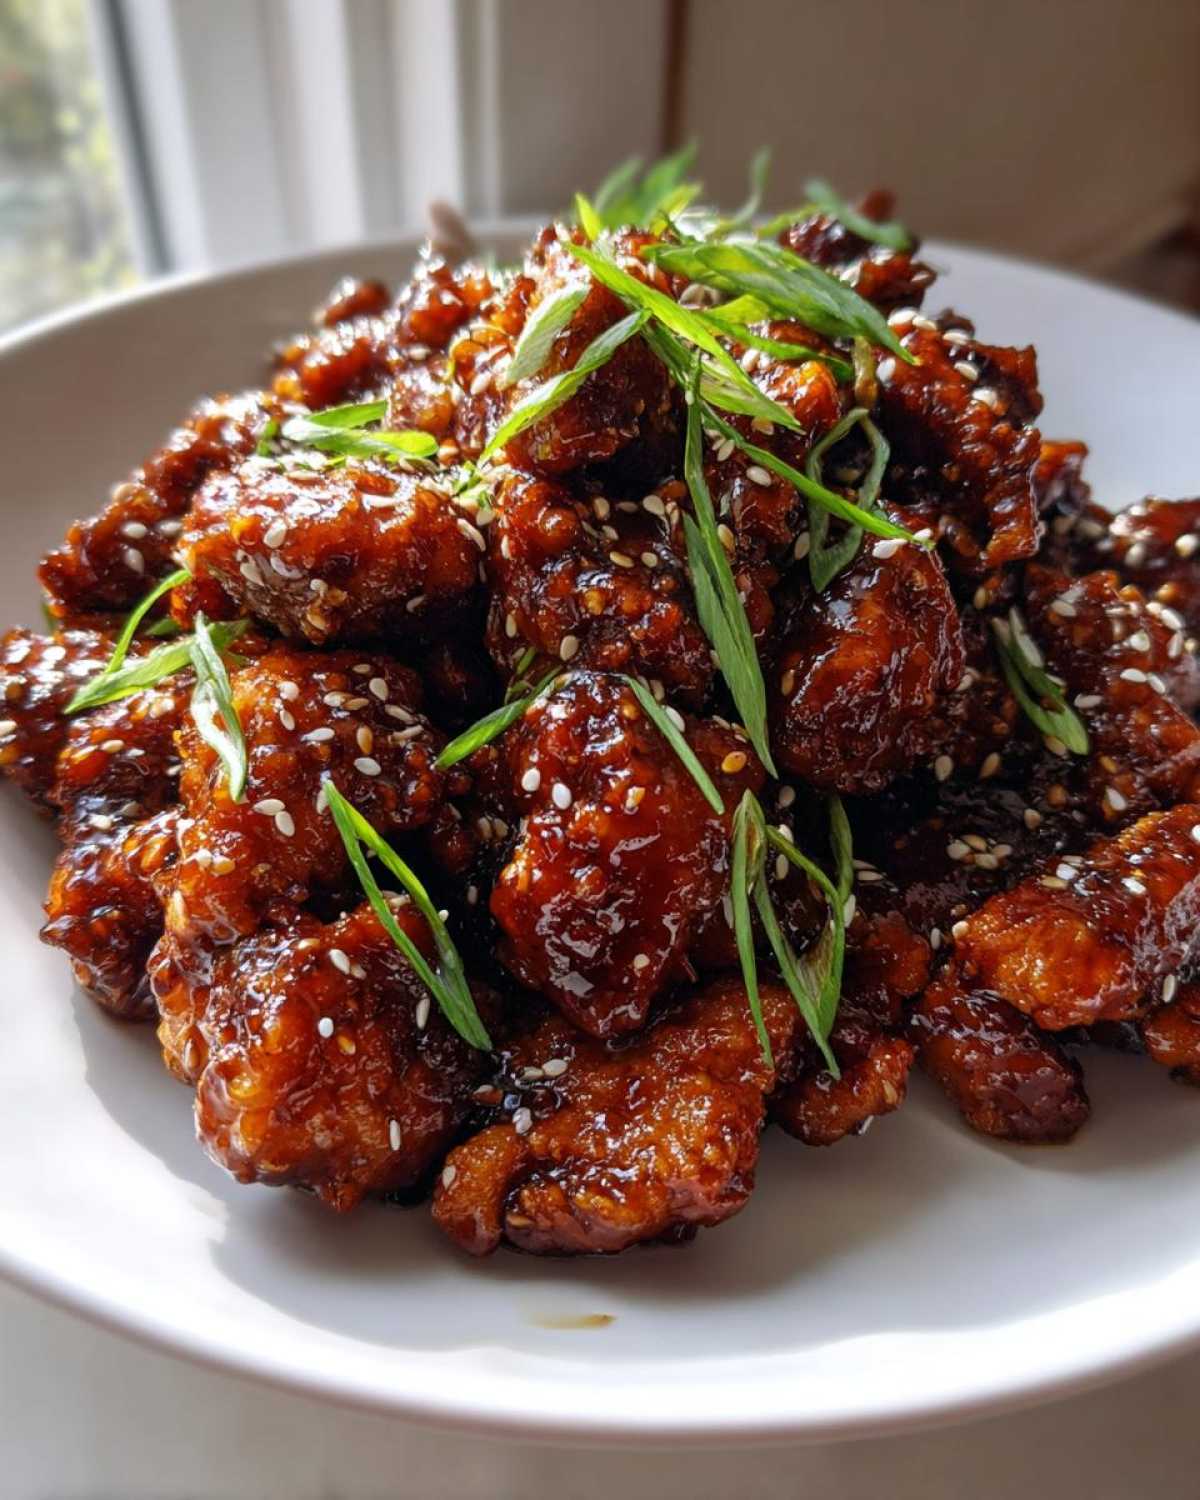
Serve this Sticky Honey Soy Chicken hot on plates.
Finish it with sliced green onions and sesame seeds.
Enjoy that perfect takeout flavor you created.
Tips for Success with Sticky Honey Soy Chicken
Making this recipe is usually quite simple for us.
But just like any great dish, small details matter greatly.
I’ve gathered a few pointers from our kitchen diary.
These tips help ensure your chicken shines brightly.
They keep that beautiful glaze just right for serving.
Follow these suggestions for the best results possible.
Heat Management and Glaze Consistency
The heat control is where many home cooks struggle.
Remember, honey acts like sugar in the pan.
It goes from perfect glaze to scorched mess fast.
If your sauce seems too thick too quickly, don’t panic.
Simply stir in one tiny teaspoon of water to loosen it.
This small amount brings the consistency back beautifully.
My personal trick is using room-temperature honey.
Cold honey takes longer to incorporate in the simmer.
Common Questions About Sticky Honey Soy Chicken
I always get questions after sharing a new recipe.
It shows you’re all cooking along with us, which I love.
Let’s tackle a few things about this quick chicken dinner.
These answers help perfect your Asian chicken glaze experience.
Ask anything; we’re all learning together here.
Can I use Chicken Breasts Instead of Thighs for Sticky Honey Soy Chicken?
Absolutely, you can swap chicken breasts in easily.
Breasts are leaner, so they can dry out faster.
Cut them slightly smaller than the thighs, if possible.
Watch them closely when you are searing them.
They might need just a minute less cooking time.
How Long Can I Store Leftover Sticky Honey Soy Chicken?
Leftovers keep well in an airtight container.
Store them in the fridge for up to three days.
Reheating requires a gentle touch, remember the honey.
Use low heat in a skillet or microwave briefly.
Adding a tiny splash of water helps loosen the glaze.
This prevents the sugars from scorching again.
Ingredient Notes and Substitutions for Your Sticky Honey Soy Chicken
Let’s talk about swapping things around a bit.
For deeper color and umami flavor, use dark soy sauce.
Substitute it for half the regular soy sauce in the glaze.
This adds complexity to your Asian chicken glaze.
Avoid swapping honey for pure sugar substitutes here.
Honey is what gives us that specific sticky texture.
For more ideas on quick weeknight meals, check out our blog.
Serving Suggestions for Your Sticky Honey Soy Chicken Dinner
This rich flavor needs simple sides, in my opinion.
We want something light to balance the sweetness.
Steamed white rice is always a fantastic choice.
It soaks up all that extra delicious sauce beautifully.
Try some quick-blanched broccoli or snap peas.
This makes for a wonderfully balanced, easy weeknight meal.
If you enjoy quick chicken dishes, you might like our recipe for easy chicken stir-fry.
Estimated Nutritional Snapshot for Sticky Honey Soy Chicken
Richard always asks about the numbers after we cook.
Here is a quick look at what this dish offers.
This recipe yields about four good servings.
Each serving has roughly 350 calories.
It is a good source of protein, too, around 38g.
These figures are just estimates for your planning.
For context on general cooking techniques, you can review resources on the science of browning in cooking.
Share Your Delish Diarist Experience
I truly hope you enjoyed making this dish.
Did you capture that perfect sticky coating?
Tell Richard and me how your Sticky Honey Soy Chicken turned out.
Rate the recipe and share your kitchen diary entry.
PrintAmazing Sticky Honey Soy Chicken in 2 Easy Steps
Capture that irresistible takeout flavor right in your home with this Sticky Honey Soy Chicken. Pay close attention to the glaze timing; we will guide you so your chicken achieves that perfect sticky coating without burning.
- Prep Time: 15 minutes
- Cook Time: 15 minutes
- Total Time: 30 minutes
- Yield: 4 servings
- Category: Main Course
- Method: Stir-fry
- Cuisine: Asian-Inspired
- Diet: Low Fat
Ingredients
- 1.5 lbs boneless, skinless chicken thighs or breasts, cut into bite-sized pieces
- 2 tablespoons soy sauce
- 1 tablespoon cornstarch
- 1 tablespoon vegetable oil
- 1/4 cup honey
- 2 tablespoons soy sauce (for glaze)
- 1 tablespoon rice vinegar
- 1 teaspoon grated fresh ginger
- 2 cloves garlic, minced
- 1 teaspoon sesame oil
- Sesame seeds, for garnish
- Sliced green onions, for garnish
Instructions
- Toss the chicken pieces with the first 2 tablespoons of soy sauce and cornstarch. Set aside for 10 minutes.
- Heat the vegetable oil in a large skillet or wok over medium-high heat.
- Add the coated chicken to the skillet in a single layer. Cook until browned and cooked through, about 5-7 minutes per side. Remove chicken and set aside.
- In the same skillet, combine the honey, the second 2 tablespoons of soy sauce, rice vinegar, ginger, and garlic. Bring the mixture to a simmer.
- Cook the sauce, stirring constantly, until it thickens slightly, about 2 minutes. This is your glaze timing sweet spot.
- Return the cooked chicken to the skillet. Toss quickly to coat every piece evenly with the thick glaze.
- Stir in the sesame oil just before serving.
- Remove from heat immediately to prevent the honey from scorching.
- Serve hot, garnished with sesame seeds and green onions.
Notes
- For extra flavor depth, use dark soy sauce in the glaze mixture.
- If your sauce seems too thick too fast, add one teaspoon of water to loosen it slightly.
- Make sure your skillet is hot before adding the chicken for a good sear.
Nutrition
- Serving Size: 1 serving
- Calories: 350
- Sugar: 20g
- Sodium: 600mg
- Fat: 10g
- Saturated Fat: 2g
- Unsaturated Fat: 8g
- Trans Fat: 0g
- Carbohydrates: 25g
- Fiber: 1g
- Protein: 38g
- Cholesterol: 100mg