

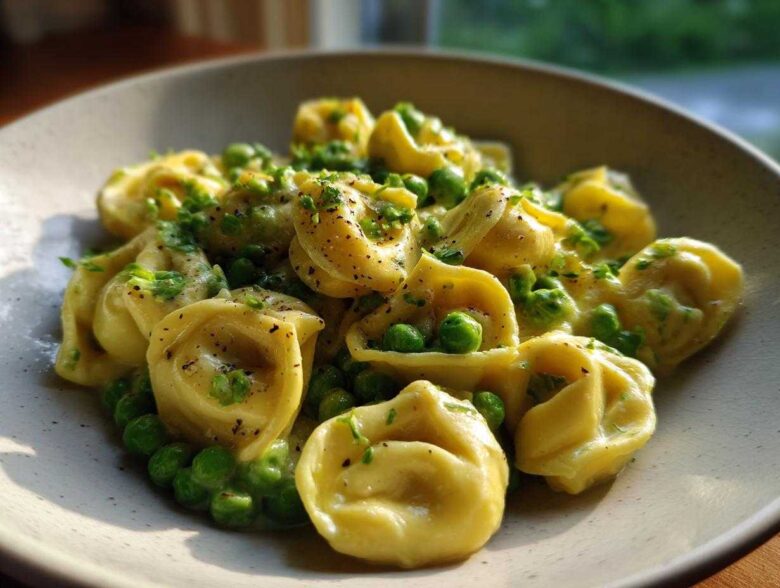
Oh my goodness, are you staring into the fridge right now wondering how you’re going to pull off a dinner that tastes like it took hours but actually materialize in under 20 minutes? I know that feeling! I live for easy meals, and trust me when I say I have cracked the code on comfort food that comes together with fewer dishes than it takes to eat it. Forget scrubbing saucepans; this One-Pot Creamy Garlic Butter Tortellini and Peas recipe is the absolute game-changer every busy person needs. Seriously, the sauce is so velvety, and you just wipe out the one pot when you’re done. If you’re looking for amazing easy weeknight dinner inspiration, stop scrolling right now. This is it!
Why This One-Pot Creamy Garlic Butter Tortellini and Peas is Your New Favorite
If you’re anything like me, you want dinner on the table fast, but you refuse to compromise on flavor. This dish nails both of those requirements, which is why it keeps popping up on our rotation. It’s cheating, honestly, how good it tastes for so little effort!
Here’s why you need to make this happen in your kitchen tonight:
- Cleanup is ridiculously easy: That’s right, just one pan to wash! It makes coming in after a long day so much less painful.
- Speed Demon: We’re talking ready in barely 20 minutes, making it perfect for those frantic 30 Minute Meals nights.
- Pure Comfort: The sauce is velvety, rich, and bursting with garlic and butter. It hits all the notes for a fantastic Easy Weeknight Dinner.
- Family Approved: Tortellini, cheese, and peas? It’s a winner with everyone!
Ingredients Needed for One-Pot Creamy Garlic Butter Tortellini and Peas
You won’t believe how short this ingredient list is! That’s the beauty of keeping it simple and relying on good quality inputs. Since these ingredients hang out together in just one pot, the quality really shines through, especially when it comes to that butter. Trust me on this: use the best unsalted butter you can find for the sauce base; it makes such a difference in that rich Garlic Butter Sauce foundation.
Here’s what you need to gather up:
- One (16 ounce) package refrigerated cheese tortellini – make sure it’s the refrigerated kind, not the dried stuff!
- 4 cups chicken or vegetable broth – this is crucial; it cooks the pasta and creates the base of our sauce.
- 4 tablespoons unsalted butter – the star of the show!
- 4 cloves garlic, minced – don’t skimp here, we want that deep garlic punch.
- 1/2 cup heavy cream – this is what brings the magic and makes it truly creamy.
- 1/2 cup grated Parmesan cheese, plus more if you’re feeling extra cheesy for serving.
- 1 cup frozen peas – right from the freezer, they go in at the very end.
- 1/4 teaspoon salt
- 1/4 teaspoon black pepper
Step-by-Step Instructions for One-Pot Creamy Garlic Butter Tortellini and Peas
This is where the magic of the one-pot method really pays off! Don’t worry if the initial look seems a little soupy; we are using that broth to cook the pasta and create the sauce flavor simultaneously. It’s thrilling how quickly this comes together on the stovetop tortellini. Your main job here is paying attention to the simmer and making sure nothing sticks!
Simmering the Tortellini in Broth
First things first, dump everything that needs cooking—the tortellini and all 4 cups of broth—right into your big pot. Crank that heat up until it’s boiling away nicely. Once it hits that boil? Peel the heat back down to medium-low, pop a lid on it, and let it simmer for roughly 8 to 10 minutes. That’s the sweet spot where the tortellini gets nice and tender. You want most of the liquid absorbed by the time we’re done with this stage.
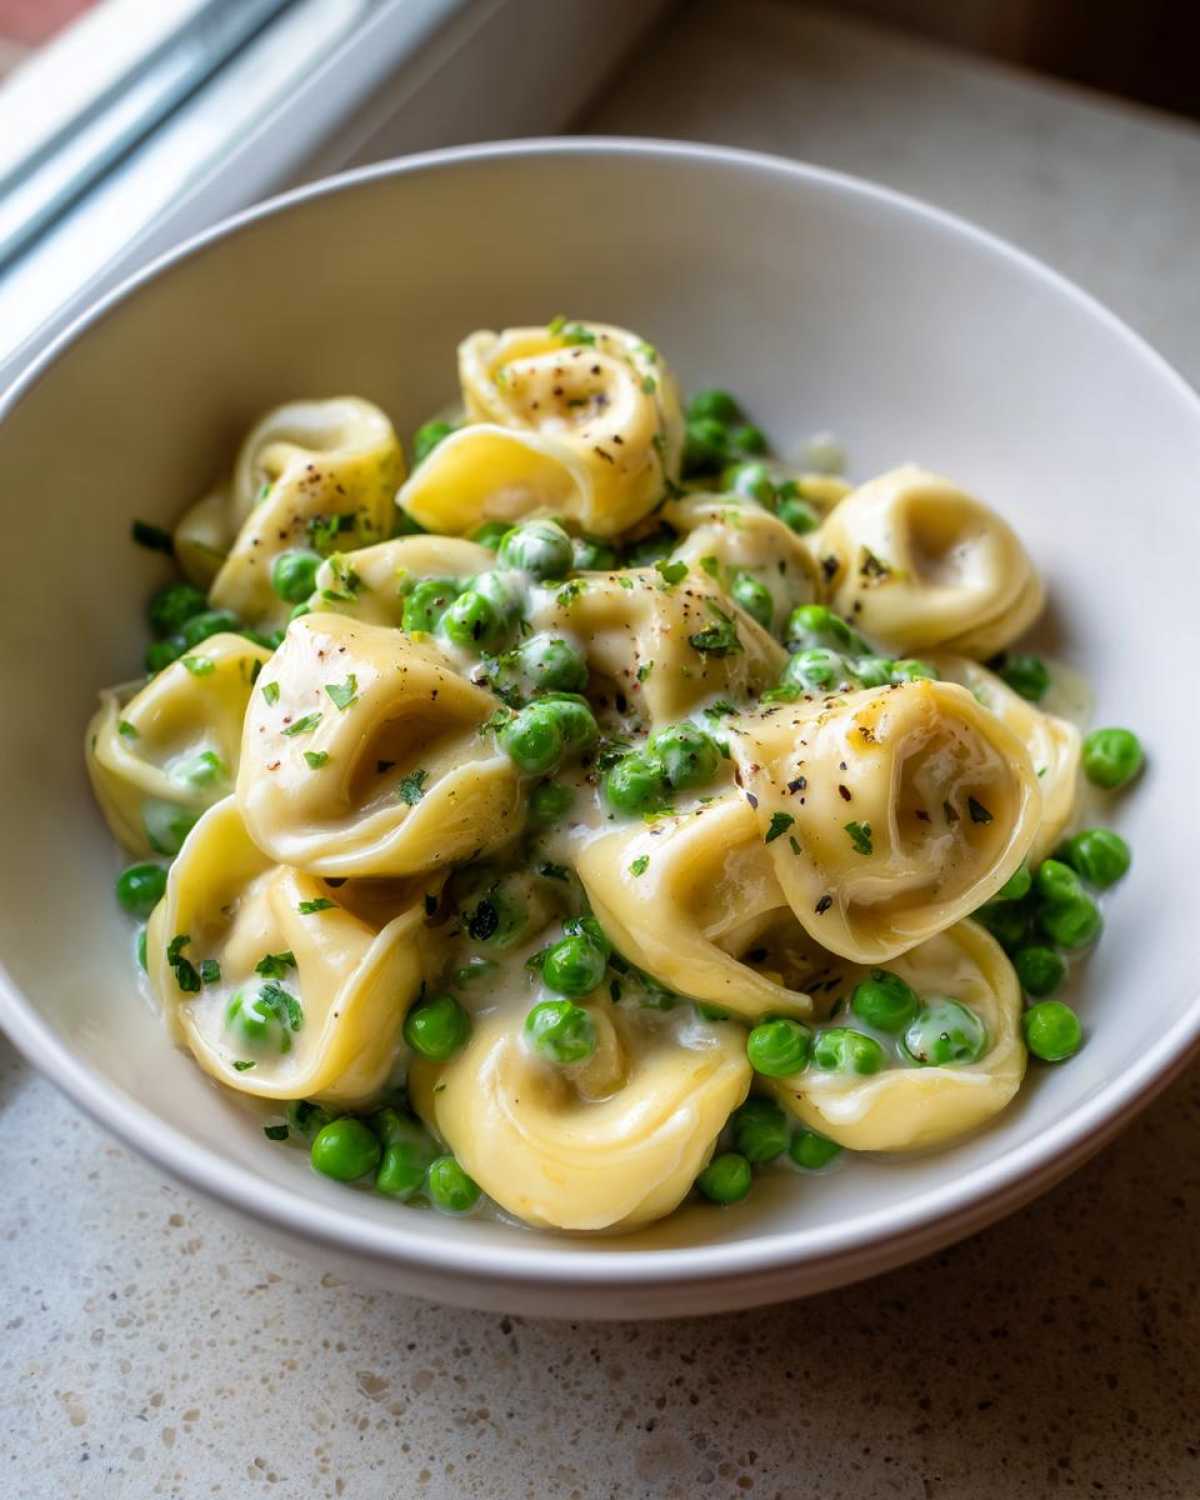
Creating the Creamy Garlic Butter Sauce for One-Pot Creamy Garlic Butter Tortellini and Peas
Okay, once the pasta has soaked up the broth, take the pot completely off the burner. I mean it—take it off the heat! We don’t want to scramble anything. Now, drop in that butter and stir until it just vanishes into the warm liquid. Next up are the flavor superstars: the minced garlic, the heavy cream, and that grated Parmesan. Stir this mixture slowly and deliberately until it’s completely smooth and you have achieved that incredible, luscious, creamy texture. This is the core of our Creamy Garlic Pasta!
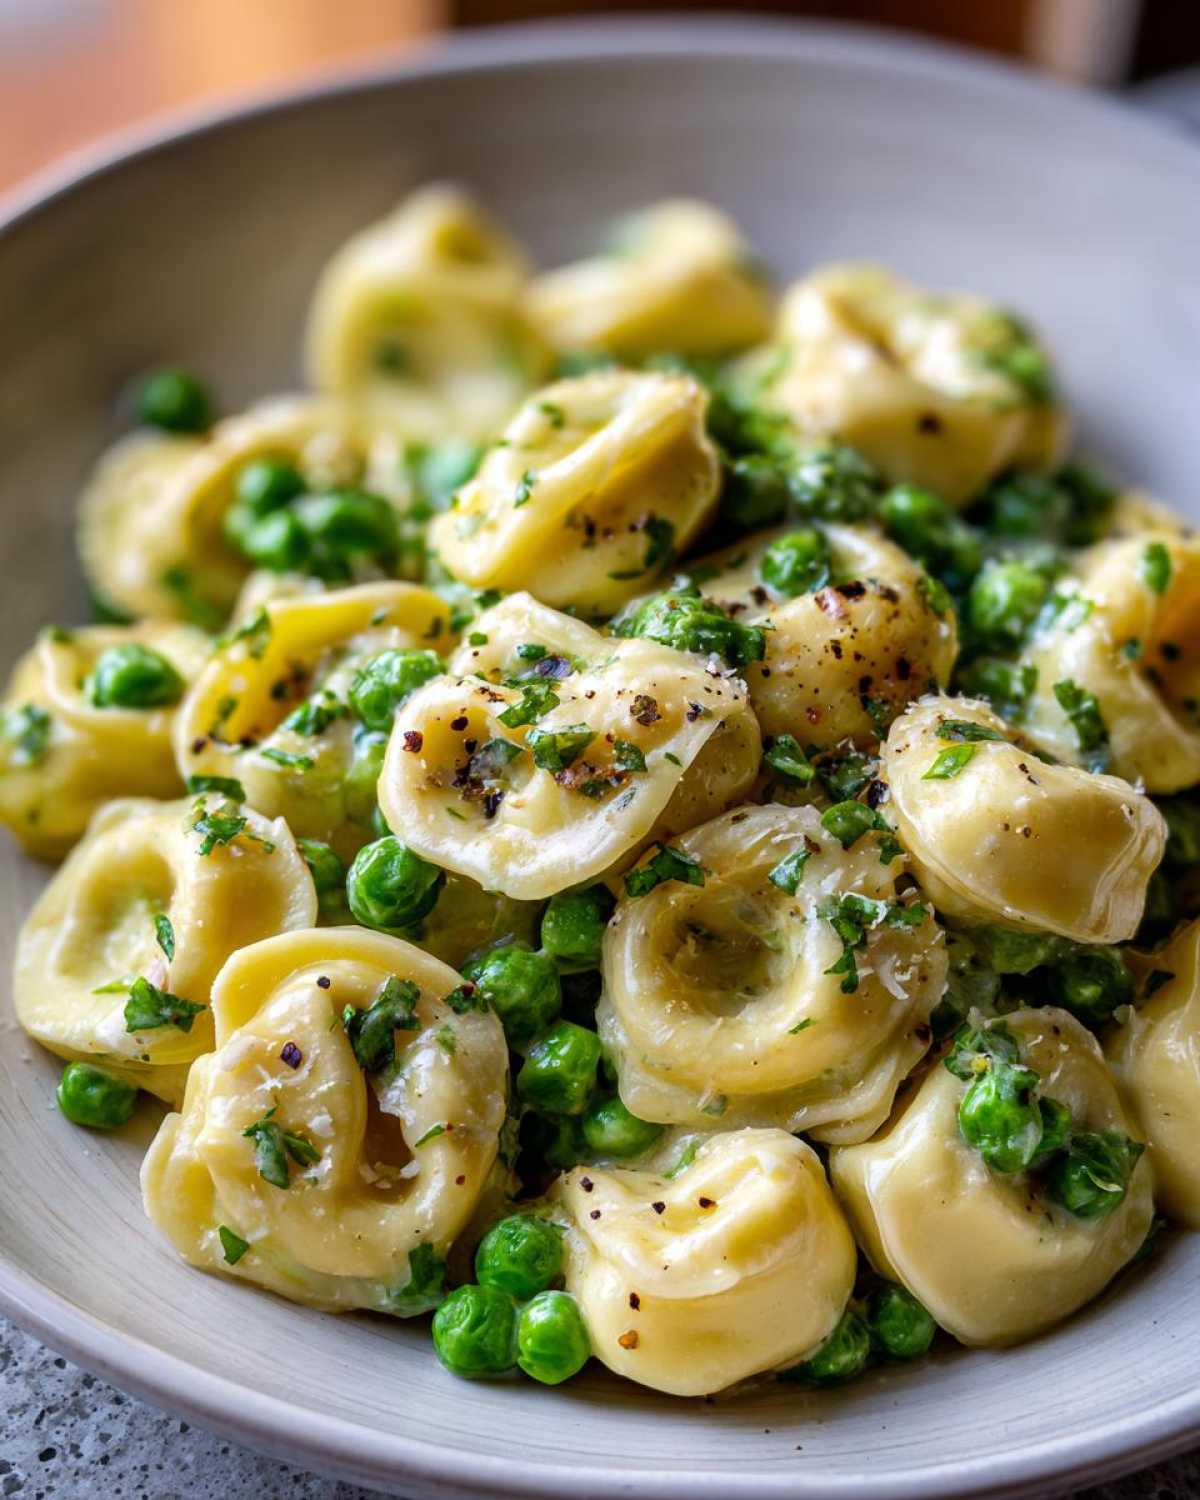
Finishing and Serving the One-Pot Creamy Garlic Butter Tortellini and Peas
The cream base is ready, so now we add the finishing touches. Gently fold in your frozen peas—no need to cook them separately! The residual heat from that gorgeous sauce is enough to thaw and warm them perfectly. Add your salt and pepper, give it one last careful stir, and you are done! Ladle it right into bowls and give everyone a final dusting of extra Parmesan cheese.
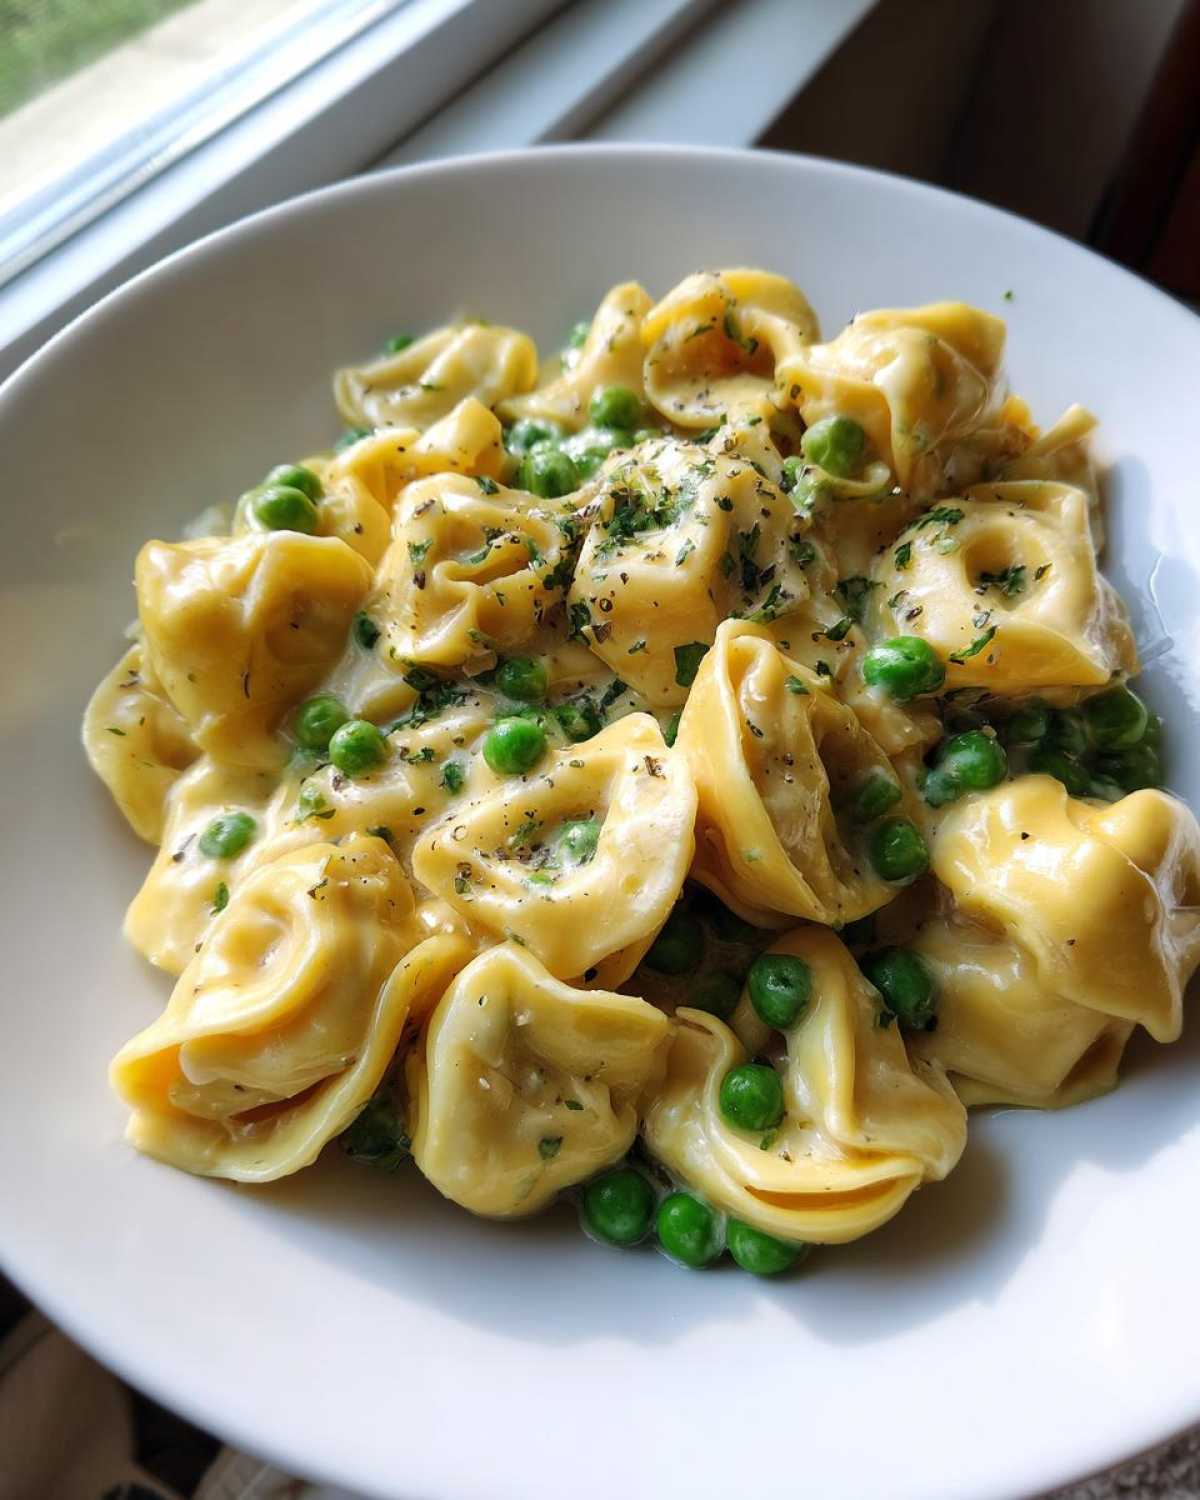
Tips for the Perfect One-Pot Creamy Garlic Butter Tortellini and Peas
Even though this recipe is super simple, there are a few little tricks I picked up that make the difference between good and *wow*. Since we are only using one pan, every single step counts! I want your One-Pot Creamy Garlic Butter Tortellini and Peas to turn out perfectly luxurious every time. Remember, this is comfort food, so we need that texture to be spot on!
Getting the Sauce Thickness Just Right
Sometimes the broth absorbs really fast, and sometimes it lingers a bit longer. If you find your sauce is looking a little too thin when you take the heat off for the butter step, I have a trick! Peel the lid off during the last couple of minutes of simmering the tortellini and let a little bit of that extra broth evaporate off. You want most of the liquid gone so that when the cream and cheese go in, it thickens up almost instantly. This is how you nail that perfect coating sauce!
Maximizing That Incredible Garlic Flavor
You’ll notice I specify “minced” garlic, and I really hope you follow that instruction! Grating or mincing releases those wonderful oils better than just roughly chopping it. Also, because we add the garlic *after* we take the pot off the direct heat, it steams gently in the residual warmth rather than burning. Burnt garlic is bitter, but gentle, warm garlic? That’s the heavenly foundation for all the creamy tortellini flavor we need.
A Quick Tip on Dairy Quality
If you want that unforgettable richness in your Creamy Garlic Pasta, use real, full-fat heavy cream. Don’t go for the ‘light’ version here; it won’t emulsify the same way, and you risk a slightly grainy texture. Good quality Parmesan cheese also matters immensely; try to grate it yourself from a block if you can. Pre-shredded stuff is coated in starches that can sometimes make the sauce a little clumpy!
Ingredient Notes and Substitutions for One Pot Tortellini Recipes
I get asked all the time if I can swap things out in my favorite simple tortellini recipes, especially when people are missing one key item in the pantry. Since this recipe is such a streamlined showstopper, the ingredients really need to work together, but don’t panic! We can make a few smart adjustments while keeping the spirit of that rich Butter Sauce Tortellini intact.
When you’re improvising, especially in a one-pot meal where everything relies on the final sauce, think about what each ingredient brings to the party—moisture, fat, or flavor.
Swapping Out Heavy Cream
This is the most common question I get! Heavy cream is the secret weapon here; it has a high fat content, which means it won’t curdle or separate when you stir in the cheese and garlic. You *can* use regular milk, but I’m going to be honest, the sauce will be noticeably thinner. If you must use milk, try mixing it with a teaspoon of cornstarch first to help it thicken up as it heats with the cheese. If you want a true dairy-free swap, unsweetened cashew cream works wonders, or even full-fat coconut milk if you don’t mind a *tiny* tropical hint that surprisingly pairs well with the garlic!
The Tortellini Dilemma: Refrigerated vs. Dried
I specifically called for refrigerated cheese tortellini because they cook so perfectly right in the broth, releasing just enough starch to help thicken the sauce naturally. If you only have dried tortellini on hand, you absolutely can use it, but you need to change the liquid ratio. Start with the same amount of broth, but cook it uncovered for longer, maybe 12 to 15 minutes, until it’s al dente. You might need to add an extra half cup of broth during cooking if it looks dry too soon. Just keep stirring and tasting!
Boosting the Veggies (If You Dare!)
This recipe is famous for its simplicity: tortellini, peas, and a killer sauce. But if you want to bulk it up without adding dirt into the dishes, think about adding heartier vegetables during the initial simmer time. Small florets of broccoli or thinly sliced zucchini can go in at the same time as the tortellini and will cook down beautifully in the broth. Just make sure they are chopped small enough. If you add them later, they won’t soften enough in the short cook time.
The goal is always to finish with that perfect coat of sauce—no thin, watery puddle at the bottom of the bowl! These simple adjustments should keep your **One Pot Tortellini Recipes** fun and flexible.
Serving Suggestions for Your One-Pot Creamy Garlic Butter Tortellini and Peas
Isn’t it amazing how one single pot can produce a meal that feels this decadent? When you have a sauce as rich as this Garlic Butter Sauce, you need perfect partners to go alongside it. This One-Pot Creamy Garlic Butter Tortellini and Peas is definitely the star of the show, but the right side dishes can take it from a quick meal to a truly satisfying family dinner. I think of this as peak Comfort Food Pasta; it needs things that can cut through that creaminess a little!
Here are my favorite ways to round out the plate:
- Crusty Bread is Non-Negotiable: Seriously, if you don’t have some kind of crusty bread (like a French baguette or ciabatta) sitting nearby, you’re missing out! You need something sturdy to make sure not a single drop of that creamy sauce goes to waste. I love just tearing off chunks and using it like a little edible sponge.
- A Bright Green Side Salad: Because we just ate pasta drenched in butter and cheese, we need something fresh! A very simple salad here works best. Think mixed greens with cucumber, maybe some sweet slivered almonds, and a super bright, acidic vinaigrette—something heavy on the lemon juice. That fresh tang cuts through the sauce weight beautifully.
- Roasted Asparagus or Green Beans: If you want another vegetable that feels a bit more intentional than just peas, roast some asparagus really simply. Toss it with a drizzle of olive oil, salt, and pepper, and roast until tender-crisp. It adds a nice textural element when you bite into the soft tortellini.
- Fresh Herb Finish: Always finish the dish with a sprinkle of fresh herbs right before serving. Parsley is classic, but if you have fresh basil, chop it roughly and toss it on top. It adds a pop of color and a fresh scent that brightens the whole dish up.
This dish is hearty enough that you don’t need heavy sides, but those simple additions make it feel like you actually put effort in, even though your main course took maybe fifteen minutes!
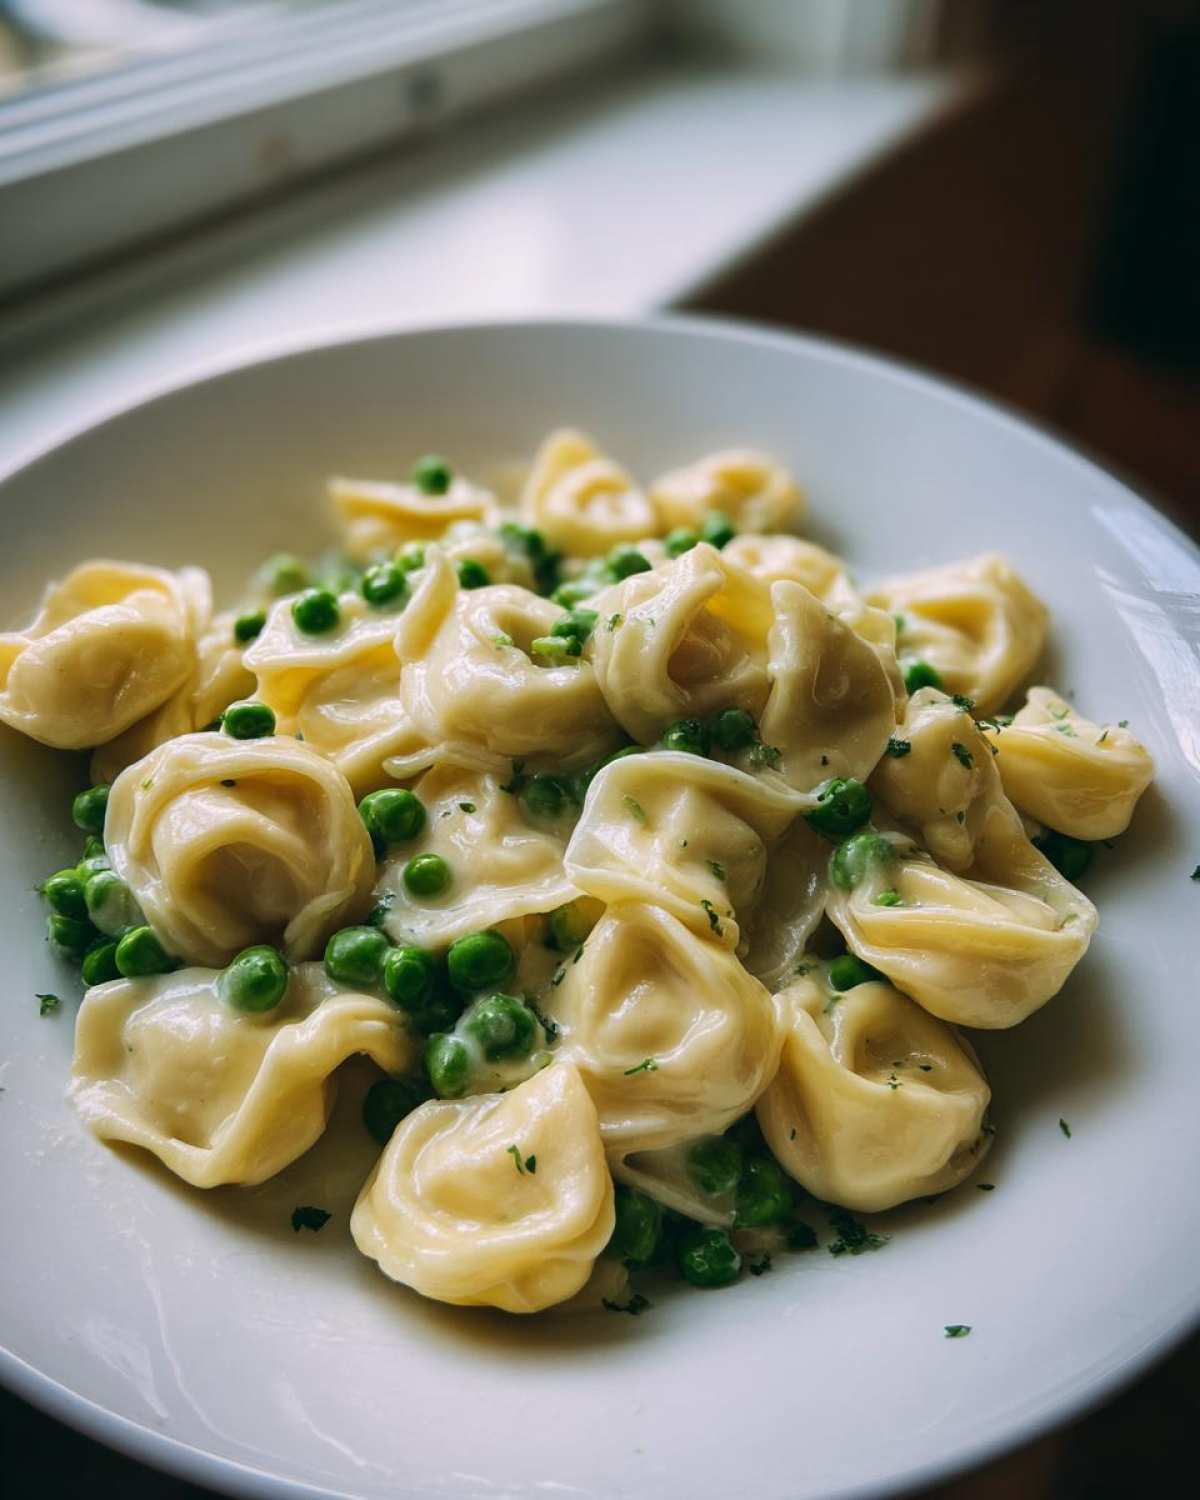
Storage and Reheating Instructions for Leftover One-Pot Creamy Garlic Butter Tortellini and Peas
If you’re lucky enough to have any of this incredible One-Pot Creamy Garlic Butter Tortellini and Peas left over—which usually means I ate three servings—storage is super simple, but the reheating takes a tiny bit of care. That beautiful, rich sauce is made with both cheese and cream, so it tends to seize up and look a little stiff once it chills down in the fridge. Don’t let that scare you off your planned lunch tomorrow!
Here’s how I handle leftovers after I’ve enjoyed the fresh batch straight out of the pot:
- Storage is Key: Scrape any remnants of the cheesy sauce clinging to the bottom of the pot into an airtight container. I honestly prefer glass containers because they don’t seem to hold onto that cheesy aroma quite as much. You can keep this dish in the fridge for about three days, tops. Any longer and the pasta starts to get a little too soft for my liking.
The Reheating Trick for Creamy Sauces
This is the most important part for enjoying your leftovers, especially when dealing with a delicate one-pot creamy pasta. If you dump this straight into the microwave, you run a high risk of having a thick, slightly broken sauce that tastes metallic. No thank you!
The secret is adding moisture back in to loosen everything up before you heat it. I always add about a tablespoon or two of extra broth—chicken or veggie—right into the container before I even microwave it. If you don’t have leftover broth, a splash of regular milk or even water works in a pinch. Just make sure you stir it thoroughly before heating!
Reheating on the Stovetop (My Preferred Method)
If you have 5 minutes, the stovetop is always the best way to revive that gorgeous texture. Put a small saucepan over medium-low heat. Add your leftovers along with that splash of liquid we talked about. Gently stir it as it warms up. You aren’t trying to boil it; you are just trying to get it heated through slowly. As the heat encourages the starches and fats to loosen, your sauce will smooth right back out, making it taste almost freshly made. This method works wonders for restoring that velvety mouthfeel!
Quick Microwave Reheating
If you’re in a rush and only heating up a single serving, the microwave is fine, provided you followed the rule above about adding liquid first. Cover the container loosely with a paper towel (to trap the steam which helps reheat evenly) and microwave in 30-second bursts. Stir it well between each burst until it reaches your desired temperature. It heats fast because the pasta is already cooked, so watch carefully so you don’t overheat the peas!
A little extra sprinkle of Parmesan when it comes out of the microwave just makes everything feel better. Enjoy those tasty leftovers!
Frequently Asked Questions About This Creamy Garlic Pasta
I know when you’re looking at a recipe that seems too simple, you start thinking about all the ways you might want to doctor it up or if you can make it work with what you already have on hand. It’s smart! Before you start throwing things into the pot willy-nilly, check out some of the common snags I always hear about regarding our beloved quick dinner ideas. Getting these kinks worked out beforehand is key to a perfect One-Pot Creamy Garlic Butter Tortellini and Peas!
Can I add chicken or another protein to this recipe?
Oh, absolutely! This dish transitions beautifully if you want to make it more hearty or if you’re not sticking strictly to the vegetarian route. Since we are keeping this a one-pot meal, the best time to add meat is right at the beginning, before the broth even goes in. If you’re using raw chicken breast, dice it into small, bite-sized pieces and brown it in the pot first using a little bit of that initial butter. Once it’s cooked through—you want zero pink—take it out and set it aside. Then, proceed with the recipe, adding the cooked chicken back in right at the end when you fold in the peas. That way, it stays nice and tender!
Can I use dried tortellini instead of refrigerated?
Yes, you definitely can use dried tortellini, but you need to know that it changes the cooking dynamic slightly! The beauty of the refrigerated kind in the broth is that they release just enough starch to help thicken the sauce. If you use the dried version, you will need more cooking time overall—likely closer to 12 to 15 minutes simmering—and you might need to top up the liquid if it gets too dry before the pasta is tender. Always make sure they are cooked through before moving on to the cheesy sauce steps!
How can I make this a truly Vegan Creamy Garlic Pasta?
Since the original recipe relies heavily on cheese and heavy cream for that signature velvety coat, going vegan requires a few intentional swaps. First, swap the broth for vegetable broth, which is already fine. Next, you need functional replacements for the cream and Parmesan. For the creaminess, use full-fat canned coconut milk (the thick part from the top of the can!) or a high-quality unsweetened cashew cream. For the cheesy flavor, nutritional yeast is your best friend! Stir in 1/4 cup of nutritional yeast along with your butter replacement (use olive oil or vegan butter) to mimic that salty, savory Parmesan goodness. It’s surprisingly delicious, I promise!
Why is my sauce separating or looking thin?
This usually happens for two main reasons, both related to temperature! First, if you add the milk/cream while the pot is still simmering hard on the burner, the high heat can cause the dairy to break or curdle. Always take the pot OFF the heat before adding the heavy cream and cheese. Second, if the sauce looks thin after you’ve added everything, it just means you didn’t let enough of the initial broth cook off. If this happens, put the lid back on, turn the heat to very, very low, and let it gently simmer for another 3 minutes while stirring constantly until it reduces down to that perfect coating consistency.
Recipe Details and Nutritional Estimate
This recipe is honestly fantastic because it gives you that big payoff—a delicious, deeply satisfying, **Cheesy Tortellini and Peas** dinner—for minimal upfront effort. It’s designed for speed, which is why the prep time is so short! It’s perfect for when you are deep into the realm of needing Dinner recipes that just work.
Here’s the quick snapshot you need:
- Prep Time: 5 min
- Cook Time: 15 min
- Total Time: 20 min
- Yield: 4 servings
- Method: Stovetop
- Dietary Note: Vegetarian
We whipped up a quick estimate for nutrition based on the standard ingredients listed. Keep in mind, if you load up on extra Parmesan (and who doesn’t?), those numbers might tick up just a bit! Since we’re using rich ingredients like butter and heavy cream, the fat content is higher, but the protein is solid thanks to that cheese-filled tortellini. These figures are just an approximation based on using standard store-bought cheese tortellini.
Approximate Nutrition Per Serving:
- Calories: 550
- Fat: 30g
- Carbohydrates: 55g
- Protein: 22g
- Sodium: 650mg
If you’re looking for more speedy food ideas, be sure to check out my tips on Quick Dinner Ideas for inspiration throughout the week!
PrintOne-Pot Creamy Garlic Butter Tortellini and Peas
Make this simple, creamy tortellini and peas dish in a single pot for fast cooking and minimal cleanup. It features a rich garlic butter sauce.
- Prep Time: 5 min
- Cook Time: 15 min
- Total Time: 20 min
- Yield: 4 servings
- Category: Dinner
- Method: Stovetop
- Cuisine: American
- Diet: Vegetarian
Ingredients
- 1 (16 ounce) package refrigerated cheese tortellini
- 4 cups chicken or vegetable broth
- 4 tablespoons unsalted butter
- 4 cloves garlic, minced
- 1/2 cup heavy cream
- 1/2 cup grated Parmesan cheese, plus more for serving
- 1 cup frozen peas
- 1/4 teaspoon salt
- 1/4 teaspoon black pepper
Instructions
- Combine the tortellini and broth in a large pot or Dutch oven. Bring the mixture to a boil over medium-high heat.
- Reduce the heat to medium-low, cover the pot, and simmer for 8 to 10 minutes, or until the tortellini are cooked through and most of the liquid has been absorbed. Stir occasionally to prevent sticking.
- Remove the pot from the heat. Stir in the butter until it melts completely into the sauce.
- Add the minced garlic, heavy cream, and Parmesan cheese. Stir until the sauce is smooth and creamy.
- Fold in the frozen peas, salt, and pepper. The residual heat will warm the peas.
- Serve immediately, topping each portion with extra grated Parmesan cheese.
Notes
- If you prefer a thicker sauce, remove the lid for the last 2 minutes of simmering to allow more liquid to evaporate before adding the cream.
- Use fresh garlic for the best flavor in this simple sauce.
- You can substitute milk for heavy cream, but the sauce will be thinner.
Nutrition
- Serving Size: 1 serving
- Calories: 550
- Sugar: 5
- Sodium: 650
- Fat: 30
- Saturated Fat: 18
- Unsaturated Fat: 12
- Trans Fat: 1
- Carbohydrates: 55
- Fiber: 3
- Protein: 22
- Cholesterol: 85