

Welcome to our kitchen diary, friends! I’m Eleanor, and my husband Richard and I are so happy you’re here. Our home is full of memories.
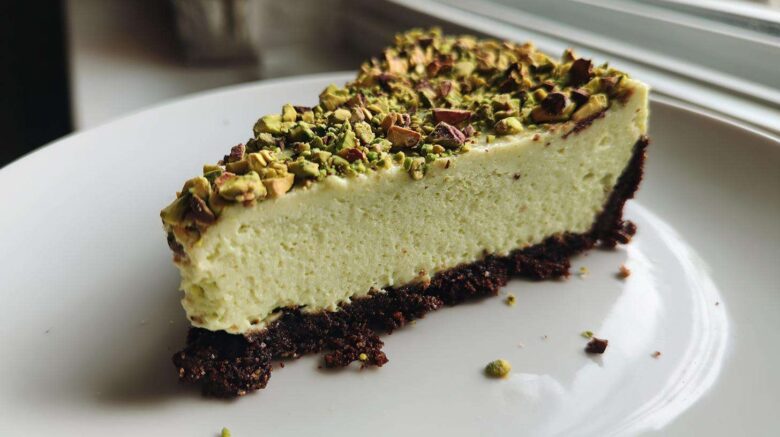
For years, we collected tastes, not things. Now, we recreate those moments. Today, we’re making something truly special. Get ready for the easiest No Bake Pistachio Cheesecake recipe.
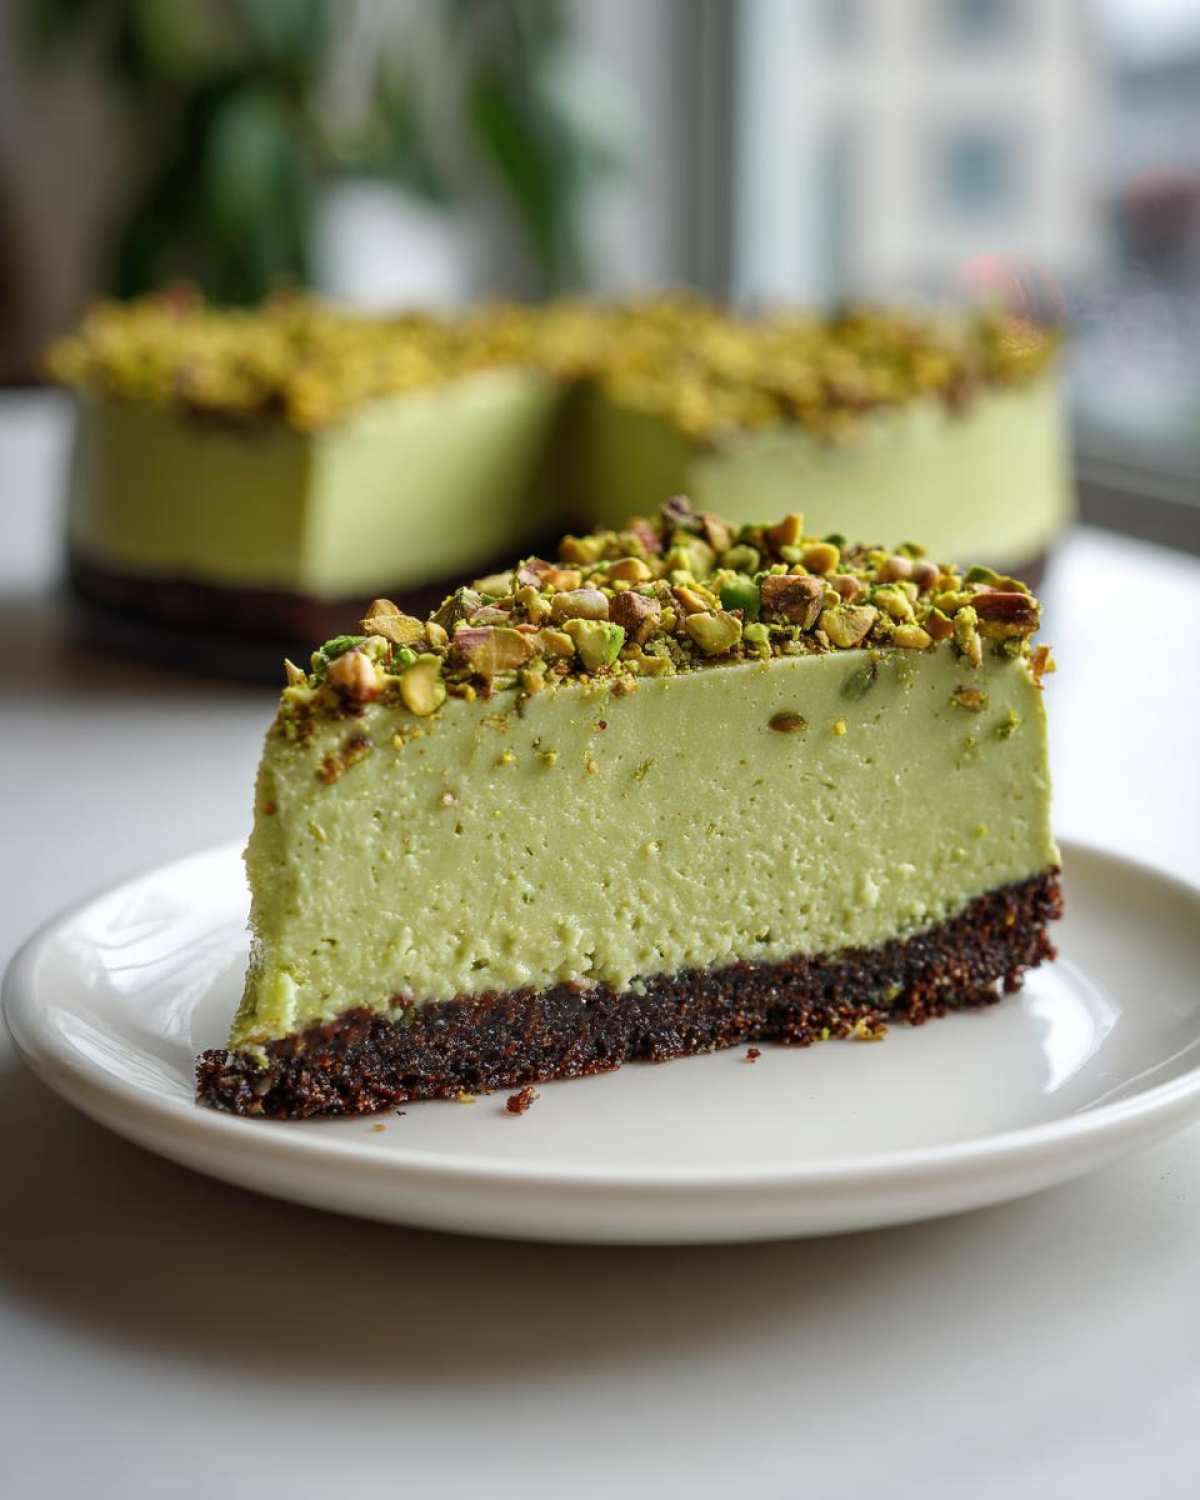
This cold dessert is rich and nutty. It keeps that lovely green hue, too. It’s simple to assemble. It’s the perfect sweet ending to any meal we share.
Why You Will Love This No Bake Pistachio Cheesecake
This dessert is a real winner in our home. It brings back so many happy memories for Richard.
You’ll want to make this easy cheesecake again and again. Why, you ask?
- It comes together in just 25 minutes of prep time.
- It offers that deep, satisfying nutty dessert flavor you crave.
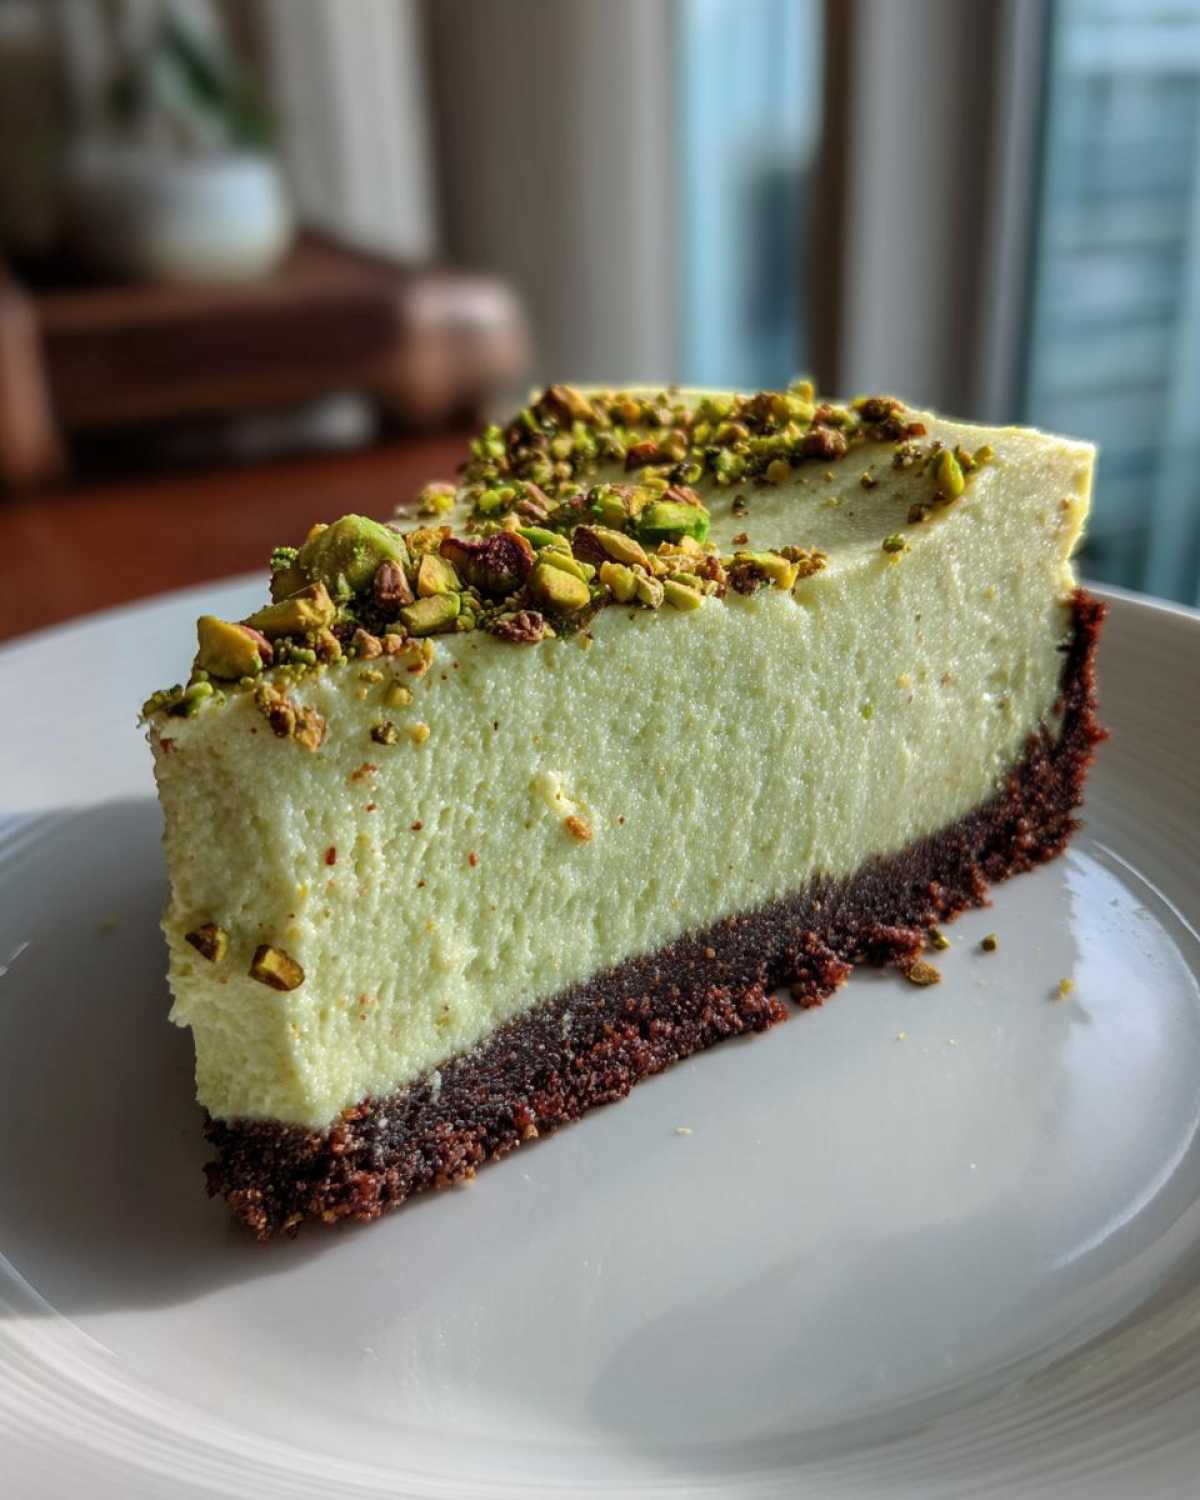
- The beautiful green cheesecake look is truly eye-catching.
Quick Assembly Time
Honestly, the crust and filling are ready fast. We spent maybe 25 minutes total prepping.
Intense Nutty Dessert Flavor
Using quality ground pistachios makes all the difference here. You taste the real nut, not just sugar.
Beautiful Green Cheesecake Presentation
We focus on keeping that vibrant color. No one wants a sad, brownish-green dessert!
Equipment Needed for Your No Bake Pistachio Cheesecake
Gathering your tools first makes things smooth. You won’t need your oven for this treat.
Here are the simple items I always pull out:
- A 9-inch springform pan is essential here.
- You’ll need a large mixing bowl.
- A separate bowl for whipping cream helps.
- Basic measuring cups and spoons are key.
- An electric mixer speeds up the process.
Having everything ready means less mess later on. It’s the best way to start!
Ingredient Clarity for No Bake Pistachio Cheesecake
Let’s talk about what goes into this delicious No Bake Pistachio Cheesecake. Quality matters greatly.
Richard always insists on the best base ingredients. This helps our final product shine.
Crust Components
For the base, we mix graham cracker crumbs. You need one and a half cups total.
We add just a quarter cup of granulated sugar to the crumbs. Then, melt six tablespoons of butter.
Mix it all well until it looks like wet sand. Press it down firmly.
Filling Essentials and Color Retention
The filling needs sixteen ounces of cream cheese. Make sure it’s fully softened first.
Whipping cream must be very cold. This helps it reach stiff peaks easily.
We use a drop of green food coloring sometimes. This really helps the color stay bright.
Flavor Enhancers
We use both vanilla and almond extracts here. They really boost the nutty flavor.
If you want a slight tang, swap some cream cheese for mascarpone cheese. Mascarpone cheese is a wonderful, rich alternative.
This small change makes a big impact on taste, trust me on that one.
Step-by-Step Instructions for No Bake Pistachio Cheesecake
Now for the fun part, putting it all together! I find the process quite calming. It’s like building a beautiful, edible puzzle.
Preparing the Crust Base
Start by mixing those graham crumbs with the sugar. Pour in that melted butter slowly.
You want everything evenly coated. No dry spots allowed in our crust!
Press this mixture firmly into your 9-inch pan bottom. Use the bottom of a glass for best results.
Pop it in the fridge to chill now. This keeps it solid while we work on the filling.
Crafting the Cream Cheese Filling
Grab your softened cream cheese first. Beat it until it’s completely smooth. This step is crucial.
Next, slowly add the powdered sugar until it blends in nicely. Then, mix in the extracts.
In a separate, clean bowl, whip your heavy cream. Whip until stiff peaks form up there.
Don’t overbeat the cream, or it gets grainy fast. We want light, fluffy clouds.
Folding and Finalizing the No Bake Pistachio Cheesecake
Gently fold that whipped cream into the cheese mix. Use a spatula for this motion.
Now, fold in those ground pistachios. Add a tiny bit of food coloring here if you want more green.
Spread this lovely filling over your chilled crust. Make the top smooth and even.
Richard always insists on a taste test right here. He says, “Eleanor, check the sweetness now!”
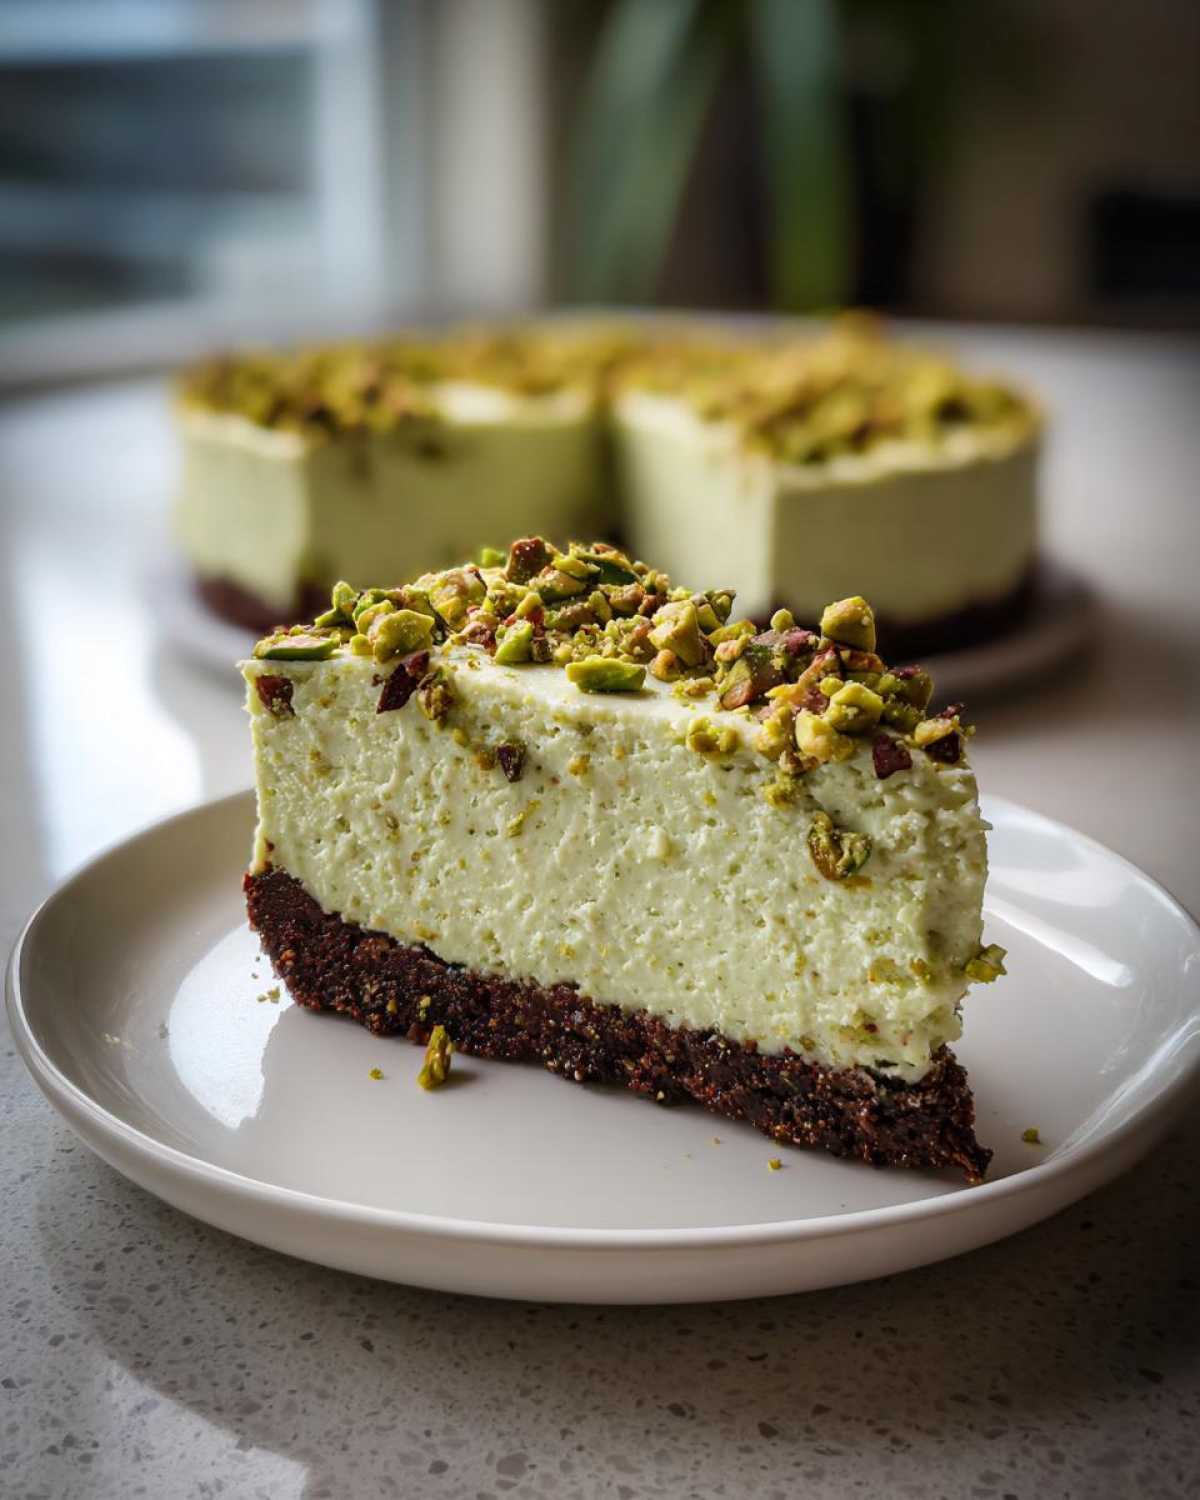
Cover your beautiful No Bake Pistachio Cheesecake. Let it chill for six hours minimum. Overnight is always better for setting.
Tips for the Perfect Green Cheesecake Experience
Richard and I have made this recipe many times. We learned a few little secrets along the way. These tips help your dessert turn out just right.
Getting the texture and color perfect takes just a little attention. It’s about respecting the ingredients we use.
Achieving Smooth Texture
This is my biggest piece of advice, truly. Your cream cheese must be fully softened. Achieving smooth texture is key in all cheesecakes.
If it’s cold, you get little lumps. Lumps ruin the smooth mouthfeel we want.
Let it sit on the counter for at least an hour before starting. Patience pays off here.
Maximizing Nutty Flavor
The flavor relies heavily on your nuts. For the best result, use high-quality pistachios.
Always choose shelled and unsalted ones when you buy them. This gives a cleaner taste.
Using good nuts really makes this a superior nutty dessert experience for everyone.
Storing and Serving Your No Bake Pistachio Cheesecake
Once your dessert is firm, it needs proper care. Keep your No Bake Pistachio Cheesecake covered tightly. Store it in the refrigerator always.
It stays fresh for several days this way. Remember, this is a cold dessert, so keep it chilled.
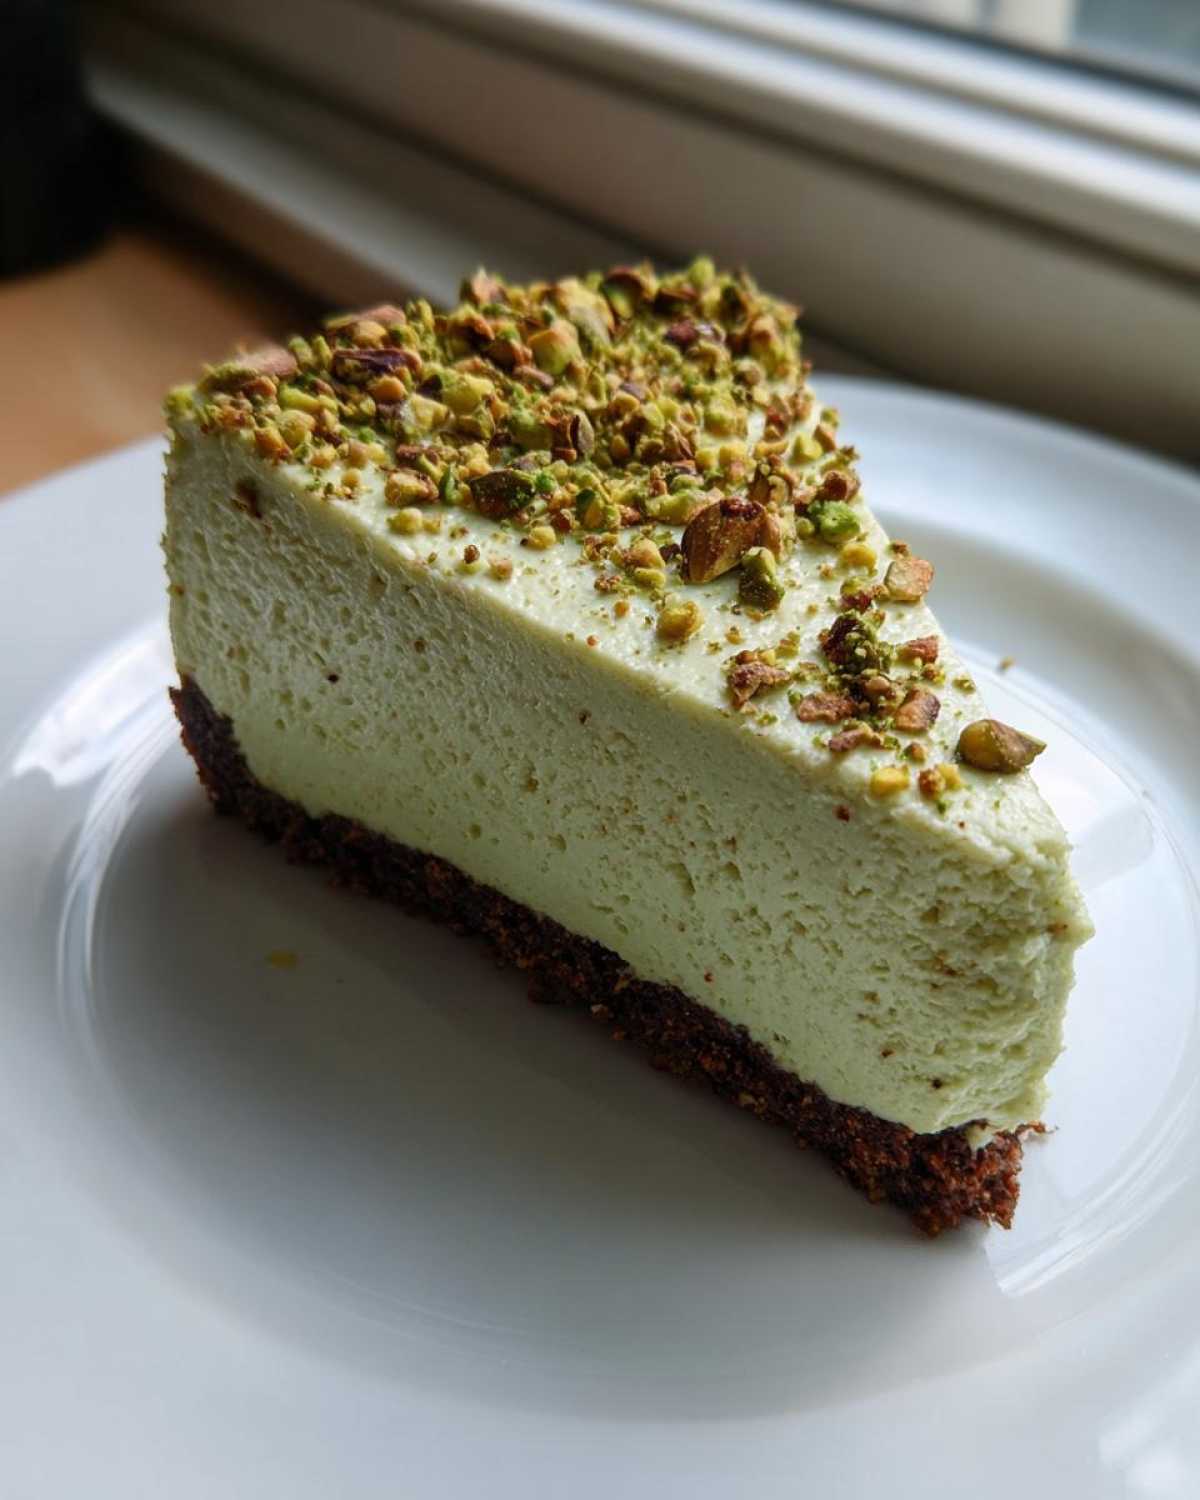
Don’t add the extra chopped pistachios until just before serving. This keeps them crunchy, you see.
A slice of this cheesecake is the perfect ending to a lovely meal. Enjoy that nutty flavor!
Frequently Asked Questions About This Cold Dessert
We get so many great questions about this recipe. It seems everyone loves an easy cheesecake option! If you are looking for more easy options, check out our latest blog posts.
I’ll address a few common ones right here. We want your experience to be perfect.
Can I use pre-ground pistachios?
You can, but I suggest grinding them yourself. Pre-ground nuts lose flavor fast.
Finely grinding them right before mixing keeps that fresh, nutty dessert taste strong.
How long does the No Bake Pistachio Cheesecake need to set?
It needs at least six hours in the fridge to firm up properly. Overnight is truly best.
This chilling time lets the filling set completely. It helps achieve that perfect slice.
Can I make this recipe dairy-free?
That’s a great question for modern cooking! It takes some substitution work, though.
You’d need to find a good dairy-free cream cheese alternative. Also, use a plant-based whipping cream.
The texture might change a bit, but it’s certainly possible to try! For more recipe variations, see our Baileys Cheesecake Bars recipe.
Understanding the Nutrition of This No Bake Pistachio Cheesecake
We aren’t nutrition experts here at Delish Diarist. We focus on flavor memory.
These numbers are just estimates based on standard ingredients we used.
One slice, about one serving size, contains roughly 400 calories.
It also has about 30 grams of sugar and 30 grams of fat.
Keep in mind this is a rich, decadent cold dessert.
Enjoy it as part of a balanced, happy life!
Share Your Delish Diarist Moment
We poured our memories into this recipe. Now, it’s your turn to cook.
Did this No Bake Pistachio Cheesecake bring back a sweet taste for you?
Tell us your stories below. We love reading every single entry!
PrintAmazing No Bake Pistachio Cheesecake: 6 Secrets
Enjoy this simple, no-bake pistachio cheesecake. It delivers a rich, nutty flavor and keeps its lovely green color. It’s the perfect sweet ending to any meal, bringing back a little taste of a happy memory.
- Prep Time: 25 minutes
- Cook Time: 0 minutes
- Total Time: 6 hours 25 minutes
- Yield: 8 servings
- Category: Dessert
- Method: No Bake
- Cuisine: American
- Diet: Vegetarian
Ingredients
- 1 1/2 cups graham cracker crumbs
- 1/4 cup granulated sugar (for crust)
- 6 tablespoons unsalted butter, melted
- 16 ounces cream cheese, softened
- 1 cup powdered sugar
- 1 teaspoon vanilla extract
- 1 cup heavy whipping cream, cold
- 1/2 cup finely ground pistachios (plus extra for topping)
- 1/4 teaspoon almond extract
- Green food coloring (optional, for color retention)
Instructions
- Combine graham cracker crumbs and 1/4 cup granulated sugar in a bowl.
- Pour in melted butter and mix until the crumbs are evenly moistened.
- Press the mixture firmly into the bottom of a 9-inch springform pan. Chill while you prepare the filling.
- In a large bowl, beat the softened cream cheese until smooth.
- Gradually beat in the powdered sugar until fully incorporated.
- Mix in the vanilla extract and almond extract.
- In a separate bowl, whip the cold heavy whipping cream until stiff peaks form.
- Gently fold the whipped cream into the cream cheese mixture.
- Fold in the finely ground pistachios. Add a drop or two of green food coloring now if you want a brighter color.
- Spread the filling evenly over the chilled crust.
- Cover the cheesecake and refrigerate for at least 6 hours, or preferably overnight, until firm.
- Before serving, sprinkle the top with extra chopped pistachios.
Notes
- For the best color, use high-quality, shelled, unsalted pistachios.
- If you prefer a tangier flavor, substitute 1/4 cup of the cream cheese with mascarpone.
- Make sure your cream cheese is fully softened to avoid lumps in your filling.
- Richard suggests tasting the filling before chilling to adjust sweetness if needed.
Nutrition
- Serving Size: 1 slice
- Calories: 400
- Sugar: 30g
- Sodium: 250mg
- Fat: 30g
- Saturated Fat: 18g
- Unsaturated Fat: 12g
- Trans Fat: 0g
- Carbohydrates: 35g
- Fiber: 1g
- Protein: 7g
- Cholesterol: 90mg