

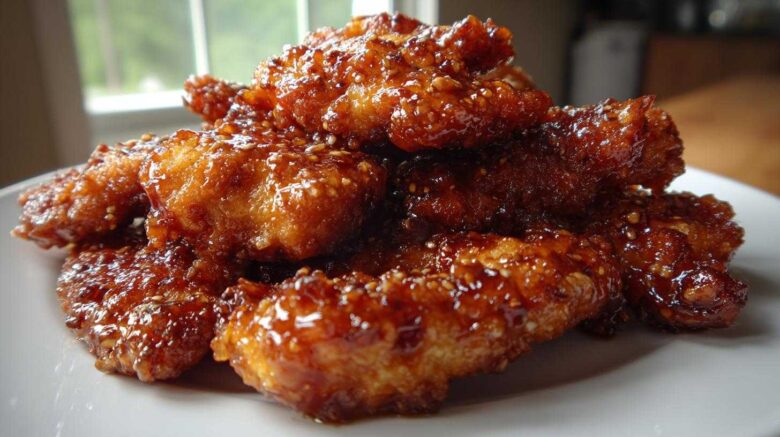
Welcome to Our Kitchen: Recreating the Perfect Honey Garlic Chicken Tenders
Richard and I are so happy you’ve joined us today. This recipe for Honey Garlic Chicken Tenders brings back such wonderful travel moments. We chased street food flavors for years. Now, we recreate those tastes right here.
We focused hard on two things here. We wanted that perfect, sticky coating. We also demanded truly crisp edges on every piece. It took a few tries, I tell you!
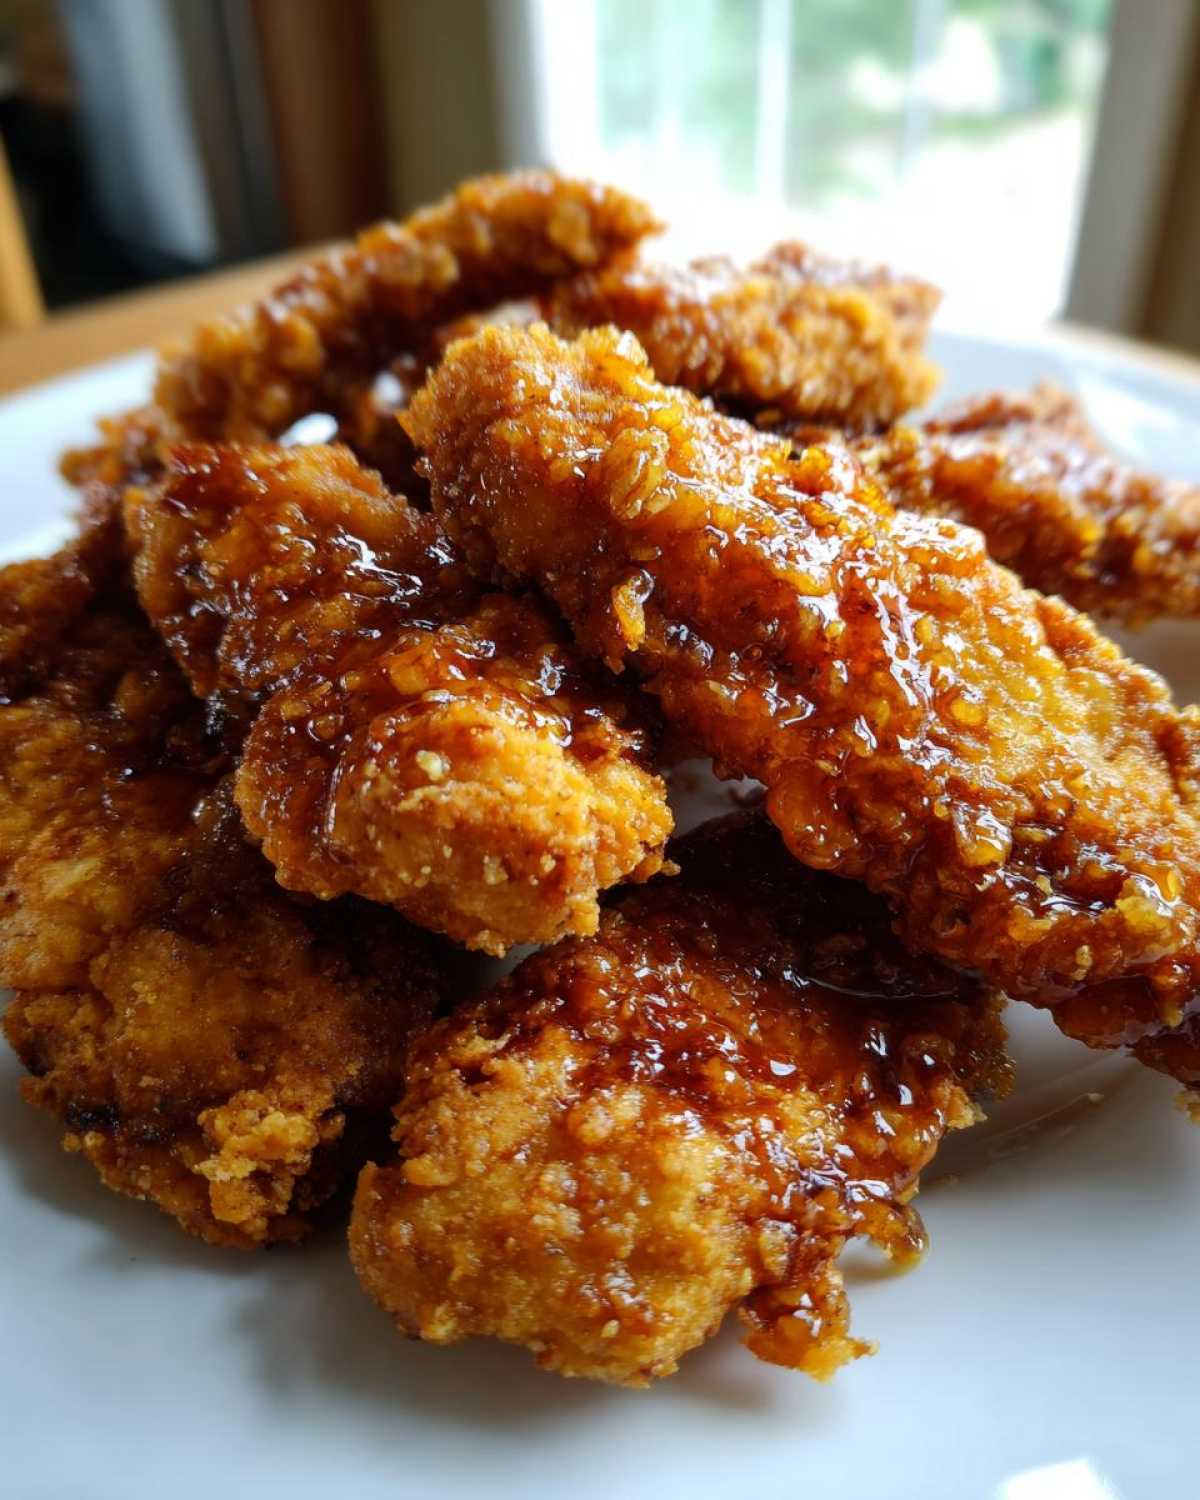
This dish is pure comfort food for us. It’s our diary entry for a bustling night market overseas. Get ready for a sweet and savory hit.
No heading needs to be written for the introduction.
Why You’ll Love These Honey Garlic Chicken Tenders
Friends, these tenders aren’t just a recipe. They are a flavor explosion we hope you adore. They truly hit all the right notes.
- This makes for a fantastic easy dinner option.
- The flavor profile is perfectly balanced sweetness and savory depth.
Quick Preparation Time
With only 15 minutes of prep, this fits busy weeknights. It’s faster than ordering takeout, truly.
Achieving That Sticky Glaze
We simmer the sauce just right. This gives you that wonderful, thick, sticky coating we chased for so long.
Crisp Edges Guaranteed
Using Panko breadcrumbs is our secret weapon here. They give us the satisfying crunch we look for every time.
What You Need for the Best Honey Garlic Chicken Tenders
Gathering your supplies is the first fun step, honestly. Having everything ready makes cooking smooth. Here is exactly what Richard and I use for this recipe.
Chicken and Dredging Components
You’ll need 1.5 pounds of chicken breasts. Cut them into nice, even tenders first.
For the coating, grab one cup of flour. Mix that with one teaspoon of salt. Add half a teaspoon of pepper and garlic powder.
Two large eggs go into a separate bowl. Beat them lightly until they’re just combined.
One cup of Panko breadcrumbs goes in the final dish. Panko really helps the crispness!
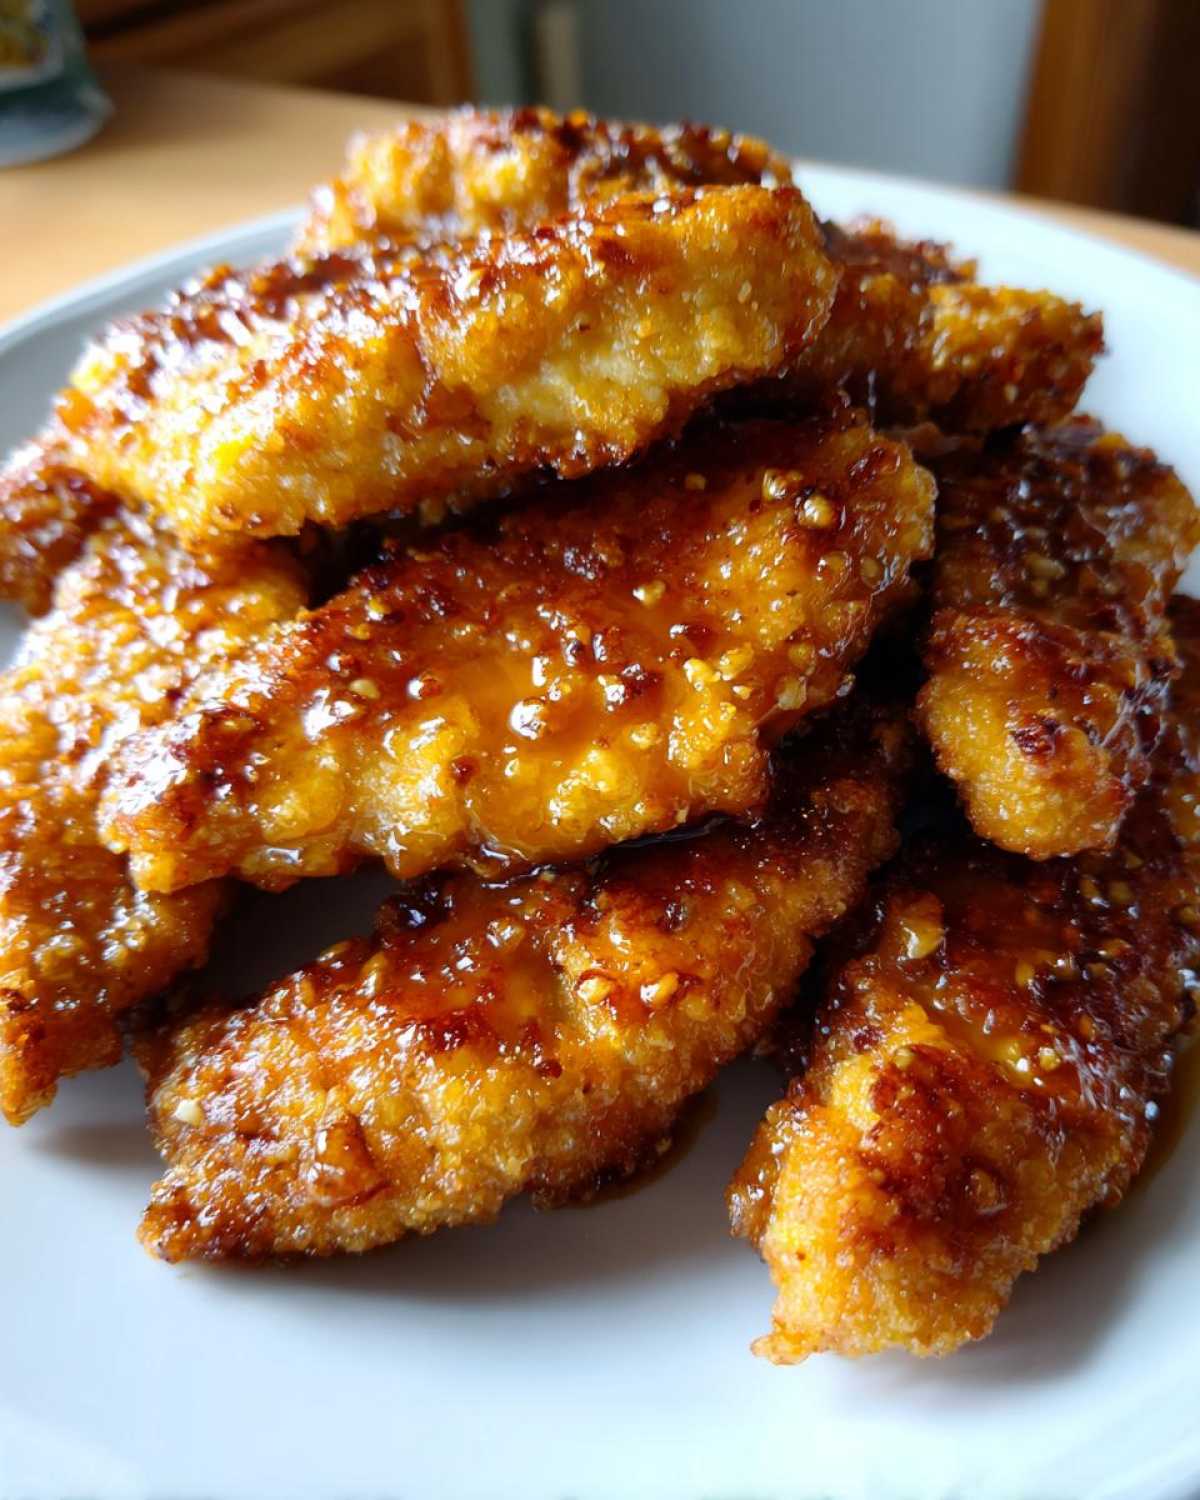
Crafting the Signature Honey Garlic Sauce
For the glaze, measure out half a cup of honey. You need a quarter cup of soy sauce.
Two tablespoons of apple cider vinegar adds tang. Mince four cloves of garlic well.
Don’t forget the fresh ginger. Use one tablespoon grated fresh ginger for brightness.
Optional Garnishes for Presentation
If you want that finishing touch, grab sesame seeds. Sliced green onions look great too.
Equipment Required for Perfect Honey Garlic Chicken Tenders
You don’t need fancy gadgets for this recipe. Just some simple kitchen basics, really.
Make sure you have a few shallow dishes ready. These are for setting up your breading station.
You’ll need a large skillet for frying the chicken nicely. A small saucepan is key for that glaze.
A whisk and a set of tongs will make things much easier. Get those ready now, folks.
Step-by-Step Instructions for Honey Garlic Chicken Tenders
Now for the fun part, bringing all those ingredients together. Follow these steps closely. This is where the magic happens for that great texture.
Preparing the Three-Step Breading Station
Set up three dishes in a line. This order matters greatly for the final crust.
First, coat the chicken in your seasoned flour mix. Shake off any big clumps gently.
Next, dip that floured tender right into the beaten egg wash quickly. Let the extra drip off.
Finally, press it firmly into the breadcrumbs for full coverage. This is what gives us that fantastic crunch.
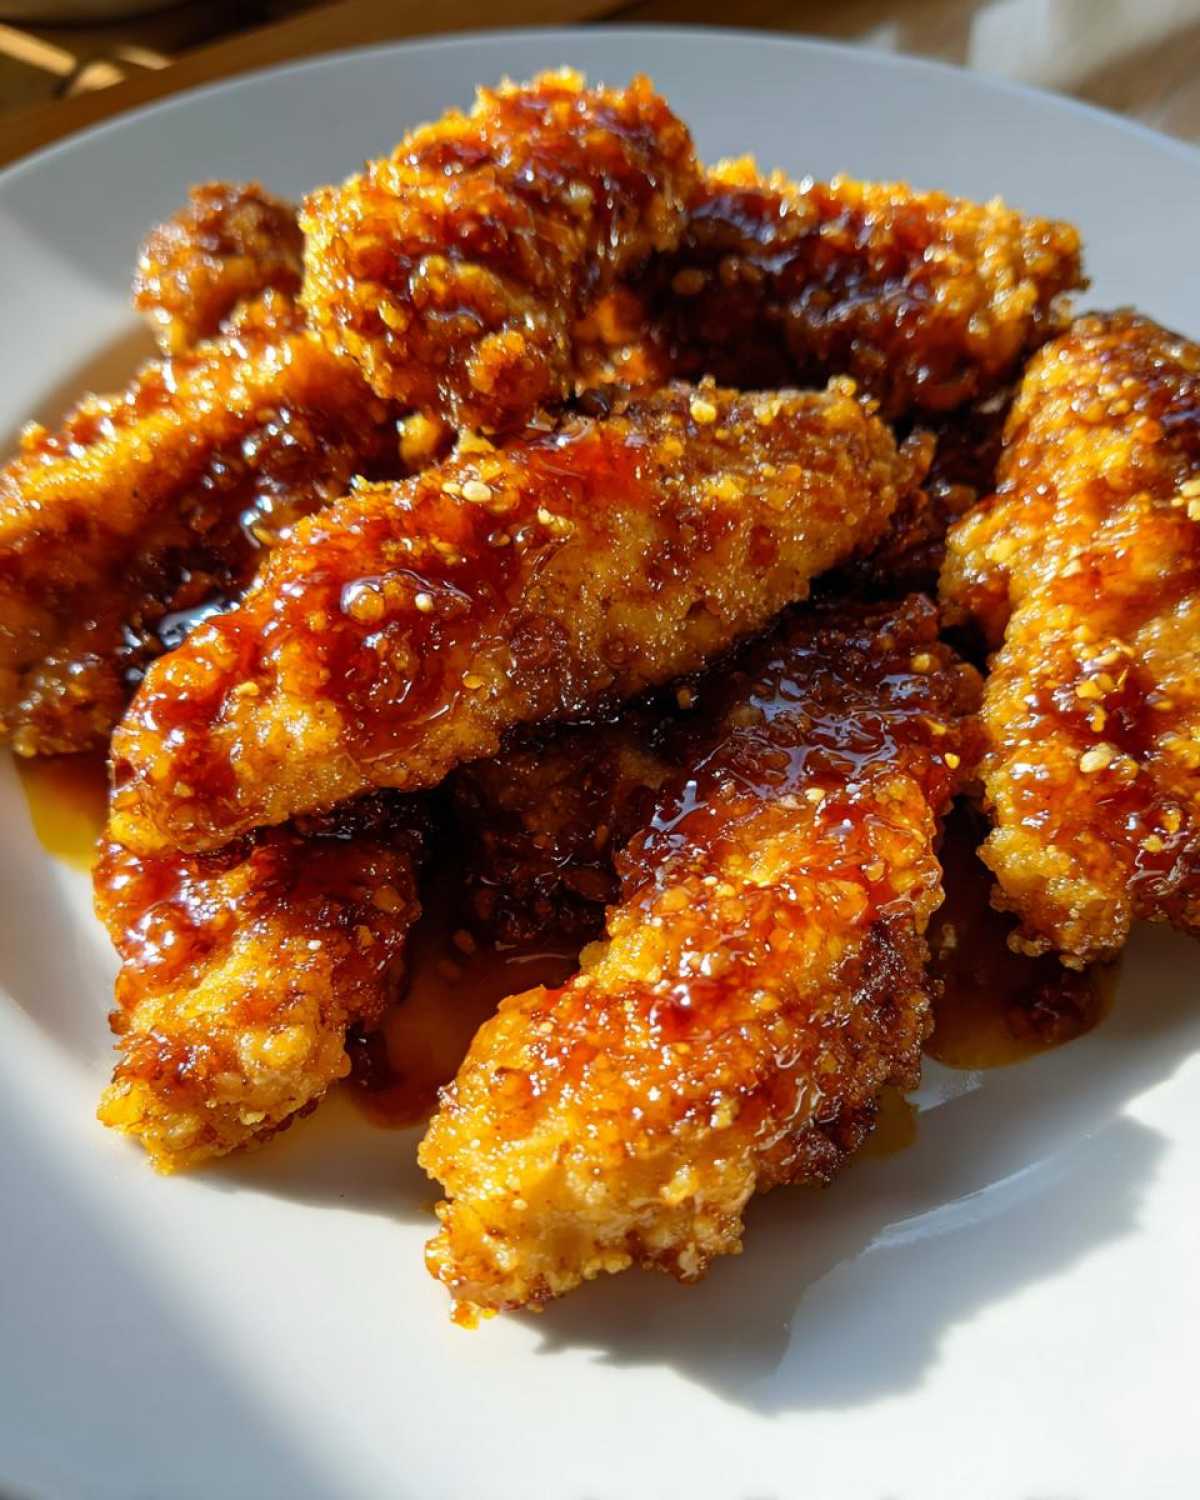
Frying for Golden Crispness
Heat your vegetable oil in that large skillet over medium-high heat. Watch it carefully.
Cook the tenders in batches so they don’t crowd the pan. Crowding cools the oil down fast.
Fry them for about four to six minutes per side. You want them golden brown and cooked through.
Place the cooked tenders on a wire rack over a baking sheet. This helps drain off the excess cooking oil.
Richard always reminds me about this step. He remembers the perfect crunch from that stop in Tokyo. Panko really makes the difference here!
Simmering the Sticky Honey Garlic Glaze
While the chicken rests, start the sauce. Combine honey, soy sauce, and vinegar in a small saucepan.
Add your minced garlic and grated ginger too. Stir everything together well.
Bring this mixture to a gentle simmer. Keep the heat at medium heat for just three to four minutes.
Stir often until the sauce thickens slightly. It should coat the back of your spoon lightly.
The Final Toss and Serving
Take the warm sauce off the heat right away. Pour it over your cooked chicken tenders.
Toss everything gently but quickly. You want every piece fully coated and nicely sticky.
Serve these beauties right away while they are hot. That’s when they taste best, trust me.
Tips for Success Making Honey Garlic Chicken Tenders
Getting these tenders just right takes a little know-how. I want you to have great results, honestly.
If you want that glaze super thick, simmer the sauce a bit longer. Watch it closely though. You don’t want it to burn.
Remember the oil temperature. Medium-high is perfect for frying. Too low, and they get greasy fast. Too high, and they burn outside.
For a healthier route, skip the frying completely. You can bake the breaded tenders instead. Set your oven to 400F (200C).
Bake them for about 15 to 20 minutes. Flip them halfway through for even color. This keeps the chicken tender inside.
The key to texture is the quick toss. Coat them right before serving. Soggy tenders are just sad, aren’t they?
Frequently Asked Questions About Honey Garlic Chicken Tenders
We get so many great questions about these tenders. Cooking is all about learning, right? Here are a few things we hear often.
Can I make the sauce ahead of time?
Yes, you absolutely can make the honey garlic sauce early. Store it covered in the fridge for up to four days.
When you’re ready to use it, gently reheat the sauce on the stove. You might need a splash of water. This will help loosen up that sticky glaze a bit.
How do I ensure my chicken stays crisp?
Crisp chicken is the main goal here. First, drain the fried tenders well on a wire rack. Don’t let them sit in oil.
Second, toss them in the sauce *right* before you serve them. Don’t let them swim in the glaze too long.
The best tip for maximum crispness is baking them. That method mentioned earlier works wonders for texture.
Can I substitute the vinegar?
We love the apple cider vinegar here. It cuts through the sweetness nicely. You can try lemon juice instead. It gives a similar bright flavor.
Is this recipe hard to double?
Doubling this recipe is quite simple. Just increase all your ingredient amounts proportionally. Be careful when frying though.
Cook in more batches if you double the batch size. Don’t overcrowd that skillet. That keeps the oil hot enough.
Storing and Reheating Your Honey Garlic Chicken Tenders
Even the best meals sometimes have leftovers, right? Store any extra tenders in an airtight container. Keep them in the refrigerator for up to three days max.
Reheating them is where you need a little trickery. Microwaving makes them soft fast. That’s a flavor tragedy!
I suggest using your oven or an air fryer for reheating. Set your oven to 350F (175C). Bake them for about ten minutes.
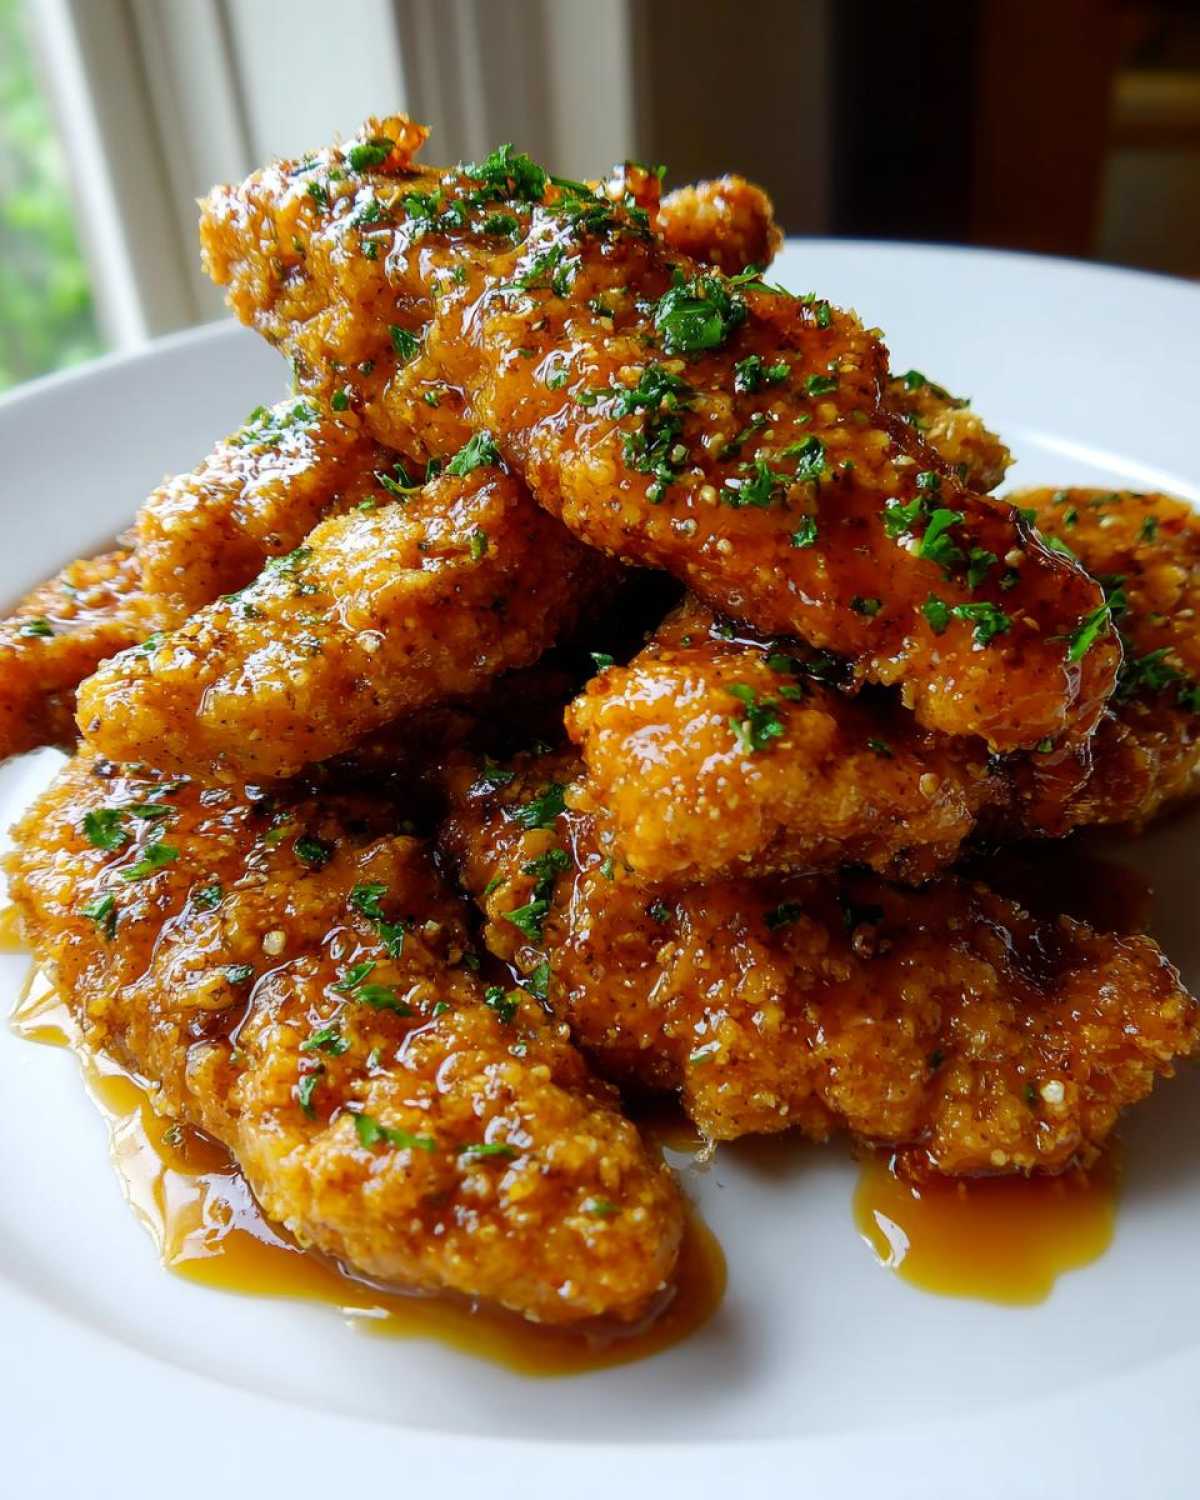
This method helps bring back some of that lovely crispness. Serve them with a tiny drizzle of extra warm sauce if they seem dry.
Sharing Your Delish Diarist Experience
We truly hope you loved making these tenders. Richard and I put our hearts into recreating this memory for you.
Did this recipe transport you somewhere special? Tell us about it below! We can’t wait to read your stories and see your creations soon.
Let us know how you liked the sticky glaze and crunch. Your feedback helps our diary grow.
We can’t wait to read your stories and see your creations soon.
Estimated Nutritional Snapshot for Honey Garlic Chicken Tenders
Richard and I always track what goes into our food. Remember these numbers are just estimates, folks. They are based on the serving size listed.
This snapshot reflects four servings total.
- Calories: 450 per serving size
- Protein: 35g
- Fat: 15g
- Carbohydrates: 40g
We try to keep things balanced in our kitchen. Enjoy this delicious memory on your plate!
Print5 Secret Steps for Sticky Honey Garlic Chicken Tenders
Make these Honey Garlic Chicken Tenders for a sweet and savory treat. We aim for sticky coating and perfectly crisp edges. This recipe brings back memories of street food flavors we collected during our travels.
- Prep Time: 15 minutes
- Cook Time: 20 minutes
- Total Time: 35 minutes
- Yield: 4 servings
- Category: Main Dish
- Method: Frying and Simmering
- Cuisine: American Fusion
- Diet: Vegetarian
Ingredients
- 1.5 lbs boneless, skinless chicken breasts, cut into tenders
- 1 cup all-purpose flour
- 1 teaspoon salt
- 1/2 teaspoon black pepper
- 1/2 teaspoon garlic powder
- 2 large eggs, lightly beaten
- 1 cup breadcrumbs (Panko recommended for crispness)
- 1/2 cup honey
- 1/4 cup soy sauce
- 2 tablespoons apple cider vinegar
- 4 cloves garlic, minced
- 1 tablespoon grated fresh ginger
- 1 tablespoon vegetable oil
- Optional: sesame seeds and sliced green onions for garnish
Instructions
- Prepare the chicken: In a shallow dish, combine flour, salt, pepper, and garlic powder. In a second dish, place the beaten eggs. In a third dish, place the breadcrumbs.
- Dredge each chicken tender first in the flour mixture, shaking off excess. Dip it into the egg. Finally, press it firmly into the breadcrumbs, coating completely.
- Heat the vegetable oil in a large skillet over medium-high heat. Cook the tenders in batches, turning occasionally, until golden brown and cooked through, about 4-6 minutes per side. Place cooked tenders on a wire rack set over a baking sheet to drain excess oil.
- Prepare the sauce: In a small saucepan, combine honey, soy sauce, apple cider vinegar, minced garlic, and ginger. Bring the mixture to a simmer over medium heat. Cook for 3-4 minutes, stirring often, until the sauce thickens slightly.
- Toss the cooked chicken tenders in the warm honey garlic sauce until they are fully coated and sticky.
- Serve immediately. Garnish with sesame seeds and green onions if desired. Enjoy this taste of our memories!
Notes
- For extra crispness, you can bake the breaded tenders at 400F (200C) for 15-20 minutes instead of frying.
- If you prefer a thicker glaze, reduce the sauce slightly longer until it coats the back of a spoon.
- We used Panko breadcrumbs because Richard remembers the crunch from a favorite stop in Tokyo.
Nutrition
- Serving Size: 4 tenders
- Calories: 450
- Sugar: 25g
- Sodium: 750mg
- Fat: 15g
- Saturated Fat: 3g
- Unsaturated Fat: 12g
- Trans Fat: 0g
- Carbohydrates: 40g
- Fiber: 2g
- Protein: 35g
- Cholesterol: 120mg