

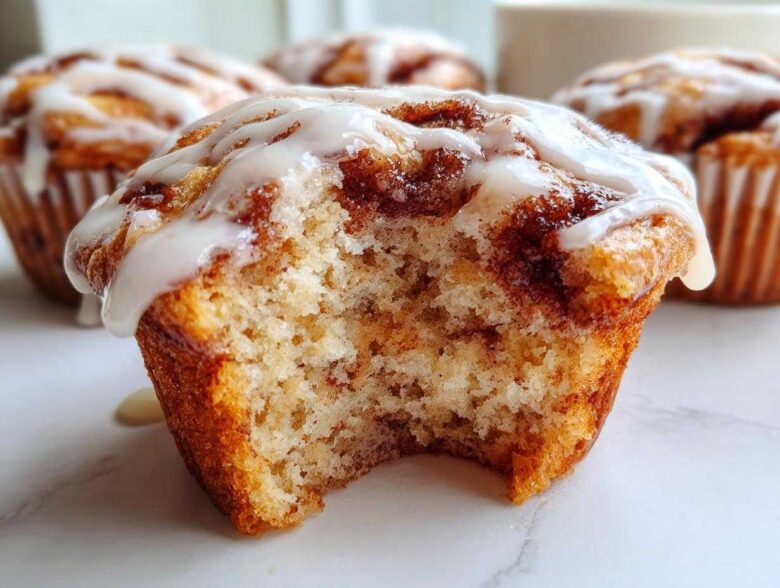
Oh, I totally get it. Sometimes you just crave that gooey, warm, yeasty magic of a true cinnamon roll, but the reality of gluten-free baking can leave you with something… well, crumbly. For years, I thought I had to give up that classic morning pastry flavor unless I wanted to spend an entire Saturday wrestling with yeast. But trust me, after *so* many failed batches, I finally nailed the technique! These **Gluten-Free Cinnamon Roll Muffins** are the answer. We get the soft, tender crumb of a great muffin using simple flours, but inside, you have that glorious, sticky cinnamon swirl that melts in your mouth when topped with a thick glaze. It’s the best weekend brunch treat, hands down.
I’ve spent years perfecting how alternative flours behave, and I promise you, these turn out fluffy every single time. You won’t believe they’re gluten-free! If you want more baking inspiration, check out my main recipe index for all my latest kitchen adventures.
Why This Gluten-Free Cinnamon Roll Muffins Recipe Works (Soft Texture Secrets)
The secret to getting these **Gluten-Free Cinnamon Roll Muffins** to taste like the real deal isn’t magic; it’s managing moisture and structure, which is vital when cutting out gluten. Most gluten-free baking sinks into dryness, but we fight that with two key players. First, the sour cream or Greek yogurt! That little bit of acid and fat keeps the crumb incredibly tender and stops it from getting gritty.
Then, you have the perfect ratio of butter to sugar, which needs to be creamed really well. It fills the batter with necessary air pockets, giving us that fluffiness we usually associate with standard baked goods. Head over and see how I use cream in my biscuit recipe for a similar texture success; it’s fantastic! It works like a charm for tenderizing everything.
Achieving Fluffy Gluten Free Baking Tips
When you grab your gluten-free all-purpose flour blend, give the bag a good look first! If it doesn’t list xanthan gum already, you absolutely have to toss in about a half teaspoon yourself. That’s what holds everything together where gluten usually does the heavy lifting. Without it, we end up with straight crumbs!
My other must-do step is the creaming. You really have to beat that soft butter and brown sugar together until it practically turns light and fluffy, almost pale yellow. You are physically whipping air into the fat, and those tiny air pockets expand in the heat. That slow, patient creaming step is where you build the structure that keeps these muffins from collapsing into heavy little discs.
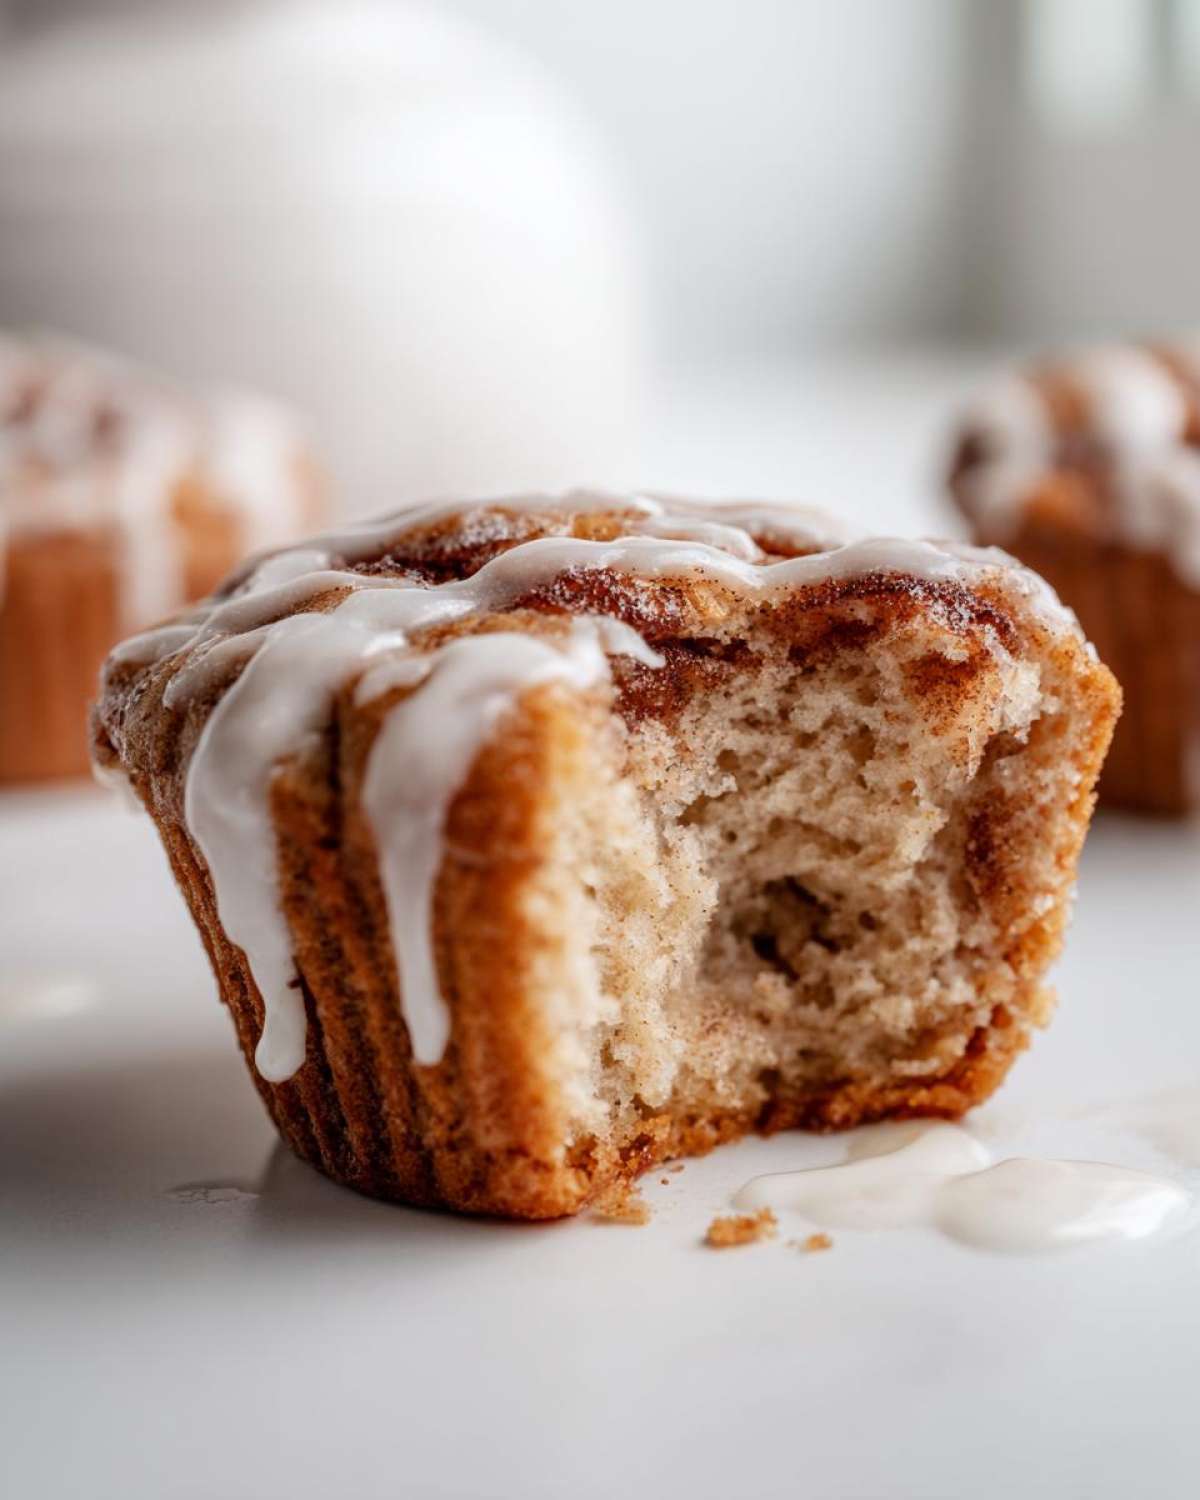
Gathering Ingredients for Perfect Gluten-Free Cinnamon Roll Muffins
Okay, let’s get organized! Since these are **Gluten-Free Cinnamon Roll Muffins**, the ingredients list is a little longer than your average quick bread, but trust me, every single item plays a role in stopping that dreaded dry texture. You need to have your butter softened—not melted, but soft enough that if you poked it, your finger would leave a nice dip. And make sure that brown sugar is nice and packed when you scoop it!
When you’re ready to bake, grab everything out so we aren’t scrambling later. I always keep my go-to list next to me. If you want to see how I handle heavy-hitters like moist banana bread, check out my banana bread notes; similar rules apply here about getting your fats right before you add anything else.
Here is what you need to pull from the pantry:
- 1 3/4 cups gluten-free all-purpose flour blend (with xanthan gum—this is crucial!)
- 1 teaspoon baking soda
- 1/2 teaspoon salt
- 1 teaspoon ground cinnamon (for the batter itself)
- 1/2 cup unsalted butter, softened
- 3/4 cup packed light brown sugar
- 2 large eggs
- 1 teaspoon vanilla extract
- 1/2 cup milk (dairy or non-dairy is fine!)
- 1/4 cup sour cream or plain Greek yogurt
For the Cinnamon Sugar Filling
This is the part that makes them taste exactly like a roll, so don’t skimp! We mix this right before we layer it into the batter. Don’t be afraid if the mixture seems a little sandy or coarse; it softens up beautifully once it hits that warm muffin batter.
- For the Swirl: 1/4 cup granulated sugar
- For the Swirl: 1 tablespoon ground cinnamon
- For the Swirl: 2 tablespoons melted butter
For the Vanilla Glaze
We make this last, after the muffins are totally cooled, so it sets up nice and thick. We want a lovely, opaque coating, so you’ll need powdered sugar to get that smooth consistency without it being too runny. Add your milk a tiny bit at a time!
- For the Glaze: 1 cup powdered sugar
- For the Glaze: 2 tablespoons milk
- For the Glaze: 1/2 teaspoon vanilla extract
Step-by-Step Instructions for Gluten-Free Cinnamon Roll Muffins
Alright, now for the fun part! Getting these **Gluten-Free Cinnamon Roll Muffins** mixed just right is what keeps them from tasting like cardboard, so let’s take it slow. We’re going to tackle the batter first, then quickly mix up that heavenly swirl filling so everything is ready to layer when the batter is perfect.
Make sure your oven is hot and ready to go—we want everything baking immediately once the ingredients are combined to capture all that air we just worked so hard to whip in! If you love cinnamon, you absolutely have to try my cinnamon roll waffles next time you need an easy breakfast fix!
- First things first: Get that oven preheated to 375°F (190°C). You need to line your 12-cup muffin tin with paper liners—I find the liners help the GF muffins release much cleaner than grease alone.
- In a medium bowl, whisk together your dry guys: the gluten-free flour blend, baking soda, salt, and that teaspoon of cinnamon we reserved for the batter. Set that aside.
- Now for the big mix! In a separate large bowl, cream that softened butter and brown sugar together until it’s truly light and fluffy. Beat in your eggs one at a time, making sure each one is incorporated before adding the next. Finish this bit by mixing in the vanilla extract.
- In a smaller bowl, switch gears and quickly whisk your milk and sour cream (or yogurt) together.
- This is the crucial mixing step to stop the gluten-free crumb from getting tough! You need to alternate adding the dry ingredients and the wet ingredients into your butter mixture. Start and end with the dry stuff. Just mix until everything is *barely* combined—if you see a few faint streaks of flour, stop mixing! Overmixing is a killer here.
Mixing the Batter and Preparing the Swirl
As soon a you stop mixing the main batter, pivot immediately to the filling. This swirl mixture comes together super fast. You just combine the granulated sugar and the leftover cinnamon, then pour in the melted butter.
Make sure you stir that until it looks like a coarse, wet paste. It shouldn’t be a liquid sauce, but it needs enough melted butter to hold those sugar crystals together. This mixture will melt down slightly in the oven, creating the signature gooey pockets we are looking for in these **Gluten-Free Cinnamon Roll Muffins**.
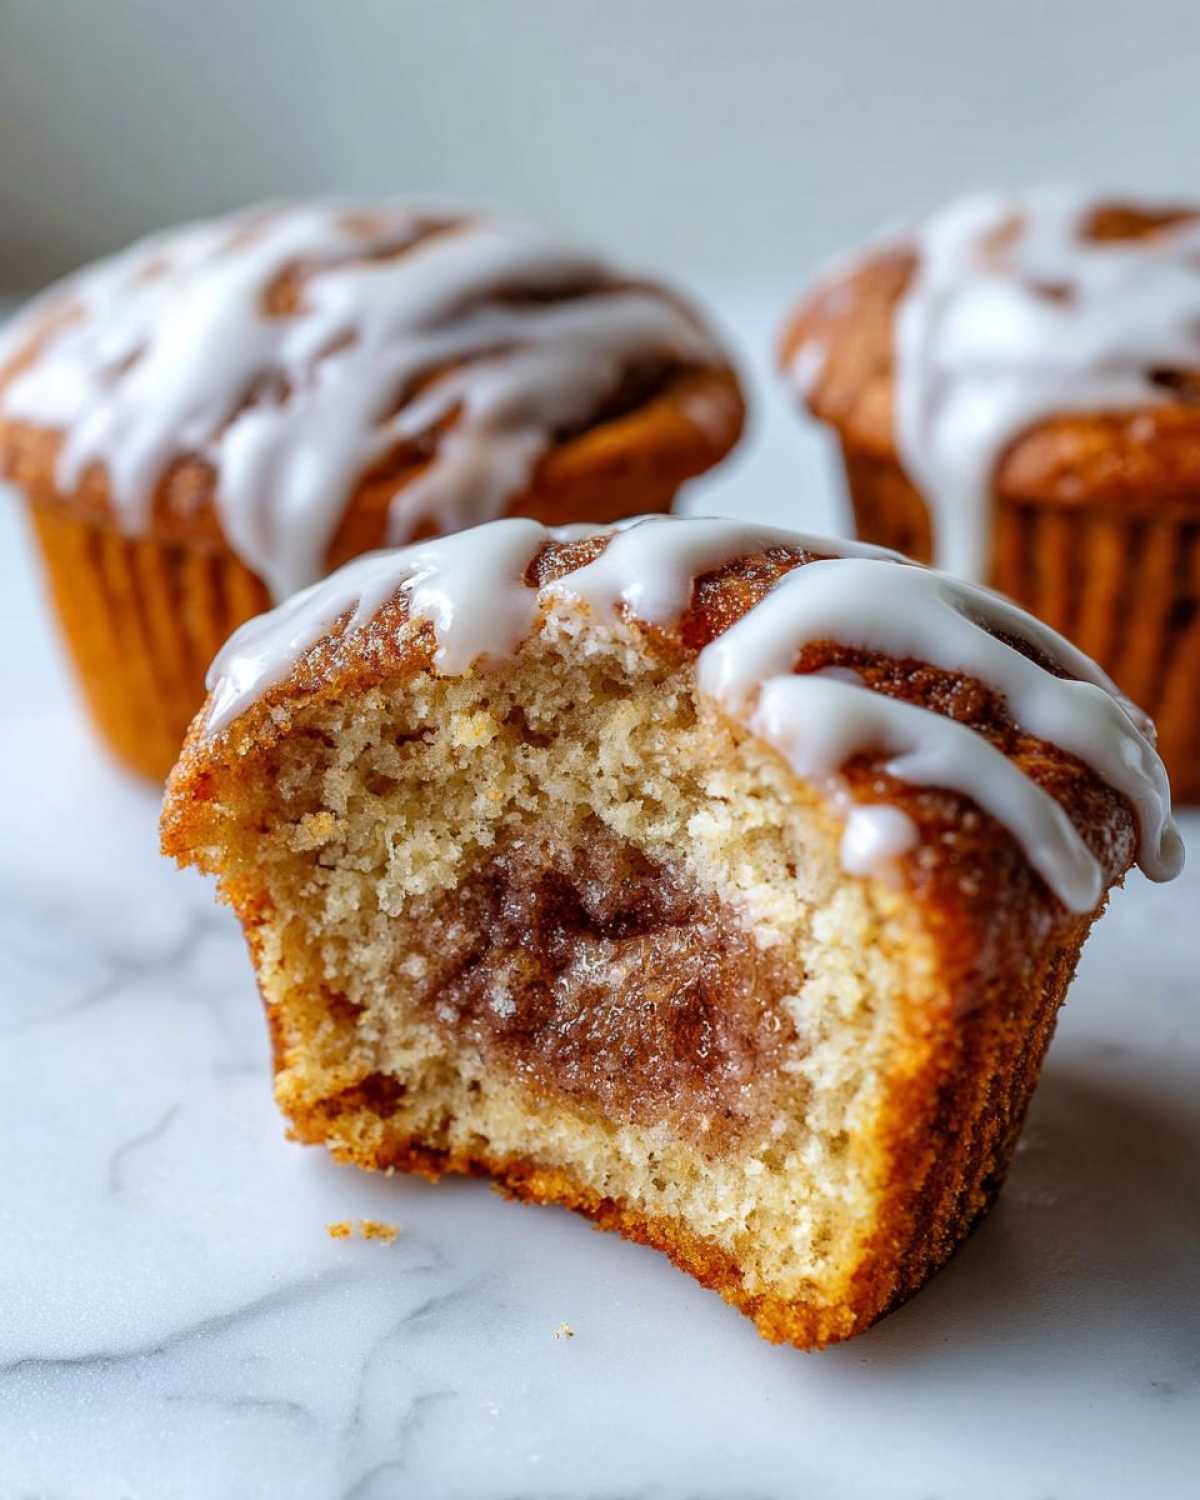
Assembling and Baking Your Cinnamon Swirl Baked Goods
Now comes the layering! Fill those prepared muffin cups about two-thirds full with the batter. Don’t pack it in there; leave room for the filling and for rising!
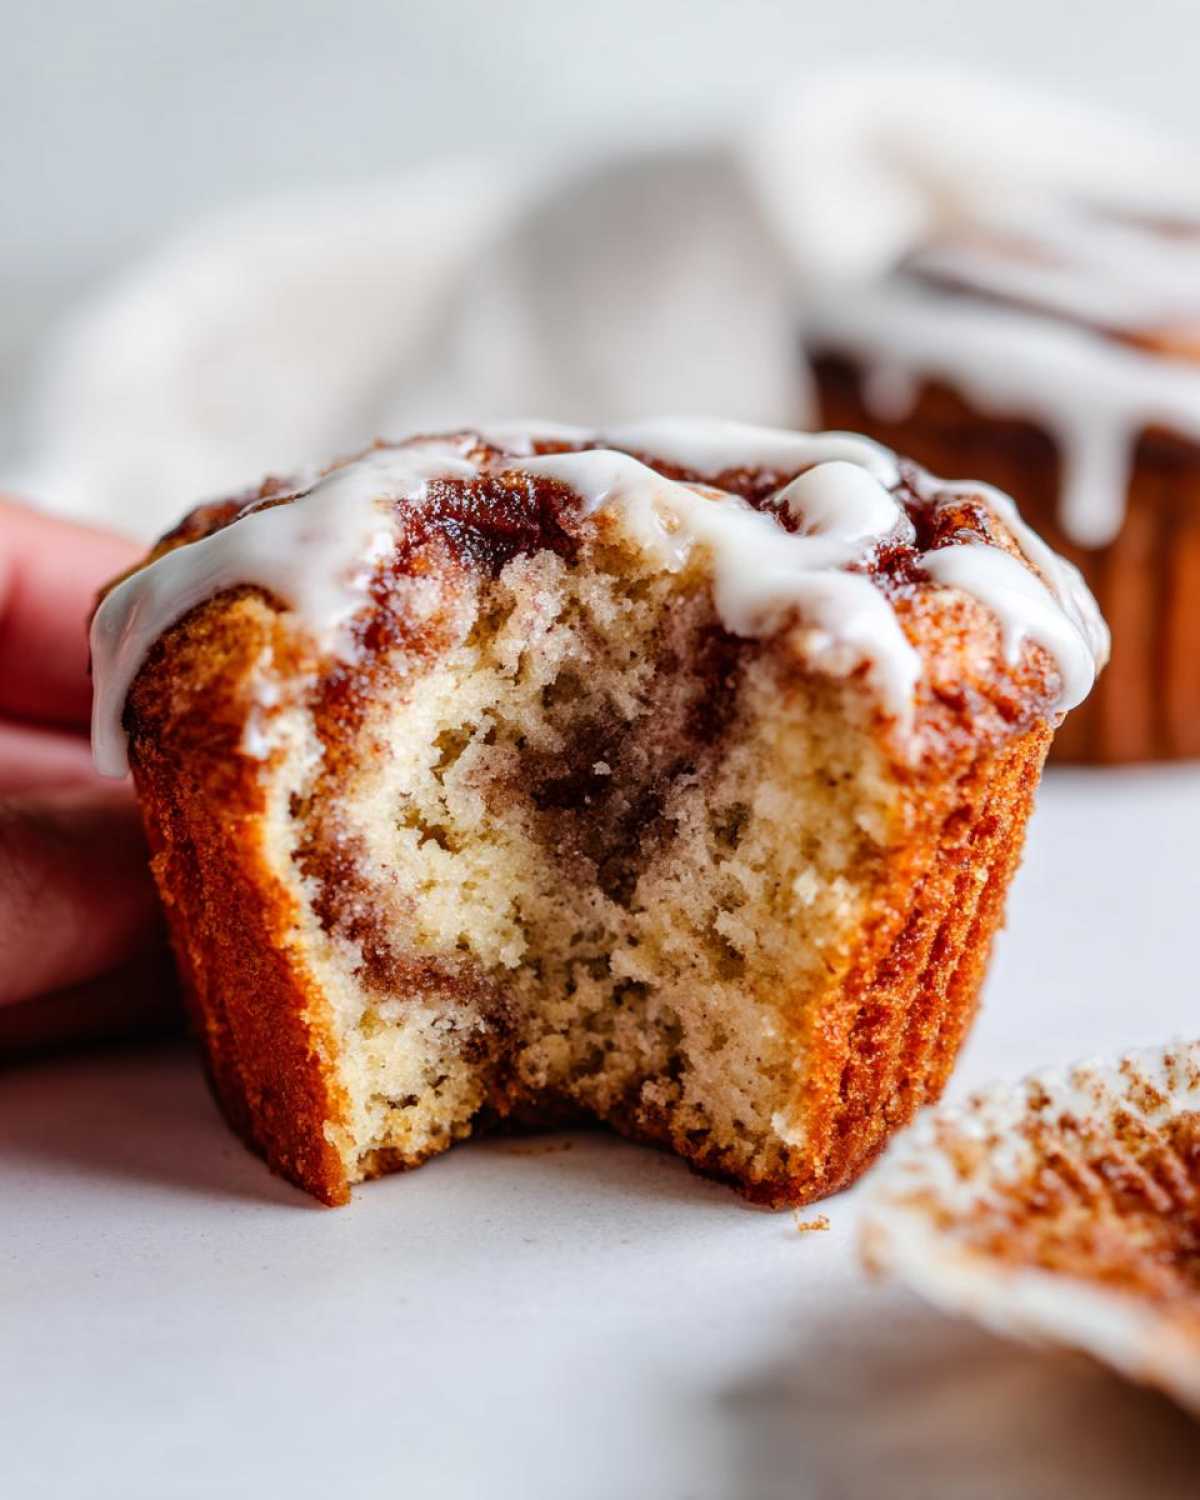
Take about 1 teaspoon of that cinnamon swirl mixture and gently spoon it right over the top of the batter in each cup. Here’s my pro tip: Grab a toothpick or a small paring knife and gently push it down into the batter a couple of times in a figure-eight motion—don’t stir the whole thing vigorously! You just want to drag the cinnamon down a bit to create that beautiful swirl effect within the muffin itself.
Pop them into the waiting oven and bake them for 18 to 20 minutes. You know they’re done when a toothpick stuck in the center comes out clean, or maybe with just a few moist crumbs clinging to it. Let them cool in the tin for about five minutes—this solidifies the base—before moving them onto a wire rack to cool completely before you glaze them. Nobody wants a melted glaze running everywhere!
Ingredient Notes and Substitutions for Soft Baked Gluten Free Recipe
I always get questions about substitutions when it comes to gluten-free baking because we all have different flours in our pantries, right? I want you to feel confident making these, even if you need to swap an ingredient. Remember, these are our **soft baked gluten free recipe** secrets coming out!
The most important thing is the xanthan gum. If your store-bought GF blend doesn’t have it listed in the ingredients, you absolutely must add about a half teaspoon to your dry mix. It acts exactly like the gluten, trapping all the air we whip into the butter and sugar. Don’t skip it, or you’ll end up with a wonky texture.
If you are looking to make these completely dairy-free, good news! That substitution is super simple because milk and yogurt are the easiest things to swap out. You can use any plant-based milk you like—almond, soy, oat, whatever is in your fridge. For the sour cream or yogurt, look for a plain, unsweetened plant-based yogurt substitute. The acidity is what helps tenderize the crumb, so aim for something tangy, just like my yogurt bagel recipe where the yogurt plays a big structural role!
Finally, store them well! They’re best the day they are made, naturally, but you can store leftovers in an airtight container at room temperature for up to three days. They freeze beautifully too, just wrap them tight before popping them in the freezer for up to a month. Pull one out the night before you want it!
Making the Perfect Glaze for Your Gluten-Free Cinnamon Roll Muffins
Okay, the muffins are cooled, and now we need that gorgeous, thick topping. No cinnamon roll is complete without a sweet blanket of icing, and the glaze for these **Gluten-Free Cinnamon Roll Muffins** is thick enough to replicate that creamy topping you get on a fresh cinnamon roll right out of the pan.
This glaze is ridiculously easy, but the trick is the consistency. We want it thick enough that it drips slowly and settles into the muffin tops, not just runs right off onto the cooling rack. If you’ve ever mastered a glaze for a slow-cooked meat—like the one I use on my honey mustard chicken—you understand this basic principle: start dry and add liquid slowly!
To make it, you whisk together the powdered sugar, the vanilla, and your two tablespoons of milk. You mix until it’s smooth, but here’s the crucial part: taste it! If it seems way too thick to pour easily, add just a few drops—I mean *drops*—of extra milk at a time until it drizzles off your whisk in a slow, thick ribbon. If you accidentally add too much, don’t panic! Just whisk in an extra spoonful of powdered sugar until you get that perfect, opaque consistency.
Once it looks pourable but still quite thick, use a spoon to drizzle it generously over the tops of your completely cooled **Gluten-Free Cinnamon Roll Muffins**. If you glaze them while they’re even slightly warm, you’ll just end up with a thin, sugary puddle instead of that lovely, structured sweet layer. Let it set for about ten minutes, and then you’re ready to dive in!
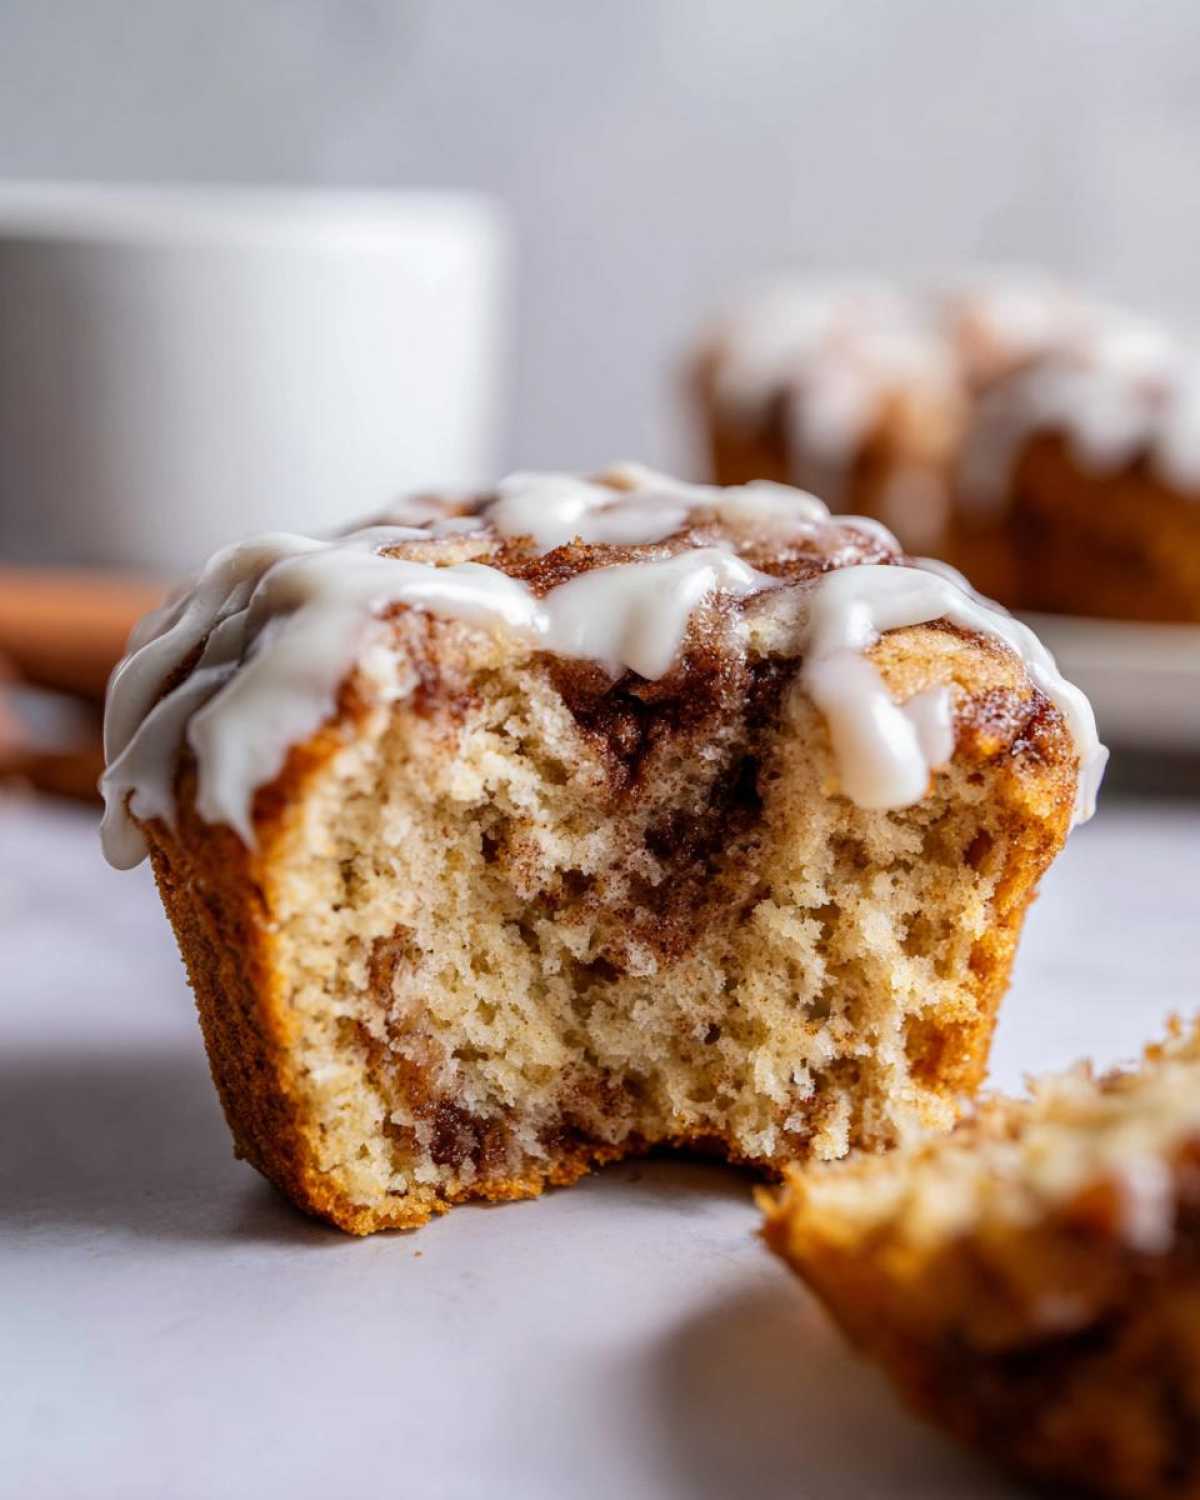
Storage and Make Ahead Gluten Free Breakfast Tips
Planning ahead is a lifesaver, especially on busy weekday mornings when you want the flavor of **homemade cinnamon roll flavor muffins** waiting for you. Luckily, these hold up really well, which is something I’ve tested rigorously because I always seem to bake a double batch just for test snacking!
If you want to keep them fresh for a few days, the container matters more than you think. Make sure those muffins are completely cooled down—and yes, that means the glaze is totally set—before you put them into an airtight container. They are perfectly fine sitting right on the counter at room temperature for about three days. Any longer than that, and I start to worry about the moisture control, even though the sugar helps keep things stable.
My favorite method, though? Freezing! They are spectacular for a **make ahead gluten free breakfast**. You can totally freeze these cinnamon swirl muffins! Once they are totally cooled, wrap each one individually in plastic wrap first—this prevents freezer burn, which is the enemy of soft baked goods. Then, place the wrapped muffins into one large zip-top freezer bag. They last beautifully for about six weeks, easy peasy.
When you need one for a quick morning pastry, just pull one out the night before and let it thaw on the counter. If you’re in a serious rush, you can microwave it for about 10 to 15 seconds, and it comes right back to that warm, soft texture. It’s the best way I’ve found to enjoy these **easy gluten free sweet rolls** without having to mix up a whole batch every morning.
I actually wrote a whole guide on getting the most out of your prep sessions, especially if you’re dealing with tricky flour like we are here. You can check out all my best strategies for your next baking binge in my guide to making ahead great gluten free breakfasts!
Serving Suggestions for Homemade Cinnamon Roll Flavor Muffins
You’ve done the hard work: you mixed, you swirled, you baked, and now you have these incredible **Gluten-Free Cinnamon Roll Muffins** cooling on the rack, dripping with glaze. The question is, when are you going to eat them? Honestly, they are fantastic all on their own, especially when warm from the oven! But these feel special enough, don’t they? They scream for a cozy moment.
I really think these shine brightest when served up as part of a relaxed **weekend brunch muffins** spread. They bring that sweet, indulgent flavor without forcing you to spend half the morning rolling out dough because, thank goodness, there’s no yeast involved here!
Here are a few ways I love to serve them up to make the occasion feel extra special:
- With Coffee, Obviously: They pair perfectly with a strong cup of hot black coffee or maybe a latte. That slight bitterness from the coffee just cuts through the sweetness of that thick vanilla glaze beautifully.
- A Side of Fresh: Because the muffin is so rich and spiced, something bright and fresh is a great contrast. Set them out alongside a big bowl of sliced strawberries, raspberries, or even some orange wedges. It just brightens the whole plate up!
- The Ultimate Comfort Plate: If you’re going all out, serve them slightly warm alongside something savory, like a simple scrambled egg or some crispy bacon. It’s the perfect sweet and savory mix that makes brunch so fun.
If you’re looking for another incredible, indulgent weekend centerpiece that pairs well with this kind of sweetness, you have to try my Crème Brûlée French Toast recipe—it sets the bar high for comfort breakfast food!
Enjoy these **homemade cinnamon roll flavor muffins**! They are seriously the perfect kid-friendly gluten-free treat when you need something warm and comforting without the fuss.
Frequently Asked Questions About Gluten Free Breakfast Baking
When you’re playing around with **gluten free breakfast baking**, you always end up with a few lingering questions, especially when you’re trying to mimic something as tender as a cinnamon roll! I’ve rounded up the ones I hear the most often from readers trying to master these soft baked goods.
Can I use almond flour instead of a GF blend?
That’s a good question! Almond flour is lovely because it adds great fat and richness, but it doesn’t have the same structure as a balanced all-purpose GF blend that usually has rice flour or sorghum in it. If you try to swap it 1-to-1, you’ll likely need to drastically cut back on liquids and add more binder, like an extra egg or some psyllium husk. For these muffins, I really stick to the reliable blend with xanthan gum because we need that lift, otherwise, the result is usually a bit too dense for a good **cinnamon swirl muffin recipe**.
How do I prevent my muffins from being dry?
The number one rule for keeping any of my **soft baked gluten free recipe** items moist is avoiding overmixing! The second rule, which we nailed here by adding sour cream or yogurt, is incorporating good fats and acids. Since we aren’t developing gluten to toughen the structure, mixing the batter too long when you add the flour whips the air *out* and develops the starches in the wrong way, making them gummy or dry. Mix ONLY until you see no more streaks of dry flour!
Are these muffins suitable for allergy friendly cinnamon muffins?
They absolutely can be! We covered the dairy-free swap in the notes above: just use plant-based milk and a dairy-free yogurt or sour cream alternative. As long as your specific gluten-free flour blend is free of other top allergens that concern you, these turn into a fantastic option for **allergy friendly cinnamon muffins**. Just double-check every package, because sometimes additives hide out!
If you want to check out other great tips for keeping your ingredients clean and your baking soft, take a peek at my guide on making moist egg muffins—the science of moisture is pretty similar across the board!
Rate Your Gluten-Free Cinnamon Roll Muffins Experience
Well, my friends, that’s it! We’ve turned humble ingredients into what I truly believe is the best **Gluten-Free Cinnamon Roll Muffins** recipe out there. It tastes just like that childhood favorite, only without the gluten headache!
Now that you’ve baked these beautiful, swirly treats, I absolutely need to know what you think. Did they turn out as soft and gooey for you as they did for me? Did the vanilla glaze set up perfectly? Don’t be shy!
Please leave a star rating right down below—it really helps other bakers know that this recipe delivers on its promise of flavor and texture. And if you have time, drop a comment telling me how you served them! Were they part of a big event? Did you eat them straight over the sink (we all do it!)? I love hearing about your kitchen successes!
If you have any specific questions about this batch or want to share a picture, you can always reach out to me directly through my contact page. Happy baking, and let me know how your **Gluten-Free Cinnamon Roll Muffins** turned out!
PrintGluten-Free Cinnamon Roll Muffins

Bake soft, tender gluten-free muffins that taste like classic cinnamon rolls, complete with a sweet cinnamon swirl and thick vanilla glaze.
- Prep Time: 15 min
- Cook Time: 20 min
- Total Time: 35 min
- Yield: 12 muffins
- Category: Breakfast
- Method: Baking
- Cuisine: American
- Diet: Gluten Free
Ingredients
- 1 3/4 cups gluten-free all-purpose flour blend (with xanthan gum)
- 1 teaspoon baking soda
- 1/2 teaspoon salt
- 1 teaspoon ground cinnamon
- 1/2 cup unsalted butter, softened
- 3/4 cup packed light brown sugar
- 2 large eggs
- 1 teaspoon vanilla extract
- 1/2 cup milk (dairy or non-dairy)
- 1/4 cup sour cream or plain Greek yogurt
- For the Swirl: 1/4 cup granulated sugar
- For the Swirl: 1 tablespoon ground cinnamon
- For the Swirl: 2 tablespoons melted butter
- For the Glaze: 1 cup powdered sugar
- For the Glaze: 2 tablespoons milk
- For the Glaze: 1/2 teaspoon vanilla extract
Instructions
- Preheat your oven to 375°F (190°C). Line a 12-cup muffin tin with paper liners.
- In a medium bowl, whisk together the gluten-free flour blend, baking soda, salt, and 1 teaspoon of cinnamon. Set aside.
- In a large bowl, cream the softened butter and brown sugar together until light and fluffy. Beat in the eggs one at a time, then mix in the vanilla extract.
- In a separate small bowl, whisk together the milk and sour cream or yogurt.
- Alternate adding the dry ingredients and the wet ingredients to the butter mixture, beginning and ending with the dry ingredients. Mix until just combined; do not overmix.
- Prepare the swirl filling: In a small bowl, mix the 1/4 cup granulated sugar and 1 tablespoon cinnamon. Stir in the 2 tablespoons of melted butter until it forms a coarse, wet mixture.
- Fill the muffin cups about two-thirds full with batter.
- Spoon about 1 teaspoon of the cinnamon swirl mixture over the top of the batter in each cup. Use a toothpick or small knife to gently swirl the filling into the batter.
- Bake for 18 to 20 minutes, or until a toothpick inserted into the center comes out clean. Let the muffins cool in the pan for 5 minutes before transferring them to a wire rack to cool completely.
- Make the glaze: Whisk together the powdered sugar, 2 tablespoons milk, and 1/2 teaspoon vanilla extract until smooth. Add more milk, a few drops at a time, if the glaze is too thick.
- Drizzle the cooled muffins generously with the glaze before serving.
Notes
- If your gluten-free flour blend does not contain xanthan gum, add 1/2 teaspoon to the dry ingredients for better structure.
- For a dairy-free option, use plant-based milk and a dairy-free yogurt or sour cream substitute.
- Store leftover muffins in an airtight container at room temperature for up to 3 days.
Nutrition
- Serving Size: 1 muffin
- Calories: 280
- Sugar: 35g
- Sodium: 180mg
- Fat: 14g
- Saturated Fat: 8g
- Unsaturated Fat: 6g
- Trans Fat: 0g
- Carbohydrates: 37g
- Fiber: 1g
- Protein: 3g
- Cholesterol: 55mg