

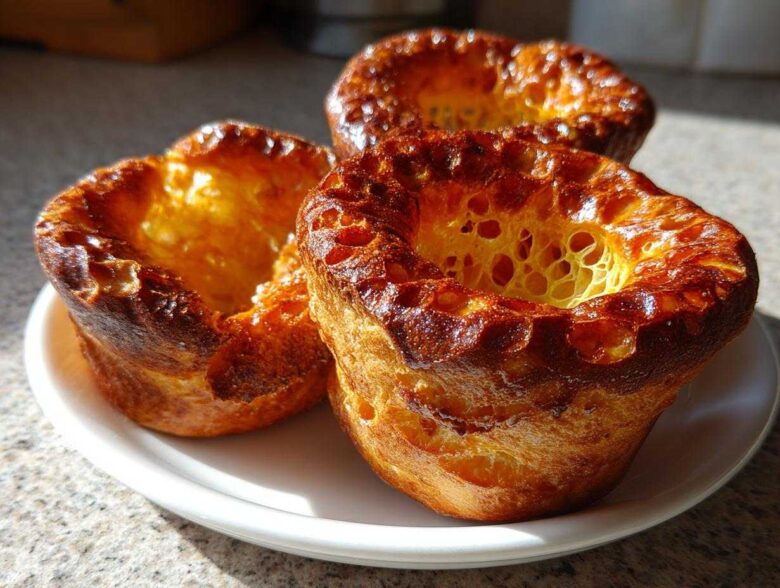
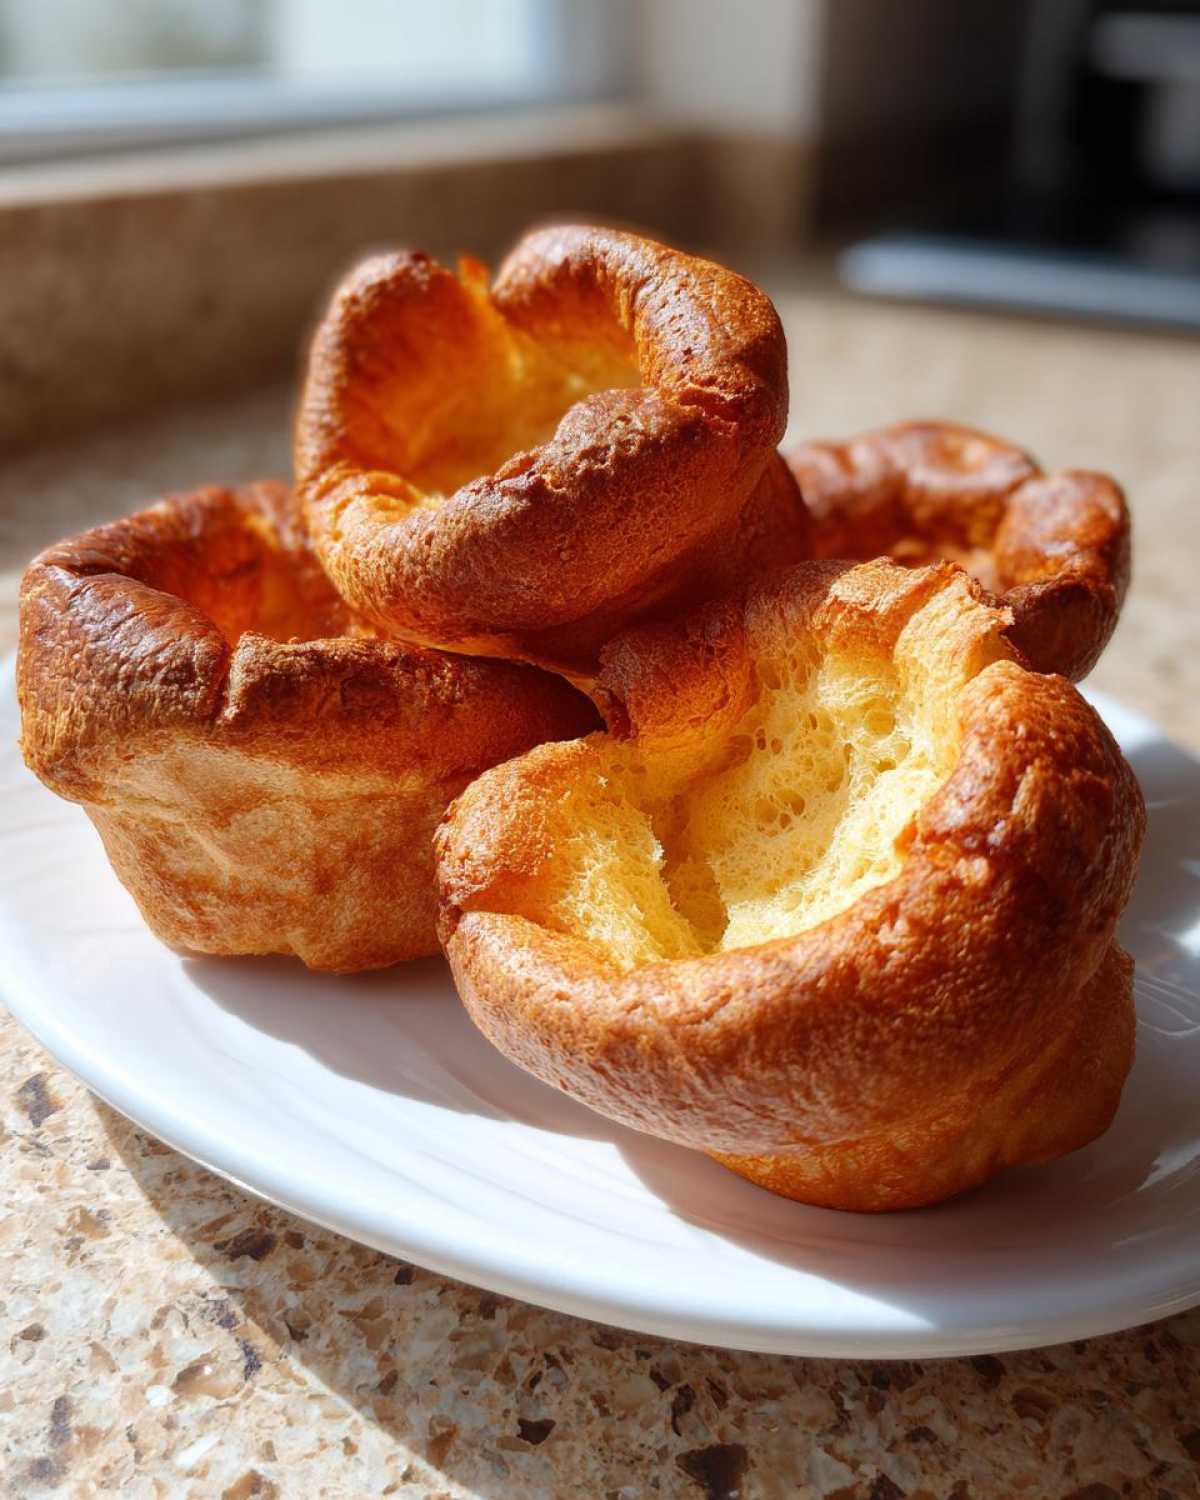
Oh, the sheer magic of watching a humble batter transform! When those golden edges shoot up towards the oven roof, that’s the moment I know I’ve captured something wonderful. Richard and I spent ages chasing that mythical perfect rise, trying to bottle the memory of those grand Sunday roasts from our travels. Trust me when I say we’ve cracked the code to the most foolproof Yorkshire pudding you will ever make. This recipe guarantees puddings that are shatteringly crispy on the outside and cloud-like fluffy on the inside. Forget flat, greasy disappointments; we’re making proper, towering British comfort food here.
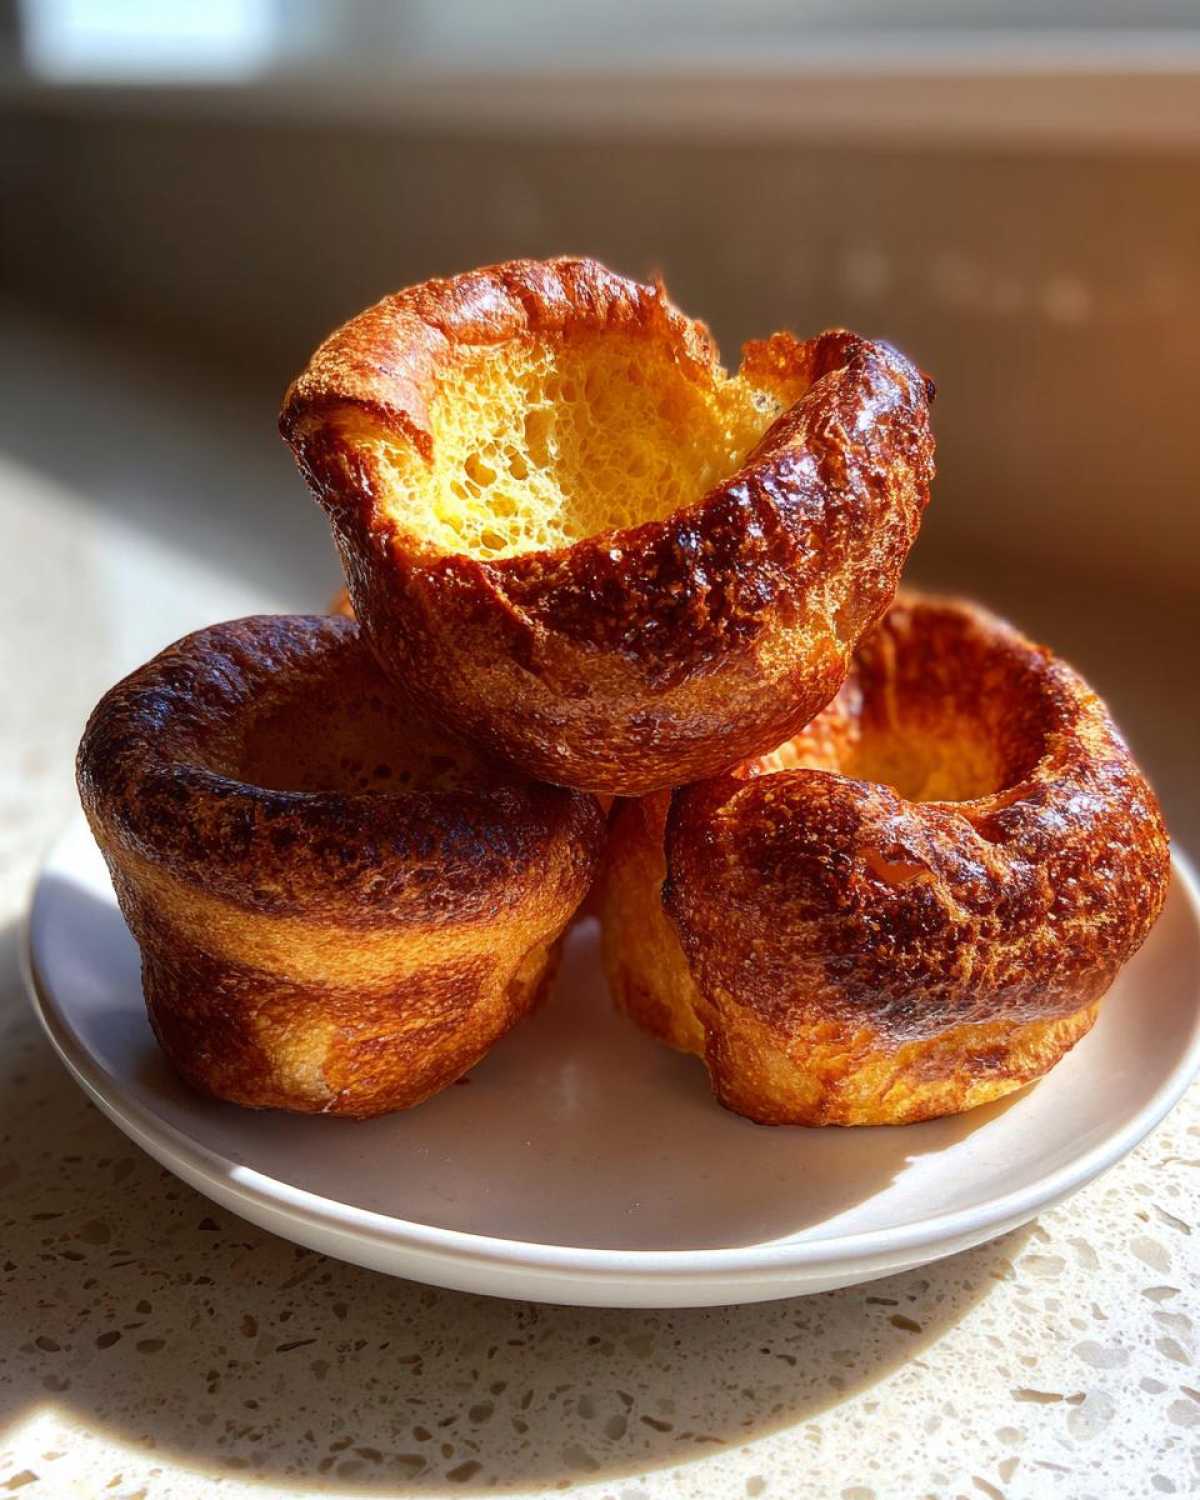
Why This Is the Best Yorkshire Pudding Recipe
I know what you’re thinking: every blogger promises the “Best Yorkshire Pudding,” right? But ours truly works, and it’s because we rely on the simplest, cheapest ingredients you already have tucked away. Flour, milk, eggs—it’s almost impossibly cost-effective comfort food! What sets this Yorkshire Pudding Recipe apart is its reliability. We’ve eliminated guesswork so you can serve up that impossibly crispy exterior wrapped around that soft, airy center every single Sunday.
If you love savory masterpieces, you should check out Richard’s recipe for classic beef stroganoff while you wait for your fat to heat up!
Achieving Tall, Golden Brown Puddings
The secret to those tall, proud puddings isn’t magic, I promise. It all comes down to temperature! If the fat in your tin isn’t screaming hot—I mean shimmering and almost smoking hot—the batter will just sit there cooling it down instead of immediately puffing up. Sticking to this rule is the key to those gorgeously fluffy Yorkshire puddings that make any plate feel like a feast.
Ingredients for Perfect Yorkshire Pudding
The best part about making these traditional British delights is just how delightfully simple the ingredient list is! Honestly, it feels criminal how easily these glorious puddings come together, especially when you consider how much flavor they bring to the table. We want that perfect balance, so please be precise with your measurements.
- 6 tablespoons beef dripping or vegetable oil
- 1 cup all-purpose flour (make absolutely sure it’s sifted!)
- 4 large eggs (the bigger the better, really)
- 1 cup whole milk
- Pinch of salt
Now, let’s talk about that fat. Traditionalists, like my Richard, swear by beef dripping. It provides an unbeatable flavor profile and a super high smoke point, which is crucial for achieving that beautiful rise in your Yorkshire pudding.
Ingredient Notes and Substitutions
If you want those maximum puffs, sometimes the temperature of your ingredients matters. Richard always used room-temperature eggs and milk when mixing the batter because he felt it helped achieve a smoother blend, though some folks swear by pouring cold batter into smoking hot fat (like Gordon Ramsay does!). It’s all part of the fun of experimentation!
When it comes to dietary needs, this recipe is easy to adapt. To make a vegetarian version, ditch the beef fat and stick strictly to a good quality vegetable oil. If you need a gluten free Yorkshire pudding, swap the standard all-purpose flour for a good quality 1-to-1 gluten-free blend. Just remember, no matter the flour, resting the batter is non-negotiable!
How to Make Yorkshire Puddings: Step-by-Step Instructions
Alright, let’s get down to business! Making Yorkshire pudding is a dance between patience and speed. You can’t rush the resting, but you have to work like the wind once the fat is hot! I’ve broken down our tried-and-true method below, just like we keep it written in our kitchen journal. You’ll be amazed at how simple this classic Yorkshire Pudding Recipe really is once you follow these steps.
Preparing the Easy Yorkshire Pudding Batter
First things first, we need that batter smooth as silk. Grab your biggest bowl because we don’t want any splashing later—I learned that the hard way when Richard nearly wore the first batch!
- You must start by sifting the flour and salt together. It’s not optional; sifting prevents those dreadful flour pockets.
- Make a nice little well in the center of your sifted flour mound. Think of it as a diving board for your eggs!
- Crack all four eggs right into that well. Then, using a whisk, start incorporating the flour from the sides, bit by bit.
- Once things start combining, slowly pour in that cup of whole milk while you whisk continuously. Don’t just dump it all in, or you’ll end up with lumps the size of peas.
Keep whisking gently but firmly until you have a thin, smooth liquid. It should definitely look runny, much thinner than pancake batter. Seriously, don’t worry if you see a few tiny specks—a perfectly smooth batter isn’t worth overmixing for! After that, cover your batter and let it rest. At least 30 minutes is good, but the longer it rests, the happier your puddings will be. You can even pop it in the fridge for a full day; it just enhances the final result. If you’re reading this while waiting, you might want to check out my notes on other easy recipes while your batter chills!
The Critical Step: Heating the Fat for Your Yorkshire Pudding
This is where we earn those tall, puffy edges, dear reader. While the batter rests, you need to get your oven blisteringly hot—450°F (230°C) is what the recipe calls for. Place about a teaspoon of your chosen fat—ideally beef dripping for authenticity—into each cup of your muffin tin (or roasting tin if you’re making a giant one).
Then, put that tin into the preheated oven. We aren’t adding batter for a good 15 minutes. That fat needs to be absolutely, positively smoking hot. It must be shimmering and just starting to haze smoke when you pull the tin out—that’s the heat needed to steam the batter immediately and create lift!
Baking for Fluffy Yorkshire Puddings
Work quickly here! Pull that screaming hot tin out, and pour the batter evenly into the shallow pools of fat. Fill them only about one-third full. Then, slide that tin *right* back into the oven where it belongs.
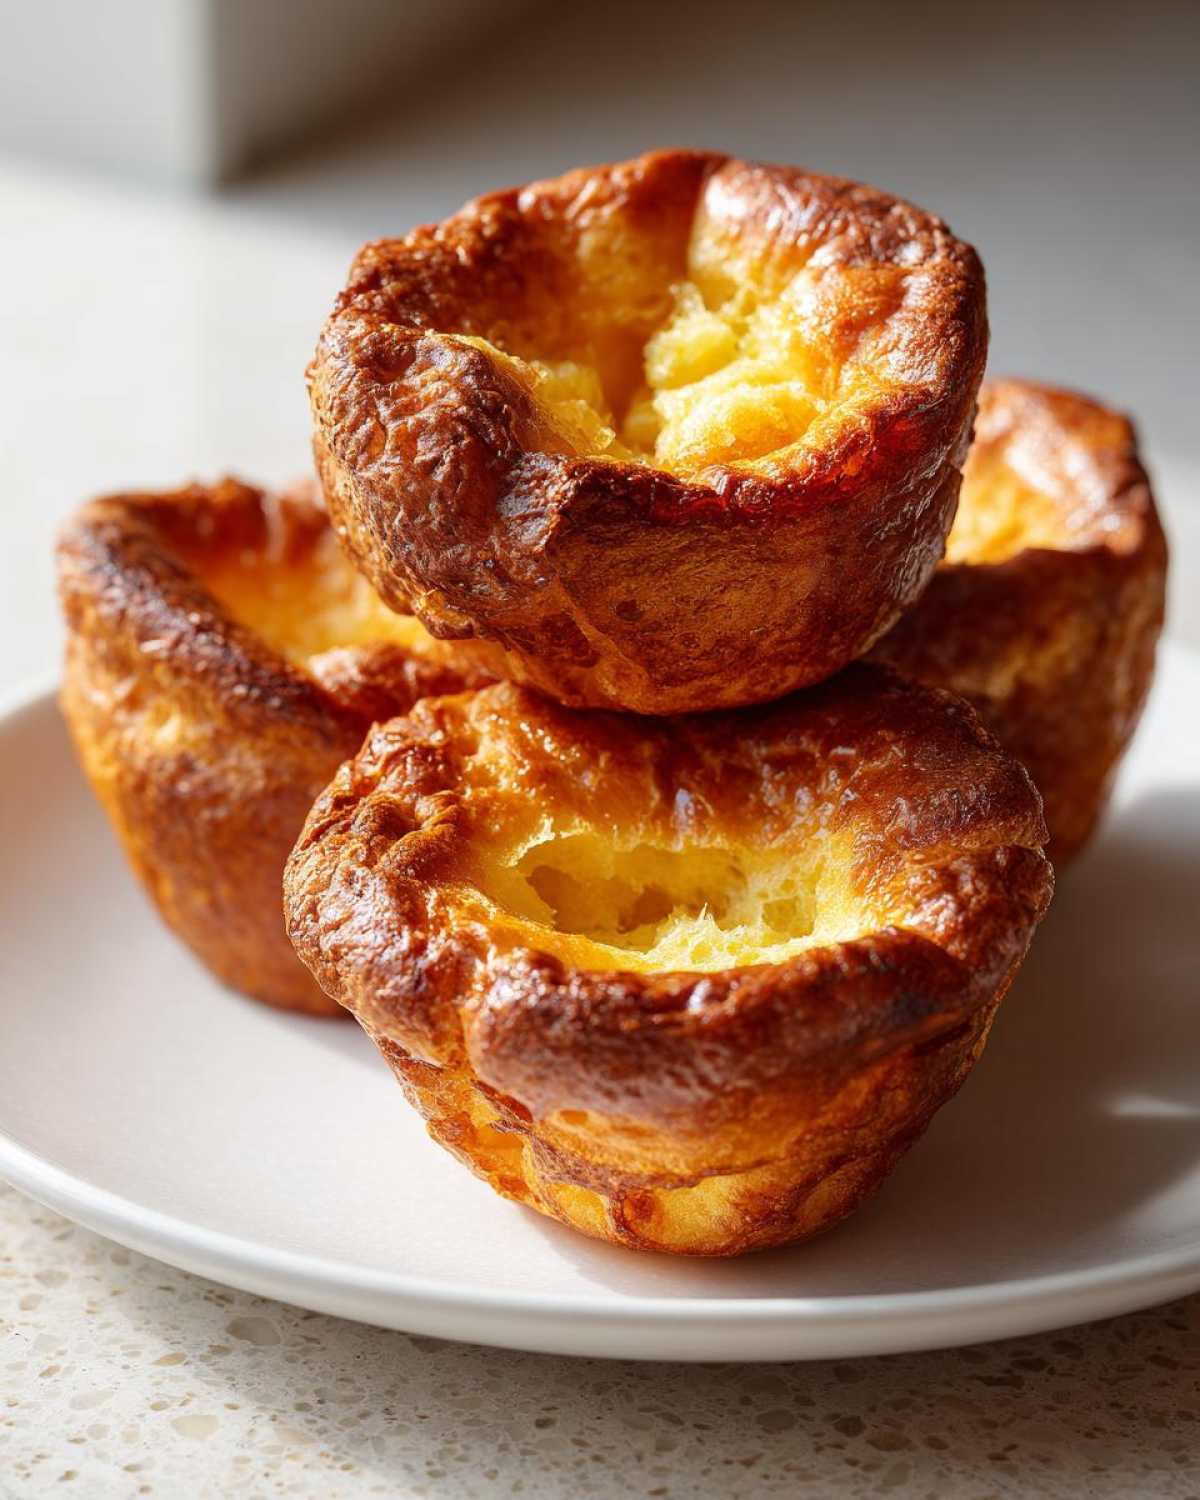
Now, here comes the hardest part of the entire process: resisting temptation! Do not, under any circumstances, open that oven door for the first 20 minutes. If you peek, you’ll drop the temperature and deflate perfectly good potential giants. Let them bake for 20 to 25 minutes. When they’re done, your fluffy Yorkshire puddings should be dramatically risen, deep golden brown all over, and undeniably crisp when you tap the side. They should sound hollow!
Yorkshire Pudding Tips and Tricks for Success
We’ve all been there—expecting a golden tower and ending up with sad, flat puddings that look more like pancakes. Don’t you worry about that with this recipe! Building that reliable height comes down to respecting three basic rules, the sort of hard-earned wisdom Richard and I collected over the years.
First, the batter rest time. I know you’re hungry, but that 30 minutes (or more!) allows the starch in the flour to fully hydrate. This creates a stronger network, which traps the steam better when it hits the heat. It really is worth the wait.
Second, the heat of the fat needs to be aggressive. If the oil isn’t smoking, your Easy Yorkshire Pudding Batter isn’t going to puff properly. That instantaneous sear around the base is what forces the batter up, up, up! If you want to see what a master does, sometimes I follow this popular method, where they take the batter even colder than room temperature right before it hits that hot fat.
Finally, the oven door is your enemy during the first 20 minutes. Seriously, step away! If you’re looking for amazing flavors to go alongside your perfect puddings, you simply must try the glaze on my honey mustard chicken thighs—it’s unbelievable.
Remember, achieving those perfectly crispy Yorkshire puddings is less about complicated steps and more about respecting those critical heat moments!
Serving Suggestions for Your Traditional British Side Dish
A perfect Yorkshire pudding is never meant to stand alone, is it? Truly, they are the absolute foundation of a spectacular Sunday roast. Richard and I learned this best in the UK, where these glorious puffed-up vessels are non-negotiable alongside a hearty portion of roast beef.
The rich, dark gravy—that’s what makes them sing! You want to bake these big enough so they create a natural crater in the middle, ready to hold all that savory goodness. Don’t be shy with the gravy; make sure you absolutely drench the center until your fluffy Yorkshire puddings are tender on the inside from soaking it all up.
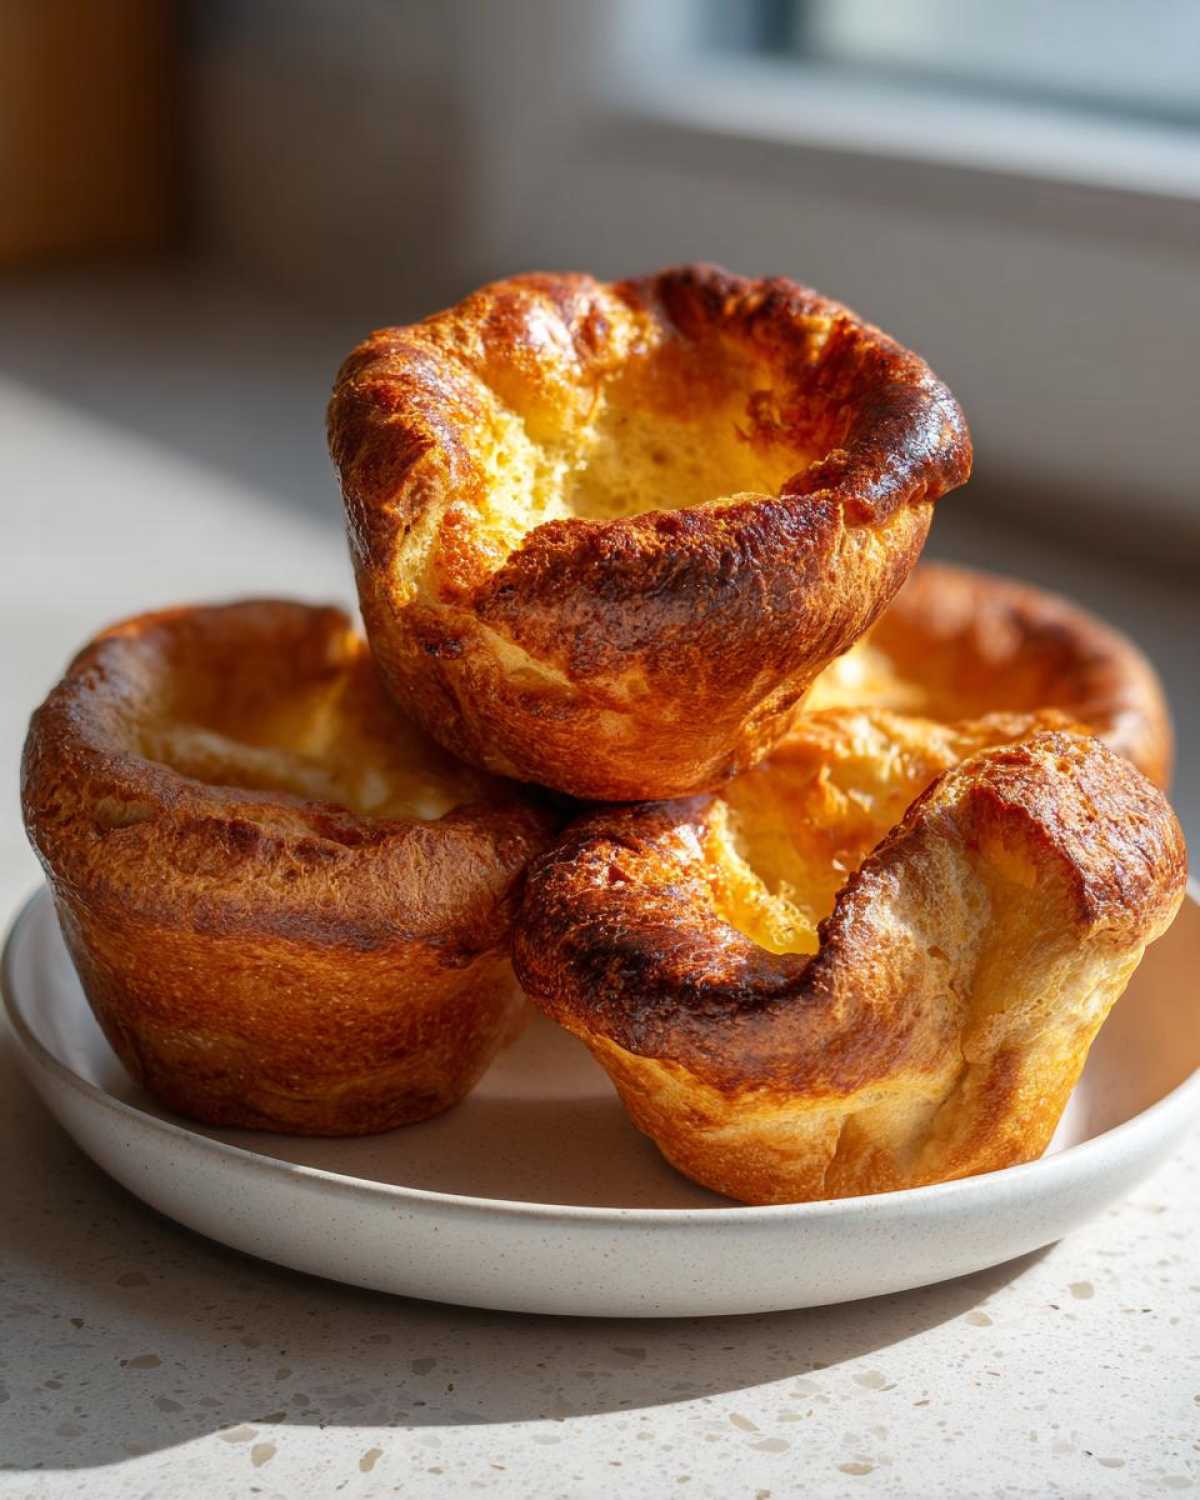
If you aren’t serving them with roast beef, they are equally marvelous accompanying roast chicken or lamb. They are truly the best roast dinner accompaniment you could ask for. We sometimes make them smaller, calling them puffy popovers when we serve them with a schmear of savory butter instead of gravy. They are so versatile once you master the basic recipe.
Storing and Reheating Crispy Yorkshire Puddings
Now, this is a subject close to my heart, because when you finally achieve those perfect, towering shapes, you absolutely don’t want them deteriorating overnight! Luckily, these puddings are quite robust if stored correctly. If you have any leftovers—which I doubt, knowing Richard!
If you must save them, let them cool down completely on a wire rack first. Don’t cover them while they’re warm, or you are inviting condensation and sogginess, and we have worked too hard for that! Once totally cooled, store them in a loosely covered paper bag—a plastic container traps moisture, which is the enemy of crispiness.
If you’re looking to reheat, please, please, *please* ditch the microwave. Microwaved Yorkshire puddings are just sad, limp things. The best way to resurrect their glory is in a hot oven. Set your oven to about 375°F (190°C). Pop the cold puddings directly onto a baking tray and heat them for about 5 to 7 minutes. This blast of dry heat sucks out any lingering moisture and makes the outsides crisp up just like when they were first baked. They come out golden and ready for gravy again!
Variations on the Classic Yorkshire Pudding Recipe
While the recipe we’ve perfected here is designed for 12 beautiful, individual servings, you might sometimes want a showstopper or perhaps a quick batch for just two people. Versatility is part of what makes this Yorkshire Pudding Recipe so fantastic in our home kitchen.
If you’re feeling ambitious or hosting a big crowd, you can easily scale this up to make one giant pudding in a 9×13 inch roasting tin. Just make sure that roasting tin gets properly coated with that smoking hot fat—that’s the real key when you increase the surface area!
For a lighter touch, or if you just aren’t serving roast beef, these can be made completely vegetarian. Skip the beef dripping entirely. Using a good quality vegetable oil or even refined lard will still get you that incredible puff, though you lose a touch of that deep, savory roast flavor Richard misses so much. I still think they are delicious when served with my no-bake Nutella pie—just kidding! (But they are lovely with savory fillings, too.)
We also get asked quite a bit about dietary swaps. If you need a Gluten Free Yorkshire Pudding, you certainly can achieve it! Always use a specific 1-to-1 gluten-free flour blend in place of the all-purpose flour. Keep all the ratios the same, and most importantly, don’t skip the resting time. It helps those alternative flours hydrate properly to give you a better structure.
Frequently Asked Questions About Yorkshire Pudding
Richard and I get so many lovely messages asking about those little hiccups people run into when trying to master this classic dish. It’s all part of the journey to making the best Yorkshire pudding! Here are the three things we hear about most often regarding texture and timing.
Can I make the Yorkshire Pudding batter the night before?
Oh yes, you absolutely can! In fact, I highly recommend it, especially if you are planning a busy Sunday lunch. The recipe notes mention resting the batter at room temperature for 30 minutes, but letting it rest longer—even overnight in the fridge—is fantastic for the final texture. That extended rest lets the flour fully absorb the liquid. The batter might look a little thicker in the morning, but just give it a gentle whisk and you are ready to go. It often results in even more dramatic puff!
What is the best fat to use for the highest rise?
If you want that towering height in your fluffy Yorkshire puddings, you have to go with beef dripping. Nothing beats it for flavor, really, and it has a smoke point so high that it tolerates the intense oven heat needed to make them balloon. If you can’t get dripping, use a neutral, high smoke point oil like canola or sunflower oil. But please, whatever fat you choose, just make sure that pan is scorching hot before that batter meets metal!
Why did my puddings collapse after coming out of the oven?
This is the saddest kitchen moment, isn’t it? Nine times out of ten, if your puddings rise initially and then deflate swiftly, it means one of two things happened inside the oven. Either you cracked the door open too soon—before that gluten structure had fully set—or that initial fat wasn’t hot enough to shock the batter into puffing immediately. A weak structure can’t support the steam when the external heat source (you opening the door!) is removed. We have to trust the process and let them bake undisturbed!
If you have any other burning questions about your homemade British comfort food, please don’t hesitate to reach out via our contact page. We love hearing from you!
Nutritional Estimate for Homemade British Comfort Food
Now, Richard is always reminding me that while flavor is my number one pursuit, some of you dear readers appreciate knowing what you’re tucking into, especially when making these a regular part of your weeknight rotation. Since these Yorkshire puddings use such simple staples, they are surprisingly light, but that fat choice really does make a difference in the final count!
Here is the basic estimation per individual pudding using standard measurements. Remember, this is just a ballpark guide—if you swap vegetable oil for proper beef dripping, things will shift slightly, of course! We always prefer the flavor, but this information is good to have on hand.
- Serving Size: 1 pudding
- Calories: 130
- Fat: 7g (This will depend heavily on whether you use dripping or oil!)
- Carbohydrates: 13g
- Protein: 5g
- Sugar: 1g
- Sodium: 45mg
See? Very straightforward! These are wonderful because they rely on basic flour and milk, meaning they generally save you much of the sugar and processing found in store-bought sides. They are fantastic homemade British comfort food that doesn’t break the bank nutritionally or financially. Enjoy them guilt-free alongside your gravy!
PrintThe Perfect Foolproof Yorkshire Pudding: Crispy Outside, Fluffy Inside

Learn how to make classic British Yorkshire puddings that puff up tall, stay crispy on the outside, and remain light and airy inside. This recipe is simple and delivers perfect results for your Sunday roast.
- Prep Time: 10 min
- Cook Time: 25 min
- Total Time: 35 min
- Yield: 12 individual puddings
- Category: Side Dish
- Method: Baking
- Cuisine: British
- Diet: Vegetarian
Ingredients
- 6 tablespoons beef dripping or vegetable oil
- 1 cup all-purpose flour
- 4 large eggs
- 1 cup whole milk
- Pinch of salt
Instructions
- Place a 12-hole muffin tin (or a roasting tin for larger puddings) into the oven. Add about 1 teaspoon of beef dripping or oil into each cup.
- Preheat your oven to 450°F (230°C). The fat must be smoking hot before you add the batter.
- While the fat heats, make the batter. Sift the flour and salt into a large bowl. Make a well in the center.
- Crack the eggs into the well. Begin whisking the eggs, gradually incorporating the flour from the sides.
- Slowly pour in the milk while continuously whisking until you have a smooth, thin batter, similar in consistency to thin cream. Do not overmix; a few small lumps are acceptable.
- Let the batter rest at room temperature for at least 30 minutes, or chill for up to several hours. This resting period helps achieve a better rise.
- Carefully remove the hot tin from the oven. The fat should be shimmering and smoking slightly. Work quickly to avoid losing heat.
- Pour the batter evenly into the hot fat, filling each cup about one-third full.
- Immediately return the tin to the hot oven. Do not open the oven door for at least 20 minutes.
- Bake for 20 to 25 minutes, or until the puddings are well-risen, deep golden brown, and crisp.
- Serve your fluffy Yorkshire puddings immediately with roast beef and gravy.
Notes
- The secret to a great rise is extremely hot fat. If you are making a large pudding in a roasting tin, ensure the fat is smoking hot before pouring in the batter.
- For individual puddings, use a 12-hole muffin tin. For a large pudding, use a 9×13 inch roasting pan.
- If you want to try Gordon Ramsay Yorkshire Pudding technique, ensure your batter is very cold before pouring it into the smoking hot fat.
- This recipe uses simple pantry ingredients, making it a cost-effective side dish.
Nutrition
- Serving Size: 1 pudding
- Calories: 130
- Sugar: 1
- Sodium: 45
- Fat: 7
- Saturated Fat: 2
- Unsaturated Fat: 5
- Trans Fat: 0
- Carbohydrates: 13
- Fiber: 0
- Protein: 5
- Cholesterol: 75