

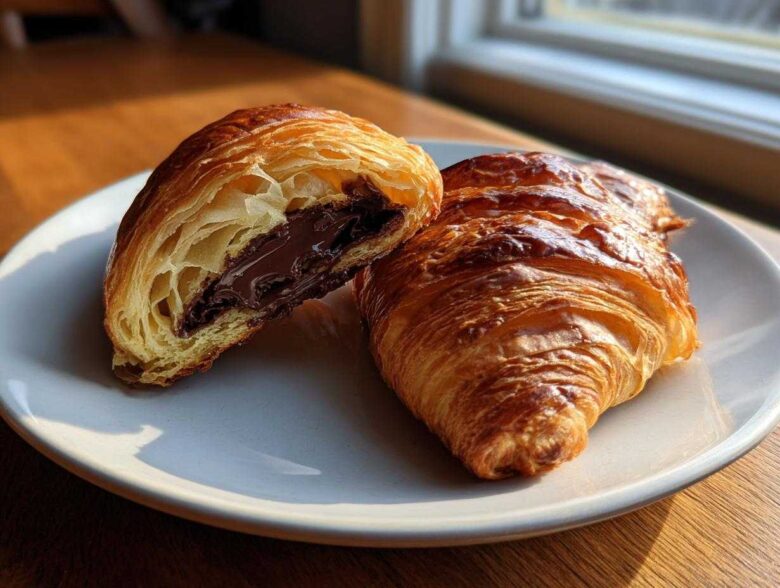
Oh, the chocolate croissant. That heavenly, buttery, shatteringly flaky pastry straight from a Parisian bakery. Doesn’t the thought of one with a cup of coffee just instantly make your morning better? I used to think making authentic Pain Au Chocolat at home was impossible unless I dedicated an entire weekend to folding butter into dough. Forget that! I was craving those gooey chocolate centers far too often for that level of commitment.
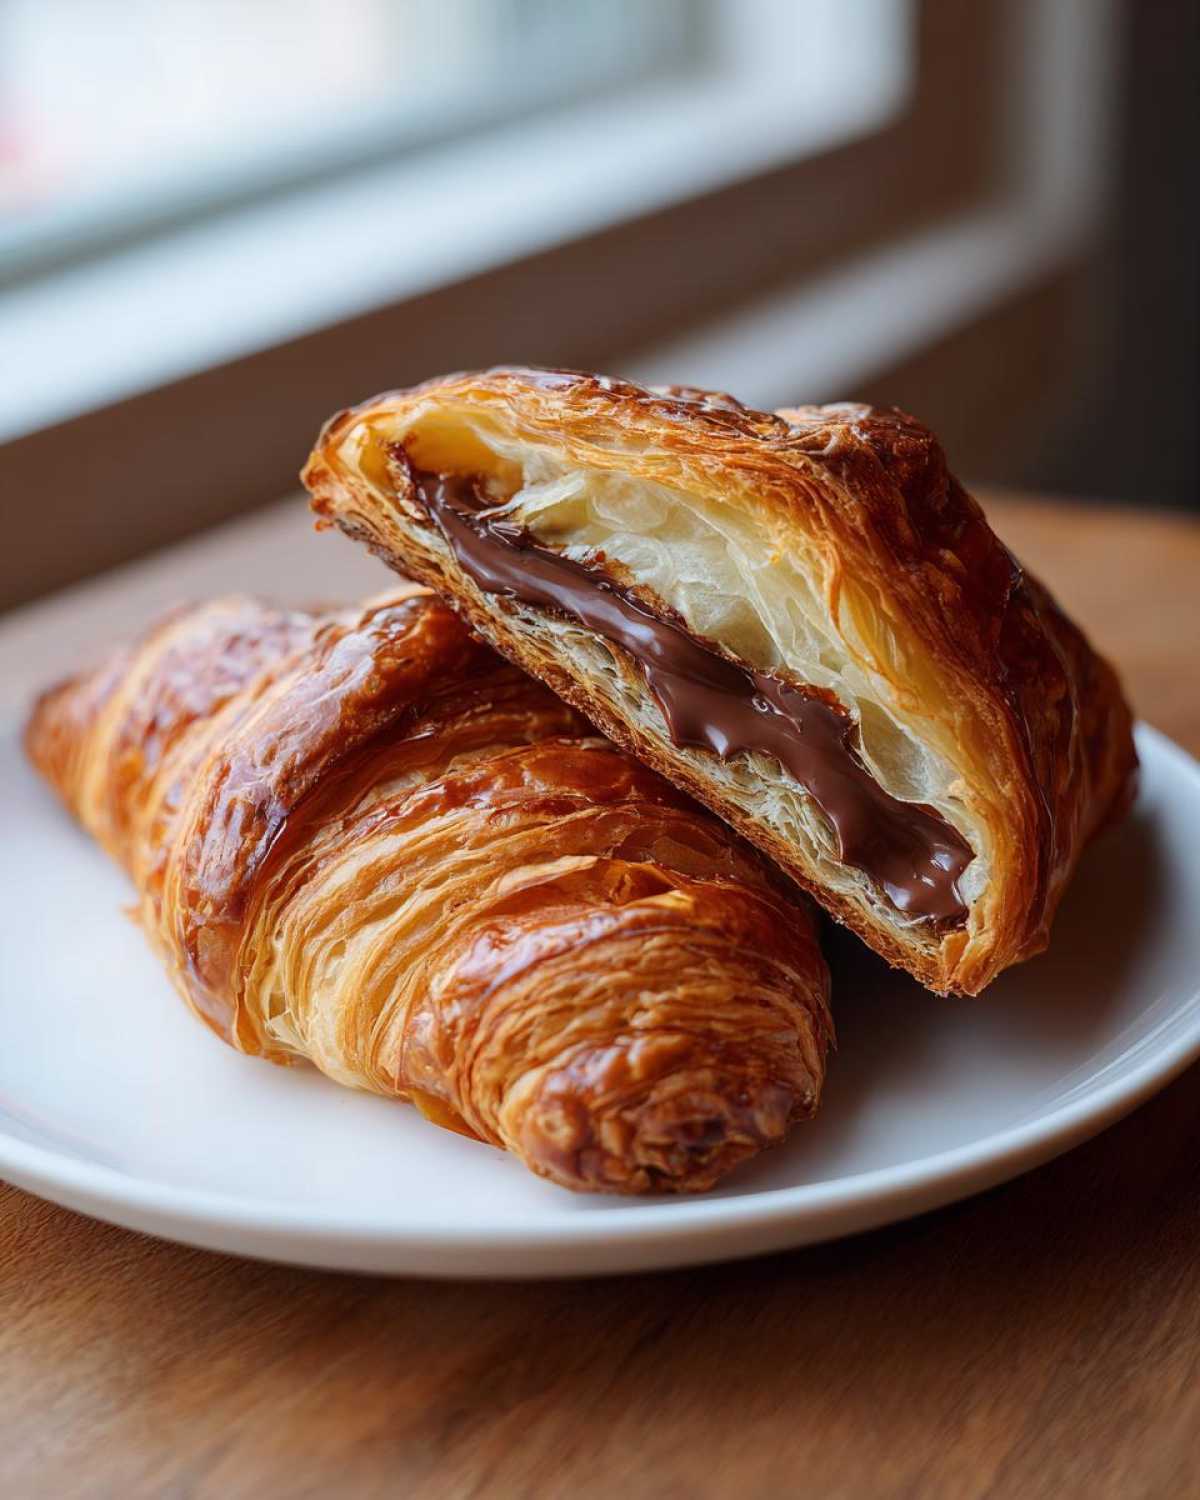
So, I cracked the code for the ultimate indulgence: this 40-Minute Flaky **chocolate croissant** hack. Trust me, we are using store-bought puff pastry here, and nobody, absolutely nobody, will know the difference. My goal was simple: bakery quality texture with barely any effort. If you need that perfect, buttery bite for your next weekend brunch without the all-day laminated dough struggle, you are in the absolute right place! If you love a good, fast recipe, you might also want to check out my air-fryer version if you’re trying to get them crispy even faster, check out these air-fryer secrets!
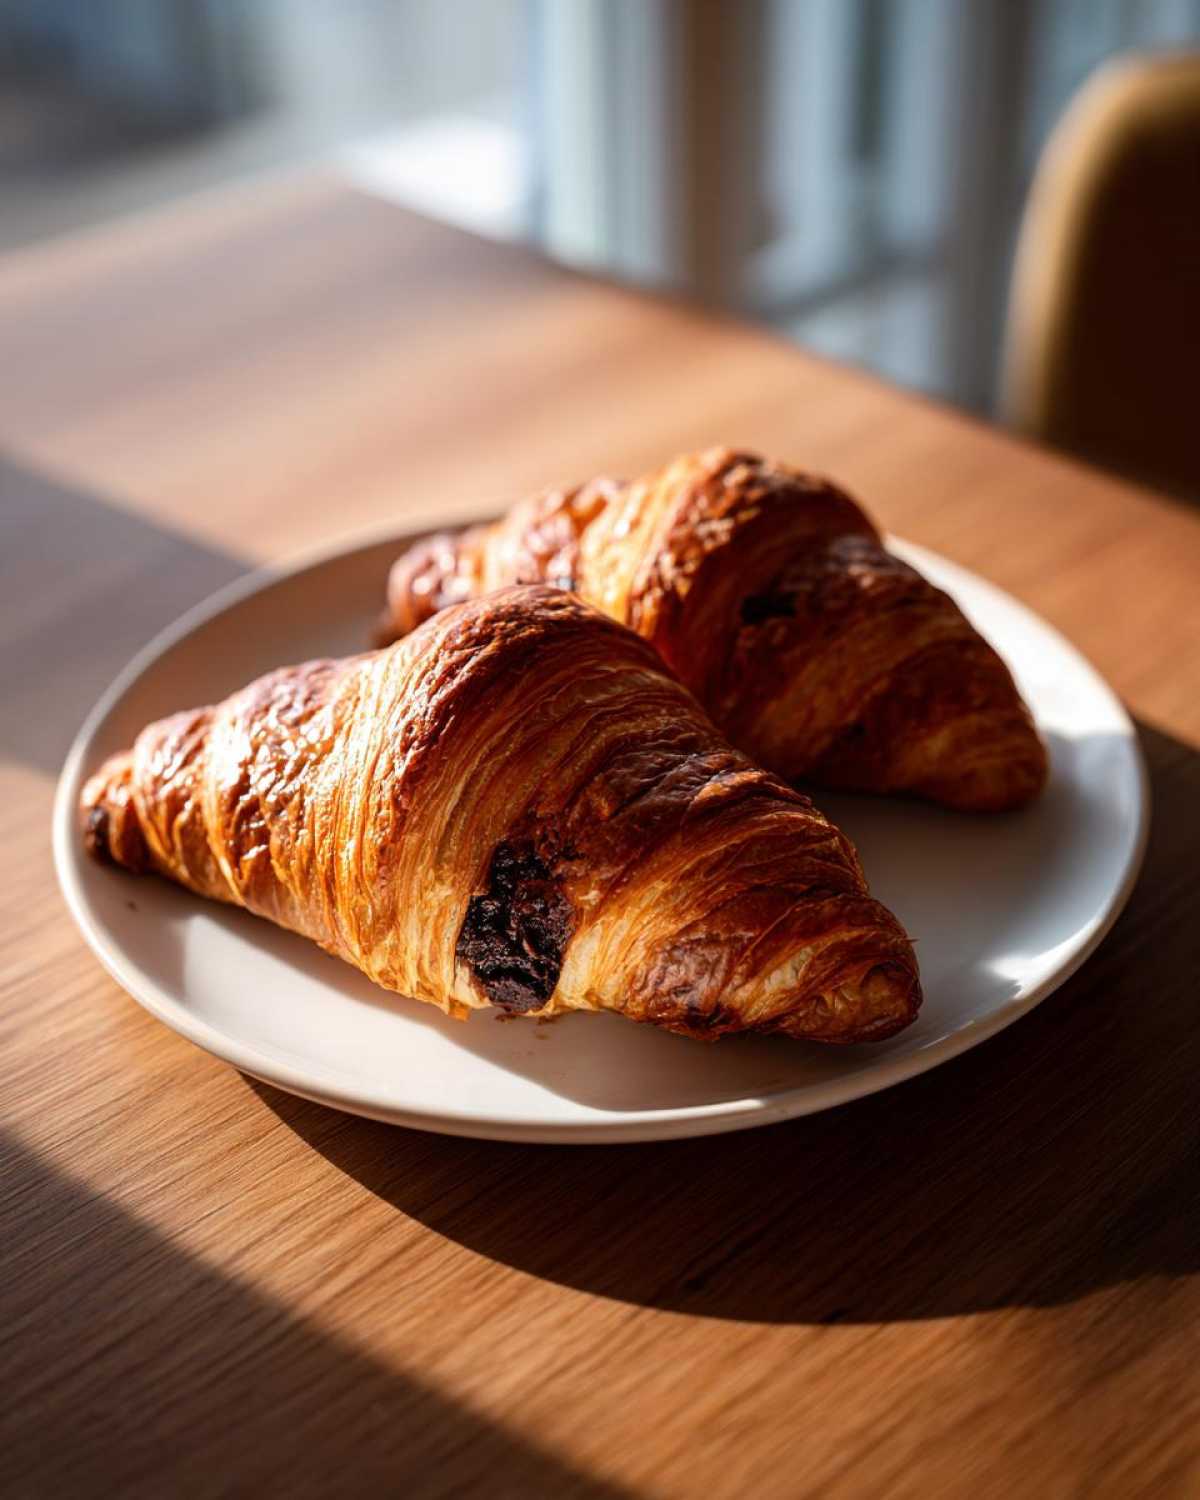
Why This 40-Minute Chocolate Croissant Recipe Works (Shortcut Success)
Honestly, the beauty of this recipe is that we’re letting technology do the hard work for us! Store-bought puff pastry is pre-laminated, meaning those hundreds of paper-thin, buttery layers are already built in. We just have to roll them up correctly around the chocolate.
- Achieving Bakery Style Pastries Quickly: You get that incredible visual appeal—big, puffed-up shells—in just 20 minutes of baking time. The taste is wonderfully buttery, even though we skipped the whole two-day lamination process.
- The Perfect Gooey Chocolate Center: Using those small chocolate batons or sticks is the secret weapon here. They melt perfectly into two distinct, gooey pockets instead of just turning the center into a big chocolate puddle. It makes every bite feel intentional.
If you’re looking for more quick meals to liven up your mornings, make sure you see what else is cooking over in my breakfast category!
Ingredients Needed for Your Chocolate Croissant
Okay, so since this is our quick hack recipe, the ingredient list is beautifully short. I always keep a sheet of puff pastry tucked away in the freezer for these emergencies—I mean, cravings! Transparency is everything, so I’m going to be super specific about the chocolate so you get those lovely, distinct chocolate pockets instead of a mess.
For the best results, make sure the puff pastry is completely thawed but still very cold when you start rolling. Don’t microwave it, or you’ll melt all those beautiful layers we are trying to utilize!
- One full sheet of frozen puff pastry (you usually get about 10 ounces), and this absolutely has to be thawed before you even think about touching it.
- About 4 ounces of really good semi-sweet or dark chocolate. You need to cut this into 8 small sticks—think the same size as those little chocolate batons you buy specifically for baking. If your chocolate chunks are too big, they might melt right out and make baking tricky.
- One large egg, just one! We are beating this up really well with a splash of water. This is our glaze, and it’s what makes them shiny and golden brown instead of pale and sad.
- One tiny splash of water to thin out that egg wash just a hair.
That’s it! Now, if you want to see another amazing way I use minimal ingredients to get maximum flavor—like in my banana bread—you should peek at my moist chocolate chip banana bread recipe. But for now, let’s get these pastries rolled!
Step-by-Step Instructions for Homemade Pain Au Chocolat
Alright, this is where the magic seriously happens! Even though we are using a shortcut, we still need to treat this pastry with respect so those layers puff up nicely. Grab your parchment paper, because we don’t want any sticking disasters right at the finish line. If you want the deep dive on making traditional laminated dough, I cover that mess over in my guide on how to make croissants at home, but for today, we are moving fast!
Preparing the Puff Pastry and Chocolate Placement
First thing: get that oven warmed up to 400°F (200°C) and line a baking sheet with parchment paper. Now, take your thawed puff pastry sheet and gently unfold it onto a surface lightly dusted with flour. You’re going to cut this sheet right down the middle lengthwise, giving you two long rectangles. Next, cut each of those long pieces crosswise so you have four smaller pieces from each, totaling eight rectangles. See? We’re already halfway to a dozen! Now for the fun part: lay one piece of chocolate near the very short edge of one rectangle. Fold that pastry edge just over the chocolate once. Place a second chocolate piece right next to that newly formed edge, and then roll the rest of the strip snugly around it. You end up with a lovely croissant that has two separate chocolate sections waiting inside!
Egg Wash Application and Baking the Chocolate Croissant
Once all eight of your little beauties are rolled, place them seam-side down onto that prepared sheet. Don’t let them sit too long! Now, let’s mix up the egg wash. Just whisk that one egg really well with one tablespoon of water until everything is uniform. Brush this mixture generously all over the tops and sides of every pastry. This ensures they turn that gorgeous, deep golden color we want. Slide them into the preheated oven. You’re looking for 15 to 20 minutes of baking time. They are done when they look completely puffed up and wonderfully flaky. Pull them out and let them cool for just a few minutes before diving in!
Tips for Perfect Flaky Layers in Your Chocolate Croissant
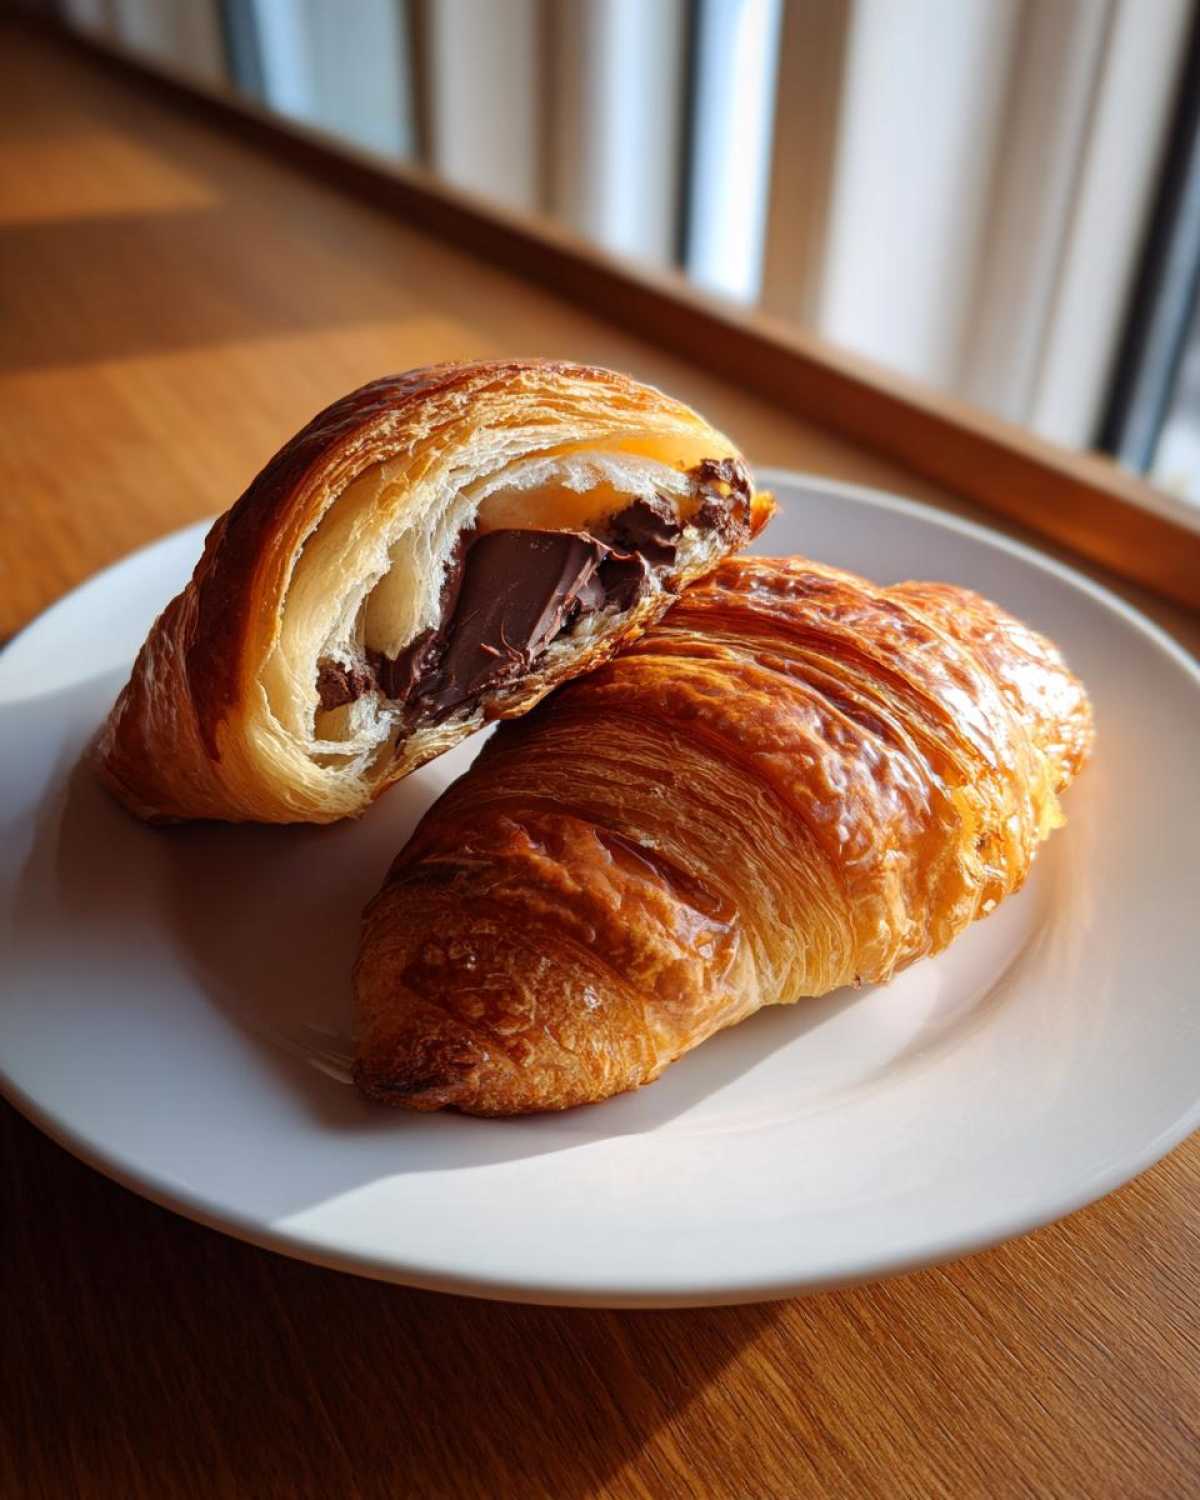
Even though this is the shortcut method, we still need to be smart about how we handle the pastry if we want those unbelievable, airy, flaky layers. I’ve messed up batches by rushing the thawing process, and believe me, it makes a difference. You want the butter inside that dough to be firm but pliable; if it gets too warm before it hits the oven, the layers just melt together instead of steaming apart into greatness. We want steam separation!
If you are obsessed with crispness—and you should be—I highly recommend putting a shallow pan of water right on the rack below your croissants while they bake. That little bit of steam helps the pastry puff up higher before the crust sets too hard. It mimics a professional baker’s steam injection, and you can read more about how important that structure is for perfect flaky layers in baking right here.
Ingredient Notes and Substitution Guidance
Let’s talk chocolate again because this can seriously make or break the experience when you bite in. Please, please use good quality dark or semi-sweet chocolate. The flavor really shines through when it melts. If you accidentally bought one big, thick stick of baking chocolate instead of the smaller batons, don’t panic! You can absolutely use that thick stick, but I would suggest using only one baton per croissant instead of two smaller ones. Why? If the chocolate chunk is too thick or too concentrated in the middle, it can prevent the dough immediately surrounding it from cooking properly, leading to a denser spot right where you want that beautiful flaky air pocket.
Serving Suggestions for Buttery Croissants
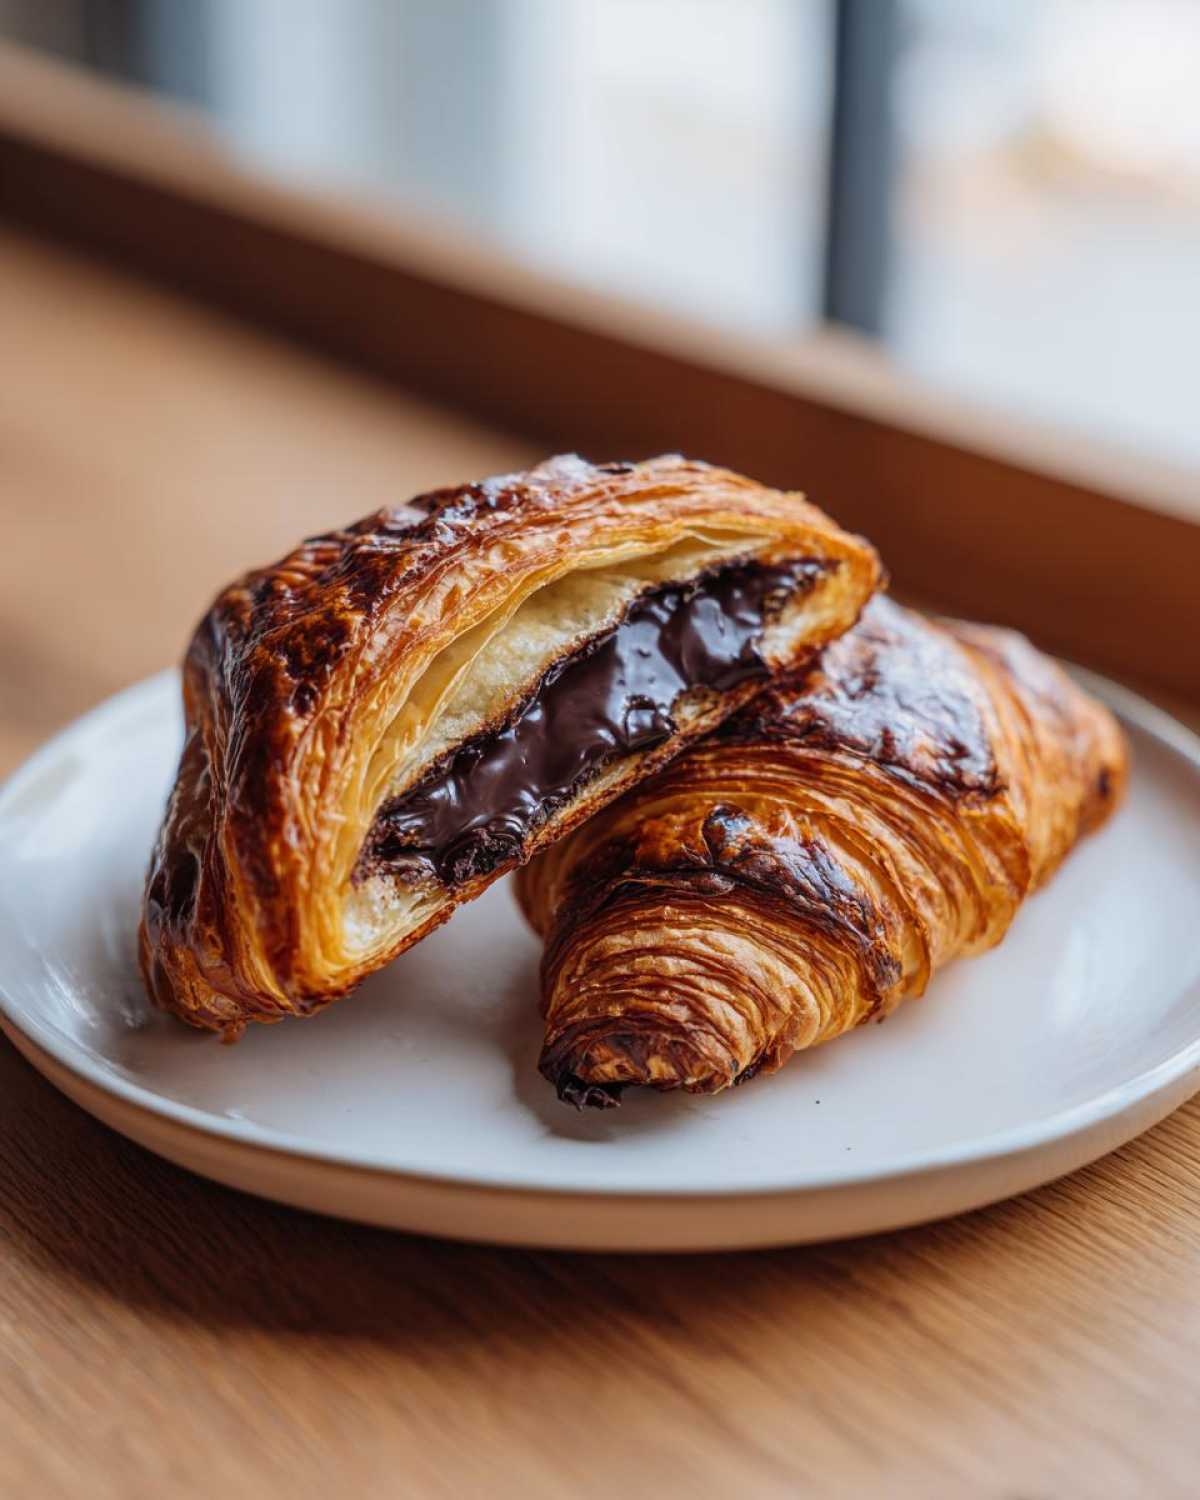
These gorgeous, buttery croissants are practically begging to be the star of whatever meal you put them in! Since they are already so rich and have that hidden pocket of melted chocolate, you don’t need much else on the plate. For a classic French breakfast vibe, just serve them warm alongside some strong, dark coffee or maybe a lovely café au lait.
If you’re serving these up for a weekend brunch, they pair beautifully with fresh fruit. Think about a bowl of mixed berries—strawberries, raspberries—that tartness cuts right through the richness of the pastry and the chocolate. A side of plain Greek yogurt or maybe some whipped mascarpone makes for a lighter, lovely accompaniment too.
And listen, after they come out of the oven and they are still warm? That is the perfect moment to add a little extra sparkle. Remember that simple sugar glaze I mentioned? Take about a quarter cup of powdered sugar and mix it with just a teaspoon of water until it’s smooth enough to drizzle. A quick zigzag of that glaze right over the top makes them look like they’ve just arrived from the finest patisserie. It’s optional, of course, but highly encouraged for truly indulgent mornings! If you’re feeling ambitious with your finishing touches, perhaps using glazes in other recipes, like for these honey mustard chicken thighs, can give you some fun ideas for sweet coatings!
Storage and Reheating Puff Pastry Croissants
Dying an untimely death in the pantry is not an option for these beauties, right? Luckily, these quick chocolate croissants are pretty durable! If you manage to have any leftovers—which is a huge accomplishment in my house—storing them is super easy. You just need a dry environment, so grab an airtight container.
Keep them at room temperature. Do *not* stick them in the fridge! Refrigeration pulls all the moisture out of the pastry layers, and they become sad and leathery. An airtight space at room temp should keep them perfectly fine for maybe two days, though I doubt they’ll last that long.
Now, reheating is where you bring back that fresh-out-of-the-oven magic. The microwave speeds up reheating, yes, but it turns the flaky pastry instantly soft and chewy. We absolutely do not want that! The best way to revive that crispness is using dry heat.
I swear by the toaster oven for quick revival. Pop your leftover pastry in there for just about 3 to 4 minutes at about 350°F (175°C). If you don’t have a toaster oven, a regular oven works great too, but give it a few minutes longer to heat up. If you’re using your main oven, just warm it up slightly (around 325°F) and heat them for 5 to 7 minutes until you hear that slight crackle when you touch them. For more great tips on reviving baked goods, my friends who love their air fryers swear by the method I shared for making air fryer cinnamon sugar donuts crispy again!
Frequently Asked Questions About Making Chocolate Croissants
I totally get it—when you’re diving into a new pastry recipe, you always have a few nagging questions. Especially when you’re relying on brilliant shortcuts! People often ask me if this recipe is still considered authentic Pain Au Chocolat if we aren’t spending three days laminating butter. Here are the things I hear most often about getting these **easy croissants** just right.
Can I make these chocolate croissants completely from scratch?
Oh, you absolutely can! But you should know what you’re signing up for. Making traditional croissants from scratch means lamination—folding butter into the dough over and over again, chilling it repeatedly, and basically becoming one with your refrigerator for about 48 hours. It’s a gorgeous process, and the results are incredible, but it’s a commitment! That’s why I developed this **quick chocolate pastry** recipe. If you have the time and dedication for the long haul, I wrote up the whole traditional method, but for your standard weeknight craving, this puff pastry hack is unbeatable for speed and flavor.
What is the best way to get a shiny top on my Homemade Pain Au Chocolat?
This is all about the egg wash shine! We used a simple wash of one part water to one part egg, and brushing it on generously before baking is crucial. That mixture cooks into a beautiful, thin, golden varnish. If you want that real, deep, almost lacquered shine you see in fancy glass display cases? Try this: after the croissants come out of the oven, let them cool for just one minute until they are very hot but not steaming. Then, take that ultra-thin sugar glaze I mentioned—just powdered sugar and a tiny bit of water—and quickly drizzle or brush it over the top. The warmth makes the glaze set quickly with an extra glossy finish. You can find all the details for that glaze topping in my full recipe instructions, which really elevates the whole presentation!
If you’re still interested in streamlining your baking routine, check out my guide on finding the easiest easy croissants alternatives!
Estimated Nutritional Data for One Chocolate Croissant
Now, let’s talk fuel! I want to be perfectly honest with you—when you’re making something this indulgent, the nutrition isn’t really the main selling point, right? But I know some of you like to keep track, so I calculated the approximate values based on the standard ingredients we used in this shortcut recipe. Because we are using store-bought puff pastry which already contains fat layers, these definitely fall into the “treat” column!
If you’re interested in learning how slight tweaks to ingredients, like water-to-chia ratios, can totally change the nutritional profile of other recipes, I cover some interesting comparisons in my post about protein chia pudding liquids. But for these buttery pastries, here’s what one serving tends to clock in at:
- Serving Size: 1 croissant
- Calories: 280
- Sugar: 12g
- Sodium: 250mg
- Total Fat: 18g
- Saturated Fat: 10g
- Carbohydrates: 25g
- Protein: 4g
- Cholesterol: 55mg
Remember, these are just estimates! The type of chocolate you choose—whether you use semi-sweet or go for something richer like bittersweet—will absolutely change the sugar and fat content. Use the weight of the puff pastry as your main consistency factor, and know that whatever you use, these **buttery croissants** are worth every single calorie when they’re warm!
Share Your Bakery-Style Chocolate Croissant Creations
Now that you’ve whipped up a batch of these amazing shortcut chocolate croissants, I really, truly want to see your results! Seriously, sending me photos is like getting mail—it just brightens my whole day. There’s nothing better than knowing someone else in the world is enjoying a flaky, gooey French breakfast treat that started in my kitchen and landed in theirs.
Please, take a moment to scroll back up or down and leave a star rating for the recipe. It helps other people trying to decide if this quick hack is worth their time, and I’m betting you’ll be leaving five stars!
Did the chocolate ooze exactly right? Did your layers puff up like perfect little pillows? Drop all your comments, hints, hacks, and experiences right below in the comment section. I read every single one!
And if you took a gorgeous picture of your golden-brown, **homemade Pain Au Chocolat** fresh out of the oven, tag me on social media! It’s always so fun to see how they look on your counters. Happy baking, and I can’t wait to hear how much you loved this easy, buttery pastry!
For more fun baking explorations and recipe ideas, make sure you check out what’s new over on the main blog!
Print40-Minute Flaky Chocolate Croissants Using Puff Pastry (Pain Au Chocolat Hack)

Make bakery-style chocolate croissants quickly using store-bought puff pastry for a flaky, buttery breakfast treat with a rich chocolate center.
- Prep Time: 15 min
- Cook Time: 20 min
- Total Time: 35 min
- Yield: 8 servings
- Category: Breakfast
- Method: Baking
- Cuisine: French
- Diet: Vegetarian
Ingredients
- 1 sheet frozen puff pastry (about 10 oz), thawed
- 4 oz semi-sweet or dark chocolate, cut into 8 small sticks (or use chocolate batons)
- 1 large egg, beaten (for egg wash)
- 1 tablespoon water
Instructions
- Preheat your oven to 400°F (200°C). Line a baking sheet with parchment paper.
- Unfold the thawed puff pastry sheet onto a lightly floured surface. Cut the sheet in half lengthwise to create two long rectangles.
- Cut each long rectangle crosswise into four equal pieces, resulting in eight smaller rectangles total.
- Place one piece of chocolate near the short edge of one rectangle. Roll the pastry over the chocolate once. Place a second piece of chocolate near the new edge and continue rolling until you reach the end of the pastry strip. You should have one croissant with two chocolate sections inside.
- Repeat this process for the remaining seven pastry rectangles.
- Place the rolled croissants seam-side down on the prepared baking sheet.
- In a small bowl, whisk the egg with 1 tablespoon of water to make the egg wash. Brush the tops and sides of each croissant generously with the egg wash.
- Bake for 15 to 20 minutes, or until the croissants are puffed, golden brown, and flaky.
- Remove from the oven and let cool slightly on the baking sheet before serving warm.
Notes
- For extra shine, brush the warm croissants with a light sugar glaze (1/4 cup powdered sugar mixed with 1 teaspoon water) immediately after they come out of the oven.
- If your chocolate sticks are very thick, use only one stick per croissant to prevent leakage during baking.
- If you prefer a softer crust, place a shallow pan of water on the bottom rack of the oven while baking.
Nutrition
- Serving Size: 1 croissant
- Calories: 280
- Sugar: 12
- Sodium: 250
- Fat: 18
- Saturated Fat: 10
- Unsaturated Fat: 8
- Trans Fat: 0
- Carbohydrates: 25
- Fiber: 1
- Protein: 4
- Cholesterol: 55