

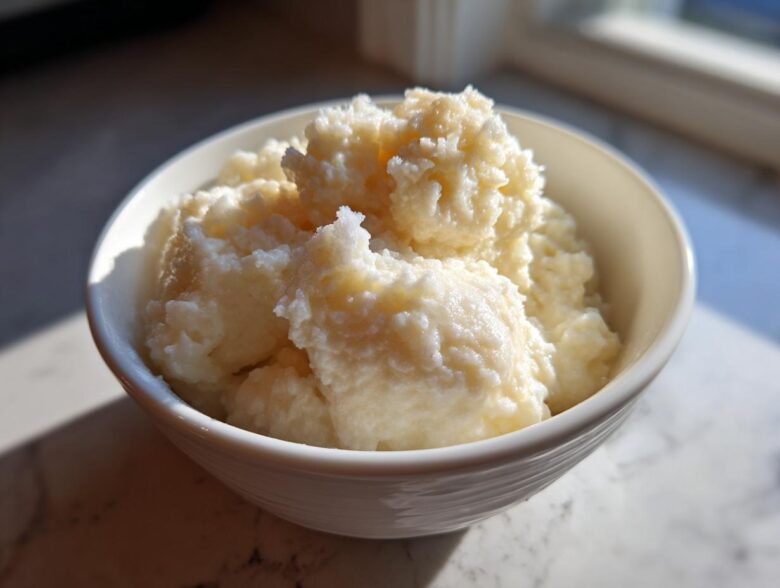
Oh, friends, if you are looking for a hug in a bowl, you’ve absolutely come to the right place. Richard and I have been making this dessert for over forty years, usually right after a big holiday when we need something simple but deeply satisfying. Forget fussy baked versions; this Old-Fashioned Stovetop Creamy Rice Pudding is what real comfort tastes like. It uses just five basic ingredients, but trust me, the resulting texture is unbelievably rich and smooth.
I’m Eleanor, and I’ve turned Richard’s memories of this creamy rice pudding into a recipe we can all share. He says it tastes exactly like the one his mother made, and after trying recipes that take hours, this stovetop method always wins for speed and unbeatable texture. We promise, this easy homemade pudding will become your go-to way to recapture those cozy moments. You can read more about how we capture our food memories over at our About Us page.
Why This Old Fashioned Rice Pudding Recipe is Your New Comfort Dessert Staple
When we talk about rice pudding, we aren’t messing around with fussy techniques. This recipe is pure, nostalgic magic, ready faster than you might think for such a deeply satisfying dish. It’s the definition of a cozy food recipe, and it brings back such warmth!
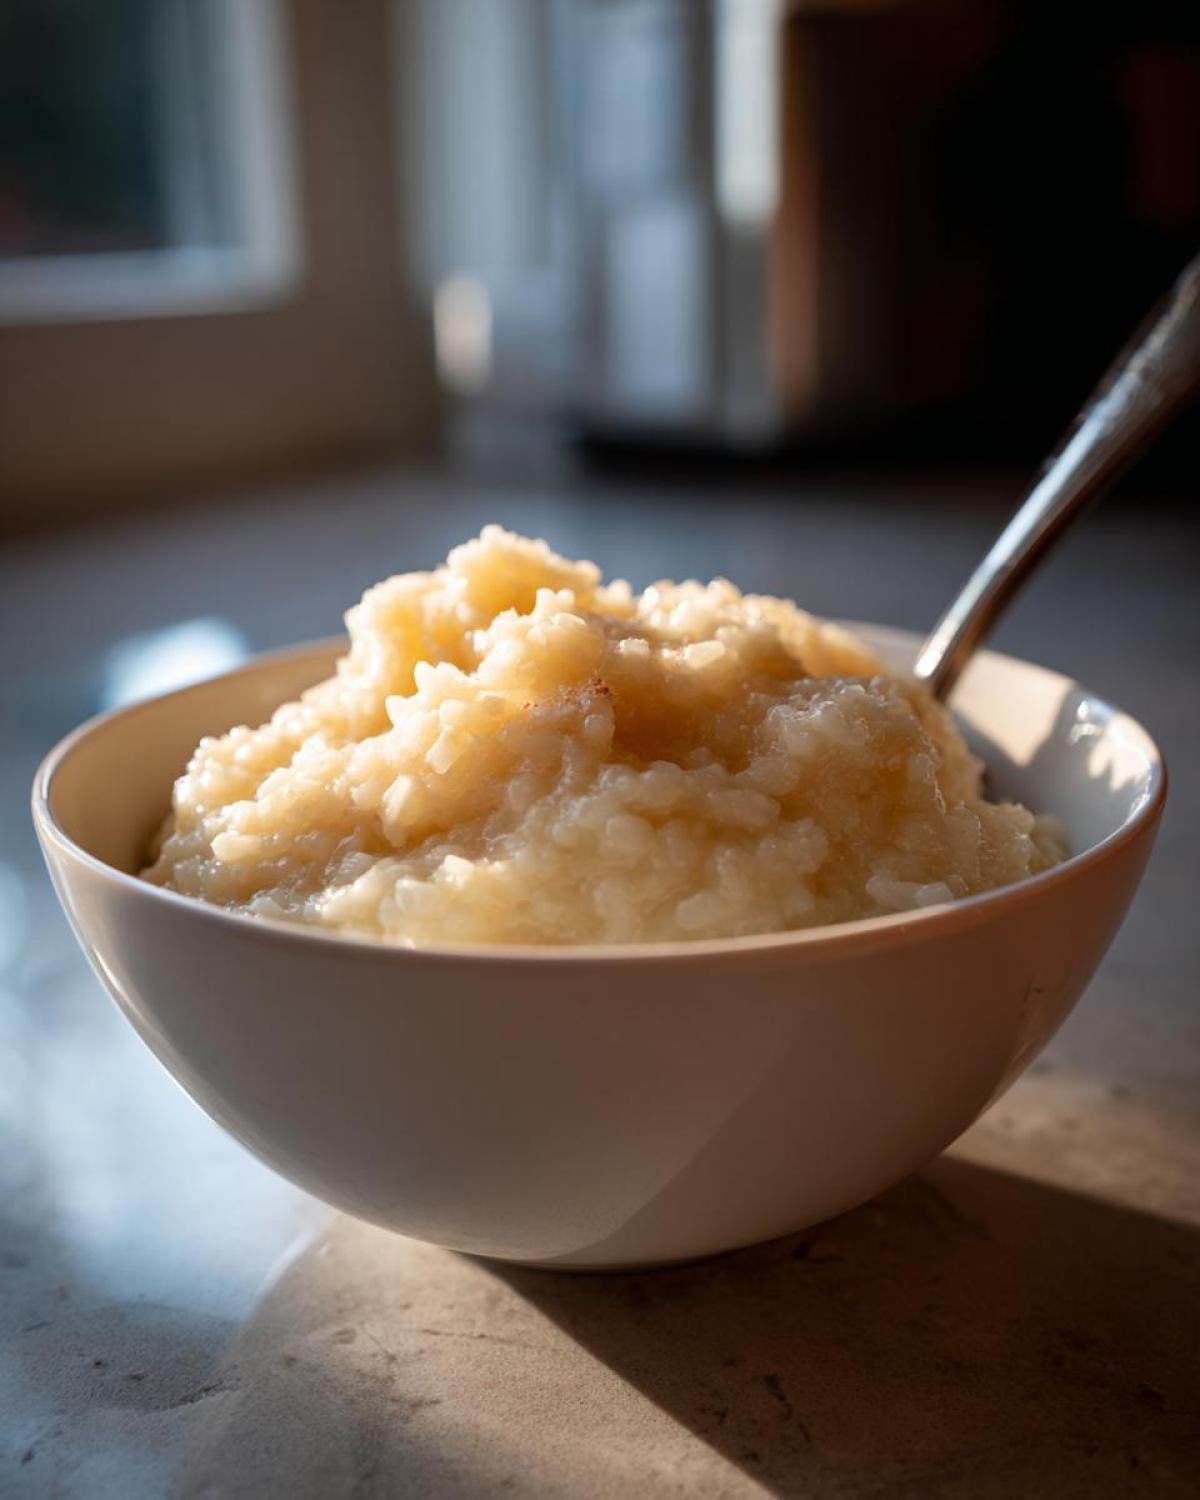
- It’s truly old fashioned—the way dessert should taste.
- It delivers that luxurious, thick texture you crave in a classic dessert.
- It’s genuinely an easy homemade pudding that won’t stress you out after a long day.
If you’re hunting for the ultimate comfort dessert, look no further. I’ve gathered a few more cozy food recipes you might love over on our Cozy Food Recipes page!
Achieving the Best Rice Pudding Texture
The absolute key to that unbelievably creamy texture—the one that makes you close your eyes when you take a bite—is the gentle, slow simmer right on the stovetop. As the little short-grain or Arborio rice kernels cook slowly in the milk, they release their starch. That starch is what thickens the pudding beautifully, giving you the perfect result for a creamy rice pudding recipe without needing any eggs or cornstarch.
Simple 5 Ingredient Dessert Simplicity
We all love extravagance, but sometimes we just need something simple. This recipe proves you don’t need a long list of specialty items to create perfection. With just the rice, milk, sugar, salt, and vanilla, you’ve got yourself a simple 5 ingredient dessert that rivals anything complicated. It’s the perfect example of how elegant an easy homemade pudding can be!
Gathering Ingredients for Your Creamy Rice Pudding Recipe
Alright, since this is an old-fashioned recipe, precision matters, especially when we are aiming for that ultimate creamy texture. Richard always says that if the ingredients aren’t right, the memories won’t taste right either! I’ve laid out exactly what you need for four generous servings. Don’t skimp on the quality here; it makes all the difference!
- 1 cup short-grain white rice (Arborio or medium-grain works best—this is critical!)
- 4 cups whole milk (Absolutely no substitutes here, we need that fat for richness!)
- 1/2 cup granulated sugar
- 1/4 teaspoon salt
- 1 teaspoon vanilla extract
That’s it! See? So simple. When you’re ready to start cooking, make sure you have all your items measured out. It makes the stovetop process much smoother when you aren’t hunting around for the salt.
Ingredient Notes and Substitutions for Perfect Rice Pudding
Every ingredient has a job to do in this pot. If you’re used to making desserts with long-grain rice, stop right there. Long-grain rice just doesn’t release enough starch to give you that velvety texture we are chasing for a genuine creamy rice pudding recipe. You really need that short or medium grain!
Whole milk is non-negotiable for that deeply comforting flavor. The fat content slows the cooking process down just enough and contributes so much mouthfeel. Using skim milk results in a thinner, almost watery pudding, and that just isn’t what the old-fashioned version calls for. For flavor boosters, we often stir in a good pinch of ground nutmeg or cinnamon right at the end—that turns it into a lovely vanilla cinnamon pudding treat that smells like heaven when it’s warm!
If you want to explore using different ingredients, like exploring milk ratios, you might find some interesting comparisons over on my piece about protein chia pudding ratios, though for this classic recipe, stick to the whole milk!
Step-by-Step: Making Old Fashioned Stovetop Rice Pudding
Okay, now for the fun part—the actual cooking! Making this old fashioned rice pudding is mostly about timing and patience on the stovetop. We aren’t baking it today, so we have to monitor it carefully to ensure we get that perfect thick, creamy result Eleanor loves so much.
We’re linking to some of our other classic dessert recipes if you want something else comforting later, but for now, focus on your pot!
Preparing the Rice and Initial Simmer
First things first: we have to rinse the rice. I know, I know, rinsing rice feels like an extra step, but trust me, this washes off the surface starch that would make our pudding gummy later on. Put the rice in a fine-mesh sieve and run it under cold water until the water running through looks clear. Give it a good shake to drain off the excess.
Next, grab your heaviest saucepan—a good heavy bottom really helps prevent scorching! Toss in the rinsed, drained rice, the whole milk, the sugar, and that pinch of salt. Put that pot over medium heat. We need to bring this gentle mixture up to a simmer, but stop it right before it starts boiling furiously. Just get those little bubbles starting to creep up the side of the pan.
The Slow Cook for Ultimate Creamy Rice Pudding
This is the moment you need to commit to stirring! Once you see those first wisps of steam and small bubbles appear, immediately reduce your heat down to the lowest setting you have. We are talking low and slow here. The entire cooking process takes between 45 and 60 minutes, depending on your stove and the depth of your pan.
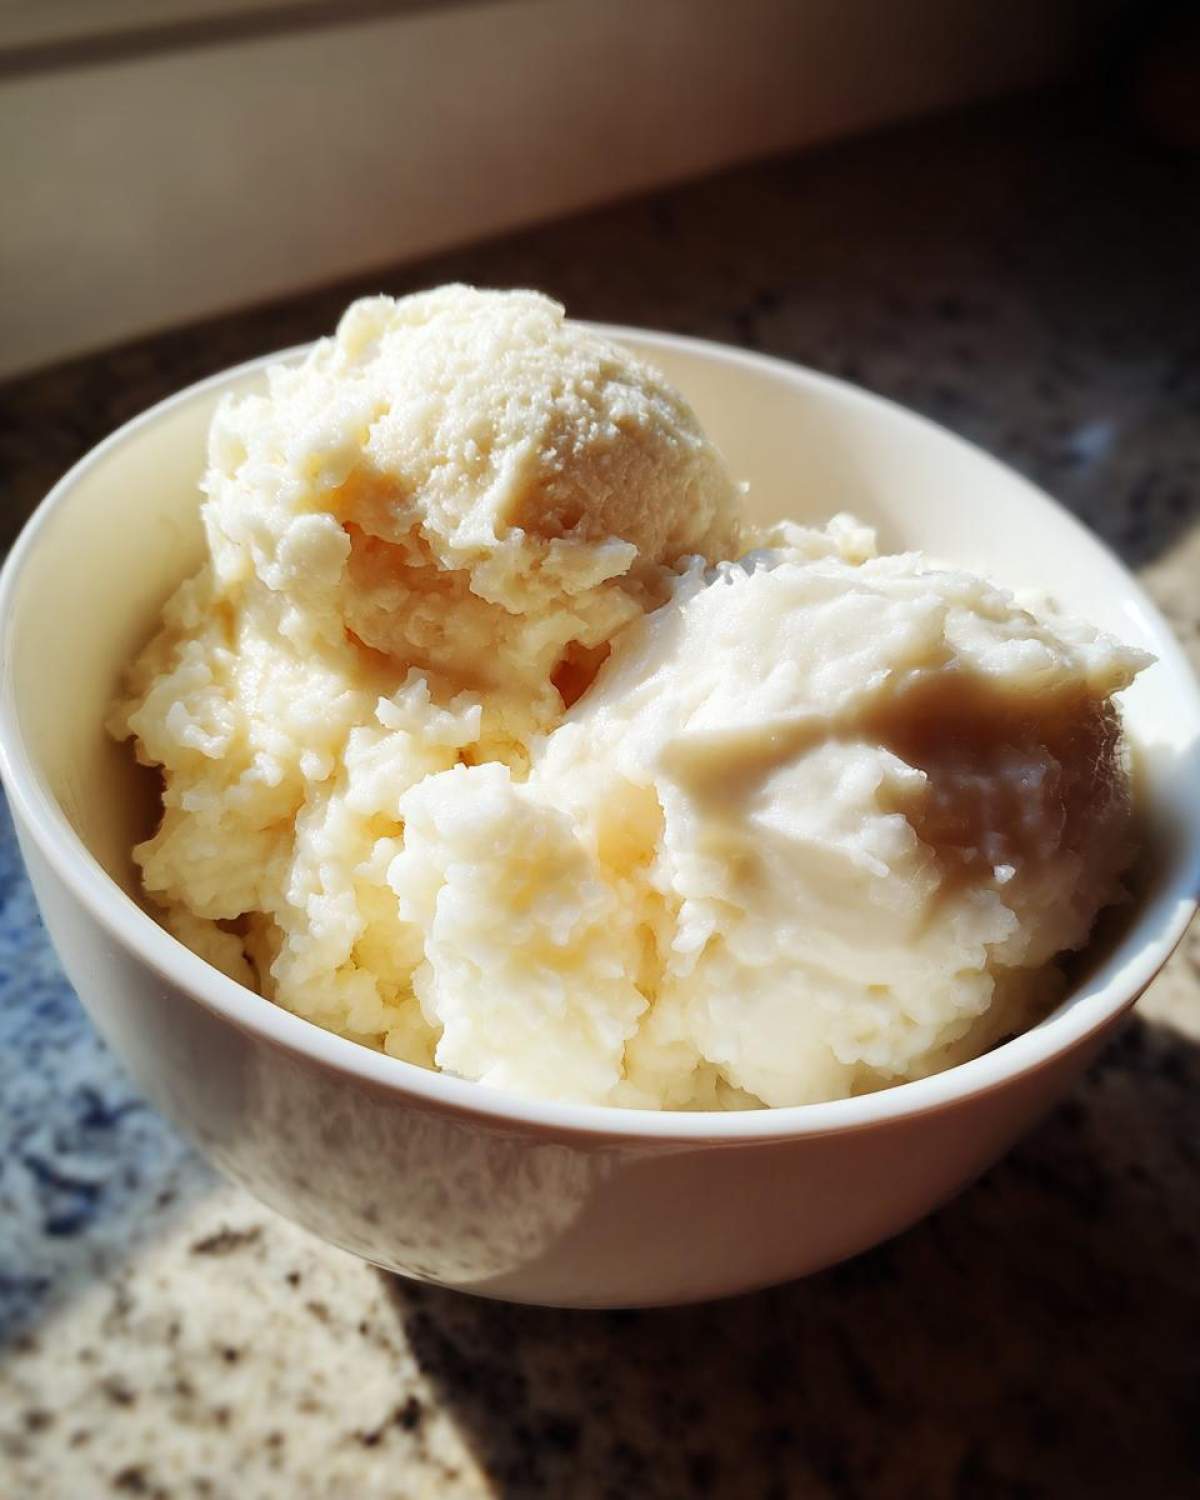
Richard’s little secret? Don’t just stir aimlessly. Stir thoroughly every few minutes, scraping the bottom and sides well. Why? Because those stirs are what encourage the rice grains to rub against each other. That friction releases the starch, which is the absolute secret to achieving the best rice pudding texture—that deeply satisfying, rich slipperiness you want from a true creamy rice pudding recipe.
Keep going until the mixture is noticeably thick, almost like a very loose gravy, and the rice grains are completely tender. If you dip a spoon in, the pudding should coat the back nicely. If it seems too loose when you take it off the heat, don’t worry! It tightens up a lot as it cools, so pull it off slightly runnier than you think you want it.
Flavor Enhancements for Your Vanilla Cinnamon Pudding
We’ve nailed the base of this rice pudding—it’s creamy, it’s classic, and it uses so few ingredients! But now, we get to dress it up a little bit, depending on what we are in the mood for. Remember, these are additions to that glorious, creamy base we worked so hard for on the stovetop; we aren’t changing the core five ingredients for this old fashioned rice pudding.
The vanilla is already stirred in, which is the backbone of any good vanilla cinnamon pudding, but a sprinkle of spices on top changes the whole experience. If we’re having this for a special Sunday dinner, I’ll definitely add a little fresh pinch of nutmeg along with the cinnamon when serving. That warmth just elevates everything!
Serving Temperature: Warm Pudding Desserts vs. Chilled
This is a big debate in our house, and honestly, there’s no wrong answer when it comes to warm pudding desserts. When we eat it fresh off the stove—strained a tiny bit looser than we think we need—it is just pure cozy goodness. That warmth lets the vanilla aroma really bloom in the steam.
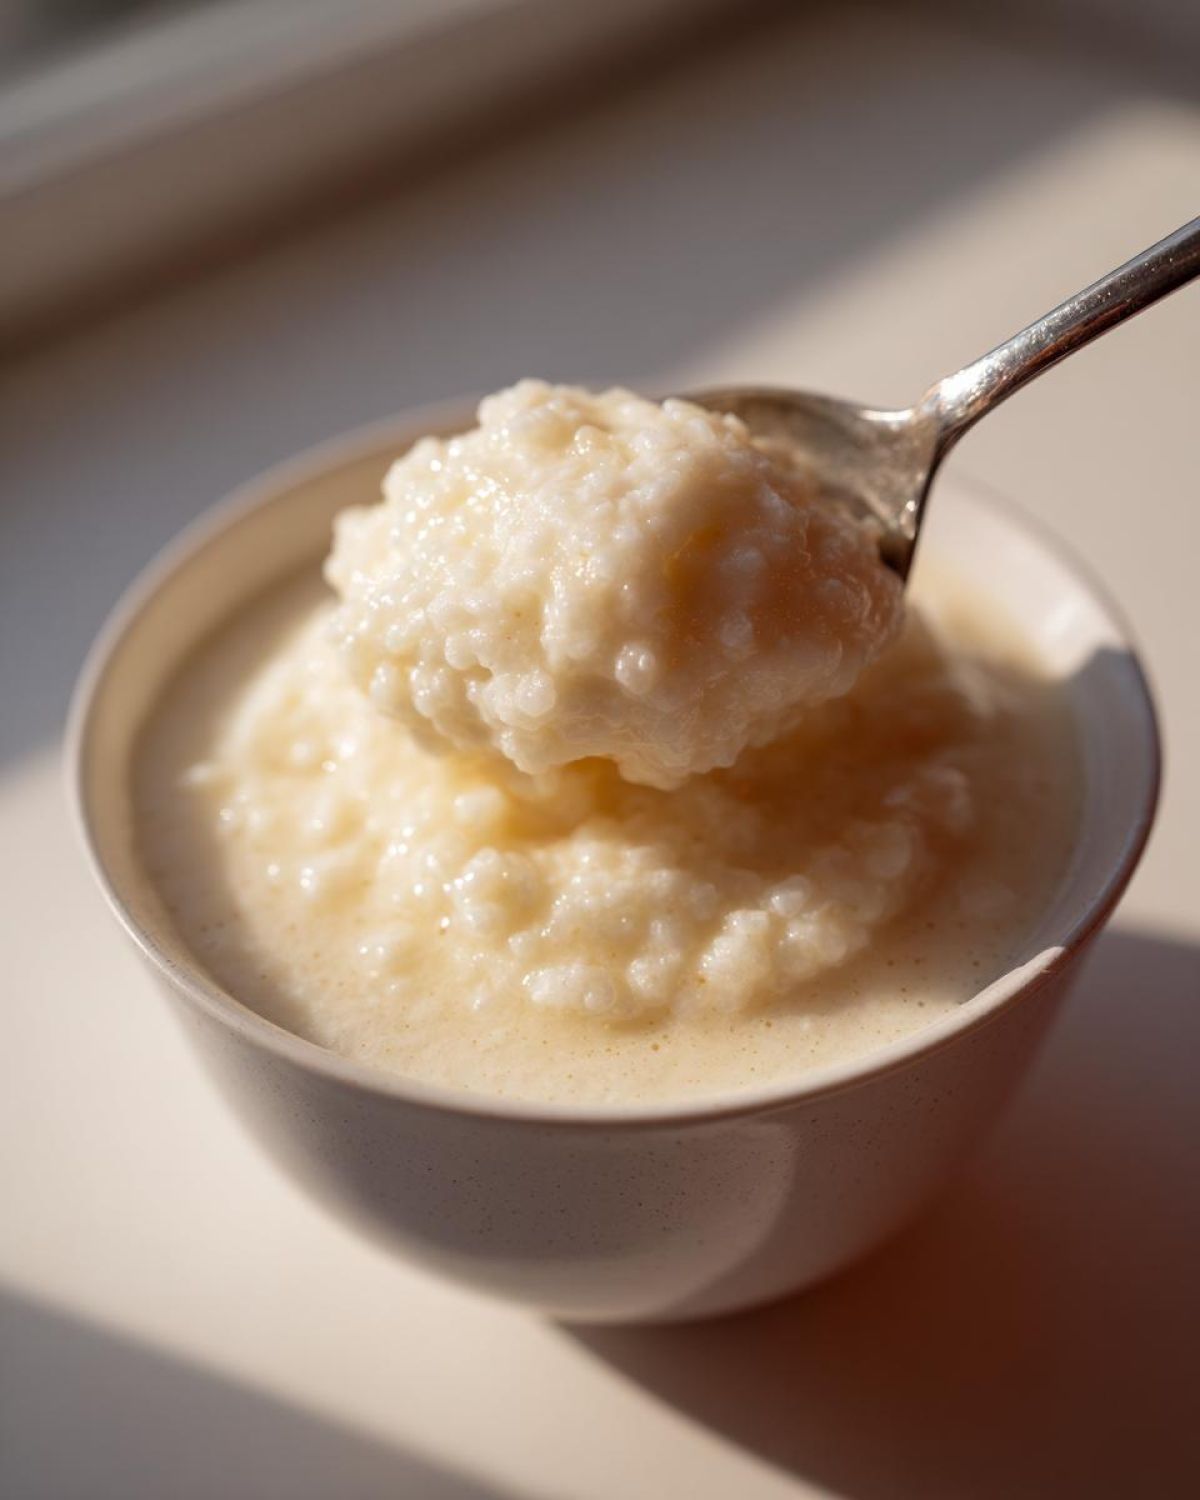
However, Eleanor loves it cold the next morning for breakfast (don’t judge!). If you plan on chilling it, you must know this: this creamy mixture is going to firm up a lot. When it cools down completely in the fridge, all that wonderful starch solidifies, making it incredibly dense and scoopable. If you pull it out cold and it seems too thick for your liking, just stir in a splash of cold milk or cream right before serving. It brings back that softer, creamier texture beautifully!
Tips for Success with Stovetop Rice Pudding
We’ve gone over the process now, but Richard reminds me that sometimes, even with the best instructions, little things can go wrong on the stovetop. That’s okay! That’s what experience teaches us. When you’re dealing with slow-cooked milk and rice, sticking is the number one enemy. We’ve learned a few tricks over the years to keep this from happening, which builds up the trust you need to know this stovetop rice pudding will work every single time.
If you want to check out some of our other tips and cooking adventures, you can always pop over to our main blog page!
Here are the things we always stick to:
- Stir Often Means No Sticking: I keep repeating this, but it bears noting again. You must stir frequently during that low simmer—every few minutes, minimum. If you walk away for too long, that thick, starchy milk will burn onto the bottom, and nothing ruins a comforting pudding faster than that scorched taste!
- The Right Pot Matters: Use a heavy-bottomed saucepan. Seriously. Thin aluminum pots heat up unevenly, creating hot spots that scorch the milk instantly. A good, heavy pan—ours is old copper, but stainless steel works great—diffuses the heat consistently.
- Thinning on Command: Remember how I mentioned it thickens significantly when it cools? If you pull it off the heat and realize right away it’s too stiff, don’t panic! Take it off the burner and stir in just a small splash more whole milk. It loosens up immediately and you can adjust it until the consistency is exactly what you want, whether you plan to eat it warm or chilled later.
These small habits—scrubbing the bottom occasionally and ensuring you have extra milk on hand—are what turn a good attempt into a repeat masterpiece. It’s all about managing that heat!
Make Ahead Dessert and Storage for Homemade Pudding
One of the best things about this truly comforting dessert is that it doubles perfectly as a make ahead dessert! I often make a double batch on a Sunday, knowing we’ll want leftovers for a quick snack or a surprise treat later in the week. Remember what I said earlier about how this homemade pudding firms up in the fridge? That’s why storage is important.
Store any leftovers in an airtight container in the refrigerator. It will definitely keep for three or four days, though honestly, it never lasts that long in our house once the cinnamon comes out!
When you take it out of the fridge, it will be noticeably thicker—almost like a soft, scoopable custard rather than a pourable pudding. If you are planning to serve it chilled, that’s perfect! You can enjoy it just as it is, or add a little extra sprinkle of spice on top.
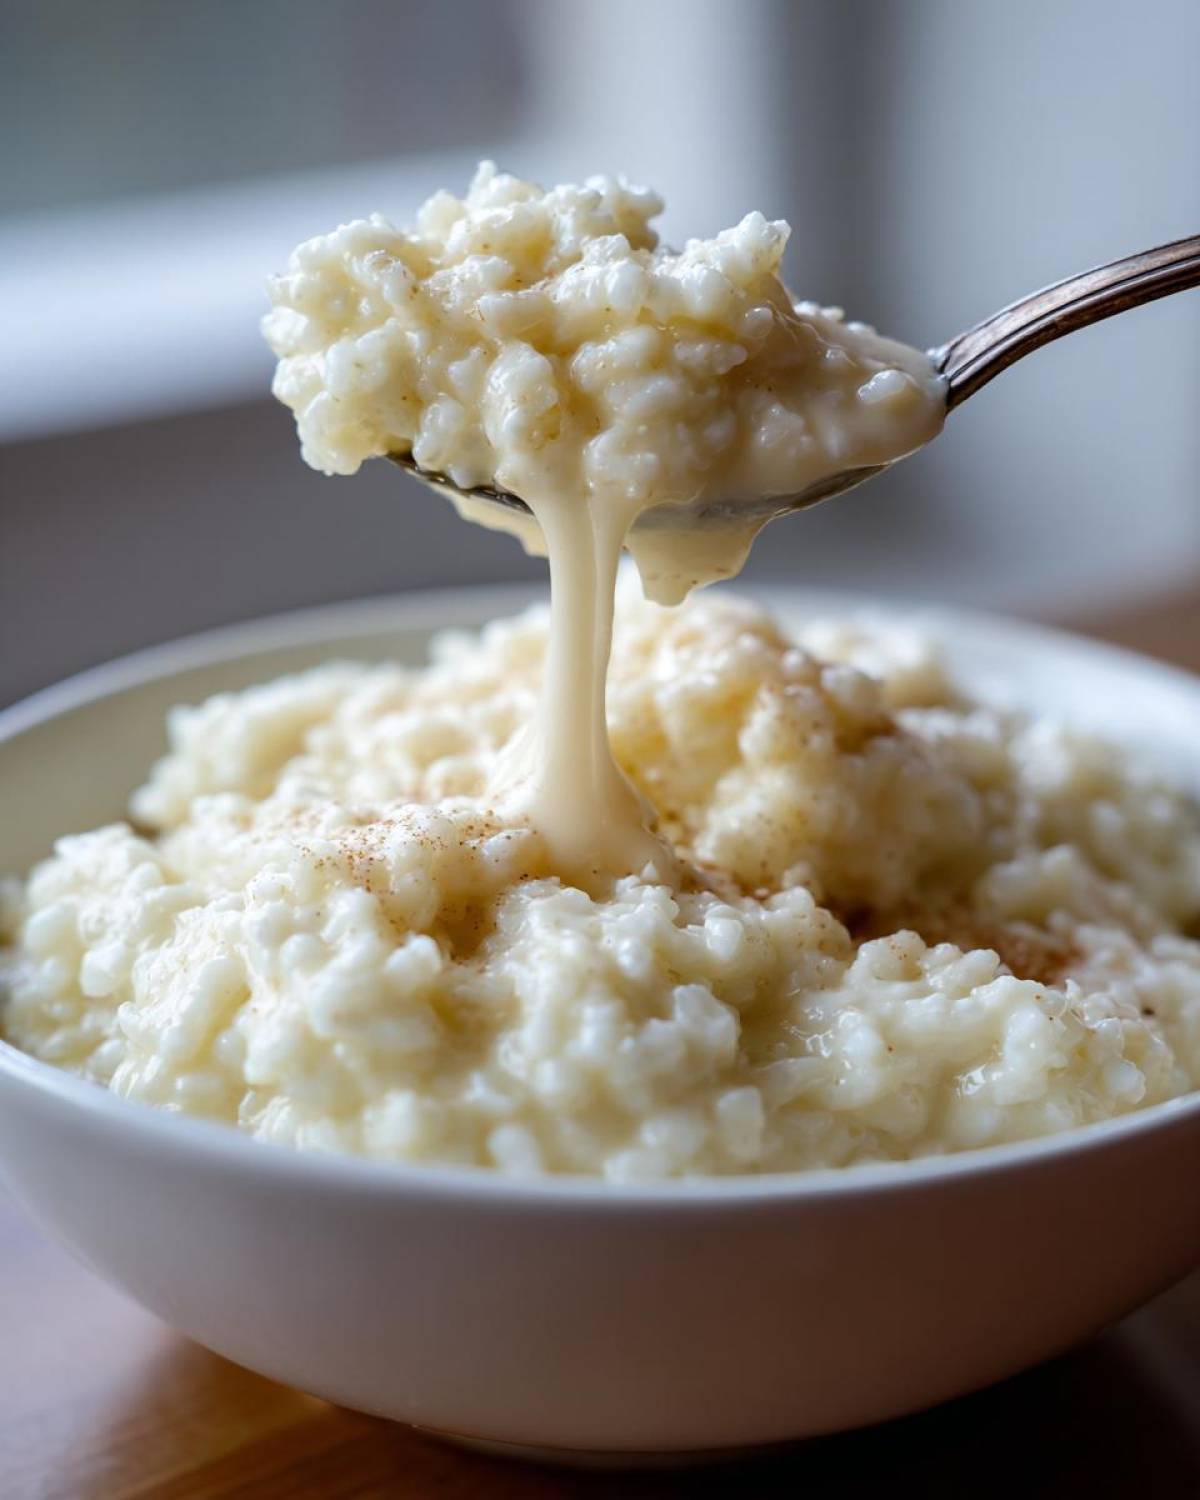
But if you want that just-made warmth back, you’ll need to revive it a bit. Pop your serving into a small saucepan over very low heat, or microwave it gently in short bursts. The key here is to slowly introduce a little liquid while stirring constantly. We are talking a teaspoon or two of whole milk for every cup of pudding you are reheating. That splash of milk loosens up all that set starch and brings back that irresistible creamy texture we worked so hard for!
We actually have a bunch of thoughts on other easy dishes you can prepare ahead of time over on our dedicated page for Make Ahead Desserts, but I always come back to this creamy rice pudding when I need reliable comfort!
Frequently Asked Questions About Classic Dessert Recipes
It seems like every time Richard and I share this recipe, people have the same wonderful questions pop up! That’s part of the journey when you bring back a truly nostalgic sweet treat—you want to make sure it’s just right. We’ve gathered a few things we hear often to make sure your experience with our old fashioned rice pudding is perfect.
Can I use leftover cooked rice for this rice pudding?
Oh, darling, you certainly *can* use leftover cooked rice if you are in a true pinch! People often search for a quicker process, perhaps a recipe for using up rice, which is why some blogs offer that option. However, if you are aiming for that signature, unbelievably creamy texture that our stovetop method delivers, I strongly recommend using raw, short-grain rice. Why? Because the magic is in the long, slow cooking process where the raw grains break down and release their starches right into the whole milk. Using already cooked rice means you skip that crucial starch release, and the final texture will be grainier, less smooth, and definitely less creamy. It won’t quite have that luxurious coating you expect from true comfort pudding!
Is this recipe difficult compared to baked rice pudding?
Not at all! I find this stovetop rice pudding much easier than the baked versions out there. Baked rice pudding is lovely, of course, but it often requires an egg custard base, and you have to watch for that thick skin forming on top—sometimes you have to stir it constantly anyway just to break that skin! Our stovetop method is very straightforward: cook low and slow, stirring frequently, but you aren’t worrying about crusts or over-baking. Once it thickens up, you pull it off the heat, stir in the vanilla, and you’re done. It fits perfectly into the easy homemade pudding category in my book.
What is the best type of rice for the creamiest rice pudding?
If you want the ultimate thick, smooth, and creamy rice pudding recipe, you absolutely must choose short-grain rice. Arborio rice—the kind you use for risotto—is my top recommendation because it absorbs liquid beautifully while releasing tons of that sticky starch. Medium-grain rice is a very close second. Please, for the sake of your dessert dreams, skip the long-grain white rice. That stuff just doesn’t break down enough during the cooking time we use here, and you’ll end up with separate, firm grains suspended in milk, not a harmonious pudding!
Estimated Nutritional Profile for Easy Rice Pudding
Now, I know some of you are watching the numbers, even when enjoying a bit of cozy comfort food! Richard jokes that counting calories is my way of keeping us honest after tasting all these delicious things we’re rediscovering. I want to be super clear: these figures are just estimates based on the standard ingredients we used in our recipe—whole milk and standard sugar amounts. For a truly nostalgic sweet treat, we focus on flavor, but here’s a general idea of what you’re getting per serving.
This profile is based on dividing the recipe yields into four satisfying portions. Remember, this is a rich dessert because we don’t skimp on the quality whole milk!
- Serving Size: 1 cup
- Calories: About 310
- Sugar: Around 25g
- Protein: Approximately 10g
- Total Fat: Roughly 7g
- Carbohydrates: Approximately 55g
It’s important to know that if you decide to add raisins or sprinkle extra cinnamon on top, those numbers will shift slightly! If you are trying to enjoy this often, remember that a little bit of this easy homemade pudding goes a long way. We often enjoy smaller portions because it’s so rich and satisfying.
Share Your Nostalgic Sweet Treats Experience
Well, there you have it—our absolute favorite way to make rich, creamy rice pudding right on the stovetop. We have poured decades of memories and meticulous testing into this recipe, and now it’s yours! Please, I urge you to try making this bowl of comfort.
Making food is always better when you share the results, isn’t it? Richard and I live for hearing your stories about how a simple dish like this brings back memories of your own childhoods. Did you have a similar old fashioned rice pudding growing up? Did you use cinnamon or nutmeg?
We would be absolutely thrilled if you left a star rating for this recipe right below this section. And please, take a moment to drop a comment in the box! Tell us what you thought of the texture and if it transported you back to a special kitchen moment. If you have any questions at all about adjusting the thickness or keeping it creamy, feel free to ask; you can always reach out directly through our Contact page too. Happy cooking, and enjoy every cozy spoonful!
PrintOld-Fashioned Stovetop Creamy Rice Pudding

This is our classic, comforting rice pudding recipe, made simply on the stovetop for that perfectly creamy texture you remember. It is an easy, nostalgic sweet treat.
- Prep Time: 5 min
- Cook Time: 60 min
- Total Time: 65 min
- Yield: 4 servings
- Category: Dessert
- Method: Stovetop
- Cuisine: American
- Diet: Vegetarian
Ingredients
- 1 cup short-grain white rice (Arborio or medium-grain works best)
- 4 cups whole milk
- 1/2 cup granulated sugar
- 1/4 teaspoon salt
- 1 teaspoon vanilla extract
Instructions
- Rinse the rice under cold water in a fine-mesh sieve until the water runs clear. Drain well.
- Combine the rinsed rice, whole milk, sugar, and salt in a heavy-bottomed saucepan.
- Place the saucepan over medium heat. Stir frequently until the mixture just begins to simmer around the edges.
- Reduce the heat to low. Continue to cook, stirring every few minutes to prevent sticking and scorching the bottom, for 45 to 60 minutes. The pudding is done when the rice is tender and the mixture has thickened to a creamy consistency. You want it to coat the back of a spoon.
- Remove the saucepan from the heat. Stir in the vanilla extract.
- Serve the rice pudding warm, or chill it completely in the refrigerator for a cold dessert. The pudding will thicken significantly as it cools.
Notes
- For an extra creamy result, stir the pudding often during the low simmer. This releases the starch from the rice.
- If you prefer a thinner consistency, add a splash more milk after removing it from the heat.
- Sprinkle ground cinnamon or nutmeg on top just before serving for added warmth.
Nutrition
- Serving Size: 1 cup
- Calories: 310
- Sugar: 25
- Sodium: 150
- Fat: 7
- Saturated Fat: 4
- Unsaturated Fat: 3
- Trans Fat: 0
- Carbohydrates: 55
- Fiber: 1
- Protein: 10
- Cholesterol: 25