

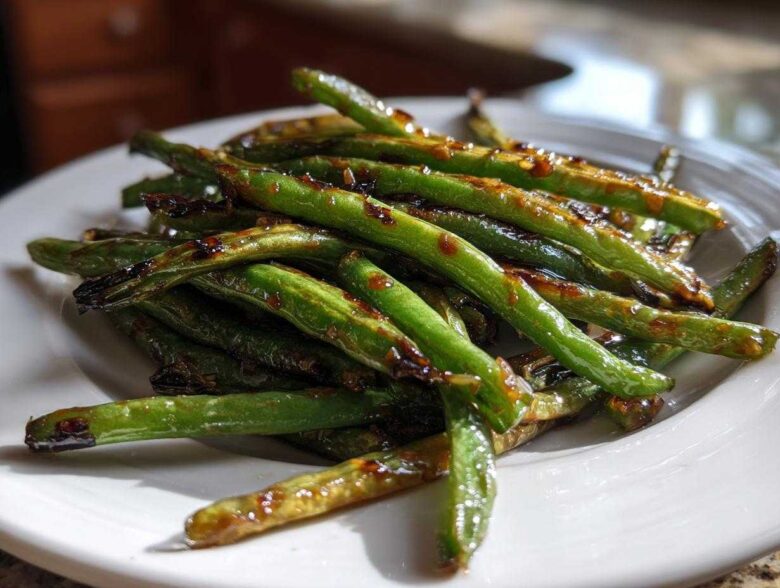
Oh, you know that feeling, Eleanor! That sudden, desperate craving for that perfectly punchy, slightly smoky flavor that only comes from takeout night? Well, I’ve finally cracked the code at home, and it’s honestly faster than ordering delivery. The absolute magic trick here is getting those incredible char marks—we’re talking *blistered* beans—right in our own skillet. I remember standing in a bustling night market in Hong Kong years ago, watching a chef fling beans into a scorching wok, and that smoky aroma just stuck with me. This recipe for chinese green beans with garlic sauce brings that specific memory right back to our table, no reservation needed. It’s simple comfort food elevated by that beautiful high-heat technique.
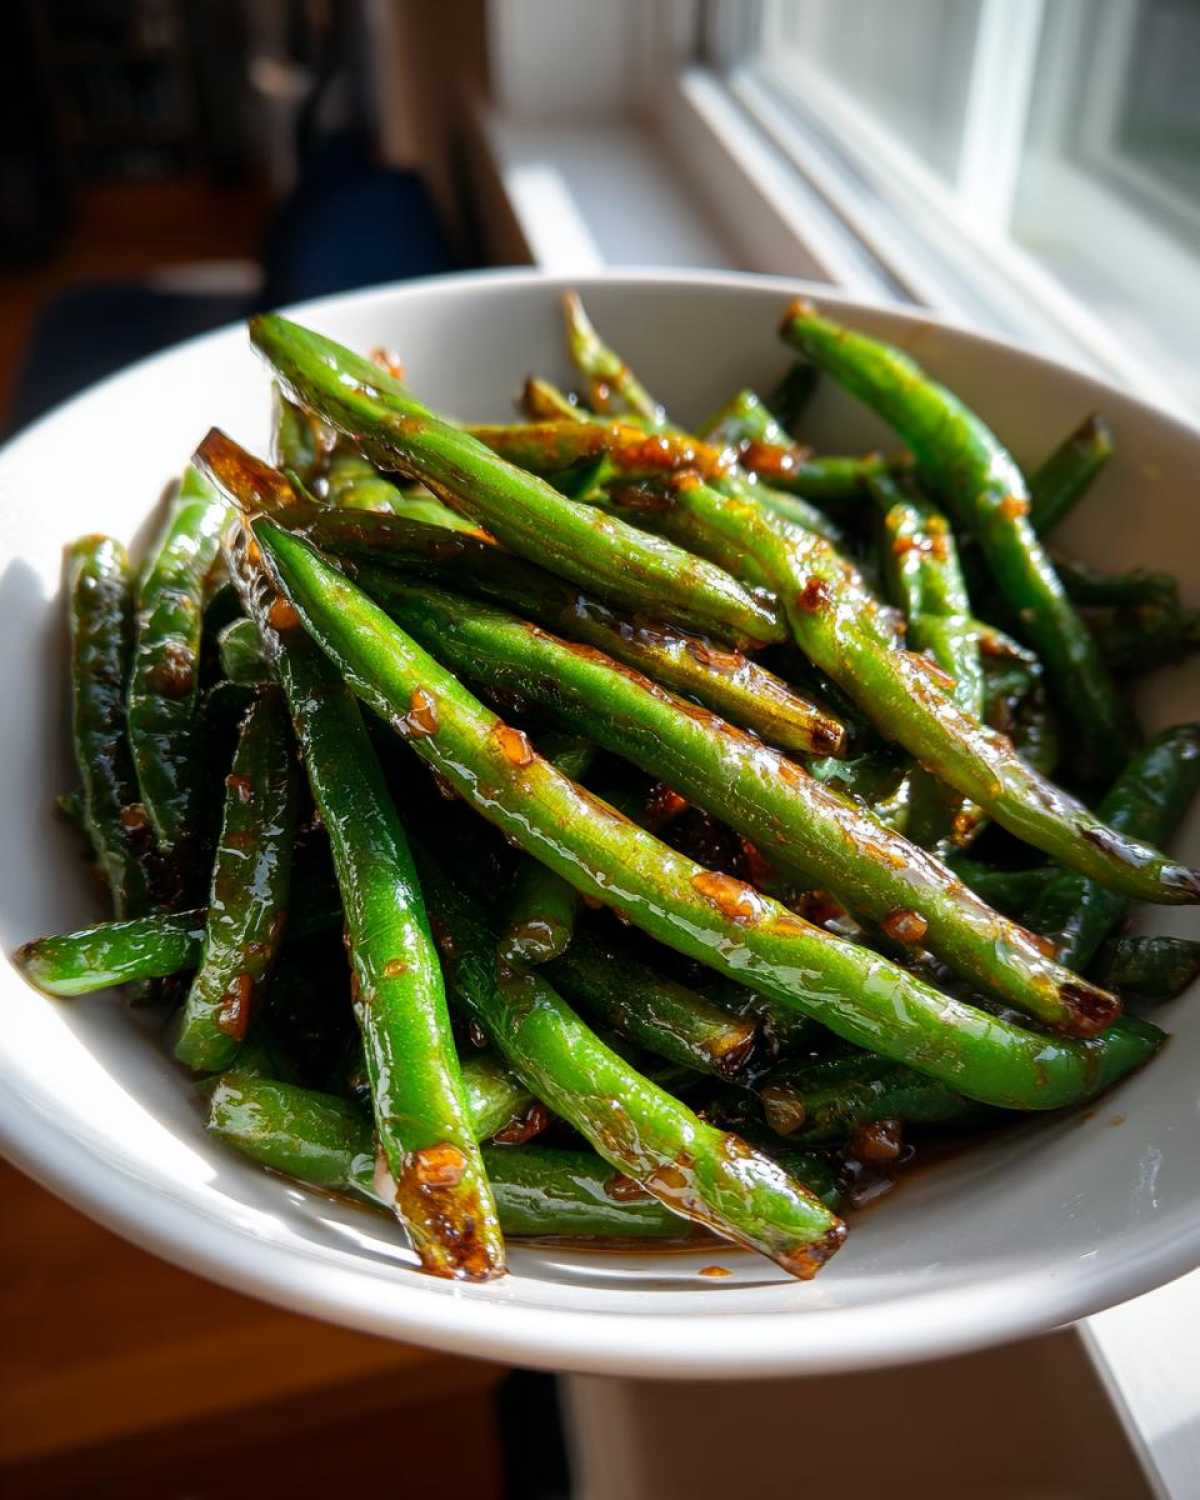
Why This Chinese Green Beans with Garlic Sauce Recipe Works (Our Secrets)
Honestly, Eleanor, the secret is all about texture first, flavor second! Most home cooks ruin these beautiful vegetables by steaming them. But we aren’t making steamed beans; we’re making restaurant-quality *wok fried green beans*!
-
Achieving the Perfect Blistered Green Beans Texture
You absolutely must crank that heat! We need the wok or skillet screaming hot before the beans even go in. The trick is letting them sit, untouched, for a couple of minutes. This is what causes those beautiful dark spots—the blistering—which gives the dish that slight smoky depth we love. Don’t be tempted to stir them too early!
-
Punchy Garlic Sauce Flavor Profile
Our sauce is small but mighty. It’s just a quick whisk of soy, vinegar, sugar, and sesame oil. That slight sweetness cuts through the richness of the oil and balances the saltiness of the soy sauce perfectly. We only add this once the beans are charred, which keeps the flavors bright and stops the sauce from tasting heavy or burnt.
Essential Ingredients for Authentic Chinese Green Beans with Garlic Sauce
Now that we know *how* to cook them, we have to talk about what we’re actually cooking with, don’t we? Richard often reminds me that the quality of our ingredients is what makes us taste like we’ve traveled the world. It’s the same here; skip the sad, floppy beans, and you’ll get a mediocre result. We want the vibrant green ones for these garlic green beans.
The Green Beans and Aromatics
The star must be fresh! You’ll need 1 pound of fresh green beans—and please, trim off those little ends first. For the aromatics that give this dish its backbone, we rely on 4 cloves of garlic, minced really finely, and about 1 teaspoon of fresh ginger, grated. Ginger makes all the difference here; don’t think about using the dried stuff!
Crafting the Garlic Sauce Mixture
This is where we build that restaurant-style punch. We whisk together 1/4 cup of low-sodium soy sauce—and remember, if you’re grabbing the gluten-free version, that’s where our tamari comes in. Add 1 tablespoon of rice vinegar, 1 teaspoon of sugar to balance the salt, 1/2 teaspoon of sesame oil for that nutty finish, and a tiny pinch of red pepper flakes if you like a little kick.
Step-by-Step Instructions for Wok Fried Green Beans
Right, let’s get to work! I want every person reading this to achieve that restaurant crunch. This whole method flies by—the prep is longer than the actual cooking time, which is wonderful for busy weeknights. Getting the heat right at the start is everything for these wok fried green beans.
Preparing the Sauce and Heating the Wok
First things first: we don’t want to be scrambling for the sauce ingredients once the oil is smoking hot. So, take a small bowl and whisk together your soy sauce, vinegar, sugar, sesame oil, and those optional red pepper flakes. Get that sauce ready and let it sit right beside your stove. Next, you need the pan—whether it’s your wok or a big, heavy-bottomed skillet—over high heat. It needs to be scorching hot! Once it shimmers, toss in 2 tablespoons of your vegetable oil.
The Blistering Technique for Chinese Green Beans with Garlic Sauce
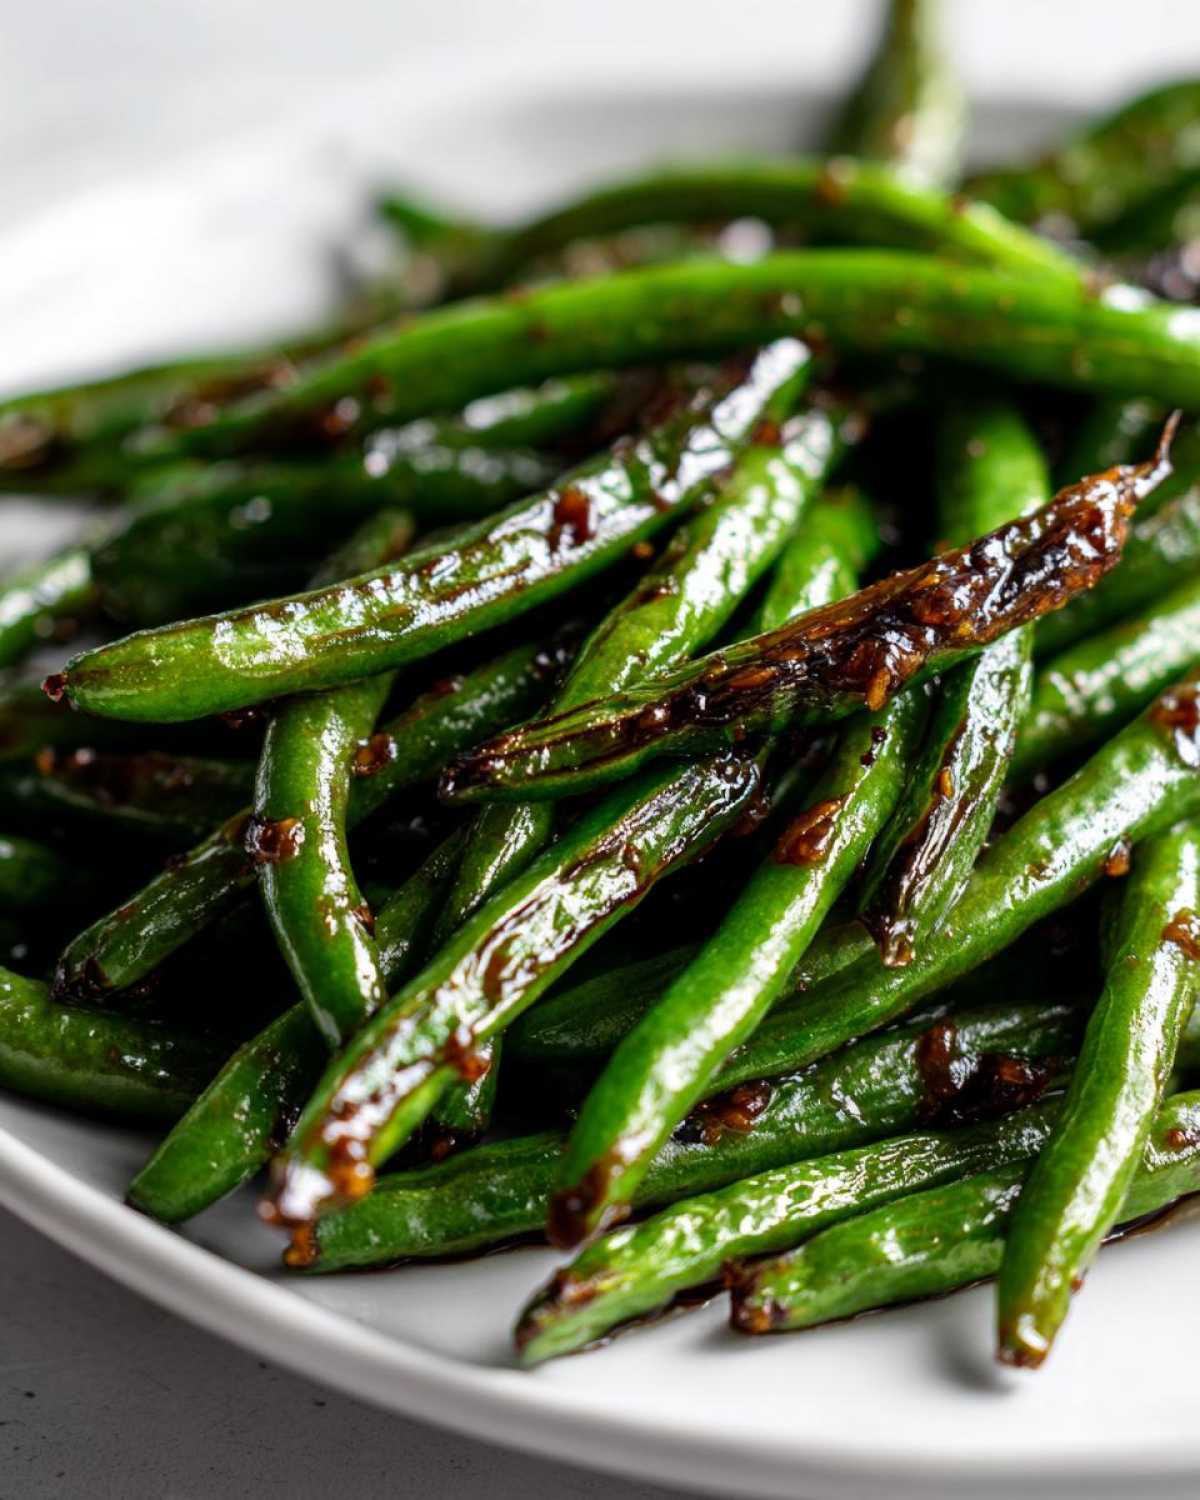
This is the crucial part, Eleanor! Quickly add those trimmed green beans. If you can, try to lay them out in a single layer; this maximizes contact with the heat. Now, here’s the key: step back and let them cook for a solid 2 to 3 minutes without touching them! We are looking for that dry fry effect—the charring and blistering. After 3 minutes, go ahead and toss them often, continuing to cook for another 3 to 5 minutes until they feel tender-crisp but still have that great snap. Once they look perfectly charred, scoop those beans out immediately and put them on a plate. We clear the pan because the garlic burns too fast!
Sautéing Aromatics and Finishing the Dish
Once the beans are out, reduce the heat down to medium because we don’t want to smoke out the kitchen! Add your last tablespoon of oil to the wok. Toss in that minced garlic and grated ginger now. You only cook these for about 30 seconds—seriously, smell them get fragrant, and that’s it! We are aiming for aromatic, not burnt and bitter. Now, rush those blistered green beans right back into the pan. Pour that beautiful sauce mixture over everything, and toss quickly and vigorously! Cook for just one final minute until the sauce thickens up just enough to cling lovingly to every single bean. Pull it off the heat right away!
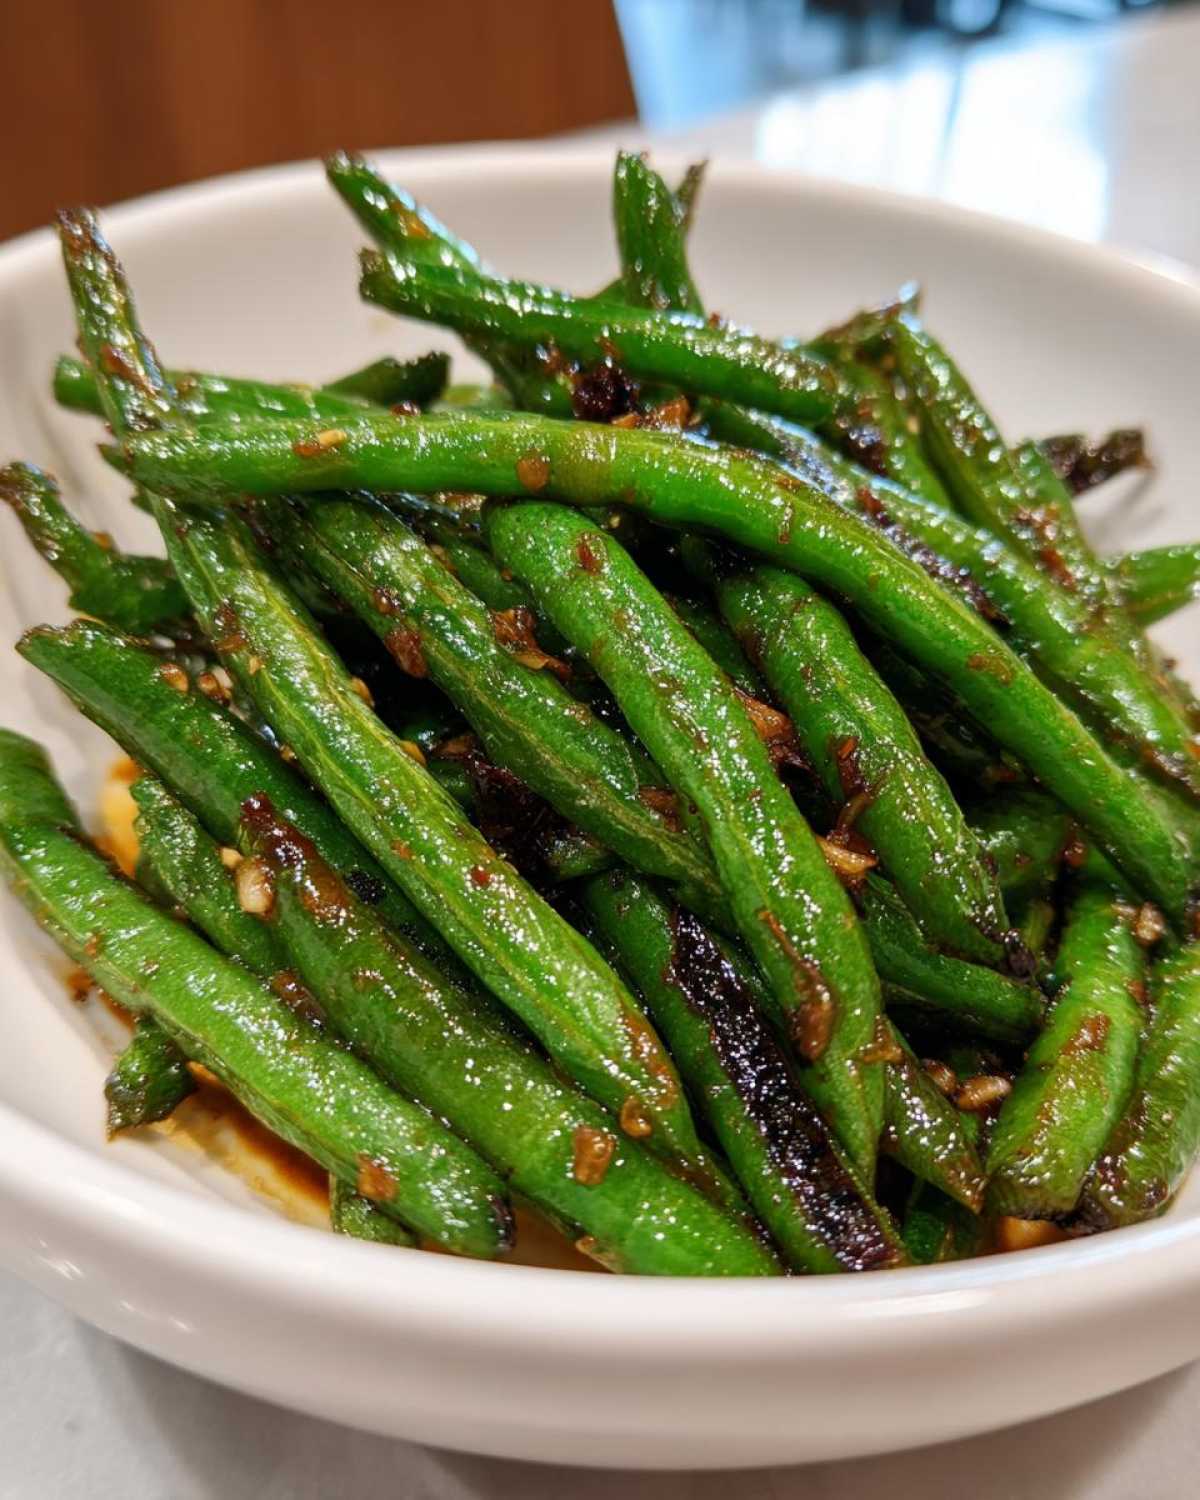
Ingredient Notes and Substitutions for Chinese Green Beans with Garlic Sauce
We all run short on things sometimes, don’t we? That’s just life! But you want to make sure that running out of one tiny item doesn’t derail your ability to make these amazing garlic green beans. I’ve found that as long as you respect the high heat, you have some wiggle room with the liquids. It’s about keeping that flavor profile lively!
Gluten-Free Options and Sodium Control
If you’re dealing with gluten sensitivity, swap that regular low-sodium soy sauce right out for tamari. It gives you that same deep, savory base without any worry! Also, if you’re watching your salt intake too closely, you can easily pull back a tiny bit. Try swapping 1 tablespoon of the soy sauce for an equal amount of vegetable broth. It keeps the sauce volume up while mellowing the sodium kick. It’s a little trick I learned when Richard was cutting back on salt!
Wok Alternatives
Don’t panic if you don’t own a big, beautiful wok! I know woks aren’t in every kitchen cabinet. The most important thing for achieving those signature blistered green beans isn’t the shape of the pan, it’s reaching and maintaining that super high temperature. A heavy-bottomed skillet—cast iron is perfect—works surprisingly well. The key thing is that you must still get it smoking hot before those beans hit the oil. That high initial temperature is the whole secret to achieving those blistered green beans.
Serving Suggestions for Your Chinese Side Dishes
So, we’ve mastered the vegetables—fantastic! But what constitutes a grand dinner, right? These garlic green beans are so bold and punchy, they really sing alongside some milder mains. They aren’t just a side dish; they are the flavor anchor on the plate!
When we replicated this flavor profile back home, it became our favorite way to upgrade a simple Tuesday night. I find that serving this alongside a big bowl of steamed white rice is perfection. The rice soaks up any leftover, delicious sauce from the bottom of the bowl. Seriously, don’t let that sauce go to waste!
If you are looking to build out a full spread of chinese side dishes, pair these blistered green beans with your favorite tofu or chicken stir-fry. They add the essential fresh vegetable element so you don’t have to worry about making a complicated main course. They are the easiest way to make a weeknight meal taste like a special occasion!
Storage and Reheating Tips for Garlic Green Beans
After all that effort to get them perfectly charred, we want to make sure our delicious garlic green beans keep their beautiful character. Good news: they store wonderfully! Just pop any leftovers into an airtight container—make sure it seals snugly—and put them straight into the refrigerator. They keep well for about three days, though their crispness starts to soften slightly, naturally.
When you reheat them, skip that long, slow microwave session. That just makes them steamy! Instead, I recommend throwing them back into that hot wok or skillet with just a tiny drizzle of fresh oil for about 60 seconds. That quick blast of heat wakes up the garlic and helps bring back a little bit of that wonderful, original snap!
Frequently Asked Questions About Dry Fried Green Beans
It seems folks always have a few bits of curiosity when recreating that perfect takeout flavor at home, and that’s completely understandable! We’ve ironed out all the wrinkles during our own recipe testing, so let me clear up some common questions about getting these dry fried green beans just right.
Can I make this recipe spicier, like Sichuan green beans?
Oh, absolutely! If you want to pivot this dish from a simple garlic green bean side into something with a little more fire, just layer in some heat when you sauté the aromatics. Instead of just relying on the pinch of red pepper flakes we suggested, try adding a teaspoon of dried red chilies or even a spoonful of chili bean paste (doubanjiang) right alongside the garlic and ginger. Taste as you go! That’s the wonderful thing about making it at home—you control the inferno!
Is this recipe suitable for vegan chinese sides?
Yes, yes, and yes! This entire recipe is naturally plant-based, which is why I love offering it as a go-to option when we want vibrant vegan chinese sides. As long as you ensure you stick with vegetable oil and use soy sauce or tamari (which is naturally vegan), you are perfectly fine. Zero animal products, all of the amazing smoky flavor. It’s a winner for everyone at the table!
What if I don’t have a wok for my blistered green beans?
Don’t sweat it for a second! I know woks aren’t in every kitchen cabinet. The most important thing for achieving those signature blistered green beans isn’t the shape of the pan, it’s reaching and maintaining that super high temperature. A heavy-bottomed skillet—my cast iron one works fantastically—is your best friend here. Just make sure that pan is smoking hot before those beans go in. If the pan cools down, they steam instead of char, and we definitely don’t want steamed beans!
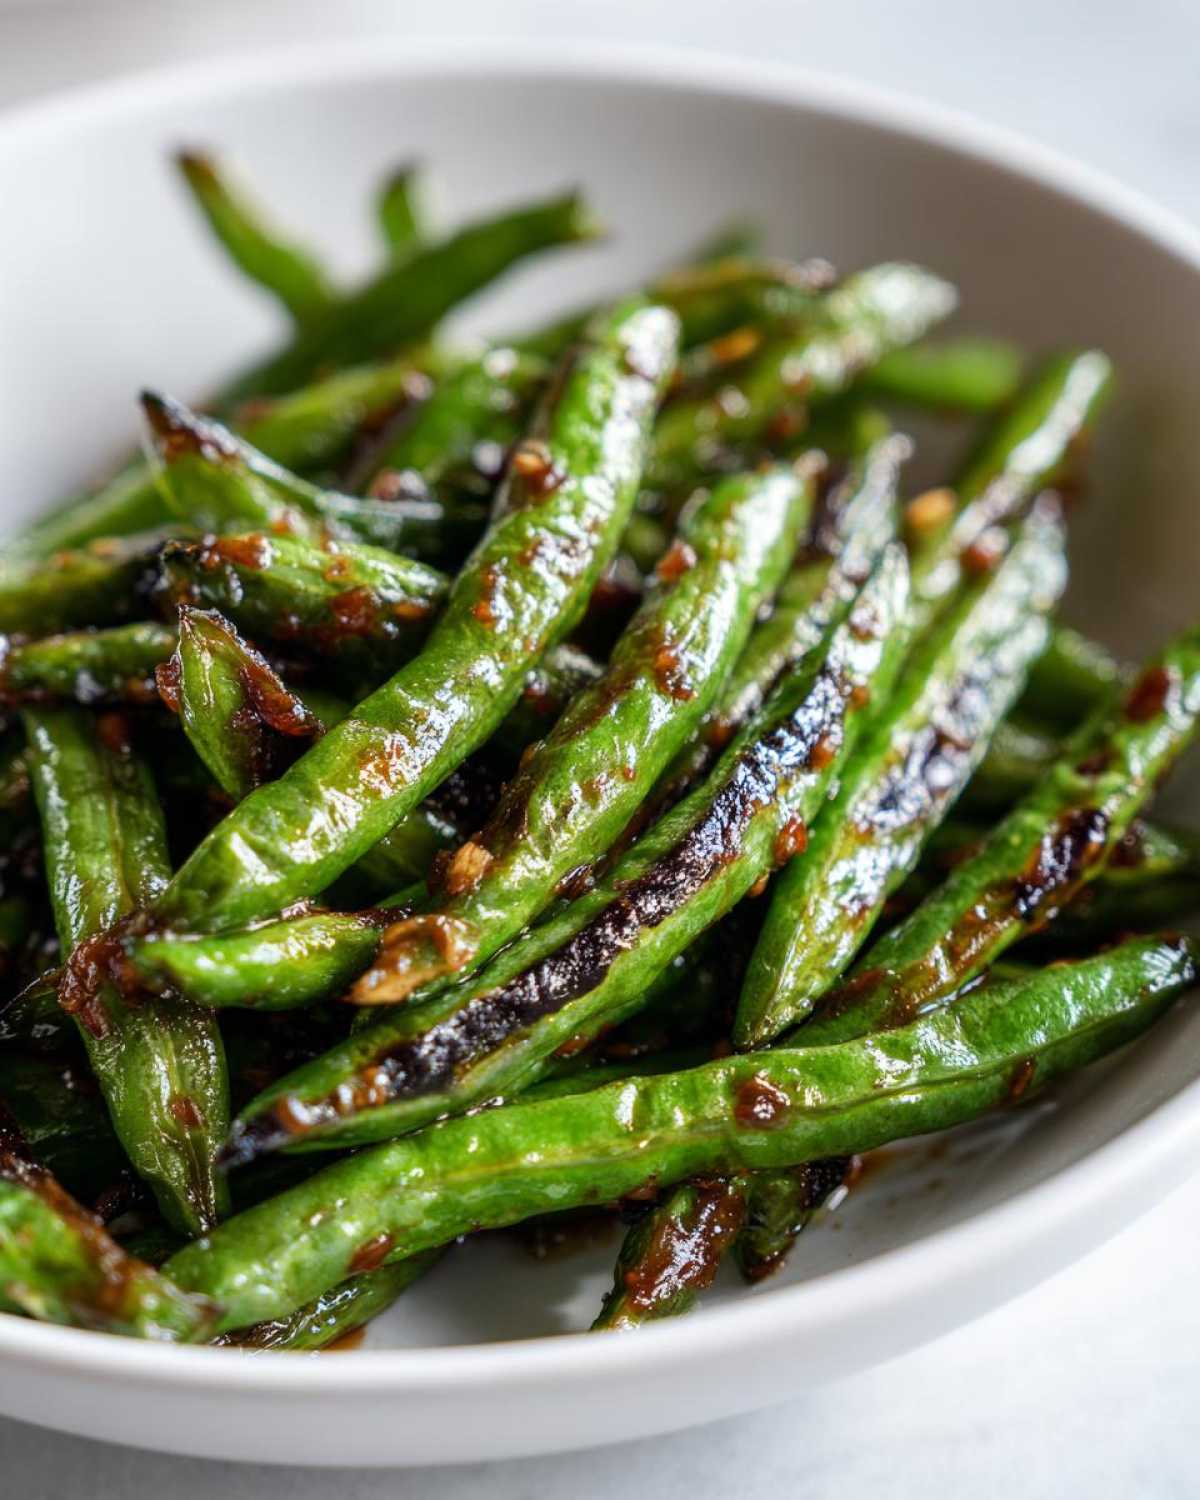
Nutritional Estimates for Chinese Green Beans with Garlic Sauce
Now, I always tell folks that when we’re cooking from memory and making our own adjustments, these numbers are just a starting point, aren’t they? But for those of you who like to track things, here are the general estimates for a single serving of these wonderful garlic green beans. We’re looking at about 130 calories, and honestly, it’s mostly good fats from the cooking oil!
- Serving Size: 1/4 of recipe
- Calories: 130
- Fat: 9g
- Carbohydrates: 11g
- Protein: 3g
Remember, if you swap out sodium or use slightly more oil to get that extra char, these figures will slightly shift. But overall, these are clean, fantastic numbers for a flavorful side!
Share Your Delish Diarist Journey
Oh, we simply love hearing from you all! These recipes, for Richard and me, are all about bringing those glorious memories to life right here in our kitchen, and seeing how they light up yours is the best reward. I sincerely hope these chinese green beans with garlic sauce took you straight back to your favorite takeout memory!
If you managed to get those gorgeous blistered green beans just right, please come back and leave a star rating down below. Tell us how spicy you made them or what wonderful main dish you paired them with! Did you use tamari, or did you stick to the classic soy sauce?
Every rating and comment helps us build out this diary of delicious moments, connecting all of us who believe food tells the best stories. We read every single one! We can’t wait to see what you cook up next, and thank you again for letting us share our table with you.
PrintRestaurant-Style Chinese Green Beans with Garlic Sauce
Make these blistered green beans with a punchy garlic soy sauce right in your wok or skillet. This recipe brings back the flavor of your favorite takeout side dish.
- Prep Time: 10 min
- Cook Time: 10 min
- Total Time: 20 min
- Yield: 4 servings
- Category: Side Dish
- Method: Stir-Frying
- Cuisine: Chinese
- Diet: Vegan
Ingredients
- 1 pound fresh green beans, trimmed
- 3 tablespoons vegetable oil, divided
- 4 cloves garlic, minced
- 1 teaspoon fresh ginger, grated
- 1/4 cup low-sodium soy sauce (or tamari for gluten-free)
- 1 tablespoon rice vinegar
- 1 teaspoon sugar
- 1/2 teaspoon sesame oil
- Pinch of red pepper flakes (optional)
Instructions
- Prepare the sauce: In a small bowl, whisk together the soy sauce, rice vinegar, sugar, sesame oil, and red pepper flakes. Set aside.
- Heat the wok or large skillet over high heat until very hot. Add 2 tablespoons of the vegetable oil.
- Add the trimmed green beans to the hot wok in a single layer if possible. Let them cook undisturbed for 2 to 3 minutes to achieve some charring and blistering.
- Toss the green beans frequently and continue cooking for another 3 to 5 minutes until they are tender-crisp and have developed dark, blistered spots. Remove the beans from the wok and set them aside.
- Reduce the heat to medium. Add the remaining 1 tablespoon of oil to the wok. Add the minced garlic and grated ginger. Cook for about 30 seconds until fragrant, being careful not to burn the garlic.
- Return the green beans to the wok. Pour the prepared sauce mixture over the beans.
- Toss everything quickly to coat the green beans evenly with the sauce. Cook for 1 minute until the sauce thickens slightly and coats the beans.
- Remove from heat immediately and serve your wok fried green beans hot.
Notes
- For a deeper flavor, you can substitute vegetable broth for 1 tablespoon of the soy sauce if you prefer less salt.
- If you do not have a wok, a heavy-bottomed skillet works well for achieving the blistered green beans texture.
- Pair these garlic green beans with fried rice or your favorite vegan chinese sides for a complete meal.
Nutrition
- Serving Size: 1/4 of recipe
- Calories: 130
- Sugar: 3
- Sodium: 450
- Fat: 9
- Saturated Fat: 1
- Unsaturated Fat: 8
- Trans Fat: 0
- Carbohydrates: 11
- Fiber: 4
- Protein: 3
- Cholesterol: 0