

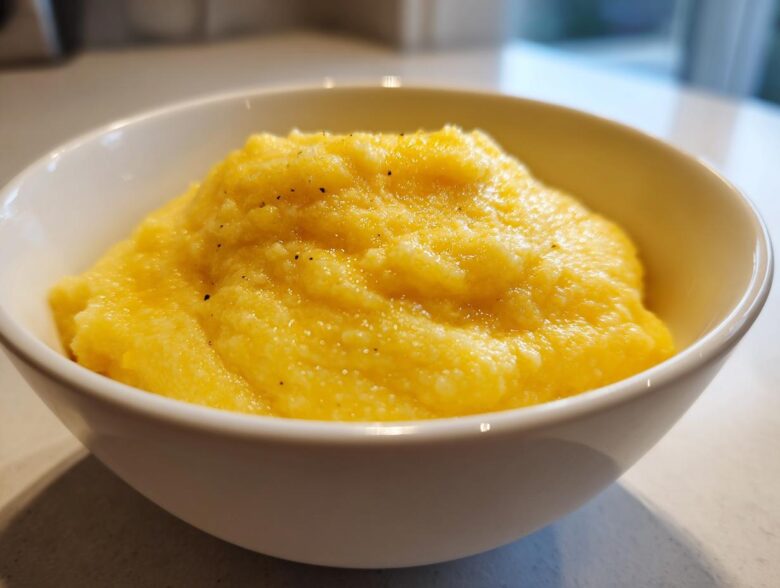
Is there anything in this world that screams pure, unadulterated comfort quite like a bowl of hot, cheesy, perfectly buttery grits? I swear, just the smell takes me right back to Sunday mornings at my Nana’s house. Forget any dusty memories you have of watery, bland grits—we’re fixing that right now! I’ve spent years chasing this traditional Southern staple, and I finally nailed it down. My recipe for the Ultimate Creamy Southern Cheese Grits is the only one I ever use because it’s quick, foolproof, and melts in your mouth with that sharp cheddar kick you need. Seriously, trust me on this one; this is how you make cheese grits the right way.
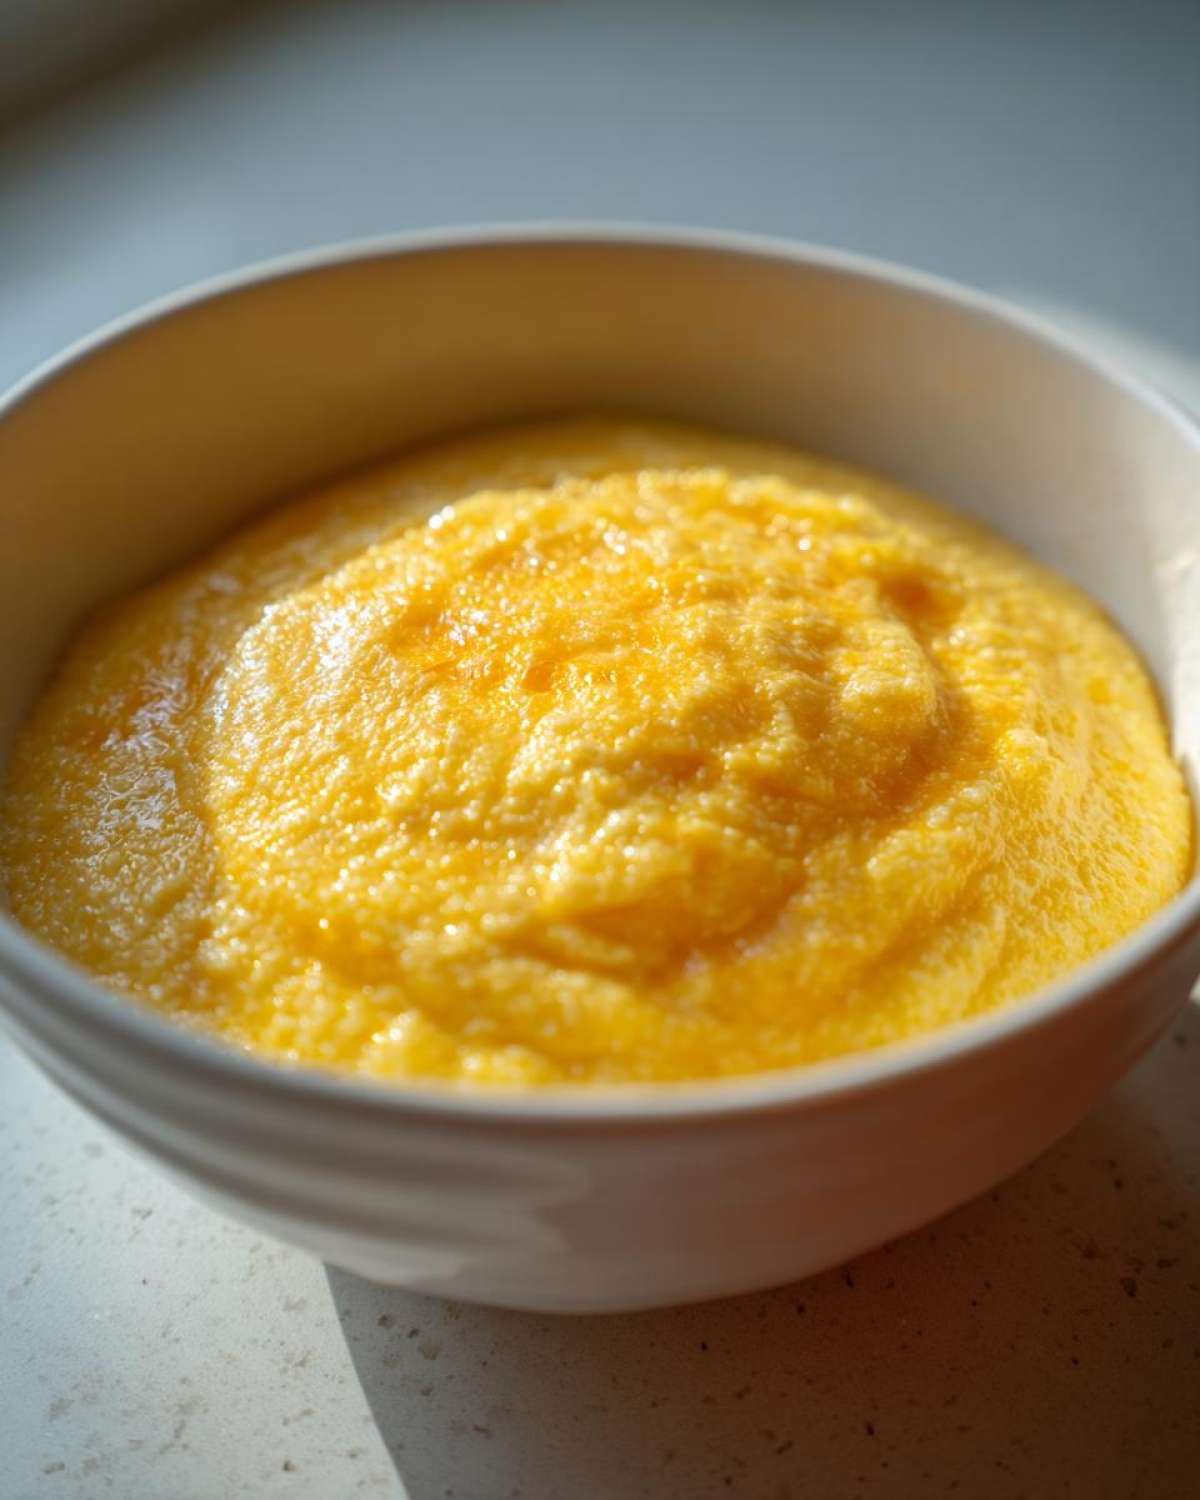
Why You Will Love These Creamy Cheese Grits
Honestly, this recipe became my go-to because it ticks every single box a true comfort food lover needs. I keep coming back to it, and I know you will too!
- They hit that perfect spot: incredibly rich and creamy cheese grits without any fuss or crazy ingredients.
- You get that signature sharp flavor because we insist on using real, block-shredded cheddar.
- The best part? You’re looking at genuine results in under 30 minute cheese grits—perfect for that busy morning or when guests show up unexpectedly.
Gathering Ingredients for the Best Cheese Grits
Okay, friend, the true secret to these amazing cheese grits isn’t some fancy technique; it’s sticking to the right ingredients. If you try to cheat here, trust me, the grits will know, and they won’t forgive you!
You’ll need:
- 4 cups liquid (I use a mix of water and milk, but check my notes below!)
- 1 teaspoon salt and a good pinch of black pepper
- 1 cup stone ground grits—this is non-negotiable for texture!
- 4 tablespoons of good, unsalted butter
- 1 cup of sharp cheddar cheese, shredded by hand
- And if you want them next level creamy, toss in 1/2 cup of Monterey Jack.
If you’re curious about what makes stone ground different, I go into detail about the different types of grits, but for these, stick to coarse or medium grind, not the instant stuff. That melt needs structure!
Ingredient Notes and Sharp Cheddar Tips
Let me save you some guesswork right here. First, for the liquid, I use 3 cups of water and 1 cup of whole milk. The milk helps them cook down beautifully, but using only water makes them too bland. Also, if you skip the butter, they won’t taste rich enough—that’s why some people call this a buttery grits recipe. But the real key is the cheese. Please, please cut the cheese yourself! I always insist on using grits with sharp cheddar because that bright, tangy flavor cuts through the richness of the butter and milk perfectly. Those bags of pre-shredded stuff are coated in things that stop them from melting into that glorious, smooth sauce we are aiming for.
Step-by-Step: How to Make Creamy Cheese Grits
This is where the magic happens! Making truly creamy cheese grits on the stovetop might sound scary because lumps are the enemy, but I promise, if you follow these few steps, you’ll have grits so smooth you’ll wonder why you even bothered with the microwave before. We are working with about 30 minutes total here, so let’s get started.
First, get your liquids going. You’ll need a medium saucepan where you combine the 4 cups of water, the whole milk, salt, and pepper. Get that mixture over medium-high heat and bring it up to a rolling boil. Once it’s bubbling happily, reduce the heat immediately to low. Don’t rush this part; boiling liquid is essential for proper cooking!
Now, for the whisking. Slowly drizzle in your 1 cup of stone ground grits while whisking constantly. If you dump them all in at once, it’s over—you’ll have little hard pebbles later! Once they are whisked in, cover the pot. We are simmering this low and slow for 20 to 25 minutes. Make sure you stir every five minutes like your life depends on it. This frequent stirring is what incorporates the liquid fully and gets those starches moving, which leads to that fantastic texture for your stovetop techniques.
Achieving Smoothness: Whisking and Simmering for Perfect Cheese Grits
The slow whisk when adding the grits is non-negotiable if you want genuinely smooth creamy cheese grits. Once they are simmering, remember that low heat is your friend. Don’t let them scorch on the bottom! The 20 to 25 minute simmer is necessary for stone ground grits to fully hydrate and soften up. If you rush this, your savory grits recipe won’t have that velvety finish, no matter how much cheese you throw in later. Keep stirring until the mixture looks thick, heavy, and the grits themselves are tender when you sneak a taste.
The Final Stir: Melting Butter and Cheese for Homemade Cheese Grits
When they look perfect—thick and ready—take the entire pan right off the heat. This is the most important rule for perfect texture! If you melt the butter and cheese while the pot is still actively heating, you risk making the cheese seize up and get stringy or grainy. Stir in all 4 tablespoons of butter until it just melts away into the hot grits. Then, throw in your sharp cheddar and the optional Monterey Jack. Stir gently until it’s all smooth and gooey. These homemade cheese grits are best served right now—don’t let them sit!
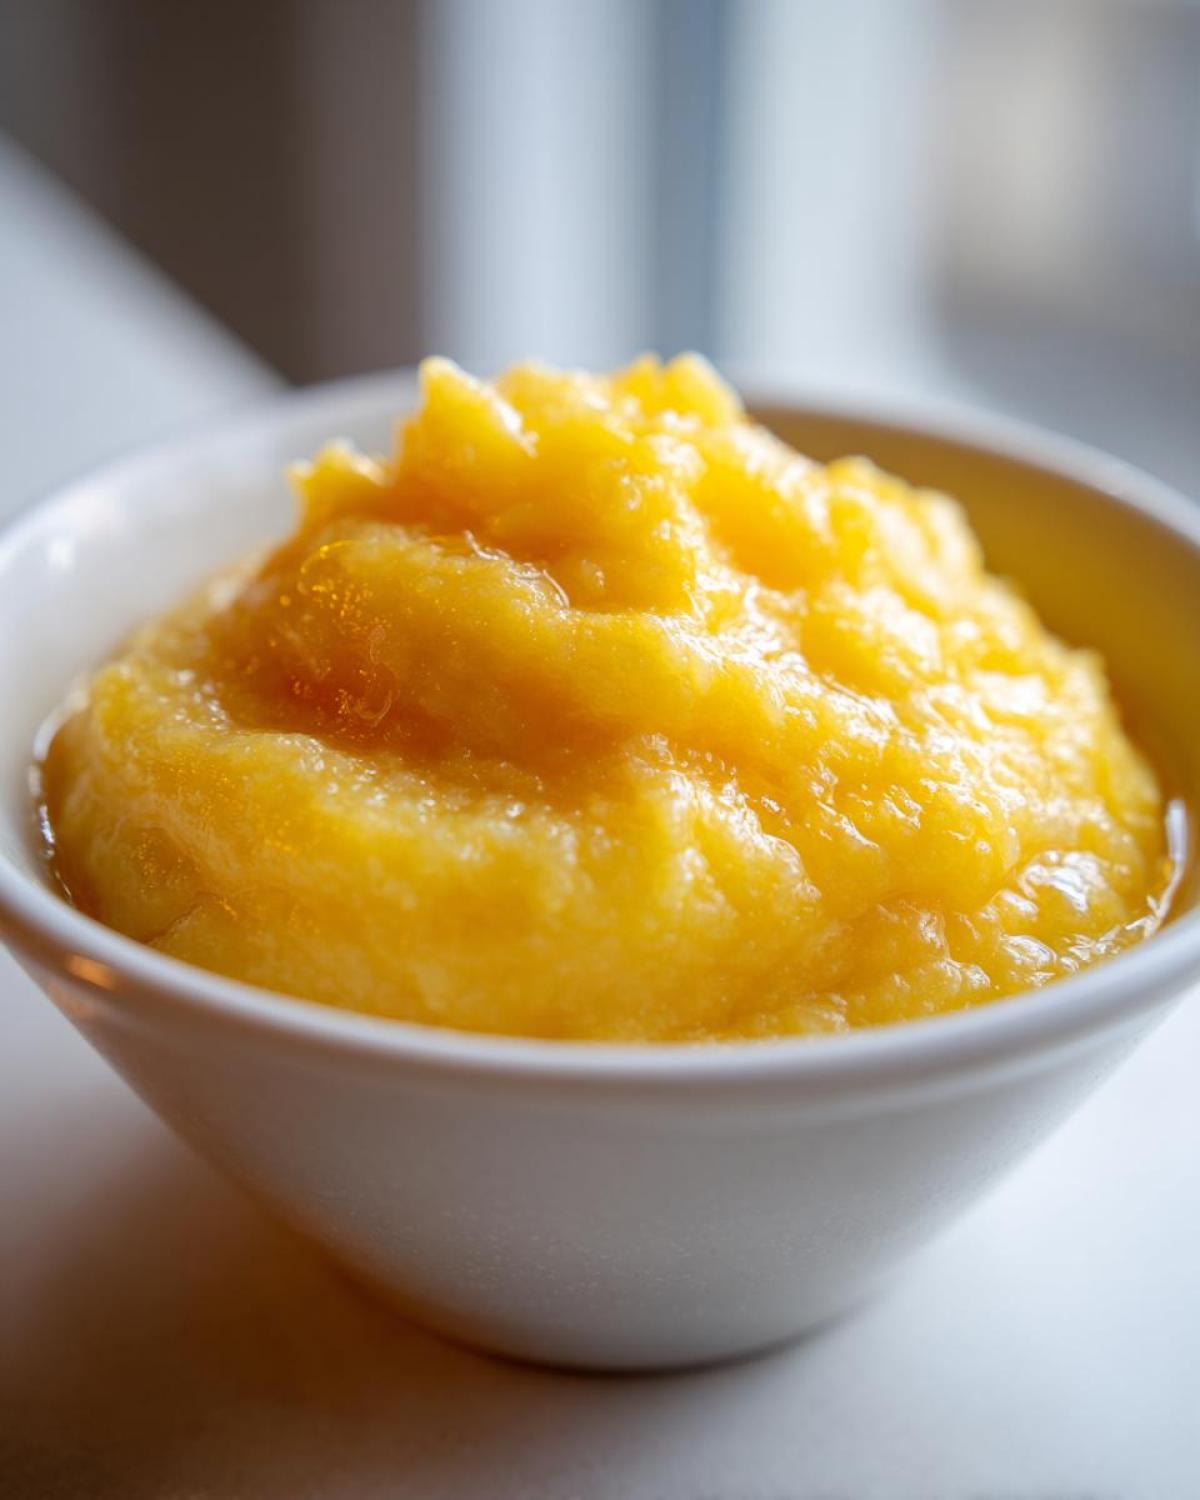
Tips for the Best Southern Grits Recipe Success
Now that you’ve mastered the mixing part, let me give you the little secrets that take these from good to absolutely legendary. Trust me, these tips are about bringing out that deep, soulful flavor that defines traditional Southern cooking.
First, let’s talk liquid depth. While the milk and water combo is great for creaminess, if you truly want that savory punch, substitute about half of your water with good quality chicken broth. It absolutely transforms the entire dish and makes this an amazing savory grits recipe side!
My second piece of advice is about temperature management. Make sure your liquids are at a full, rolling boil before you even think about adding the grits. If the liquid isn’t hot enough, you’ll end up with gummy clumps instead of a smooth texture for your savory seasonings.
Finally, and this is just my personal preference for this Southern grits recipe: don’t be shy with the seasoning *before* the cheese goes in. Once the cheese melts, it adds a lot of saltiness, so taste the grits right after they finish cooking but before the dairy. A little extra pepper or maybe a dash of cayenne at this stage builds flavor complexity.
Variations on Traditional Cheese Grits
While I stand firmly by our basic, sharp cheddar stovetop recipe—it’s the backbone of traditional Southern cooking—sometimes you just need to jazz things up a bit! Adding mix-ins is super easy, and since we are keeping these on the stove, it doesn’t complicate the timing at all. These are just stovetop adjustments that keep everything moving along!
The easiest thing to add is cooked meat. Who doesn’t love bacon? If you’ve got some crispy bacon bits lying around, fold in about a half cup right when you add the cheese. The saltiness and smokiness work unbelievably well with the sharp cheddar. If you’re feeling fancy, you can even reserve a teaspoon of that bacon grease and swap it in for some of the butter—wow, that really deepens the flavor profile.
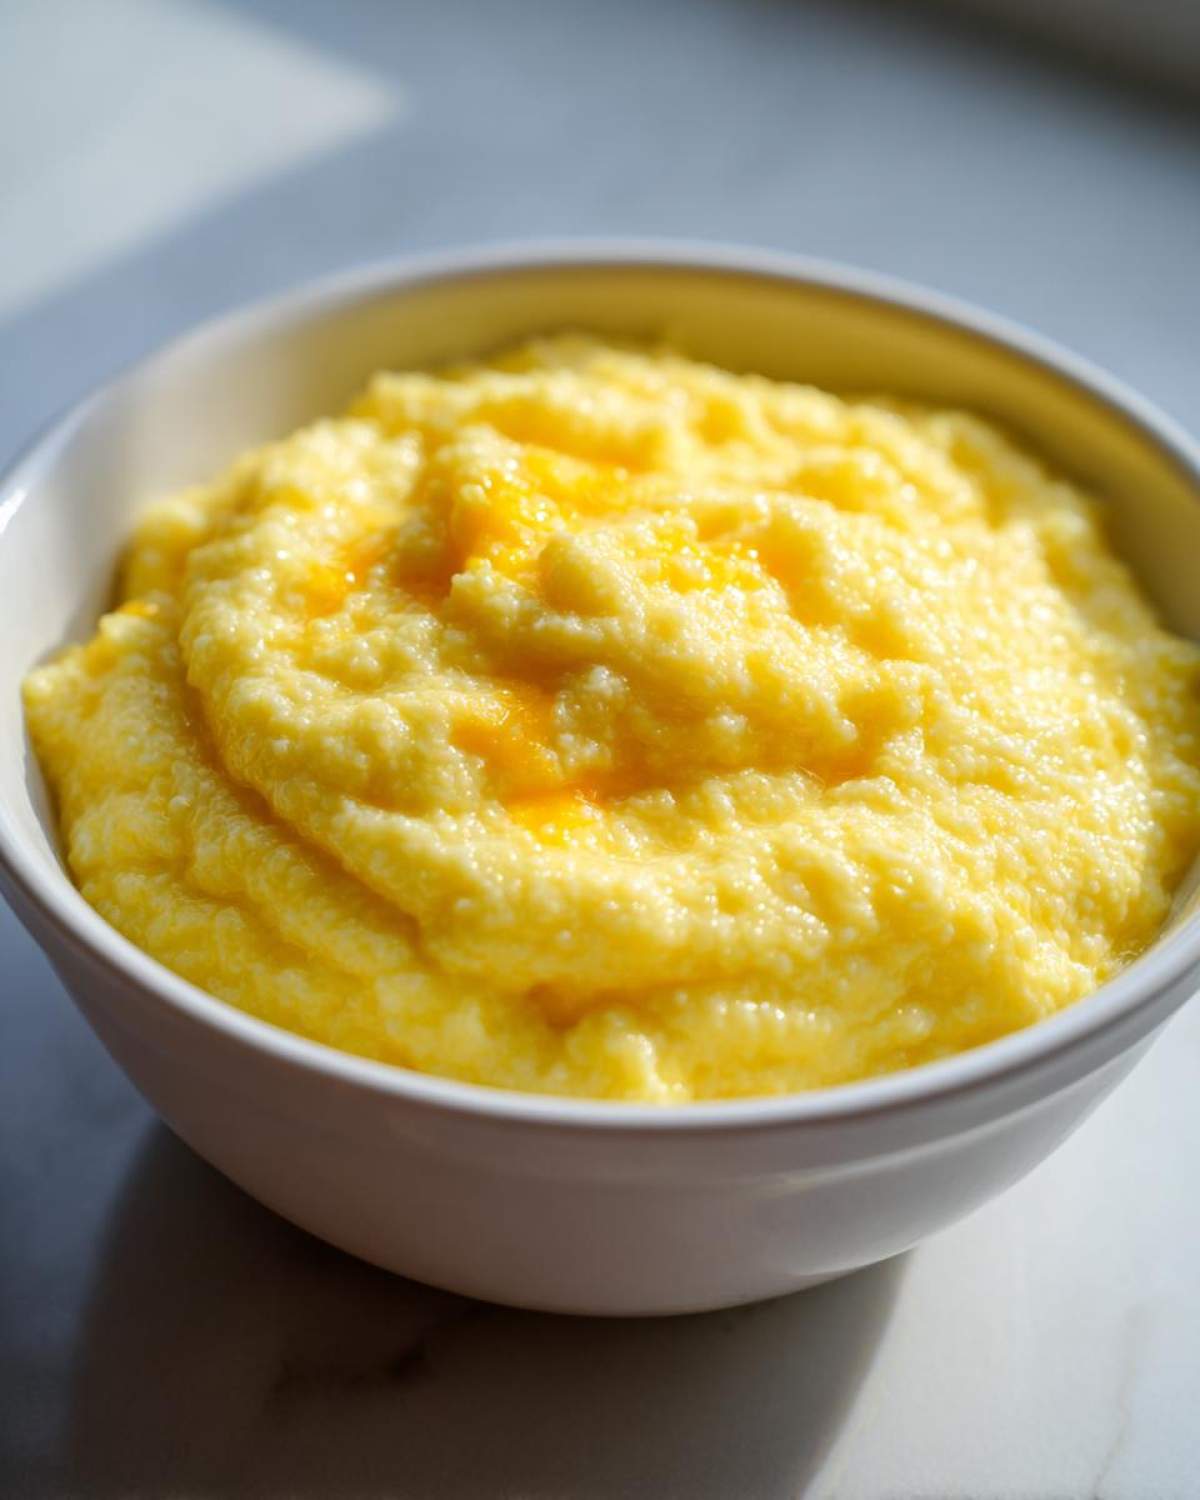
For a fresh pop, try stirring in some finely chopped green onions or chives right when you pull the pot off the heat. They wilt just enough in the residual heat to flavor everything beautifully without losing their color. This also makes them look really appealing if you’re serving them as one of those lovely brunch side dishes.
And finally, feel free to play with your cheese blend! If you happen to have Gruyère, swap out half of that Monterey Jack for a little bit of it. Gruyère melts spectacularly and brings that nutty complexity that pairs amazingly well with corn. The key is finding a second cheese that melts well alongside your required sharp cheddar; don’t go overboard with hard, crumbly cheeses unless you want texture instead of pure creaminess.
Serving Suggestions for Savory Grits Recipe
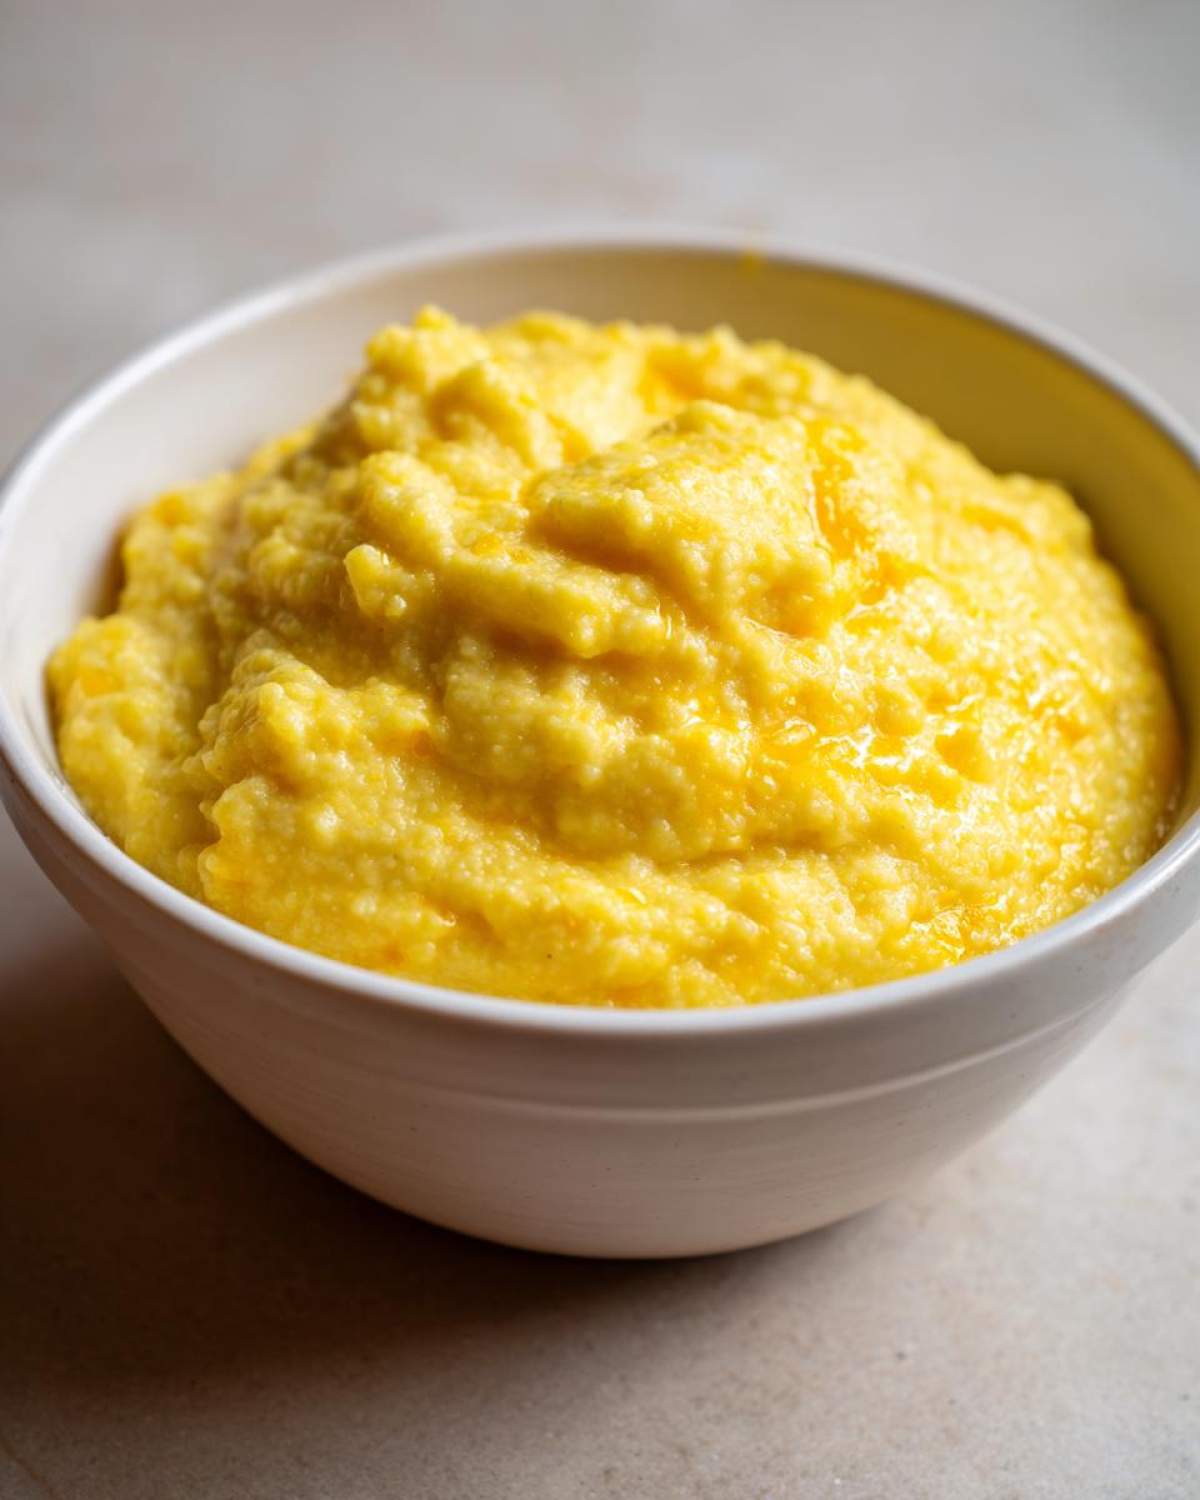
So, you’ve got this massive, steaming bowl of rich, buttery, savory grits recipe ready, and you’re wondering what to pair it with? That’s the fun part! These aren’t just for breakfast anymore, trust me. This recipe is sturdy enough to hold up against almost any protein you throw at it.
For a classic Southern breakfast, you simply can’t beat serving them hot alongside some crispy bacon, pork sausage patties, or maybe even some fried country ham. If you’re feeling ambitious for a weekend brunch, these work perfectly as the creamy base for eggs benedict or alongside fluffy scrambled eggs packed with herbs.
When it comes to dinner, my favorite thing to do is treat these like fancy mashed potatoes. They are the absolute best sidekick for smothered pork chops or perfectly seared salmon. Seriously, the sauce from those chops just pools right into the grits, making every single bite better. They are an essential addition to any big meal you’re putting together, shining as a top-tier brunch side dishes option!
Storage and Reheating Homemade Cheese Grits
It’s a real treat when you have leftover homemade cheese grits, because honestly? Sometimes they are even better the next day when the flavors have settled in! But you have to store them correctly, or you’ll end up with a brick of corn the next morning. Don’t panic, this is easy to avoid.
For storage, you want to get them into an airtight container as soon as they cool down a bit. I usually let them cool on the counter for maybe 15 minutes until I can handle the container safely. They should last just fine in the refrigerator for about three to four days. If you try to push it past five days, that creamy texture starts to get strange, so try to eat them within that window.
When it comes time to reheat, this is the key instruction: you need to introduce moisture back into them slowly. Grits thicken up a ton overnight as they absorb everything!
Restoring Creaminess When Reheating
Never, ever reheat these straight out of the fridge in the microwave without liquid! They will seize up and become hard. What I do is scoop the amount I want into a microwave-safe bowl and add a good splash—maybe a tablespoon or two—of either milk or water per cup of grits. That milk really helps bring back that lovely fat content.
Microwave them in short bursts, maybe 30 seconds at a time, stirring well between each burst. You’ll notice them loosening up. If you still feel like they are too stiff after a minute or two, just stir in another teaspoon of liquid until they reach that perfect, glorious, melt-in-your-mouth consistency again. That bit of extra liquid ensures your homemade cheese grits taste just as fresh as when they first came off the stove!
Frequently Asked Questions About Cheese Grits
I get so many questions about my cheese grits recipe, and honestly, most of them boil down to texture and timing. Folks want that perfect, smooth, savory bowl, and sometimes technology—like using instant grits—gets in the way! Here are the things I hear asked the most, hopefully saving you a step or two!
Can I use quick grits or instant grits instead of stone ground?
Oh, this is the number one question! My honest answer is: please don’t, if you want the results of this recipe. Instant or quick grits are heavily processed to cook in about five minutes. They release starch way too fast, and that means you end up with something pasty or thin, never that deep creaminess you want in a Southern grits recipe. For that perfect, slightly toothsome texture, stick to stone ground or at least old-fashioned grits. They take the time, but they pay you back in flavor!
What if my cheese grits get too thick after cooking?
This happens, especially if they sit for just five minutes, or if you want to reheat leftovers! Don’t panic and don’t add more cheese—that just makes them greasy. The fix is always liquid! For every cup of thick grits, stir in about a tablespoon of milk or even a little water while reheating gently on the stovetop or in the microwave. Keep stirring until they loosen up again. This trick keeps the flavor balanced while restoring the necessary moisture. You can find even more ways to fix texture issues over at this troubleshooting guide.
What is the difference between stone ground and quick grits?
Think of it like this: Stone ground grits are the whole corn kernel, ground slowly between actual stones. This keeps all the natural oils and structure intact, resulting in that long, nutty cook time—about 25 minutes for the recipe above—and the best texture. Quick grits are just broken down much finer and sometimes have the germ removed. They cook fast, but they lose that hearty, satisfying mouthfeel that my Nana insisted on for her comfort food breakfast grits.
Can I make this an easy cheese grits side dish using chicken broth instead of water?
Absolutely, you can! I mentioned this in my tips, but it’s worth repeating. Swapping half the water for good quality chicken or vegetable broth transforms this from a standard side dish into something luxurious. It makes your buttery grits recipe taste immediately deeper and more savory, enhancing the profile of your grits with sharp cheddar.
How much cheese is too much cheese for these homemade cheese grits?
That is a dangerous question in my kitchen! Ha! While this recipe calls for 1.5 cups total cheese for four servings, you can certainly go heavier if you want a true cheese bomb. However, remember that cheese contains salt, sugar, and fat already. If you start doubling the cheese, you risk overpowering the delicate sweet corn flavor and making the grits oily or grainy too quickly, even if you remove the pot from the heat. I’d stick close to the recipe, or maybe add a quarter cup more at most for your homemade cheese grits.
Nutritional Estimate for Buttery Grits Recipe
I know some folks watching their macros or counting calories need the skinny on what they are eating, even when it comes to comfort food! So, based on my testing and standard measurements for this buttery grits recipe, here is a general estimate for one serving (about 1 cup cooked).
Keep in mind that this is an estimate only! The exact numbers change wildly depending on what brand of sharp cheddar you pick up, or if you use broth instead of water for your savory seasonings. Nutrition labels are your friend here.
- Serving Size: 1 cup cooked
- Calories: 380
- Fat: 24g (with 14g of that being Saturated Fat—hello, butter and cheese!)
- Carbohydrates: 30g
- Protein: 15g
- Sugar: 3g
- Sodium: 650mg
I want to be super clear: since the quality of your cheese affects the fat and sodium content so much, these figures are based on standard whole milk, an average sharp cheddar, and the specified amount of butter. If you use a low-moisture Jack, for instance, things will shift a bit! But it gives you a good baseline for enjoying these rich cheese grits without feeling totally guilty.
Share Your Experience Making This Comfort Food Breakfast Grits
Alright, now that your kitchen smells like the very best parts of the South, I really, *really* want to hear how these turned out for you! There is nothing better for me than knowing a recipe from my kitchen—one I’ve spent years perfecting—is bringing comfort to your table, whether it’s for a mid-week dinner side or for a big weekend brunch side dishes spread.
Did you stick exactly to the recipe? Did you make my suggestion and swap out some water for chicken broth? Or are you bolder than me? Tell me about it!
Please take a second to leave a quick star rating right here on the recipe card. That helps other folks know this is the real deal!
Even better, drop a comment below. I’d love to know if you ended up trying that specific combination of grits with sharp cheddar and Monterey Jack, or if you went with something totally different. Did you make these grits part of your regular comfort food breakfast grits rotation? Knowing how you adapted this staple makes sharing these recipes so much more fun for me. Happy cooking, y’all!
PrintUltimate Creamy Southern Cheese Grits (Stovetop with Sharp Cheddar)

Make rich, creamy Southern cheese grits on the stovetop using sharp cheddar for the best flavor. This recipe yields smooth, savory grits perfect for breakfast or as a side dish.
- Prep Time: 5 min
- Cook Time: 25 min
- Total Time: 30 min
- Yield: 4 servings
- Category: Side Dish
- Method: Stovetop
- Cuisine: Southern American
- Diet: Vegetarian
Ingredients
- 4 cups water
- 1 cup whole milk
- 1 teaspoon salt
- 1/2 teaspoon black pepper
- 1 cup stone ground grits (not instant)
- 4 tablespoons unsalted butter
- 1 cup shredded sharp cheddar cheese
- 1/2 cup shredded Monterey Jack cheese (optional, for extra melt)
Instructions
- Combine water, milk, salt, and pepper in a medium saucepan. Bring the mixture to a boil over medium-high heat.
- Slowly whisk in the grits to prevent lumps. Reduce the heat to low.
- Cover the saucepan and simmer for 20 to 25 minutes, stirring every 5 minutes to keep the grits from sticking to the bottom.
- Once the grits are thick and tender, remove the pan from the heat.
- Stir in the butter until it melts completely.
- Add the shredded sharp cheddar cheese and Monterey Jack cheese (if using). Stir until the cheese is fully melted and the grits are smooth and creamy.
- Taste and add more salt or pepper if needed before serving immediately.
Notes
- Use stone ground or old-fashioned grits for the best texture; instant grits will not achieve this creamy result.
- Shred your own cheese from a block; pre-shredded cheese contains anti-caking agents that prevent smooth melting.
- For richer flavor, substitute half of the water with chicken or vegetable broth.
Nutrition
- Serving Size: 1 cup cooked
- Calories: 380
- Sugar: 3
- Sodium: 650
- Fat: 24
- Saturated Fat: 14
- Unsaturated Fat: 10
- Trans Fat: 0.5
- Carbohydrates: 30
- Fiber: 3
- Protein: 15
- Cholesterol: 55