

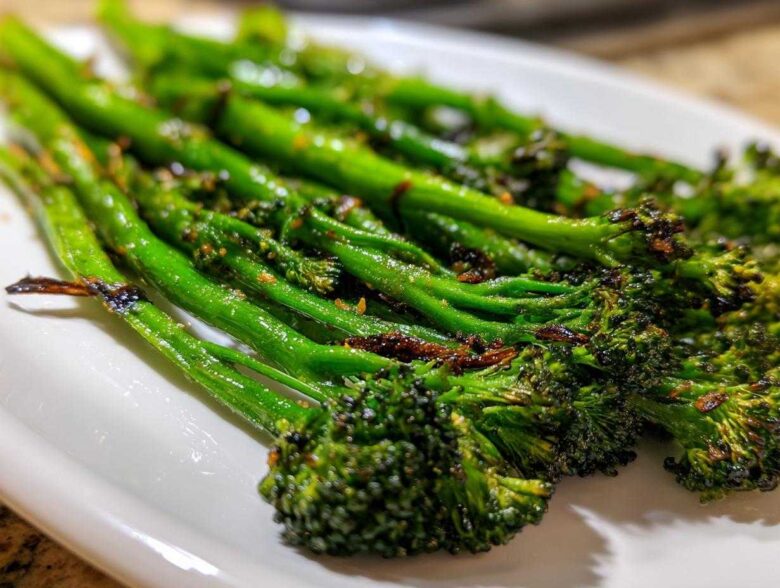
Listen, I get it. Weeknights are crazy, and sometimes the green vegetable side dish feels like a total chore. You want something healthy that doesn’t taste like steamed sadness, right? Well, I finally nailed the absolute fastest, most flavorful way to prepare broccolini, and it’s become my go-to. Forget boiling or steaming that tougher stem! This roasting method transforms those little spears into tender-crisp wonders with charred edges in under 20 minutes total. Trust me, once you try this garlic lemon broccolini, you’ll never look back. It makes even my picky husband ask for seconds!
Why This Roasted Broccolini Recipe Works So Well
There are so many broccolini recipes out there, but honestly, roasting is the secret weapon for this particular vegetable. Steaming just makes it soggy, but the high heat of the oven gives you that magical contrast. You get the tender-crisp interior of the stalk while the little floret tips get beautifully charred and crunchy. That’s what we chase! What I love most is that this whole process—prep to plate—falls under 20 minutes, making it one of the most reliable quick vegetable side dishes in my rotation.
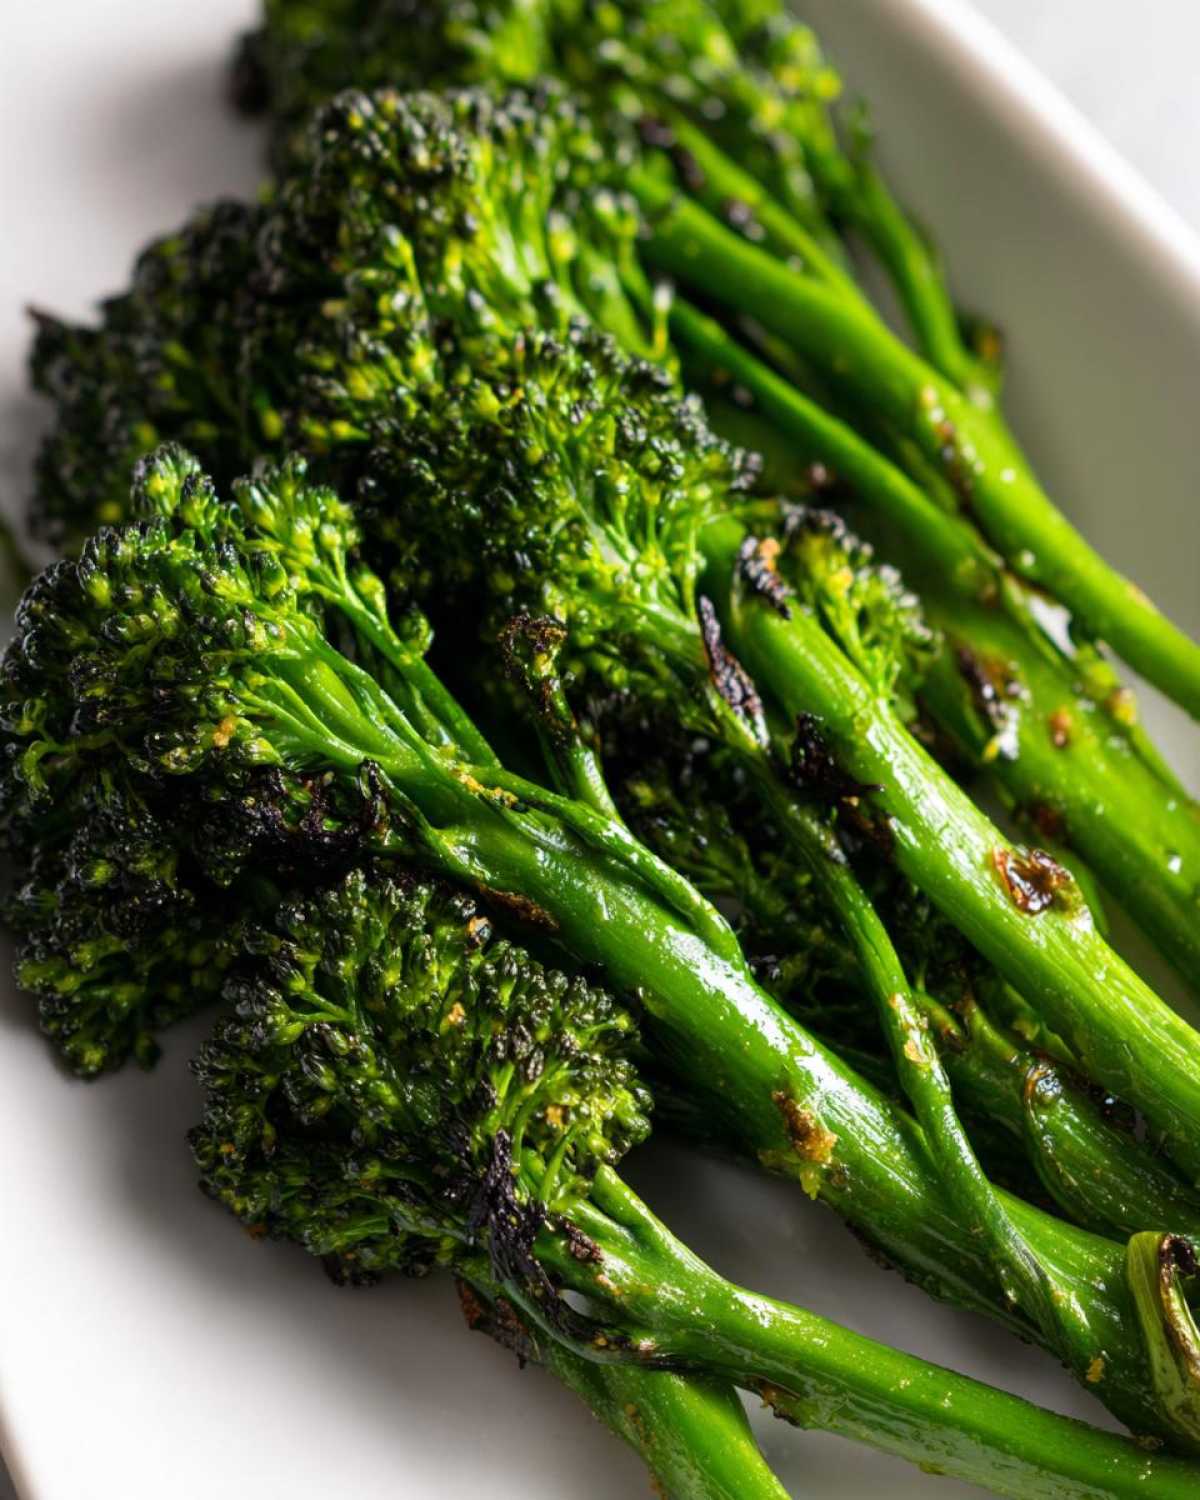
It just proves that you don’t need fuss or fancy techniques to make something truly delicious. This is definitely the definition of an easy broccolini side that always makes an impression.
Quick Prep for Perfect Broccolini
Seriously, five minutes. That’s all you need to get this ready for the oven. We’re just trimming off the woody ends—which usually takes seconds—then tossing it straight onto the baking sheet. Because the stems of the broccolini are naturally thinner than regular broccoli, they cook so quickly! This speed is why I rely on this method when I’m rushing to get dinner on the table after work.
Flavor Profile: Garlic and Lemon Broccolini
When you roast anything with good olive oil, the flavor just concentrates, right? We let that olive oil mingle with fresh garlic before it even hits the heat. Then, we hit it with bright citrus right at the end. The combination of savory garlic and zesty lemon creates the perfect lemon broccolini. It cuts right through richer main dishes, like my garlic butter chicken thighs, without overpowering them. It’s vibrant!
Ingredients Needed for Quick Garlic Lemon Roasted Broccolini
Okay, this is the beautiful part: the ingredient list is ridiculously short. I always keep these staples stocked because on the days I decide last minute I need a good green vegetable, I know I can make this happen in 20 minutes. Remember, quality matters here, especially with the garlic!
Here’s exactly what you’ll need for about four nice side dish servings:
- 1 lb broccolini. Make sure you look for bright green stalks, not yellowing ones! Trim off about an inch from the very bottom where the stems look woody or dry.
- 2 tablespoons of good quality extra virgin olive oil. Don’t skimp here; this is what gets those crispy bits going!
- 3 cloves of garlic. You absolutely must mince these rather finely. Big chunks burn before the broccolini is done, and we are aiming for mellow garlic flavor, not bitter shrapnel.
- 1/4 teaspoon of salt. I use kosher salt, but whatever you have is fine.
- 1/8 teaspoon of freshly cracked black pepper. Freshly cracked makes such a difference, I promise!
- 1 tablespoon of fresh lemon juice. This has to be fresh; bottled stuff is too harsh.
- 1 teaspoon of lemon zest. This captures the fragrant oils right off the peel.
If you’re feeling extra fancy and want to serve this alongside my garlic parmesan chicken skewers, you can toss in about 2 tablespoons of grated Parmesan cheese right after they come out of the oven. It melts onto those hot tips beautifully.
How to Cook Broccolini: Step-by-Step Roasted Broccolini Instructions
This is where the magic happens, and honestly, it’s so simple you’ll feel like you’re cheating! The goal here is maximum flavor development with minimum effort. Before we even look at the broccolini, you need to get that oven hot. Seriously, don’t skip the preheat—we want roaring heat to shock the vegetable into crispness, not gentle warming. If you want to try this in a different gadget later, just keep in mind that for my hot honey chicken, the timing is different, but for this broccolini, the conventional oven method below is king!
Prepping and Seasoning Your Broccolini
First things first: crank your oven up to 400 degrees Fahrenheit. That hot oven is non-negotiable for great results! Now, dump your trimmed broccolini onto your favorite baking sheet. Drizzle over that olive oil—make sure everything gets a good coat—and then toss in your minced garlic, salt, and pepper. Here’s my essential tip: spend an extra 30 seconds really tossing this by hand, making sure every single piece of garlic is distributed evenly. If the garlic clumps together, those clumps will burn to a crisp before the stalks are even halfway done. We want golden garlic flavor, not black dust!
Roasting Time and Achieving Crispy Edges on Broccolini
Once everything is seasoned perfectly, you must spread the spears out so they are not touching. If they’re piled up, they steam! We need them in a single layer for proper roasted broccolini. Slide that sheet pan into the 400-degree oven and set your timer for 12 minutes. After 12 minutes, check them. You are looking for the florets to be slightly browned, maybe even a little crispy on the very tips, and the stems should yield easily when you poke them gently. If they’re still stiff, give them another 3 to 5 minutes, but watch closely!
Finishing Touches for Bright Lemon Broccolini
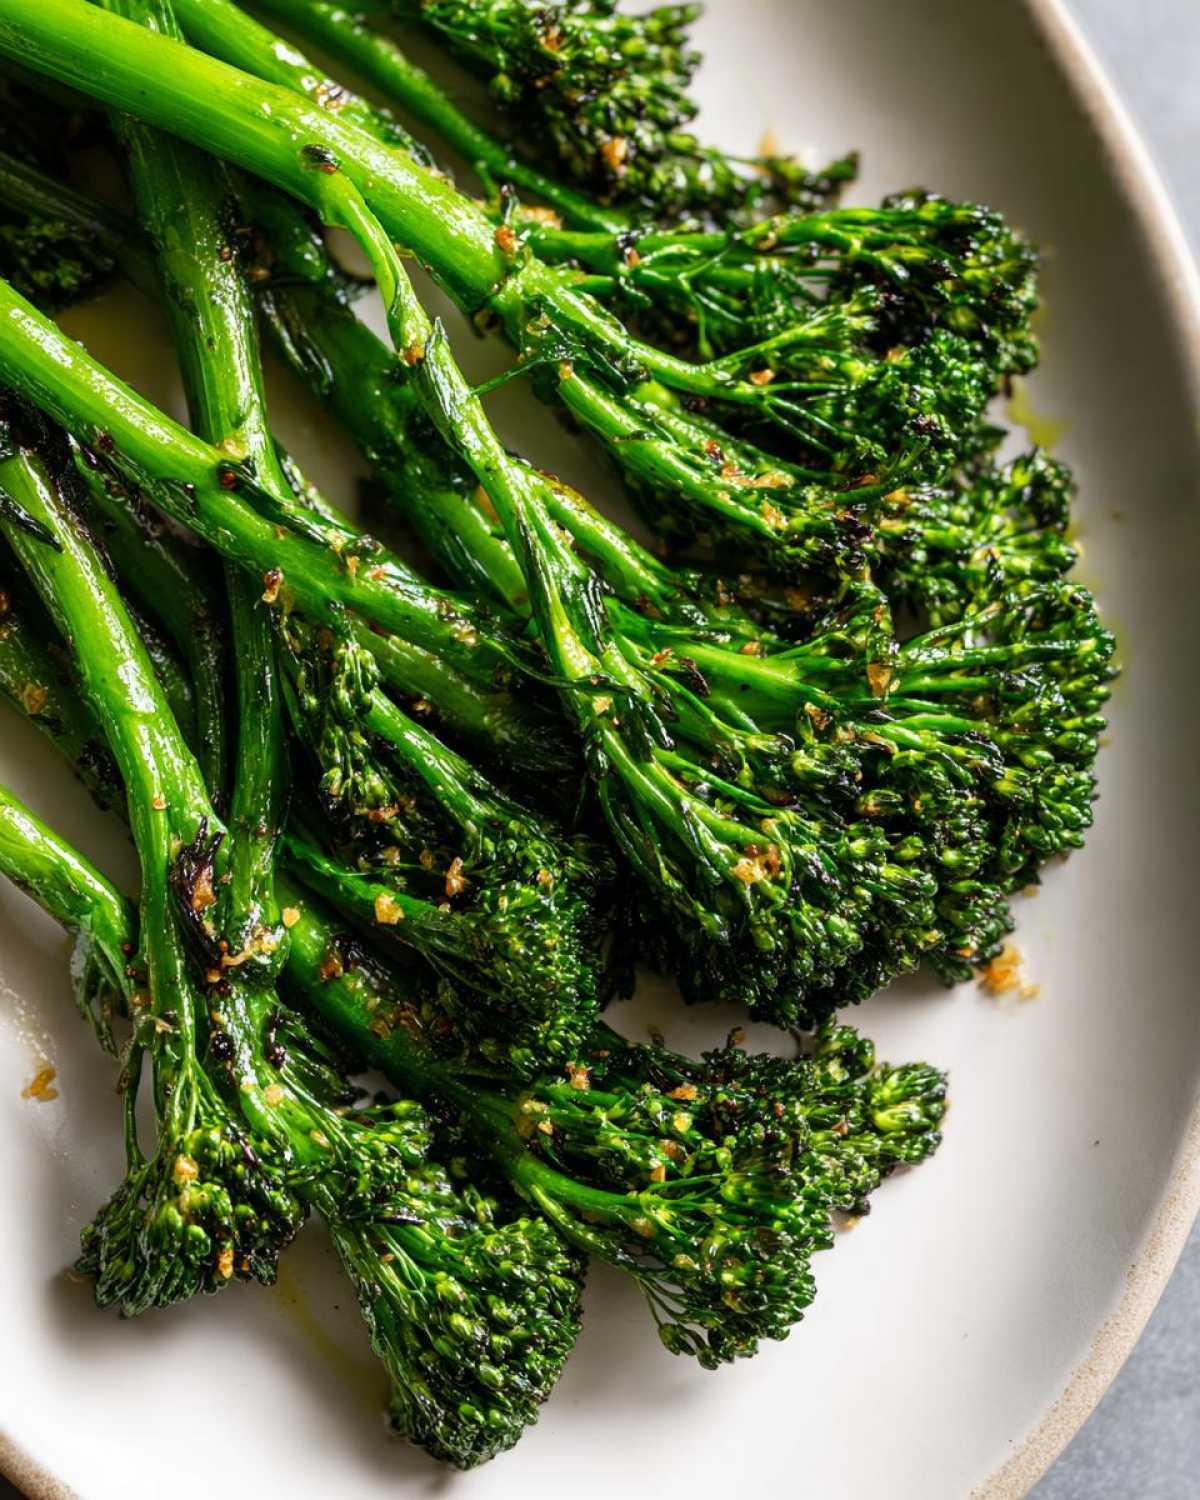
This step is crucial! As soon as they come out of that hot oven, move them into your serving dish. Now, drizzle that tablespoon of fresh lemon juice right over the top. Then, sprinkle on the lemon zest. I always wait until *after* roasting for the juice and zest because I want that bright, fresh, zingy punch of citrus right on the tongue. If you roast the lemon juice, it loses all its vibrant aroma. This final drizzle really makes this lemon broccolini pop!
Tips for Perfect Roasted Broccolini Every Time
We’ve got the roasting down, but I always feel like I need to give you my little secrets so your broccolini comes out restaurant-quality every single time. Since this is such a quick side dish, slight adjustments make a huge difference in texture. If you’re watching your cooking gadgets, don’t worry, I’ve got your back!
First, I mentioned it briefly, but if you want to truly take this over the top, toss the hot spears with a little grated Parmesan cheese right after they come out of the oven. Don’t add it before roasting, or it just turns into brown cheese cement. I pair this Parmesan version perfectly with my lemon garlic shrimp pasta!
Alternative Cooking Method: Air Fryer Broccolini
If your oven is totally slammed because you’re baking a huge roast, the air fryer is a fantastic substitute for making air fryer broccolini. The principle is the same—hot, dry air—but it moves faster! You just need to adjust the heat down slightly. Cook your seasoned spears at 375 degrees Fahrenheit for about 8 to 10 minutes total. Crucially, shake the basket halfway through filming so everything cooks equally. You still get those lovely crunchy tips, just faster!
Variations on This Easy Broccolini Side Dish
The beauty of this basic roasting method—olive oil, salt, garlic—is that it’s totally a launchpad, not a rigid rulebook. This is where you can easily customize your side dish based on what you have in the fridge or what main course you’re pairing it with. We’re keeping it quick, so no complicated additions here, just simple swaps!
If you like a little kick with your greens, add just a pinch of red pepper flakes right in with the salt and pepper before roasting. I mean a small pinch! You want a little warmth on the finish, not a full-on fire, especially if you are serving it with something already spicy. I often do this when I serve it alongside my foil-packet chicken because it plays so nicely with the savory seasonings.
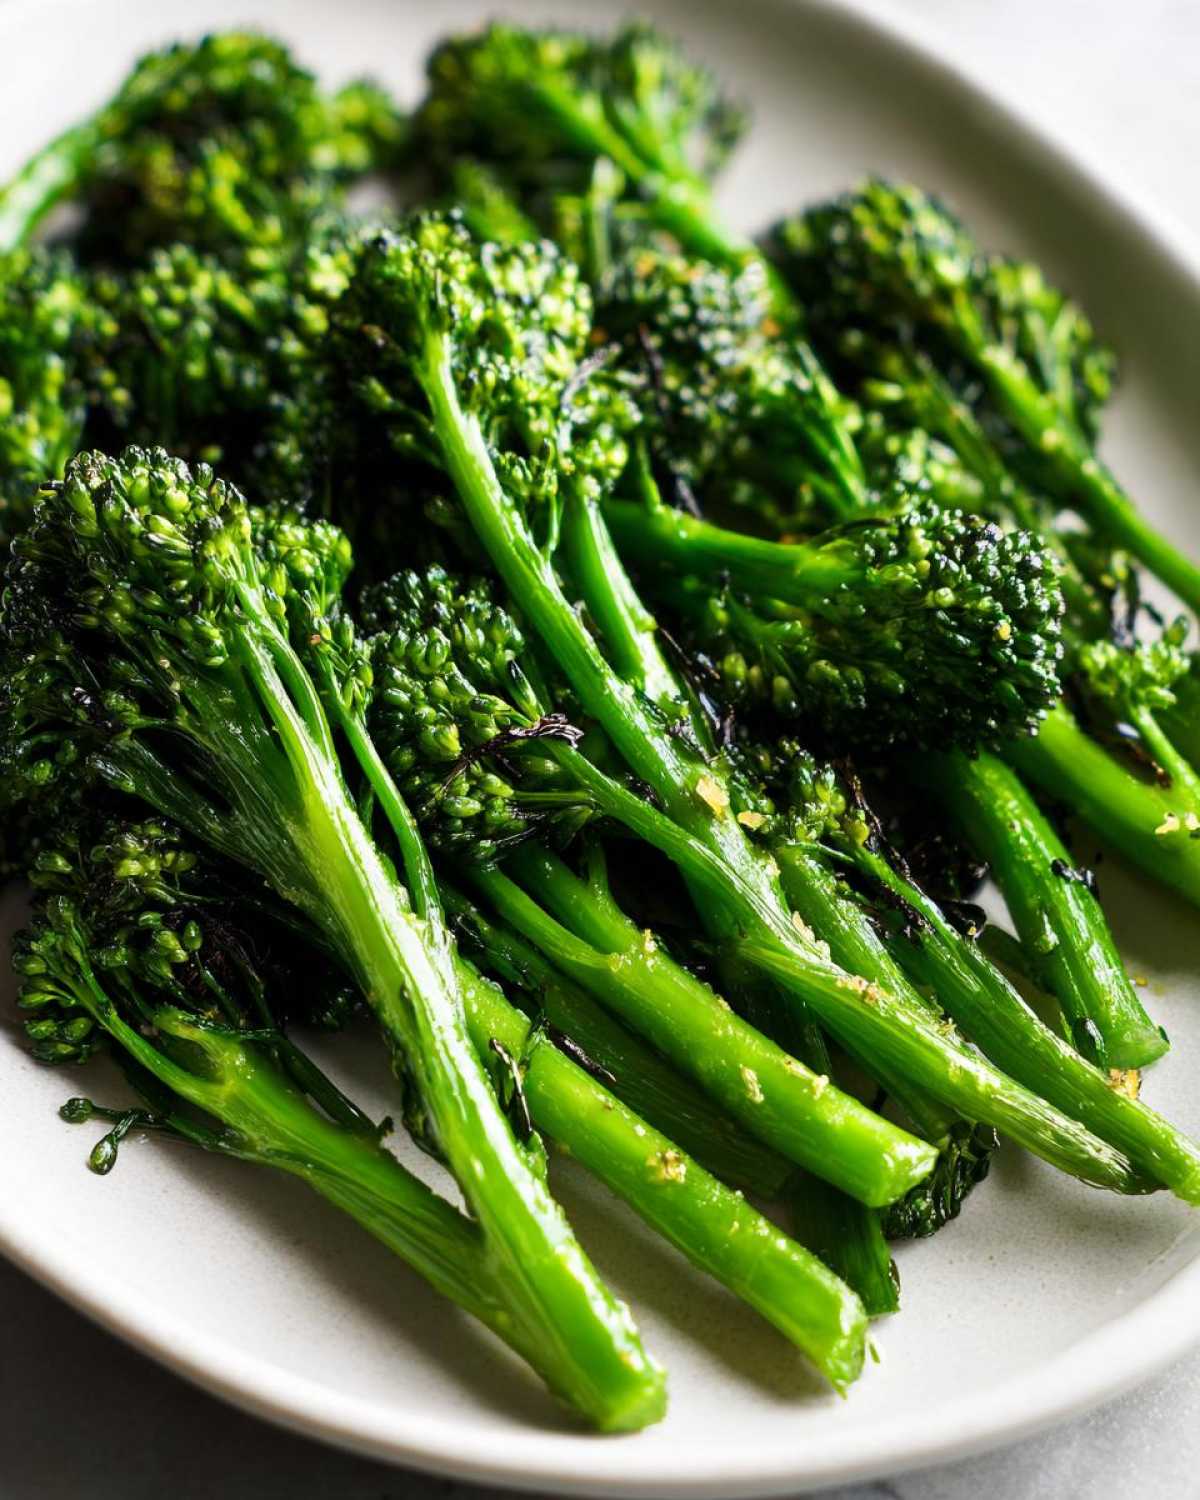
Another fantastic swap that changes the entire vibe of this easy broccolini side is ditching the lemon entirely and using balsamic vinegar! Towards the very end of roasting, maybe the last three minutes, drizzle just a teaspoon of good quality balsamic over the spears. It caramelizes beautifully, giving you this lovely sweet-and-sour profile that tastes incredible with pork chops or roast beef. You still might want to finish it with salt and pepper, but skip the fresh lemon zest entirely if you go the balsamic route. It’s amazing how one flavor switch completely restyles your side!
Serving Suggestions: What to Serve with Broccolini
This roasted broccolini is so vibrant that it honestly elevates whatever you put beside it! Because it’s light, quick, and packed with garlic and lemon, it cuts through richness beautifully. It really is the perfect partner for almost any protein you’re making on a busy night.
When I’m planning dinner, I always think of what to serve with broccolini, and here are my top three pairings that never fail:
- Grilled Chicken Breasts: Simple seasoning on the chicken, letting this bright green side shine with its charred edges. If I’m making my garlic butter chicken, this roasted side is the only thing needed!
- Seared Salmon Fillets: The lemon in the broccolini plays perfectly with the richness of the salmon. It’s a super quick, healthy meal.
- A Simple Steak: Whether it’s a nice ribeye or just some quick sirloin strips, the slight bitterness from the char on the broccolini is fantastic against the beefiness.
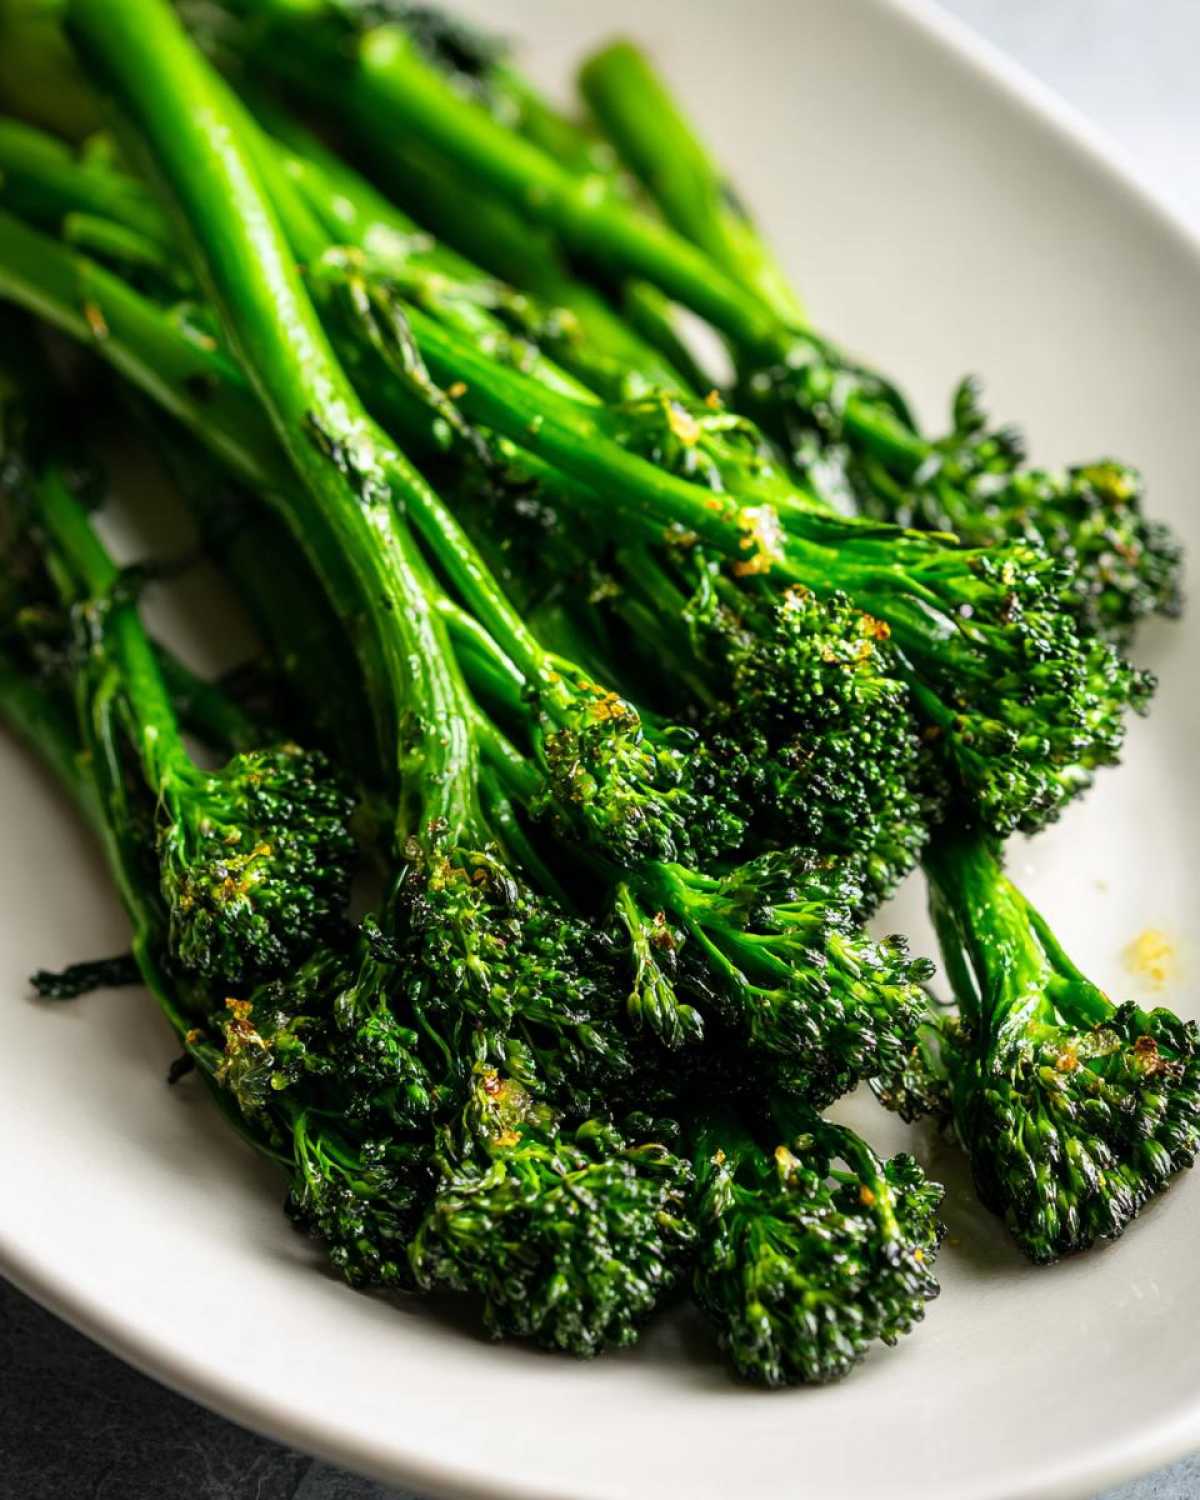
See? It does all the heavy lifting for you. It’s the side dish that always looks like you spent way more time on it than you actually did!
Storage and Reheating for Leftover Broccolini
Okay, let’s talk leftovers, because sometimes I make a double batch of this roasted broccolini just so I don’t have to cook greens the next day! Good news: it stores beautifully. The key is getting it chilled down quickly without letting it sit out too long, especially if you tossed it with Parmesan.
You want to store any leftovers in an airtight container. I try not to use plastic if I can help it, but any tightly sealed container works. Keep it in the fridge, and honestly, it stays perfectly delicious for about three to four days. After that, the texture starts to soften a bit too much, and we lose that fantastic crispy edge we worked so hard to achieve.
Now, reheating is where you have to be cautious. The microwave is fast, yes, but it will steam your lovely roasted spears and make them mushy instantly. If you need it fast, microwave for just 15 seconds on medium power, but your best bet for reviving that roasted texture is using the oven or toaster oven.
For the best result, spread your leftover broccolini out on a small baking sheet—not overlapping, just like you did the first time! Pop it into a 350-degree oven for about 5 to 7 minutes. This dries out any excess moisture that built up and crisps those edges right back up. It won’t be quite as perfect as when it was first made, but it’s worlds better than microwaving! I sometimes reheat mine right before setting out my high-protein egg muffins for a quick lunch, and it works like a charm.
Frequently Asked Questions About Cooking Broccolini
I always get so many questions once people start cooking this recipe because I know they want that perfect texture! It’s amazing how people get intimidated by vegetables, but broccolini is truly one of the easiest things you can make. Here are a few things I hear most often when folks are trying to make their first batch of garlic broccolini recipe.
Can I substitute regular broccoli for broccolini in this recipe?
Yes, you certainly can use regular broccoli heads if that’s all you have, but you need to adjust your timing because those florets and stalks are much thicker! For regular broccoli, you’ll likely need to roast them for about 18 to 22 minutes, maybe even longer, depending on how small you chop the crowns. Because the stalks on broccolini are so slender, they cook fast. If you skip the extra time with regular broccoli, you’ll end up with crunchy stalks and possibly uncooked florets. Try tossing the regular broccoli with the seasoning and oil, then start checking around the 15-minute mark to see if the florets are tender, and keep going until the thickest stalks give way when poked!
Is this a keto friendly vegetable side?
Oh yes, absolutely! This recipe is inherently very low-carb, which makes it fantastic for folks watching their sugar or carb intake. Since we are only using olive oil, salt, pepper, and fresh lemon, this roast falls perfectly into both keto friendly vegetable side plans and even most paleo broccolini recipe guidelines. The carbs come almost entirely from the vegetable itself, and it’s loaded with fiber, which is key! Just remember, if you add that optional Parmesan cheese, you’re slightly bumping up the dairy and fat macros, but it’s still low-carb overall. If you’re pairing this with something heavy like my honey mustard chicken thighs, you’ve got a balanced plate!
How do I know when my broccolini is done roasting?
This is the most important visual cue! You are not trying to turn it mushy; we want tenderness with a little snap left in it. You’re looking for two main things when you pull that sheet pan out: First, the thin stalks should look bright green but slightly wilted, and they should give easily when you press them with the tip of a fork or a thin knife—that’s the tender-crisp part. Second, check the little florets on top! They should have little bits of dark brown or near black charring on the spiky tips. That char is where the best flavor is hiding! If you see that dark speckling and the stalks are flexible, your delicious roasted broccolini is done.
Nutritional Snapshot of This 15 Minute Vegetable Side
I know some of you count macros or just like knowing what’s going into your body, so here’s a quick peek at the numbers for this 15 minute vegetable side. Keep in mind these are solid estimates based on the core ingredients, not including optional additions like Parmesan, since that varies so much!
For one standard serving (about 1/4 of the batch), you’re looking at roughly:
- Calories: 95
- Fat: 6g
- Carbohydrates: 8g (with 3g coming from fiber—hello, greens!)
- Protein: 4g
This makes the broccolini a fantastic, light addition to any meal, especially when paired with something heartier like my honey butter skillet corn. It’s fresh, low in sugar, and super guilt-free!
PrintQuick Garlic Lemon Roasted Broccolini
A simple, fast recipe for roasting broccolini until tender with crispy edges, flavored with garlic and lemon.
- Prep Time: 5 min
- Cook Time: 15 min
- Total Time: 20 min
- Yield: 4 servings
- Category: Side Dish
- Method: Roasting
- Cuisine: American
- Diet: Low Fat
Ingredients
- 1 lb broccolini, trimmed
- 2 tablespoons olive oil
- 3 cloves garlic, minced
- 1/4 teaspoon salt
- 1/8 teaspoon black pepper
- 1 tablespoon fresh lemon juice
- 1 teaspoon lemon zest
Instructions
- Preheat your oven to 400 degrees Fahrenheit (200 degrees Celsius).
- Place the trimmed broccolini on a baking sheet.
- Drizzle the olive oil over the broccolini.
- Add the minced garlic, salt, and pepper. Toss everything together until the broccolini is evenly coated.
- Spread the broccolini in a single layer on the baking sheet.
- Roast for 12 to 15 minutes, or until the tips are slightly browned and tender-crisp.
- Remove from the oven. Drizzle with fresh lemon juice and sprinkle with lemon zest before serving.
Notes
- For extra flavor, toss with 2 tablespoons of grated Parmesan cheese after roasting.
- If you prefer softer broccolini, roast for an additional 3 to 5 minutes.
- You can use an air fryer at 375 degrees Fahrenheit for 8 to 10 minutes, shaking halfway through.
Nutrition
- Serving Size: 1/4 of recipe
- Calories: 95
- Sugar: 2
- Sodium: 180
- Fat: 6
- Saturated Fat: 1
- Unsaturated Fat: 5
- Trans Fat: 0
- Carbohydrates: 8
- Fiber: 3
- Protein: 4
- Cholesterol: 0