

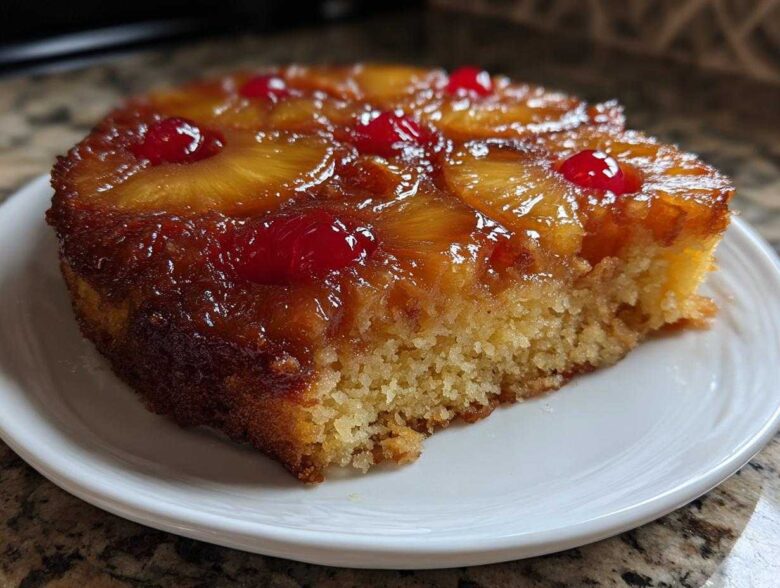
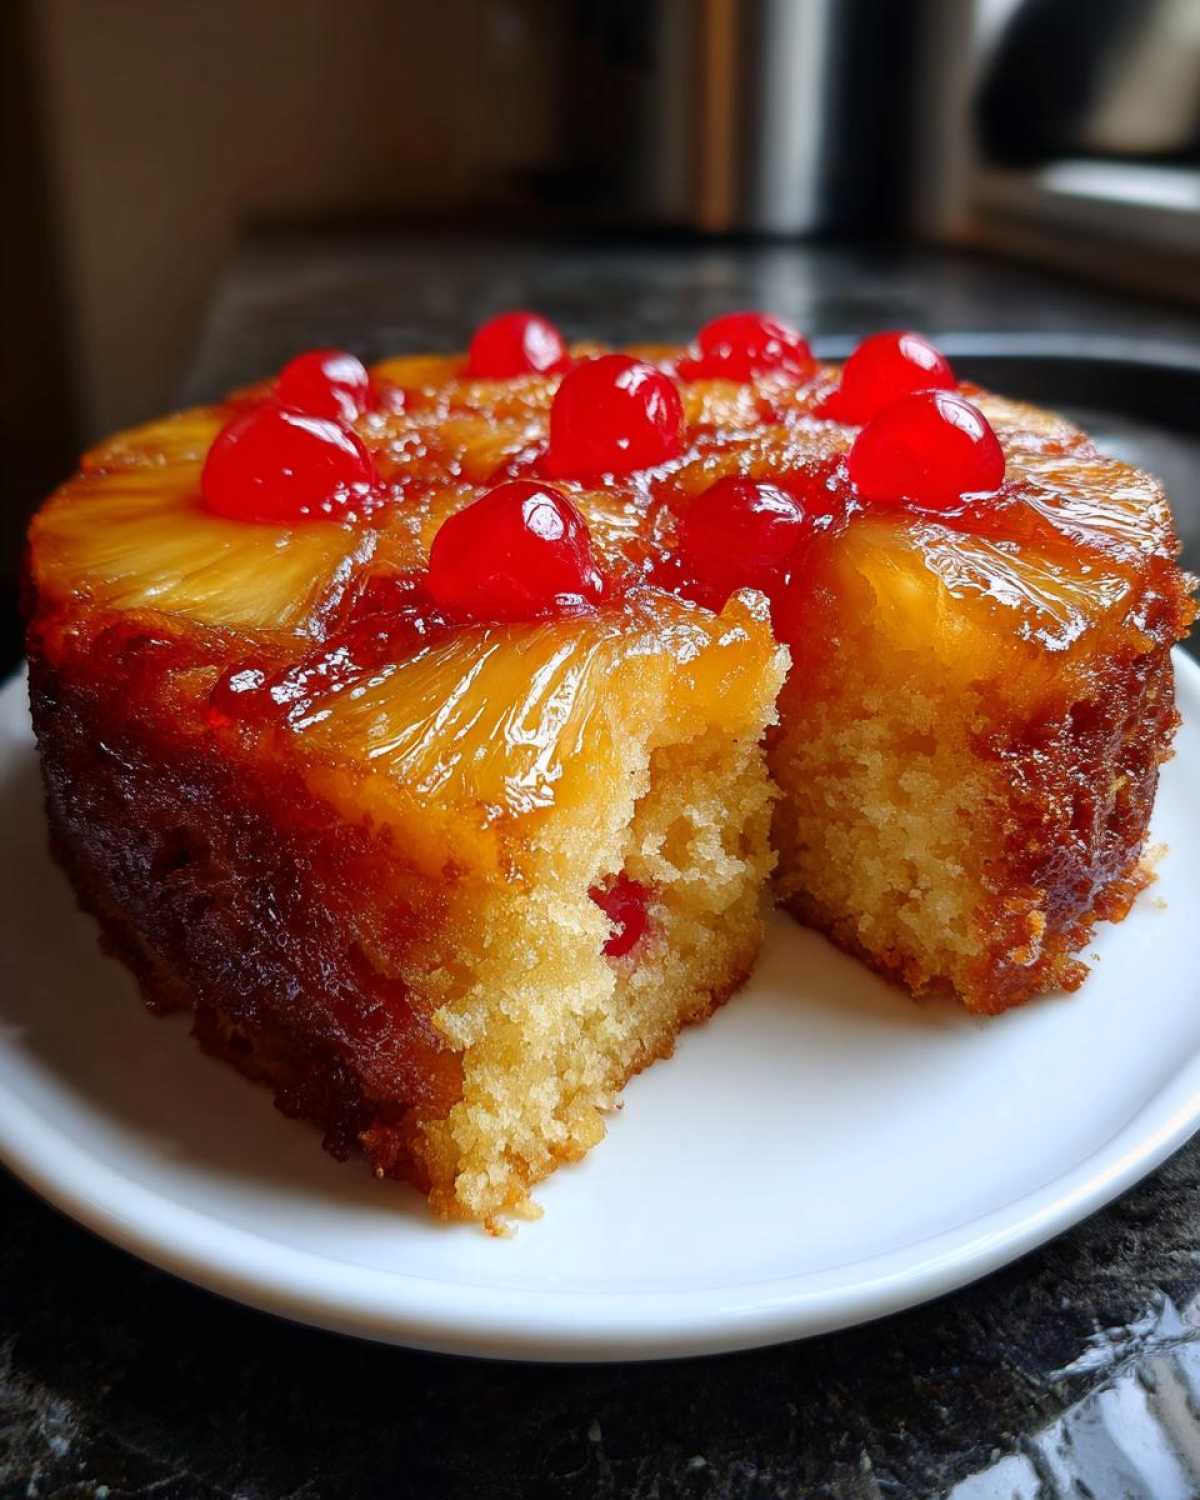
Oh, these desserts from the past just grab onto your heart, don’t they? Richard and I have been having so much fun trying to nail down those true, beautiful, retro recipes that smelled like celebrations when we were first starting out. And let me tell you, nothing smells more like nostalgia than a perfectly baked **pineapple upside down cake**. It’s stunning when you flip it out, and almost nobody ever makes one from scratch anymore!
When I set out to create my ultimate version, I wasn’t looking for simply ‘good enough.’ I wanted that gorgeous, buttery glaze on top—that deep caramelization you just can’t get from a shortcut—paired with a cake base that stayed wonderfully tender. Trust me, after a few attempts where the topping was too runny or the cake was a little dry, I finally cracked the code for the best pineapple upside down cake. This recipe captures that sweet, tropical memory perfectly. For more of my perfected classics, have a look at my thoughts on making the most moist chocolate chip banana bread.
I think you’ll love how straightforward this whole process becomes once you know the little secrets. If you’ve been scared off by sticky pans or soggy fruit before, stick with me. We’re going to make this classic pineapple cake together, and you’ll see why this *tropical cake recipe* is still a showstopper.
Why This Classic Pineapple Upside Down Cake Recipe Works
When you read through a retro dessert idea like this, you need reassurance that it’s built right. Richard and I tested this classic pineapple cake so many times to make sure it didn’t fail on us the minute we tried to flip it. This isn’t just about pretty fruit; it’s about a solid, buttery structure. It’s an easy dessert that always looks harder than it is!
Achieving the Perfect Caramelized Pineapple Cake Topping
The secret to that gorgeous, gooey top is making sure you drain those pineapple slices well. Seriously! If they’re too wet, the topping just steams instead of caramelizing when it hits the melted butter and brown sugar. We need that sugary mix underneath to bubble up into a thick, rich syrup, not watery juice. That perfect caramelization is non-negotiable for me.
Tips for a Moist Pineapple Upside Down Cake Batter
We get our moisture from two spots, actually. First, we take our time creaming the softened butter and granulated sugar—don’t rush that step! It incorporates air. Second, instead of wasting the liquid from the can, we save some of that sweet pineapple juice to go right into the cake batter. It keeps this moist pineapple upside down cake tender straight out of the oven. For more thoughts on moisture science, check out my notes on moistness when making banana bread.
Gathering Ingredients for Your Pineapple Upside Down Cake Recipe
Okay, now that we know *why* this works, let’s talk about getting the supplies together. Remember, we need two different forms of butter here—one melted for that beautiful topping and one softened for the actual cake structure. Don’t try to swap them around; the difference in texture is huge!
This is where you start pulling out your good pantry staples. Getting measurements exact for the topping is really important, or things can get sticky in a bad way. Once you have everything lined up, you’ll see it’s just a few standard things we need for this pineapple upside down cake recipe.
For the Caramelized Topping
This part is simple, but crucial for that rich, amber color. Make sure you have your pineapple slices ready to go:
- 1/2 cup unsalted butter, melted (you’ll pour this right into the pan first!)
- 3/4 cup packed light brown sugar (make sure it’s packed tight)
- 1 (20 ounce) can pineapple slices in juice, drained (we need that juice later, so don’t toss it!)
- 10 maraschino cherries, drained (those bright little pops of color are essential to the retro look)
For the Buttery Pineapple Cake Batter
This is where we get that wonderfully moist crumb we talked about. See how we have both brown sugar for the bottom and white sugar for the inside? That’s flavor layering for you!
- 1 1/2 cups all-purpose flour
- 1 1/2 teaspoons baking powder
- 1/2 teaspoon salt
- 1/2 cup granulated sugar (this one is for creaming with the softened butter)
- 1/2 cup unsalted butter, softened to room temperature (crucial for creaming!)
- 2 large eggs (mixed in one at a time)
- 1 teaspoon vanilla extract
- 1/2 cup milk
- 1/4 cup reserved pineapple juice (don’t you dare forget this little moisture secret!)
If you need to double-check quantities or storage times for any of these, I keep all my notes handy over on the main recipe index, just in case you need a quick peek while you’re gathering.
Step-by-Step Instructions for the Best Pineapple Upside Down Cake
Now, this is where the magic happens! When you’re making a **pineapple upside down cake**, the process feels slightly backwards, which is why it’s so much fun. You are essentially building the beautiful top first, and then you trust the batter to bake up perfectly underneath without sliding off. It takes patience, but these steps guarantee you an impressive result every time.
Preparing the Pan and Caramel Layer
First things first, get your oven ready because we want it hot and waiting. Preheat to 350 degrees F (175 degrees C). You’ll need a standard 9-inch round cake pan for this classic look. Don’t skimp on prepping the bottom!
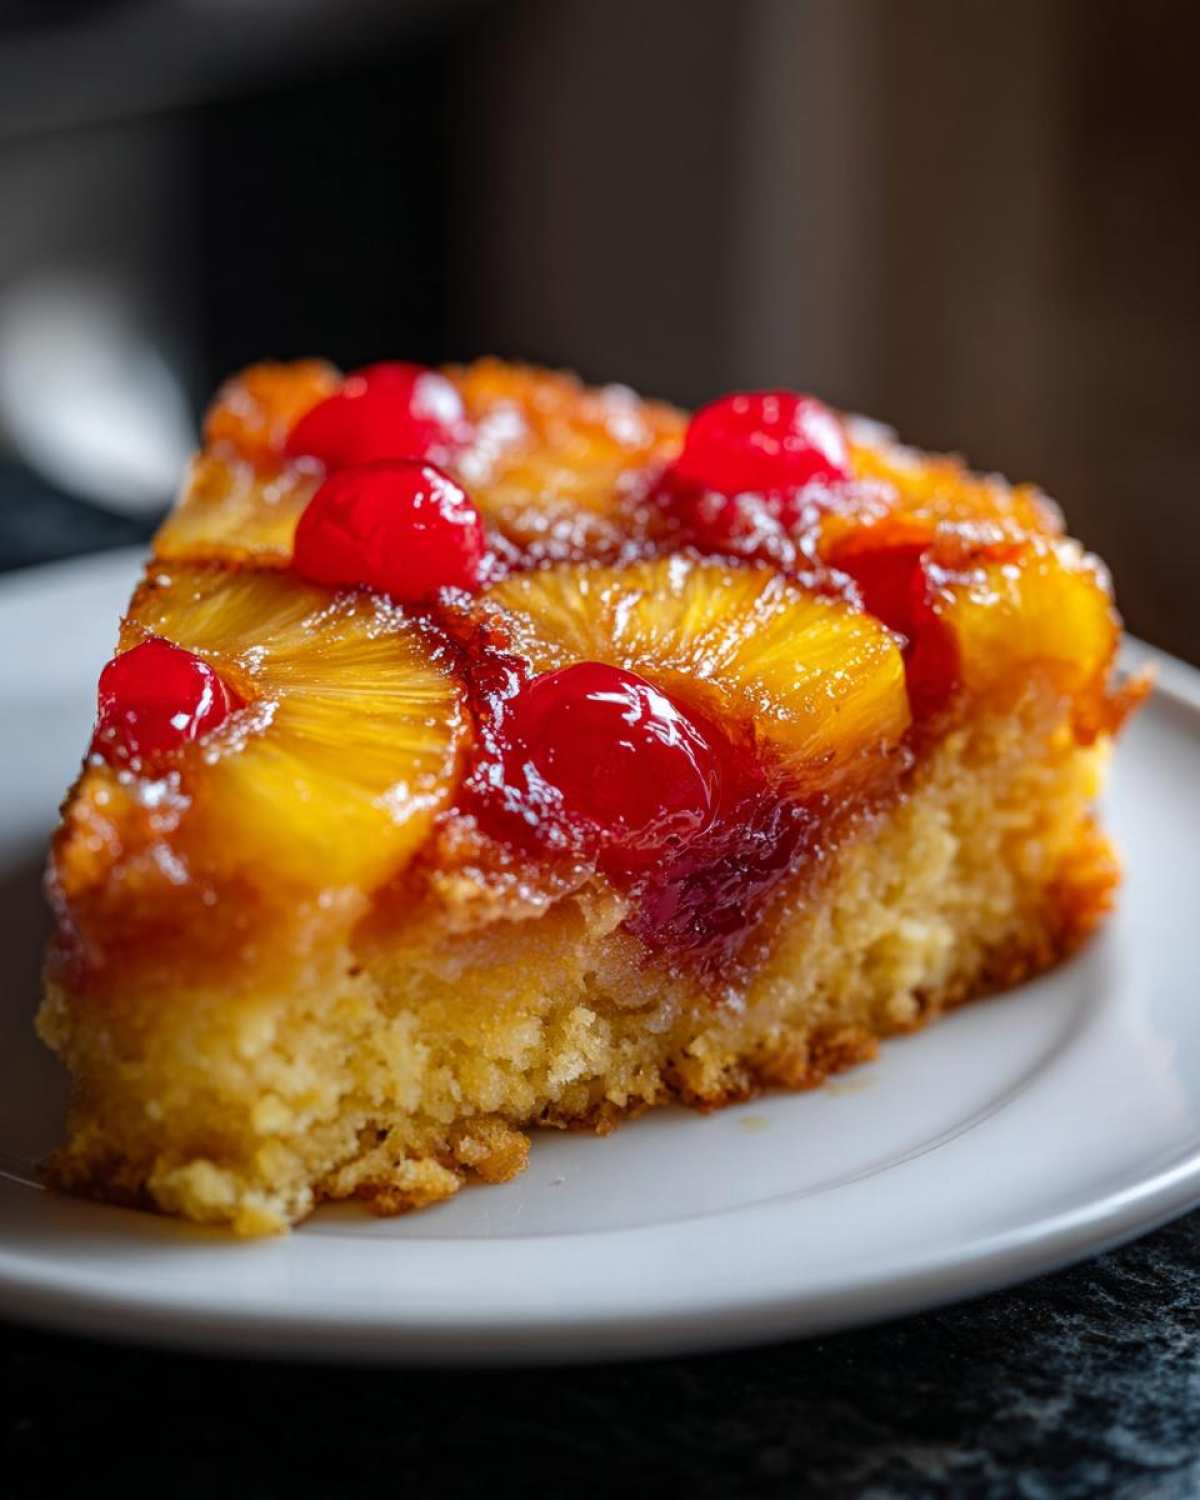
Pour that 1/2 cup of melted butter evenly across the bottom of the pan. Seriously, make sure every patch is covered. Then, sprinkle that 3/4 cup of packed light brown sugar right over the top of the butter. Now for the display: arrange your drained pineapple slices over that brown sugar layer. I like to make a flower shape with the rings, but honestly, any attractive layout works. Pop one of those drained maraschino cherries right into the center of each ring, and squeeze the extra ones wherever you have a gap. Don’t press down; just let them sit there waiting for the batter!
Mixing the Moist Pineapple Upside Down Cake Batter
This batter needs love, just like any good cake batter. We’re using a two-bowl system to keep everything neat. In a medium bowl, whisk together the flour, baking powder, and salt. Set that dry mix aside. It’s waiting patiently.
Now for the big bowl! In a separate large bowl, take your 1/2 cup of softened butter and the granulated sugar and cream them together until they look light and fluffy. This is where we build those air pockets for a fluffy interior! Beat in your large eggs one at a time, mixing well after each addition, followed by the vanilla. This is what keeps our moist pineapple upside down cake from turning into a brick.
Here’s the key! We gradually add our dry ingredients, alternating them with the milk and that precious reserved pineapple juice. Start and end with the dry stuff. Mix only until everything is just combined. I mean it, stop mixing the minute you see the last streak of flour disappear. Overmixing is a disaster here; it guarantees a tough cake layer!
Baking and The Crucial Flip
Gently spoon that lovely batter right over your pineapple topping masterpiece. Spread it evenly, making sure not to nudge those cherries and rings around underneath. They need to stay just where they look pretty!
Pop the whole thing into the 350°F oven and bake it for about 35 to 40 minutes. You know it’s done when a thin wooden pick inserted into the center comes out clean. When it’s done, pull it out and let it rest *in the pan* on a wire rack for just 5 to 10 minutes. This short rest is absolutely essential!
Here comes the fun part you’ve been waiting for! Find a serving plate that is larger than your cake pan. Place the plate upside down right over the top of the pan. Holding the plate firmly against the pan—safety first, that pan will be hot!—you need to quickly and confidently invert the entire thing. Set it down, lift the pan straight up, and voilà! If a cherry or pineapple slice decided to play hide-and-seek and stuck to the pan bottom, just gently scoop it up with a spatula and tuck it right back where it belongs. I usually serve this warm, maybe with a little dollop of whipped cream after I get that gorgeous caramelization just right.
Ingredient Notes and Substitutions for Your Tropical Cake Recipe
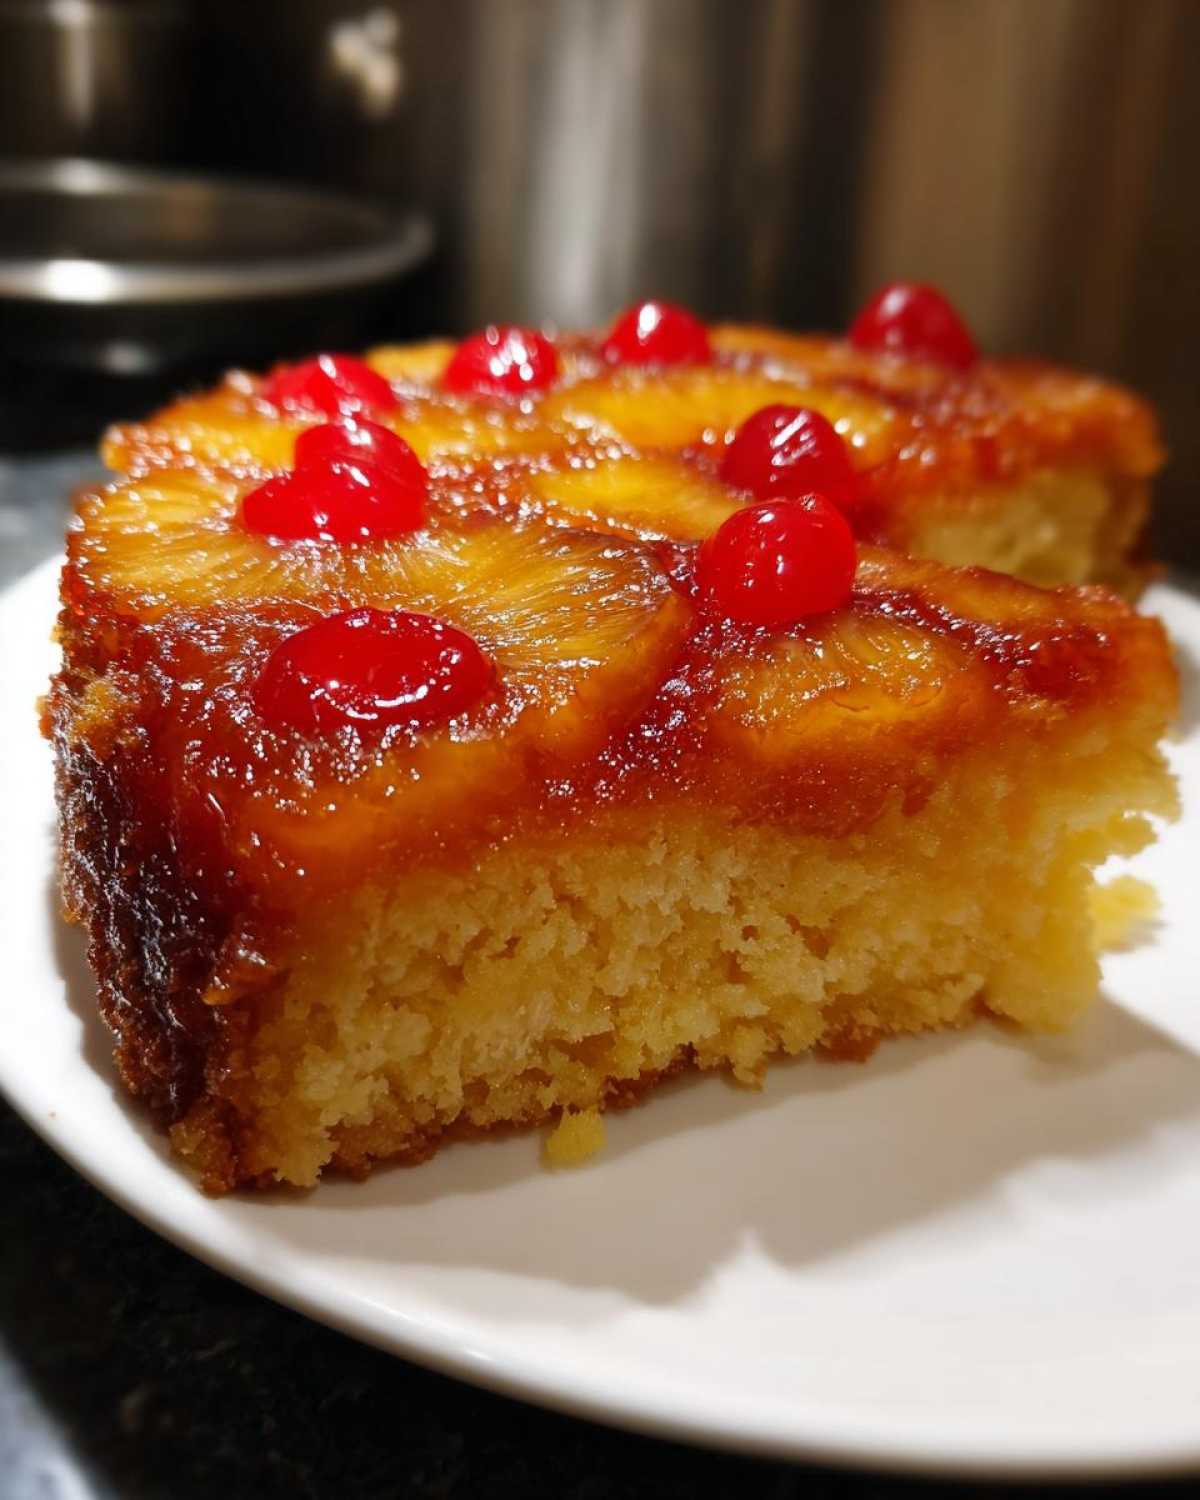
Baking always involves a little detective work, doesn’t it? Even when following a tried-and-true recipe like this lovely **pineapple upside down cake**, sometimes you run out of one thing, or maybe you want to tweak the flavors. I’ve played around with this recipe enough over the years that I have a few notes on what you can swap safely, and what you absolutely should not touch! We want to keep that tender cake and that gorgeous, gooey top intact.
Butter Choices for the Topping and Cake
You’ll notice in the ingredient list that I call for unsalted butter in both spots, and I truly recommend sticking to it. When you use unsalted butter, you have total control over the salt level in your final product. If you absolutely need to use salted butter—maybe that’s all you have on hand—you can! My advice is to slightly reduce the 1/2 teaspoon of salt called for in the dry mix. You don’t want the caramel topping smelling salty, just rich and buttery.
Adding a Tropical Twist to the Pineapple Upside Down Cake
This recipe is classic for a reason, but I still love adding a little something extra when Richard and I make it for a special weekend brunch. If you want to lean into that tropical vibe even harder, try what I sometimes do: substitute 1/4 cup of that regular milk in the batter with creamy coconut milk. It brightens everything up beautifully!
Also, don’t be afraid of adding one tiny little pinch of nutmeg or maybe a whisper of cinnamon to the dry cake ingredients. It doesn’t make it taste like spice cake, no no, but it gives this **easy pineapple dessert** an extra layer of warmth that plays so nicely with the caramelized pineapple. It’s my little secret for elevating a simple **homemade pineapple cake**!
Serving Suggestions for This Classic Pineapple Cake
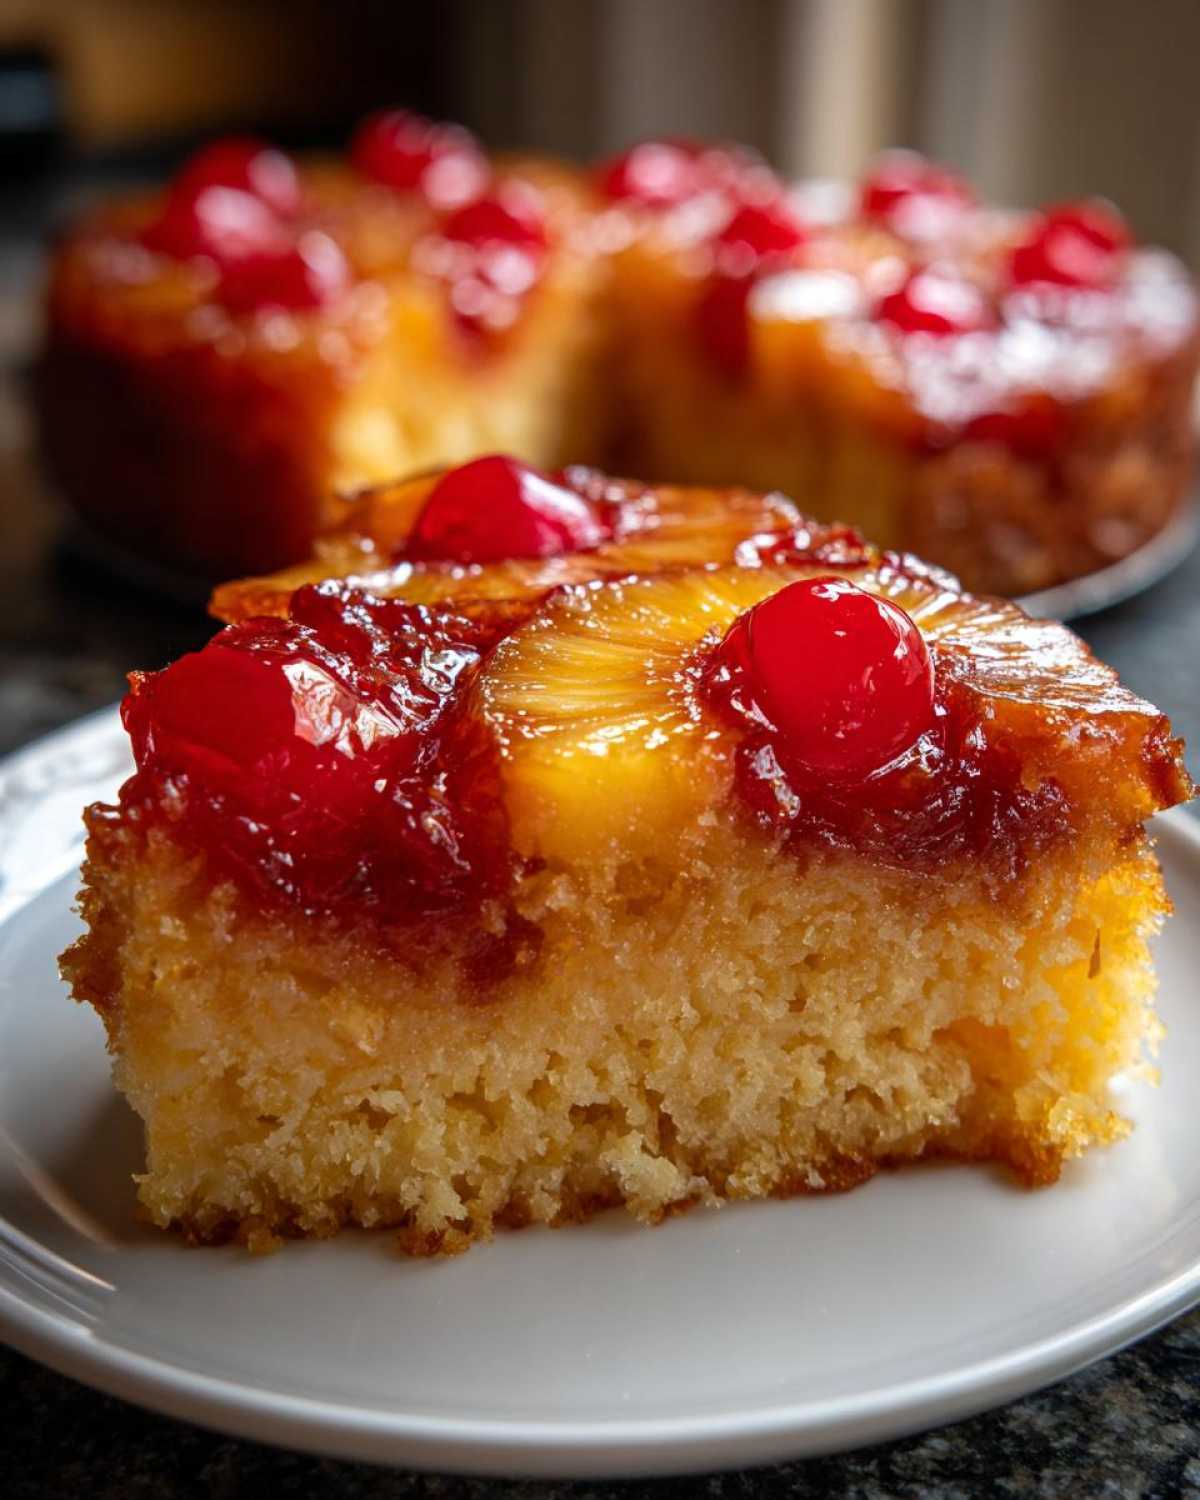
The thing about a truly great classic pineapple cake that you’ve made from scratch is that it really doesn’t need much fuss, does it? That brown sugar caramel is so rich and buttery; it’s already doing most of the heavy lifting flavor-wise! Richard usually says the day we successfully flip it is a cause for celebration, and we keep the toppings simple to honor that moment.
If you are serving it immediately while it’s still slightly warm, honestly, a tiny dusting of powdered sugar is just divine. It gives it a delicate finished look without covering up that gorgeous glossy topping. It’s truly elegant.
However, if you want to make it feel a bit more substantial for a dessert table or a dinner party, I have a couple of go-to additions. A small scoop of really high-quality vanilla bean ice cream is spectacular because the cold creaminess contrasts perfectly with the warm, sticky pineapple. Or, if you’re feeling a little extra fancy but don’t want to make a full frosting, a light dollop of homemade whipped cream spiked with just a smidge of rum or a tiny splash of vanilla goes a long way.
Sometimes, when we’ve made something savory and wonderful earlier in the day, like my honey butter skillet corn, for instance, I like that warm, comforting feeling to carry over into dessert. A simple, warm-served slice is just perfection. It’s a truly wonderful, easy summer baking sight on any table!
Storage and Reheating Instructions for Pineapple Upside Down Cake
This is the hardest part, isn’t it? Knowing you have delicious leftovers but wanting to keep that beautiful caramel layer from getting messy or soggy! Richard and I always try to eat this **pineapple upside down cake** the day we make it because honestly, nothing beats it warm and fresh. The topping is just at its most glorious then.
But let’s be realistic; sometimes there are leftovers! Because we used so much butter and sugar in that bottom layer, this cake does tend to firm up quite a bit once it chills. If you have leftovers, you should cover the cake pan tightly with plastic wrap or transfer slices to an airtight container. I usually keep mine right on the counter for about 24 hours; the sugar content does a decent job of preserving it.
If you need to keep it longer than a day, it is much safer in the refrigerator. Just be warned: if you refrigerate it, that buttery caramel layer might seize up and get a little hard. Don’t panic!
The key to reviving this pineapple upside down cake is gentle reheating. You only want to warm it up enough so that the caramel gets slightly soft again and releases its shine. I find the microwave is best for individual slices, but only zap it for about 10 to 15 seconds on medium power. You just want it warm, not hot enough to steam itself apart! If you warm up a whole slice, try wrapping it loosely in a damp paper towel before microwaving—that helps keep the cake part from getting too dry. It’s the perfect way to enjoy one last piece of this beautiful buttery pineapple cake!
Frequently Asked Questions About This Retro Dessert
I get so many wonderful notes about people trying this **retro dessert idea**! It’s lovely to see this **classic pineapple cake** making its way back into modern kitchens. Most of the questions I receive come down to a bit of worry over the topping sticking or how to get the right yield. It’s all normal when you’re baking something that looks this fancy!
Can I bake this pineapple upside down cake in a Bundt pan?
Oh yes, you absolutely can! Many people, especially those who find my instructions for the standard round pan inspiring, ask about making a stunning **Pineapple Upside Down Bundt Cake**. The good news is that the topping preparation stays exactly the same: butter, brown sugar, fruit, cherries. You load it up the same way!
The main change is baking time. Since a Bundt pan is deeper, the heat takes longer to get to the very center. I would suggest starting to check for doneness around the 45-minute mark, but you might need a solid 50 to 55 minutes depending on your specific pan. Keep that wooden pick handy, and remember that slightly longer bake time is better than pulling it out too soon and having a soupy middle!
What is the secret to preventing the topping from sticking?
I know this is the biggest fear, right? I’ve lived it, and nobody wants to flip out a beautiful cake only to have the topping stay cemented to the bottom of the pan. We do two very important things in this recipe to prevent that!
First, we make sure that bottom layer of melted butter completely coats the bottom of the pan before the brown sugar even goes in. Don’t leave any dry spots! Second, and this is the absolute key, you must let the cake cool for that short, sweet window of 5 to 10 minutes after it comes out of the oven. If you flip it immediately, the molten sugar will just ooze out underneath the cake. If you wait too long, say 20 minutes, the sugar hardens, and *that* sticks. That 5-to-10 minute buffer lets the topping firm up just enough so it stays perfectly attached to the cake when you invert it. Use a good, sharp knife around the edges before flipping, just to be safe!
Can I make mini pineapple upside down cakes instead?
What a fun idea! If you’re baking for a party or just don’t want a million leftovers, making **mini pineapple upside down cakes**—or even **pineapple upside down cupcakes**—is brilliant. It makes serving so easy, too, since everyone gets their own perfect little topping arrangement.
The process is identical until the baking time. Prepare your muffin tins just as you would the cake pan—melted butter, brown sugar, fruit—and then fill each cup about two-thirds full with batter. Because these are so much smaller, they bake lightning fast! I usually find they are perfectly done between 18 and 22 minutes. Keep a close eye on them, and remember that quick flip when they are only slightly cooled down!
If you want to see some other interesting variations, I sometimes browse the latest ideas, like those beautiful individual cheesecakes, over on the main blog page for inspiration.
A Note on Nutrition for This Buttery Dessert
Now, Richard and I are firmly in the camp that when you’re making a classic, nostalgic dessert like this pineapple upside down cake, you’re doing it for the joy and the flavor, not because you’re counting every single calorie! We look at this as a treat to share during a special gathering, not an everyday bake.
Because we are focused on tradition—using real, good butter and packed brown sugar for that deep caramel flavor—the numbers can climb a bit! I have run some general estimations based on similar recipes with these ingredients, but please know that nutritional information is always just an educated guess, especially when you’re using high-quality ingredients or making slight swaps.
So, take this information with a grain of salt, dear reader! Since the final calorie count and nutritional breakdown can shift based on the brand of pineapple you use, the exact size of your eggs, or even how much butter you use to grease the pan, I always recommend focusing on the memory you’re creating rather than this chart. It’s a wonderful, fruity dessert for parties, and we should enjoy it without worry!
Share Your Delish Diarist Baking Journey
Oh, I truly hope you’ve pulled out your favorite 9-inch pan and are getting ready to try this Classic Pineapple Cake! Richard and I get so much joy knowing that one of our memory-baking sessions is happening in your kitchen right now. When you’re done, and you’ve flipped that cake perfectly—I hope you’ll stop by and tell me all about it!
Did the caramel set just right? Did you follow my trick of using a little bit of that reserved pineapple juice in the cake? Your feedback helps me know which of our old memories truly stands the test of time today. Don’t be shy; sharing your experience builds up this little community we’re creating here.
You can leave a comment right below this post with your four- or five-star rating and any sneaky variations you experimented with. Or, if you’re sharing photos on social media, please tag us! I love seeing how your beautiful, glossy tops turn out. If you need to send me a direct message with photos or suggestions, you can always reach us through the Contact page. Happy baking, dear reader—I’m already looking forward to hearing from you!
PrintClassic Pineapple Upside Down Cake: A Moist, Retro Favorite

Recreate this sweet, buttery, and nostalgic dessert. This recipe focuses on achieving perfectly caramelized pineapple rings and a wonderfully moist cake base, making it a guaranteed crowd-pleaser for any gathering.
- Prep Time: 15 min
- Cook Time: 40 min
- Total Time: 55 min
- Yield: 8 servings
- Category: Dessert
- Method: Baking
- Cuisine: American
- Diet: Vegetarian
Ingredients
- 1/2 cup unsalted butter, melted
- 3/4 cup packed light brown sugar
- 1 (20 ounce) can pineapple slices in juice, drained (reserve juice)
- 10 maraschino cherries, drained
- 1 1/2 cups all-purpose flour
- 1 1/2 teaspoons baking powder
- 1/2 teaspoon salt
- 1/2 cup granulated sugar
- 1/2 cup unsalted butter, softened
- 2 large eggs
- 1 teaspoon vanilla extract
- 1/2 cup milk
- 1/4 cup reserved pineapple juice
Instructions
- Preheat your oven to 350 degrees F (175 degrees C). You will need a 9-inch round cake pan.
- In the bottom of the cake pan, pour the 1/2 cup of melted butter evenly. Sprinkle the brown sugar over the butter.
- Arrange the pineapple slices over the brown sugar mixture in a decorative pattern. Place one maraschino cherry in the center of each pineapple ring, and place any remaining cherries in the gaps between the slices.
- Prepare the cake batter: In a medium bowl, whisk together the flour, baking powder, and salt. Set this aside.
- In a large bowl, cream together the 1/2 cup softened butter and the granulated sugar until the mixture is light and fluffy. This step helps create a moist cake.
- Beat in the eggs one at a time, mixing well after each addition. Stir in the vanilla extract.
- Gradually add the dry ingredients to the wet ingredients, alternating with the milk and the reserved pineapple juice. Mix until just combined; do not overmix the batter.
- Gently spoon the cake batter over the pineapple and cherry layer in the pan. Spread the batter evenly without disturbing the fruit arrangement underneath.
- Bake for 35 to 40 minutes, or until a wooden pick inserted into the center comes out clean.
- Let the cake cool in the pan on a wire rack for about 5 to 10 minutes. This short cooling time is key for easy flipping.
- Place a serving plate upside down over the cake pan. Carefully and quickly invert the pan and plate together. Lift the pan off the cake. If any topping sticks, gently place it back onto the cake.
- Serve warm or at room temperature. This classic pineapple cake is best enjoyed the day it is made.
Notes
- For an extra rich, buttery pineapple cake flavor, use good quality butter in the topping.
- If you want a slightly tropical twist, substitute 1/4 cup of the milk with coconut milk in the batter.
- To ensure a moist pineapple upside down cake, avoid overbaking; check for doneness early.
Nutrition
- Serving Size: 1 slice
- Calories: 380
- Sugar: 35
- Sodium: 250
- Fat: 18
- Saturated Fat: 11
- Unsaturated Fat: 7
- Trans Fat: 0
- Carbohydrates: 53
- Fiber: 1
- Protein: 4
- Cholesterol: 75