

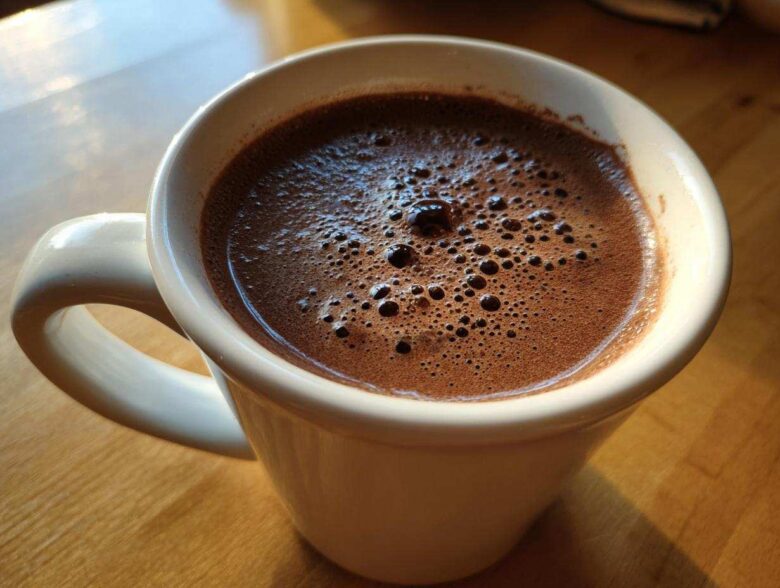
Oh, when the first sharp chill nips the windows, there’s nothing quite like that deep, rich blast of chocolate to ward off the cold. We spent years collecting flavors from around the globe, but some comforts are truly home-grown. Eleanor always made sure we had a stash of our hot cocoa mix ready before the first fat snowflake fell. Forget those dusty little packets you buy; this is different. I’m talking about the Ultimate Creamy, Big Batch Homemade Hot Cocoa Mix. It’s completely no-cook, uses simple things from the pantry, and honestly, tastes so much better than anything commercially bagged. It’s instant warmth, Eleanor’s version of a hug in a mug.
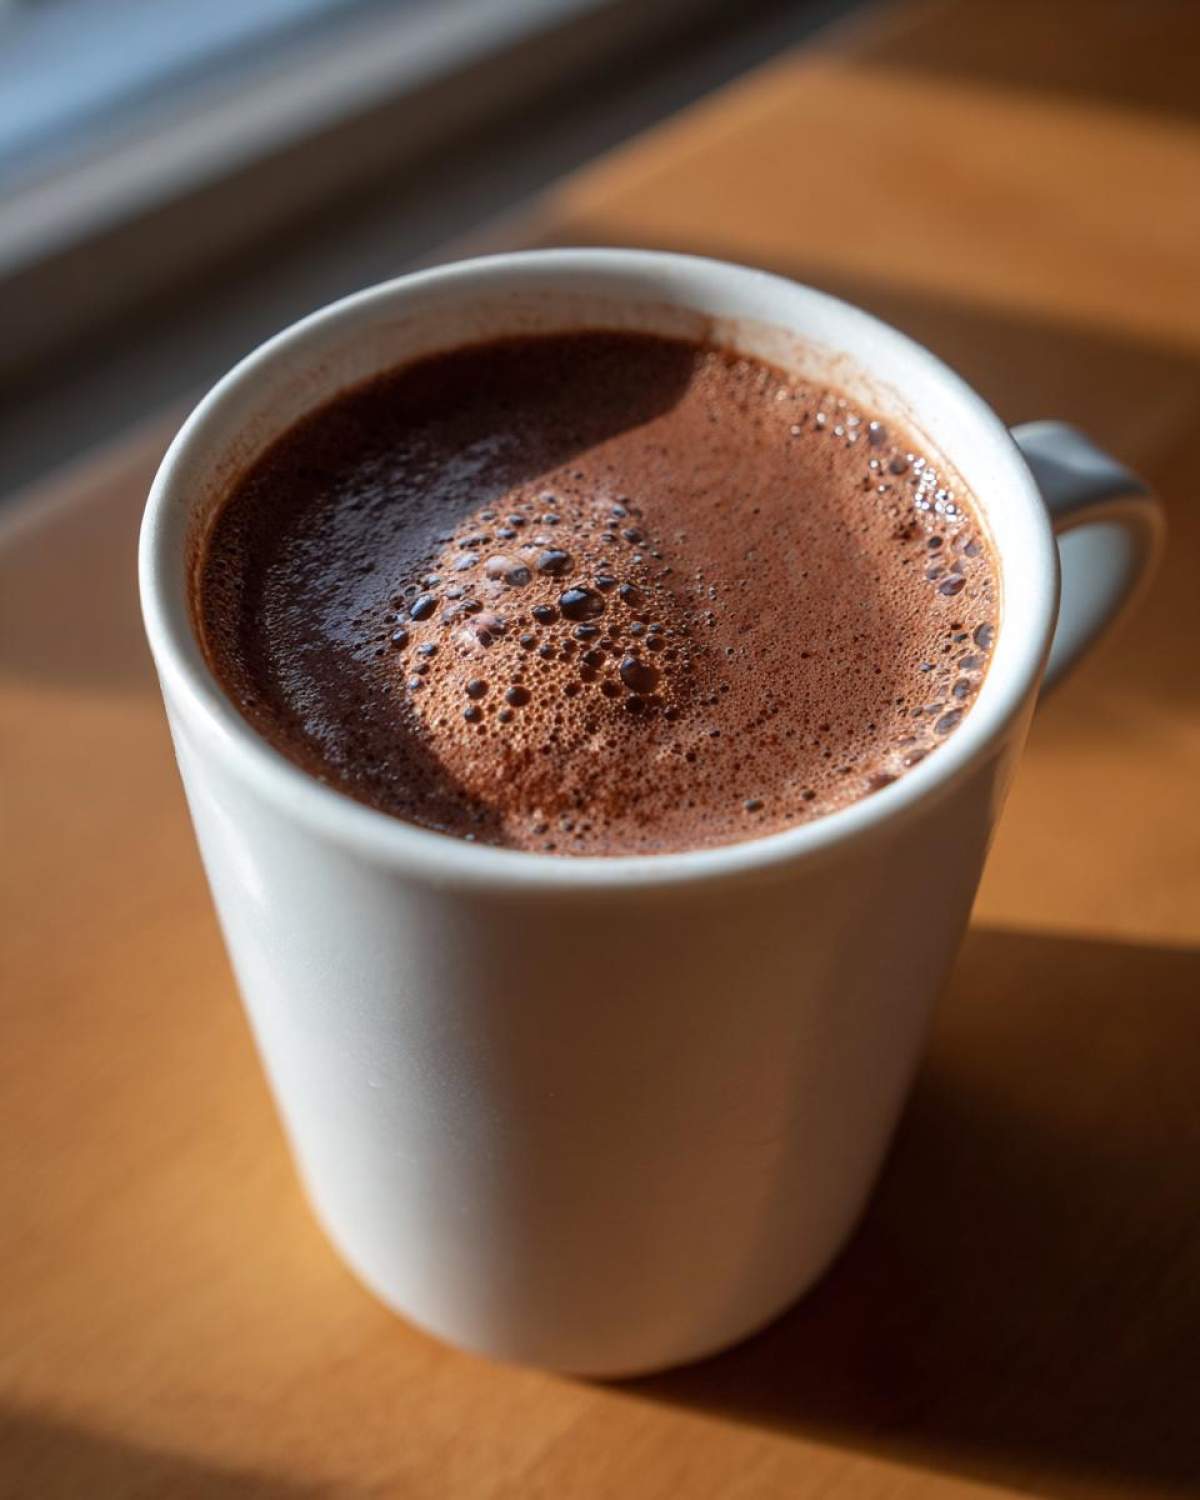
Why This Homemade hot cocoa mix Recipe is a Pantry Staple Drink Mix
This homemade hot cocoa mix recipe truly earned its permanent spot in our cupboards. It’s the perfect solution for those chilly evenings when you decide you need chocolate *right now*. Because we make a huge batch—trust me, you’ll want to—it’s so much more economical than buying those single-serving things. Plus, we skip all the weird stabilizers and preservatives they load into the store-bought cocoa mix.
Here’s why this mix keeps us stocked up year-round:
- It’s completely no-cook. Just measure and whisk!
- We control the quality; only the best cocoa powder goes in.
- Making a big batch means it’s ready for unexpected guests or snow days.
- It tastes decadent—way better than store-bought cocoa mix.
It’s simple pantry organizing at its absolute delicious best. You can pop right over to our main archive to see what other staples we keep on hand!
Gathering Ingredients for Your Rich and Creamy hot cocoa mix
When Eleanor and I make this rich and creamy hot cocoa mix, it’s like laying the foundation for a perfect memory. Since this is a dry mix, ingredient quality really sings through, so use the best cocoa powder you can find! We use a significant amount of sugar here, but don’t panic; this recipe is meant to be robust and luxurious, not thin and watery.
Here’s exactly what you’ll need for the big batch. I want you to see clearly that these are all things you probably already have:
- Four cups of good, plain granulated white sugar.
- Two whole cups of unsweetened cocoa powder. Natural or Dutch-process works, but just know they change the final color slightly!
- One and a half cups of powdered milk. If you’re trying to keep it dairy-free, this is optional, but I’ll explain the trade-off in a moment.
- One teaspoon of salt—yes, salt! It makes the chocolate pop!
- One teaspoon of cornstarch. You might think, “Why starch in cocoa?” Trust me, this is our secret to a velvety smooth sip!
Ingredient Notes and Substitutions for hot cocoa mix
Let’s talk about those choices, shall we? If you need a truly dairy-free hot cocoa mix without powdered milk, you can certainly leave it out of the dry mix. Just remember, when you’re finally making the drink, you absolutely must use a rich milk alternative—oat milk is fantastic here—to get that satisfying creaminess we’re after. We use that tiny bit of cornstarch because it keeps the cocoa from ever feeling gritty; it just dissolves beautifully for that velvety texture.
Also, if you want a deeper, more molasses-like flavor that reminds you of the best chocolate shops we found in Europe, try swapping out half a cup of that white sugar for light brown sugar. It adds such a wonderful depth. Don’t skip the salt, though; it’s essential!
How to Prepare the Big Batch hot cocoa mix
Because this amazing hot cocoa mix is no-cook, making it feels more like crafting than baking, which is part of why Eleanor loves it so much when winter rolls around unexpectedly! You just need a big bowl and a solid whisk. The process is so fast; you’ll have enough powder stored away for months in under fifteen minutes. If you’ve ever made one of our no-bake desserts, like the no-bake Nutella pie, you know how satisfying a simple mixing process can be!
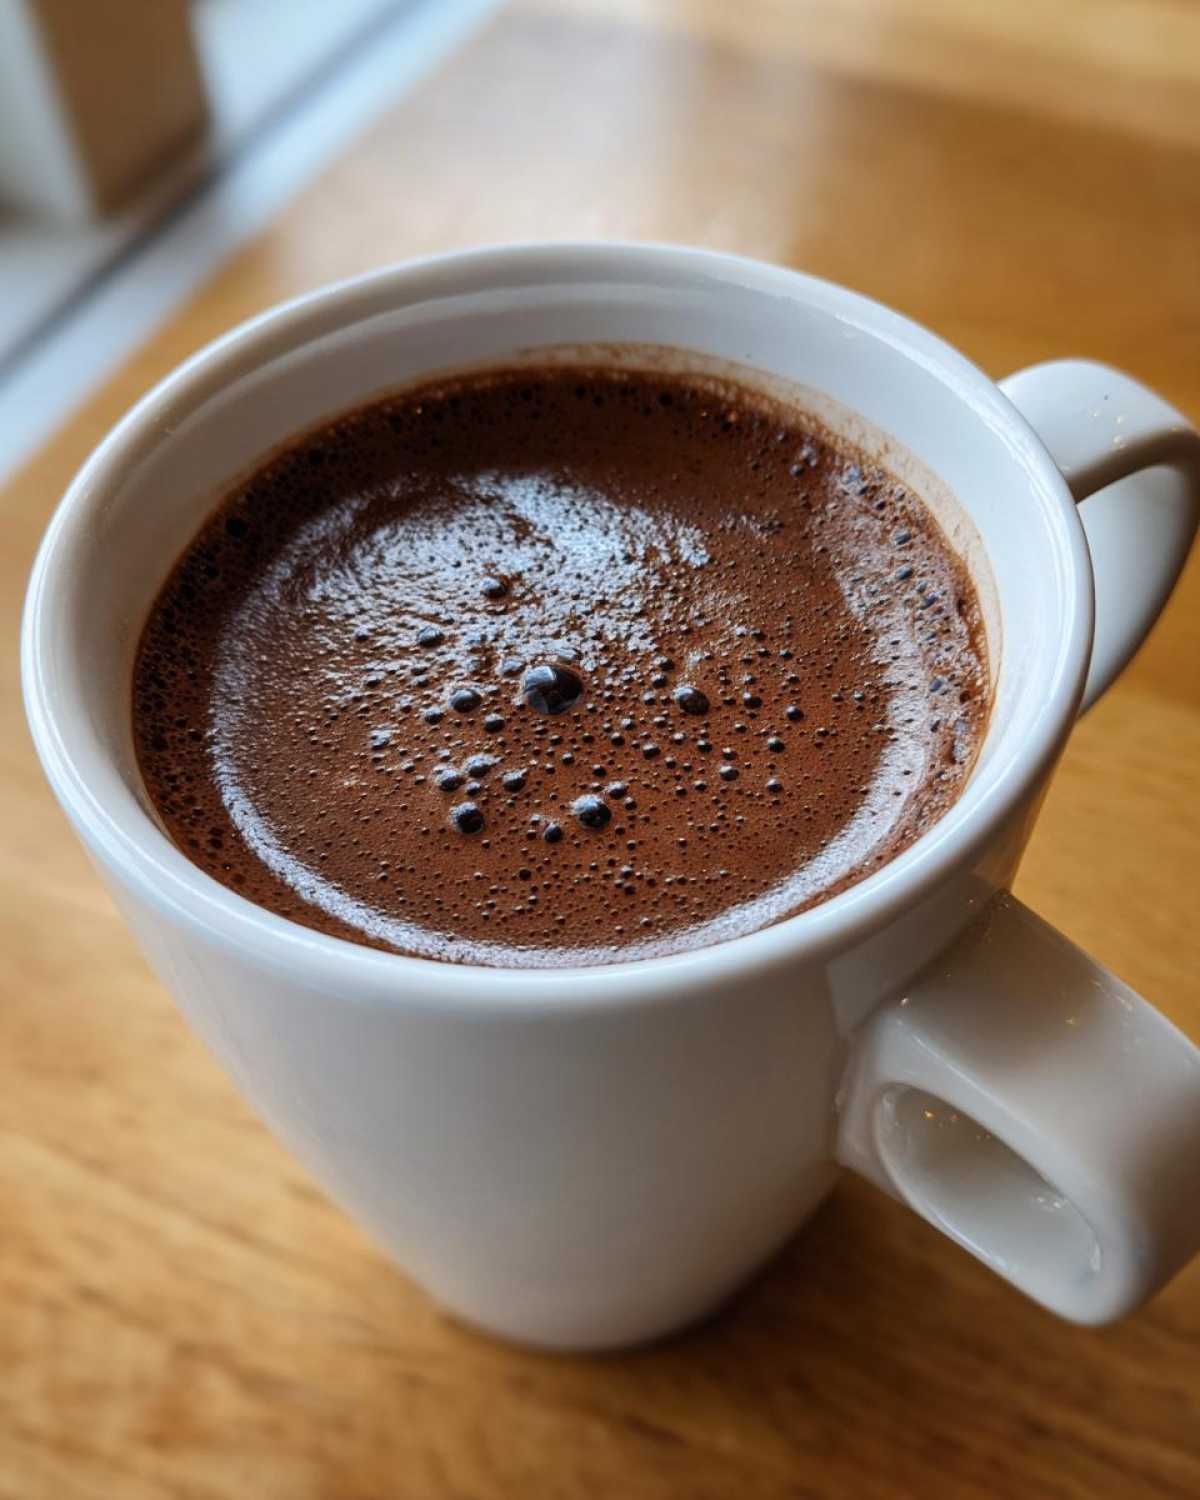
First, get all your ingredients measured out. Then, dump the sugar, your cocoa, the salt, the optional powdered milk, and that crucial cornstarch right into your mixing bowl. Now, for the most important part! You need to whisk this together like you mean it, for a solid two minutes, at least. We are mixing dry powders here, and if the cocoa powder clumps up, your final drink will have little bitter chocolate surprises. If you know your cocoa powder is prone to clumping, the way mine sometimes is, I always suggest sifting the powder and the cornstarch first before adding them to the sugar. It’s an extra minute of effort, but that perfectly homogenous powder is worth the trouble!
Once it’s all uniformly colored—a rich, deep brown—just pour it straight into your airtight jars. It’s ready to go!
Tips for Success with Your DIY hot chocolate powder
Since this is a DIY hot chocolate powder, storage is easy—just keep it in a cool, dark pantry in a tightly sealed jar. It stays perfect for up to six months! When you’re ready for a cozy moment, the ratio is key: use about 1/3 cup of the dry mix for every cup of piping hot milk or water. Whisk vigorously until that velvety texture comes through. That’s the beauty of the no-cook method; instant gratification!
Making hot cocoa mix for gifting: Chocolate Gift in a Jar Ideas
You absolutely have to make extra of this hot cocoa mix just for gifting! It’s such a thoughtful, homemade chocolate gift in a jar that doesn’t require any actual baking. Eleanor always loved making these jars because they look so festive clustered together on the counter during the holidays.
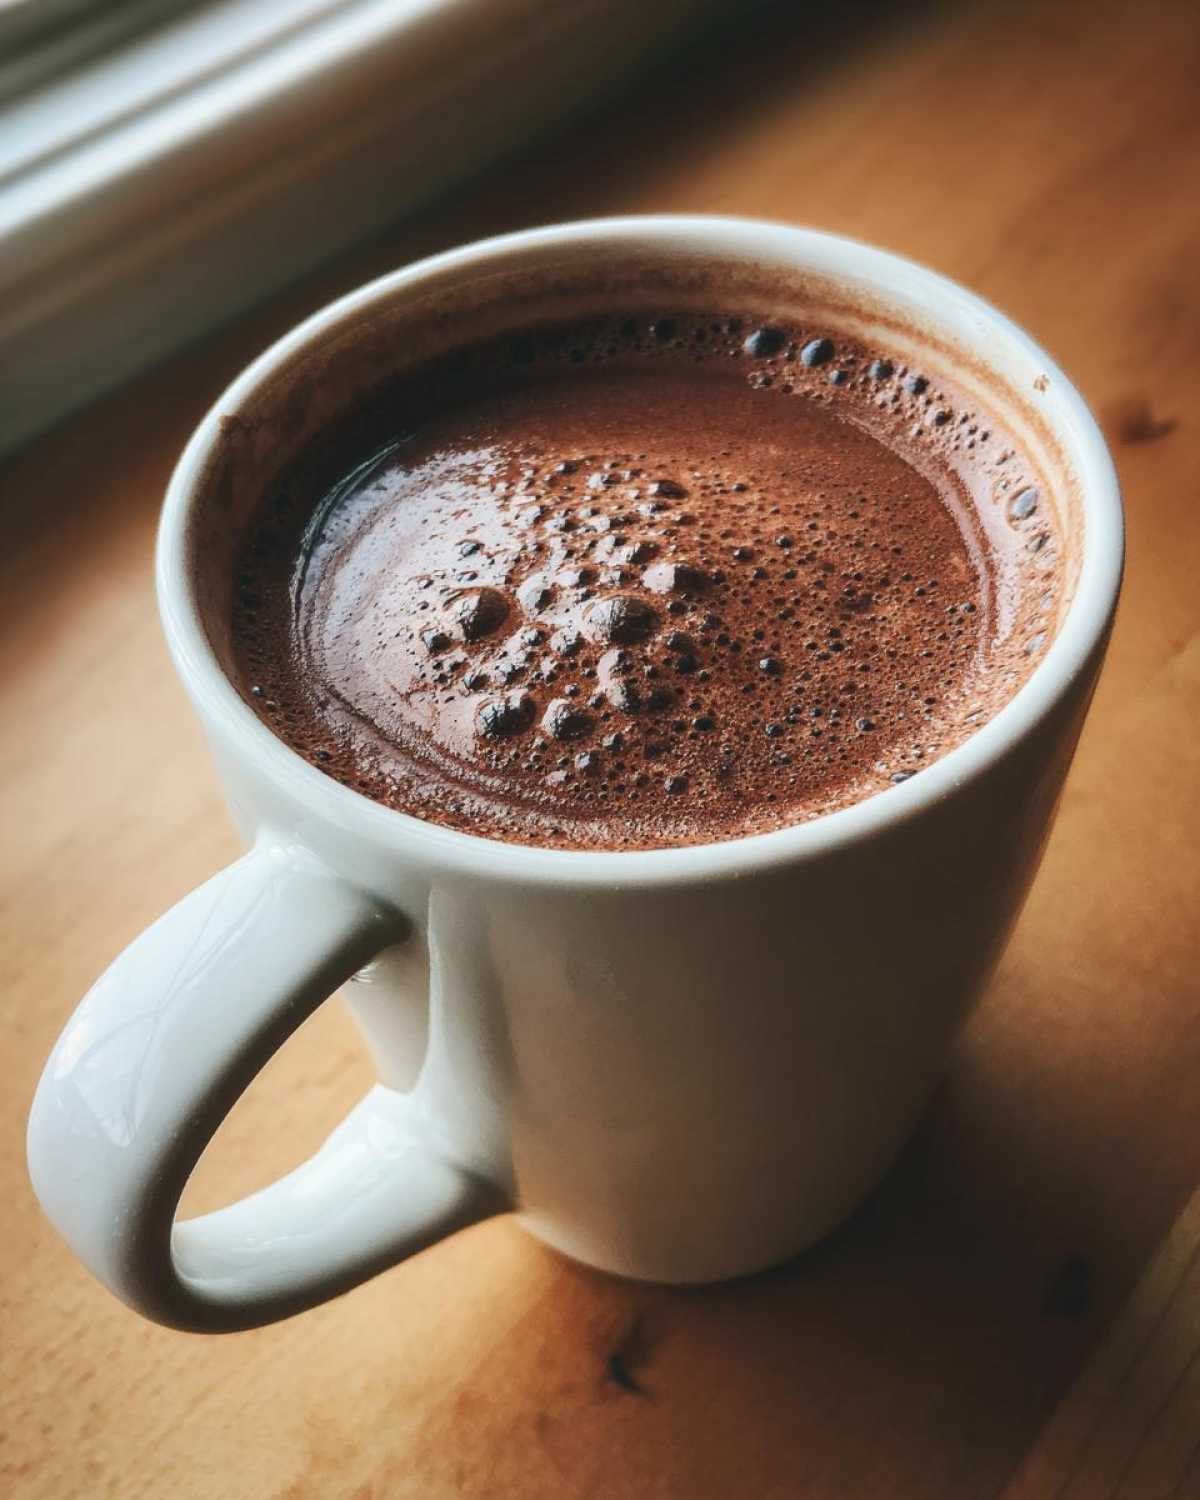
The secret to presentation is simple layering. Start with a layer of your beautifully blended dry cocoa mix in the bottom of a nice, wide-mouth mason jar. Then, follow up with a contrasting layer—I love using mini marshmallows next, or maybe some chopped-up dark chocolate bits. Alternate the dry mix against a lighter ingredient, and it looks spectacular! Don’t forget to tie a simple ribbon around the lid and attach a little tag with the mixing instructions. I’ve seen people layer ingredients like in a dessert parfait, but for the dry mix, simple is often best to keep everything safe and dry.
Make sure you point them to that link I shared earlier for the full instructions on how to make the perfect cup when they’re ready to enjoy it over at their full recipe post!
Storage and Reheating Instructions for Your hot cocoa mix
Because this is a hot cocoa mix, the storage is wonderfully straightforward—no worries about refrigeration here! You’ll want to keep your big batch stored in airtight containers. We use large glass jars with seals that actually lock, tucked away in a cool, dark corner of the pantry. If you keep it dry, this mix will stay absolutely fresh and perfect for up to six months. That means you’re ready for every surprise snow flurry!
When it is time to enjoy it, remember your 1/3 cup mix to 1 cup liquid ratio. If you’re using hot milk, it dissolves like a dream, giving you that creamy texture right away. If you use hot water, whisk vigorously; it will still be delicious, but the texture will be slightly thinner, just as you’d expect from a simple chocolate powder.
Variations on the Classic hot chocolate powder recipe
Once you nail the basic hot chocolate powder recipe, suddenly, the sky’s the limit! Eleanor and I love taking this simple base and pretending we’re tasting our way back through our travels. You don’t have to stick to plain chocolate; think of this as your flavor launchpad. For instance, if you’re missing that dark, punchy coffee flavor we found in those Roman cafés, just toss in a couple of tablespoons of instant espresso powder. It turns it into a fantastic mocha mix!
Or, if you want to feel like you’re basking in the heat of a Mexican market, you can add some spice. A teaspoon of cinnamon goes a long way, but if you’re feeling adventurous, a tiny pinch—and I mean tiny!—of cayenne pepper elevates it beautifully. It gives you that slow, warming heat on the finish. You can also see some great ideas for adjusting the base mix over at other blogs if you want to try reducing the sugar content too. Just remember, we like ours rich, like that wonderful chocolate chip banana bread we perfected last spring! Don’t forget, this is still your foundational hot cocoa mix—just dressed up a bit!
Serving Suggestions for Homemade winter beverages
Now listen, a great cup of homemade winter beverages deserves the full treatment! Simply mixing the powder with hot milk is fine, but we always went the extra mile. If you’re feeling decadent, a huge dollop of fresh whipped cream is wonderful, topped with a shower of dark chocolate shavings—Richard insists on it, saying it reminds him of the dark roofs in Florence.
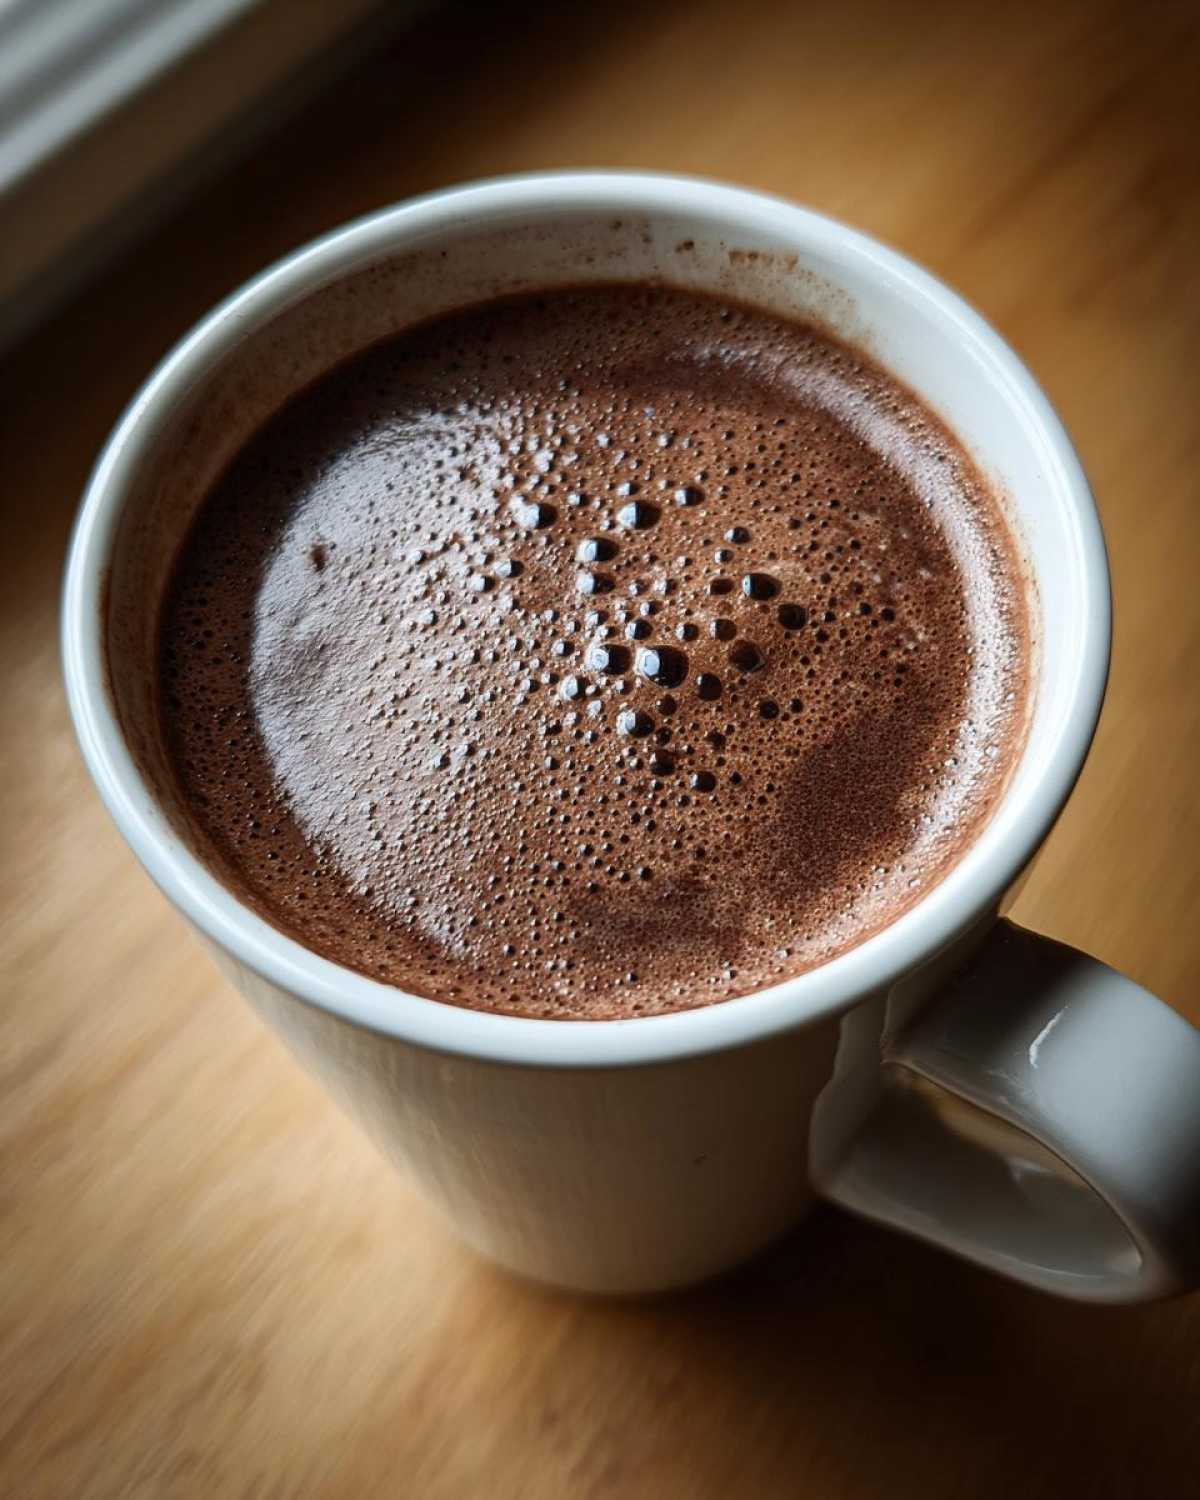
For dunking, you simply can’t beat a crisp biscotti, or perhaps a slice of that rich banana bread we make. Oh, and if it’s Christmas time, crush up a few peppermint sticks and sprinkle those on top! Instant holiday magic!
Frequently Asked Questions About Making hot cocoa mix
We get so many notes asking for small tweaks to this basic hot cocoa mix recipe, and honestly, that’s the joy of making it yourself! Since you’re in control of every granule that goes in, you can customize it exactly how you like. Here are a few common questions people ask before they seal up their large batches.
Can I skip the sugar entirely?
That’s a tough one. Because we aren’t using any heat to dissolve the cocoa powder, the granulated sugar is necessary not just for sweetness, but also to help the mix dissolve smoothly in hot liquid without clumping up. If you want to cut back, I’d suggest reducing it by just one cup for the entire batch. For sweetness, try adding a non-caloric sweetener when you are actually making the cup, rather than putting it into the bulk mix.
Can I use water instead of milk when making this rich and creamy hot cocoa mix?
You certainly can! The instructions mention both options. If you use hot water, you will get a wonderfully rich, dark hot chocolate experience, but it won’t have that signature creamy mouthfeel that the powdered milk or actual dairy milk provides. If you use water, you might want to make sure you’ve added the cornstarch, as it helps imitate that velvety texture.
How do I make this hot cocoa mix without powdered milk?
As I mentioned before, you can leave the powdered milk out of the dry mix altogether! This is perfect if you’re stocking up for someone who is dairy-free. The trick is remembering what to substitute when you prepare the actual drink. You absolutely need to use a rich milk alternative, like full-fat oat milk or soy milk, when heating to 1 cup. Otherwise, you’ll have a very thin cup of chocolate water! Find more tips in our whole collection of pantry drink mix secrets.
Does this recipe freeze well?
That’s a great thought, but honestly, freezing the dry mix isn’t necessary and might actually introduce moisture when you thaw it out. Since this is a classic no-cook cocoa mix, as long as you keep it sealed tightly and store it in a cool, dark place, it lasts beautifully for six months right there in the pantry!
Nutritional Estimates for This hot cocoa mix
Now, I’m no nutritionist, Eleanor handles all the counting, but here are the figures based on the recipe quantities we used. Remember, these are just estimates for one serving (which is 1/3 cup of the dry mix), and your final numbers could shift depending on which brand of cocoa or sugar you use.
- Calories: About 180
- Total Fat: 2.5g (with 1.5g Saturated)
- Carbohydrates: 38g
- Protein: 3g
- Sugar: 30g
Just keep that jar sealed up tight in the pantry, and you’ll know exactly what’s going into your perfect cup of chocolate!
PrintUltimate Creamy, Big Batch Homemade Hot Cocoa Mix (Customizable & Gift-Ready)

Whip up this easy, no-cook recipe for a rich and creamy hot cocoa mix. It uses simple pantry staples, makes a large batch perfect for stocking up or gifting, and tastes much better than store-bought packets.
- Prep Time: 10 min
- Cook Time: 0 min
- Total Time: 10 min
- Yield: About 14 servings
- Category: Beverage
- Method: Mixing
- Cuisine: American
- Diet: Vegetarian
Ingredients
- 4 cups granulated white sugar
- 2 cups unsweetened cocoa powder (natural or Dutch-process)
- 1 1/2 cups powdered milk (use whole milk powder for best flavor, optional for dairy-free)
- 1 teaspoon salt
- 1 teaspoon cornstarch (this helps create a velvety texture)
Instructions
- Gather all your ingredients. Since this is a no-cook mix, you only need a large bowl and a whisk.
- In a very large bowl, combine the granulated sugar, cocoa powder, powdered milk (if using), salt, and cornstarch.
- Use a whisk to thoroughly combine all the dry ingredients. Whisk for at least two minutes to ensure the cocoa powder and cornstarch are fully incorporated and there are no lumps. This step is key for a smooth final drink.
- Transfer the finished hot cocoa mix to airtight containers. Jars or large zip-top bags work well for storage. This recipe makes a big batch.
- To prepare one serving, mix 1/3 cup of the dry mix with 1 cup of hot milk or water. Whisk well until smooth and enjoy your rich, homemade hot chocolate.
Notes
- For a richer, more decadent flavor, substitute 1/2 cup of the sugar with 1/2 cup of light brown sugar.
- If you skip the powdered milk, you will need to add 1/4 cup of non-fat dry milk powder or use only milk when preparing the drink for creaminess.
- This mix stores well in a cool, dark pantry for up to six months.
- For a great chocolate gift in a jar, layer this mix with mini marshmallows and chocolate chips in a decorative jar.
Nutrition
- Serving Size: 1/3 cup dry mix
- Calories: 180
- Sugar: 30
- Sodium: 95
- Fat: 2.5
- Saturated Fat: 1.5
- Unsaturated Fat: 1
- Trans Fat: 0
- Carbohydrates: 38
- Fiber: 3
- Protein: 3
- Cholesterol: 5