

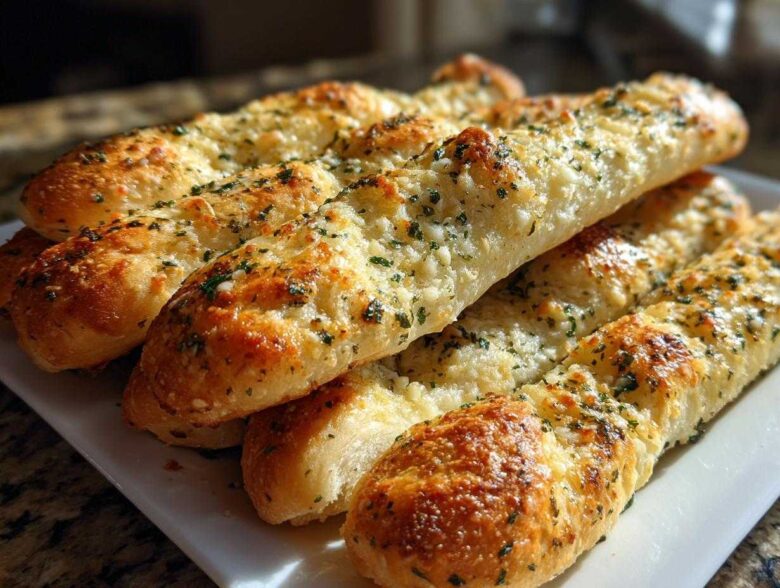
Oh, let me tell you about these! After coming home for good, Richard and I found ourselves constantly talking about the simple, perfect pleasures we used to enjoy—and nothing came up more often than those warm, slightly sweet breadsticks they serve at the big chain Italian restaurants. We decided we simply had to recreate them, and not just approximate them, but nail them down perfectly.
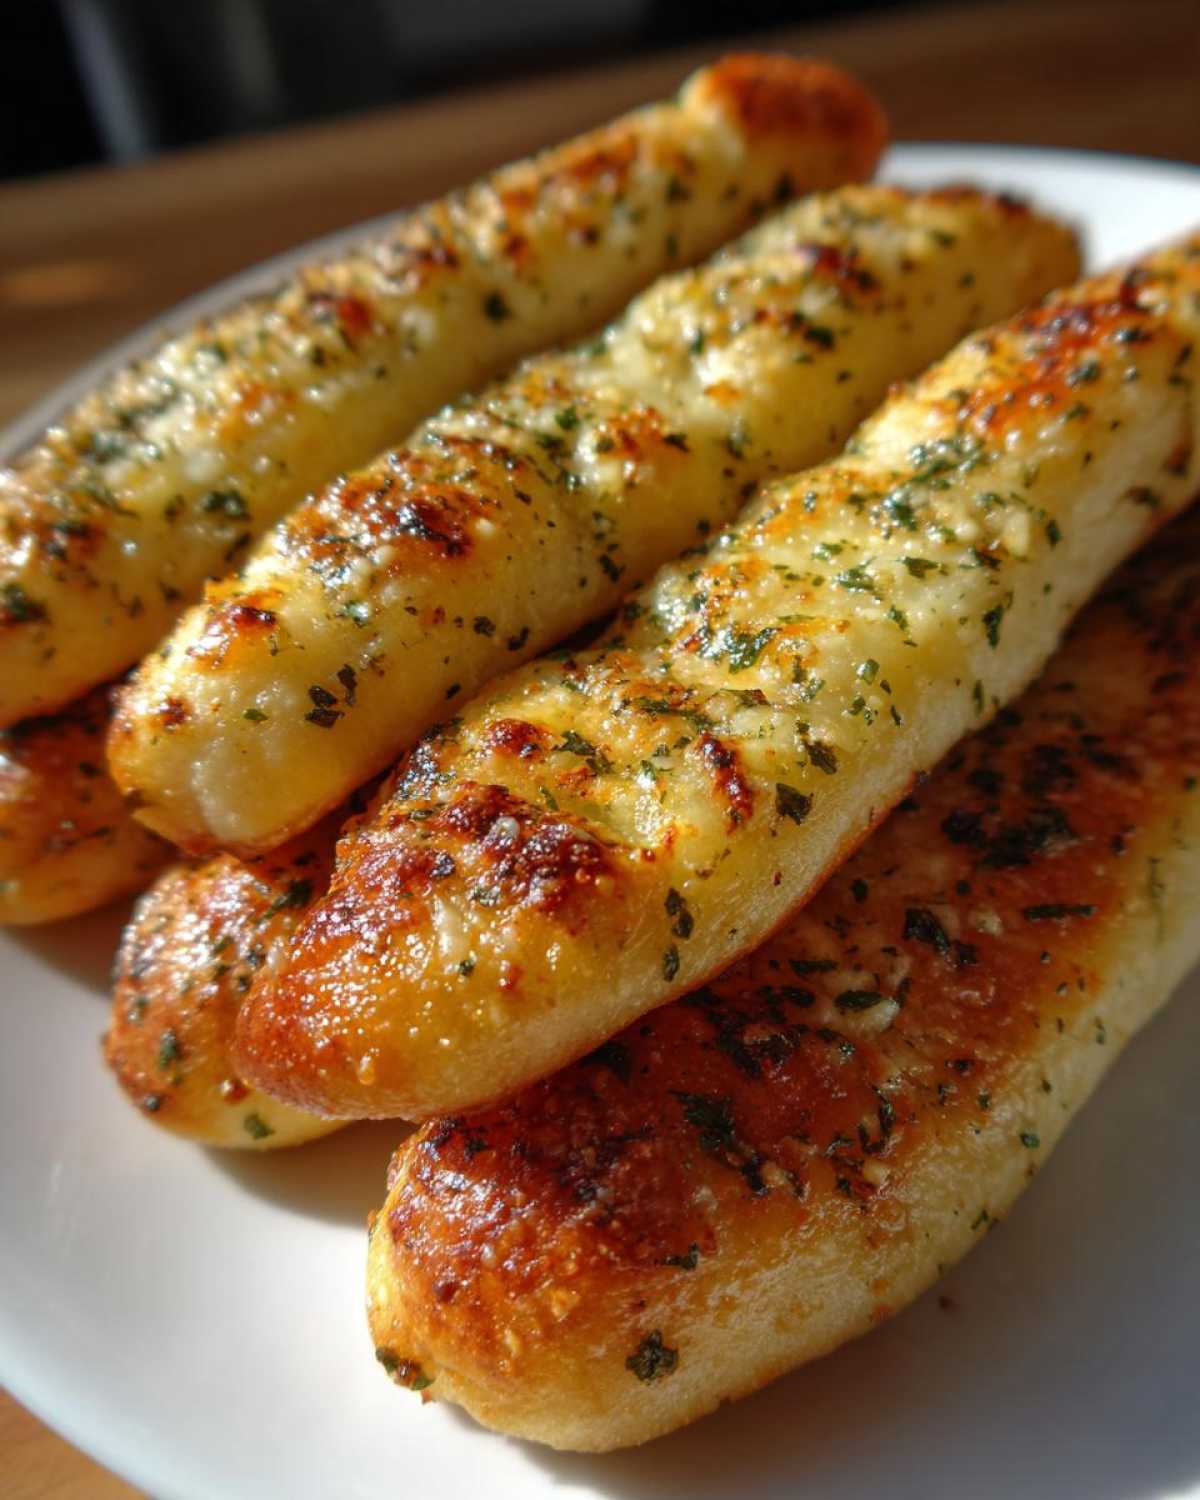
This wasn’t easy, mind you! It took several attempts to get that pillow-soft texture just right. But, I put my head down, channeled all the memory Richard could recall about the chewiness, and after a few messy kitchen afternoons, we finally landed on it. I’m so thrilled to share my diary entry for The Ultimate Soft & Chewy Olive Garden Copycat Breadsticks with Garlic Parmesan Butter. Trust me, these homemade breadsticks are so much better when you know exactly what goes into that heavenly garlic butter topping, and they are fantastic dipped in a little marinara sauce, maybe even our carabba’s bread dipping sauce if you’re feeling ambitious for dinner!
Why These Soft Breadsticks Are Better Than Restaurant Style Breadsticks
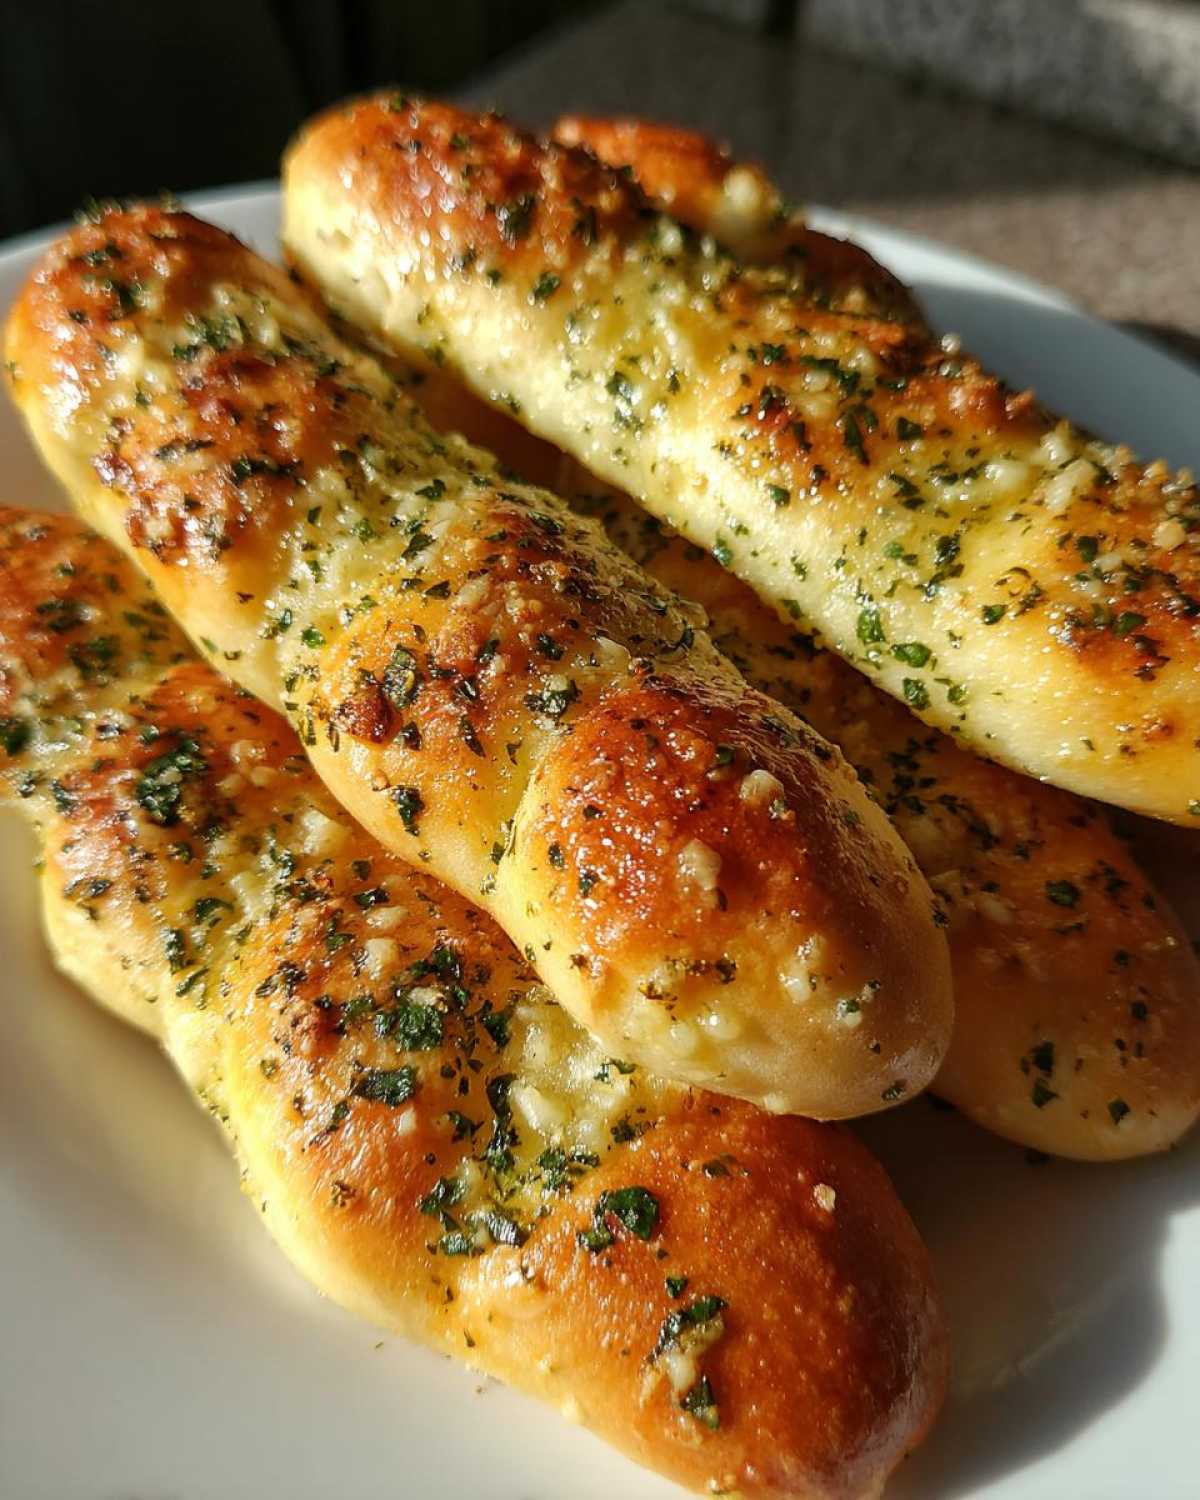
Honestly, once you taste them fresh from your own oven, you’ll never look back. We love heading out for Italian, but making them at home means we control the soft texture and the buttery flavor profile. These homemade breadsticks really shine, especially when you remember to make a side of that creamy, fresh homemade guacamole if you’re having a big spread!
- They are unbelievably soft and chewy, without any of that slightly stiff texture you get when they sit under a heat lamp.
- We pile on a liberal amount of real, melted butter infused with fresh garlic—you can’t beat that aroma.
- Because we start with a proper homemade dough recipe, the flavor is cleaner and richer than any speedy version.
It’s these little touches that elevate homemade breadsticks far beyond what you usually get on the table!
Essential Ingredients for Perfect Homemade Breadsticks Recipe
When recreating restaurant favorites, the ingredients really do the talking, don’t they? We aren’t cutting corners here; we want that classic, slightly sweet flavor profile that signals these are special dinner side dish bread sticks. Richard insists that using good quality flour is paramount for achieving that signature soft texture we’re aiming for in these homemade breadsticks.
You’ll notice the recipe calls for yeast, sugar, and warm water first, which is our little ritual to ensure everything is lively before we start mixing the main dough. Please make sure your water isn’t too hot, or you’ll knock the yeast right out! We also rely on simple olive oil for richness. If you want to see another family favorite that relies on careful ingredient measurements, you simply must check out my flaky buttermilk biscuits recipe next!
For the Garlic Parmesan Breadsticks Topping
This next set of ingredients is what pulls the whole Copycat Breadsticks experience together. Melting the butter slowly is key here so you don’t burn your beautiful garlic!
- 1/2 cup (1 stick) unsalted butter, melted
- 4 cloves garlic, minced
- 1 teaspoon dried Italian seasoning
- 1/2 teaspoon salt
- 1/4 cup grated Parmesan cheese
Oh, and don’t forget the basics for the dough itself: 1 1/2 cups warm water (about 110°F), 2 1/4 teaspoons active dry yeast, 2 tablespoons granulated sugar to feed that yeast, 4 cups all-purpose flour (plus extra for dusting!), and 1 teaspoon salt for the dough.
Step-by-Step Instructions to Make Olive Garden Breadsticks Copycat
Now for the real fun! Making these restaurant-style breadsticks at home is actually quite straightforward once you follow the order. Remember, Richard says that the secret to any good homemade dough recipe is patience during the rising phase. Don’t rush it! Once the dough is ready, the actual shaping and baking takes no time at all, making these perfect for a weeknight appetizer.
Activating the Yeast and Mixing the Homemade Dough Recipe
First things first: we wake up that yeast! In your big bowl, you will combine the warm water, the yeast, and the sugar. You’ll want to let this mixture sit for 5 to 10 minutes until it becomes foamy. That foam is your cheerful sign it’s ready to work! Once foamy, go ahead and mix in your flour, the dough salt, and the olive oil until you have shaggy dough.
Kneading and Rising Time for Chewy Breadsticks
You need to turn that shaggy mass out onto a surface dusted lightly with flour. Knead this dough with purpose for about 5 to 7 minutes until it feels smooth and elastic under your hands. Pop it into an oiled bowl, cover it up tight, and let it rest in a warm spot for 60 to 90 minutes. This long rise is exactly what contributes to those wonderfully chewy breadsticks you want!
Shaping and Baking Your Garlic Breadsticks Recipe
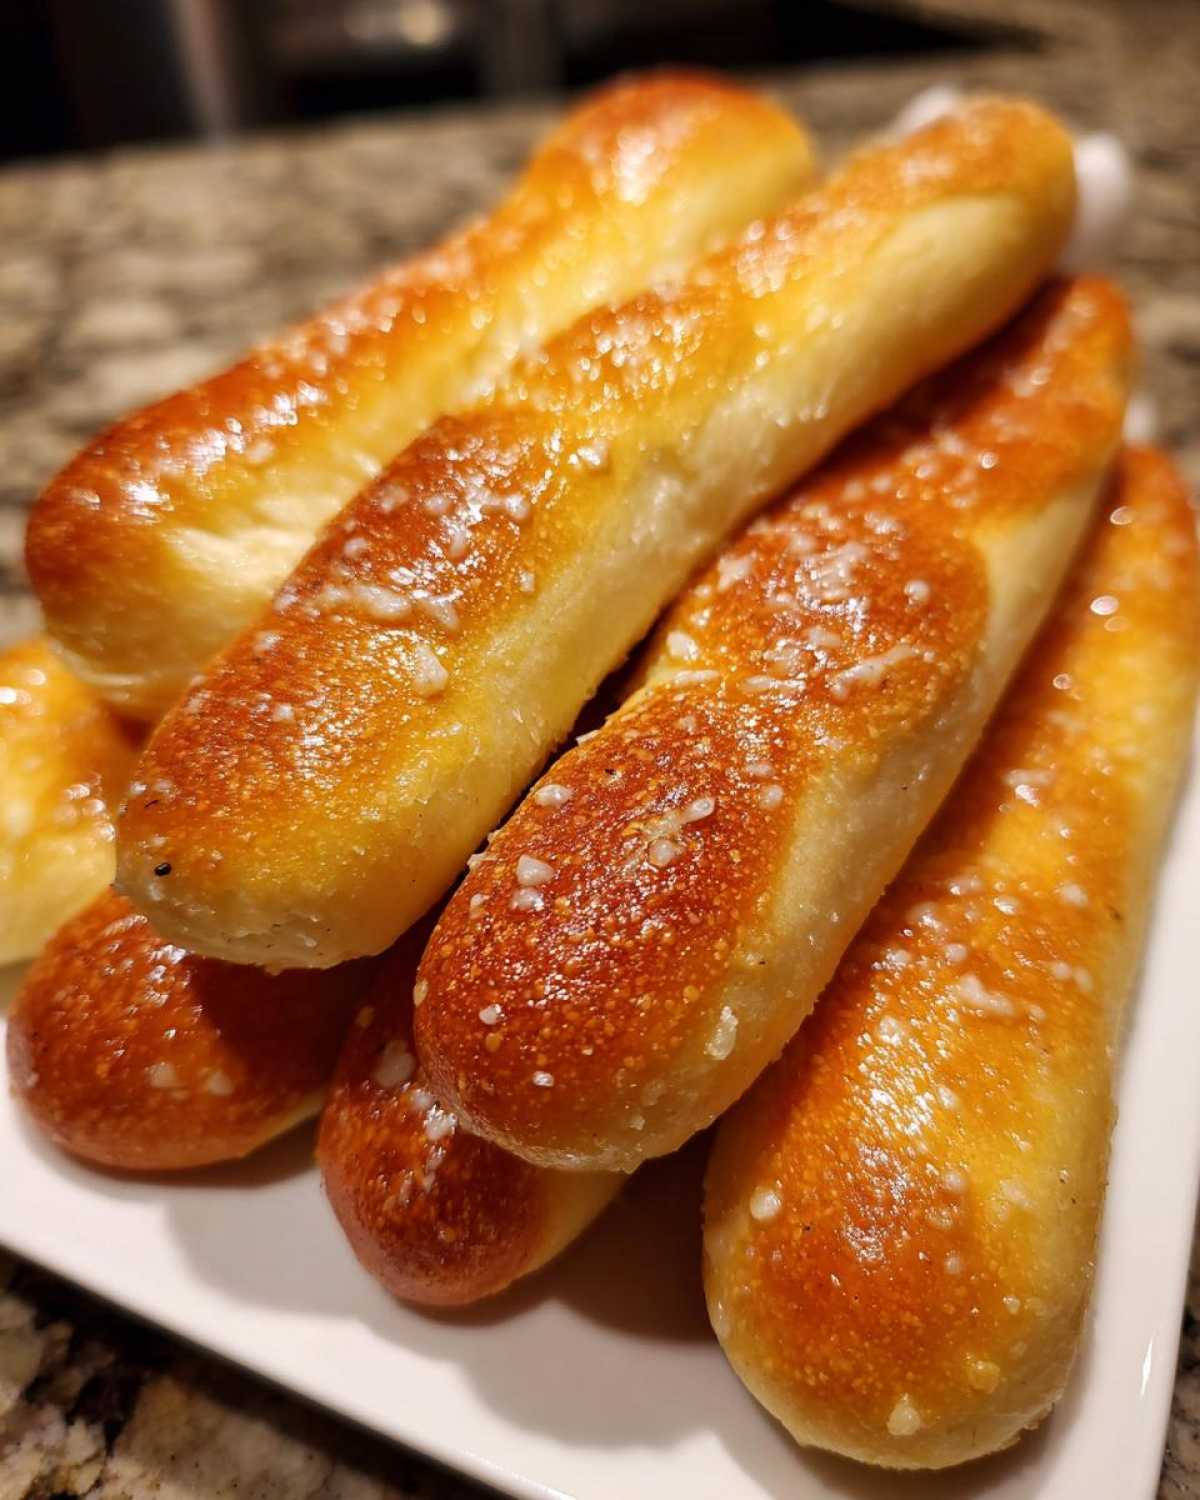
Once doubled, give that dough a gentle punch down to release the air. Now, divide it into 12 equal pieces. Roll each piece out by hand into one of those signature long, thin shapes—I aim for about 10 to 12 inches long myself. Lay them on parchment-lined baking sheets, keeping a little space between each piece. Bake these garlic breadsticks at 400°F (200°C) for just 10 to 12 minutes until they catch a nice golden kiss on top.
Applying the Buttery Garlic Parmesan Topping
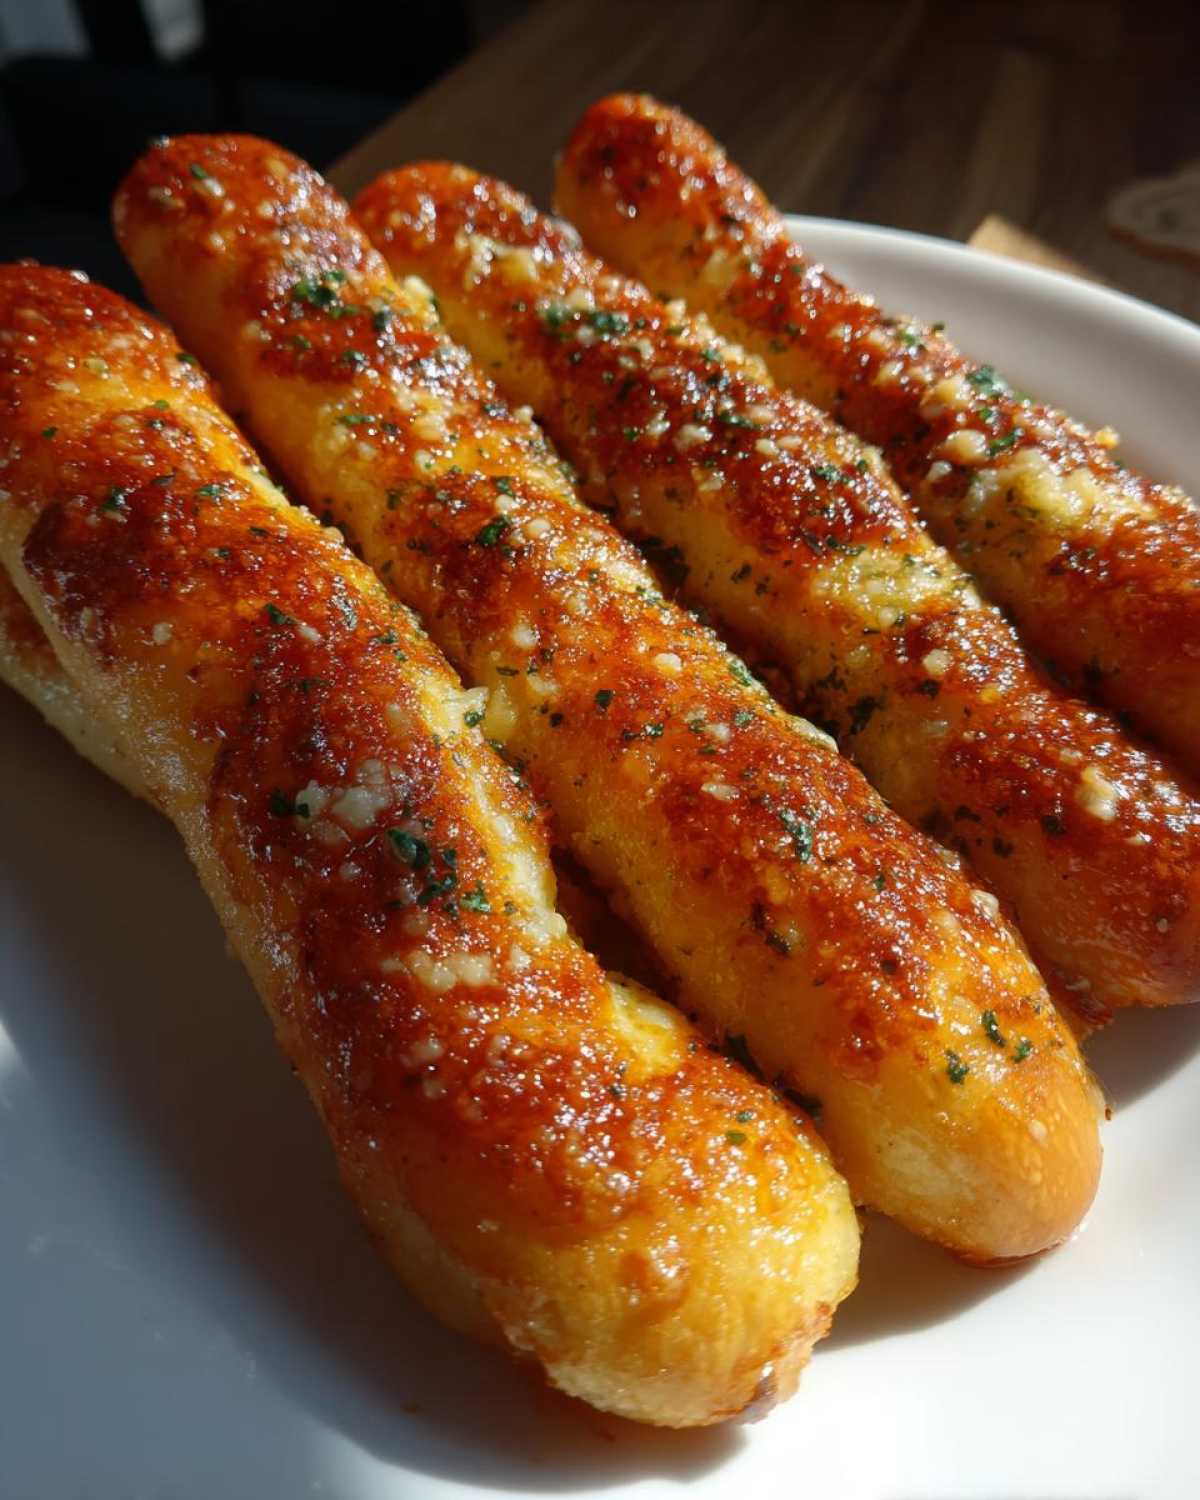
This is the grand finale, darling! While they are baking, whip up that glorious topping. Just whisk the melted butter, minced garlic, Italian seasoning, and that final half teaspoon of salt together in a small bowl. The second those hot breadsticks clear the oven, brush them generously with this garlic butter. Remember, they need to be hot so that the butter melts right in!
Immediately after buttering, shower them with that grated Parmesan cheese. We learned skipping this step leaves them tasting just… fine. Skip the viral onion boil for now—this topping needs your full attention!
Tips for Achieving Perfect Soft Breadsticks Every Time
I’ve learned that getting that ideal texture for soft breadsticks isn’t just about the rising time; it’s about how you treat the dough before and after it’s baked. If you find your breadsticks turning out a little too tough upon cooling, don’t worry, we can fix that next time!
Firstly, pay close attention to that 5 to 7 minute kneading window. Kneading develops gluten, which gives us chew, but too much will make them tough. Stop as soon as the dough feels smooth—don’t overwork it! Secondly, for that extra fluffy result, you can absolutely let the dough rest for that second, shorter rise, even if it’s just 30 minutes after you shape the sticks. This doubles down on the softness we crave in our moist banana bread, and it works wonders here too.
Finally, the butter application is crucial. Brushing on that garlic butter immediately ensures the crust stays tender rather than crisping up too hard. These little tips ensure your homemade breadsticks are perfectly soft every single go!
Variations: Make Your Breadsticks Cheesy Breadsticks or More
We love sticking close to the classic flavor, but honestly, sometimes you just need that extra layer of indulgence, right? If you’re feeling it, turning these into cheesy breadsticks is the easiest decision you’ll make all day. The recipe notes mentioned sprinkling mozzarella cheese right along with the Parmesan after that buttery bath? You absolutely must try that!
It becomes this absolutely gooey, stretchy delight. Beyond cheese, you can get creative with the topping mixture too. Maybe you add a tiny pinch of red pepper flakes for a little kick, or perhaps you dip them in a lovely honey mustard glaze, kind of like dipping chicken from my honey mustard chicken recipe. These breadsticks happily take on whatever fun flavor you throw their way!
Storage & Reheating Instructions for Leftover Breadsticks
It’s rare we have leftovers, naturally, but when we do, Richard is always asking how to keep them tasting fresh. If you need to plan ahead, remember that the dough itself is fantastic for making ahead breadsticks—simply keep that raw dough wrapped tightly in the fridge for up to three days and let it warm up on the counter before shaping.
For the baked ones, keep them in an airtight container at room temperature. Don’t refrigerate them; that always shocks the dough and makes them dry! To warm them back up, I just give them a quick 4-minute blast in a 350°F oven. They come out tender again, perfect for dipping into leftover sauce from our make ahead breadsticks experiments!
Serving Suggestions for Your Buttery Breadsticks
The beauty of these buttery sticks is how perfectly they transition from a simple appetizer to the ideal dinner side dish bread. They soak up sauce like nothing else! Richard and I absolutely insist they must accompany any saucy pasta dish—think rich meat sauce or a creamy soup. When we make our creamy chicken and gnocchi, these are always lined up waiting patiently on the side for dunking!
FAQ: Common Questions About Homemade Breadsticks
It’s funny how many questions come up when we start talking about making perfect bread from scratch! Richard and I have fussed over these details so long that they feel second nature to us now, but I remember being completely stumped about the rising time myself. I hope these little answers help you on your journey to mastering these soft breadsticks.
Can I use store-bought dough to make these breadsticks faster?
Oh, you certainly can if you’re in a real pinch and just need a quick bread recipe on the table! But here’s the thing, darling: the beautiful flavor and that pillowy soft breadsticks texture come directly from feeding that yeast and letting our simple homemade dough breathe. Store-bought dough usually doesn’t have the same quality ratios of fat and sugar, so while it’s *faster*, it won’t give you that dreamy, melt-in-your-mouth experience we are aiming for.
How do I get the breadsticks extra chewy like restaurant style breadsticks?
That chewiness you are craving is all about gluten development and resting! Don’t skimp on that 5 to 7 minutes of kneading—that builds the structure. If you want them even chewier, try letting them rest *after* you’ve shaped them into sticks, covering them loosely, and letting them sit for an extra 15 minutes before they go into the oven. It lets the dough relax properly.
What is the best temperature for baking these breadsticks?
For our copycat breadsticks, we stick religiously to 400°F (200°C)! This high heat is wonderful because it sets the outside of the breadstick quickly, cooking that buttery garlic flavor right into the crust while maintaining that lovely soft interior. It’s the perfect temperature to get that golden exterior without drying out the inside. Any lower, and they tend to dry out before they brown up nicely. If you are loving Italian flavors, you should look at how I make my creamy pesto chicken pasta!
Nutritional Estimate for These Garlic Parmesan Breadsticks
Richard always reminds me that while these buttery breadsticks are pure comfort, we should keep an eye on amounts. Below is the estimated nutritional breakdown for just one serving of these tasty garlic parmesan breadsticks. Remember, these are just rough figures; your actual results will vary based on exactly how much butter sticks to the sides of your mixing bowl! If you want to see a recipe where precise measurements really matter for texture, check out my guide on getting the perfect egg doneness.
- Serving Size: 1 breadstick
- Calories: 180
- Fat: 8g
- Carbohydrates: 23g
- Protein: 4g
The Ultimate Soft & Chewy Olive Garden Copycat Breadsticks with Garlic Parmesan Butter
Recreate the famous, soft, and chewy breadsticks you love from your favorite Italian restaurant right in your own kitchen. This easy recipe delivers that perfect buttery, garlicky flavor every time.
- Prep Time: 20 min
- Cook Time: 12 min
- Total Time: 92 min
- Yield: 12 breadsticks
- Category: Appetizer
- Method: Baking
- Cuisine: Italian-American
- Diet: Vegetarian
Ingredients
- 1 1/2 cups warm water (about 110°F)
- 2 1/4 teaspoons active dry yeast
- 2 tablespoons granulated sugar
- 4 cups all-purpose flour, plus more for dusting
- 1 teaspoon salt
- 1/4 cup olive oil, plus more for greasing
- 1/2 cup (1 stick) unsalted butter, melted
- 4 cloves garlic, minced
- 1 teaspoon dried Italian seasoning
- 1/2 teaspoon salt
- 1/4 cup grated Parmesan cheese
Instructions
- In a large bowl, combine the warm water, yeast, and sugar. Let this mixture sit for 5 to 10 minutes until it becomes foamy. This shows the yeast is active.
- Add the flour, 1 teaspoon of salt, and 1/4 cup of olive oil to the yeast mixture. Mix with a wooden spoon until a shaggy dough forms.
- Turn the dough out onto a lightly floured surface. Knead for 5 to 7 minutes until the dough is smooth and elastic.
- Lightly grease a large bowl with olive oil. Place the dough in the bowl, turning it once to coat. Cover the bowl with plastic wrap or a clean kitchen towel. Let the dough rise in a warm place for 60 to 90 minutes, or until it has doubled in size.
- Preheat your oven to 400°F (200°C). Line a large baking sheet with parchment paper.
- Gently punch down the risen dough. Divide the dough into 12 equal pieces. Roll each piece into a long, thin breadstick shape, about 10 to 12 inches long. Place the breadsticks on the prepared baking sheet, leaving a little space between them.
- Bake for 10 to 12 minutes, or until the breadsticks are lightly golden brown.
- While the breadsticks bake, prepare the garlic butter topping. In a small bowl, whisk together the melted butter, minced garlic, Italian seasoning, and 1/2 teaspoon of salt.
- As soon as the breadsticks come out of the oven, brush the tops generously with the garlic butter mixture.
- Immediately sprinkle the grated Parmesan cheese over the buttered breadsticks. Serve warm as a perfect dinner side dish or appetizer bread.
Notes
- For extra soft dinner rolls texture, you can let the dough go through a second, shorter rise (about 30 minutes) after shaping them into sticks.
- If you want cheesy breadsticks, sprinkle mozzarella cheese over the tops along with the Parmesan during the final step.
- You can make the dough ahead of time and store it covered in the refrigerator for up to 3 days. Allow it to come to room temperature before shaping.
Nutrition
- Serving Size: 1 breadstick
- Calories: 180
- Sugar: 2
- Sodium: 350
- Fat: 8
- Saturated Fat: 4
- Unsaturated Fat: 4
- Trans Fat: 0
- Carbohydrates: 23
- Fiber: 1
- Protein: 4
- Cholesterol: 15