

Welcome, friends, to our kitchen diary! I’m Eleanor, and Richard is right here beside me.
We’ve traveled the world tasting wonderful things. Now, we bring those moments home.
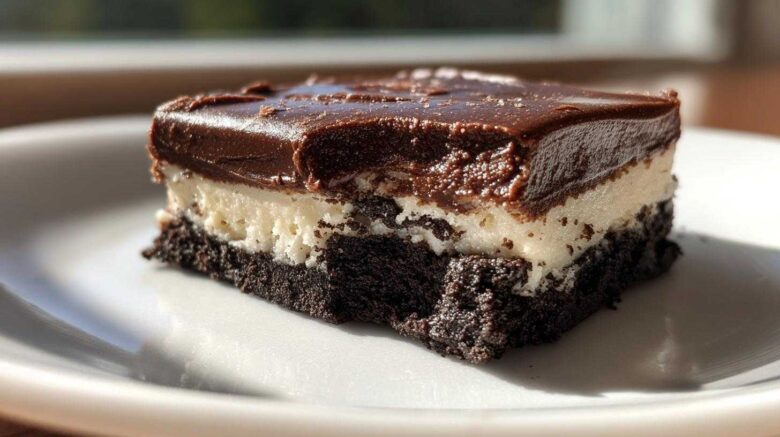
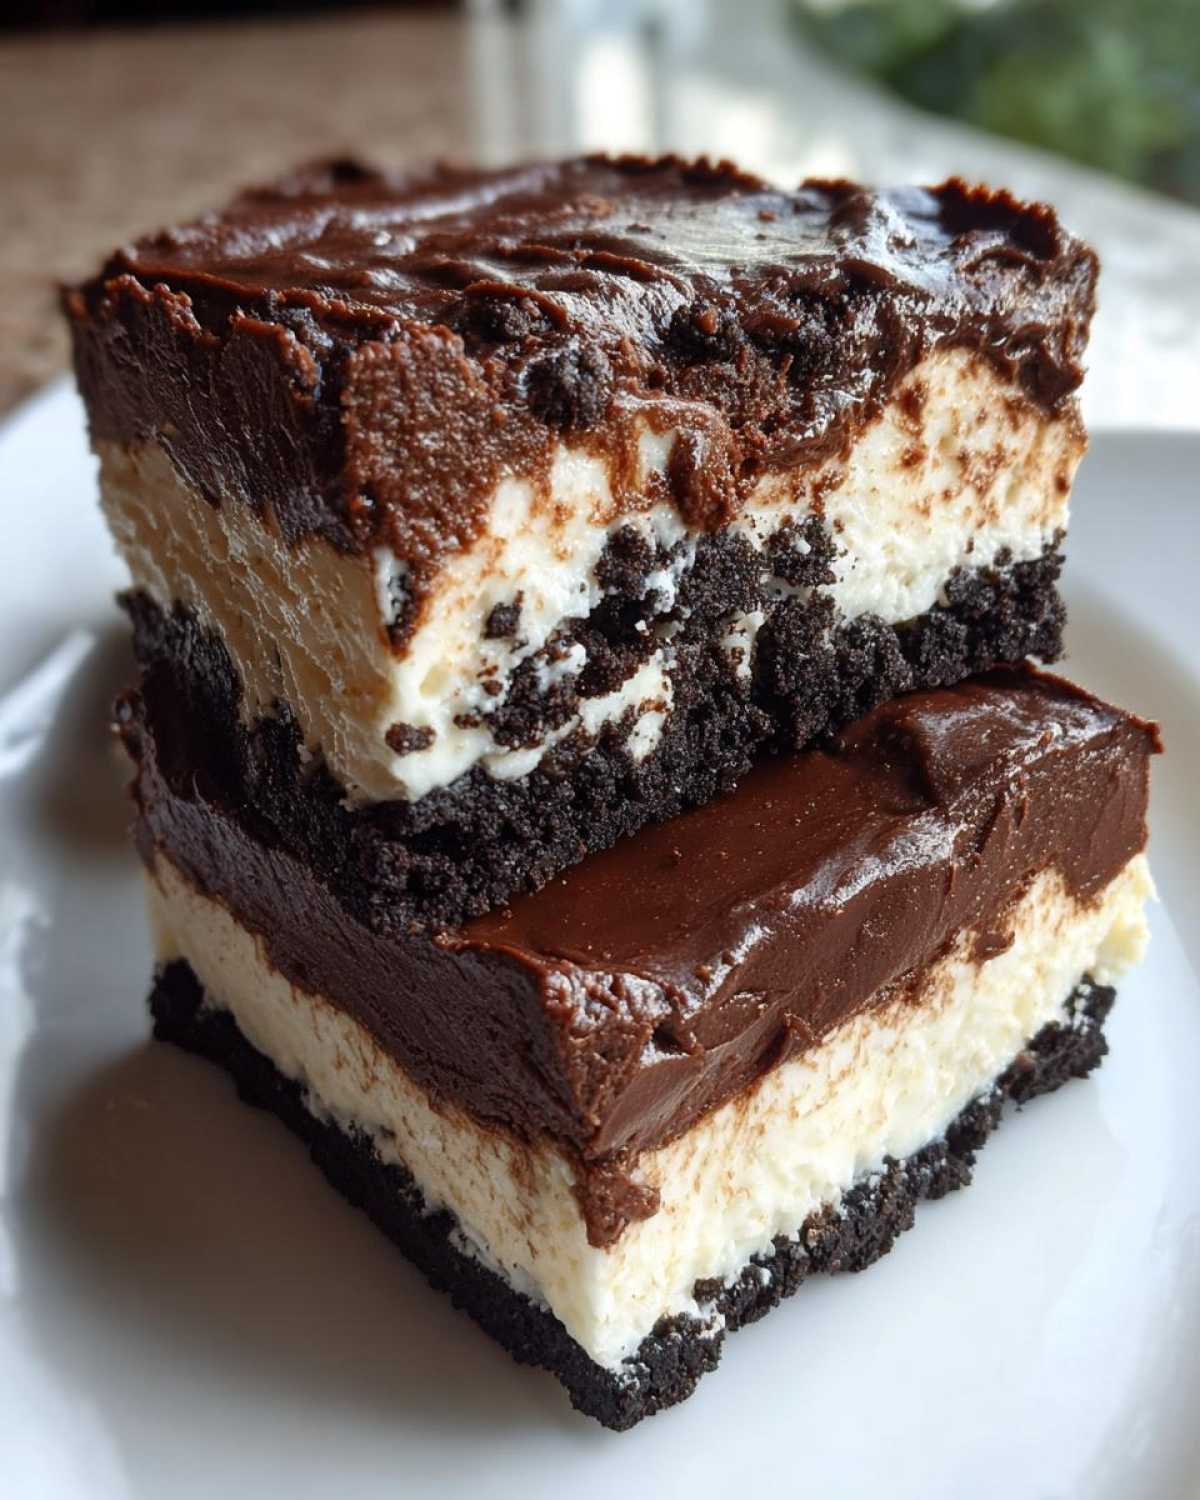
This recipe for No Bake Oreo Chocolate Bars is pure magic. It tastes just like a cherished memory for us.
Richard always remembered the perfect texture he sought.
He wanted firm layers that gave clean cuts every time.
After many attempts, I finally captured that ideal texture for you.
This easy dessert recipe holds forty years of culinary adventures.
It’s a simple, fudgy slice of happiness, ready for your kitchen.
Why You’ll Love These No Bake Oreo Chocolate Bars
You need this recipe in your life. Seriously!
These bars come together so fast.
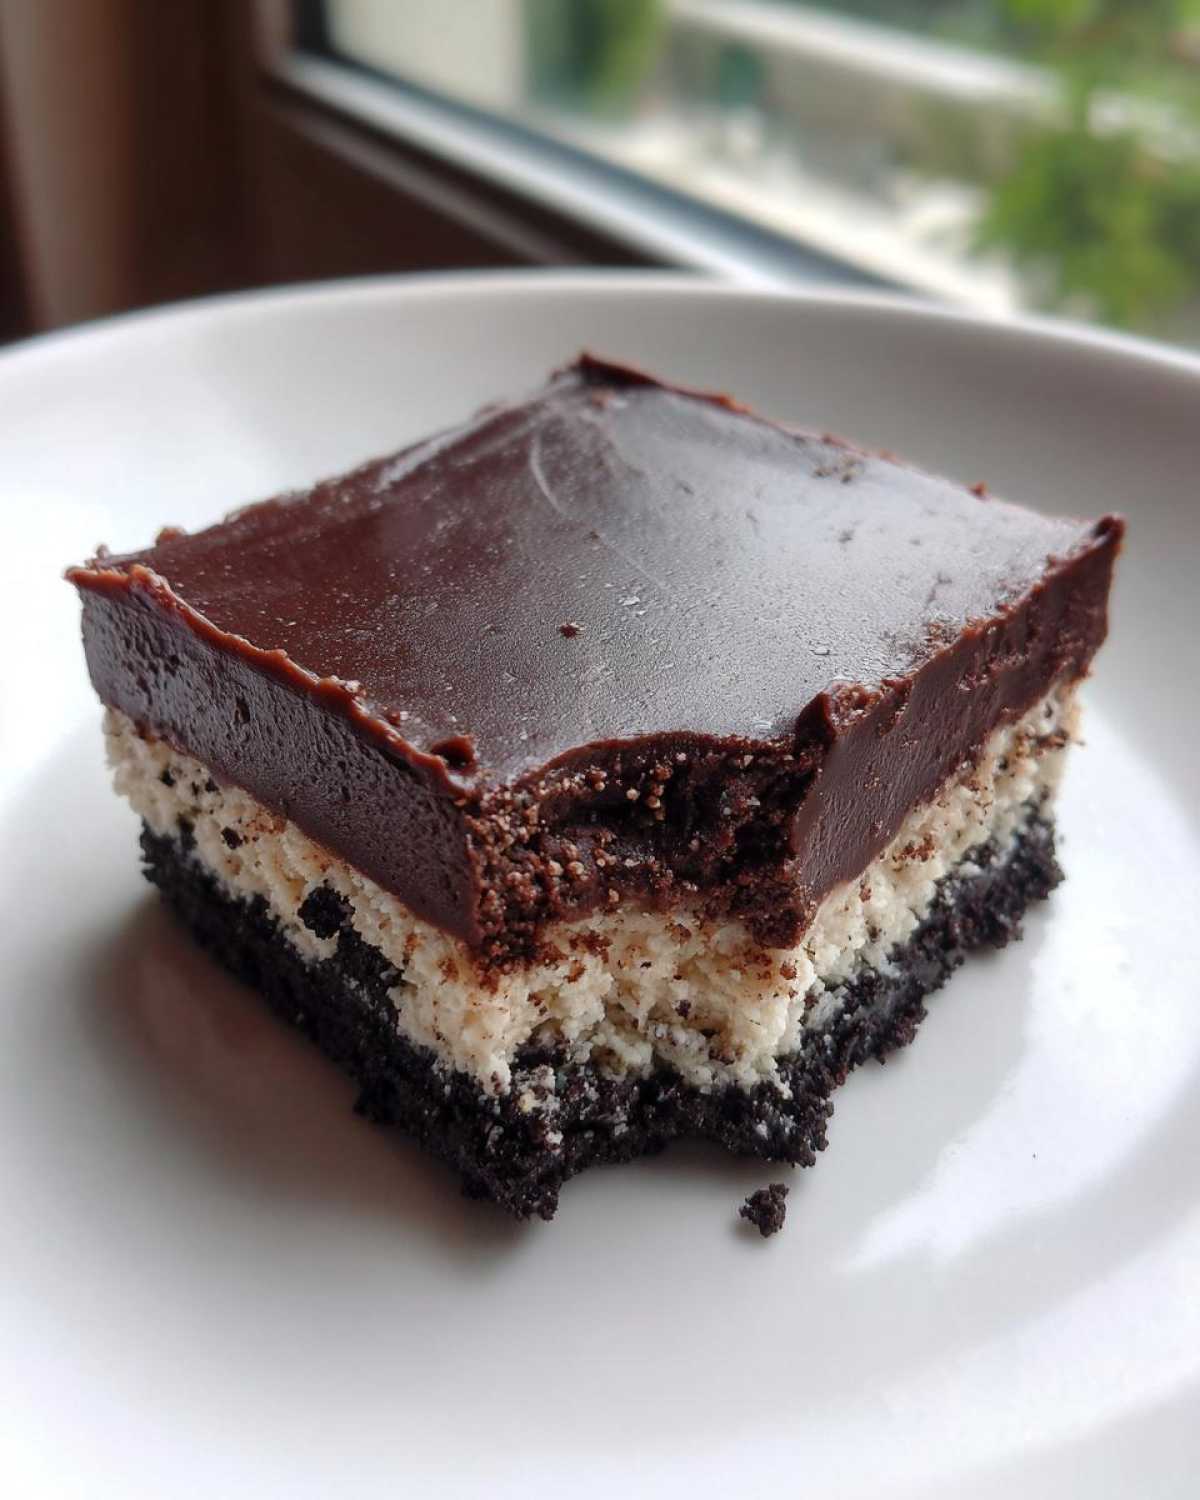
They deliver that deep chocolate fudge flavor we all crave.
Best of all, you finally get those firm layers.
No more messy slices!
We nailed the structure for perfect, clean cuts.
Quick Prep for Perfect No Bake Oreo Chocolate Bars
Who has time for an oven these days?
I know I don’t always!
You only need about 20 minutes of active work.
That’s it for assembly.
Since this is a no-bake method, cleanup is a breeze.
It’s simple, encouraging, and so rewarding.
Equipment Needed for Your No Bake Oreo Chocolate Bars
Getting ready is half the battle won.
Having the right tools makes this so much easier.
Here is what you’ll need for assembly:
- One 8×8 inch baking pan.
- Parchment paper is a must-have.
- A medium mixing bowl, perhaps two.
- A whisk for mixing dry things.
- A sturdy spatula for spreading layers.
- A microwave-safe bowl for melting chocolate.
These simple items help you achieve those perfect results.
Ingredients to Create Firm No Bake Oreo Chocolate Bars
Gathering your supplies is next on our list.
Using the right amounts matters greatly here.
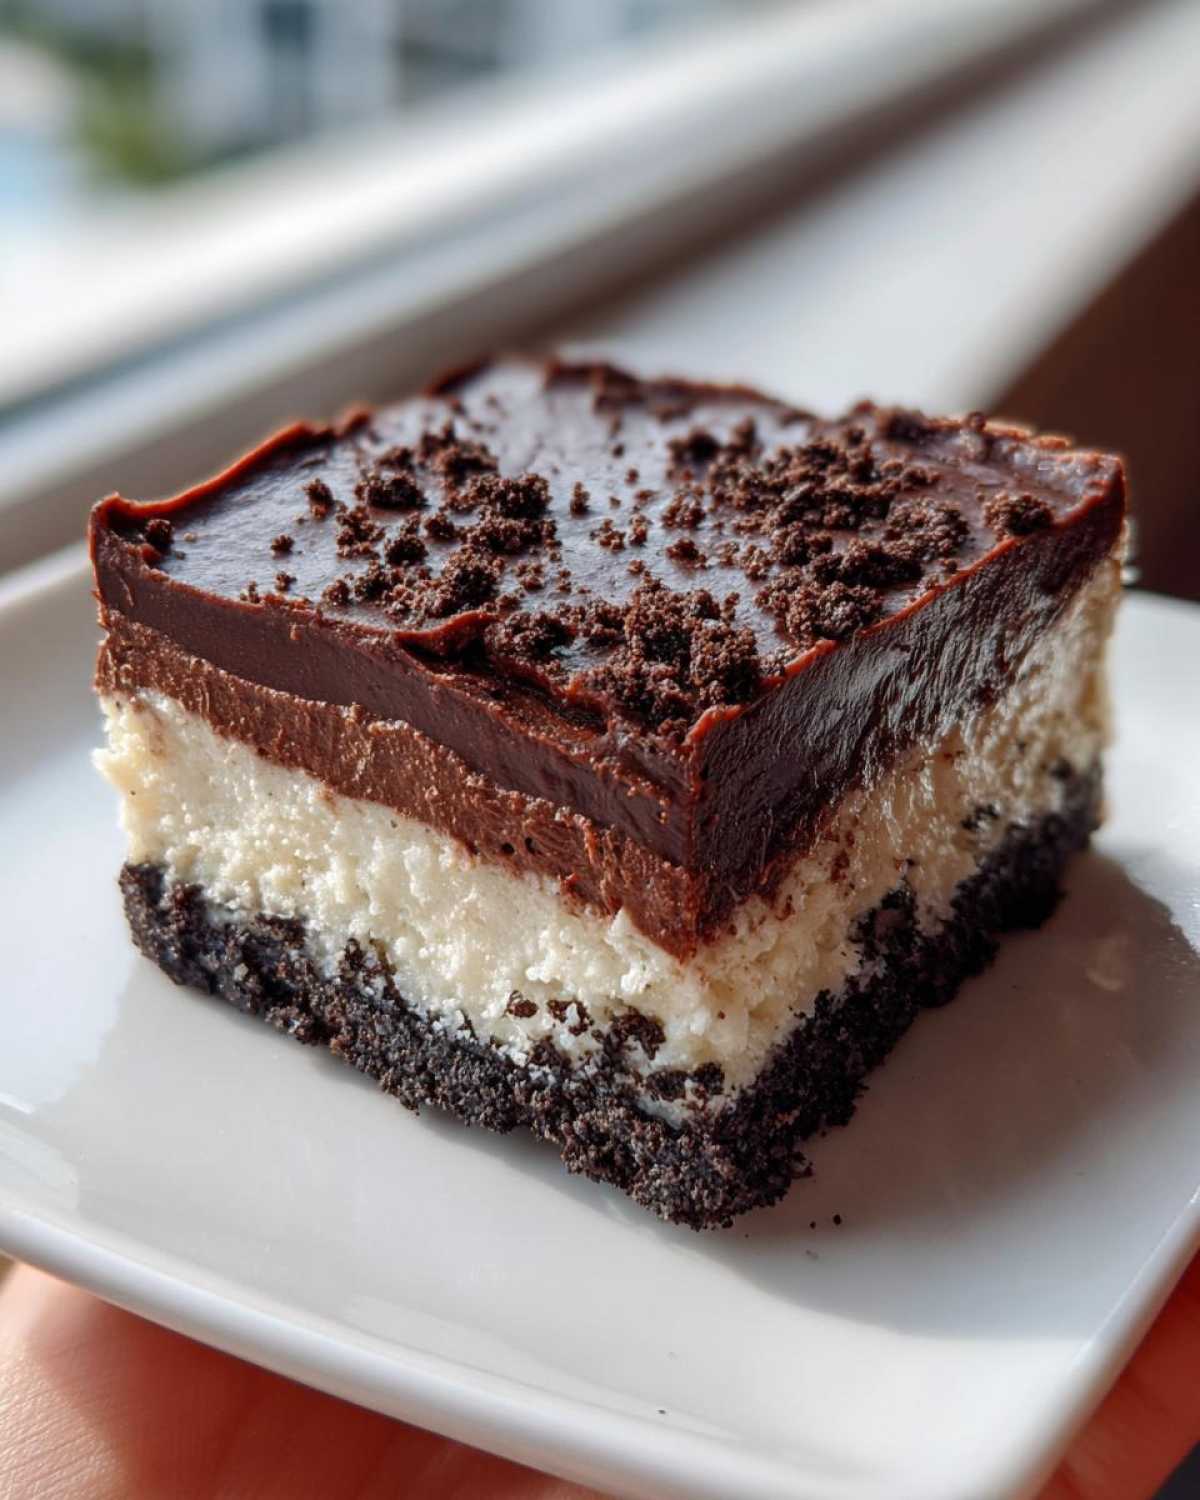
These ingredients build the structure we want.
Measure everything carefully before you start mixing.
Here is exactly what you need for 16 bars:
- 1 cup (2 sticks) unsalted butter, melted.
- 1 (14.3 ounce) package Oreo cookies, finely crushed.
- 2 cups powdered sugar, make sure it’s sifted.
- 1/2 cup unsweetened cocoa powder, also sifted well.
- 1/4 teaspoon salt for balance.
- 1 (14 ounce) can sweetened condensed milk.
- 1 cup semi-sweet chocolate chips for the top.
Ingredient Notes for Texture and Flavor
Texture is everything for these bars, isn’t it?
Sifting your sugar and cocoa powder is non-negotiable.
It prevents those tiny lumps in your fudge layer.
Lumps mean weak spots, leading to soft areas.
We want density for those clean cuts.
Also, use good quality semi-sweet chocolate chips.
They melt smoothly and set up nicely when chilled.
Step-by-Step Instructions for Perfect No Bake Oreo Chocolate Bars
Now we move into the fun part, friends.
This is where we build those beautiful, layered memories.
Remember Richard always talking about the *right* foundation?
We follow his detail-oriented memory closely here.
Take your time with each layer.
It truly pays off in the end result.
Creating the Firm Oreo Crust Layer
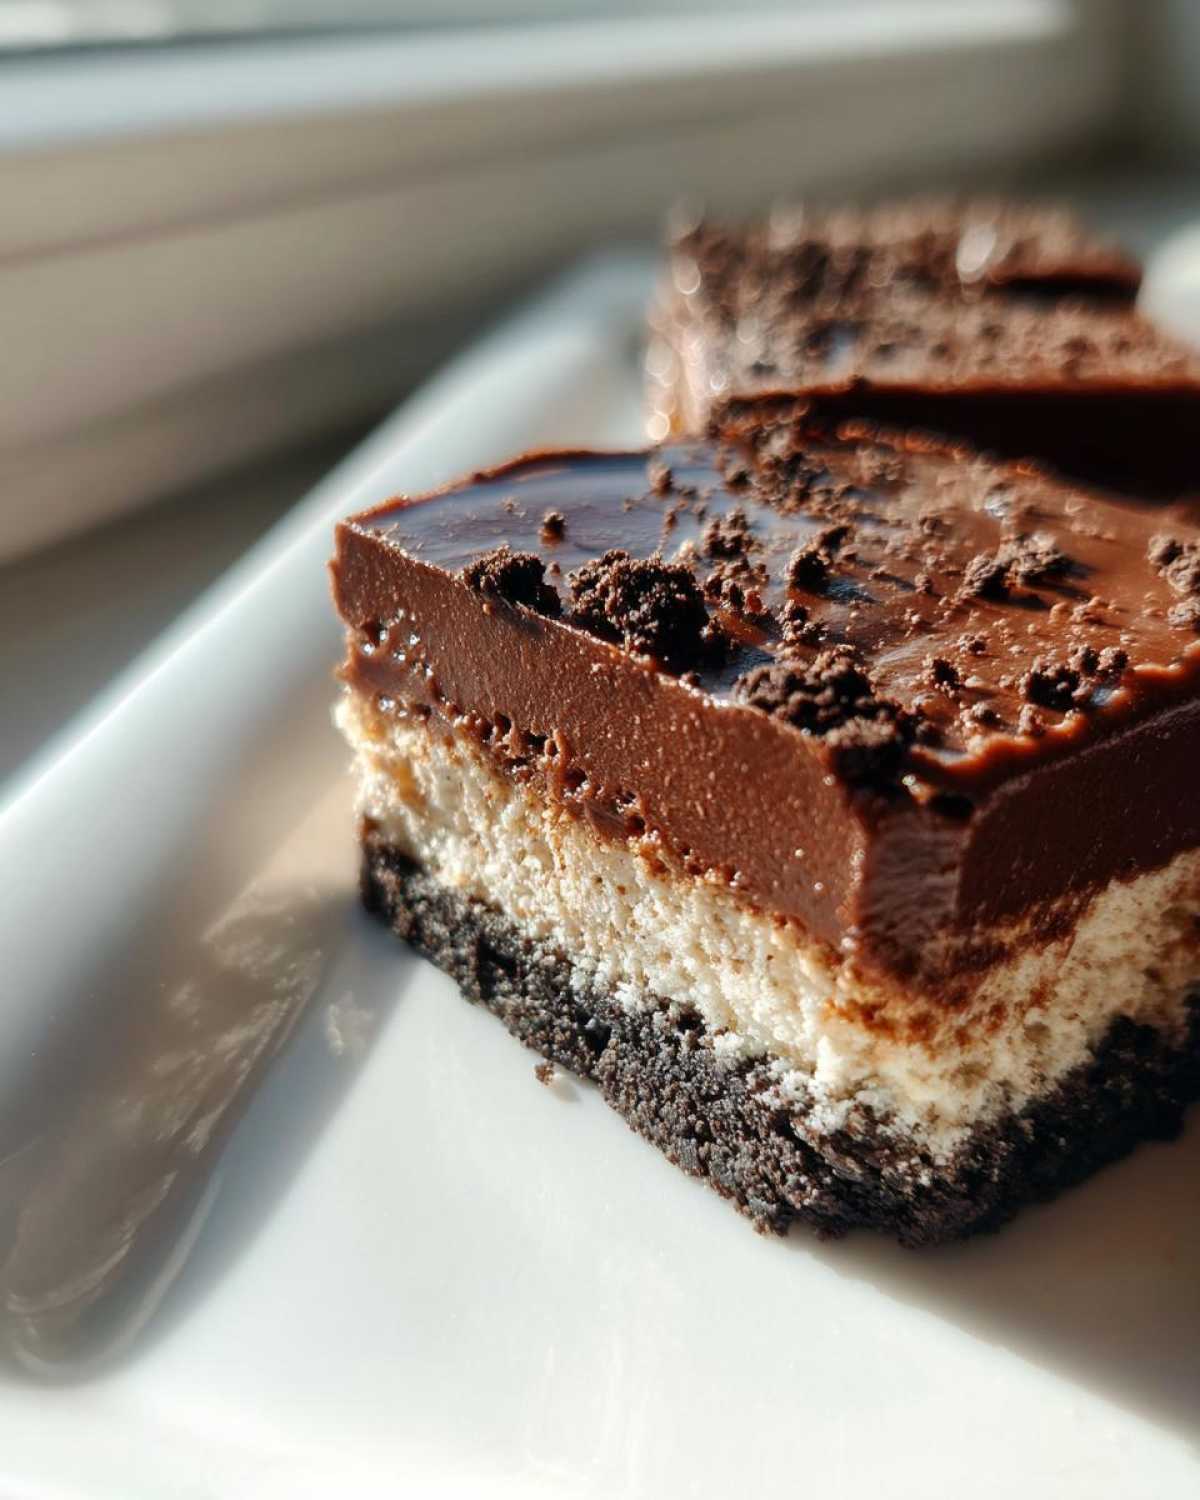
First, line that 8×8 pan with parchment paper.
Leave an overhang on the sides.
This overhang is your helpful lifting handle later.
Mix your melted butter right into the crushed Oreos.
Press this base mixture down very firmly.
Use the bottom of a glass for maximum compaction.
Mixing and Spreading the Chocolate Fudge Dough
In another bowl, whisk your dry ingredients well.
Sifted sugar and cocoa powder go in there.
Now, pour in the sweetened condensed milk.
Mix until you have a thick, uniform dough.
This becomes our creamy middle layer.
Spread this fudge dough over the crust layer.
Press it down gently but again, firmly.
Achieving the Smooth Top Layer and Chilling
Time to melt those chocolate chips.
Use short bursts in the microwave, stirring between.
Don’t let the chocolate get too hot or seize up.
Pour that smooth chocolate right over the dough.
Spread it quickly across the surface evenly.
This next part is the hardest: waiting.
You must chill these bars for at least four hours.
Four hours ensures those firm layers we love.
Chilling is the secret to those beautiful, clean cuts.
Use that parchment overhang to lift the whole slab out.
Then, slice them into perfect squares. Enjoy!
Tips for Success with No Bake Oreo Chocolate Bars
Getting these bars just right takes a little know-how.
I want you to have perfect results every time.
These tips focus on achieving that firm texture.
It’s all about pressure and patience here.
Follow these pointers for truly clean slicing.
- Press that Oreo crust down like you mean it.
- A flat-bottomed measuring cup works wonders for this.
- Richard always stressed the importance of a solid base.
- Don’t rush the final chill time, please wait the full four hours.
- Warm your knife slightly before making your very first cut.
Those simple steps make a huge difference, trust me!
You’ll see those beautiful, distinct lines.
Frequently Asked Questions About No Bake Oreo Chocolate Bars
I know you have questions about making this easy dessert.
We learned so much perfecting these bars.
Let me share some answers from our kitchen diary.
These insights help guarantee success.
You deserve that perfect chocolate fudge experience.
How do I get truly clean cuts when slicing?
This is the big question, isn’t it?
First, the chilling time is crucial.
Do not pull them out early, ever.
Second, use a long, sharp knife.
Wipe the blade clean between each slice.
Heat helps the knife glide through the layers.
Can I substitute the type of Oreo cookie in this recipe?
You absolutely can substitute the cookies.
Just maintain the same weight or volume.
However, the classic flavor comes from Oreos.
Consider using Golden Oreos for a different twist.
This changes the color but keeps the texture.
Do not use cream-filled cookies without adjusting butter.
What if I want an extra thick top layer?
Simply increase your chocolate chips to one and a half cups.
You might need a slightly longer chill time then.
It makes for an even richer chocolate fudge treat.
Storing and Enjoying Your No Bake Oreo Chocolate Bars
We hope you love the first bite of these bars.
They taste best when super cold, honestly.
Store any leftovers in an airtight container.
Keep them right in the refrigerator, please.
They stay perfectly firm for up to one week there.
Serving them straight from the fridge keeps those clean cuts.
You don’t need to warm these up at all.
If you enjoy simple, no-bake treats, you might also like our Chocolate Pretzel Peanut Butter Pie Recipe.
Sharing Your Delish Diarist Entry
We poured our memories into these bars for you.
Now, it’s your turn to share your experience.
Did you get those perfect, clean cuts?
Tell Richard and me all about it below!
Leave a rating and share this recipe with friends.
We love reading your notes.
For more kitchen adventures, check out our blog.
Understanding the science behind why chilling is essential for texture can be fascinating; for example, research on food crystallization often highlights the importance of controlled cooling rates in confectionery ScienceDirect.
PrintDivine No Bake Oreo Chocolate Bars: 4 Tips
These No Bake Oreo Chocolate Bars give you firm, clean-cutting layers that taste just like a cherished memory. Richard remembers the perfect texture, and I captured it for you!
- Prep Time: 20 minutes
- Cook Time: 0 minutes
- Total Time: 4 hours 20 minutes
- Yield: 16 bars
- Category: Dessert
- Method: No Bake
- Cuisine: American
- Diet: Vegetarian
Ingredients
- 1 cup (2 sticks) unsalted butter, melted
- 1 (14.3 ounce) package Oreo cookies, finely crushed (about 30 cookies)
- 2 cups powdered sugar, sifted
- 1/2 cup unsweetened cocoa powder, sifted
- 1/4 teaspoon salt
- 1 (14 ounce) can sweetened condensed milk
- 1 cup semi-sweet chocolate chips
Instructions
- Line an 8×8 inch baking pan with parchment paper, leaving an overhang on the sides for easy removal. This helps you get those clean cuts later.
- In a medium bowl, mix the melted butter with the finely crushed Oreos. Press this mixture firmly and evenly into the bottom of the prepared pan.
- In a separate bowl, whisk together the sifted powdered sugar, sifted cocoa powder, and salt.
- Add the sweetened condensed milk to the dry ingredients. Mix well until a thick, uniform dough forms. This mixture becomes your creamy middle layer.
- Spread the chocolate dough evenly over the Oreo crust. Press it down gently but firmly to compact it.
- Place the chocolate chips in a small, microwave-safe bowl. Microwave in 30-second intervals, stirring in between, until smooth.
- Pour the melted chocolate over the dough layer. Spread it quickly and smoothly to create the top layer.
- Refrigerate the bars for at least 4 hours, or until completely firm. Chilling time is key for clean slicing.
- Use the parchment paper overhang to lift the entire slab from the pan. Cut into squares. Enjoy the taste of our memories!
Notes
- For the firmest layers, make sure you press the crust and the chocolate dough layers down solidly.
- Use high-quality cocoa powder for a deeper chocolate flavor.
- If you prefer a slightly softer topping, reduce the chilling time slightly, but remember firm layers mean clean cuts.
Nutrition
- Serving Size: 1 bar
- Calories: Approx. 320
- Sugar: Approx. 30g
- Sodium: Approx. 150mg
- Fat: Approx. 18g
- Saturated Fat: Approx. 11g
- Unsaturated Fat: Varies
- Trans Fat: 0g
- Carbohydrates: Approx. 38g
- Fiber: Approx. 1g
- Protein: Approx. 4g
- Cholesterol: Approx. 25mg