

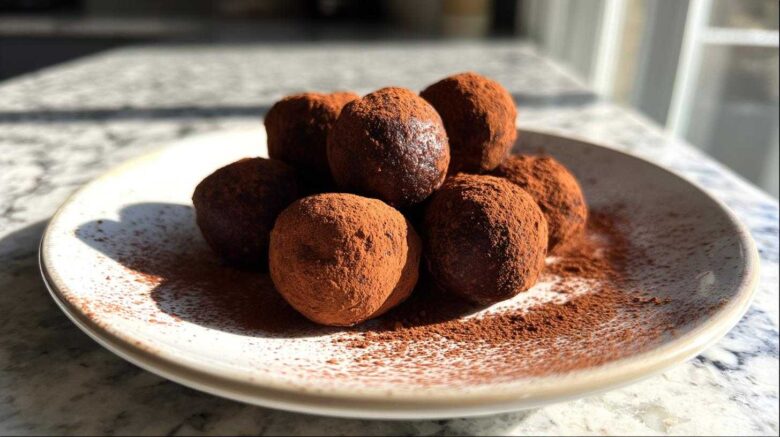
Our Kitchen’s Time Machine: Crafting the Perfect Chocolate Peanut Butter Protein Balls
Hello there. I’m Eleanor, and welcome to our kitchen diary.
For forty years, food was fuel. Now, it’s memory.
Richard and I collected tastes globally. We promised to bring them home.
This recipe for Chocolate Peanut Butter Protein Balls is one such memory.
It’s a quick, no-bake treat we needed often.
It’s comforting, familiar, and honestly, quite healthy.
When Richard craves that classic flavor, this is what I make.
It takes me right back to busy mornings long ago.
We adapted this simple snack for our slower pace now.
It still gives that satisfying energy boost we still need.
I’ve perfected this formula over many tries.
It’s proof that old flavors never fade away.
I want to share this little piece of our past.
It’s simple, truly. Anyone can make these bites.
They are a delicious way to recall a cherished moment.
Think of it as taste traveling without leaving home.
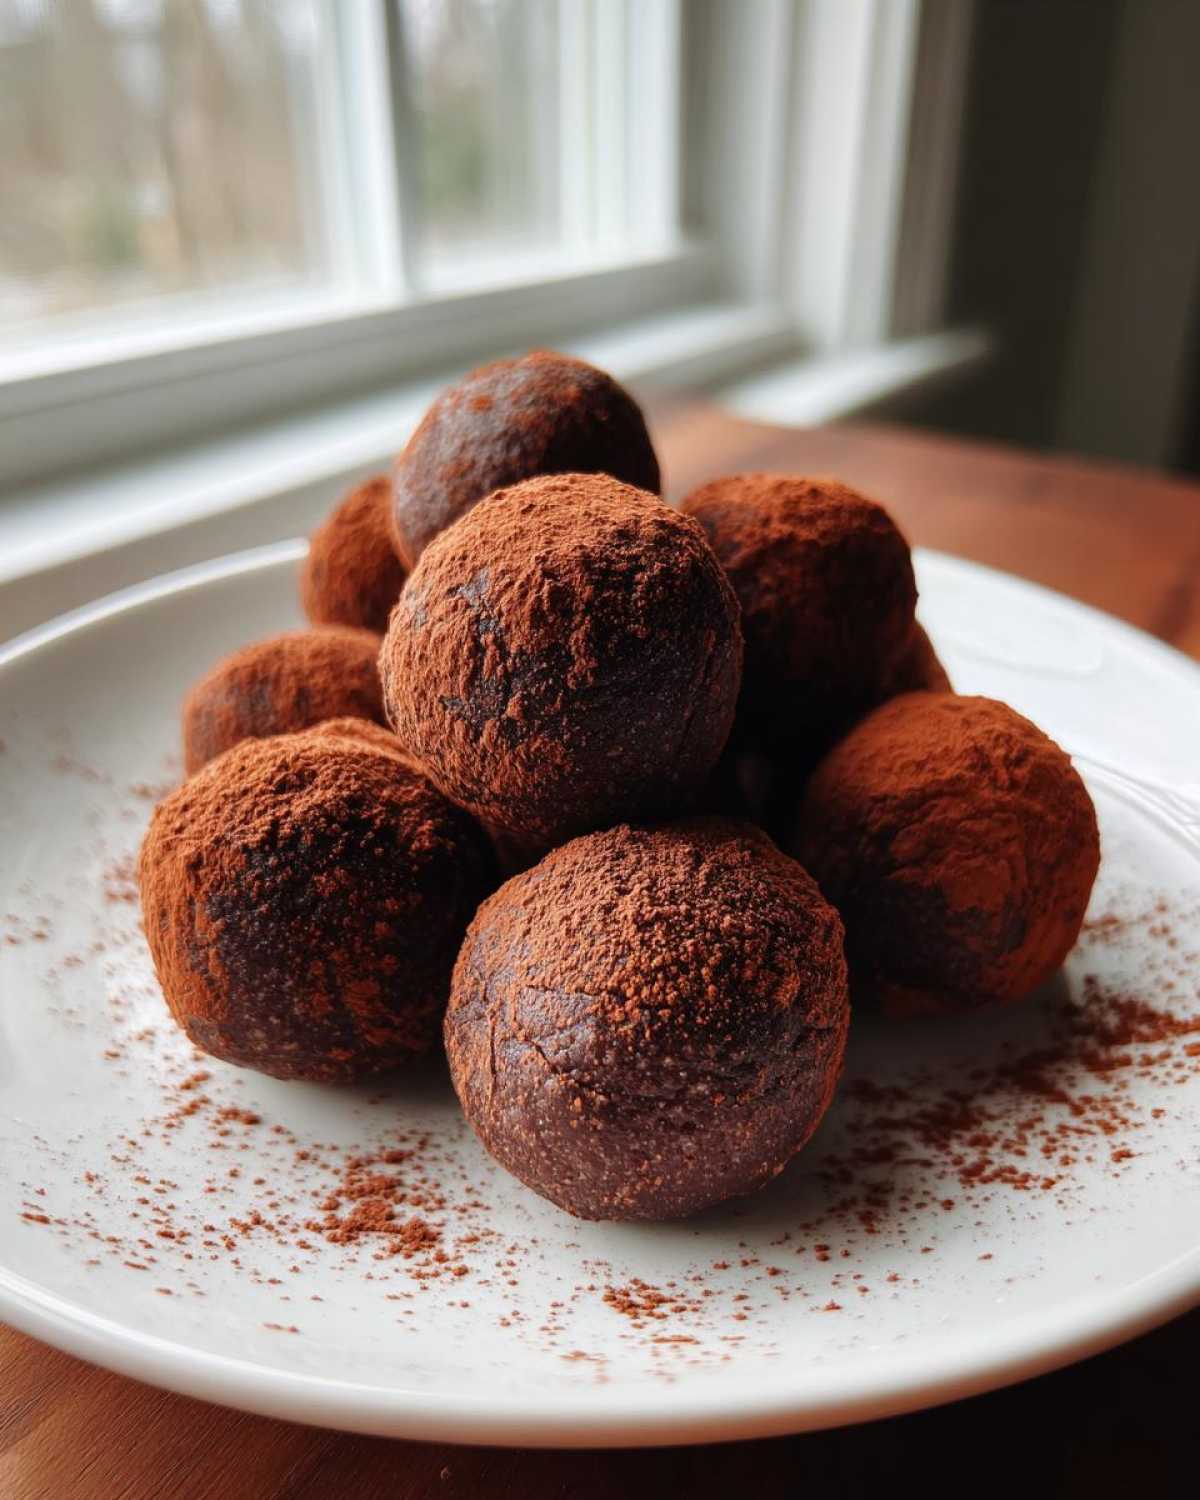
Gathering What You Need for Chocolate Peanut Butter Protein Balls
Making these no-bake energy bites is almost as simple as opening the pantry door.
That’s what I love most about this snack recipe.
There’s no oven preheating needed here.
We rely on pantry staples for big flavor.
You just mix, roll, and chill.
Let’s look at what we need from the cupboard first.
Essential Ingredients for Chocolate Peanut Butter Protein Balls
The secret to great balls lies in the balance.
We need dry powders to soak up moisture.
The peanut butter and sweetener act as our glue.
- One cup of rolled oats forms the base structure.
- Use a half cup of peanut butter, creamy works well.
- Measure a half cup of your favorite protein powder.
- Add a quarter cup of ground flax or chia seeds.
- Unsweetened cocoa powder is a quarter cup for deep flavor.
- Sweetness comes from a quarter cup of honey or maple syrup.
- Don’t forget one teaspoon of vanilla extract for depth.
- The liquid binder is key: one to three tablespoons of water or milk.
Equipment Checklist for Your Chocolate Peanut Butter Protein Balls
You don’t need fancy gadgets for this simple process.
Just grab a few everyday kitchen helpers.
I find using my hands is best for mixing later on.
- A large mixing bowl is essential for combining everything.
- Use a sturdy spoon for the initial mixing stages.
- A baking sheet helps keep things tidy during chilling.
- Parchment paper prevents any sticking to that sheet.
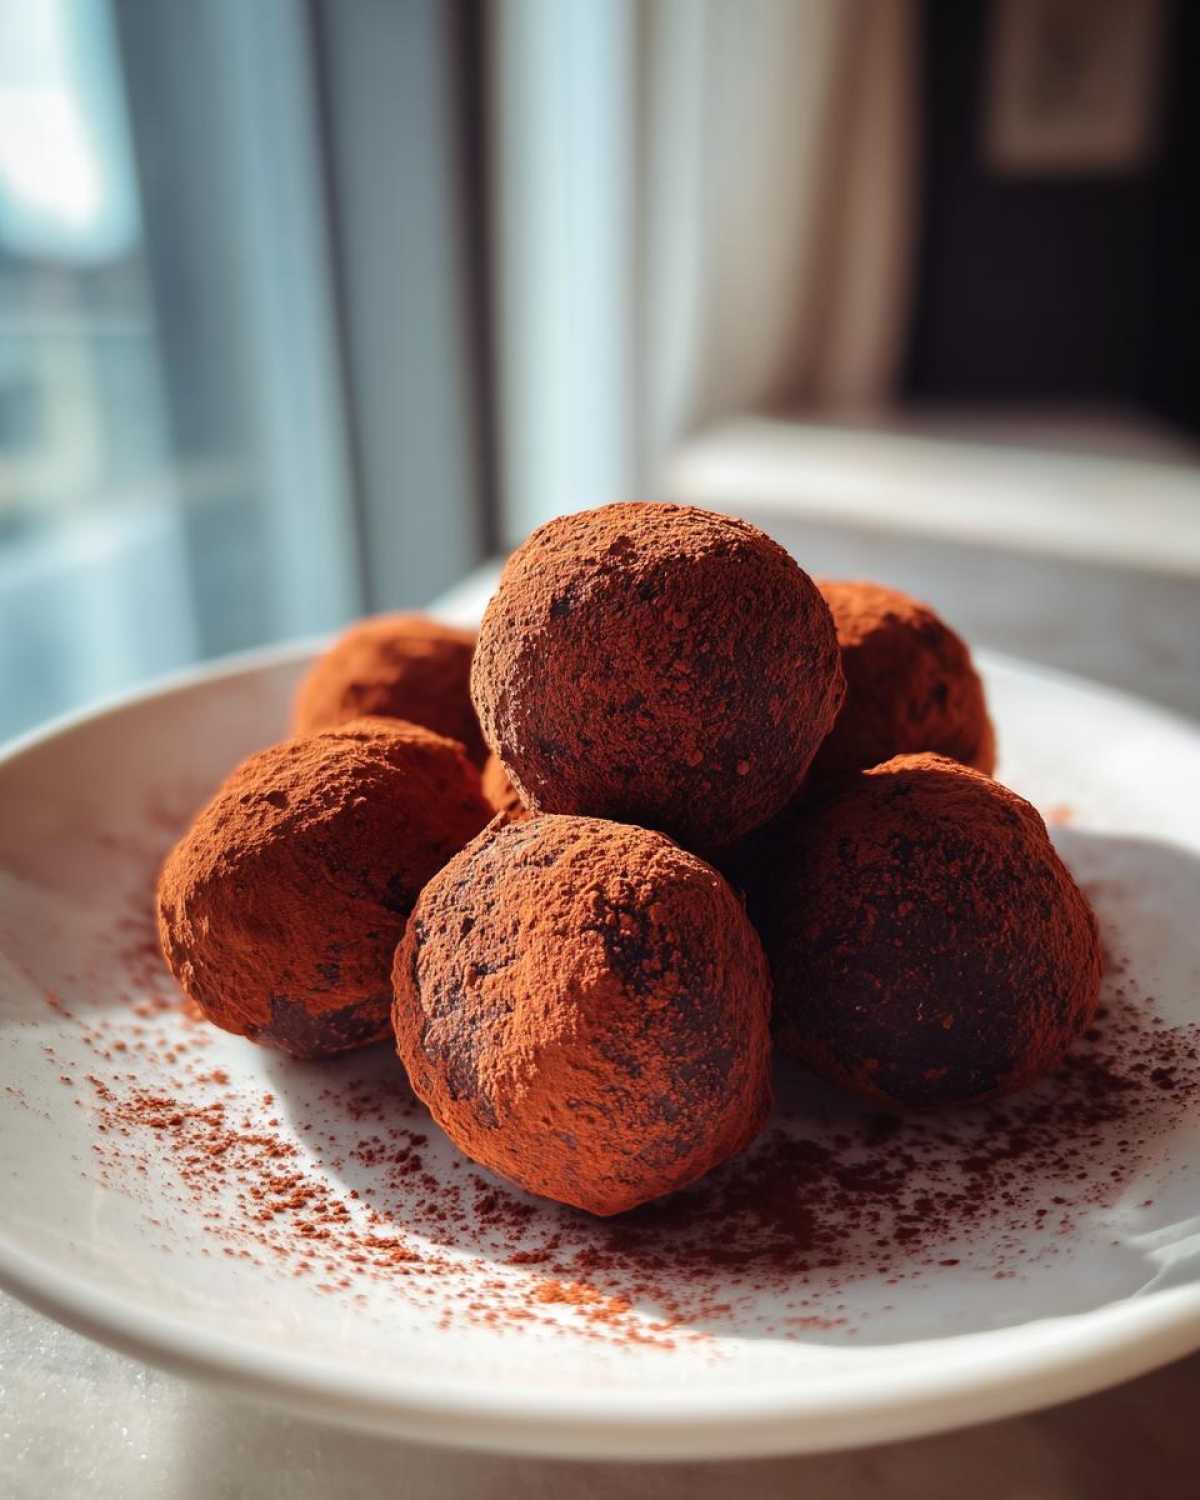
Mastering the Binding Ratios for Chocolate Peanut Butter Protein Balls
Getting the right texture is where many people stumble.
It’s all about the binding ratios here.
We have dry things and sticky things mixing up.
Oats and protein powder soak up liquids fast.
Peanut butter and honey hold everything tight.
That’s why we start with just a little liquid.
I only add water or milk one tablespoon at a time.
You want the dough to just hold when squeezed.
Too much liquid makes these energy bites soupy.
Too little liquid leaves you with dry crumbs.
This flexible addition is your secret weapon.
It lets you adjust for your specific climate too.
Humidity changes how the oats behave, you know.
Troubleshooting Dry or Wet Chocolate Peanut Butter Protein Balls Mixtures
Don’t fret if your first batch seems off.
I’ve certainly had crumbly messes myself.
If your mixture is too dry and won’t stick,
add liquid slowly, just a teaspoon at a time.
Mix well after each small addition.
If the dough feels wet or greasy instead,
it means you added too much liquid, easily fixed.
Just stir in another small spoonful of oats.
Or, use a bit more protein powder to dry it out.
Keep adjusting until it feels firm enough to roll.
That perfect consistency is worth the small effort.
Step-by-Step Instructions for No-Bake Chocolate Peanut Butter Protein Balls
Now we move from theory to action in the kitchen.
These instructions are clear and direct, my friends.
Follow these simple steps for success every time.
We are making these healthy protein snack bites quickly.
It’s time to bring those ingredients together properly.
Combining Dry Elements First
First, grab your large mixing bowl.
Toss in all the dry ingredients now.
This means the rolled oats go in first.
Next, add your protein powder and flaxseed.
Finally, sift in the unsweetened cocoa powder.
Stir these dry components really well together.
We want everything evenly distributed before adding wet stuff.
Integrating Wet Binders and Achieving the Right Consistency
Next, add the peanut butter right on top.
Drizzle in your honey or maple syrup, too.
Don’t forget that teaspoon of vanilla extract.
Start mixing these sticky elements in slowly.
It will look crumbly at the beginning, that’s normal.
Now, add your liquid binder very slowly.
Use water or milk, just one tablespoon at a time.
Keep mixing until the dough holds its shape.
Press a small piece between your fingers to check.
It should form a nice, firm dough ball.
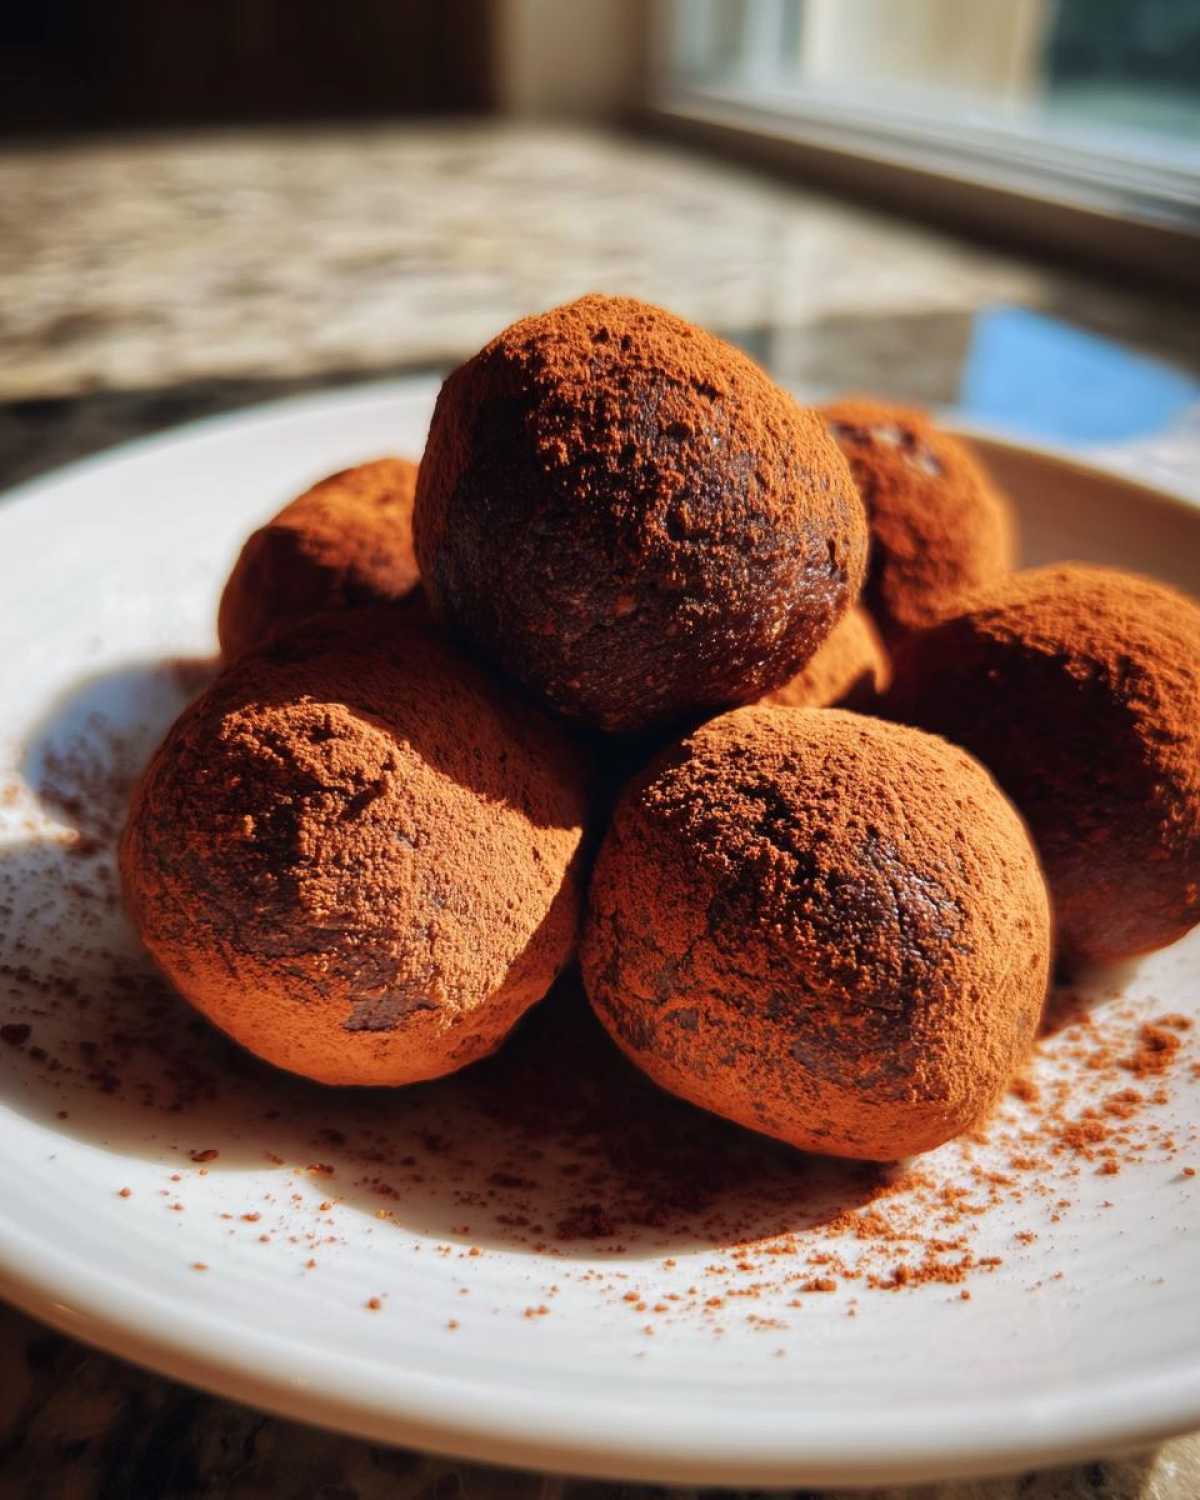
Rolling and Chilling Your Chocolate Peanut Butter Protein Balls
Once you hit that perfect dough consistency,
it’s time to form your little spheres.
Roll the mixture into uniform balls about one inch wide.
I like to use a small cookie scoop sometimes for size.
Place the finished balls onto your lined baking sheet.
This chilling step is non-negotiable, trust me.
Pop the sheet into the refrigerator immediately.
Let them firm up for a minimum of thirty minutes.
This chilling time sets the fats perfectly.
They’ll be much less messy after this rest period.
Tips for Success with Chocolate Peanut Butter Protein Balls
I’ve learned a few tricks over the years.
These small steps make a big difference.
Using room temperature peanut butter helps mixing.
Cold peanut butter makes the dough stiff fast.
Always taste your sweetener before adding it in.
Honey sweetness varies greatly, you see.
If your protein powder is very fine,
you might need less liquid overall.
Pay close attention during the final mix.
Texture Variations for Your Chocolate Peanut Butter Protein Balls
Once the balls are rolled and ready,
you can add a fun outer coating.
This adds visual appeal and texture too.
I sometimes roll mine in shredded coconut.
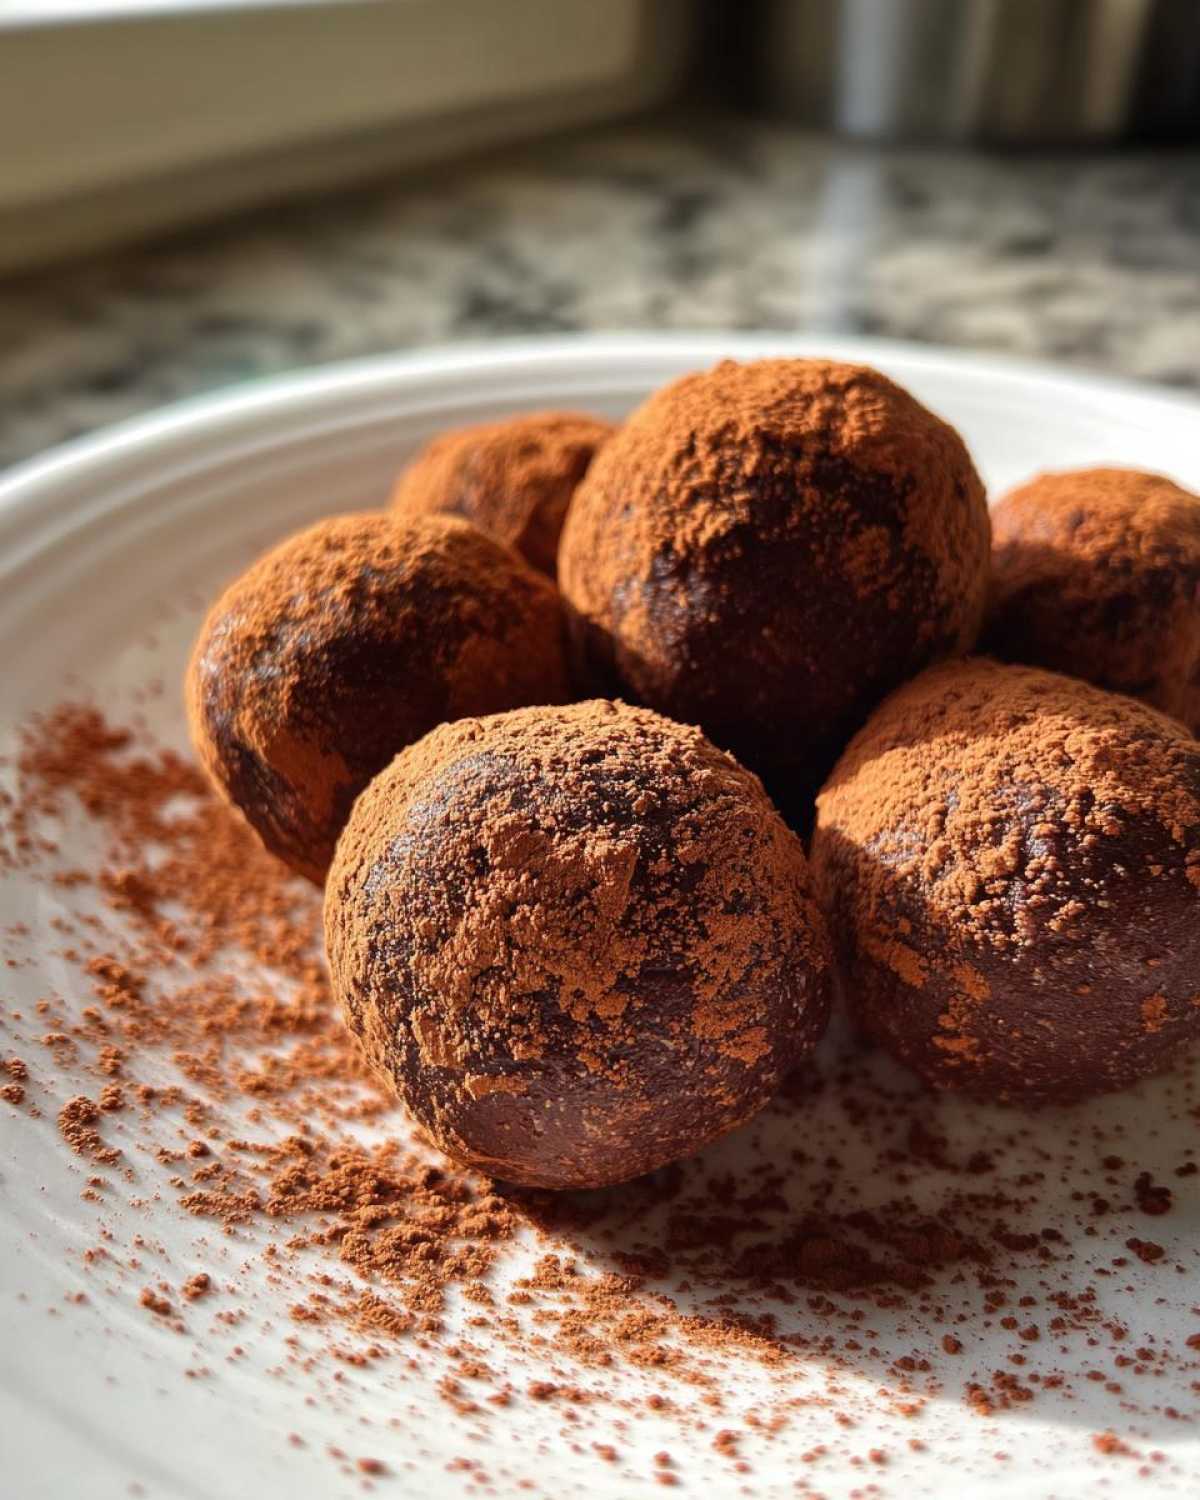
Richard prefers a light dusting of cocoa powder.
It gives them a richer, fudgier look.
Just spread your coating on a small plate.
Gently roll the chilled balls in the topping.
This is best done right before serving them.
Storage and Freshness of Chocolate Peanut Butter Protein Balls
You’ll want to keep these delicious bites fresh.
Since these are no-bake, refrigeration is key.
They certainly don’t need to sit on the counter.
I store mine in an airtight container always.
This keeps the moisture locked in nicely, you see.
They stay wonderfully fresh for about one full week.
Richard and I usually finish them before then anyway.
If you need them to last longer, try the freezer.
Wrap them individually in plastic wrap first.
Then place them in a freezer-safe bag or container.
They will keep well for up to three months frozen.
Just let them thaw on the counter for ten minutes.
They taste just as good as fresh, I promise you.
This makes prepping ahead for busy weeks easy.
Frequently Asked Questions About Chocolate Peanut Butter Protein Balls
You might have a few lingering questions about these bites.
It’s natural when trying a new quick snack recipe.
I’m happy to clear up any confusion I can.
These are meant to be easy healthy protein snack additions.
Ask away about these no-bake energy bites.
Can I substitute the peanut butter in this Chocolate Peanut Butter Protein Balls recipe?
Yes, you absolutely can make swaps here.
Almond butter works beautifully as a direct trade.
Sunflower seed butter is great for nut allergies.
Remember that different butters have different oil levels.
You might need an extra splash of liquid, though.
Taste as you go when making substitutions.
How long do Chocolate Peanut Butter Protein Balls need to chill?
The minimum chilling time is thirty minutes exactly.
This rest period is truly important for texture.
It allows the oats and protein powder to absorb moisture.
Chilling firms up the fat from the peanut butter.
This prevents them from being too sticky to handle.
I highly recommend sticking to that half hour minimum.
Understanding the Nutrition of Your Chocolate Peanut Butter Protein Balls
When we talk about food here, we talk about joy.
But I know many of you track macros closely.
Nutrition facts are always a big question mark.
I want to be very clear about these numbers.
The estimates I provided earlier are just that—estimates.
They are based on standard ingredient brands I use.
The actual content changes with every choice you make.
Did you use crunchy or creamy peanut butter?
What brand of protein powder did you choose?
Your choice of sweetener really affects the sugar count.
So, please treat the nutritional data as a guide only.
If you need precise counts for dietary reasons,
I suggest inputting your exact ingredients into a tracker.
This recipe is designed for a satisfying energy boost.
It’s packed with good protein and fiber content.
That’s what matters most to me in a healthy protein snack.
Enjoy the taste, and use the numbers loosely.
Share Your Delish Diarist Moments
Now the kitchen is your studio, my friend.
I’ve shared our memory; it’s time for yours.
Have you tried making these Chocolate Peanut Butter Protein Balls?
Tell me how they turned out for you.
Did you add a special twist to the recipe?
I love hearing about your kitchen adventures.
Did the binding ratios work perfectly for your dough?
It’s always fascinating to see the variations.
Please leave a star rating below for us.
A simple comment means the world to Richard and me.
We read every single one of your notes.
Sharing your success helps our little diary grow.
Send us a picture if you feel like it.
Let’s keep these delicious memories coming.
Happy tasting and happy writing to you all.
PrintAmazing 1 Binding Ratio for Chocolate Peanut Butter Protein Balls
These Chocolate Peanut Butter Protein Balls are a quick, no-bake snack packed with flavor. They offer a satisfying energy boost perfect for a healthy treat. We developed this recipe to capture that comforting, familiar taste while keeping things nourishing.
- Prep Time: 15 minutes
- Cook Time: 0 minutes
- Total Time: 45 minutes (includes chilling)
- Yield: About 18-20 balls
- Category: Snack
- Method: No-Bake
- Cuisine: American
- Diet: Vegetarian
Ingredients
- 1 cup rolled oats
- 1/2 cup peanut butter (creamy or crunchy)
- 1/2 cup protein powder (vanilla or chocolate recommended)
- 1/4 cup ground flaxseed or chia seeds
- 1/4 cup cocoa powder (unsweetened)
- 1/4 cup honey or maple syrup (adjust to taste)
- 1 teaspoon vanilla extract
- 1-3 tablespoons water or milk (as needed for binding)
Instructions
- Place all dry ingredients (oats, protein powder, flaxseed, cocoa powder) into a large mixing bowl. Stir them together well.
- Add the peanut butter, honey or maple syrup, and vanilla extract to the dry mixture.
- Begin mixing with a sturdy spoon or your hands. The mixture will seem crumbly at first.
- Add water or milk one tablespoon at a time. Mix until the dough holds together when pressed. You want a firm, rollable consistency.
- Roll the mixture into small, uniform balls, about 1 inch in diameter.
- Place the finished balls on a baking sheet lined with parchment paper.
- Refrigerate the balls for at least 30 minutes before serving. Store leftovers in an airtight container in the refrigerator.
Notes
- If the mixture is too dry, add a tiny bit more liquid. If it is too wet, add a spoonful more protein powder or oats.
- For an extra textural element, you can roll the finished balls in shredded coconut or extra cocoa powder.
- These balls stay fresh in the refrigerator for up to one week.
Nutrition
- Serving Size: 2 balls
- Calories: Approx. 150-180
- Sugar: Varies based on sweetener
- Sodium: Moderate
- Fat: Good source of healthy fats
- Saturated Fat: Low to moderate
- Unsaturated Fat: High
- Trans Fat: Negligible
- Carbohydrates: Moderate
- Fiber: Good source
- Protein: High
- Cholesterol: Low