

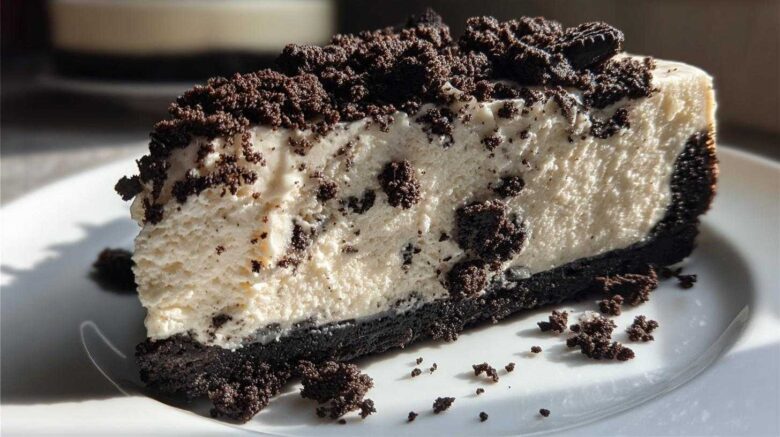
Creating Your Perfect No Bake Oreo Cheesecake
Oh, friends, do I have a treat for you today. Some days you just crave that classic, creamy indulgence. But turning on the oven? Not today. Not ever, if I can help it!
This recipe for No Bake Oreo Cheesecake is pure magic. It’s rich, it’s decadent, and it requires zero baking skills. That’s right, no oven heat needed at all. I love how simple this chilled dessert is to pull together.
It captures all the familiar comfort of a baked version. We’re going straight for that deep chocolate crunch and cool filling. Get ready to impress everyone easily.
Why This No Bake Oreo Cheesecake Recipe Stands Out
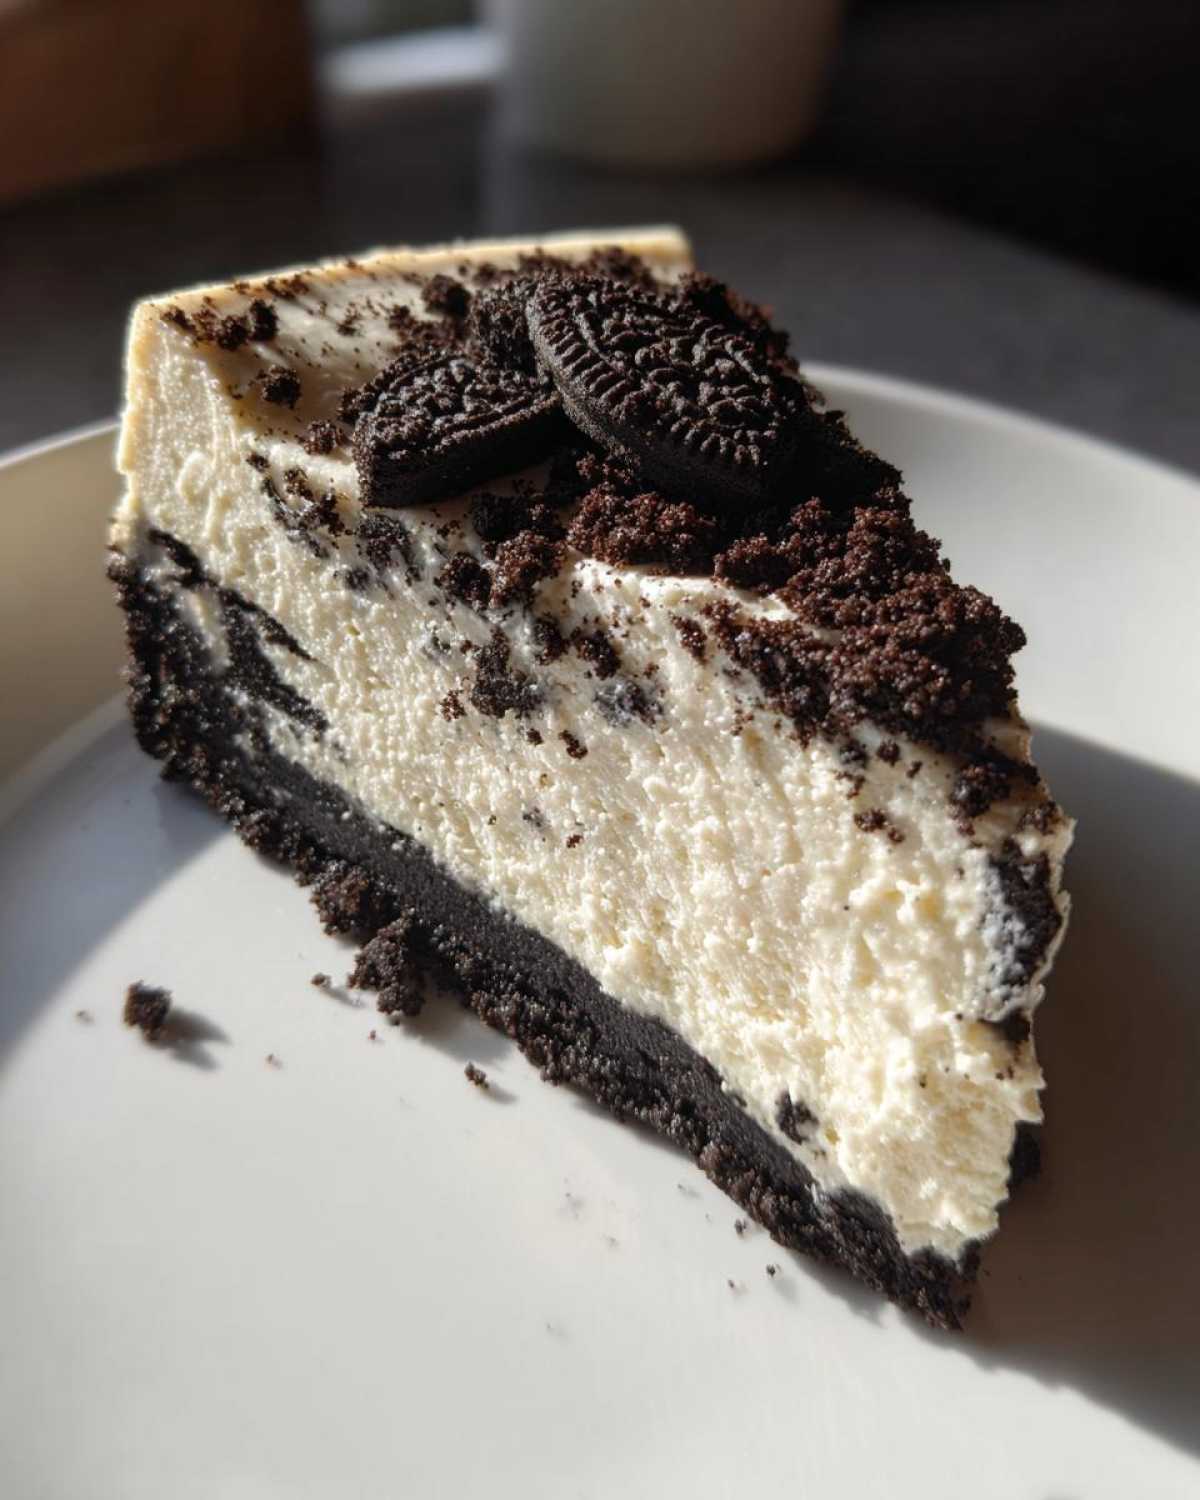
What makes this recipe special? Honestly, it’s the effort to reward ratio. You spend twenty minutes prepping. Then, time does the heavy lifting in the fridge. That’s my kind of cooking these days.
We get that signature dark cookie flavor in the base. The filling is light yet incredibly satisfying. This No Bake Oreo Cheesecake is my go-to when I need a showstopper fast. It just tastes like home, minus the fuss.
Meet the Diarists: Our Kitchen Story
Richard and I have collected flavors for decades. We ate everywhere our travels took us. We promised to taste like the locals always did.
Now home, our kitchen is where those memories live. Richard remembers the subtle tastes. I try to recreate them here for you. This dessert diary entry is a taste of our life.
We share these recipes from our heart to yours. We hope you taste the adventure in every bite we make.
Gathering Ingredients for Your No Bake Oreo Cheesecake
Alright, let’s talk supplies. Getting the right components is half the battle won. For a truly spectacular No Bake Oreo Cheesecake, quality matters, doesn’t it?
Don’t worry; the list isn’t long or scary. Richard always says simple ingredients let the main flavors shine through best. We need just a few things.
Gather these items from your pantry and fridge. Soon, you’ll have that dreamy, chilled dessert ready for setting.
Crust Components: Setting the Foundation
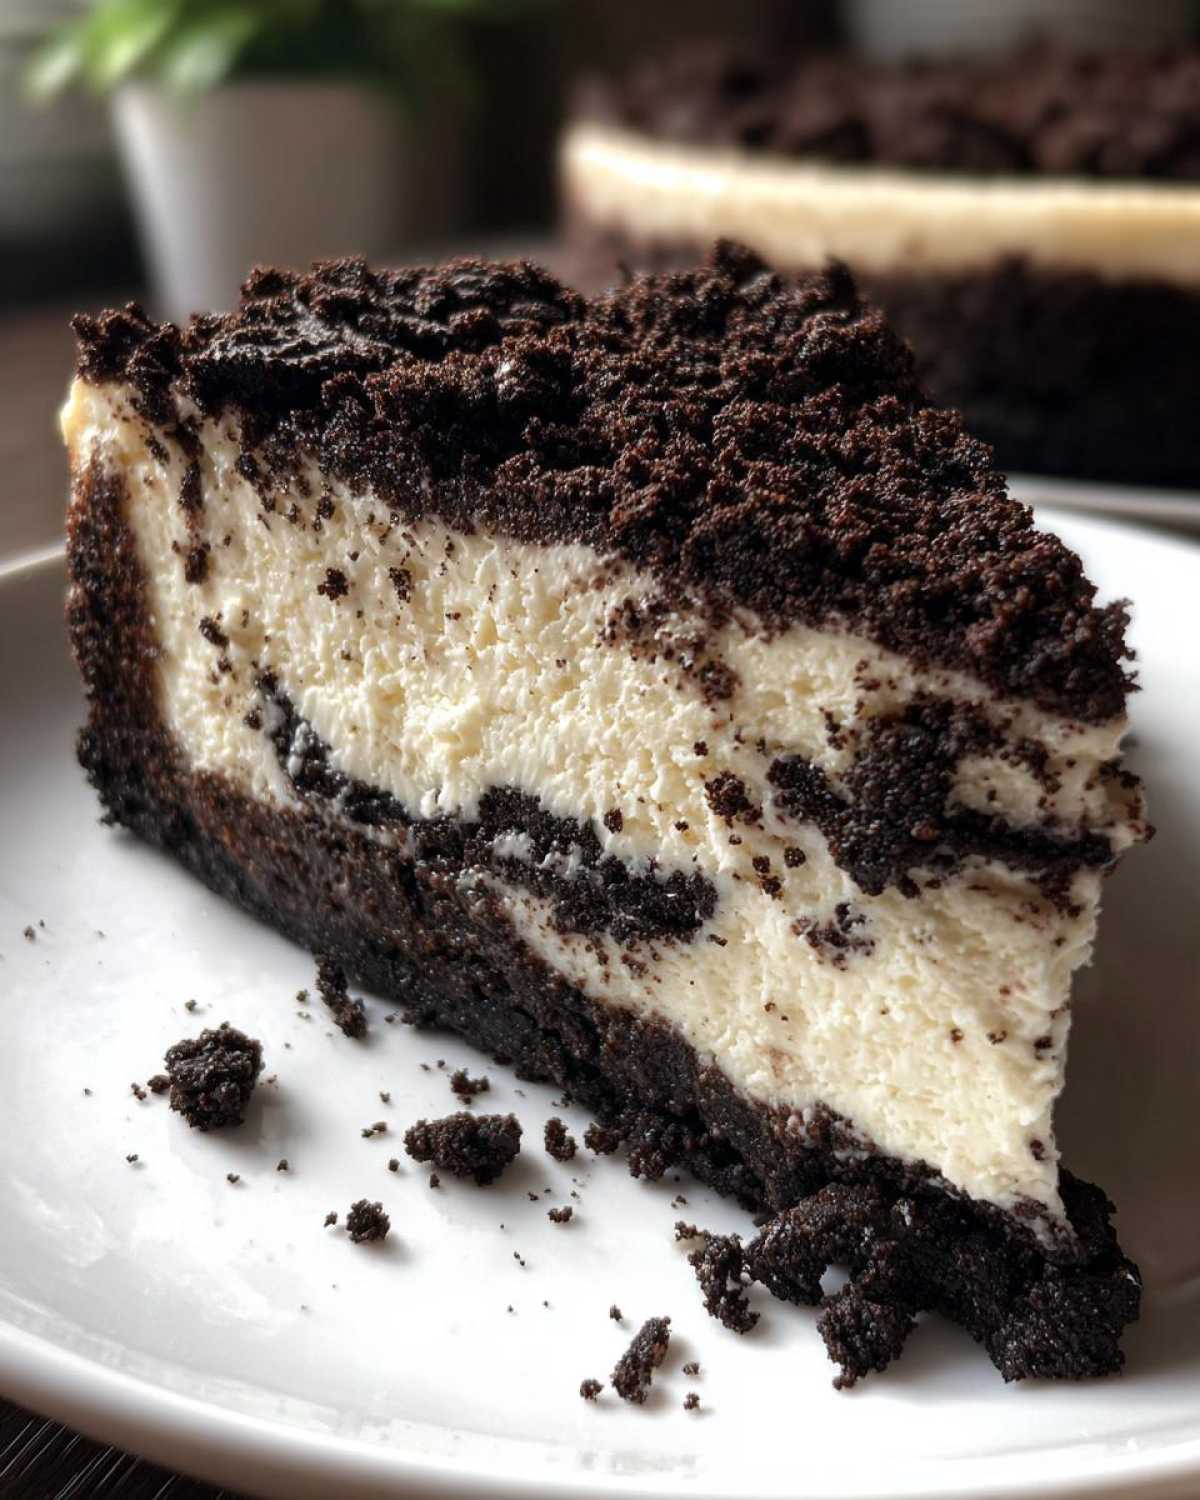
The foundation sets the stage for everything else. We need about thirty cookies crushed finely for this part.
Use one and a half cups of those fine Oreo cookie crumbs. Mix them well with a quarter cup of melted butter. This binds everything up nicely.
Press this buttery mix firmly into your 9-inch springform pan. Make sure it’s packed tight for a good base.
The Creamy Filling Essentials
Now for the cool, luscious heart of the dessert. You’ll need two full 8-ounce packages of cream cheese. Make sure it’s softened up nicely first.
We use a full cup of regular granulated sugar here. Then, one teaspoon of pure vanilla extract adds warmth. Don’t forget your cold heavy whipping cream. It needs powdered sugar too.
These elements combine to make the filling incredibly light and airy. That’s the secret to a great no-bake texture!
Essential Equipment for Your No Bake Oreo Cheesecake
Choosing the right tools makes all the difference. Even without baking, we need some specific gear. This helps you achieve that professional, clean slice later on.
Richard insists that the right pan is non-negotiable for this dessert. It gives us such clean presentation.
Let’s look at what you need nearby before you start mixing things up.
- A good 9-inch springform pan is a must-have. It lets the sides release easily.
- You will need a stand or hand mixer for the filling. This whips air into the cream.
- Two large mixing bowls are helpful for keeping things separate. One for the base, one for the filling.
- A rubber spatula is perfect for folding gently later on.
Using a sturdy spatula prevents you from deflating your whipped cream. That airiness is what makes this dessert so light. Trust me on the mixer; hand-beating that cream takes forever!
Step-by-Step Instructions for Your No Bake Oreo Cheesecake
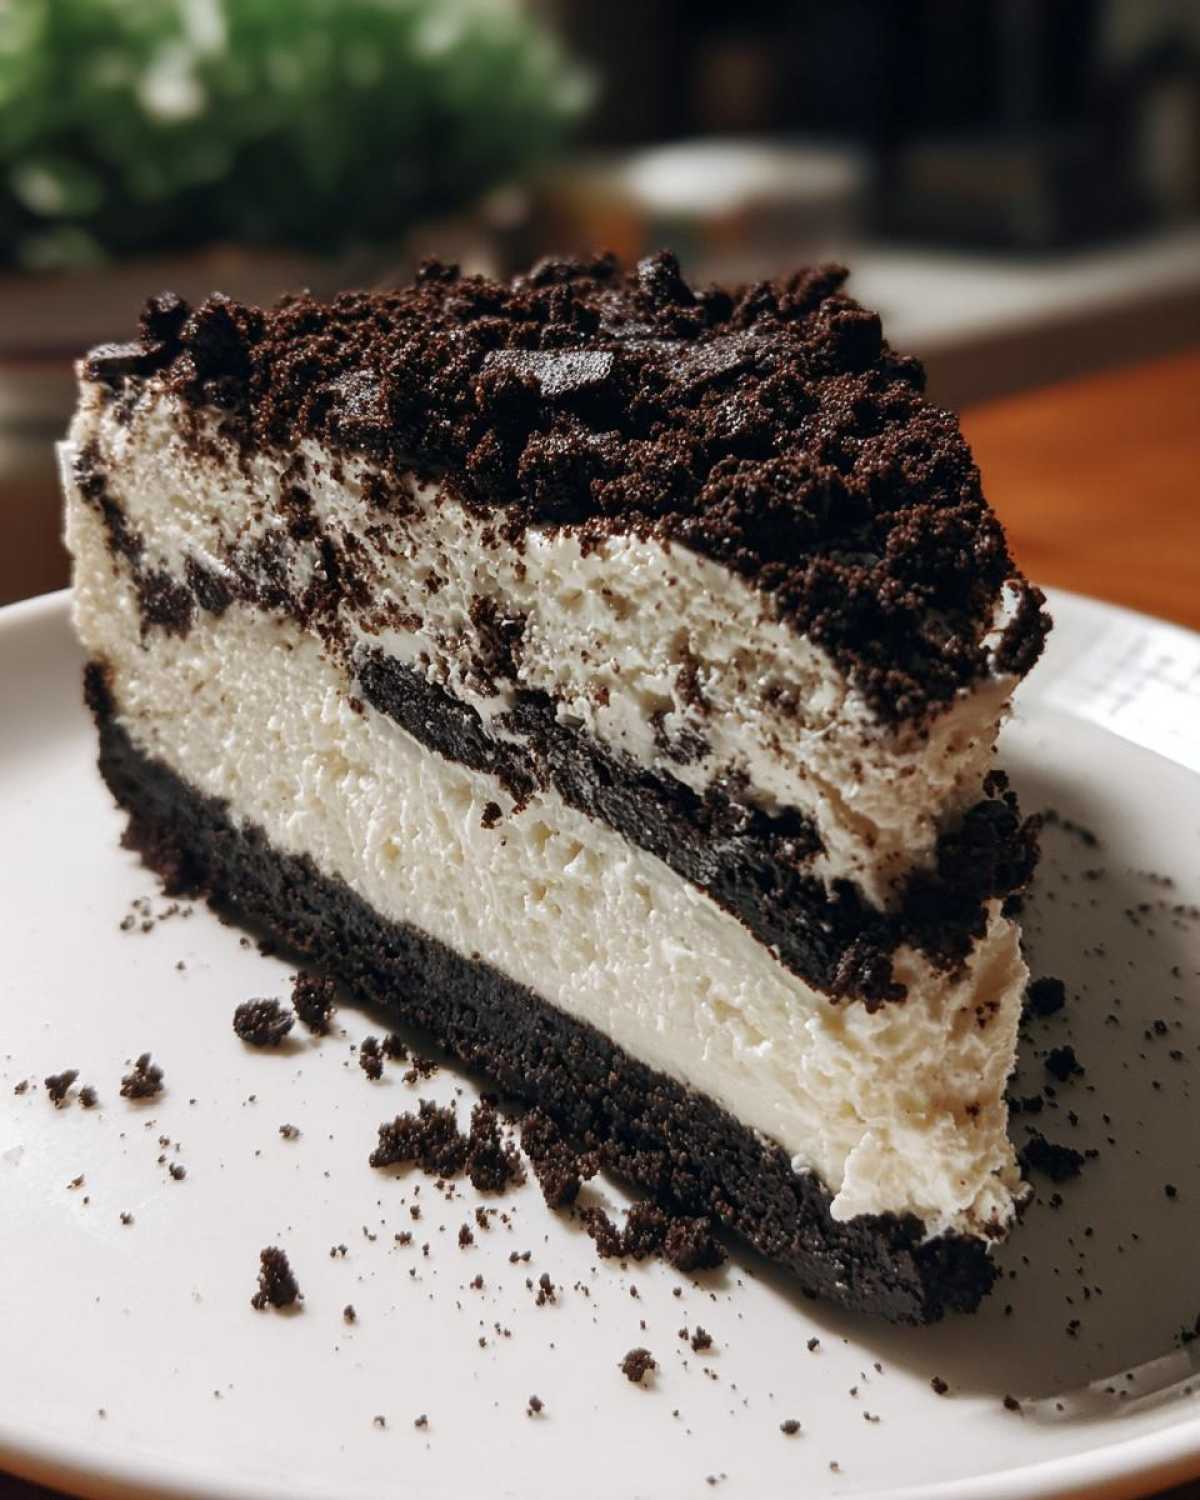
Now for the fun part, putting it all together! This is where your patience pays off later. Follow these steps closely for success.
Making this No Bake Oreo Cheesecake is simple. But a few small details really matter here. We want that perfect, creamy texture.
Preparing the Oreo Crust Base
First, grab your cookie crumbs and the melted butter. Mix them until they look like wet sand. This mix needs to hold together well.
Press this mixture firmly into your springform pan bottom. Use the back of a measuring cup for even pressure. You want a solid base layer.
Cover the pan now. Put the crust in the refrigerator to chill. This takes about ten minutes while you work on the filling.
Mixing the Smooth Cream Cheese Filling
Take your softened cream cheese now. Beat it in a large bowl until it’s very smooth. No lumps allowed here, please!
Next, add the granulated sugar and vanilla extract. Beat these in briefly. Stop mixing as soon as everything is combined. Overbeating adds too much air too soon.
Creating Stiff Peaks with Whipped Cream
This step is crucial for lightness. Use a separate, cold bowl for the cream. Whip the cold heavy cream fast. Add the powdered sugar slowly.
Keep whipping until stiff peaks form. When you lift the whisk, the peaks should stand straight up. This means you have incorporated enough air.
Folding and Setting the No Bake Oreo Cheesecake
Now, gently fold that whipped cream into the cheese mixture. Use a spatula slowly. Cut down the middle and fold over. Do this until just combined.
Spread this light filling over your chilled crust evenly. Cover the top loosely with plastic wrap. Remember, chilling time is key here.
Refrigerate for at least six hours. Overnight is even better for a super firm slice. This setting time is non-negotiable for texture!
Tips for a Perfect No Bake Oreo Cheesecake Texture
Even though this recipe skips the oven, we still have texture goals! I learned long ago that chilling time is the secret weapon. Don’t rush this part, ever.
The final slice depends on patience and good quality dairy. Let’s talk about how to guarantee that creamy, firm result every single time.
We want a slice that holds its shape beautifully. This is how we achieve that with our No Bake Oreo Cheesecake.
Addressing Texture: The Importance of Chilling
Seriously, folks, chilling time is non-negotiable here. If you try to cut it early, it just melts away sadly. The refrigerator needs time to work its magic.
Six hours is the absolute minimum we need. I always aim for overnight if I can manage it. This ensures a truly firm slice for serving.
It lets the fats firm up slowly. This gives you that satisfying, clean cut you dream about.
Ingredient Substitutions and Additions
For the best structure, always use full-fat cream cheese. Lower fat versions just won’t set right for me.
If you live somewhere very warm, listen up. You can add gelatin for extra insurance. Dissolve one teaspoon of unflavored gelatin in hot water.
Stir that gelatin into the cream cheese mixture before folding in the whipped cream. It provides an extra layer of stability. This is a pro tip for a guaranteed set!
Frequently Asked Questions About Your No Bake Oreo Cheesecake
I know you have questions swirling in your head. That’s okay! Cooking should feel fun, not scary. I’ve gathered a few common worries about making this dessert.
Most questions revolve around structure and storage. That is totally normal for a chilled dessert like this. Here are the answers for your No Bake Oreo Cheesecake.
How Long Must the No Bake Oreo Cheesecake Chill?
This is the most common question I get! You must chill it for at least six hours. That is the bare minimum time needed.
If you can wait, overnight is much better. Overnight chilling gives the firmest, cleanest slice. Please plan ahead for best results.
Can I Use Different Cookies for the Crust?
You sure can experiment with the crust! That’s the fun of home cooking. Feel free to swap Oreos for brownies or cookies.
You might use vanilla wafers too. Just keep the total crumb amount the same. Adjust the butter slightly if needed.
Serving Suggestions for Your Chilled Dessert
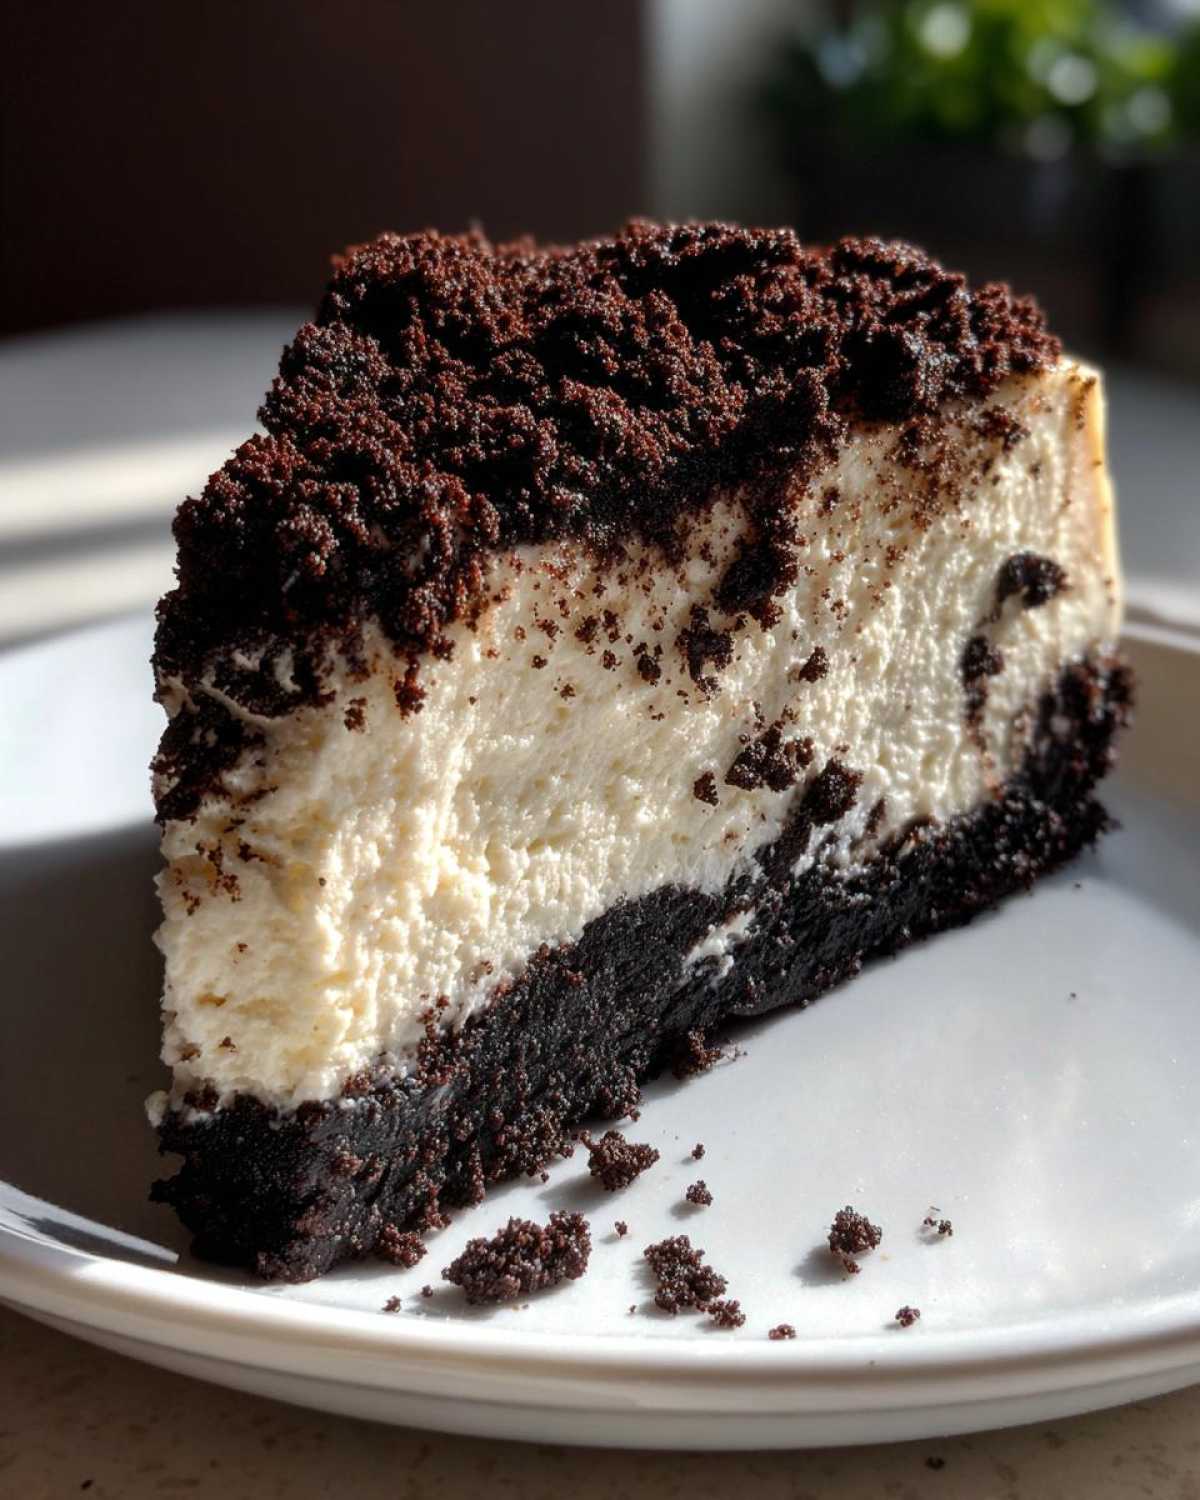
Once your beautiful No Bake Oreo Cheesecake is set, it’s time to decorate! Keep toppings simple. We want them to complement, not overpower, that rich flavor.
I always love the contrast of fresh fruit. Bright red raspberries look stunning against the dark base. They cut through the richness perfectly.
A light dusting of unsweetened cocoa powder is elegant too. Or, use those extra crushed Oreos on top. Enjoy this incredible chilled dessert!
Storing Leftover No Bake Oreo Cheesecake
What if you don’t finish the whole thing? Good news! Leftovers keep well. Storing this dessert correctly maintains its lovely texture.
We want to protect that creamy filling from drying out. Plastic wrap is your best friend here. Keep it away from strong odors too.
Refrigeration is the only way to keep this dessert fresh. Never leave it out at room temperature for long.
- Cover the springform pan tightly with plastic wrap. Do this before slicing if possible.
- If already sliced, place pieces on a plate. Cover them individually with wrap.
- Store the cheesecake in the refrigerator for up to four days.
- Make sure the fridge temperature is set correctly. Cold keeps it firm.
If you used the gelatin trick, it might last a little longer. But honestly, it never lasts past day three here! It’s just too tempting to eat.
Sharing Your Delish Diarist Creation
Well, that’s our story for this one. I hope you loved making this treat.
Did your No Bake Oreo Cheesecake set perfectly for you? I truly hope so!
Come back and tell Richard and me how it went. A rating tells us so much.
We love seeing your kitchen adventures unfold. Happy tasting, dear friends!
PrintAmazing No Bake Oreo Cheesecake: 6 Hours Set
Create a creamy, rich No Bake Oreo Cheesecake easily. This recipe lets you capture that classic flavor without turning on your oven. Remember, chilling time is key for the perfect slice.
- Prep Time: 20 minutes
- Cook Time: 0 minutes
- Total Time: 6 hours 20 minutes
- Yield: 8-10 servings
- Category: Dessert
- Method: No Bake
- Cuisine: American
- Diet: Vegetarian
Ingredients
- 1 1/2 cups Oreo cookie crumbs (about 30 cookies)
- 1/4 cup unsalted butter, melted
- 2 (8 ounce) packages cream cheese, softened
- 1 cup granulated sugar
- 1 teaspoon vanilla extract
- 1 1/2 cups heavy whipping cream, cold
- 1/2 cup powdered sugar
- 1 cup crushed Oreo cookies, for topping
Instructions
- Mix Oreo cookie crumbs and melted butter thoroughly. Press the mixture firmly into the bottom of a 9-inch springform pan. Chill the crust while you prepare the filling.
- In a large bowl, beat the softened cream cheese until smooth. Add the granulated sugar and vanilla extract. Beat until just combined.
- In a separate chilled bowl, whip the cold heavy whipping cream and powdered sugar until stiff peaks form.
- Gently fold the whipped cream mixture into the cream cheese mixture until no streaks remain. Do not overmix.
- Spread the cheesecake filling evenly over the chilled crust.
- Cover the cheesecake loosely with plastic wrap. Refrigerate for at least 6 hours, or preferably overnight, to allow it to set completely.
- Before serving, sprinkle the top with crushed Oreo cookies. Release the springform side carefully.
Notes
- Chilling time is non-negotiable for a firm texture. Plan ahead.
- Use full-fat cream cheese for the best structure.
- If you prefer a firmer set, you can add one teaspoon of unflavored gelatin dissolved in 1/4 cup hot water to the cream cheese mixture before folding in the whipped cream.
Nutrition
- Serving Size: 1 slice
- Calories: 450
- Sugar: 30g
- Sodium: 250mg
- Fat: 30g
- Saturated Fat: 18g
- Unsaturated Fat: 12g
- Trans Fat: 0.5g
- Carbohydrates: 40g
- Fiber: 1g
- Protein: 6g
- Cholesterol: 95mg