

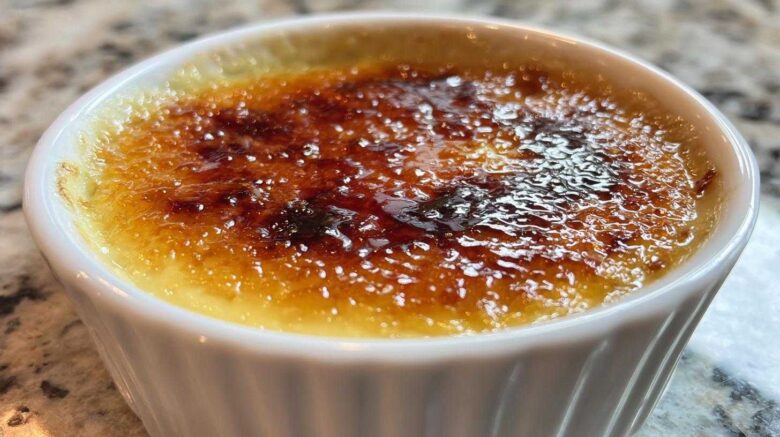
Recreating Parisian Perfection: Our Classic Crème Brûlée Recipe
No heading needs to be written for the introduction.
Richard and I tasted the best Crème Brûlée ever in Paris. That dessert tasted like pure magic. We tried making it for years afterward. Now, I’m sharing our classic Crème Brûlée recipe with you. This recipe finally nailed the texture we chased. It’s about capturing that moment again.
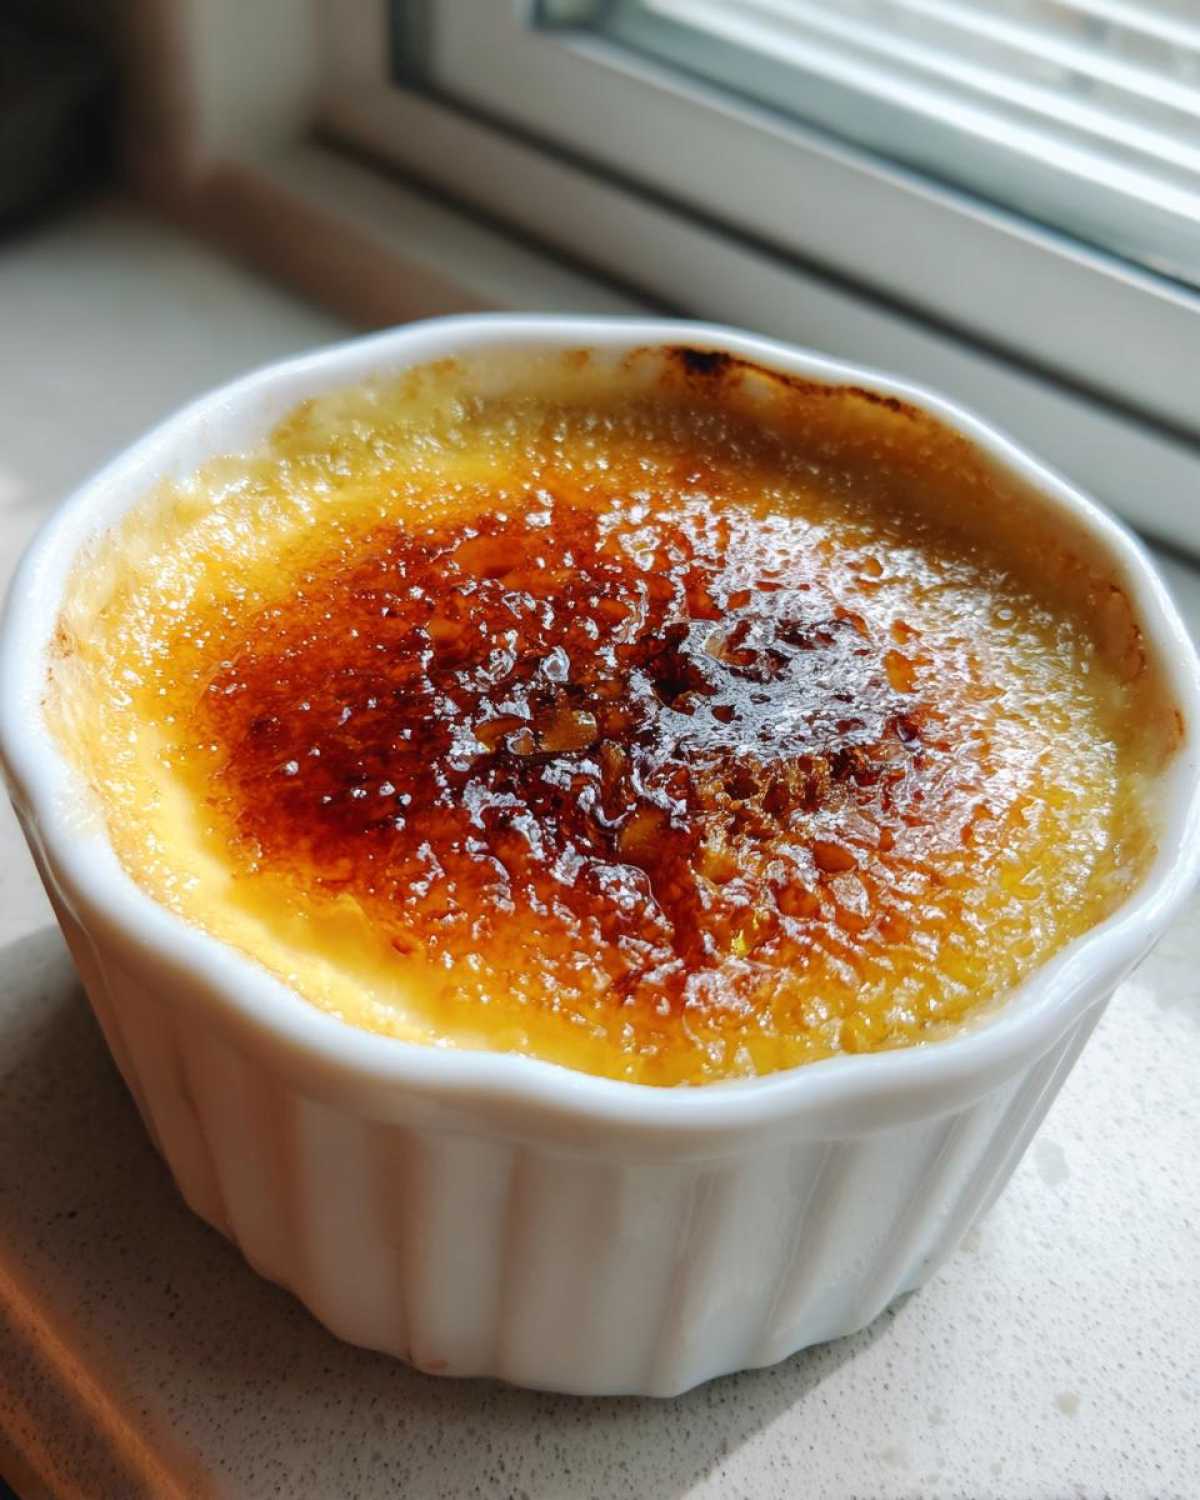
Why This Crème Brûlée Recipe Brings Back Memories
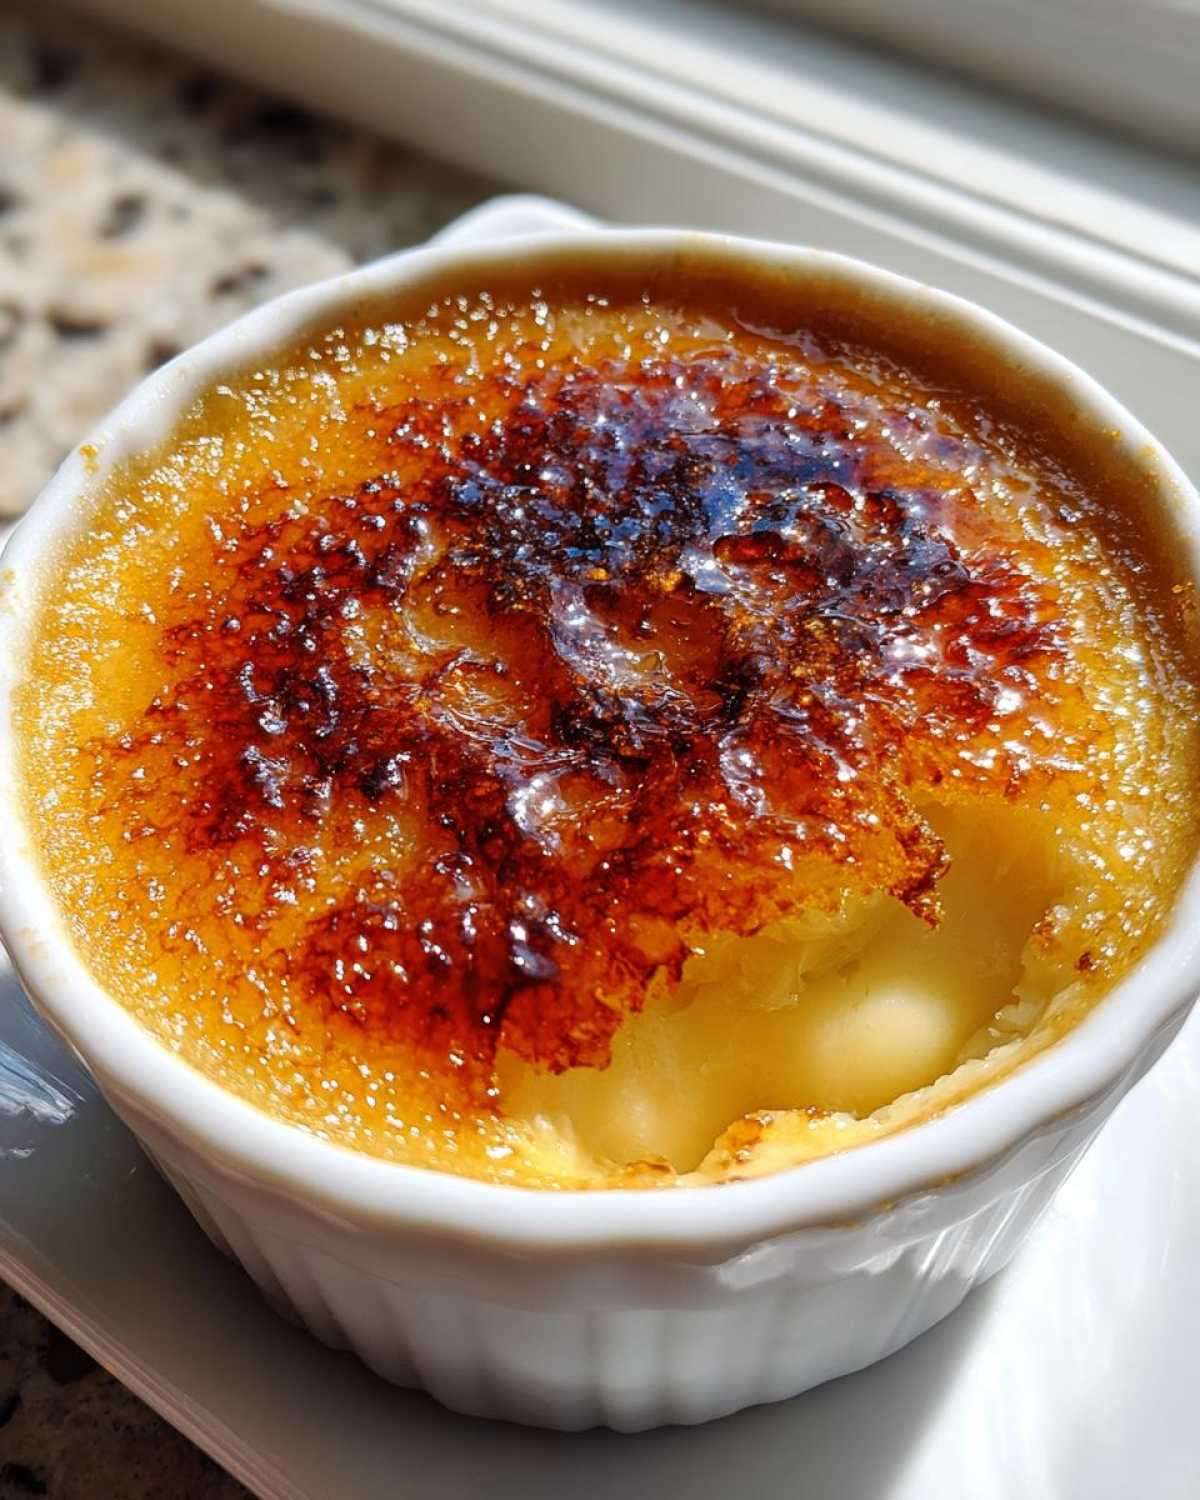
This recipe gives you that silky vanilla custard. The top must have a perfect, glassy crack. Richard always talks about one café. He says the sound of the sugar breaking was musical. That sound means we succeeded. It transports us right back to that little table.
Essential Equipment for Perfect Crème Brûlée
You need a few special things. Grab six small ramekins first. A large roasting pan is also crucial. That pan holds the water bath. And please, have your kitchen torch ready. That torch finishes the dessert beautifully.
Ingredients You Need for Authentic Crème Brûlée
Getting this right starts with good ingredients. We learned that quality really matters here. These few simple items create something truly elegant. Let’s look at what you need for this classic French dessert.
Cream and Dairy Base
You must use 2 cups of heavy cream. This cream is the heart of the custard. It gives the final texture its velvety smoothness. Don’t substitute this part, please.
Sweeteners and Flavorings for Crème Brûlée
We use granulated sugar twice. Half a cup goes into the custard base. More sugar sprinkles on top later. Use one vanilla bean, scraped clean. If you skip the bean, use one teaspoon of vanilla extract. Add extract only after the cream cools a bit.
The Importance of Quality Egg Yolks
We need 6 large egg yolks here. Yolks make the custard rich and thick. Whole eggs make it too light. The yolks give the baked vanilla custard its signature body and color. This step is non-negotiable for richness.
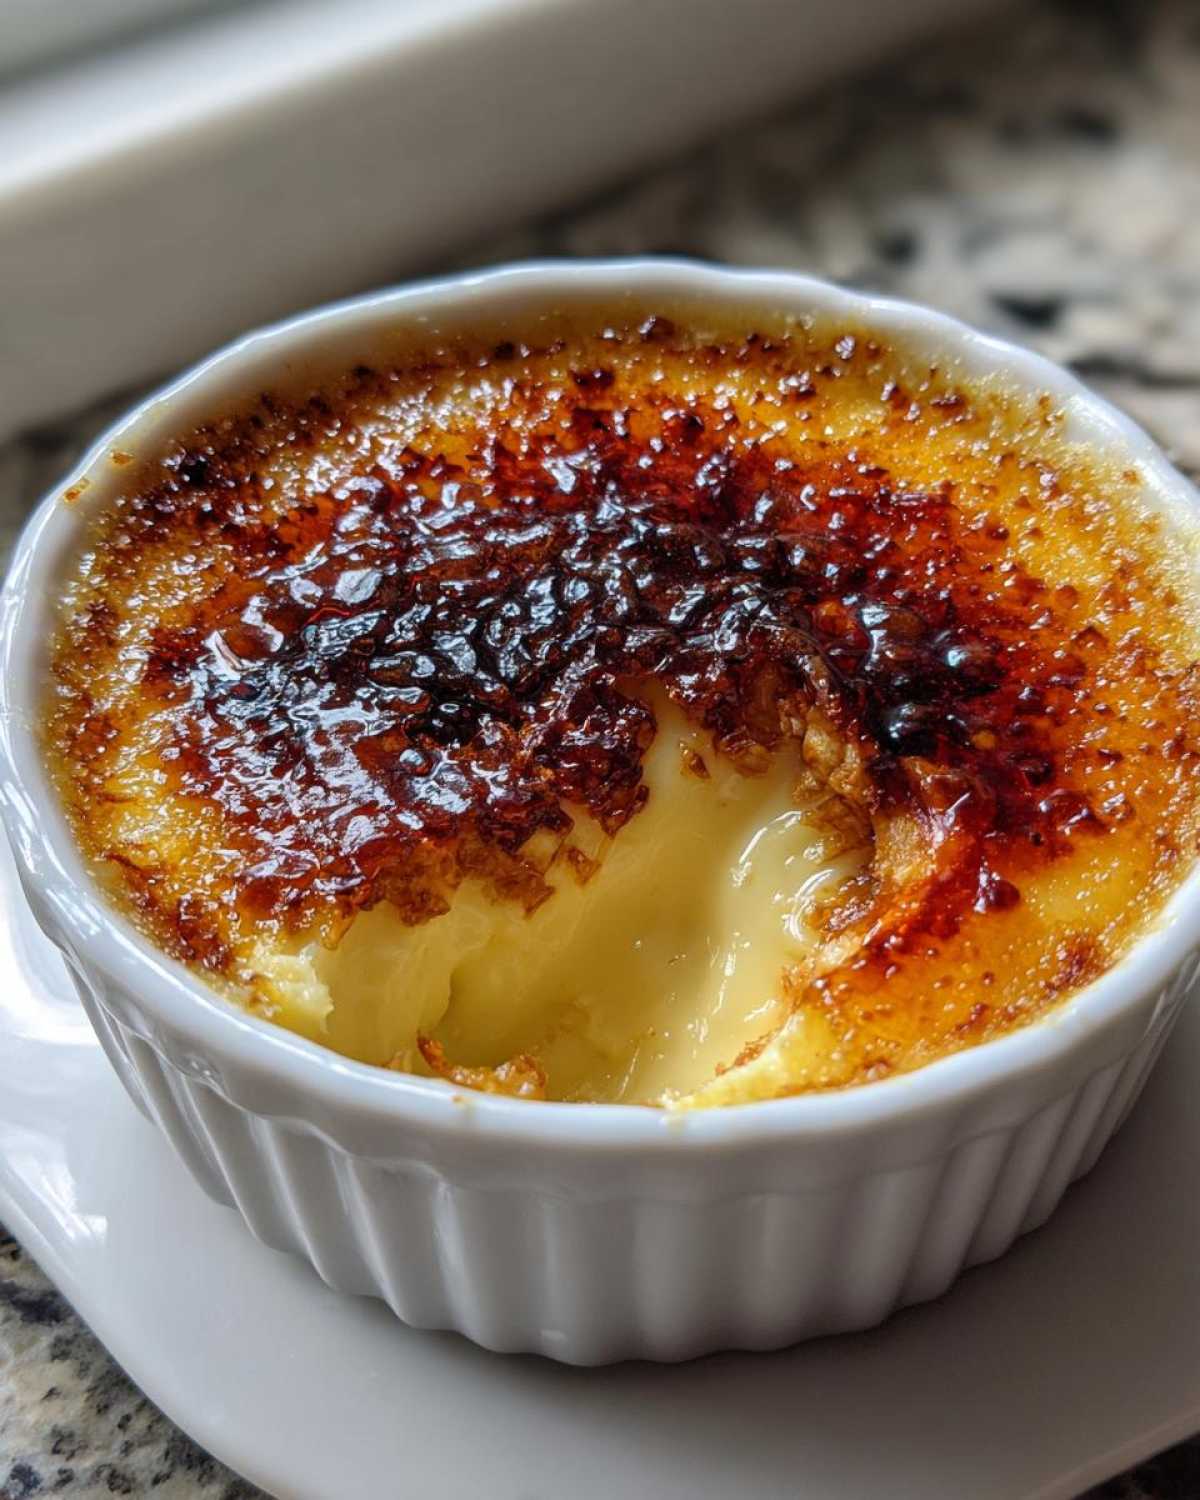
Step-by-Step Instructions for Perfect Crème Brûlée
Let’s get cooking now. Follow these steps closely. We want that perfect, creamy result. Don’t rush the tempering part, seriously. This process takes a little patience. Then your dessert sets up beautifully.
Preparing the Custard Base for Crème Brûlée
First, preheat your oven to 300°F (150°C). Set your six ramekins in the big roasting pan. Heat the heavy cream gently. It should just start to simmer. Whisk your egg yolks and sugar until they look pale and thick. Now comes the important tempering. Slowly drizzle about half a cup of hot cream into your eggs. Whisk constantly while you pour. This stops the eggs from scrambling. Then, pour that tempered mix back into the main cream pot. Stir well. Strain everything through a fine sieve. This makes the final custard super smooth.
Baking Your Crème Brûlée in a Water Bath
Pour the strained custard evenly into the ramekins. Carefully pour hot water into the roasting pan. The water must reach halfway up the sides of the dishes. This water bath is key for even cooking. Bake them for 30 to 35 minutes. You’re looking for set edges. The middle should still have a slight jiggle. Don’t overbake it at all.
Chilling: The Secret to Set Crème Brûlée
Carefully lift the ramekins from the hot water bath. Let them cool on a wire rack first. Then, cover each one tightly. They must chill for at least four hours. Honestly, overnight is much better for the texture. This chilling time is not optional. It sets the final structure of the vanilla custard.
Achieving the Signature Crack: Caramelizing the Crème Brûlée Top
We’ve reached the grand finale now. This step is pure drama, really. It’s what separates good dessert from great dessert. Before you torch anything, make sure your custards are completely cold. They must be straight from the fridge.
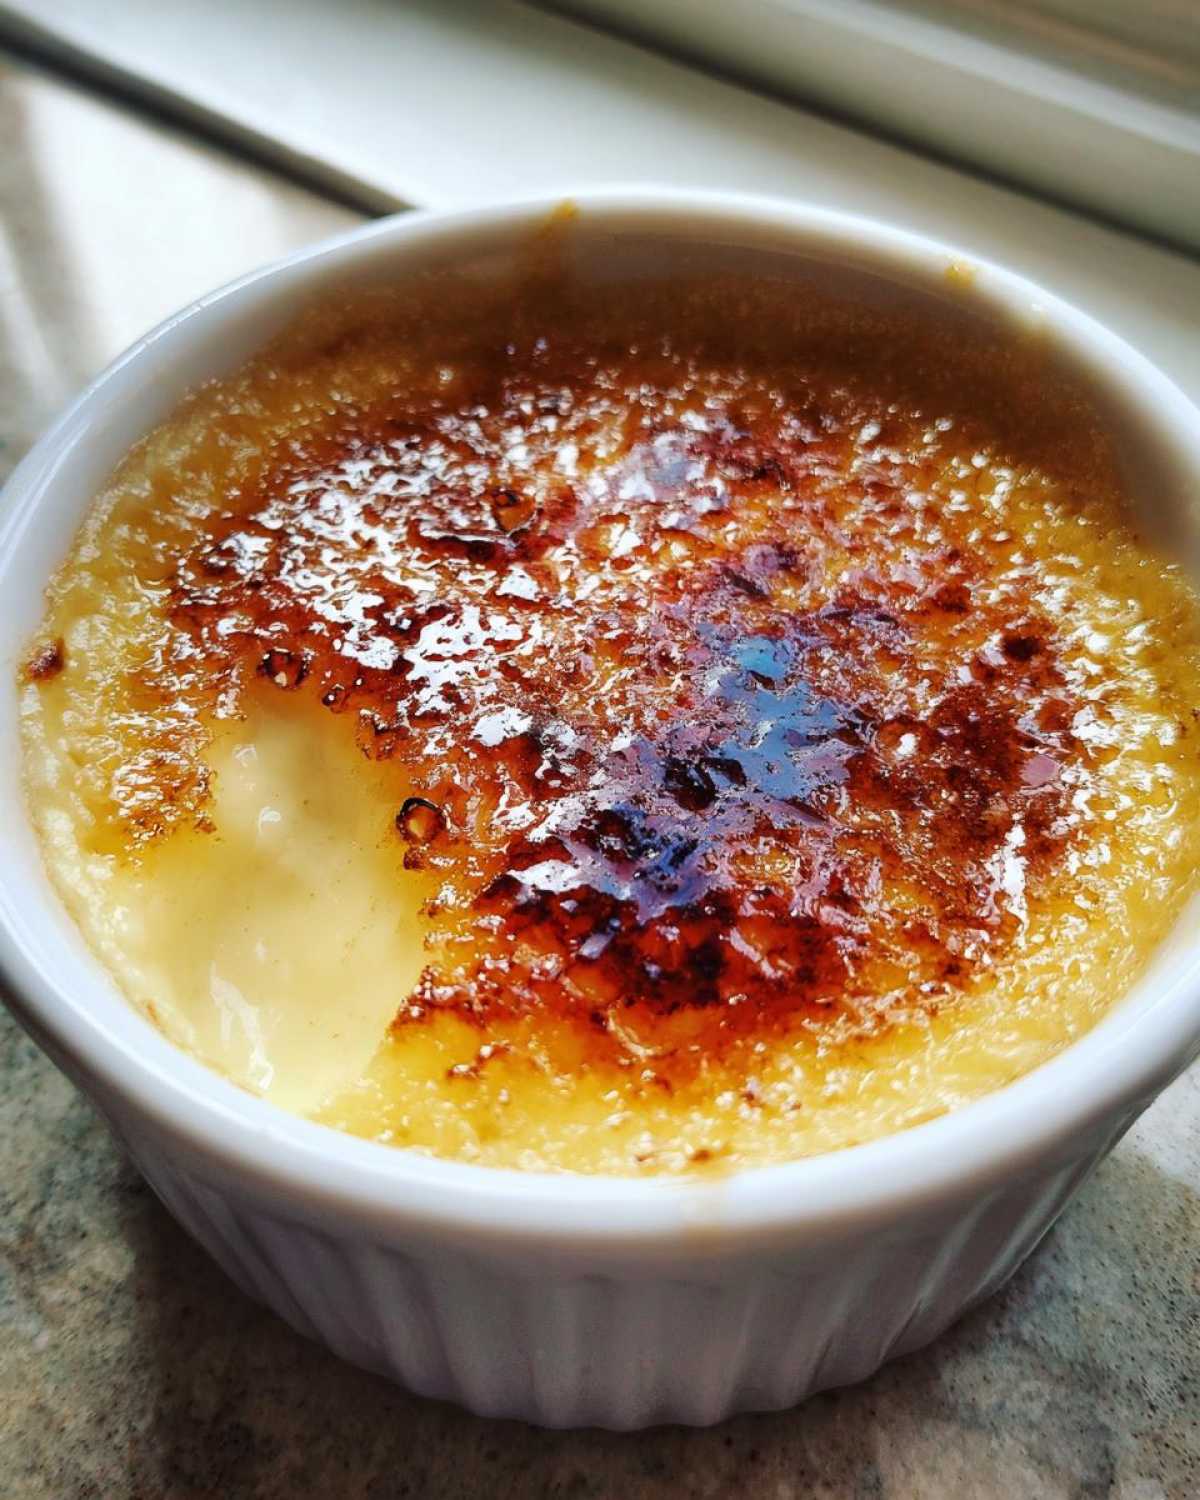
Sprinkle an even layer of sugar right over the top of each chilled custard. I mean thin, even coverage. Too much sugar burns easily. It won’t melt right either. Use the granulated sugar reserved for sprinkling.
Now, grab that kitchen torch. Hold the flame a few inches away. Move it constantly over the sugar surface. Watch the magic happen slowly. The sugar will bubble, then melt. It turns into that beautiful amber color. That’s the glassy crust forming. Serve this immediately. That hot, crisp top against the cold vanilla custard is everything.
Tips for Expert Crème Brûlée Success
I want you to succeed here. We learned a few things over the years. These little tips make all the difference. Richard says they separate the amateurs from the pros. Don’t skip these helpful hints.
A perfect dessert comes from paying attention to details. These pointers help you get that professional finish. They turn a good custard into a great one every time you bake.
Mastering the Water Bath Technique
The water bath, or bain-marie, is absolutely key. It cooks the custard gently. This slow cooking prevents curdling. It gives you that incredibly smooth texture we love. If the water boils too hard, your edges get tough. Keep the oven temperature low, remember?
Achieving an Even Sugar Layer on Your Crème Brûlée
When you sprinkle that final sugar layer, keep it thin. Seriously thin coverage is best. An even dusting matters so much. Thick spots burn before thin spots melt. You want uniformity for that perfect crack.
Quick Answers About Your Crème Brûlée
We know you might have little questions pop up. That’s normal when trying a new recipe. Don’t worry about it one bit. We’ve gathered a few common queries here. These should help you finish strong. We want your experience making this classic French dessert to be wonderful.
These answers focus on texture and timing. Getting the vanilla custard just right takes practice. Here are the things Richard and I often discuss.
Can I Make Crème Brûlée Without a Torch?
This is a frequent question, I know. A kitchen torch gives the best result. It melts the sugar fast. This keeps the custard underneath cold. You can try your oven broiler instead. Watch it very closely, though. Broilers get very hot, very quickly. Move your ramekins to the highest rack position. Watch for the sugar to bubble and brown. It might not give that perfect glassy crack. But it works in a pinch!
How Far Ahead Can I Prepare the Custard?
Plan ahead when making this dessert. The baked custard needs time to set completely. We strongly recommend chilling for at least four hours. Honestly, chilling overnight is always superior. The texture firms up so nicely then. You can prepare the custard base completely the day before. Wait until just before serving to add the sugar. Then, torch it right then. Never torch it early.
Serving Suggestions for Your Crème Brûlée
Now that you have that perfect crack, what goes best with it? This rich vanilla custard needs little help. Keep the sides simple and elegant. We like fresh berries alongside it. Raspberries offer a lovely tart contrast. A light dusting of powdered sugar is nice too. Sometimes a crisp shortbread cookie does the trick.
Storing and Reheating Your Delicious Crème Brûlée
What if you have leftovers? That’s rare here, I admit. Store the chilled custard well. Cover each ramekin tightly with plastic wrap. Keep them in the refrigerator. They last a few days this way. Do not store it with the sugar crust on top. The sugar will get soft and wet.
You must only add that final sugar layer right before serving. Always. When you want to eat a leftover, take it out. Pat the top dry gently with a paper towel. Sprinkle fresh sugar on top. Then, torch it again quickly. That crisp crack returns instantly.
Reader Feedback on Our Crème Brûlée
We poured our hearts into this recipe. Richard’s memory of Paris lives in this dish. Now it’s your turn to try it out! Share your results with us. Did this transport you somewhere special too?
Did you get that perfect, sharp crack? Tell us how it tasted for you. Rate our classic Crème Brûlée below. We love hearing your stories.
Share your results with us. Did this transport you somewhere special too?
PrintAmazing Crème Brûlée: 1 Secret Trick

This is our classic Crème Brûlée recipe, giving you a silky vanilla custard base topped with a perfectly crisp, glassy layer of caramelized sugar. We are sharing this memory of a perfect Parisian dessert with you.
- Prep Time: 15 minutes
- Cook Time: 35 minutes
- Total Time: 4 hours 50 minutes (includes chilling)
- Yield: 6 servings
- Category: Dessert
- Method: Baking and Torching
- Cuisine: French
- Diet: Vegetarian
Ingredients
- 6 large egg yolks
- 1/2 cup granulated sugar, plus extra for sprinkling
- 2 cups heavy cream
- 1 vanilla bean, split and scraped, or 1 teaspoon vanilla extract
- Pinch of salt
Instructions
- Preheat your oven to 300°F (150°C). Place six 6-ounce ramekins in a large roasting pan.
- In a medium saucepan, heat the heavy cream and the scraped vanilla bean seeds (and the pod, if using) over medium heat until it just simmers. Remove from heat. If using extract, wait until step 4.
- In a bowl, whisk the egg yolks and 1/2 cup sugar until pale and thick. Remove the vanilla pod from the cream.
- Slowly whisk about a half cup of the hot cream into the egg mixture to temper it. Then, slowly whisk the tempered egg mixture back into the remaining cream. Stir in the vanilla extract now if you are using it. Strain the custard mixture through a fine-mesh sieve into a large bowl or measuring cup.
- Pour the custard evenly into the prepared ramekins.
- Carefully pour hot water into the roasting pan until the water reaches halfway up the sides of the ramekins.
- Bake for 30 to 35 minutes, or until the edges are set but the centers still jiggle slightly.
- Carefully remove the ramekins from the water bath. Let them cool on a wire rack, then cover and chill in the refrigerator for at least 4 hours, or preferably overnight.
- Before serving, sprinkle an even layer of sugar over the top of each chilled custard.
- Use a kitchen torch to caramelize the sugar until it melts and forms a hard, amber crust. Serve immediately.
Notes
- Using a water bath (bain-marie) is key for a smooth, evenly baked custard.
- Make sure the sugar layer is thin and even for the best crack.
- The torch gives you that authentic, glassy finish Richard remembers from Paris.
Nutrition
- Serving Size: 1 ramekin
- Calories: 350
- Sugar: 25g
- Sodium: 50mg
- Fat: 26g
- Saturated Fat: 16g
- Unsaturated Fat: 10g
- Trans Fat: 1g
- Carbohydrates: 28g
- Fiber: 0g
- Protein: 7g
- Cholesterol: 250mg