

Our kitchen has seen so much.
We’ve cooked up feasts for big family gatherings.
Now, we seek lighter tastes.
Richard missed the richness of red velvet cake.
I wanted that airy lightness we loved.
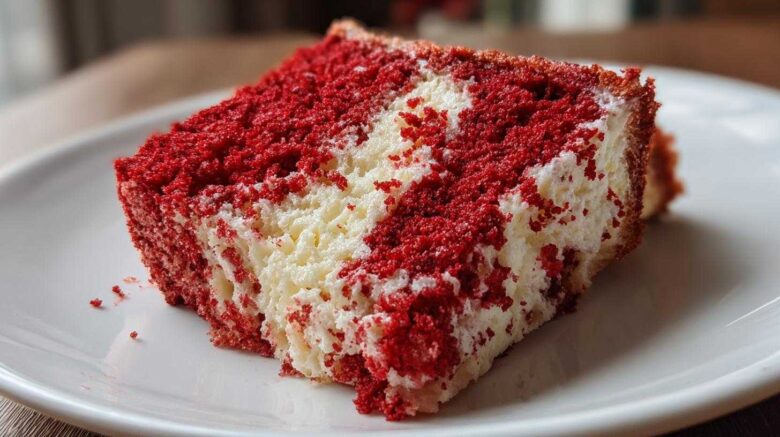
This Red Velvet Angel Food Cake merges both dreams.
It’s truly a guilt-free delight.
Our Journey to the Perfect Red Velvet Angel Food Cake
Our travels gave us big flavors.
We promised to keep those memories alive.
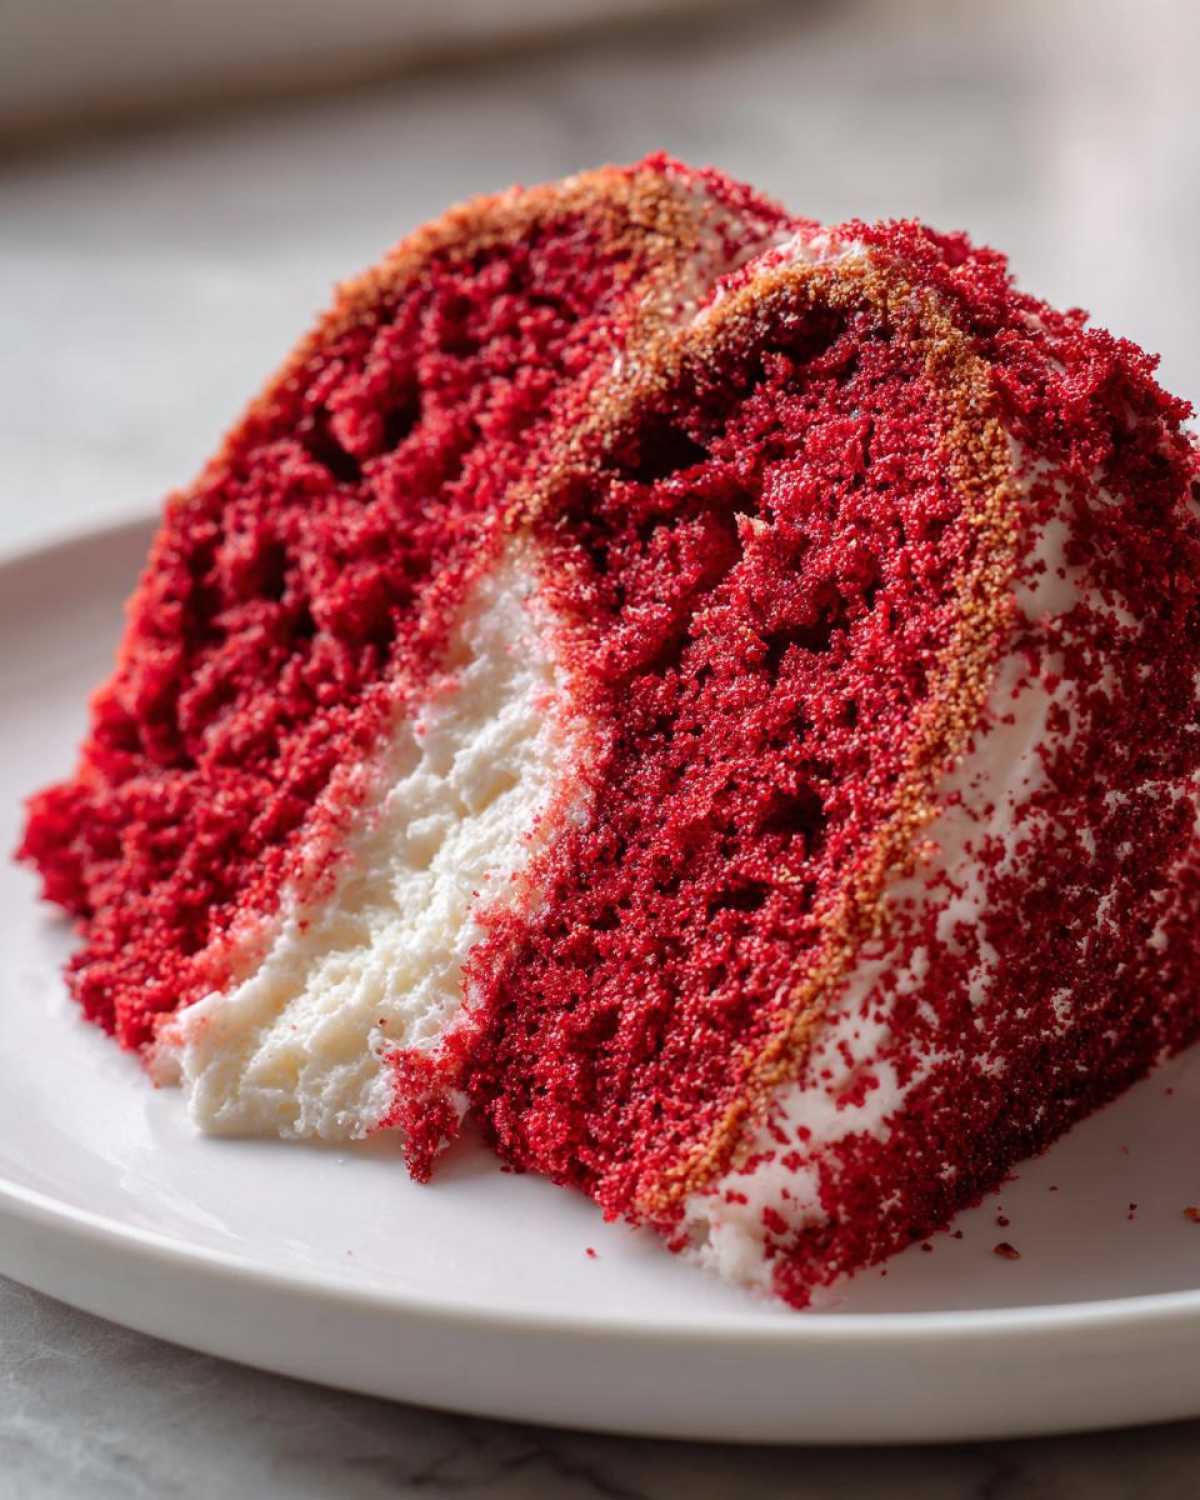
Richard remembered a deep red Southern classic.
He craved that taste but wanted less fat.
I knew we could adapt it.
Making this light cake honors our past trips.
Why You Will Love This Red Velvet Angel Food Cake
This cake is a showstopper, truly.
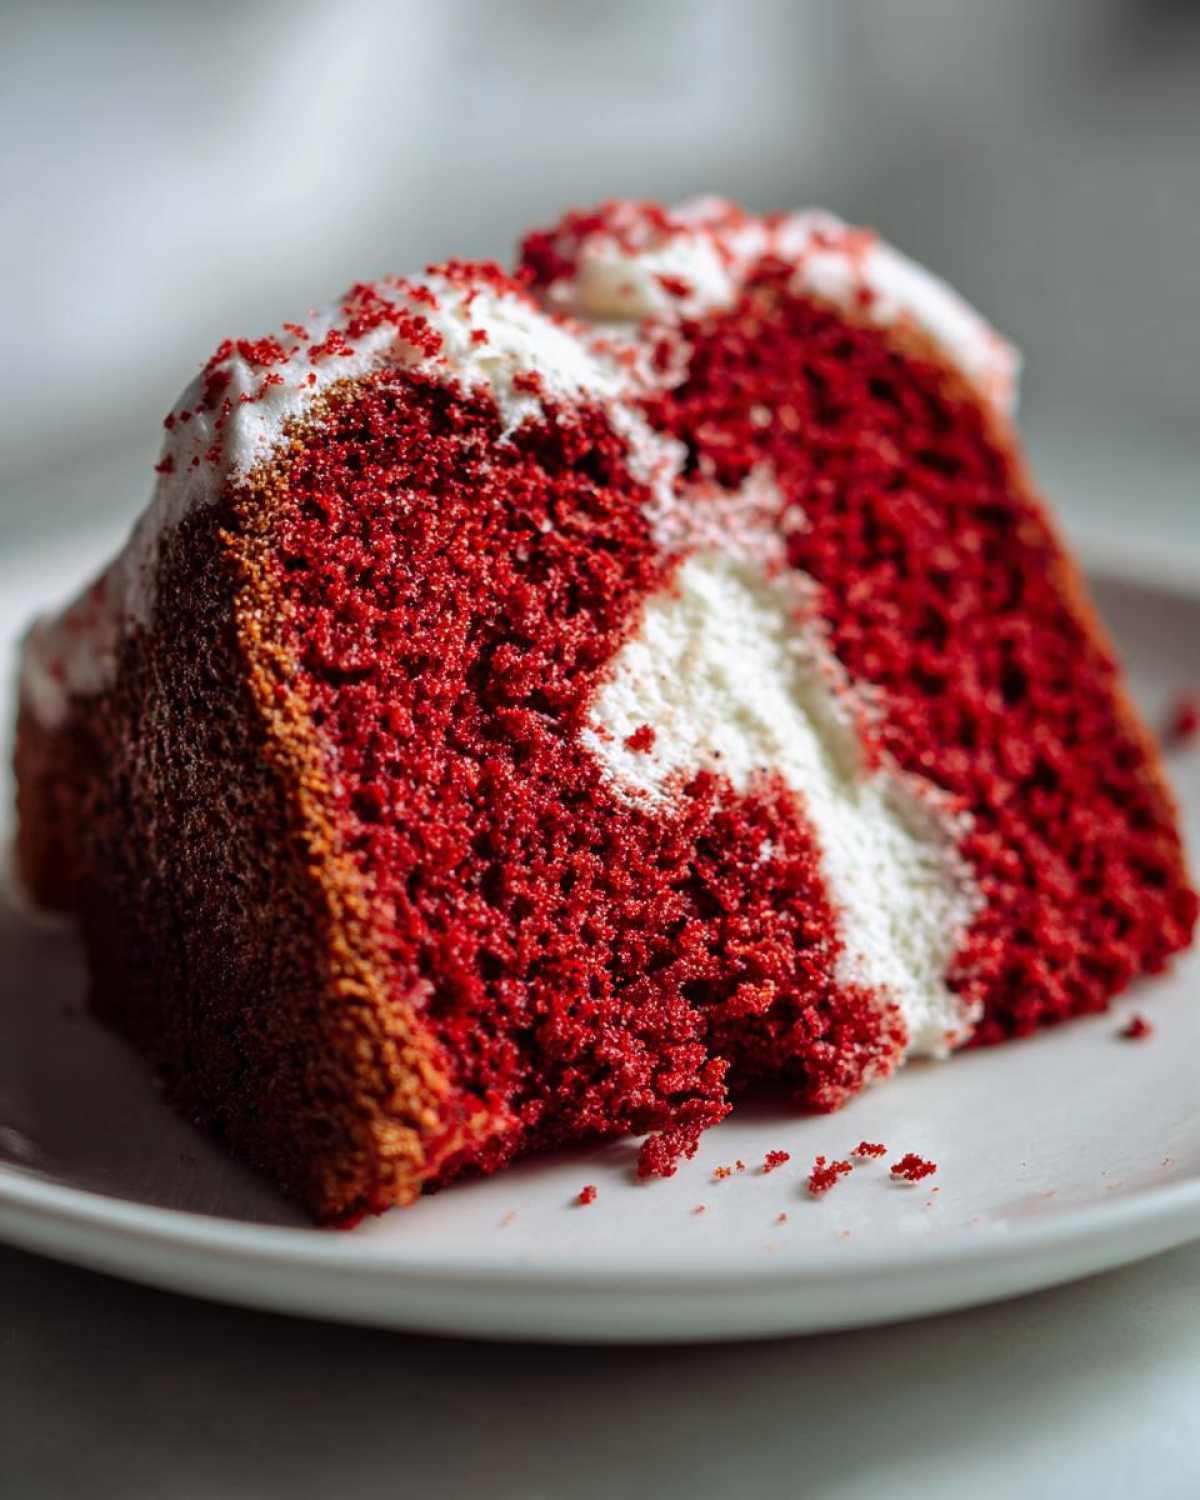
It offers color and incredible airiness.
You get big flavor without the heaviness.
It seems almost too good to be true.
It fits perfectly with our lighter eating now.
Unmatched Texture and Flavor Profile
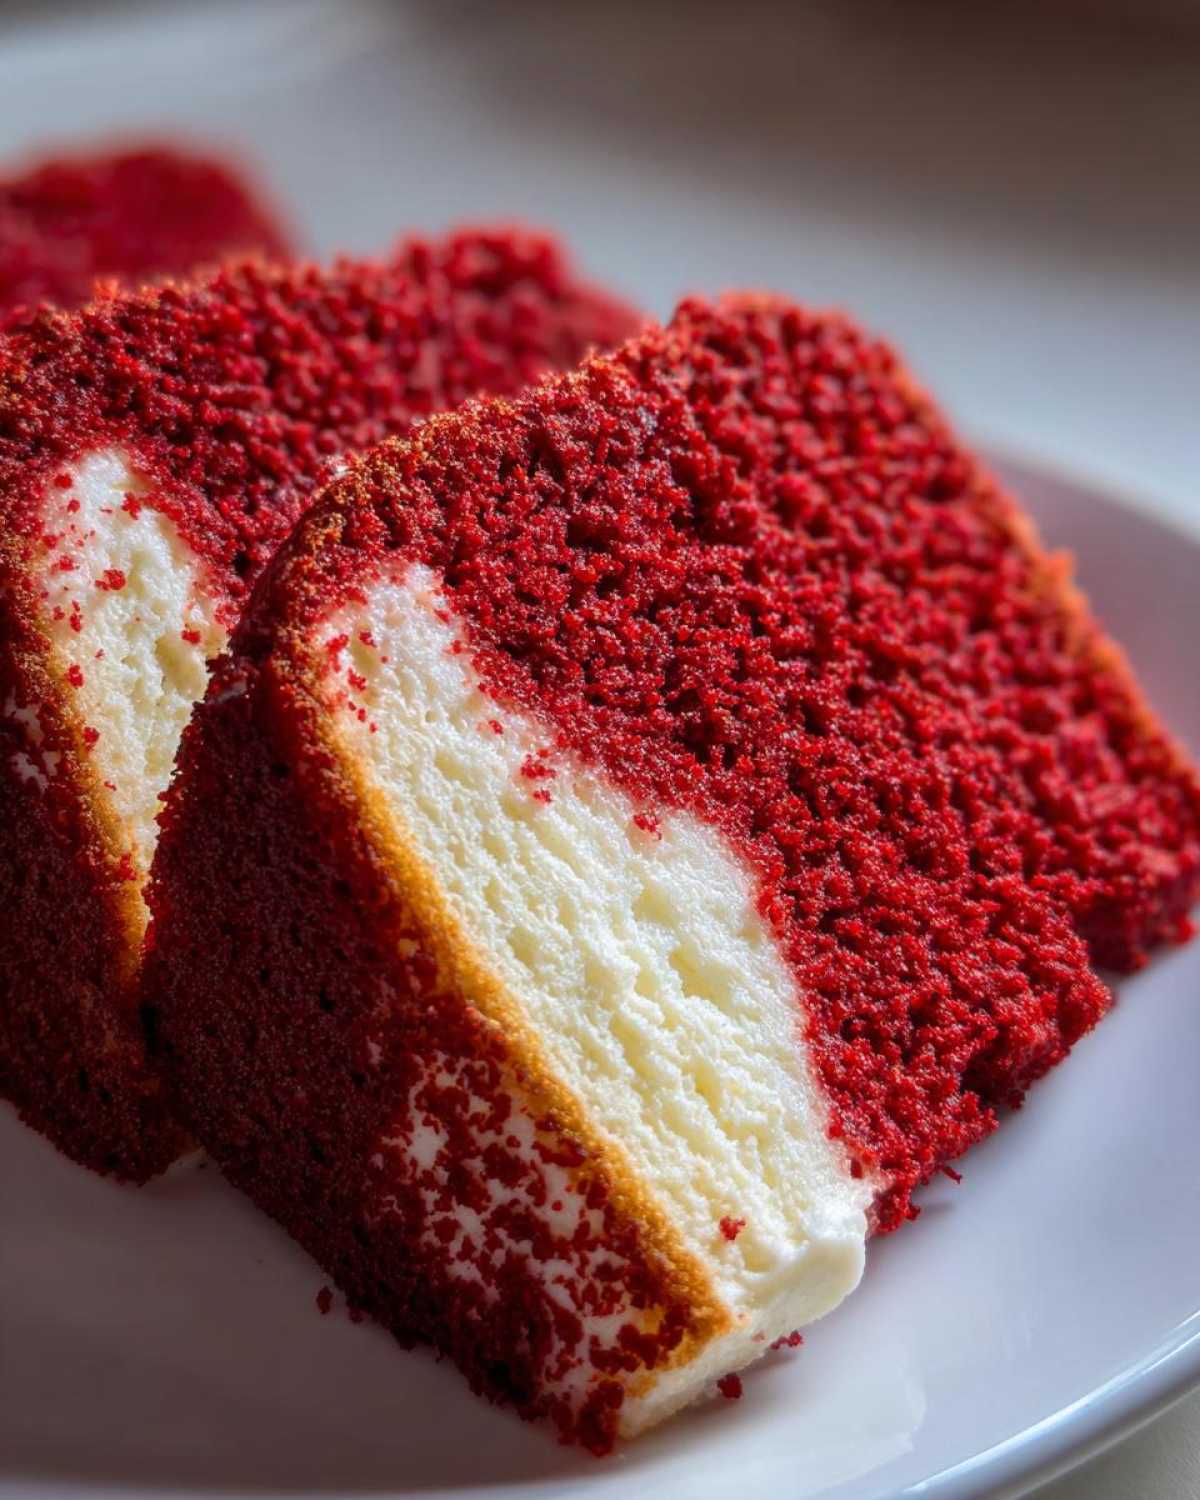
- The crumb is wonderfully airy and soft.
- It carries deep cocoa and vanilla notes.
- It is a wonderfully fat-free dessert option.
Essential Equipment for Your Red Velvet Angel Food Cake
Making this cake needs specific tools.
Don’t try to cheat your way out of this.
The right gear helps achieve that height.
We need a clean, large mixing bowl, too.
Trust me on the equipment list here.
Specific Pan Requirements
You absolutely need a 10-inch tube pan.
This pan is not optional for this recipe.
It must have those little feet for cooling.
Crucially, you cannot grease the pan at all.
The batter needs to cling to the sides.
That cling keeps your cake from sinking down.
Gathering Ingredients for Red Velvet Angel Food Cake
Gathering ingredients is like setting the stage.
Precision matters greatly here, friends.
For a perfect Red Velvet Angel Food Cake, we start with good egg whites.
They must be at room temperature for volume.
Richard always insists on this step first.
Sifting the dry goods is also non-negotiable.
Ingredient Clarity and Preparation
We need about ten to twelve large eggs worth.
That gives us 1 1/2 cups of pure whites.
Use superfine sugar; it dissolves much better.
Sift your cake flour and cocoa powder together.
Measure these accurately before you begin mixing.
Have your vanilla, vinegar, and salt ready nearby.
Step-by-Step Instructions for Red Velvet Angel Food Cake
Now we get to the fun part.
This is where the magic happens in your bowl.
Follow these steps closely, please.
We build volume very carefully here.
Your light cake depends on gentle mixing.
Preparing the Dry Elements
First things first, let’s prep our dry mix.
Take your cake flour and your cocoa powder.
Sift them together into a clean bowl.
Sifting removes any lumps hiding in there.
This ensures a super fine texture later on.
Set this dry blend aside for a moment.
Whipping the Egg Whites to Stiff Peaks
Grab your large, spotless mixing bowl.
Add the room temperature egg whites now.
Toss in the cream of tartar and salt, too.
Beat these until soft peaks start to form.
Slowly add the first 3/4 cup of sugar.
Keep beating until those peaks look glossy and stiff.
Stiff peaks mean the cake will hold its shape.
Now, gently mix in the vanilla extract.
Add your red food coloring until uniform.
We want that beautiful, deep red color.
Folding in Color and Flavor
This next step needs a light hand, truly.
Fold in your flour and cocoa mixture gently.
Do this in three separate additions.
Use a large spatula for this folding motion.
Cut down the center and sweep around the side.
This keeps all that precious air inside.
Finally, fold in the white vinegar very lightly.
Don’t overmix or you’ll deflate everything.
Baking and Cooling the Red Velvet Angel Food Cake
Carefully spoon the batter into your tube pan.
Do not grease that pan, remember that rule.
Run a knife through to pop any air pockets.
Bake at 350 degrees for about 35 to 40 minutes.
The top should spring back when touched lightly.
Immediately flip that pan upside down once out.
Let it cool completely like that, about an hour and a half.
Inverting prevents the delicate structure from collapsing.
This cooling time is critical for success.
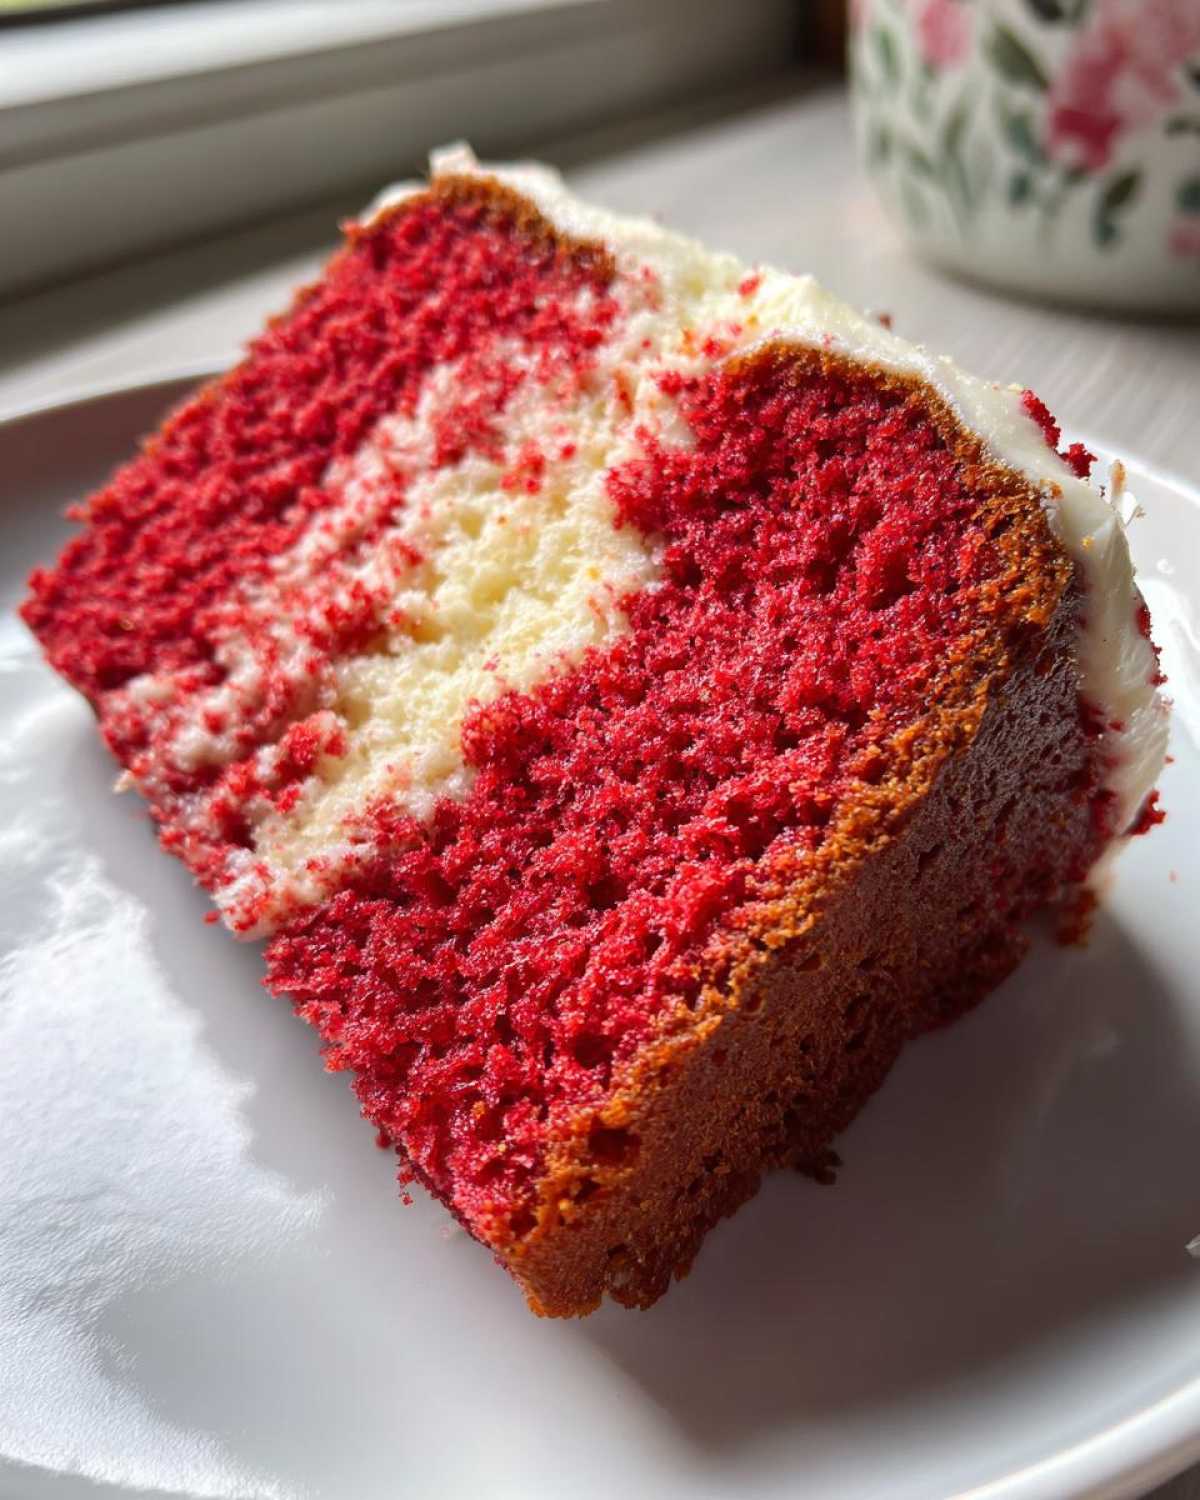
Tips for A Perfect Red Velvet Angel Food Cake
I’ve made this cake many times now.
Richard and I learned a few tricks along the way.
These tips save you from heartbreak later.
They help guarantee that airy texture we seek.
Follow these small details for big results.
Avoiding Common Pitfalls
Grease is the absolute enemy here.
Even a tiny drop ruins the egg whites.
Wipe your bowl and whisk with vinegar first.
Make sure everything is spotless clean.
Do not rush the cooling process either.
If you unmold it warm, the cake will shrink.
Wait the full 90 minutes until it’s totally cool.
That upside-down cooling sets the structure firm.
Then, a thin knife helps release the edges.
Serving Suggestions for Your Red Velvet Angel Food Cake
This cake is already so lovely on its own.
It truly shines with minimal fuss.
We want accompaniments that respect its airiness.
Heavy frostings would weigh this beauty down.
Think light, bright, and simple additions.
I often serve slices with fresh fruit.
Berries are a perfect match, honestly.
Strawberries or raspberries add great color contrast.
Their slight tartness cuts the sweetness nicely.
Richard loves a simple dusting of sugar.
Powdered sugar looks like fresh snow on top.
It highlights the deep red hue perfectly.
You can also use a very light glaze.
Try a glaze made with powdered sugar and lemon juice.
It gives a slight sweet-tart finish.
Frequently Asked Questions About Red Velvet Angel Food Cake
We get lots of questions about this recipe.
It is a bit different from standard cakes.
Here are a few things readers often ask us.
I hope this helps your baking adventure.
This fat-free dessert is worth the effort.
Can I substitute liquid food coloring for gel?
You can try, but I advise against it.
Gel coloring is much more concentrated.
Liquid coloring adds too much extra water.
Too much liquid weighs down the meringue.
This can stop your light cake from rising high.
Stick to gel for the best volume.
How do I store leftover Red Velvet Angel Food Cake?
Storage for this airy cake is simple.
Keep it at room temperature first.
Cover it loosely with plastic wrap.
Do not refrigerate it right away.
Cold air dries out angel food cakes fast.
It stays fresh for about three days this way.
Nutritional Snapshot
This recipe is a true lighter option.
It delivers that red velvet flavor, minus the fat.
Remember these numbers are just estimates for one slice.
Calories hover around 150 per serving.
It contains about 0 grams of fat.
Enjoy this guilt-free treat responsibly.
Share Your Delish Diarist Moment
We pour our hearts into these recipes.
Every bake is a new memory made.
Now, we want to hear from you, dear reader.
Did you make this beautiful Red Velvet Angel Food Cake?
Was the texture as light as a cloud?
Tell us about your experience in the comments below.
Did you try a special topping we missed?
Rate this recipe so others can see it.
Your feedback helps us write our next entry.
We love seeing your delicious results.
Happy baking, and thank you for reading!
PrintAmazing 10 Red Velvet Angel Food Cake Secrets
Create a stunning Red Velvet Angel Food Cake. You get the light, airy texture of classic angel food cake infused with the rich cocoa and vanilla notes of red velvet. It is a beautiful, guilt-free dessert perfect for any occasion.
- Prep Time: 20 minutes
- Cook Time: 40 minutes
- Total Time: 2 hours 40 minutes
- Yield: 10 servings
- Category: Cake
- Method: Baking
- Cuisine: American
- Diet: Low Fat
Ingredients
- 1 1/2 cups egg whites (about 10-12 large eggs), aged at room temperature
- 1 1/2 cups superfine sugar, divided
- 1 cup cake flour, sifted
- 1/4 cup unsweetened cocoa powder, sifted
- 1 1/2 teaspoons vanilla extract
- 1 teaspoon white vinegar
- 1/2 teaspoon cream of tartar
- 1/4 teaspoon salt
- 1 1/2 teaspoons red food coloring (gel preferred)
Instructions
- Preheat your oven to 350°F (175°C). Do not grease your 10-inch tube pan.
- In a small bowl, whisk together the sifted cake flour and sifted cocoa powder. Set this mixture aside.
- In a large, clean mixing bowl, beat the egg whites, cream of tartar, and salt using an electric mixer until soft peaks form.
- Gradually add 3/4 cup of the superfine sugar, one tablespoon at a time, beating until stiff, glossy peaks form. Beat in the vanilla extract and red food coloring until fully incorporated and uniformly colored.
- Gently fold the flour and cocoa mixture into the egg whites in three additions, taking care not to deflate the batter.
- Gently fold in the white vinegar.
- Carefully spoon the batter into the ungreased tube pan. Run a knife through the batter to remove any large air pockets.
- Bake for 35 to 40 minutes, or until the top springs back when lightly touched.
- Immediately invert the pan onto its cooling feet or over a bottle neck. Let the cake cool completely, upside down (about 1.5 hours).
- Once cool, run a thin knife around the edges and the center tube to release the cake. Serve plain or with a light dusting of powdered sugar or fresh berries.
Notes
- Use room temperature egg whites for the best volume.
- Make sure your mixing bowl and whisk attachments are completely free of any grease or yolk residue.
- Sifting the flour and cocoa powder is crucial for a fine, light texture.
- Inverting the pan immediately after baking prevents the delicate cake from collapsing as it cools.
Nutrition
- Serving Size: 1 slice
- Calories: Approx. 150
- Sugar: Approx. 25g
- Sodium: Approx. 100mg
- Fat: Approx. 0g
- Saturated Fat: 0g
- Unsaturated Fat: 0g
- Trans Fat: 0g
- Carbohydrates: Approx. 35g
- Fiber: Approx. 1g
- Protein: Approx. 4g
- Cholesterol: 0mg