

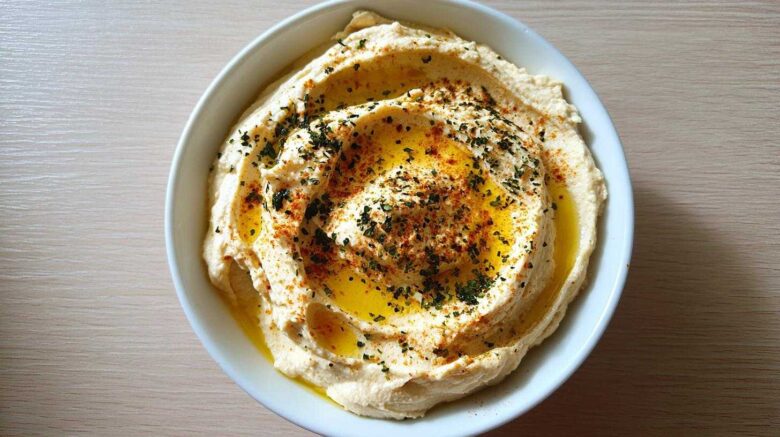
Recreating Travel Memories with the Best Homemade Hummus
Welcome to our kitchen diary, friend.
Richard and I, Eleanor, spent decades collecting tastes.
We brought home flavors, not souvenirs.
That simple, creamy dip from the market stall?
We needed to taste it again here.
This recipe for Homemade Hummus is our memory made real.
It truly captures that authentic Middle Eastern taste.
Richard, with his amazing palate, finally nailed the balance.
He remembered the exact nutty hit of tahini.
This simple chickpea dip brings back sunny days.
It’s our favorite way to travel without leaving home.
We hope this easy hummus recipe does the same for you.
Get ready for pure, creamy delight.
Why You Will Love This Homemade Hummus Recipe
Why should you try our simple chickpea dip?
It’s fast, incredibly flavorful, and fits any diet.
We designed this tahini recipe for busy cooks.
Here are a few reasons this entry made our diary:
- It’s lightning quick to make.
- The texture is unbelievably smooth.
- It tastes just like that street food.
- It fits perfectly into a vegan lifestyle.
Quick Prep Time for Easy Homemade Hummus
Seriously, ten minutes is all you need.
That’s prep time and blending time combined.
Who needs store-bought when it’s this fast?
You can whip up this easy hummus fast.
The Secret to Creamy Homemade Hummus Texture
Creaminess is non-negotiable for us.
We use ice-cold water for fluffiness.
Richard insists on peeling the beans first.
It makes a huge difference in the final result.
Equipment Needed for Perfect Homemade Hummus
Making great Homemade Hummus doesn’t need fancy gear.
You only need a few simple items.
I use the same tools every time.
Here is what you must have ready:
- A reliable food processor.
- Measuring spoons and cups.
- A rubber spatula for scraping.
- A nice shallow serving bowl.
That’s the whole list for this chickpea dip.
Gathering Your Ingredients for Authentic Homemade Hummus
The flavor of this Middle Eastern dip starts here.
Quality ingredients make all the difference.
We learned this traveling the world.
Use what tastes best to you.
Freshness is the key to great flavor.
Gather your chickpeas and tahini first.
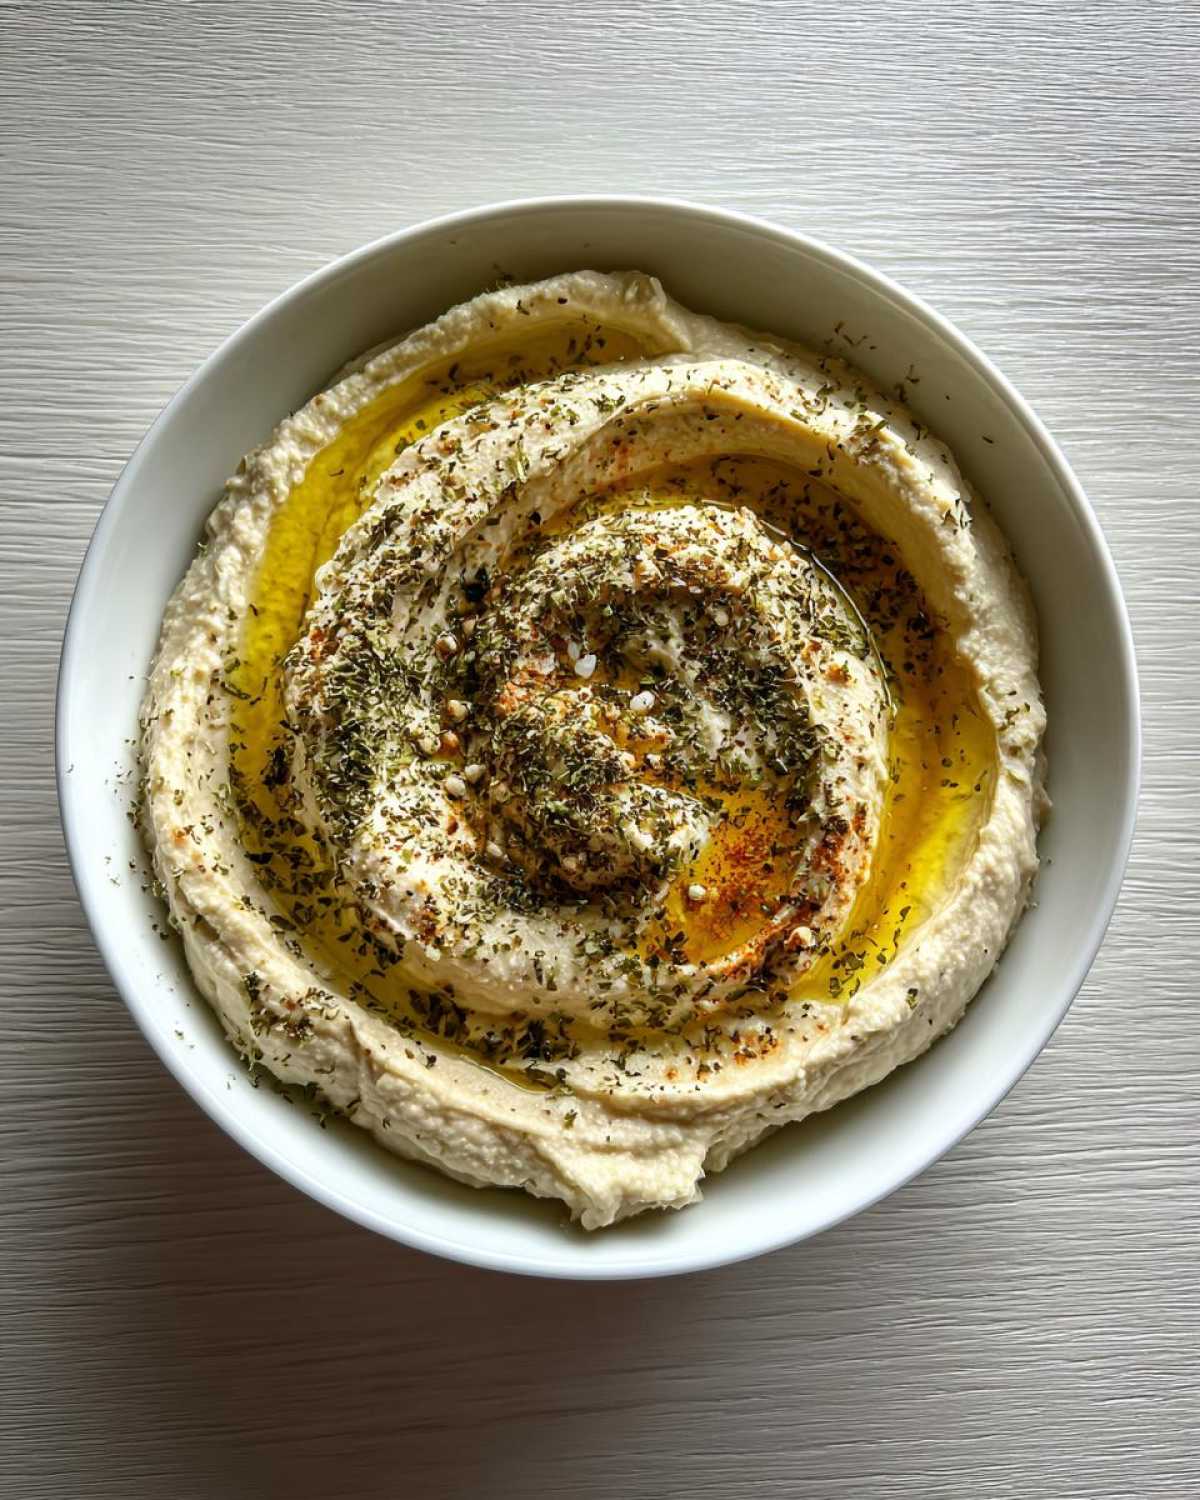
Ingredient Notes and Substitutions for Homemade Hummus
Let’s talk about the details here.
Always use fresh lemon juice.
Bottled juice just tastes flat, trust me.
Tahini quality matters a lot.
Look for a thinner, pale sesame paste.
Ground cumin is totally optional, but I love it.
If you skip the food processor, things change.
You might need a bit more liquid then.
Step-by-Step Instructions for Smooth Homemade Hummus
Now for the fun part, friends.
This is where the magic happens.
Follow these simple steps for perfect Homemade Hummus.
We make this chickpea dip often.
It’s very straightforward, I promise.
Let’s get blending right away.
Blending the Base of Your Homemade Hummus
First, grab your food processor bowl.
Add the rinsed chickpeas right in there.
Toss in the tahini and lemon juice too.
Don’t forget the minced garlic clove.
And sprinkle in that salt measurement.
Pulse this mixture hard for one full minute.
Stop the machine now and scrape down sides.
Make sure everything gets nicely incorporated.
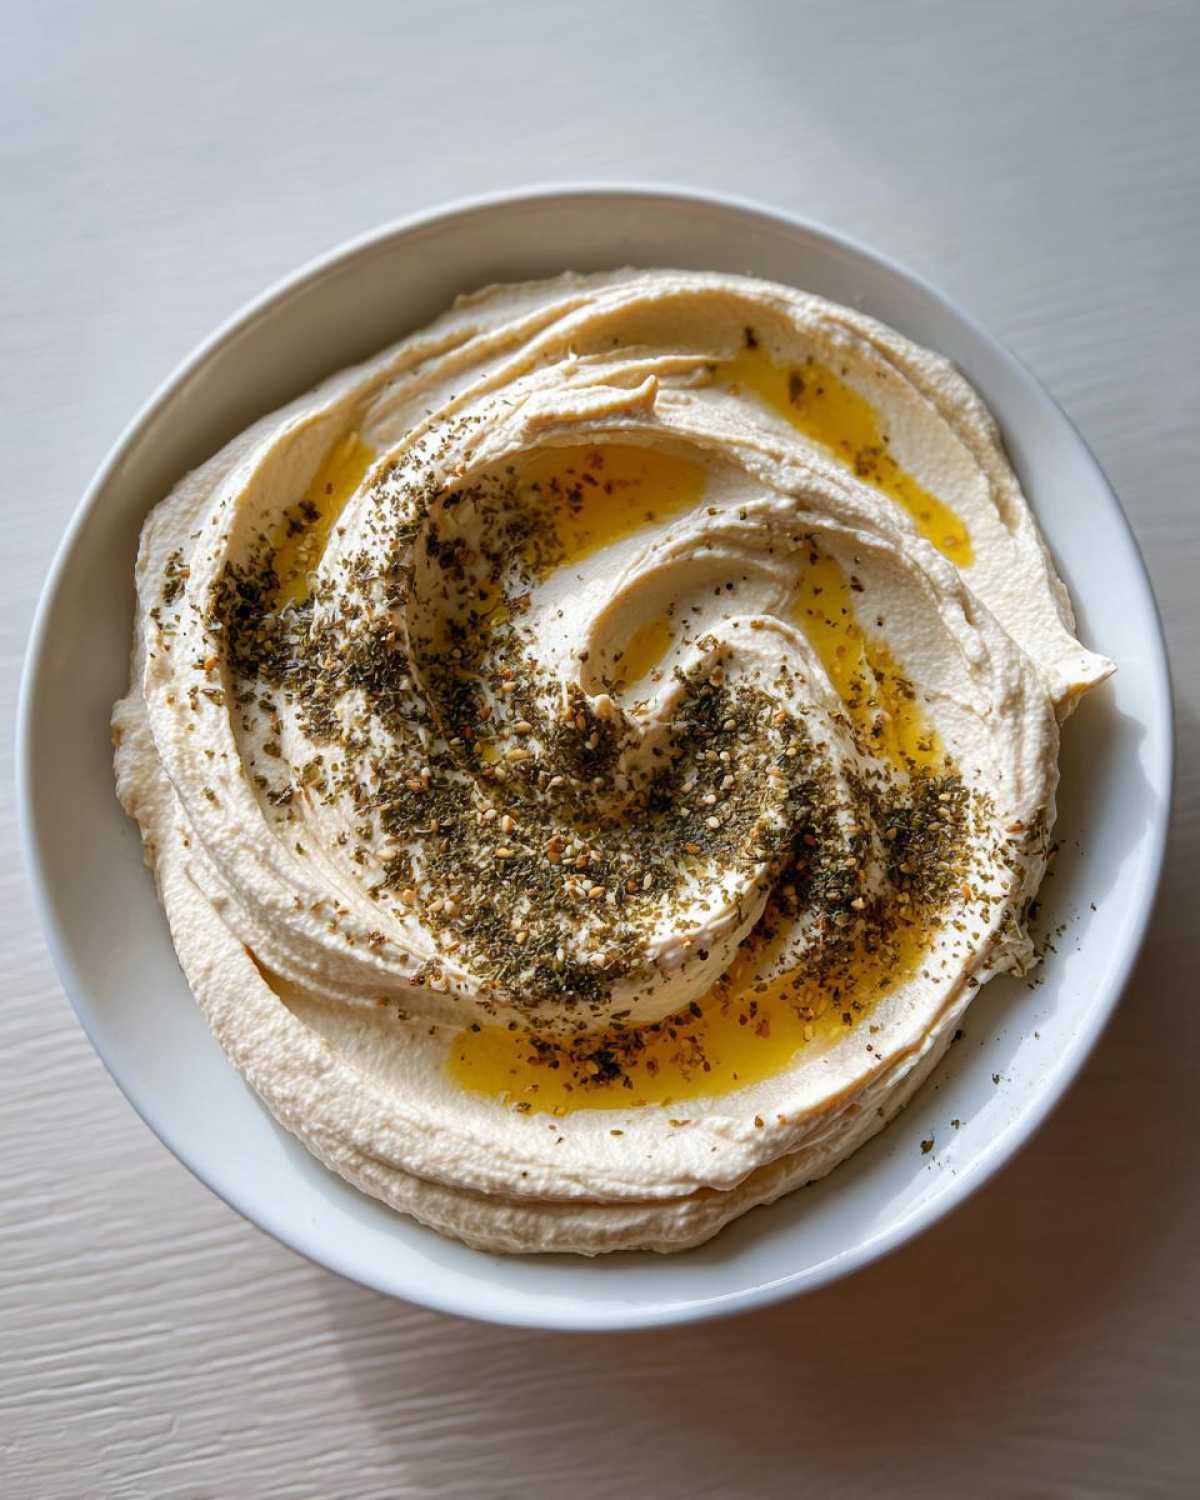
Achieving Fluffy Consistency in Your Homemade Hummus
This next part makes it light and airy.
Turn the processor back on to run steady.
Slowly drizzle in that cold water now.
Keep adding it for about two or three minutes.
The mixture will transform right before you see it.
It should look fluffy and completely smooth.
This step really gets the texture right.
Final Adjustments and Serving Your Homemade Hummus
Time to taste your creation now.
Does it need more bright lemon zing?
Adjust the salt if needed immediately.
Too thick? Add water just a teaspoon.
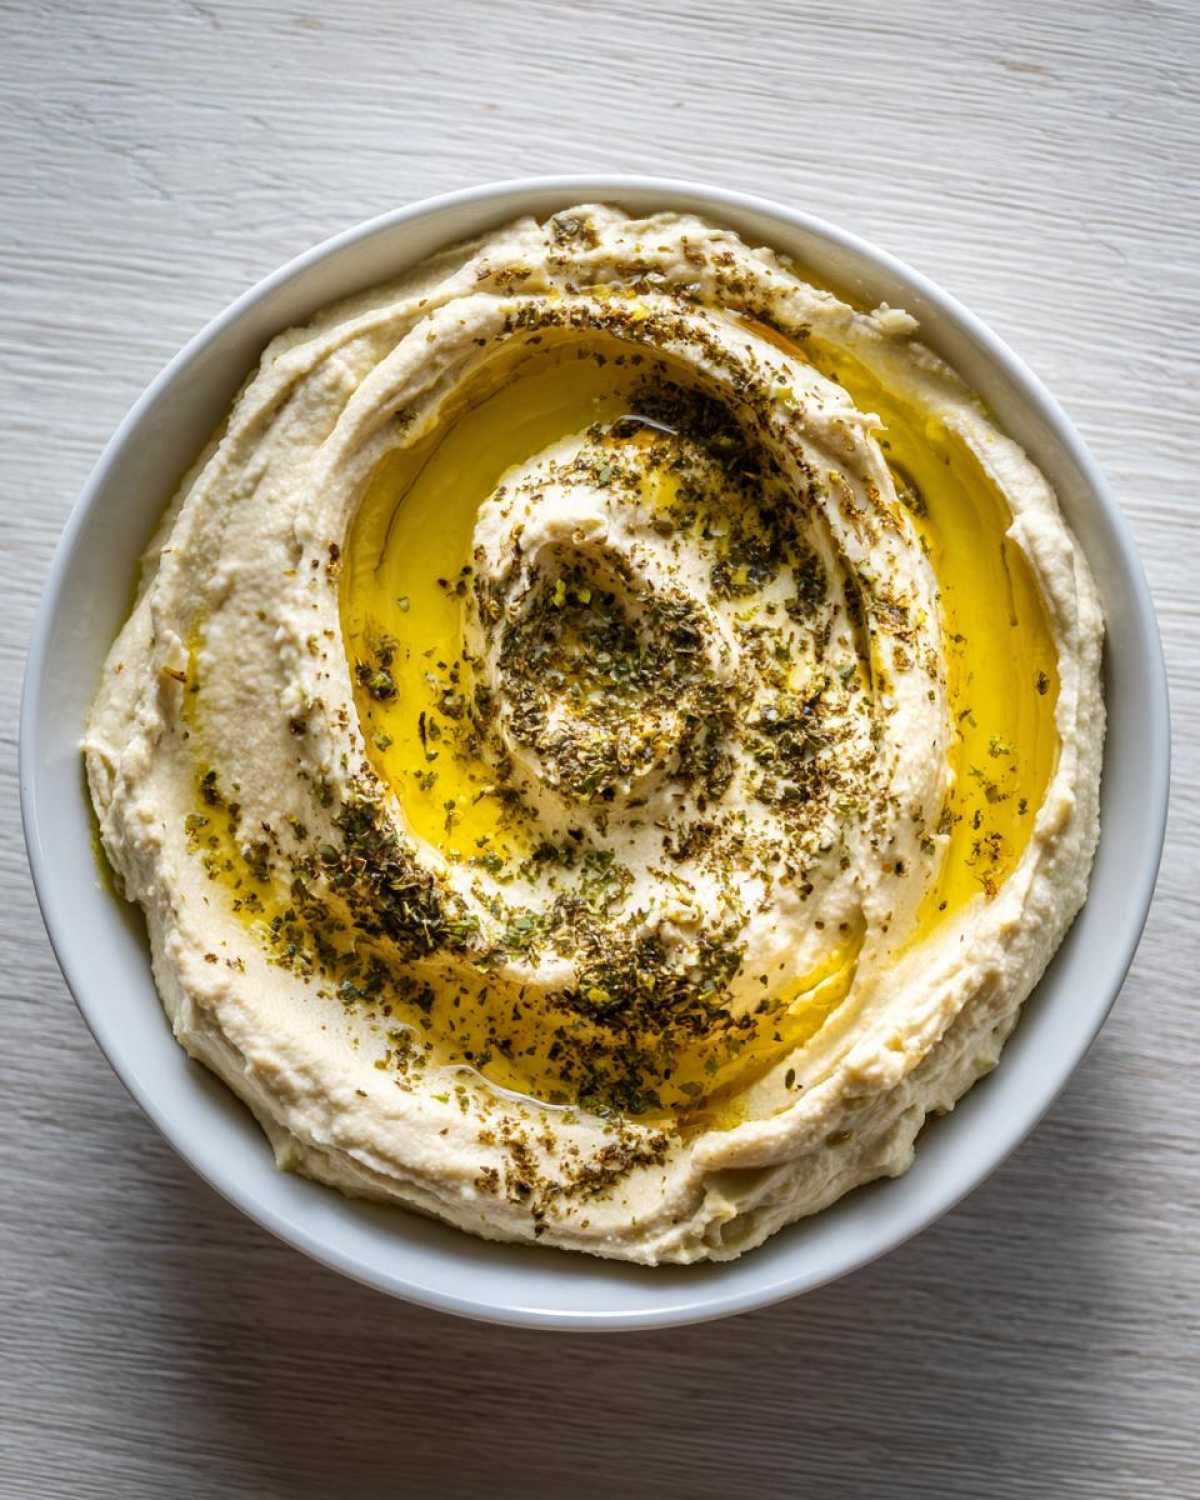
Spoon the hummus into a nice serving dish.
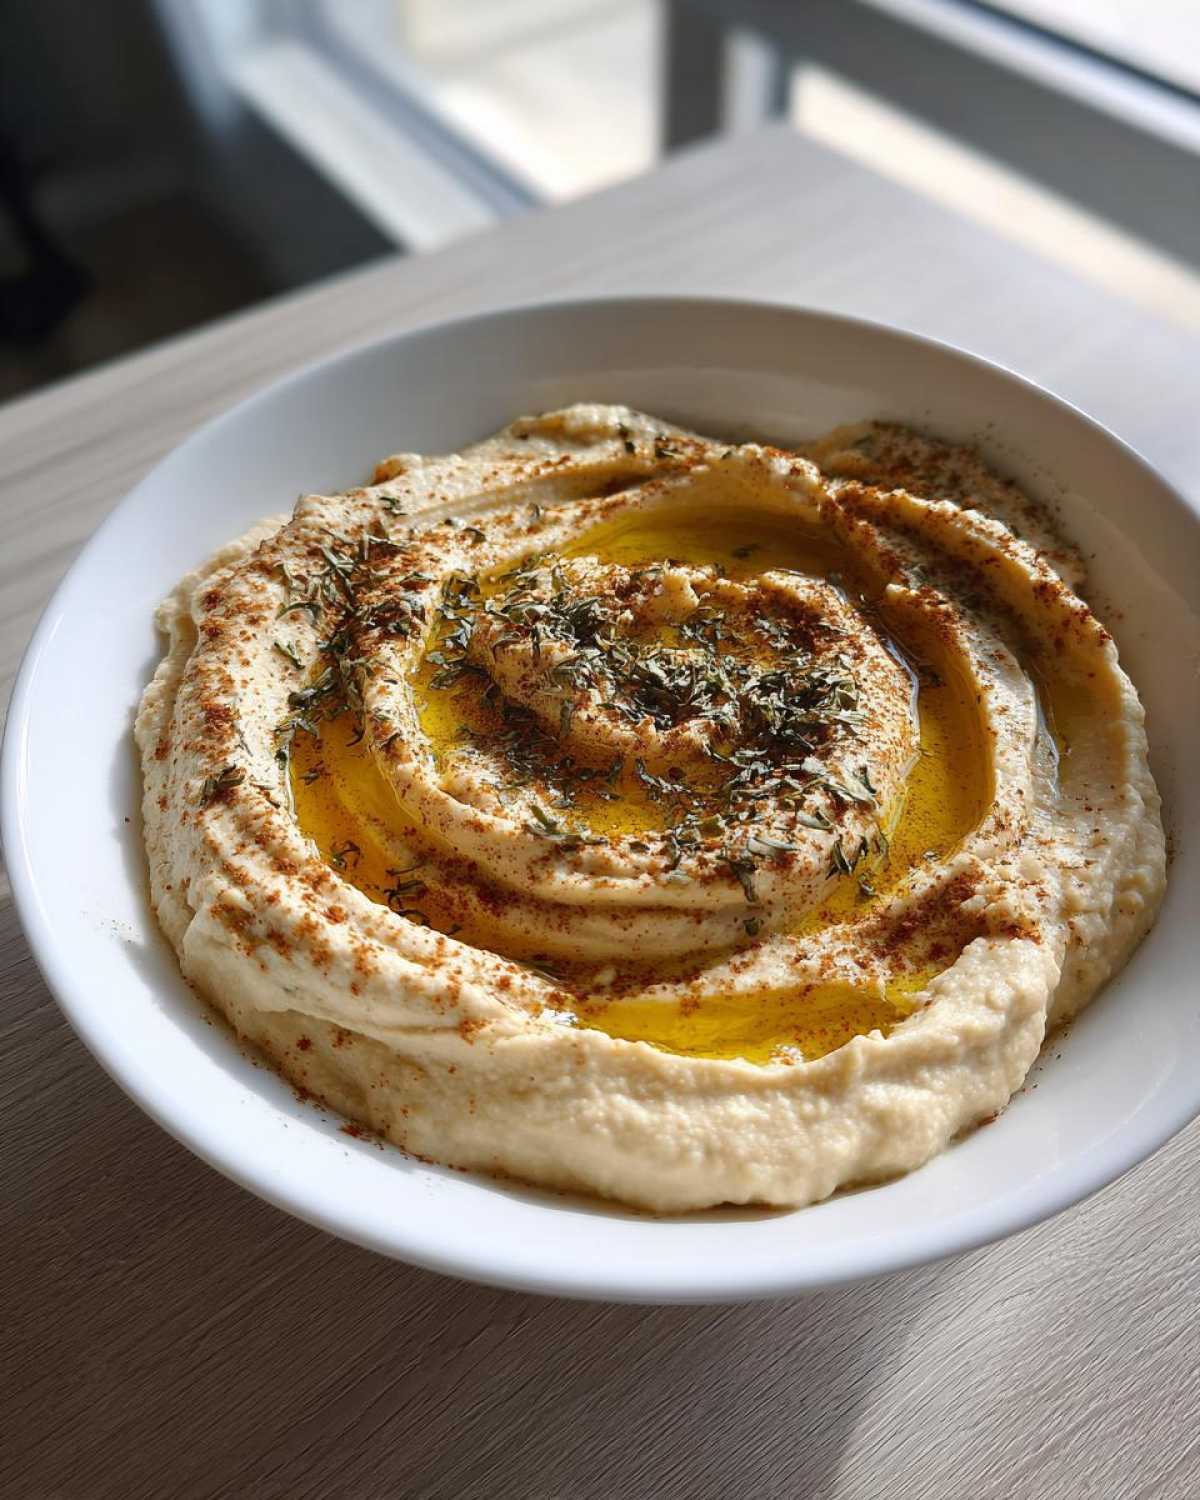
Drizzle that good olive oil generously over top.
Sprinkle cumin on if you decided to use it.
Serve this Middle Eastern dip right away.
Tips from Eleanor and Richard for Perfect Homemade Hummus
Richard has one non-negotiable step.
He says it makes the best Homemade Hummus ever.
Remember the note about removing the skins?
That is truly Richard’s secret weapon.
It takes extra time, I won’t lie to you.
But the resulting texture is like velvet.
If you have the patience, try it once.
Gently rub the canned chickpeas between two towels.
The skins will start to peel right off.
It’s a little messy, but worth the effort.
Richard calls this “The Diarist Polish.”
Another tip is about the temperature of the water.
We always use ice-cold water when blending.
This helps emulsify the dip better.
It keeps the mixture cool during processing.
Cooler temperatures help achieve that fluffiness.
It’s a small thing that makes a big impact.
Frequently Asked Questions About Homemade Hummus
We get so many lovely questions about this recipe.
It is natural when you try a new tahini recipe.
Here are some common things folks ask us.
I hope these answers help you out.
How Long Does Homemade Hummus Last in the Refrigerator?
This chickpea dip is best fresh, truly.
You can keep leftovers safely, though.
Store it in an airtight container.
It lasts up to four days refrigerated.
The flavor stays quite good too.
Can I Make Homemade Hummus Without a Food Processor?
Yes, you absolutely can make this vegan dip.
A high-powered blender works well here.
You may need more liquid though.
Add liquid slowly until it blends smoothly.
It might take a little more patience.
Why is My Homemade Hummus Not Smooth?
This usually comes down to two things.
Did you process it long enough?
You need those full three minutes with water.
Or maybe the skins were left on the beans.
Richard says skinning is the true secret.
Try adding just a tiny bit more water next time.
Understanding the Nutrition in Your Homemade Hummus
When we recreate these wonderful recipes, we also think about balance.
Food should taste amazing and make you feel good.
This Homemade Hummus is surprisingly wholesome.
It’s a great source of plant-based protein.
Here is the nutritional breakdown we calculated.
It is based on a standard serving size.
- Serving Size: About 1/4 cup
- Calories: Roughly 150 per serving
- Protein: 5 grams
- Fiber: 4 grams
- Fat: 10 grams total
I love how much fiber this dip provides.
It keeps you satisfied for longer.
Notice the low sugar content, only 1 gram!
That’s why it’s a perfect snack option.
We keep the added sodium reasonable too.
You control the salt when you make it fresh.
Share Your Homemade Hummus Journey
We’ve shared our memory with you now.
This Homemade Hummus is part of our story.
What about yours, dear reader?
Did this taste transport you somewhere special?
We’d truly love to hear from you.
Please leave a rating for this recipe below.
Tell us how your chickpea dip turned out.
Did you try peeling the chickpeas?
Share any travel memories it sparked for you.
We live for these connections.
If you snap a photo, tag us online.
Show off your beautiful olive oil drizzle.
Seeing your creations makes our day.
Thank you for reading our diary entry.
Happy cooking until next time!
PrintAmazing Homemade Hummus: 1 Secret Tip
You can recreate the creamy, flavorful hummus we tasted in the Middle East right in your kitchen. This recipe captures the perfect balance of chickpeas, bright lemon, and nutty tahini. It is a simple entry in our culinary diary.
- Prep Time: 10 minutes
- Cook Time: 0 minutes
- Total Time: 10 minutes
- Yield: About 1.5 cups
- Category: Dip
- Method: Food Processor
- Cuisine: Middle Eastern
- Diet: Vegan
Ingredients
- 1 (15-ounce) can chickpeas (garbanzo beans), rinsed and drained
- 1/4 cup tahini
- 2 tablespoons fresh lemon juice
- 1 clove garlic, minced
- 2 tablespoons cold water (or more, for desired consistency)
- 1 tablespoon extra virgin olive oil, plus more for serving
- 1/4 teaspoon salt (or to taste)
- Pinch of ground cumin (optional)
Instructions
- Combine the rinsed chickpeas, tahini, lemon juice, minced garlic, and salt in a food processor.
- Process the mixture for one minute. Stop and scrape down the sides.
- With the processor running, slowly drizzle in the cold water until the hummus becomes light and fluffy. This takes about two to three minutes.
- Taste the hummus. Add more lemon juice or salt if needed. If it is too thick, add water one teaspoon at a time.
- Transfer the hummus to a shallow bowl. Drizzle generously with olive oil and sprinkle with cumin, if using.
- Serve immediately with warm pita bread or fresh vegetables.
Notes
- For the smoothest texture, remove the skins from the chickpeas before blending. Richard says it makes a difference!
- If you don’t have a food processor, a high-powered blender can work, but you may need to add slightly more liquid.
- This hummus tastes best when made fresh, but you can store leftovers in an airtight container in the refrigerator for up to four days.
Nutrition
- Serving Size: 1/4 cup
- Calories: 150
- Sugar: 1g
- Sodium: 150mg
- Fat: 10g
- Saturated Fat: 1.5g
- Unsaturated Fat: 8.5g
- Trans Fat: 0g
- Carbohydrates: 12g
- Fiber: 4g
- Protein: 5g
- Cholesterol: 0mg