

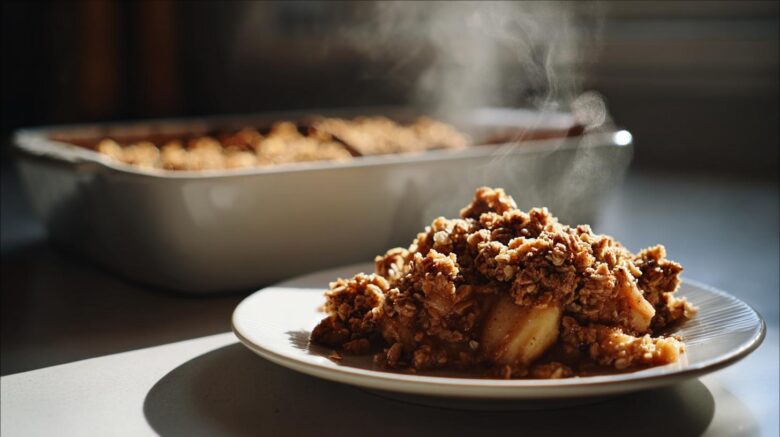
When the air turns crisp, my heart always turns toward home. There is nothing quite like the smell of cinnamon apples baking. This recipe for Apple Crisp brings me right back to our early years. We were young then. Richard and I traveled constantly. We collected tastes everywhere we went.
Our kitchen became our memory bank. We learned so much about simple perfection. Now, we recreate those world flavors here. This comforting baked dessert relies on simple, honest ingredients. I’m Eleanor, and with my husband Richard, we share our diary. 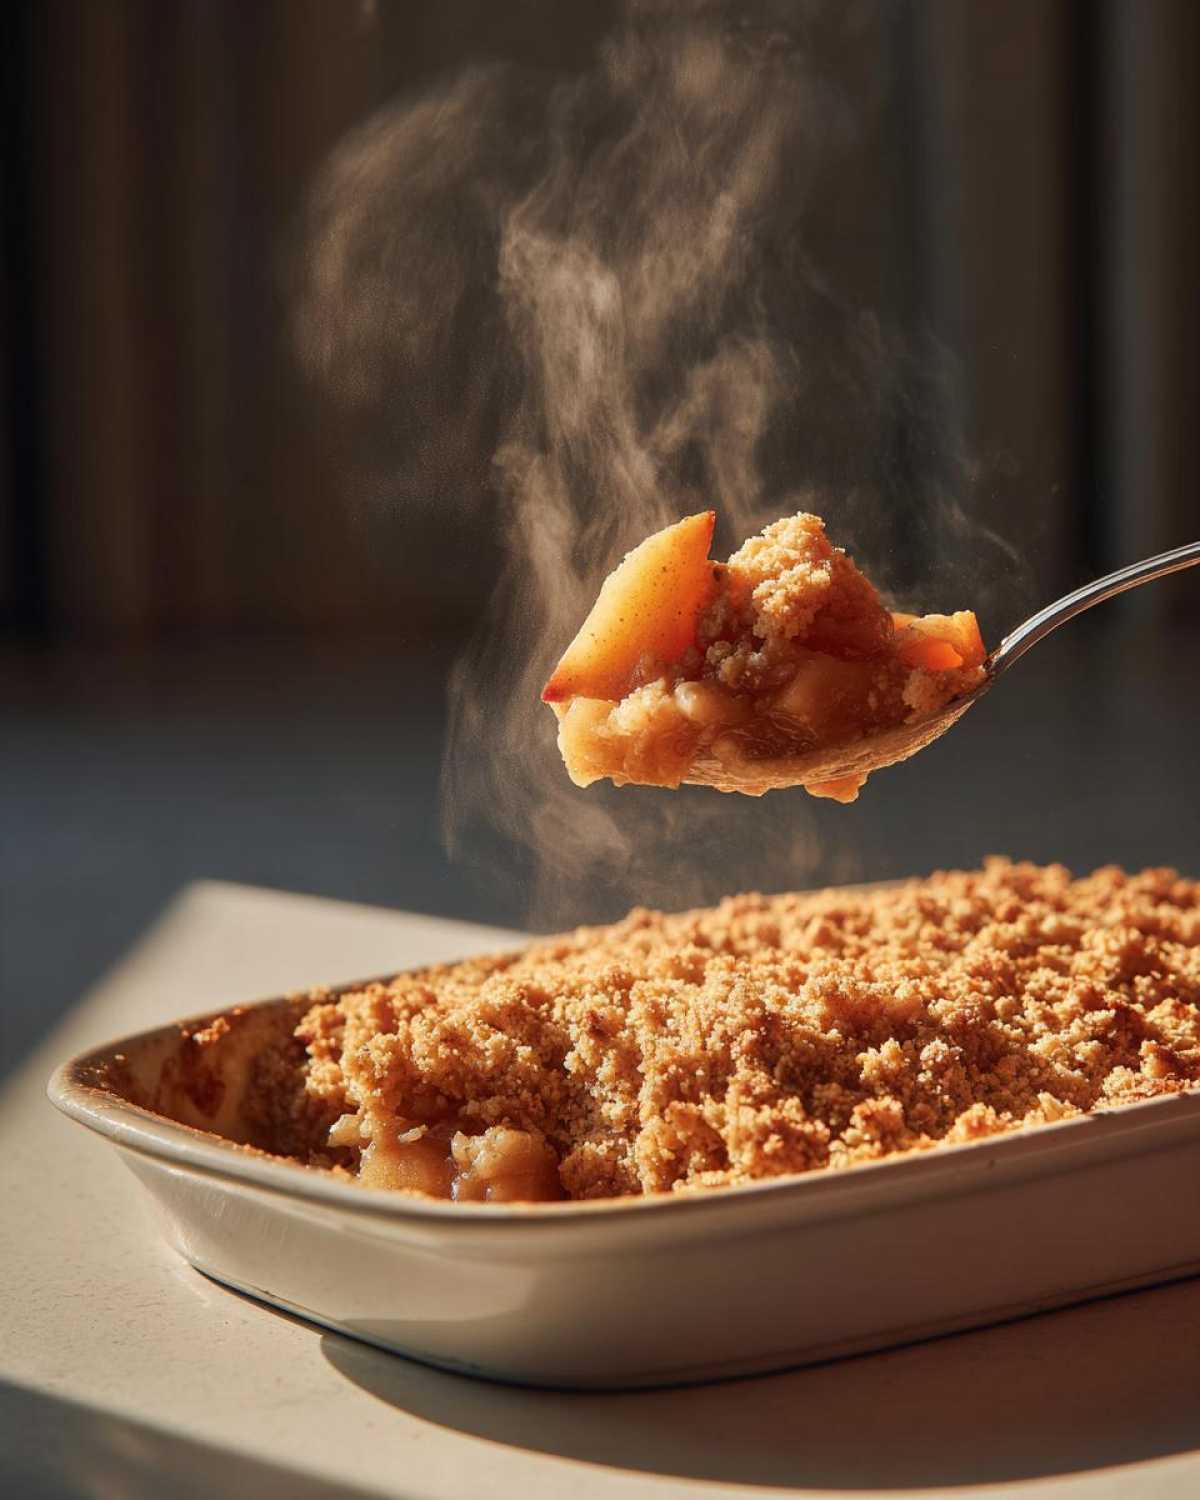
This classic dessert is pure comfort food. It’s an easy dessert we perfected over time. Richard remembers every spice note. I translate those memories into these steps for you. You get our decades of tasting experience. We promise tender fruit and a crunchy oat crumble topping.
It’s the perfect sweet ending. Get ready to make a cherished memory today.
The Perfect Apple Crisp: Ingredients You Need
Gathering your ingredients is the first step to comfort. Getting this right makes all the difference. We need quality components for our Apple Crisp. Richard always says good food starts simple. Here is exactly what you need for this treat.
For the Tender Apple Filling
You’ll need six medium apples. Peel, core, and slice them thin. Granny Smith or Honeycrisp work best. Richard suggests mixing tart and sweet apples. Toss them with 1/4 cup of white sugar. Add one teaspoon of cinnamon. Include 1/4 teaspoon nutmeg for warmth. Finally, add one tablespoon of bright lemon juice.
Crafting the Golden Oat Crumble Topping
This topping is the heart of the Apple Crisp. Combine 1/2 cup flour. Mix in 1/2 cup rolled oats. Add 1/2 cup packed light brown sugar. Don’t forget 1/4 teaspoon of salt. For extra texture, you can add nuts here. Walnuts or pecans give a nice bite to the crumble. 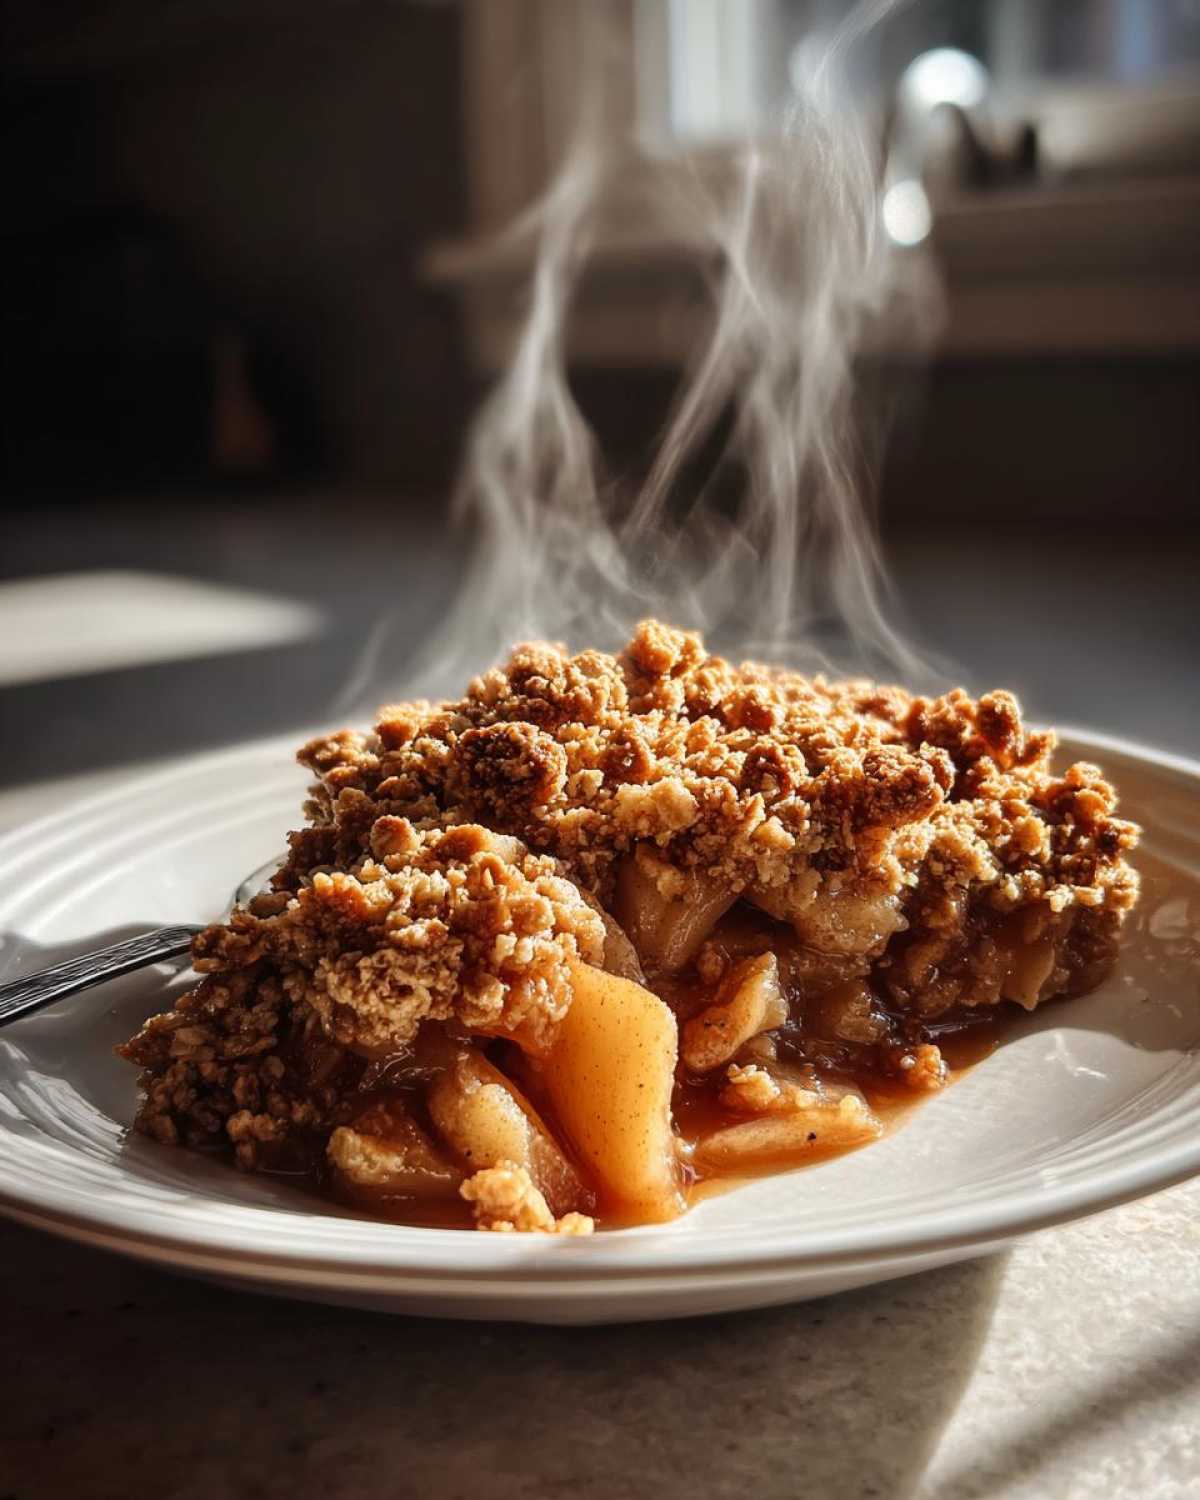
Essential Equipment for Your Apple Crisp
Having the right tools makes cooking fun. It really does. Before you start mixing, get these items ready. This keeps your baking flow smooth.
- One 8×8 inch baking dish.
- A large mixing bowl for apples.
- A separate medium bowl for the topping.
- A pastry blender or your clean hands.
- A sharp knife for slicing apples.
Step-by-Step Instructions for Making Apple Crisp
Now for the fun part! Making this dessert is truly simple. Follow these steps closely. You’ll have a warm, bubbly treat soon. I remember rushing this part once. The topping got uneven. Take your time here. 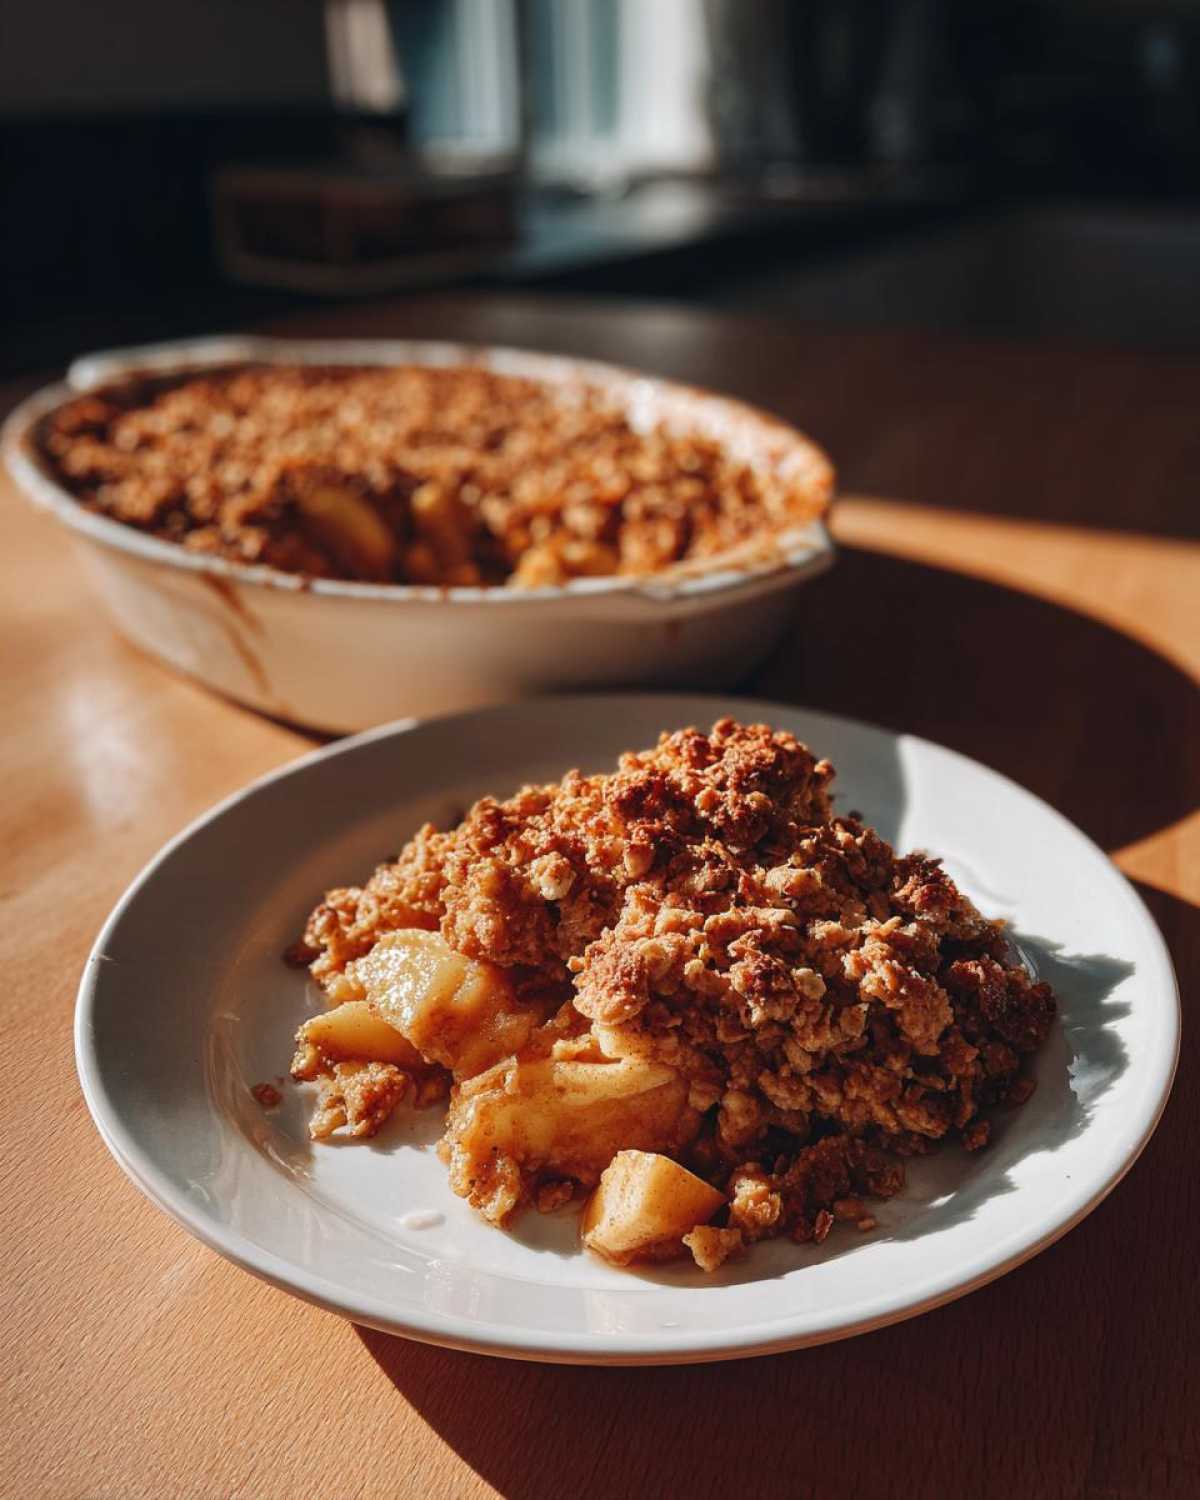
Preparing the Apples and Oven Setup
First, set your oven to 375\u00b0F (190\u00b0C). Grease your 8×8 inch baking dish lightly. Next, grab that big bowl. Toss your sliced apples with the sugar and spices. Make sure every slice is coated well. Pour this fragrant mix into the prepared dish. Spread it out evenly, please.
Assembling the Apple Crisp Layers
Use your separate bowl for the topping. Mix the dry ingredients first. Then comes the butter. I use my fingertips for this. Cut in the six tablespoons of cold butter. Work it quickly until you see coarse crumbs. You want pieces, not paste. Sprinkle this oat topping over the apples. Cover everything nicely.
Baking Time and Readiness Check
Slide the dish into the hot oven now. Bake for 35 to 45 minutes total. Watch for the signs of success. The topping should look golden brown. You must see the apple filling bubbling up. Pierce an apple piece with a fork. If it feels tender, your dessert is done. Don’t skip the cooling time, though.
Tips for the Best Apple Crisp Success
We want your dessert to sing with flavor. Richard and I learned a few tricks. These tips make a good crisp great. Pay attention to the butter temperature. That really matters for texture.
Achieving the Right Texture Contrast
The magic is in the contrast. You need a soft filling and a crunchy top. Make sure your butter is very cold. Cut it into small pieces first. When mixing the topping, work fast with your fingers. Stop when it looks like coarse sand. Overmixing melts the butter too much. That leads to a flat, greasy top layer.
Flavor Variations for Your Apple Crisp
Feel free to play with the spices a bit. A tiny pinch of ground ginger works wonders. Or maybe some cardamom for depth. Richard loves adding a splash of vanilla extract. Add this to the apple mix before baking. It really warms up the overall flavor profile. This simple change makes your Apple Crisp unique. For more baking inspiration, check out our latest recipes.
Serving Suggestions for Your Comfort Food
This warm Apple Crisp needs nothing much else. But we have favorites, of course. Serve it right from the oven. Let it rest just a little time first. A simple scoop of vanilla bean ice cream is classic. The cold cream melts on the hot fruit. That contrast is pure heaven. Freshly whipped cream also works well. 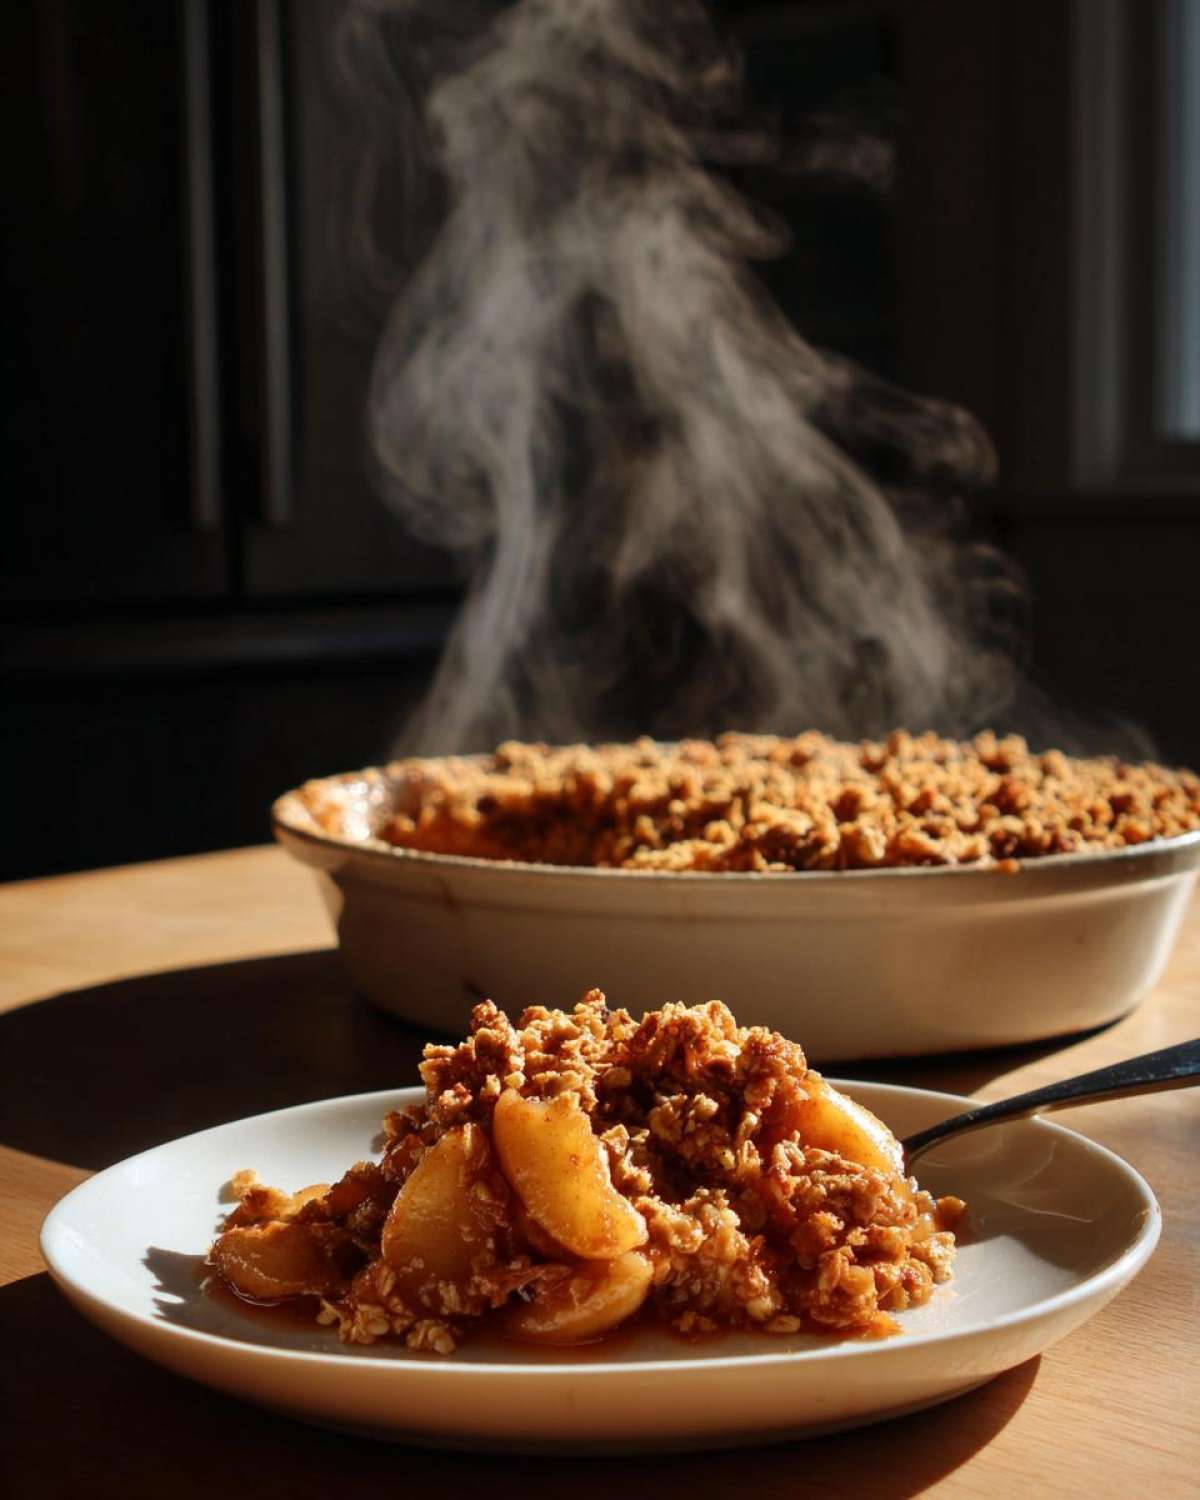
Storing and Reheating Leftover Apple Crisp
Don’t worry if you have leftovers. This dessert keeps well for a few days. Store it covered tightly. Use an airtight container for best results. Keep the dish in the refrigerator. It lasts about three to four days there.
Freezing is an option too. Wrap the cooled crisp securely first. Use plastic wrap and then foil. It keeps well in the freezer for two months. Thaw it overnight in the fridge before reheating.
Reheating is key to crispness. The topping softens when chilled. I prefer the oven for reheating leftovers. Set the oven to 350\u00b0F (175\u00b0C). Heat it for about 15 minutes. This brings back the golden crunch. If you are interested in the science behind food preservation, you can read more about preserving food at home.
You can use a microwave quickly. But know this. The topping will be softer. Use short bursts of power if you microwave it. Always serve it warm with a fresh topping treat.
Frequently Asked Questions About Apple Crisp
Can I make this Apple Crisp ahead of time?
Yes, you absolutely can prepare this baked dessert early. Assemble the entire crisp. Cover it well with plastic wrap. Refrigerate it for up to 24 hours. You may need a bit more baking time. Add about 10 extra minutes to the schedule.
What is the best way to store the Oat Crumble topping if I want to bake later?
Storing the topping separately is smart planning. Keep the prepared oat crumble dry. Place it in an airtight container. Store it in the fridge for two days. When ready to bake, simply sprinkle it over your fresh apples. This keeps the topping perfectly crisp.
Why did my Apple Crisp topping turn out soggy?
Soggy topping is a common letdown. Usually, it means the butter was too warm. Cold butter creates pockets of steam. This steam makes the topping light. Also, check your bake time. The filling must bubble robustly. Undercooking leaves moisture trapped underneath. For more baking tips, see our guide on achieving perfect cookie texture, which shares similar principles.
Nutritional Estimate for This Apple Crisp
We track calories sometimes. But honestly, this is comfort food for the soul. These numbers are just estimates. They help if you are counting macros.
- Serving Size: 1 serving
- Calories: 350
- Fat: 18g
- Carbohydrates: 48g
- Protein: 4g
Enjoy every bite without worry. Food memories matter most here.
Share Your Delish Diarist Moment
We hope this Apple Crisp recipe brought you joy. Did it transport you somewhere special?
Richard and I love hearing from you all. Did you try the mixed apple trick?
Tell us how it went in the comments below. Rate this recipe for us.
We can’t wait to read your delicious diary entries.
PrintGlorious Apple Crisp: 1 Secret to Perfect Crunch

Enjoy this comforting Apple Crisp, a warm baked dessert featuring tender, spiced apples beneath a golden, crunchy oat crumble. It is the perfect sweet ending to any meal, especially with a scoop of vanilla ice cream.
- Prep Time: 20 minutes
- Cook Time: 40 minutes
- Total Time: 55 minutes
- Yield: 6 servings
- Category: Dessert
- Method: Baking
- Cuisine: American
- Diet: Vegetarian
Ingredients
- 6 medium apples (like Granny Smith or Honeycrisp), peeled, cored, and sliced
- 1/4 cup granulated sugar
- 1 teaspoon ground cinnamon
- 1/4 teaspoon ground nutmeg
- 1 tablespoon lemon juice
- 1/2 cup all-purpose flour
- 1/2 cup rolled oats
- 1/2 cup packed light brown sugar
- 1/4 teaspoon salt
- 6 tablespoons cold unsalted butter, cut into small pieces
Instructions
- Preheat your oven to 375°F (190°C). Lightly grease an 8×8 inch baking dish.
- In a large bowl, toss the sliced apples with the granulated sugar, cinnamon, nutmeg, and lemon juice. Spread this mixture evenly into your prepared baking dish.
- In a separate medium bowl, combine the flour, rolled oats, brown sugar, and salt for the topping.
- Cut in the cold butter using a pastry blender or your fingertips until the mixture resembles coarse crumbs.
- Sprinkle the oat topping evenly over the apple mixture in the baking dish.
- Bake for 35 to 45 minutes, or until the topping is golden brown and the apple filling is bubbling and tender when pierced with a fork.
- Let the crisp cool for at least 15 minutes before serving.
Notes
- Richard suggests using a mix of tart and sweet apples for the best flavor balance.
- For an extra crunch, add 1/4 cup of chopped walnuts or pecans to the topping mixture.
- Serve warm with vanilla bean ice cream or a dollop of fresh whipped cream.
Nutrition
- Serving Size: 1 serving
- Calories: 350
- Sugar: 30g
- Sodium: 120mg
- Fat: 18g
- Saturated Fat: 11g
- Unsaturated Fat: 7g
- Trans Fat: 0g
- Carbohydrates: 48g
- Fiber: 5g
- Protein: 4g
- Cholesterol: 45mg