

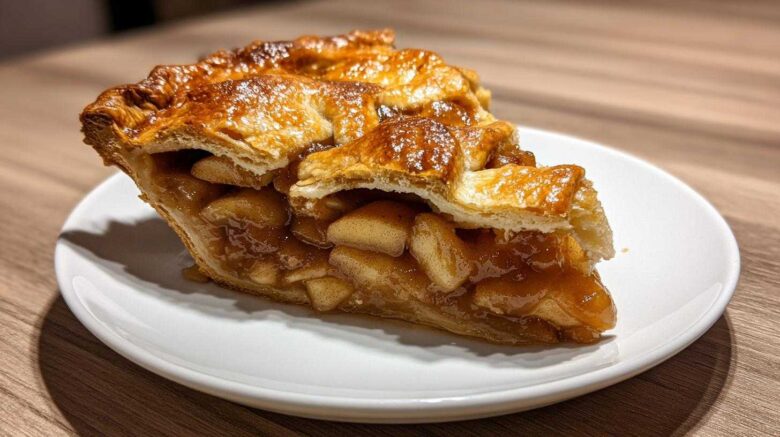
The Comfort of a Homemade Apple Pie: Our Kitchen Time Machine
Welcome, dear friends, to our latest diary entry. Richard and I love traveling. We collected so many wonderful tastes globally. But some flavors just scream “home.”
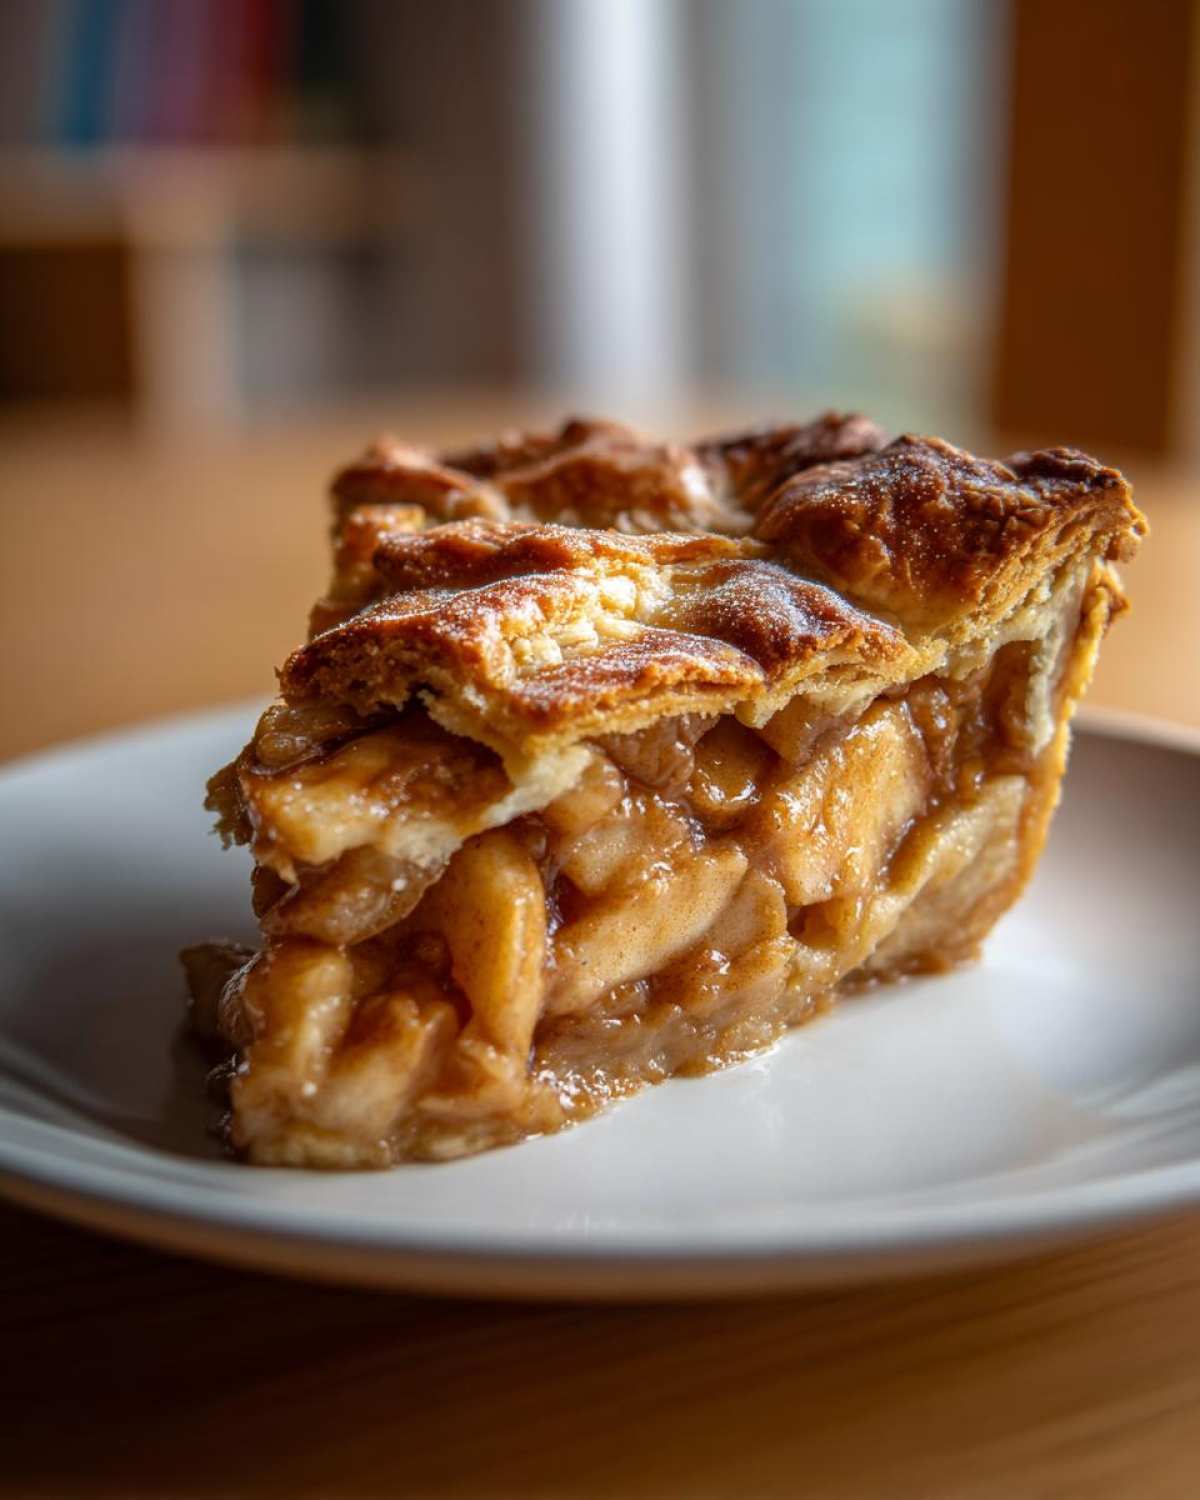
Nothing brings back our best memories quite like a perfect, Homemade Apple Pie. This recipe isn’t new. It’s a classic we’ve perfected over decades.
We’re going completely from scratch here. That means a wonderfully flaky crust. The scent alone fills our kitchen with warmth. No heading needs to be written for the introduction. It’s just pure comfort food, ready for you.
Why You’ll Love This Homemade Apple Pie
I know what you’re thinking. Baking from scratch takes time. But this recipe is worth every minute, I promise you that.
It’s the classic American dessert we all crave. Richard always asks for it now. It tastes just like we remember from our early days together.
Here are the reasons this beauty belongs in your rotation:
Key Benefits of Our Homemade Apple Pie
- You get that incredible, shatteringly flaky crust every time.
- The filling tastes perfectly balanced, not too sweet.
- It’s a truly rewarding baking experience.
Making this pie feels like a success story. It’s simple enough for beginners, really. For more baking inspiration, check out our general blog.
Ingredients for the Perfect Homemade Apple Pie
Gathering your ingredients is the first big step. Think of this as collecting the notes for our recipe diary entry. Precision matters here. Especially for the crust, being exact helps so much.
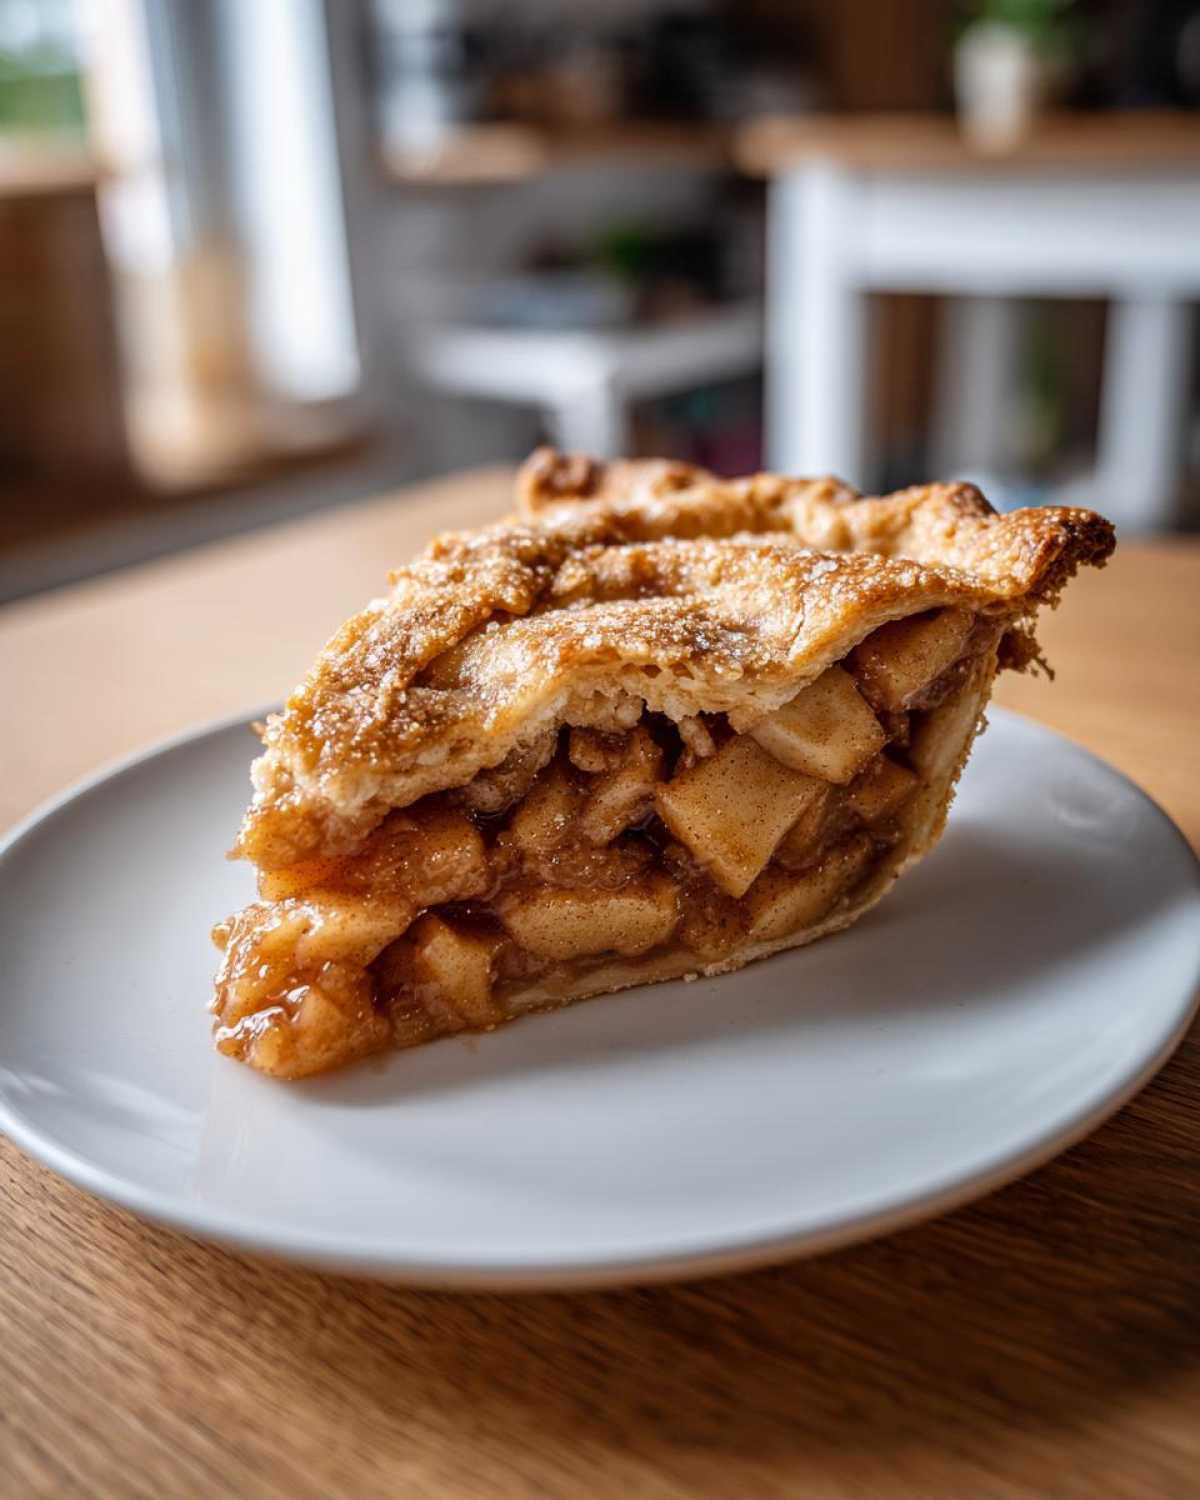
We are making everything fresh today. That means no shortcuts on the good stuff. I’ve listed everything clearly below. Get your measuring cups ready!
Ingredients for the Flaky Pie Crust
The secret to that beautiful, light texture starts right here. Keep everything cold. I mean ice cold! Richard always jokes I use snow from the freezer.
- 2 1/2 cups all-purpose flour for structure.
- 1 teaspoon of salt to bring out flavor.
- 1 cup (that’s two whole sticks) of unsalted butter. It must be very cold and cut into small cubes.
- 6 to 8 tablespoons of ice water. Use only what you need.
Ingredients for the Cinnamon Apple Filling
This filling is where the spice magic happens. Don’t skimp on the cinnamon! A good mix of apples keeps things interesting.
- 6 medium baking apples. Try Granny Smith or Honeycrisp.
- Peel, core, and slice them about 1/4-inch thick.
- 3/4 cup granulated sugar for sweetness.
- 2 tablespoons all-purpose flour to help thicken juices.
- 1 teaspoon ground cinnamon. Really pack that spoon!
- 1/4 teaspoon ground nutmeg for warmth.
- 1 tablespoon fresh lemon juice for brightness.
We also need one large egg for the wash. Plus, some coarse sugar to make it sparkle on top. That little bit of crunch is fantastic.
Equipment Needed for Your Homemade Apple Pie
You don’t need fancy gadgets for this classic bake. My tools are old friends. They’ve seen years of delicious work.
Having the right gear makes the process much smoother. It keeps frustration away from your kitchen counter. Gather these things before you start mixing.
- A good 9-inch pie plate. Glass or ceramic works well here.
- A large bowl for mixing up the dough first.
- A separate bowl for tossing the apple filling gently.
- A pastry blender or even just your clean fingertips.
- A sturdy rolling pin for rolling out the dough disks.
- Sharp knife for slicing those apples just right.
- A pastry brush for applying that lovely egg wash.
These simple items get the job done beautifully. Remember, the best tool is always a patient hand!
Step-by-Step Instructions for Homemade Apple Pie
Now for the fun part, putting it all together! Follow these steps closely. I promise you’ll feel like a baking pro when you’re done. We move slowly here. That keeps the results fantastic.
Making the Flaky Dough for Your Homemade Apple Pie
Start by combining the flour and salt in a big bowl. Don’t skip whisking them first. Next, you cut in the cold butter. Use your pastry blender. Or just your fingertips, that’s what I usually do.
Work it quickly until you see pea-sized butter bits. Those little cold pockets are key to flakiness. Now, add the ice water slowly. Add it one tablespoon at a time. Stop adding water right when the dough just starts to hold together. Don’t knead it! Overworking dough is a baking sin. For more baking tips, see our guide on baking techniques.
Divide the dough into two equal portions. Shape each into a flat disk. Wrap them tightly in plastic wrap. Put them straight into the fridge. They need at least one hour to chill out. This resting phase is non-negotiable.
Preparing the Classic Apple Filling
While the dough rests, tackle the apples. Put all your sliced fruit in a large mixing bowl. Now add the sugar and the flour. Toss everything gently together. We don’t want mushy apples.
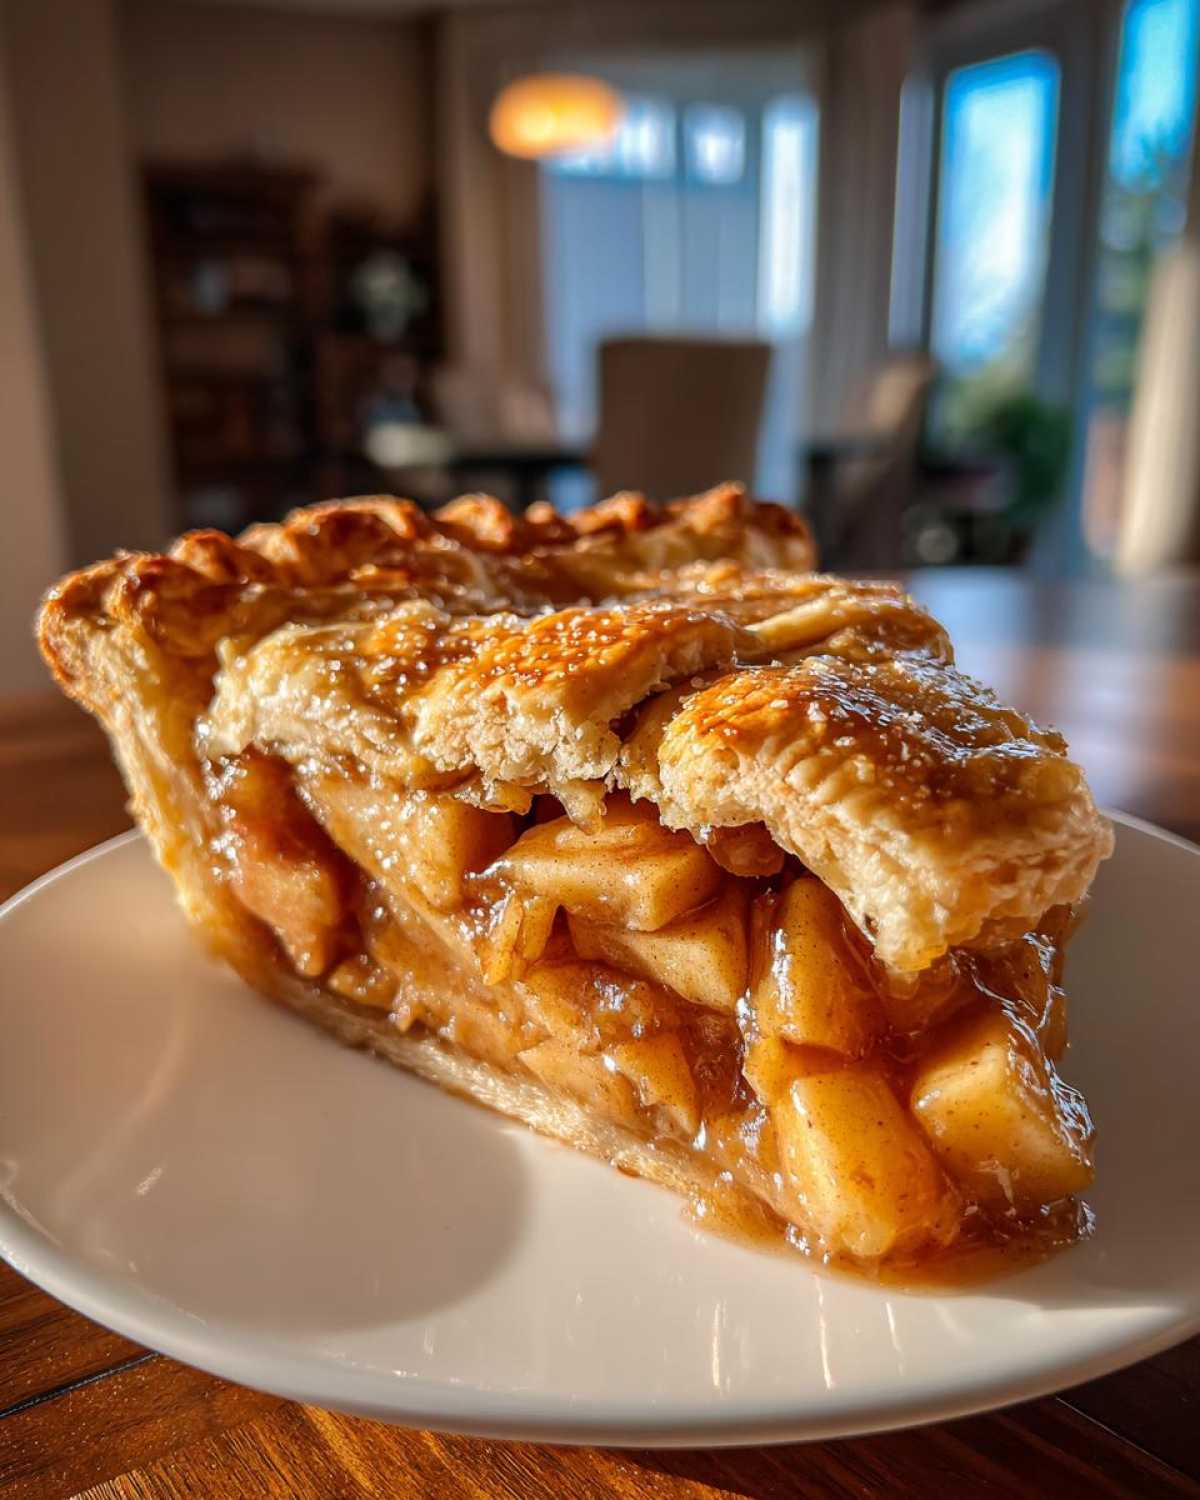
Sprinkle in the cinnamon and nutmeg next. Add that lemon juice too. Toss it again. Make sure every slice gets coated nicely. The coating prevents the apples from weeping too much juice. Understanding the science behind why apples weep juice can be helpful, often related to osmotic pressure in food science.
We also need to get the oven ready. Preheat that oven to 425\u00b0F (220\u00b0C). High heat starts the crust beautifully.
Assembling and Baking Your Homemade Apple Pie
Flour your counter lightly. Roll out one dough disk until it’s about 12 inches across. Carefully lay this into your 9-inch pie plate. Trim the edges, leaving a 1-inch overhang.
Pour all that spiced apple filling right into the bottom crust. Dot the top with a few tiny cold butter slivers, if you want extra richness. Roll out the second dough disk for the top. Place it over the filling.
Crimp the edges together firmly to seal the pie tight. Cut several slits in the top crust. This lets the steam escape as it bakes. Brush the top with your beaten egg wash. Sprinkle that coarse sugar over the top for sparkle.
Bake it hot first, for 15 minutes at 425\u00b0F. Then, lower the heat to 375\u00b0F (190\u00b0C). Bake for another 40 to 50 minutes. Look for golden brown color and bubbling filling. If edges darken too fast, cover them with foil strips. Finally, let the pie cool for two full hours. This step sets the filling perfectly. Patience brings the best slice! If you are looking for other fall desserts, try our Apple Pie Cinnamon Rolls.
Tips for Success When Making Homemade Apple Pie
After forty years of baking this recipe, I’ve learned a few things. Richard always says I have a sixth sense for pie dough. Trust me, this comes from practice.
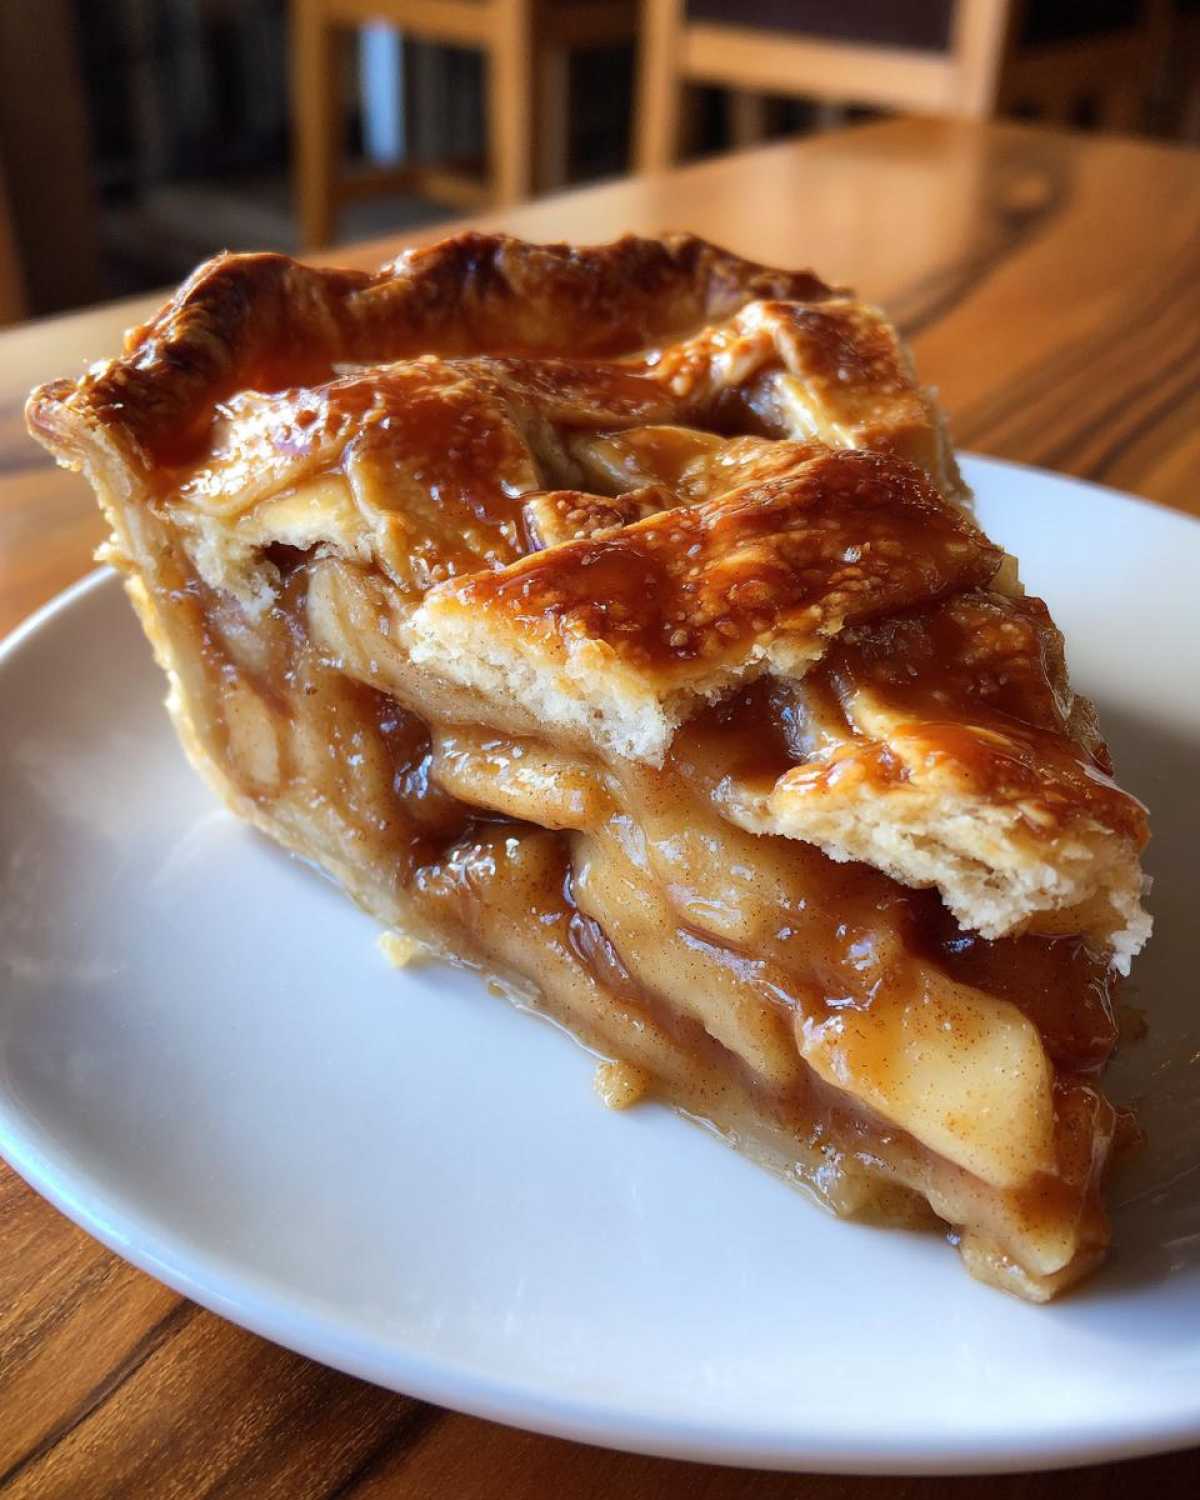
Getting that perfect texture isn’t luck. It’s about temperature control, mostly. I want you to have the same flaky crust I do.
- Keep your butter rock hard before you start. If it softens even a little, pop it back in the freezer briefly. Cold fat creates steam pockets. That steam lifts the dough layers beautifully.
- Don’t rush the chilling time for the dough disks. One hour is the minimum. Two hours in the fridge makes rolling much easier later on.
- When mixing the apples, be gentle. You want slices, not applesauce. Rough handling breaks them down too much.
- Use a mix of apples for depth of flavor. Granny Smiths give tartness. Honeycrisp adds sweetness and holds its shape well during baking.
Remember the two-step baking temperature. That initial blast of heat sets the bottom crust. Reducing the heat prevents the top from burning too soon. It’s a balancing act I’ve mastered over many ovens!
And please, let it cool completely. That two-hour rest is essential. If you slice it hot, the filling runs everywhere. Nobody wants soup in their pie plate!
Frequently Asked Questions About Your Homemade Apple Pie
I get so many wonderful questions after folks try this recipe. Baking is a journey, after all. Let’s clear up a few things right now.
These common worries often trip up new bakers. Knowing the answers helps you achieve a perfect result.
Can I use pre-made crust for this Homemade Apple Pie recipe
Well, you certainly can reach for store-bought dough. I won’t tell Richard! Sometimes time is short, and that’s okay.
But, honestly, the magic of this dessert is the crust. Our recipe delivers such a wonderful, light texture. I really encourage you to try making it from scratch just once. You’ll taste the difference immediately.
What is the secret to a flaky crust
This secret is simple physics, really. It all comes down to keeping that fat cold. Very cold butter, cut into small pieces, is what you need.
When the cold butter hits the hot oven air, it turns to steam fast. That steam pushes the dough layers apart. This creates those lovely, delicate flakes you want in your Flaky Crust. If the butter melts before the oven heats up, you get a tough, dense bottom instead. Keep it chilly!
Storing and Reheating Your Homemade Apple Pie
Once you’ve managed to wait for that cooling period, you face the next challenge. How do you keep this beauty fresh?
This Classic Apple Pie keeps well, but handling leftovers requires care. We want to protect that tender crust.
Here are my favorite ways to store and revive your baked masterpiece.
- Cover the cooled pie loosely with plastic wrap or foil.
- Store it right on the counter at room temperature for up to two days. Counter storage keeps the crust crisper.
- If your kitchen is very warm, you can refrigerate it. Cover it tightly if you refrigerate. It’s good for about four days total.
Reheating is important for the best texture. Cold pie is good, but warm pie is heaven.
To reheat a slice, use a moderate oven, around 350\u00b0F (175\u00b0C). Place the slice on a baking sheet. Heat it for about 10 to 12 minutes. This warms the filling up. It also re-crisps the crust nicely.
I never use the microwave for pie. Microwaving makes the crust soggy fast. That ruins all the hard work we put into the dough!
Understanding the Nutrition in Your Homemade Apple Pie
Now, Richard and I love to eat! We focus on flavor, not counting every little thing.
When you bake from scratch, nutrition varies a lot. It depends on your butter brand. It changes based on how much sugar you decide to use.
So, we skip the precise numbers here. This recipe is about joy, not strict measurement.
Think of this Homemade Apple Pie as a wonderful treat. Enjoy it with family and friends.
The ingredients are simple, whole foods. That’s what matters most to us. For other simple, whole-food recipes, check out our Loaded Hummus Meal Bowls.
Serve a slice and make a memory. That’s the best kind of fuel!
Share Your Homemade Apple Pie Experience
Well, friends, that’s the final page in this diary entry.
We’ve made the dough and filled the pie. Now it’s your turn to bake!
I truly hope this recipe brings you comfort. Maybe it brings back a memory for you too.
Richard and I treasure hearing from you all. Your successes make our day brighter.
Did you try a different apple blend? Did your crust turn out perfectly flaky?
Please leave a rating for this Homemade Apple Pie below. Tell us about your baking adventure in the comments.
We love building this community of Delish Diarists together. Happy baking, and I hope to read your notes soon!
PrintHomemade Apple Pie: Eleanor’s 40-Year Secret
Make this classic homemade apple pie from scratch. You will create a flaky crust and fill it with perfectly spiced apples for a comforting, traditional dessert.
- Prep Time: 45 minutes
- Cook Time: 65 minutes
- Total Time: 2 hours 50 minutes
- Yield: 8 servings
- Category: Dessert
- Method: Baking
- Cuisine: American
- Diet: Vegetarian
Ingredients
- 2 1/2 cups all-purpose flour
- 1 teaspoon salt
- 1 cup (2 sticks) unsalted butter, cold and cubed
- 6 to 8 tablespoons ice water
- 6 medium baking apples (like Granny Smith or Honeycrisp), peeled, cored, and sliced 1/4-inch thick
- 3/4 cup granulated sugar
- 2 tablespoons all-purpose flour
- 1 teaspoon ground cinnamon
- 1/4 teaspoon ground nutmeg
- 1 tablespoon lemon juice
- 1 large egg, beaten (for egg wash)
- 1 tablespoon coarse sugar (for sprinkling)
Instructions
- Prepare the crust: In a large bowl, whisk together the 2 1/2 cups flour and salt. Cut in the cold butter using a pastry blender or your fingers until the mixture resembles coarse crumbs with some pea-sized pieces of butter remaining.
- Gradually add the ice water, one tablespoon at a time, mixing gently until the dough just comes together. Do not overmix.
- Divide the dough in half, shape each half into a disk, wrap in plastic, and chill for at least 1 hour.
- Prepare the filling: In a large bowl, combine the sliced apples, granulated sugar, 2 tablespoons flour, cinnamon, nutmeg, and lemon juice. Toss gently to coat the apples evenly.
- Preheat your oven to 425°F (220°C).
- On a lightly floured surface, roll out one disk of dough into a 12-inch circle. Carefully transfer it to a 9-inch pie plate. Trim the edges, leaving a 1-inch overhang.
- Pour the apple filling into the pie crust. Dot the top of the filling with small pieces of remaining cold butter, if desired.
- Roll out the second disk of dough for the top crust. Place it over the filling. Trim the edges, leaving a 1-inch overhang. Crimp the top and bottom crust edges together to seal.
- Cut several slits in the top crust to allow steam to escape. Brush the top crust with the beaten egg wash and sprinkle with coarse sugar.
- Bake for 15 minutes at 425°F (220°C). Then, reduce the oven temperature to 375°F (190°C) and continue baking for 40 to 50 minutes, or until the crust is golden brown and the filling is bubbly. If the edges brown too quickly, cover them with foil.
- Let the pie cool on a wire rack for at least 2 hours before slicing and serving. This lets the filling set properly.
Notes
- Using a mix of tart and sweet apples gives the best flavor balance.
- For an extra flaky crust, keep all your ingredients very cold.
- If you prefer a lattice top, roll the second dough disk into strips instead of a full sheet.
Nutrition
- Serving Size: 1 slice
- Calories: Approximately 400
- Sugar: Approximately 35g
- Sodium: Approximately 250mg
- Fat: Approximately 22g
- Saturated Fat: Approximately 13g
- Unsaturated Fat: Varies based on butter type
- Trans Fat: Trace
- Carbohydrates: Approximately 50g
- Fiber: Approximately 3g
- Protein: Approximately 4g
- Cholesterol: Approximately 60mg