

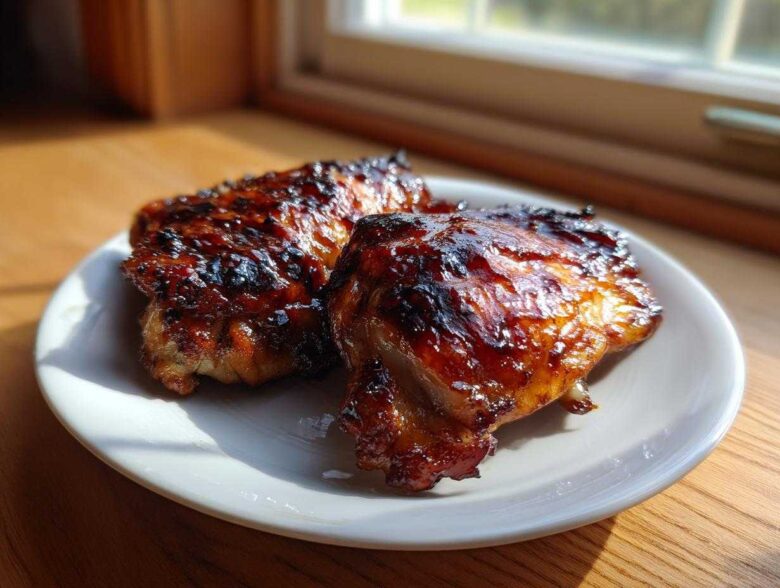
Oh, I know that feeling! You’re craving that perfect, sticky, sweet-and-savory flavor of Huli Huli Chicken, but life got busy, or maybe it’s pouring rain outside. We can’t always fire up the grill, right? Don’t you worry about it for one second! I finally nailed down the absolute best way to capture that authentic Hawaiian flavor right in your oven. This **Baked Huli Huli Chicken** recipe gives you that incredible tangle of pineapple tang and caramelized brown sugar glaze without ever lighting charcoal. Trust me, I perfected this method when I hosted a bunch of friends last minute and the weather totally turned sour. It’s foolproof, and honestly, cleanup is just a breeze!
Why This Baked Huli Huli Chicken Recipe Works (No Grill Needed)
Look, I love grilling as much as the next person, but sometimes you just need that bold flavor without babysitting the flames! This **No Grill Huli Huli Chicken** method is my secret weapon for busy weeknights. People think you need direct, high heat to get the sauce right, but that’s often not true—it can just burn the sugars too fast before the chicken cooks through. That’s not going to happen here!
When we bake, we allow the sauce time to penetrate the meat while slowly reducing onto the surface. The combination of the sugar, ketchup, and pineapple juice in this marinade actually caramelizes beautifully in the oven’s consistent heat. It gives you that gorgeous, thick, sticky coating, kind of like what you see in recipes for glazed baked chicken, but with that specific Hawaiian punch.
The 400°F setup ensures we are cooking fast enough to keep the thighs juicy but slow enough for that glaze to set perfectly. It’s truly the best result for an **Oven Baked Hawaiian Chicken** when you’re stuck inside!
Key Benefits of Oven Baked Huli Huli Chicken
- Maximum Flavor Absorption: Marinating the chicken thighs for several hours means the sauce does the heavy lifting, even without charring.
- Super Easy Cleanup: We’re using foil and a rack! Throwing out the mess is way faster than scrubbing a grill grate, making it an incredibly Easy Huli Huli Chicken Recipe for families.
- Consistent Glaze: The steady oven temperature caramelizes the sugars evenly, giving you that perfect sticky finish every single time.
Gathering Ingredients for Authentic Baked Huli Huli Chicken
You can’t fake flavor, honey! This is where the magic starts. Because we are relying on the oven to build that deep, yummy glaze, every single component in that sauce needs to be top-notch. If you skimp on the sweet or the tang, the final **Hawaiian Baked Chicken Marinade** will taste flat. I always make sure my jars of pineapple juice and soy sauce are ready to go because the balance in this sauce is what truly makes it shine.
The Essential Huli Huli Sauce Components
This list might look long, but these are pantry staples for me now! You just dump them all together. Make sure you use packed brown sugar—that deep molasses flavor is non-negotiable for getting that rich color.
- 1 cup pineapple juice (the heart of the sweetness!)
- 1/2 cup soy sauce (for that necessary salty depth)
- 1/2 cup packed brown sugar
- 1/4 cup ketchup (yes, ketchup! It adds body and tang.)
- 2 tablespoons fresh ginger, grated (please grate it fresh, trust me!)
- 4 cloves garlic, minced
- 1 tablespoon rice vinegar
- 1 teaspoon sesame oil
- 1/2 teaspoon black pepper
Selecting the Best Chicken for Baked Huli Huli Chicken
I’m using boneless, skinless chicken thighs here because they are nearly impossible to mess up in the oven. Chicken breast is so lean, and if you bake it, it tends to dry out before that gorgeous sauce has had time to really cling and thicken. Thighs have a little more fat, which keeps them super tender and juicy while they soak up all those tropical flavors. This makes it a fantastic **Family Dinner Baked Chicken** choice!
Step-by-Step Instructions for Perfect Baked Huli Huli Chicken
Alright, this is where we turn that beautiful marinade into dinner! Don’t rush this part, okay? The marination time is what gets the flavor deep down into the meat, but the baking technique is what creates that restaurant-quality sticky exterior. We are aiming for incredibly tender chicken wrapped in a sweet and tangy hug of flavor, perfect for a sticky glazed chicken thigh experience.
Making the Flavorful Hawaiian Baked Chicken Marinade
First thing’s first: whisk that sauce together until everything looks smooth. You really need to spend a minute making sure that brown sugar is completely dissolved in the pineapple juice. If it’s grainy, you’re going to end up with crunchy bits on your chicken later, and we want smooth, sticky glaze, not sandpaper!
Once that sauce is liquid gold, divide it right away. Pour half over your chicken thighs in your bag or dish, making sure every piece gets coated. Seal it up tight and pop it in the fridge. **Two hours is your absolute minimum**, but if you can let it go for about six or eight hours, that’s when you start getting real flavor penetration. Remember to toss the used marinade when you take the chicken out! I usually use a little square bowl to keep the fresh basting sauce separate.
Baking and Caramelizing Your Baked Huli Huli Chicken
Now for the oven magic! Get that oven preheated to 400°F (200°C). This higher temperature is important. Line your sheet pan with foil—this saves you SO much time later—and then, and this is important for that crispy skin feeling, put a wire rack on top. The rack lets the hot air circulate all around the chicken, so the bottom doesn’t just steam in its own juices. Place your marinated thighs on that rack and bake for 15 minutes to start.
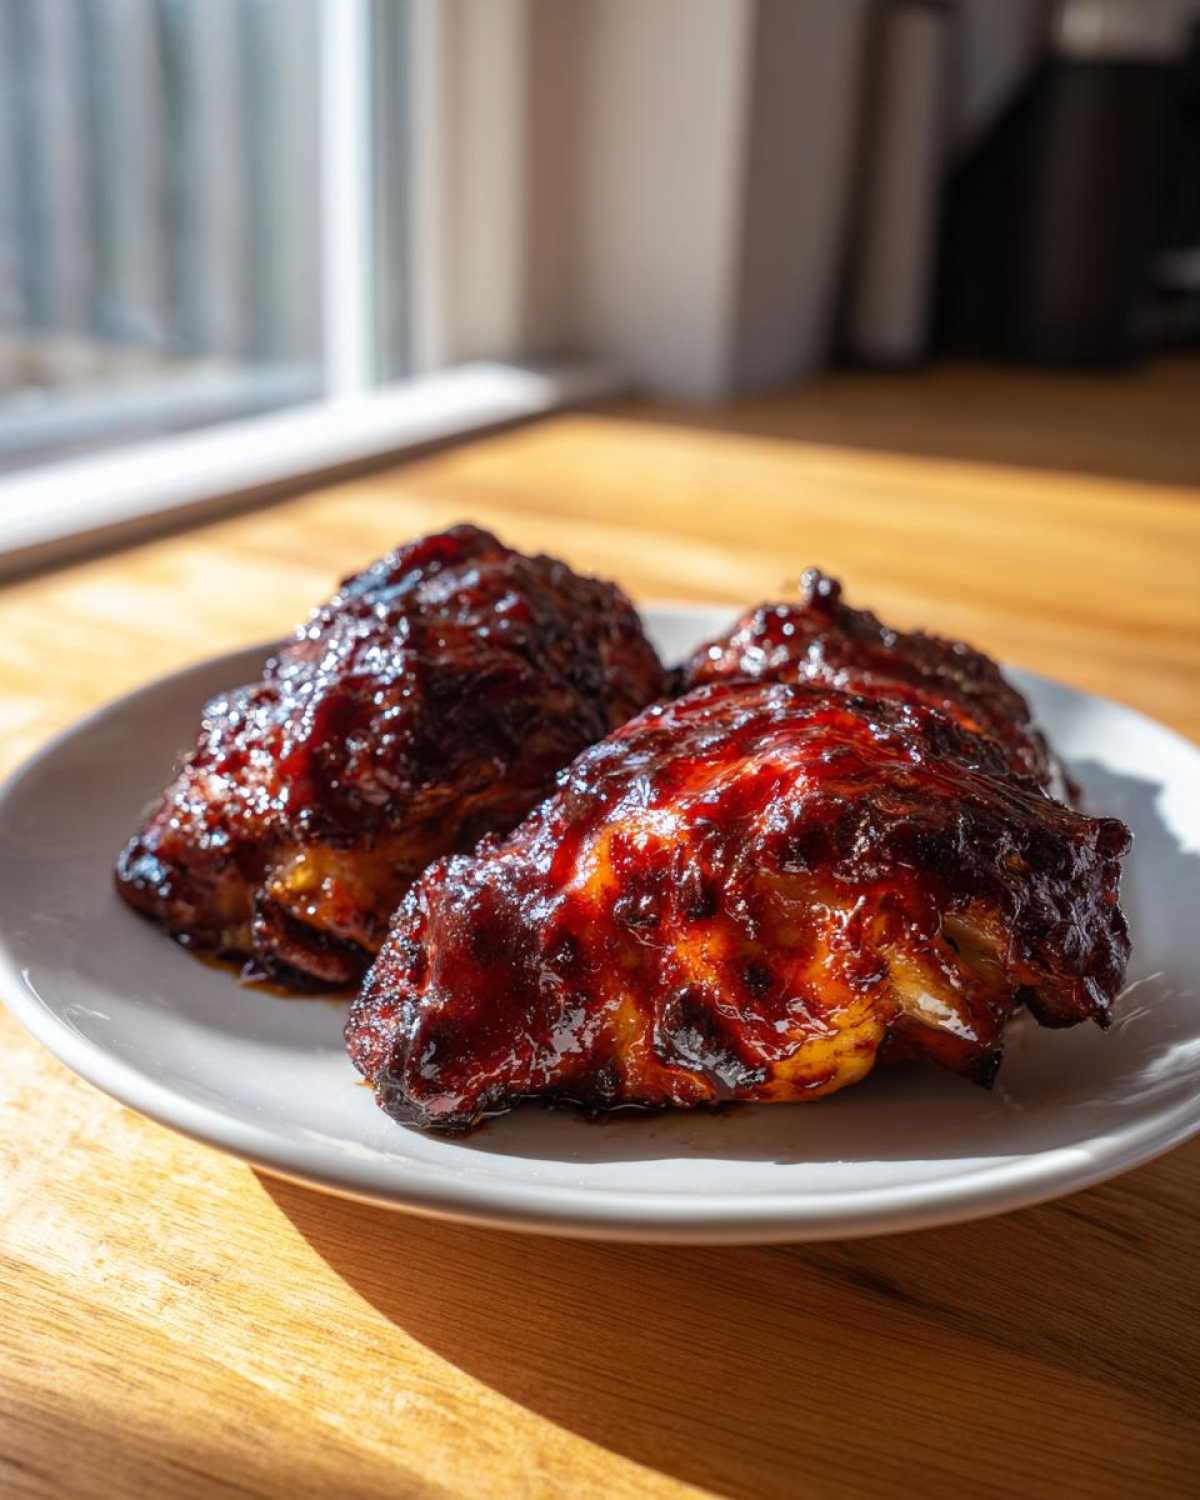
After 15 minutes, pull the pan out, and get ready to baste! Brush that reserved, fresh sauce heavily over the tops of the chicken. That basting is what builds the sticky glaze we’re obsessed with! Put it back in for another 10 to 15 minutes. You’re looking for that internal temperature to hit a safe 165°F (74°C). Seriously, use a meat thermometer for this part; food safety first! You want the sauce to look dark, bubbling, and absolutely stuck to the meat. Seriously, look at those colors—it’s like crispy baked wings texture but way healthier!
Tips for the Best Baked Huli Huli Chicken Results
Even though this is an incredibly easy recipe, sometimes your chicken needs just a little nudge to reach perfection. I’ve played around with this so many times to make sure it works perfectly every time you try it. A little trick I learned is that the initial 30-minute bake time is just a starting point. We want that gorgeous deep color and sticky texture!
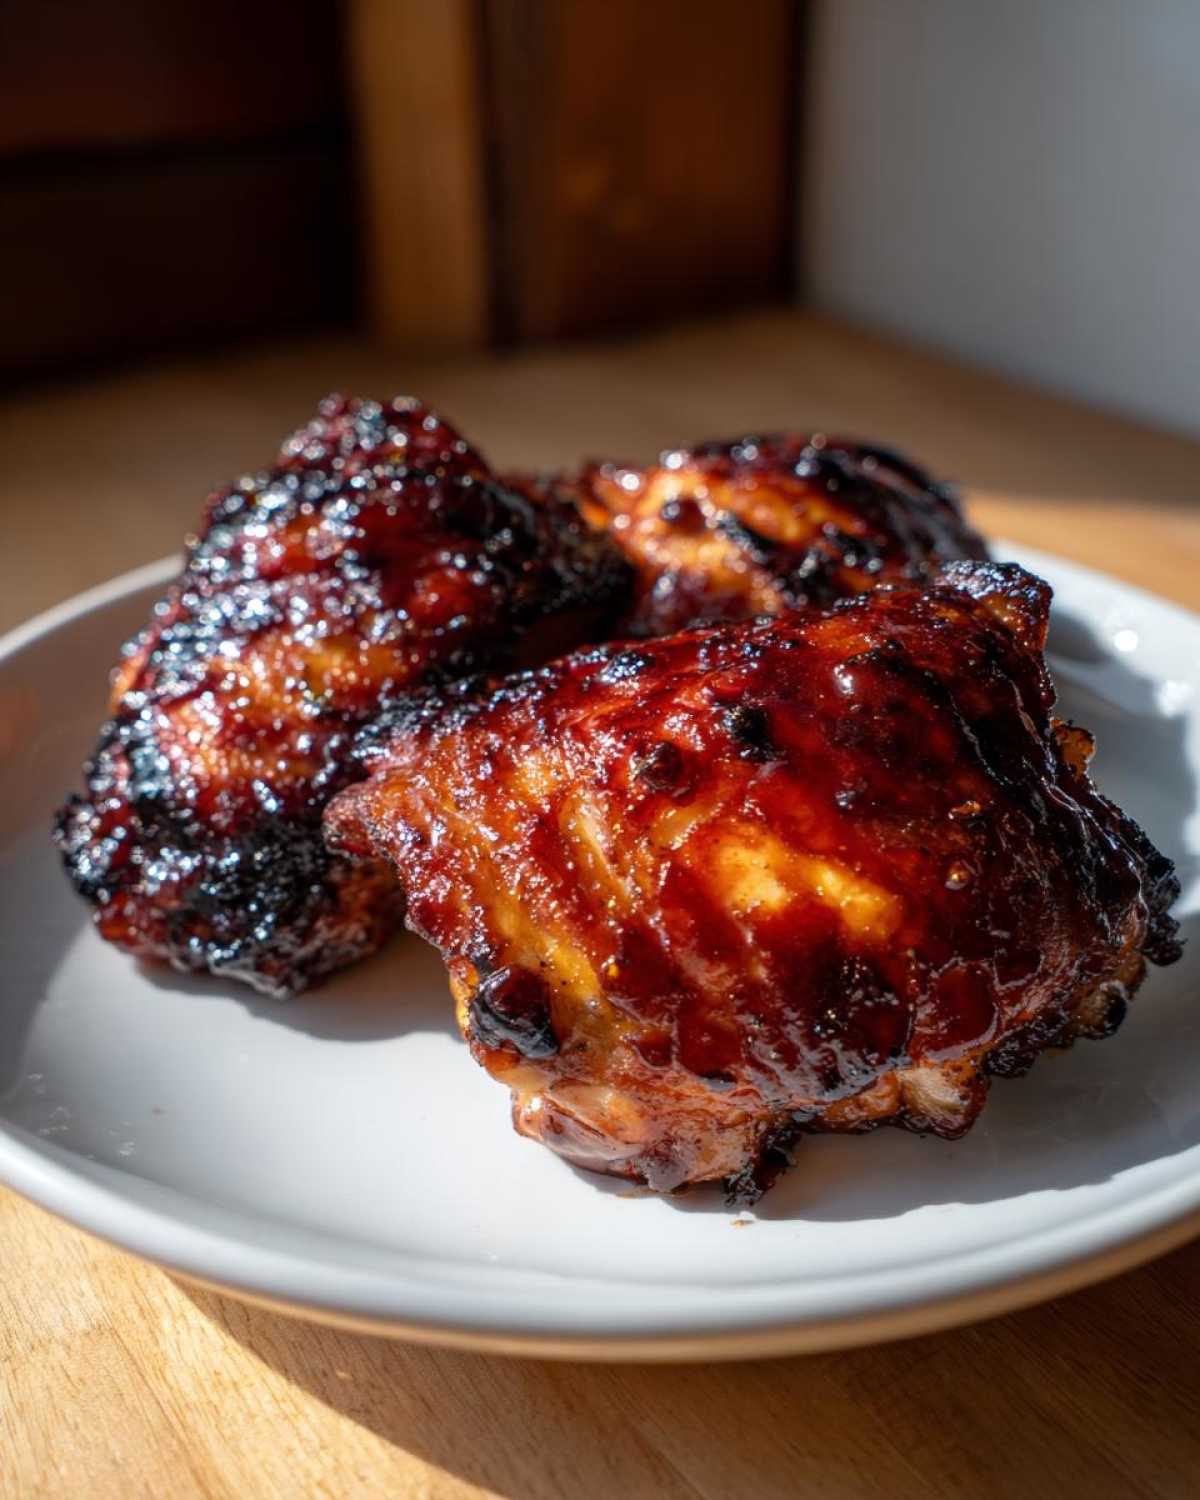
If your chicken is looking pale after that second 15-minute bake, don’t sweat it! This is when you pull out your broiler. Just slide the tray under the heat for 1 to 2 minutes, watching it like a hawk! The sugars in the sauce will burn fast if you look away for a second! This final blast gives you that gorgeous, slightly charred look you expect from real Huli Huli, making it an amazing caramelized baked chicken finish.
Also, if fresh ginger is missing from your life—oops!—I’ve found that 1 teaspoon of ground ginger works in a pinch for the marinade. It just won’t have that bright *zing* that the fresh stuff gives, but flavor will still be there!
Achieving Crispy Skin on Your Oven Baked Hawaiian Chicken
If you want to elevate this straight to the ‘wow’ factor, ditch the boneless thighs and go for bone-in, skin-on thighs instead. They take longer to cook, so adjust your time—start checking around 35 minutes before you baste. The main trick here is making sure you use that wire rack! That rack lets the fat drip away and the hot air blasts the skin, helping it crisp up beautifully while the sauce sticks below it. It’s the perfect compromise for an **Oven Baked Hawaiian Chicken** that feels like it came off the grill!
Serving Suggestions for Your Pineapple Glazed Baked Chicken
You’ve got this incredible, sticky, sweet-and-tangy chicken, now what goes next to it? You need sides that can handle that powerful flavor and soak up any extra drips of that amazing glaze! For the most authentic feel, you absolutely must serve this over a big scoop of plain white rice. It’s the perfect canvas for the sauce.
If you want something green, keep it light! A simple, crisp cucumber and tomato salad with a splash of rice vinegar is amazing. Or, if you want another carb, try whipping up some garlic quinoa instead of plain rice; it adds a little something extra without fighting the main event. This whole meal comes together so fast, it’s perfect for a weeknight!
Storage and Reheating Instructions for Leftover Baked Huli Huli Chicken
Now, the best part about making a big batch of this chicken—even though it disappears fast—is that leftovers make for an absolutely killer lunch the next day. Because we used chicken thighs and made sure that sauce really penetrates the meat, it reheats surprisingly well!
When you’re putting them away, make sure they cool down just a touch first. Then, nestle them into a good airtight container. You want to keep as much of that moisture in as possible, so don’t just pile them in a zip-top bag. If you’re planning on eating them within three or four days, the fridge is fine. This is why it’s such a fantastic option for a **Family Dinner Baked Chicken**—you get two meals for the price of one cooking effort!
When it comes time to warm them up, ditch the microwave if you can! The microwave tends to blast the sugars in the glaze and can make them tough. My favorite method for bringing these back to life is back in the oven at about 350°F (175°C) for about 10 minutes. You could add a tiny splash of water or reserved pineapple juice to the bottom of the pan and cover it briefly with foil to steam them gently. If you are in a rush, the microwave works on 50% power for short bursts. Just watch that sticky glaze; it likes to bubble up fast!
Frequently Asked Questions About How to Bake Huli Huli Chicken
Okay, I know when I try a new recipe, my brain immediately jumps to all the ways I might mess it up or if I can swap ingredients around! It’s totally normal to have questions, especially when deviating from traditional grilling. I pulled together the most common things readers ask me about this **How to Bake Huli Huli Chicken** guide. Hopefully, this covers everything you need to feel confident!
Can I substitute chicken breasts for thighs in this Baked Huli Huli Chicken Recipe?
Yes, you absolutely *can*, but you have to be extra careful! Chicken breasts cook much faster than thighs, and because they are leaner, they dry out faster under the glaze. If you must use breasts, your initial bake time should probably only be 10 minutes before you baste, and the second bake should be just until they hit that safe temp of 165°F. Seriously, pull them out immediately when they hit the mark, or you’ll end up with dry chicken!
What is the minimum marination time for Oven Baked Hawaiian Chicken?
I listed 2 hours in the recipe, and that will certainly give you a nice flavor boost. That’s perfect if you’re in a rush for a **Weeknight Hawaiian Chicken** dinner. However, if you have any extra time—and I mean *any* extra time—go for 6 to 8 hours. That extra marinade time really lets the soy sauce and ginger soak deep into the meat fibers. I even used a little trick I learned for longer marination on some thighs once, and the flavor difference was huge!
Is this Sweet and Tangy Baked Chicken okay to freeze?
It freezes well, but with a slight caveat regarding the glaze. The sugary sauce can sometimes get a little weepy when thawed, which is normal. The best way to freeze it is to bake it completely, let it cool fully, and then store it in a freezer-safe bag or container. When you reheat it, the glaze might look a little runny at first, but just toss it gently after it warms up, and it should look great!
Can I use pre-made Huli Huli sauce instead of mixing my own?
Oh, I totally get it—sometimes you just don’t have the time to grate ginger or measure ketchup! Yes, using a good quality store-bought version is fine if that’s what you need for your **Easy Huli Huli Chicken Recipe**. Just make sure you reserve about half of whatever sauce you use for basting, just like we do with the homemade version. That final basting coat is what creates that signature thick, sticky crust!
Nutritional Estimates for This Easy Huli Huli Chicken Recipe
I know some of you are tracking macros or just curious about what’s in our favorite dishes, so I pulled together some rough numbers for this **Easy Baked Huli Huli Chicken Recipe**. I want to be super clear, okay? Because we are using brown sugar and soy sauce heavily in this divine glaze, the sugar and sodium content is definitely higher than a plain baked chicken.
These numbers are based on using 2 lbs of boneless, skinless thighs, yielding 4 servings, so think of this as one thigh plus the sauce baked onto it. Use these figures as a good guideline, but if you have to use different brands or adjust your sugar down, your personal counts will change!
Here’s the breakdown from our recipe:
- Serving Size: 1 thigh
- Calories: 350
- Sugar: 25g (Totally worth it, by the way!)
- Sodium: 850mg (Soy sauce!)
- Protein: 32g
- Fat: 12g (Mostly from the tasty thighs!)
- Carbohydrates: 28g
Remember, this is really fueling! It’s a great protein source with enough carbs from the pineapple juice and sugar to feel satisfying, especially when paired with a light side dish. It’s a delicious, flavor-packed option for your **Weeknight Hawaiian Chicken** rotation!
Share Your Weeknight Hawaiian Chicken Success
That’s it! You’ve gone from craving Hawaiian flavors to having a batch of the most delicious, sticky, sweet-and-tangy **Baked Huli Huli Chicken** sitting right there on your counter. I seriously hope this gives you that easy weeknight win we all desperately need! Now that you’ve tried my oven method, I would absolutely love to hear what you thought about it.
Did the glaze turn out as sticky as you hoped? Did the 400°F setting work perfectly in your oven? Don’t be shy—come back here and leave me a rating, maybe even five stars if you’re feeling generous! Sharing your feedback truly helps me keep making these recipes better for everyone!
And please, please, *please* take a picture! If you made this amazing **Weeknight Hawaiian Chicken**, snap a shot of those gorgeous glazed thighs and tag me on social media. Let’s show everyone that you absolutely do not need a grill to capture the spirit of the islands. If you’re itching for more easy dinner ideas or updates, you can always check out the main blog page for my latest experiments!
PrintEasy Baked Huli Huli Chicken Thighs
Bake chicken thighs in the oven using a sweet and tangy Huli Huli sauce for a convenient, flavorful meal without a grill.
- Prep Time: 15 min
- Cook Time: 30 min
- Total Time: 45 min
- Yield: 4 servings
- Category: Dinner
- Method: Baking
- Cuisine: Hawaiian
- Diet: Low Fat
Ingredients
- 2 lbs boneless, skinless chicken thighs
- 1 cup pineapple juice
- 1/2 cup soy sauce
- 1/2 cup packed brown sugar
- 1/4 cup ketchup
- 2 tablespoons fresh ginger, grated
- 4 cloves garlic, minced
- 1 tablespoon rice vinegar
- 1 teaspoon sesame oil
- 1/2 teaspoon black pepper
Instructions
- Combine pineapple juice, soy sauce, brown sugar, ketchup, ginger, garlic, rice vinegar, sesame oil, and black pepper in a bowl. Whisk until the sugar dissolves to make the Huli Huli sauce.
- Place the chicken thighs in a large resealable bag or shallow dish. Pour half of the sauce over the chicken, reserving the other half for basting.
- Marinate the chicken in the refrigerator for at least 2 hours, or up to 8 hours.
- Preheat your oven to 400°F (200°C). Line a baking sheet with foil and place a wire rack on top.
- Remove the chicken from the marinade, letting excess drip off, and place the thighs on the wire rack. Discard the used marinade.
- Bake for 15 minutes.
- Brush the chicken generously with the reserved fresh sauce.
- Return to the oven and bake for another 10 to 15 minutes, or until the internal temperature reaches 165°F (74°C) and the glaze is sticky and caramelized.
- Let the chicken rest for 5 minutes before serving.
Notes
- For crispier skin, you can use bone-in, skin-on thighs and increase the baking time slightly, checking frequently after 25 minutes.
- If you do not have fresh ginger, use 1 teaspoon of ground ginger.
- You can broil the chicken for the last 1-2 minutes to deepen the color, watching carefully to prevent burning.
Nutrition
- Serving Size: 1 thigh
- Calories: 350
- Sugar: 25
- Sodium: 850
- Fat: 12
- Saturated Fat: 3
- Unsaturated Fat: 9
- Trans Fat: 0
- Carbohydrates: 28
- Fiber: 0
- Protein: 32
- Cholesterol: 110