

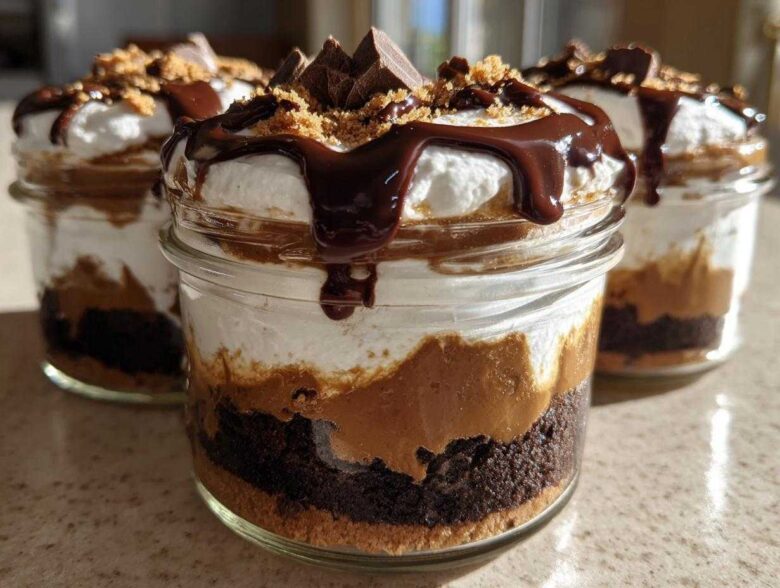
Are you ever just hit with a craving so intense you need dessert right now, but the thought of turning on the oven makes you sweat? I get it! That’s why I live for those desserts that give you maximum reward for zero oven time. And when you layer that classic, decadent chocolate and peanut butter combination into individual little containers? That’s pure genius. Trust me, these No-Bake Chocolate Peanut Butter Pie Jars are my go-to when I need something fast. There’s something so satisfying about a perfectly portioned treat that you can eat straight from the jar—no slicing required, and you get to control every single bite! If you love how easy it is to get a clean slice with my no-bake Nutella pie, wait until you see how simple these jars are to assemble.
Why You Need These No-Bake Chocolate Peanut Butter Pie Jars
Honestly, these jars solve just about every dessert dilemma I have. Forget about the mess of trying to cut a clean slice of pie! These are designed for instant gratification and portability. Seriously, these are my favorite single-serving desserts for a reason.
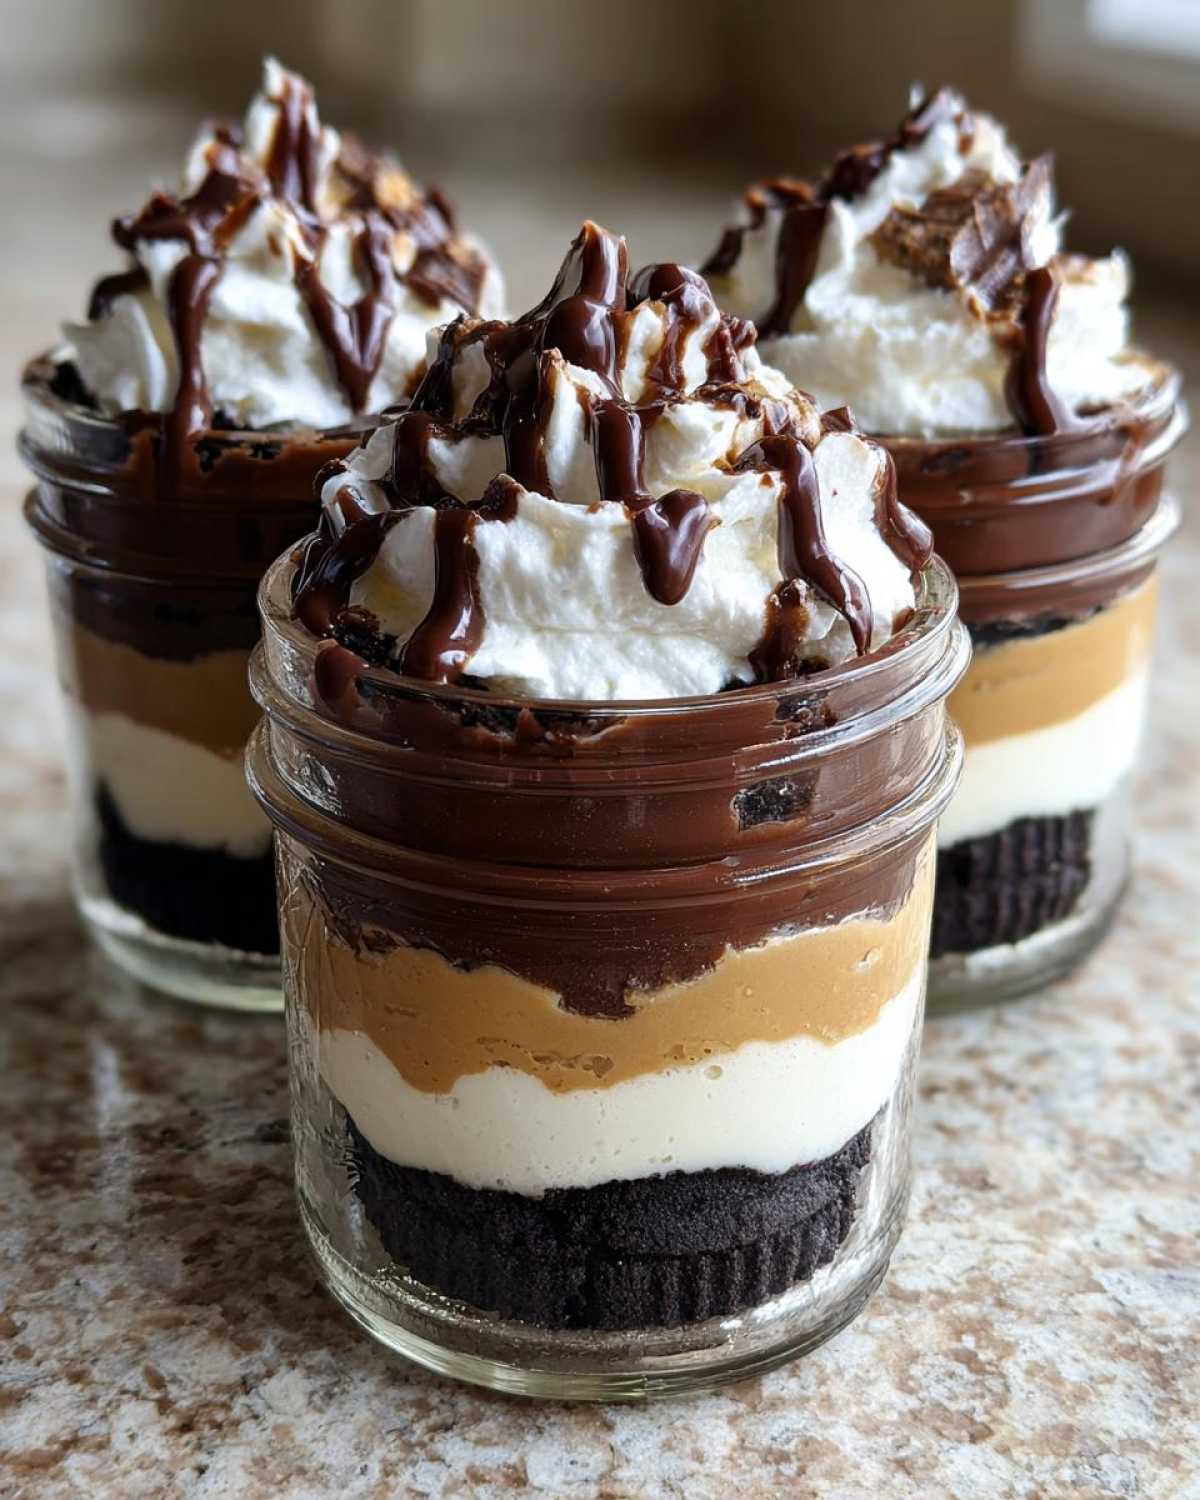
- Instant Gratification: You’re only waiting for a quick chill time, not a baking cycle.
- Portion Control (Kind of!): Everything is already in its own adorable little serving.
- Zero Cleanup Stress: Mix, layer, chill, and eat—the jars are your dish!
- Perfectly Portable: Pop the lids on and take them straight to a picnic or work lunch.
Gathering Ingredients for Your No-Bake Chocolate Peanut Butter Pie Jars
You won’t believe how simple the ingredient list is for these amazing treats! We’re leaning heavily on creamy textures here, so make sure your cream cheese is truly soft—no one wants lumps in their pie! When it comes to the peanut butter, please get the creamy kind; crunchy just throws off the smooth layering we’re aiming for in these jars. Think of this as a three-part symphony: crust, filling, and topping.
You’ll need about 15 chocolate sandwich cookies, crushed up fine—the butter helps bind them into that solid base. For the body of the filling, it’s the cream cheese mixed with a little powdered sugar and, critically, a healthy dose of your favorite creamy peanut butter. We need that heavy whipping cream too, whipped up nice and stiff with a bit more sugar to create that dreamy cloud on top. It’s all waiting for you! If you want to see how I handle PB flavor in other snacks, check out my chocolate peanut butter protein balls recipe.
Here’s the rundown of everything you should have ready before you start layering:
- 1 cup crushed chocolate sandwich cookies (about 15 cookies)
- 4 tablespoons unsalted butter, melted (Don’t try to skip this step, it sets the crust!)
- 1 cup creamy peanut butter (The smoother, the better!)
- 8 ounces cream cheese, softened—it MUST be softened!
- 1/2 cup powdered sugar (for the peanut butter layer)
- 1 teaspoon vanilla extract
- 1 cup heavy whipping cream (Nice and cold for whipping)
- 1/2 cup powdered sugar (for the whipped cream)
- 1/2 cup chocolate chips, melted (for that glorious final drizzle)
Essential Equipment for Perfect No-Bake Chocolate Peanut Butter Pie Jars
Since we’re not baking, we don’t need a ton of fussy pans, which is just fantastic for cleanup! But you definitely need the right tools to make those layers silky smooth. Grab your mixing bowls—you’ll need two, one for the filling and one for the cream, unless you want to wash between steps. An electric hand mixer is going to save your wrists when whipping that heavy cream, trust me.
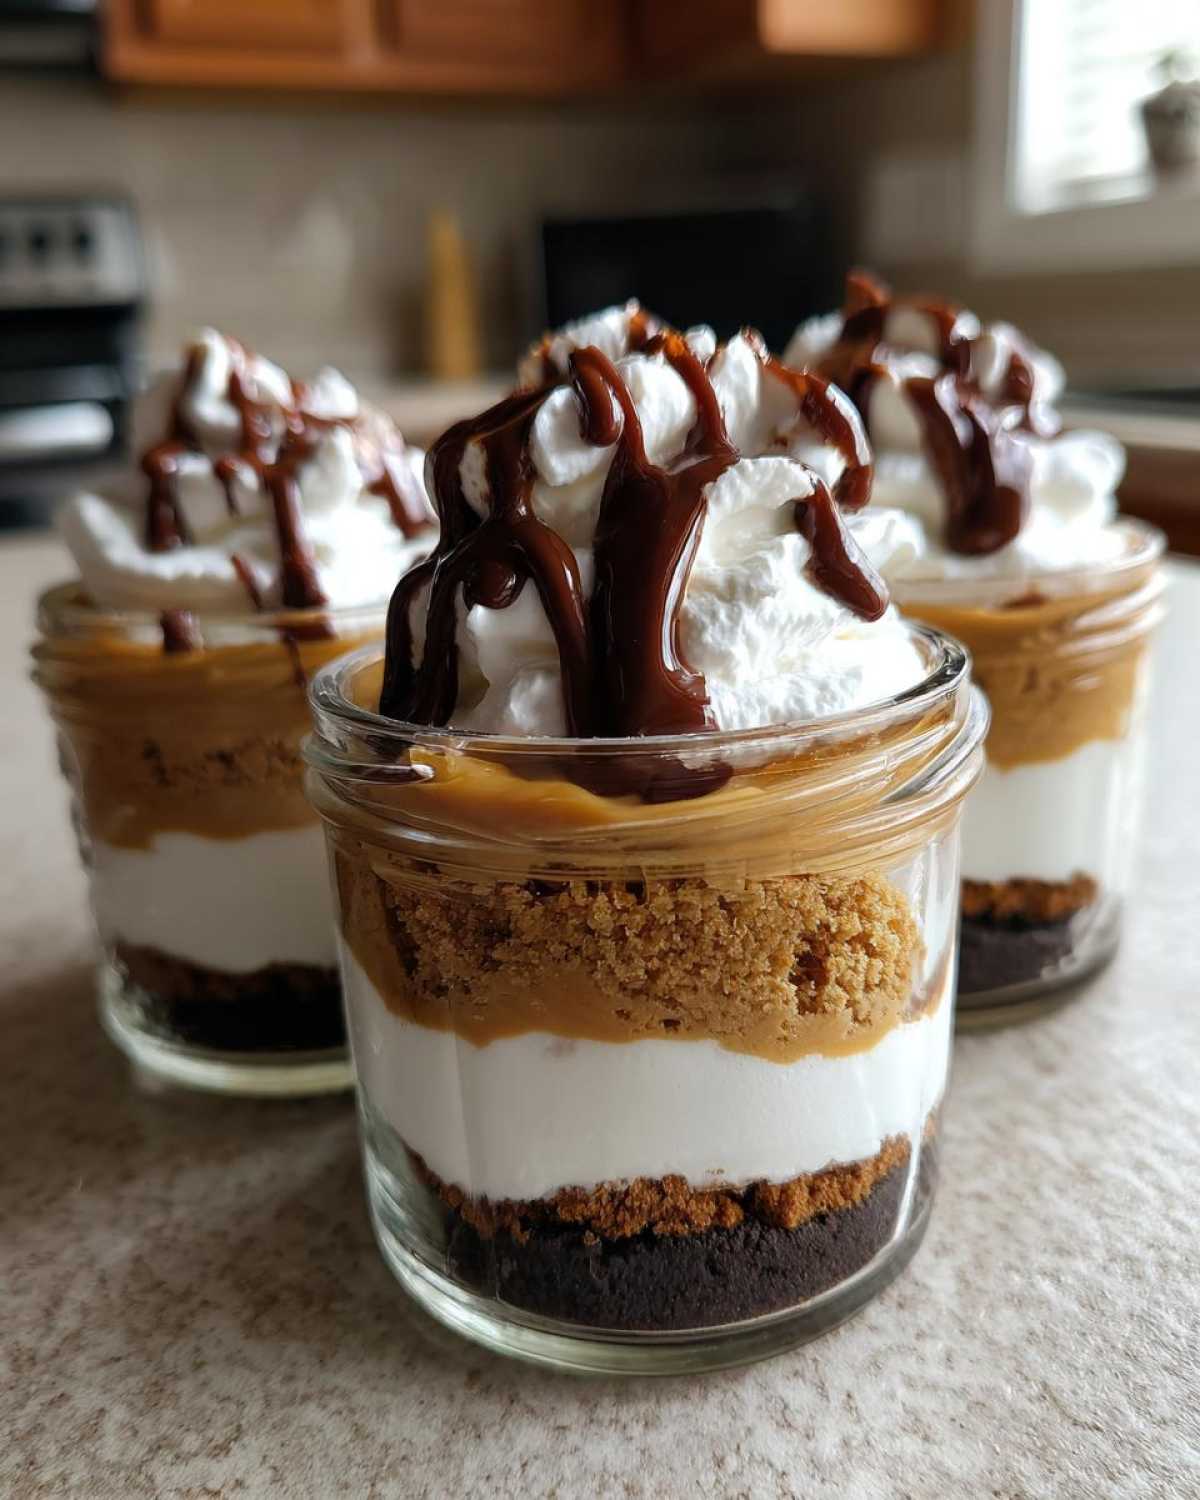
Make sure you have your four small jars ready to go—about 8-ounce mason jars are perfect for these Easy Mason Jar Treats. And don’t forget your rubber spatula; it’s the best friend for scraping every last bit of that creamy filling into the jars. That spatula ensures you don’t waste a single delicious drop!
Step-by-Step Assembly of No-Bake Chocolate Peanut Butter Pie Jars
Okay, now for the fun part—putting these beauties together! Since we aren’t baking, assembly is everything. We’re building flavor and texture from the bottom up, so pay attention to how you layer everything to make sure those jars look as good as they taste. Remember, even though it’s quick, chilling is non-negotiable for the structure to set up right. You want that perfect bite! If you want to see how I organize these tasty creations, check out my guide on layered dessert in a jar assembly.
Creating the Cookie Crust Base
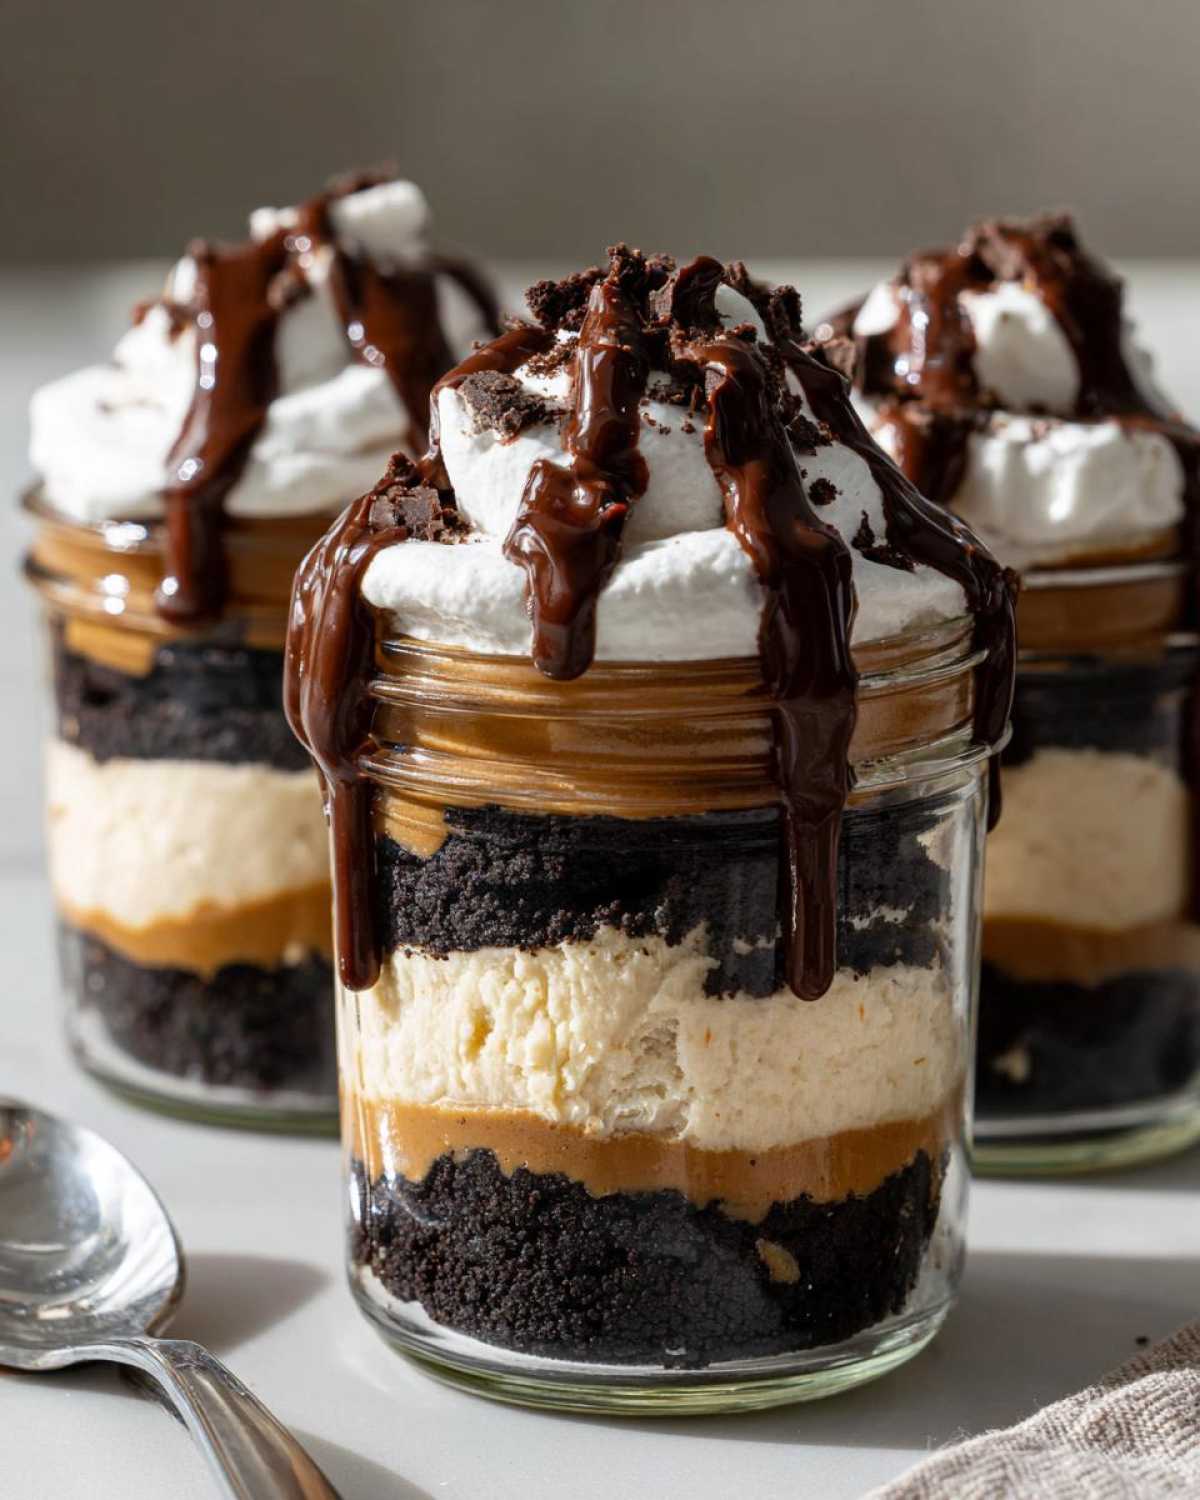
Grab your crushed cookies and pour the melted butter right over them. Mix it up until the crumbs look like wet sand—that’s the perfect consistency for a good crust. Divide this mixture evenly into the bottom of your four jars. Now, don’t just sprinkle it! Use the back of a small spoon or the bottom of a shot glass to press that layer down firmly. We need a solid foundation so the creamy layers don’t sink right through!
Mixing and Layering the Creamy Peanut Butter Filling
In a clean bowl—this is crucial—you need to beat your softened cream cheese, the first half cup of powdered sugar, the peanut butter, and vanilla until it’s absolutely silky smooth. If you see any chunks of cream cheese still hanging around, keep mixing! To get those gorgeous, clean lines in your jar, put this mixture into a sturdy zip-top bag, snip off a corner (or use a piping tip if you’re fancy), and pipe it right over your crust. Smooth it out gently to even the layer.
Whipping the Topping and Finalizing the No-Bake Chocolate Peanut Butter Pie Jars
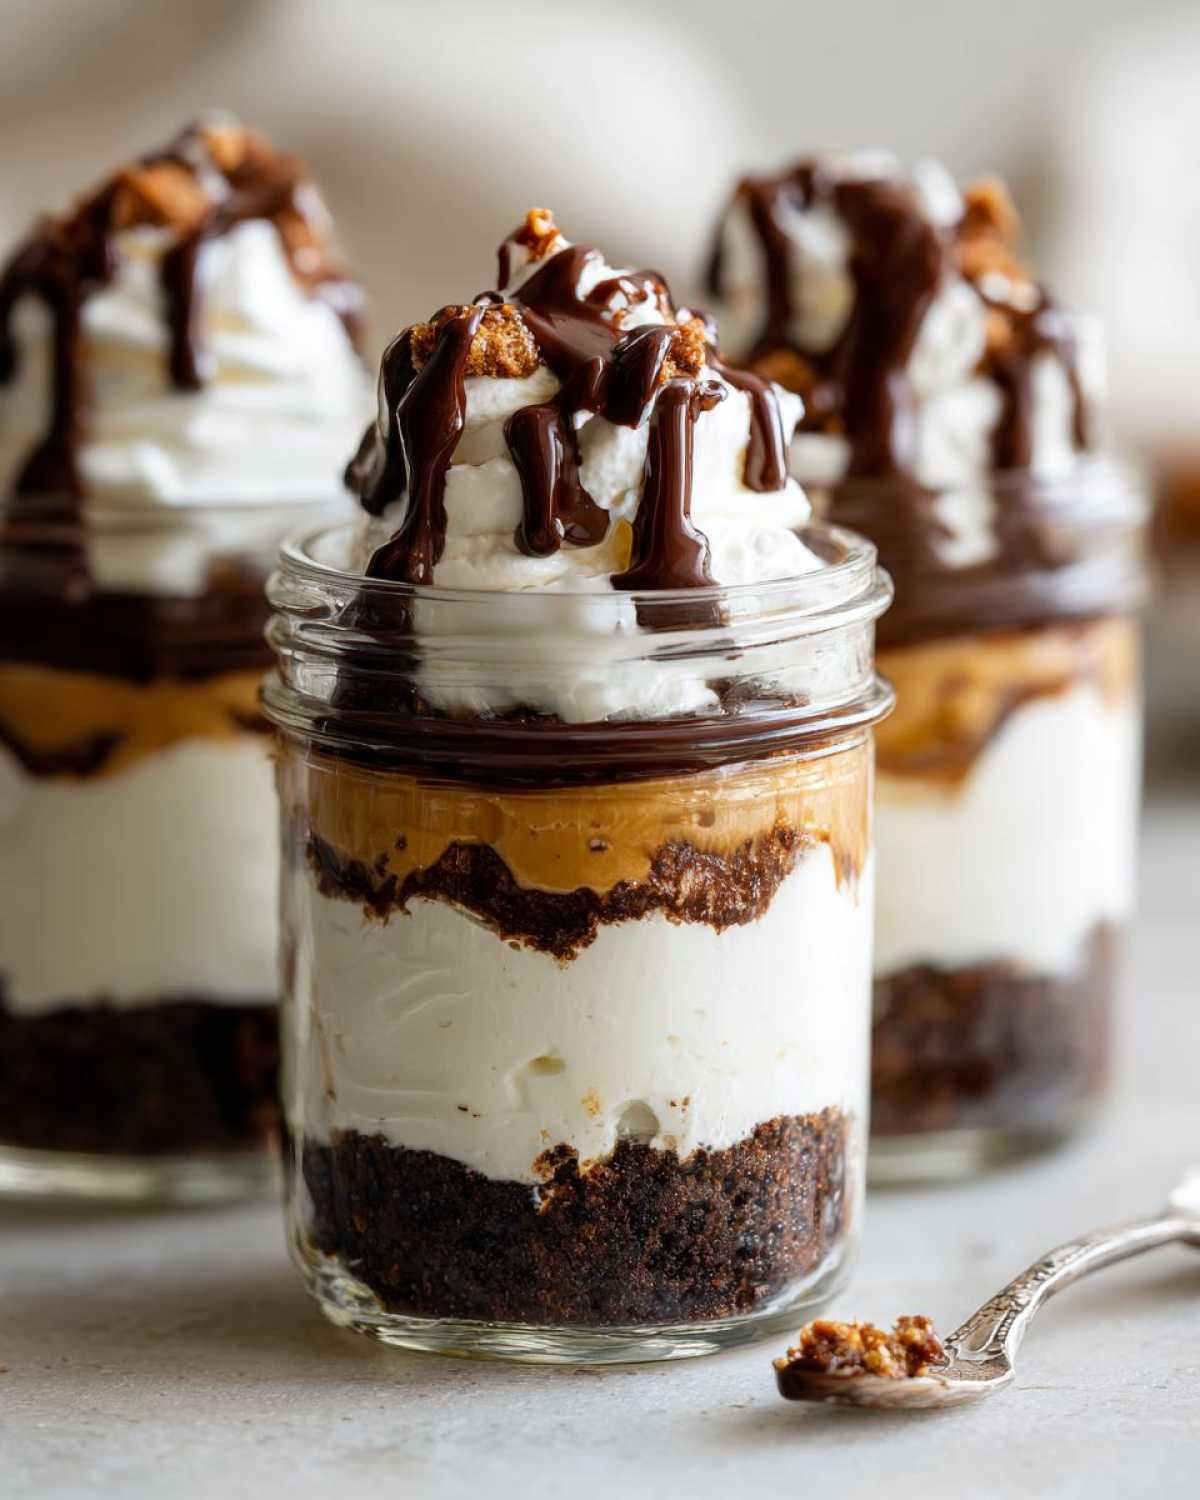
Time for the cloud layer! Grab your cold heavy cream and whip it hard with the remaining half cup of powdered sugar until you have stiff peaks. You want that cream to hold its shape when you lift the whisk. Dollop or pipe this airy topping generously over the peanut butter layer. Once all your layers are set, pop them in the fridge for at least an hour. Finally, just before serving those stunning No-Bake Chocolate Peanut Butter Pie Jars, drizzle that melted chocolate right across the top for the grand finale!
Tips for Success with Your Individual Portion Desserts
I’ve made these jars dozens of times, and I’ve learned a few things that stop them from turning into pudding soup or having cracked layers. The biggest mistake people make is rushing the chilling! You *have* to allow that hour, minimum, for the fillings to firm up against the crust. If you’re planning these as make ahead peanut butter desserts, chilling overnight is even better, but don’t add the chocolate drizzle until just before serving.
Also, let’s talk about that crust substitution I mentioned. If you don’t have chocolate sandwich cookies, go ahead and use graham crackers—it totally changes the flavor profile to be more classic pie, which is delicious! Just make sure you use the same amount of melted butter. And seriously, if your cream cheese is even slightly firm when you start mixing the filling, you’re going to fight lumps the whole time. Set it out on the counter an hour before you plan to start. It makes a huge difference, I promise!
If you want super neat layers, using a piping bag like I mentioned earlier is the ticket, especially for getting that peanut butter layer perfectly flat so the whipped cream sits nicely on top. For more ideas on preparing desserts in advance, you should look at my make ahead peanut butter desserts guide.
Storage and Making Ahead No-Bake Chocolate Peanut Butter Pie Jars
One of the best things about these individual desserts is how fantastic they are for making ahead. Seriously, these No-Bake Chocolate Peanut Butter Pie Jars are even better the next day because the flavors really have time to marry together! You can absolutely keep them covered tightly in the fridge for up to three days. The crust might soften just a tiny bit, but that’s usually a good thing!
Now, freezing is possible, but I’m gonna level with you—it’s not my preferred method. When you freeze the filling layers, the cream cheese and whip can sometimes separate or get a slightly icy texture when thawed. If you absolutely must freeze them, wait until they are fully chilled after assembly, skip the chocolate drizzle, freeze them airtight, and then thaw them overnight in the fridge before adding the topping. For the absolute best result and texture, I always follow my rule I learned making my no-bake biscoff cheesecake: fresh is best, but 24 hours ahead is manageable!
Variations on the Peanut Butter Chocolate Jar Theme
While the classic combo is perfection, I always encourage people to play around with these simple dessert jars! If you like a little texture, swap out that smooth peanut butter for crunchy—it adds a fun surprise in every bite. Or, ditch the chocolate sandwich cookies entirely! I’ve played around with graham crackers to make a more classic, slightly lighter crust.
My absolute favorite little tweak? A tiny, tiny pinch of flaky sea salt sprinkled over the peanut butter layer before the whipped cream goes on. It just makes the chocolate sing louder!
If you’re looking for other single-serving ideas, you should definitely check out my recipe for no-bake strawberry cheesecake cups; it shows how versatile these jar concepts can be!
Frequently Asked Questions About No Bake Dessert Recipes
I always get questions about these types of simple, fast sweets, especially since they are such great no bake dessert recipes! Here are a few things folks ask me all the time about assembling these perfect individual portion desserts.
Can I use whipped topping instead of heavy cream?
Oh, you certainly can! Using stabilized, store-bought whipped topping is totally fine if you’re in a huge rush and want to skip whipping the heavy cream yourself. Just whip it until it’s light, and gently fold it over your peanut butter layer. It won’t have quite the rich flavor of homemade cream, but it saves about ten minutes!
How thick should the filling be?
The peanut butter filling should be thick enough that when you scoop it, it holds a soft peak, not runny at all. If it feels too thin after mixing, put the bowl in the fridge for 15 minutes before layering. We need that creaminess to hold its own shape inside the jar!
Can I make these vegan?
That takes a little work, but yes! You can definitely adapt this into a no oven needed sweet vegan treat. You’d need to swap the graham crackers/Oreos for a vegan cookie, use a plant-based cream cheese alternative, and substitute the heavy cream with a chilled can of full-fat coconut cream. It works beautifully, but the texture changes slightly.
What size jar works best?
I find that 6-ounce or 8-ounce jars are the sweet spot for these Peanut Butter Chocolate Jars. It gives you enough room for four distinct layers—crust, PB filling, whipped topping, and chocolate drizzle—without making a serving that feels too huge. If you want smaller bites, 4-ounce jars are also great for parties!
For more quick options that skip the oven heat, you should check out my guide on quick no bake pies!
Estimated Nutritional Data for No-Bake Chocolate Peanut Butter Pie Jars
I always want to be upfront about what we’re eating! Keep in mind these numbers are estimates based on the specific brands and measurements I used in my recipe. Since we aren’t baking, we aren’t losing or changing nutrients chemically, but the density is high here!
- Serving Size: 1 jar
- Calories: 550
- Sugar: 45g
- Fat: 38g
- Protein: 14g
This is definitely a rich treat meant for satisfying those big cravings! Treat yourself!
PrintEasy No-Bake Chocolate Peanut Butter Pie Jars
Prepare individual servings of creamy chocolate and peanut butter pie layered in jars. This recipe requires no oven time.
- Prep Time: 20 min
- Cook Time: 0 min
- Total Time: 20 min
- Yield: 4 servings
- Category: Dessert
- Method: No-Bake Assembly
- Cuisine: American
- Diet: Vegetarian
Ingredients
- 1 cup crushed chocolate sandwich cookies (about 15 cookies)
- 4 tablespoons unsalted butter, melted
- 1 cup creamy peanut butter
- 8 ounces cream cheese, softened
- 1/2 cup powdered sugar
- 1 teaspoon vanilla extract
- 1 cup heavy whipping cream
- 1/2 cup powdered sugar (for whipped cream)
- 1/2 cup chocolate chips, melted (for topping)
Instructions
- Prepare the crust: Mix the crushed cookies and melted butter in a bowl until combined.
- Divide the cookie mixture evenly among four small jars (about 8 ounces each) to form the base layer. Press down lightly.
- Prepare the peanut butter layer: Beat the peanut butter, softened cream cheese, 1/2 cup powdered sugar, and vanilla extract in a medium bowl until smooth.
- Spoon or pipe the peanut butter mixture evenly over the cookie crust in the four jars.
- Prepare the whipped cream: In a separate bowl, whip the heavy cream and remaining 1/2 cup powdered sugar until stiff peaks form.
- Gently spread or pipe the whipped cream layer over the peanut butter layer in each jar.
- Chill the jars for at least 1 hour to allow them to set.
- Before serving, drizzle the melted chocolate chips over the top of the whipped cream layer in each jar.
Notes
- Use graham crackers instead of chocolate cookies for a different crust flavor.
- For easier layering, place the fillings into piping bags before adding them to the jars.
- Chill the jars for a minimum of 2 hours for the firmest texture.
Nutrition
- Serving Size: 1 jar
- Calories: 550
- Sugar: 45
- Sodium: 250
- Fat: 38
- Saturated Fat: 15
- Unsaturated Fat: 23
- Trans Fat: 0
- Carbohydrates: 48
- Fiber: 3
- Protein: 14
- Cholesterol: 65