

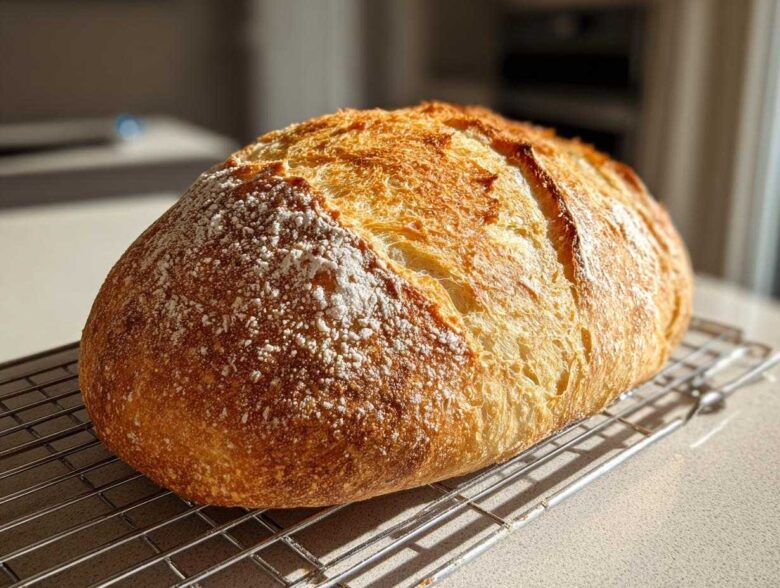
Oh, there is simply nothing in this world that compares to the smell of a fresh loaf coming out of the oven! It just fills up the whole house, doesn’t it? Richard always says that aroma just brings me right back to that tiny little bakery we found near the Arno in Florence, where the italian bread was pulled fresh every hour. Well, I’ve spent years trying to replicate that feeling right here in our kitchen, and I finally cracked the code for you! This Easy Crusty Homemade Italian Bread recipe gets you that perfect bakery-style crunch on the outside without needing any fancy equipment. It relies on basic pantry ingredients and a little bit of a trick I picked up during our travels for that authentic, satisfying chew. Trust me, you are going to love bringing this golden beauty to your dinner table.
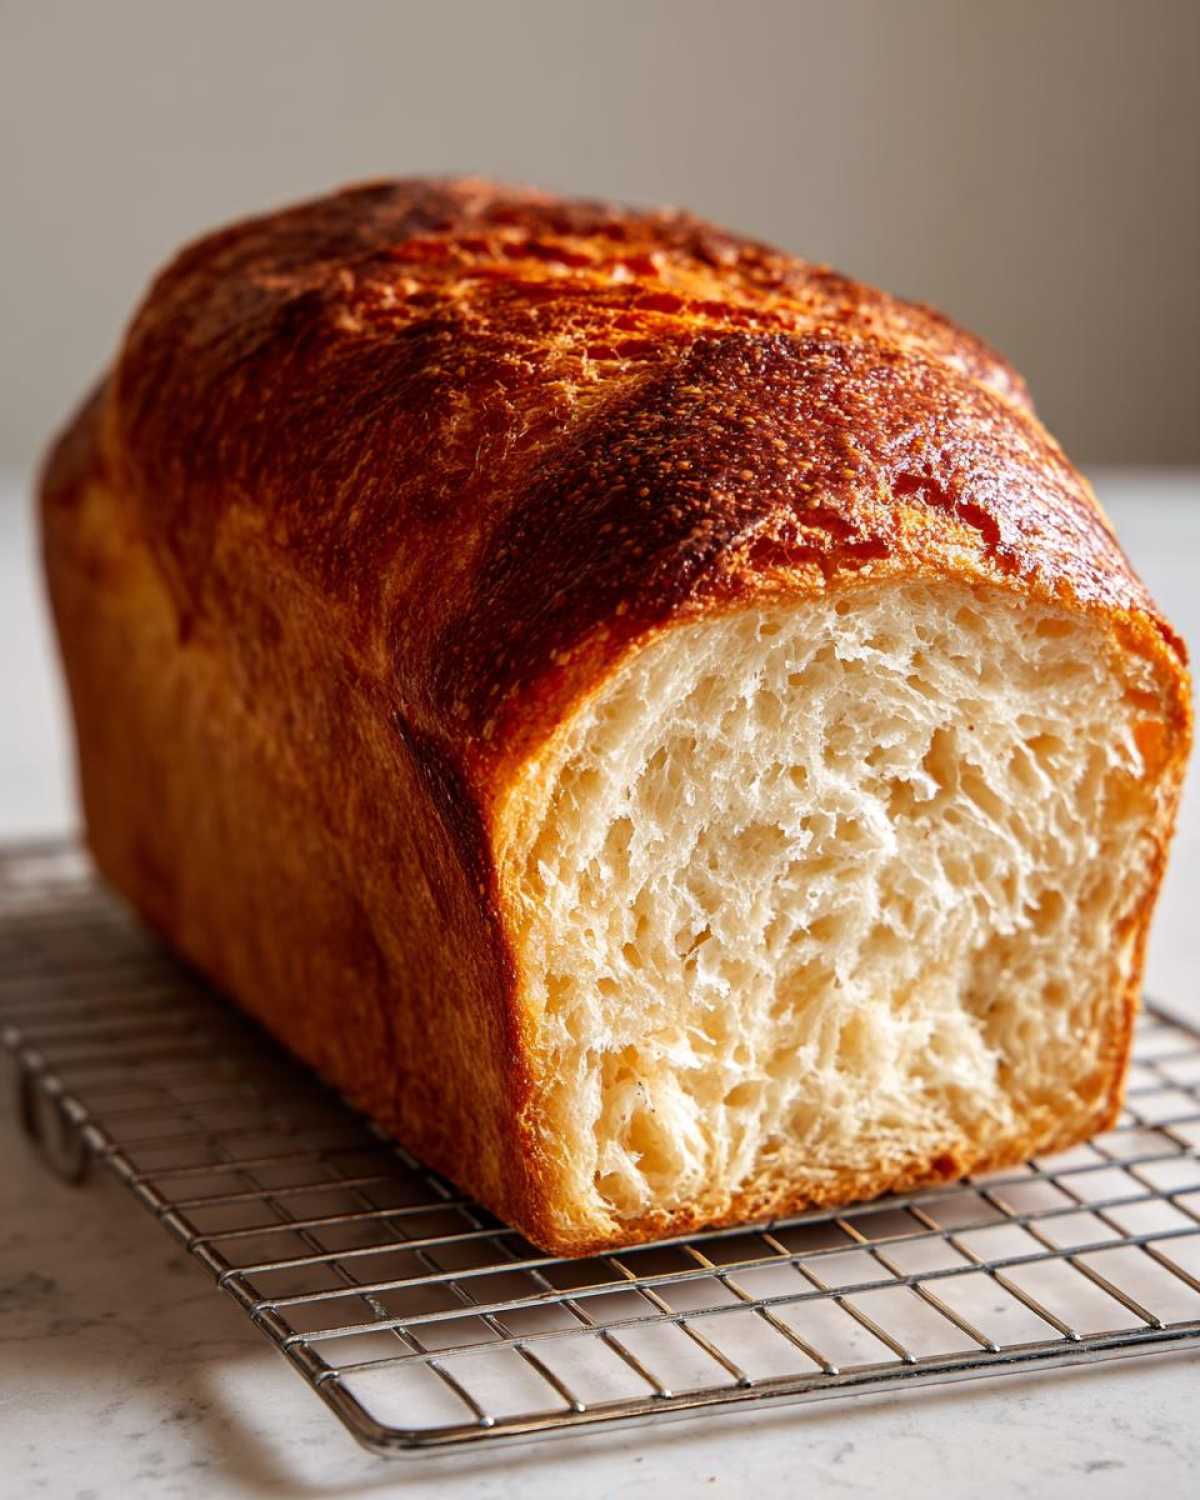
Why This Easy Crusty Homemade Italian Bread Recipe Works (Expert Tips)
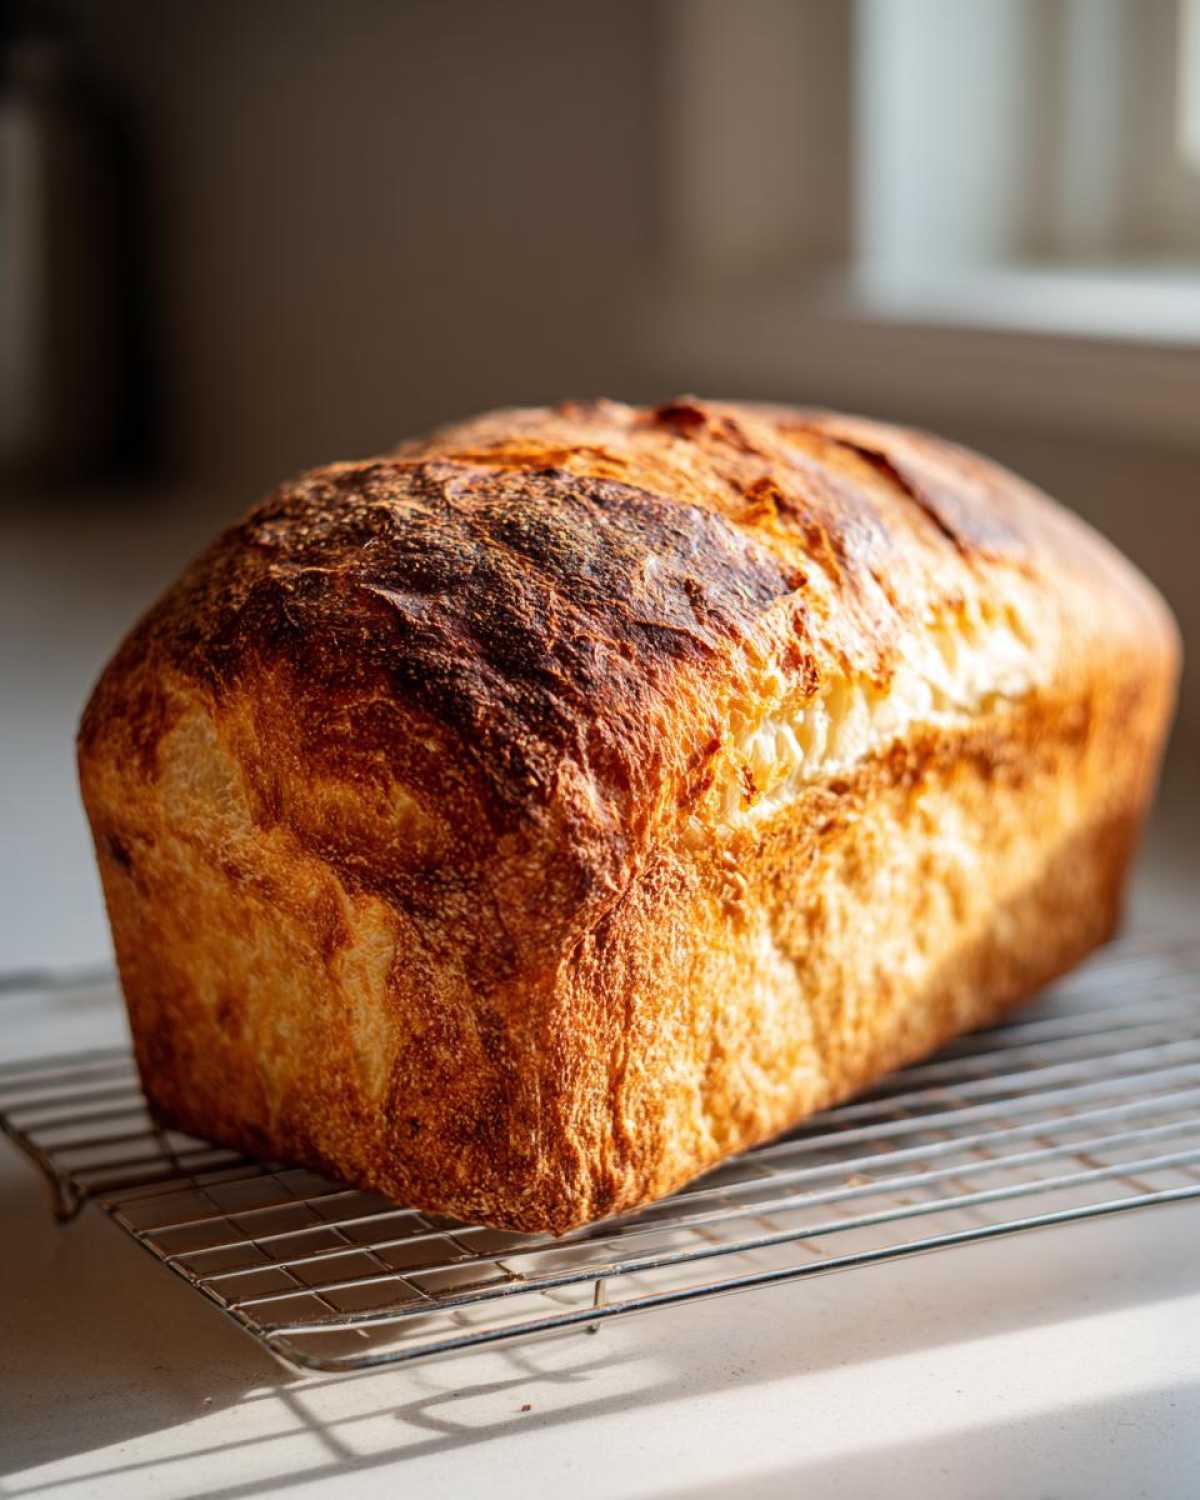
When I first started baking bread after coming home for good, I always ended up with something that felt too much like a sandwich loaf—nice, but not *that* crackly bread we loved. This recipe delivers that sought-after Soft Inside Crusty Outside Bread because we focus on two crucial things: high heat and steam. It’s the secret to true Easy Crusty Bread Baking, and honestly, it’s the single biggest element that separates homemade from the store-bought versions. Richard always reminds me how the slightest hesitation means we miss that perfect window for crust development!
Learning this technique took practice, but now I can get that beautiful, deeply colored crust every single time. If you want to see what I mean about the crust, I found a wonderful breakdown of the science involved when I was first experimenting. Achieving that perfect crust is half the battle!
Achieving the Golden Brown Crust Bread
The key to that deep, golden brown crust bread is immediate, hot steam. That little pan of hot water we put in the bottom of the oven? It’s not optional! As the bread starts baking at 400°F, that steam keeps the surface of the dough from hardening too fast. This allows the bread to expand fully—that’s called oven spring! Once the loaf has fully bloomed after about ten minutes, you let the steam escape, and the dry heat crisps up that surface to perfection.
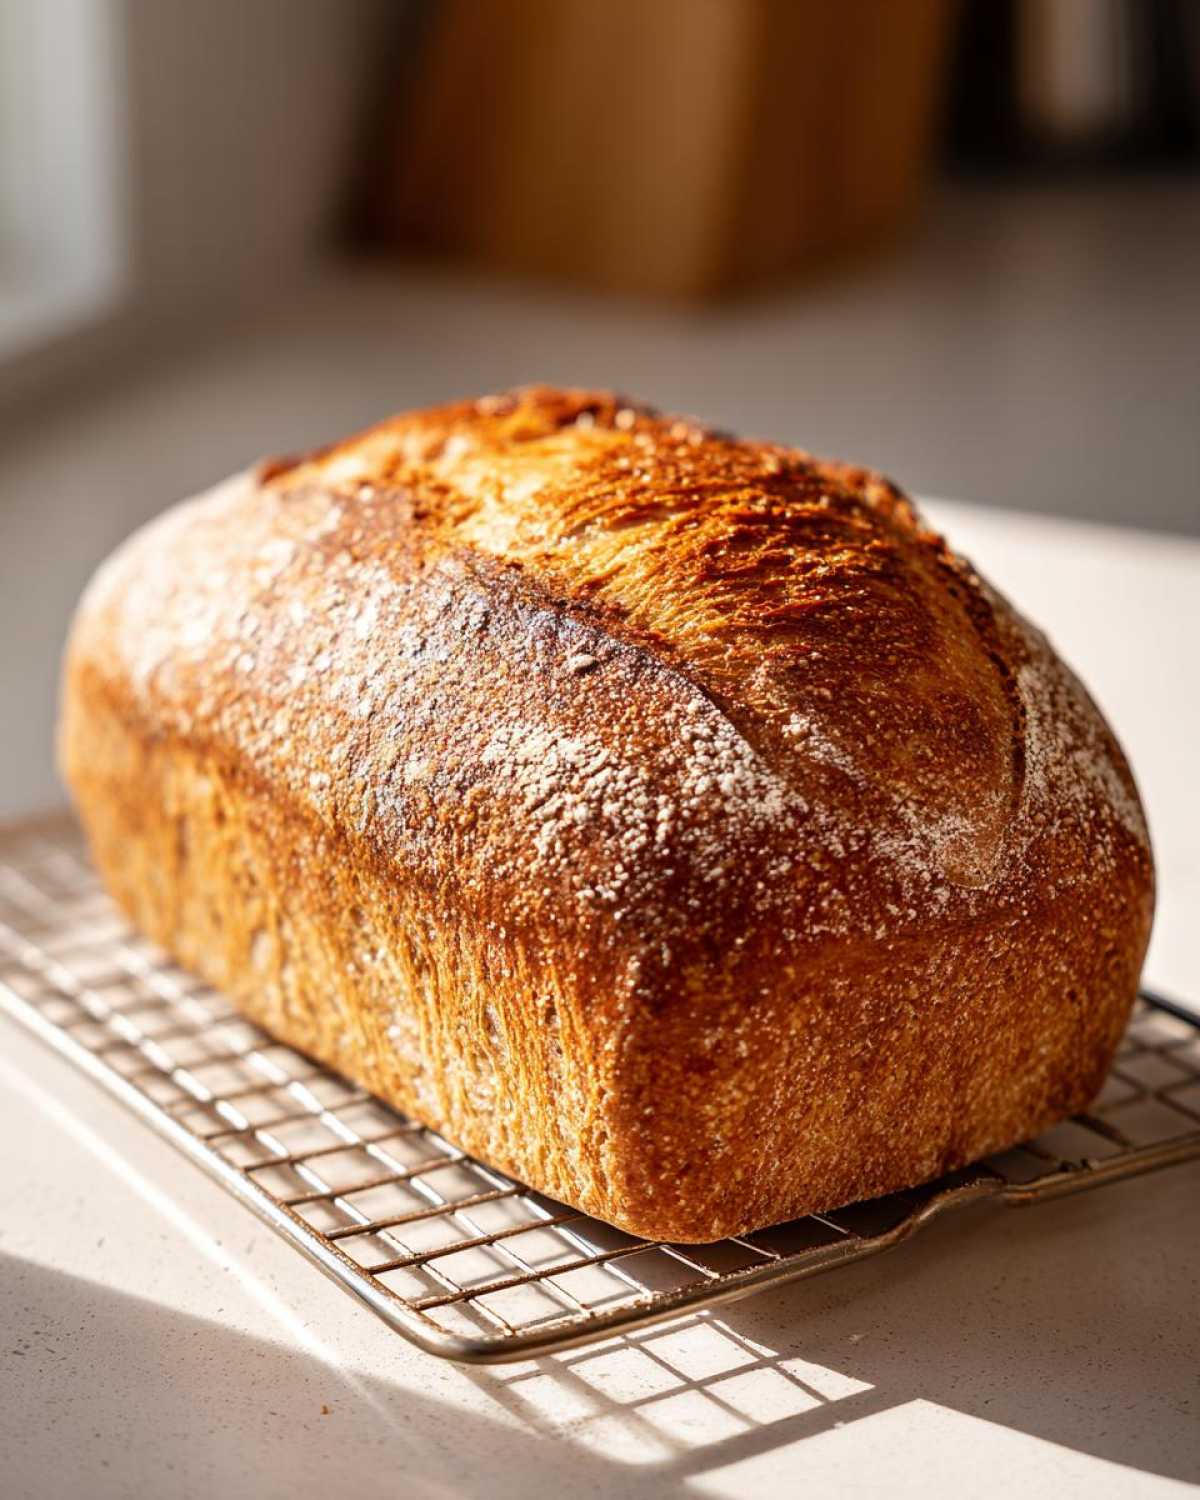
The Secret to a Chewy Italian Loaf Interior
For the inside to be deliciously chewy, we have to encourage the gluten to get happy and strong. That’s why we insist on kneading for a full five to seven minutes until the dough feels elastic, not sad and floppy. Also, pay close attention to your water temperature—if it’s too cold, the yeast won’t wake up properly, and if it’s too hot, you kill them off! Getting that balance right is what guarantees a beautiful, Chewy Italian Loaf.
Ingredients for Your Homemade Italian Bread Recipe
Now, let’s talk about what goes into this beauty! I love that this Homemade Italian Bread Recipe relies on things I almost always have on hand. Precision matters here, especially with the liquids, so grab your thermometer for the water. You want it warm enough to wake up the yeast, but not so hot it shocks them!
- 3 1/2 cups all-purpose flour – stick with this for now!
- 1 1/2 teaspoons salt, just regular table salt is fine.
- 1 teaspoon granulated sugar – the yeast’s little breakfast.
- 2 1/4 teaspoons active dry yeast (that’s exactly one standard packet).
- 1 1/2 cups warm water (make sure it’s between 105–115°F).
- 2 tablespoons olive oil, plus a little extra coating for the bowl.
Step-by-Step Instructions for Bakery Style Italian Loaf
Alright, let’s get our hands delightfully dirty! This is where we turn those simple ingredients into rustic magic. Follow these steps exactly, and you’ll be pulling out a genuine Bakery Style Italian Loaf. Don’t rush the rising times; that’s where the flavor develops! For the full experience and more tips on achieving perfection, you can check out another great guide on crusty Italian bread.
Proofing the Yeast and Mixing the Dough
First things first: we wake up the yeast! Mix your warm water, the tiny bit of sugar, and the yeast together in a big bowl. Wait about five minutes—if it gets foamy and bubbly on top, your yeast is alive and ready to work its magic. If it just sits there sadly, you need warmer water and fresh yeast. Once it’s foamy, mix in the flour and salt until you have a rough, shaggy ball of dough.
Kneading and First Rise for Your Italian Bread
Now, turn that shaggy mess onto a lightly floured counter. We need to knead this dough for about five to seven minutes. You’re looking for it to stop tearing and start looking smooth and feeling elastic, like a nice rubber band. Richard always cautions me, “Eleanor, add flour only if you absolutely must, let it be a little sticky!” Coat your bowl with olive oil, pop the dough in, cover it tight, and let it double—usually about an hour and a half in a warm spot.
Shaping and Creating Steam for Baking
Gently press the air out of that beautiful risen dough. Shape it into a tight log, either for a free-standing loaf or in a lightly oiled pan. Cover it again and let it relax for another 30 to 45 minutes—that’s the second rise. While it’s proofing, get your oven good and hot—400°F—and don’t forget to put that little shallow pan in there. The moment you slide your loaf in, pour a cup of hot water into that hot pan underneath. That blast of steam is what creates that incredible, crunchy crust!
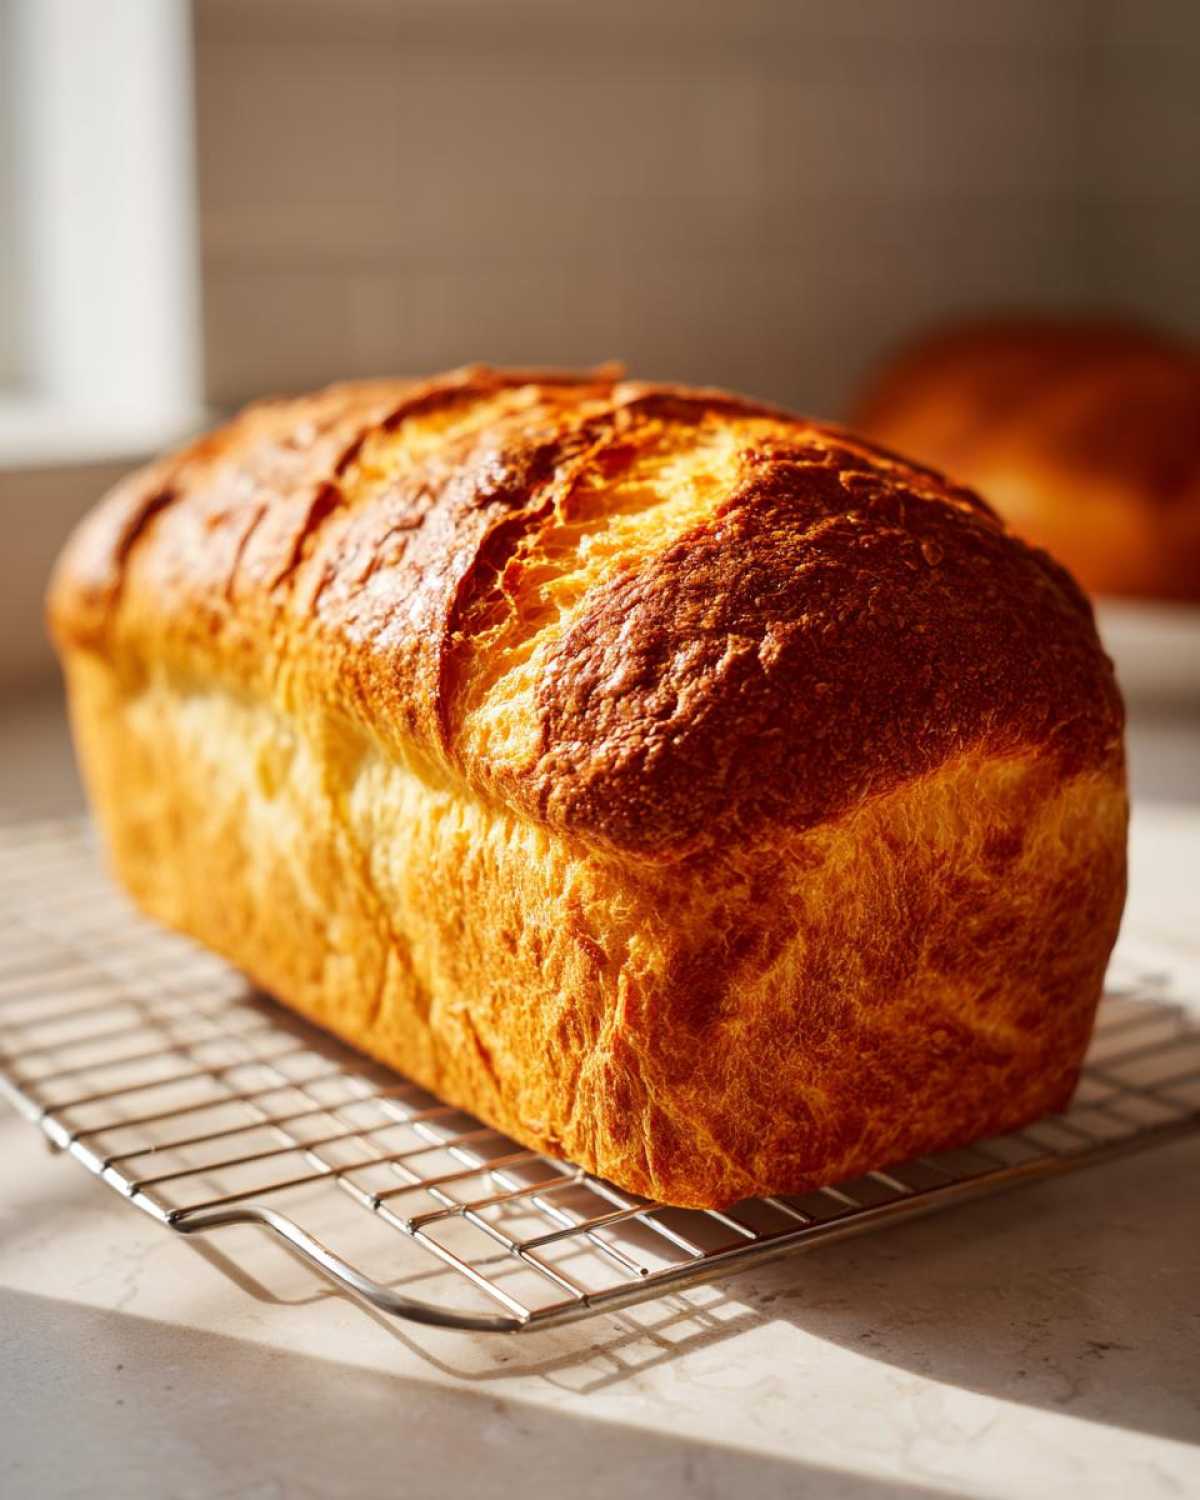
Tips for Success with Your Quick Italian Bread Tutorial
Even though this is a relatively simple Quick Italian Bread Tutorial, baking still requires a little finesse to get that ultimate crispy exterior! My best advice, which I learned through many trials, is about controlling the steam after the initial bake. If you want that crust to truly sing and crackle when you slice it, try quickly spraying the oven walls with water a couple of times during those first ten minutes the bread is inside. Be careful, though; don’t spray the door glass, just the sides!
Also, resist the urge to slice it too soon! I know—the fresh baked bread aromas are intoxicating, and we all want to tear into it immediately. But if you cut into that loaf while it’s still piping hot, all that trapped steam rushes out, and you’re left with a gummy interior. Let it rest on a wire rack for at least 45 minutes. I learned this the hard way trying to serve it warm with dinner when Richard was hungry! For more great tips on achieving that perfect finish, I really like checking out what other seasoned bakers suggest, like this piece on perfect crust techniques.
Ingredient Notes and Substitutions for Classic Italian Baking
When we talk about Classic Italian Baking, sometimes people ask me if they absolutely must use all-purpose flour. For this recipe, honestly, yes! I found that switching to bread flour made the crumb a little too tight for what we wanted—we’re aiming for soft and airy, not crusty artisan density, which requires a different rise. I think our travel memories lean toward that slightly softer crumb you get from AP flour.
Now, about the yeast! The recipe calls for active dry yeast, but if you happen to have instant yeast, you can usually skip that initial five-minute proofing step. Just mix it straight in with your dry ingredients! Richard prefers the visible foam of active dry yeast, he says it reassures him the bread is going to work, but those instant packets are handy in a pinch. If you want more context on how simple ingredients create that beautiful texture, I found this explanation really helpful: achieving that soft inside, crusty outside takes attention to detail.
Serving Suggestions for Your Dinner Side Bread Recipes
My greatest pleasure is serving this bread alongside a big, saucy pasta dish. That ability for the loaf to soak up every last drop of simmering tomato sauce is exactly why we need that perfect soft interior! This makes it one of my go-to Dinner Side Bread Recipes. Of course, a simple dish of high-quality olive oil, maybe with a little rosemary and pepper, is unbeatable right after it cools slightly. If you want to make that dipping experience truly spectacular, I have a recipe for our favorite buttery dipping sauce right here that pairs beautifully.
Storage and Reheating Instructions for Fresh Baked Bread Aromas
Oh, I know the moment you realize you have leftovers! We always want those amazing fresh baked bread aromas to last, but soggy crusts are simply tragic. If you have leftovers, don’t you dare wrap the whole loaf tightly in plastic wrap! That traps the moisture and ruins the crispness overnight.
Instead, let the loaf cool completely first, and then wrap it loosely in a clean kitchen towel or paper bag. This lets it breathe a little. To bring that glorious crust back to life the next day, just pop the slices (or the whole loaf if it’s not too big) into a 350°F oven for about five to seven minutes. It warms right up, and that crunch returns like magic!
Frequently Asked Questions About Homemade Italian Bread
I always get so many lovely questions when folks try our Homemade Italian Bread Recipe for the first time! Most questions revolve around texture, which tells you everyone is chasing that perfect interior. Remember, baking is a journey, and even small tweaks can make a difference in your final loaf.
Can I make this Italian bread recipe without kneading?
For this particular recipe, I really recommend kneading because it develops the gluten we need for that soft, chewy inside. If you absolutely must skip it, you can treat it like a No Knead Italian Bread by adding maybe another quarter cup of water, making the dough much wetter, and letting it rise twice for much longer—maybe 3 hours total for the first rise!
What is the best way to use this bread for dipping?
Honestly, this loaf shines when it’s used for dipping! The best way is to slice it generously, brush the slices with a bit of olive oil, and toast them lightly under the broiler until they are just crisp. Then, dip them into a flavorful sauce, like the garlic butter sauce I often share right here on the blog. It makes for wonderful Dipping Bread Recipes!
Why did my crust not come out crunchy?
Nine times out of ten, if the crust isn’t crispy, it’s because you skipped the steam step, or you didn’t let the loaf cool long enough on the rack! The steam creates that initial tender skin, and cooling allows the moisture inside to stabilize instead of turning your lovely golden crust soft again.
Can I use bread flour instead of all-purpose flour?
You certainly can! If you use bread flour for this Easy Crusty Bread Baking, you will end up with a slightly chewier, more open crumb, leaning closer to a very rustic country loaf. It’s fantastic, but it might not quite match the soft texture we aim for in a classic neighborhood Italian loaf.
Share Your Perfect Italian Bread Creation
Well, that’s the end of our diary entry for this loaf! We poured all our memories of sun-drenched Italian tables into these steps, and now it’s over to you! Did you achieve that crackly crust? Did Richard’s instructions on kneading make sense? Please leave a rating below and tell me how your adventure in Italian bread baking went. I absolutely adore seeing your creations, so don’t forget to tag us in your photos on social media! Come back soon to see what memory we unlock next over at the main blog.
PrintEasy Crusty Homemade Italian Bread: A Bakery-Style Loaf
Follow this simple recipe to bake a bakery-style Italian loaf at home. You will achieve a golden, crunchy crust and a soft, chewy interior using basic pantry ingredients. This recipe is beginner-friendly and perfect for dipping or making sandwiches.
- Prep Time: 20 min
- Cook Time: 35 min
- Total Time: 2 hours 5 minutes
- Yield: 1 large loaf
- Category: Baking
- Method: Baking
- Cuisine: Italian
- Diet: Vegetarian
Ingredients
- 3 1/2 cups all-purpose flour
- 1 1/2 teaspoons salt
- 1 teaspoon granulated sugar
- 2 1/4 teaspoons active dry yeast (1 packet)
- 1 1/2 cups warm water (about 105-115°F)
- 2 tablespoons olive oil, plus more for the bowl
Instructions
- In a large bowl, mix the warm water, sugar, and yeast. Let this stand for 5 minutes until the mixture becomes foamy. This shows your yeast is active.
- Add the flour and salt to the yeast mixture. Mix with a wooden spoon until a shaggy dough forms.
- Turn the dough out onto a lightly floured surface. Knead the dough for 5 to 7 minutes until it becomes smooth and elastic. If the dough sticks, add a tiny bit more flour, but try to keep the dough soft.
- Lightly oil a large bowl with olive oil. Place the dough in the bowl and turn it to coat. Cover the bowl with plastic wrap or a clean kitchen towel.
- Let the dough rise in a warm place for 1 to 1.5 hours, or until it has doubled in size. This is your first rise.
- Gently punch down the risen dough. Shape it into a tight loaf or two smaller loaves.
- Place the shaped dough on a baking sheet lined with parchment paper or in a loaf pan. Cover it loosely and let it rise again for 30 to 45 minutes. This is your second rise.
- Preheat your oven to 400°F (200°C). Place a shallow pan on the bottom rack to create steam later.
- Before baking, brush the top of the loaf lightly with water. Score the top of the loaf with a sharp knife if desired.
- Carefully pour about 1 cup of hot water into the shallow pan on the bottom rack to create steam. Immediately place the bread in the oven.
- Bake for 30 to 35 minutes, or until the crust is deep golden brown and the internal temperature reaches 200°F (93°C).
- Remove the bread from the oven and transfer it to a wire rack to cool completely before slicing. Enjoy your fresh baked bread aromas!
Notes
- For an extra crispy crust, spray the sides of the oven with water a few times during the first 10 minutes of baking.
- If you want a softer interior, reduce the baking time by 5 minutes.
- This bread is excellent served warm with olive oil for dipping.
Nutrition
- Serving Size: 1 slice
- Calories: 150
- Sugar: 0.5
- Sodium: 250
- Fat: 1.5
- Saturated Fat: 0.2
- Unsaturated Fat: 1.3
- Trans Fat: 0
- Carbohydrates: 30
- Fiber: 1.5
- Protein: 4
- Cholesterol: 0