

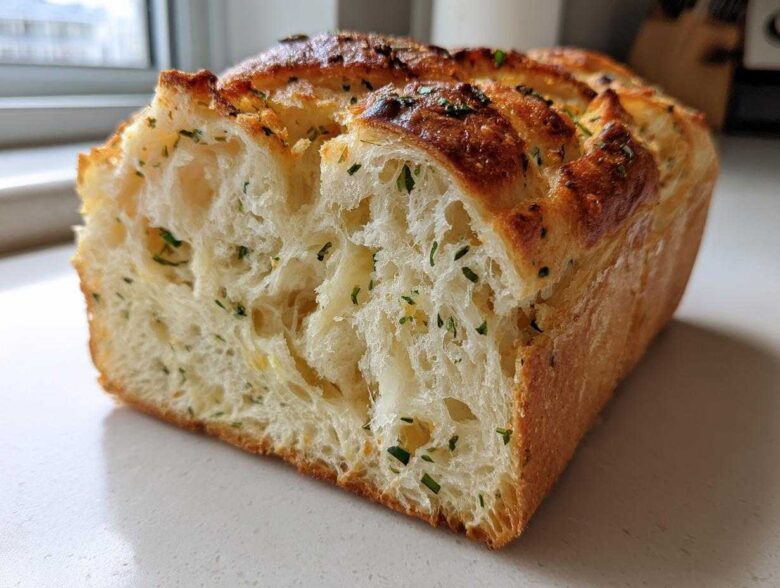
Oh, there is just nothing in the world that compares to the smell of fresh bread baking, is there? Richard often says that smell instantly transports him back to that tiny square where we had the best pasta in Florence—that humble place never needed fancy ovens, just good flour and honest effort. Well, I’ve found a shortcut that brings that incredible, savory comfort right into our quiet kitchen without ever firing up the oven! This recipe for Italian herb and cheese bread is truly my gift to anyone who owns one of those wonderful bread machines. It’s so fast to load everything up, and honestly, the machine does all the heavy lifting for you. If you’ve been looking for an easy win for dinner tonight, this is it! You can read more about how Richard and I started documenting these travel memories on our About Us page.
Why This Italian Herb and Cheese Bread is Your New Favorite Easy Bread Machine Recipe
Friends, if you just bought a bread machine, you might be staring at it wondering where to start. Stop worrying! This Italian herb and cheese bread is formulated perfectly for those of us who want amazing results with zero stress. It’s truly one of our favorite easy bread machine recipes because once you toss everything in, you can walk away. Trust me when I say this savory loaf is far better than anything store-bought.
Perfect for the Beginner Bread Machine User
This recipe is foolproof for anyone just figuring out their new appliance. We list the cycle right in the instructions, so there’s no guessing involved. It’s the definition of a set-it-and-forget-it meal helper. For more tips on navigating your machine, you might enjoy reading my post on beginner bread machine recipes.
Ideal Texture for a Sandwich Loaf
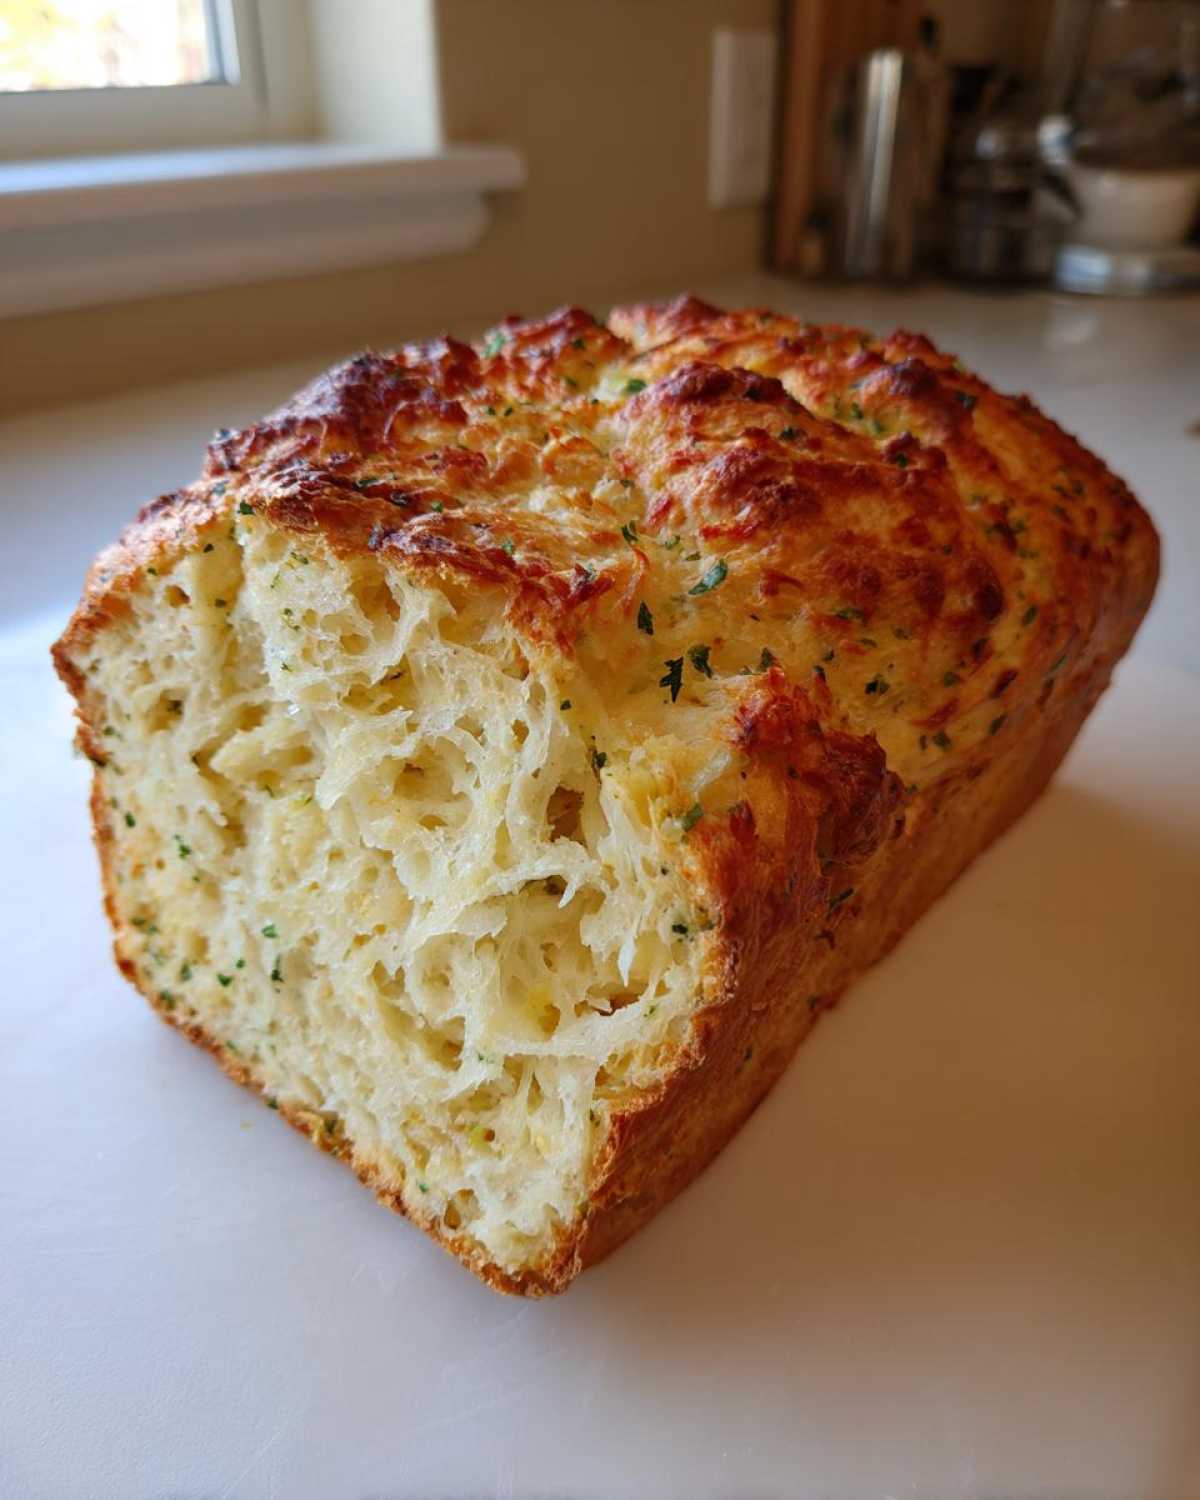
That cheese and flour mixture creates a beautiful, sturdy crumb on the inside. It comes out dense enough to hold up to a hearty filling, making it the absolute best sandwich loaf you’ll ever bake at home. We cut thick slices for dinner, but it’s sturdy enough for lunch the next day too—no squishing!
Gathering Ingredients for Your Parmesan Herb Bread
Now for the fun part—getting everything ready! Since this recipe lives entirely inside the machine, the order you load things matters a lot. We’re aiming for that wonderful, savory depth that makes this the best parmesan herb bread around. Don’t skimp on the cheese here, folks; it really melts into the dough and gives you that fantastic, salty crust.
Liquids and Flour Base
You need to start with your liquids, just like any good bread machine recipe. We want 1 1/2 cups of water that’s nice and warm—aim for that sweet spot between 105 and 115°F, so the yeast wakes up happy. Follow that with 3 tablespoons of good quality olive oil. Then we layer in the dryness: 2 1/2 cups of bread flour and 1/2 cup of whole wheat flour. That little bit of whole wheat flour gives the crust a lovely chewiness I just love.
Flavor Builders: Herbs and Cheese for Italian Herb and Cheese Bread
This is where the magic happens! Mix in 1 1/2 teaspoons of salt, 2 tablespoons of sugar (yes, even for savory bread, we need a little sugar to feed the yeast!), 2 teaspoons of dried Italian seasoning blend, and 1 teaspoon of garlic powder right on top of the flour. Now, the cheese: we need 1 cup of shredded Parmesan cheese total, but you must keep it divided! You’ll use 3/4 cup in the mix-in stage and save that last 1/4 cup for sprinkling later.
Yeast Requirement for Bread Machine Herb Bread
The very last thing to go in is the yeast, and this step deserves a little attention. You need 1 1/2 teaspoons of active dry yeast. Make a cute little divot, or well, right in the center of your layered flour—make sure it’s deep enough so the yeast doesn’t touch the water or oil beneath it yet. It’s waiting patiently up there for the kneading to start when we make this wonderful Italian herb and cheese bread!
Step-by-Step Instructions for Bread Machine Herb Bread
Alright, let’s get this show on the road! Since we’re relying on our trusty machine to handle the hard work, the order we load things is absolutely critical. Richard always reminds me that if we mess up the loading sequence, we might end up ruining the yeast right at the start. Follow this sequence exactly, and we’ll have our beautiful Italian herb and cheese bread in just a few hours! If you need a refresher on those initial water temps, you can always check out my guide to beginner bread machine recipes.
Loading the Bread Machine Pan Correctly
First things first: liquids go in! That means your warm water and the olive oil. Once those are settled at the bottom, it’s time for the dry stack. Gently add all your flours, then carefully layer in the salt, sugar, Italian seasoning, and garlic powder right on top of the flour mound. The very last thing that goes in is the yeast—make sure you create that little well in the center so the yeast sits high and dry above everything else until the machine starts churning.
Setting the Cycle and Adding Mix-ins
Next, you tell the machine what to do. Select the Basic or White Bread cycle, depending on what your machine calls it. I usually go for medium or light crust; we don’t want it too dark because of all that cheese! The most important timing comes when the machine signals for ‘mix-ins.’ That’s when you drop in the 3/4 cup of Parmesan we held back earlier. If your machine is quiet and doesn’t beep, don’t panic! Just sneak in during the final five minutes of that first kneading cycle. This gentle addition is key to perfect bread machine herb bread.
Cooling and Finishing Your Italian Cheese Bread
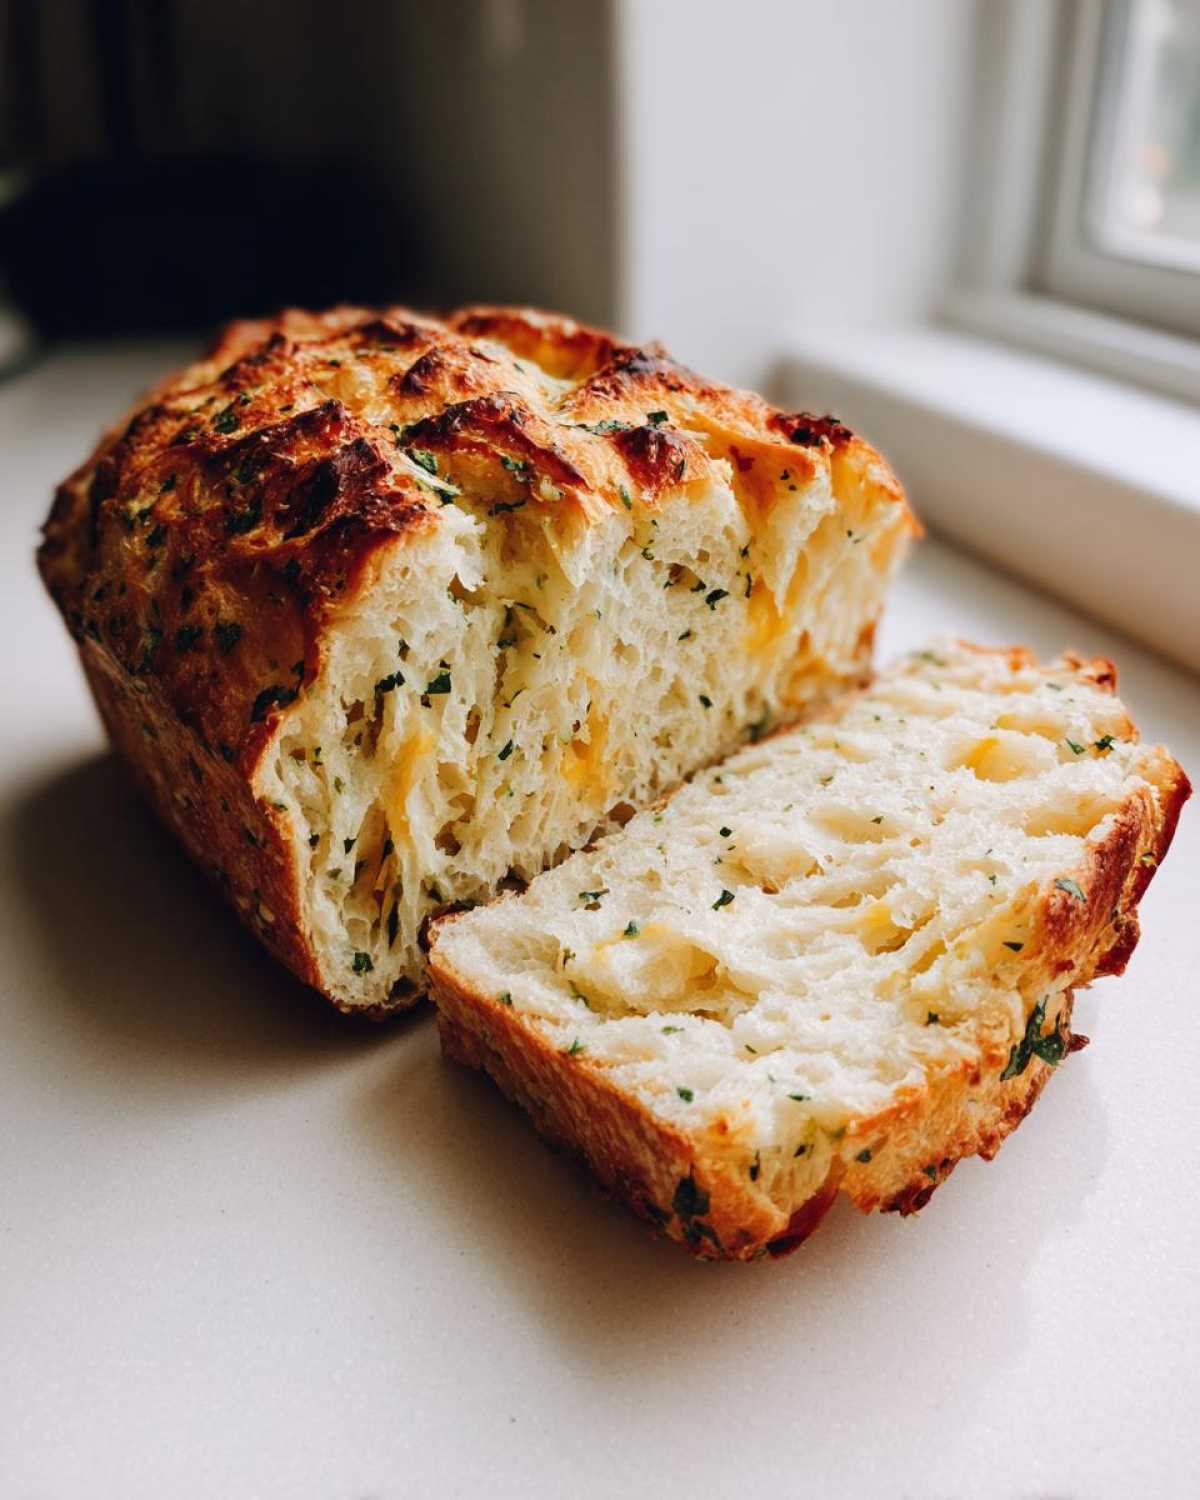
Let the machine run its full course. Don’t peek too much! Once the cycle is done and the paddle stops, carefully remove the pan—it will be hot! Tip the loaf out onto a wire rack right away while it’s still steaming. Now, here’s my favorite finishing touch: immediately take that last 1/4 cup of Parmesan and sprinkle it all over the top while the loaf is still hot. It will melt just slightly and create this wonderful, savory cheese crust on the outside of your amazing italian cheese bread. Then, you just have to wait patiently for it to cool completely before slicing, or the structure won’t hold!
Tips for Success with Your Garlic Herb Bread
We’ve made a beautiful loaf, but you know how it is—little tricks turn something good into something truly memorable! I want to make sure your Italian herb and cheese bread comes out tasting like it came right from a little bakery we found near Rome. These little secrets are what turn a simple machine recipe into something special, especially when dealing with something as robust as this garlic herb bread.
Maximizing Parmesan Flavor in Your Italian Herb and Cheese Bread
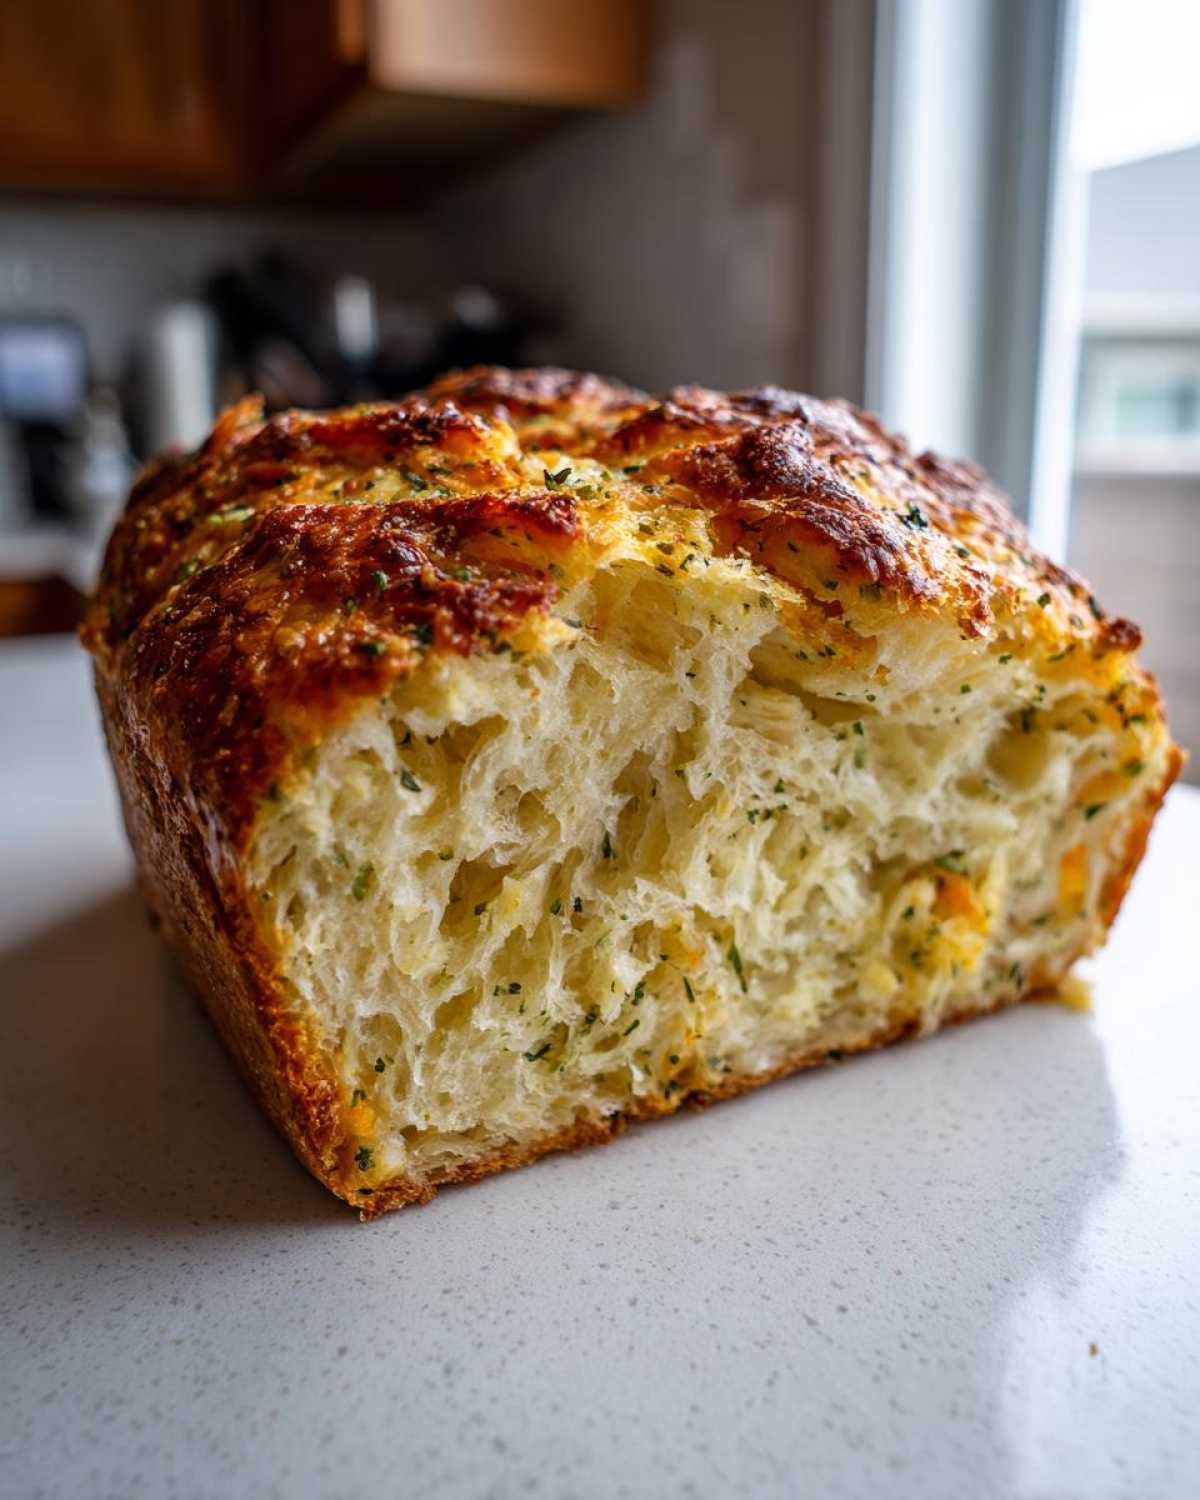
If you can manage it, please, please use freshly grated Parmesan. I know those little tubs of pre-shredded Parmesan are convenient, but they often have anti-caking agents that keep the cheese from fully melting into that gorgeous, gooey layer we want. Freshly grated melts faster and gives you a much stronger, sharper flavor that cuts through the herbs perfectly.
Adjusting for Machines Without a Mix-in Alert
This is a common worry for friends who have slightly older, yet perfectly good, bread machines! If your machine doesn’t beep to tell you when to add the cheese, don’t worry; we have a workaround. You need to listen closely to the rhythm. Wait until the machine is well into its first kneading cycle—usually about five minutes before it’s supposed to switch to rising—and that’s your cue. Open the lid carefully and drop in that 3/4 cup of cheese quickly, then close it right back up so the heat doesn’t escape!
Variations: Making Rosemary Oregano Bread or Other Cheesy Dinner Bread
While I absolutely adore our standard Italian herb and cheese bread just the way the recipe is written, one of the joys of baking at home is making it absolutely your own! Richard and I loved experimenting with flavors when we were trying to nail down that perfect taste—sometimes you just need a little kick, don’t you? This recipe is so forgiving, it handles a little herbal swap beautifully.
Herb Swaps for Italian Herb and Cheese Bread
If you’re feeling rustic, you can easily swap out the standard Italian blend for a more specific profile. Try using 1 teaspoon of dried rosemary and 1 teaspoon of dried oregano instead. Honestly, that combination makes a wonderful, warm rosemary oregano bread that sings alongside roast chicken. You could also add a little dried basil right along with the seasonings if you want an even greener flavor!
Cheese Alternatives for Your Loaf
Parmesan is king here because its sharp saltiness balances the herbs so well, but if you’re craving something different for your cheesy dinner bread, go ahead and try mixing it up! I’ve had success replacing half the Parmesan with either sharp, grated Gruyère or even a good mature cheddar sometimes. Just remember, Gruyère will melt softer, and cheddar will change the overall savoriness. For the best salty crust on top, though, I always stick with the Parmesan for that final sprinkle!
Storage and Reheating for Your Italian Herb and Cheese Bread
Even the best Italian herb and cheese bread tastes best when fresh, but this loaf holds up wonderfully! If you have leftovers, just keep it wrapped tightly on the counter for two or three days. Richard insists that if you want to save some for later—and trust me, you should—slice it first and then pop those slices into a freezer bag. Freezing is fantastic because you can just pop a slice or two right into the toaster or under the broiler for a minute. That little bit of warmth brings back the herbs and melts any internal cheese again. It’s such a lifesaver for quick meals!
Serving Suggestions for This Flavorful Loaf
What do you even do with a perfect loaf of herby, cheesy goodness once it’s cooled down? Well, this Italian herb and cheese bread is so flavorful on its own that you hardly need anything else—but Richard and I have certainly tried to pair it with everything over the years! It’s wonderful simply sliced thick and served alongside a big bowl of soup. A creamy tomato soup or even a hearty minestrone just sings when dipped into this loaf.
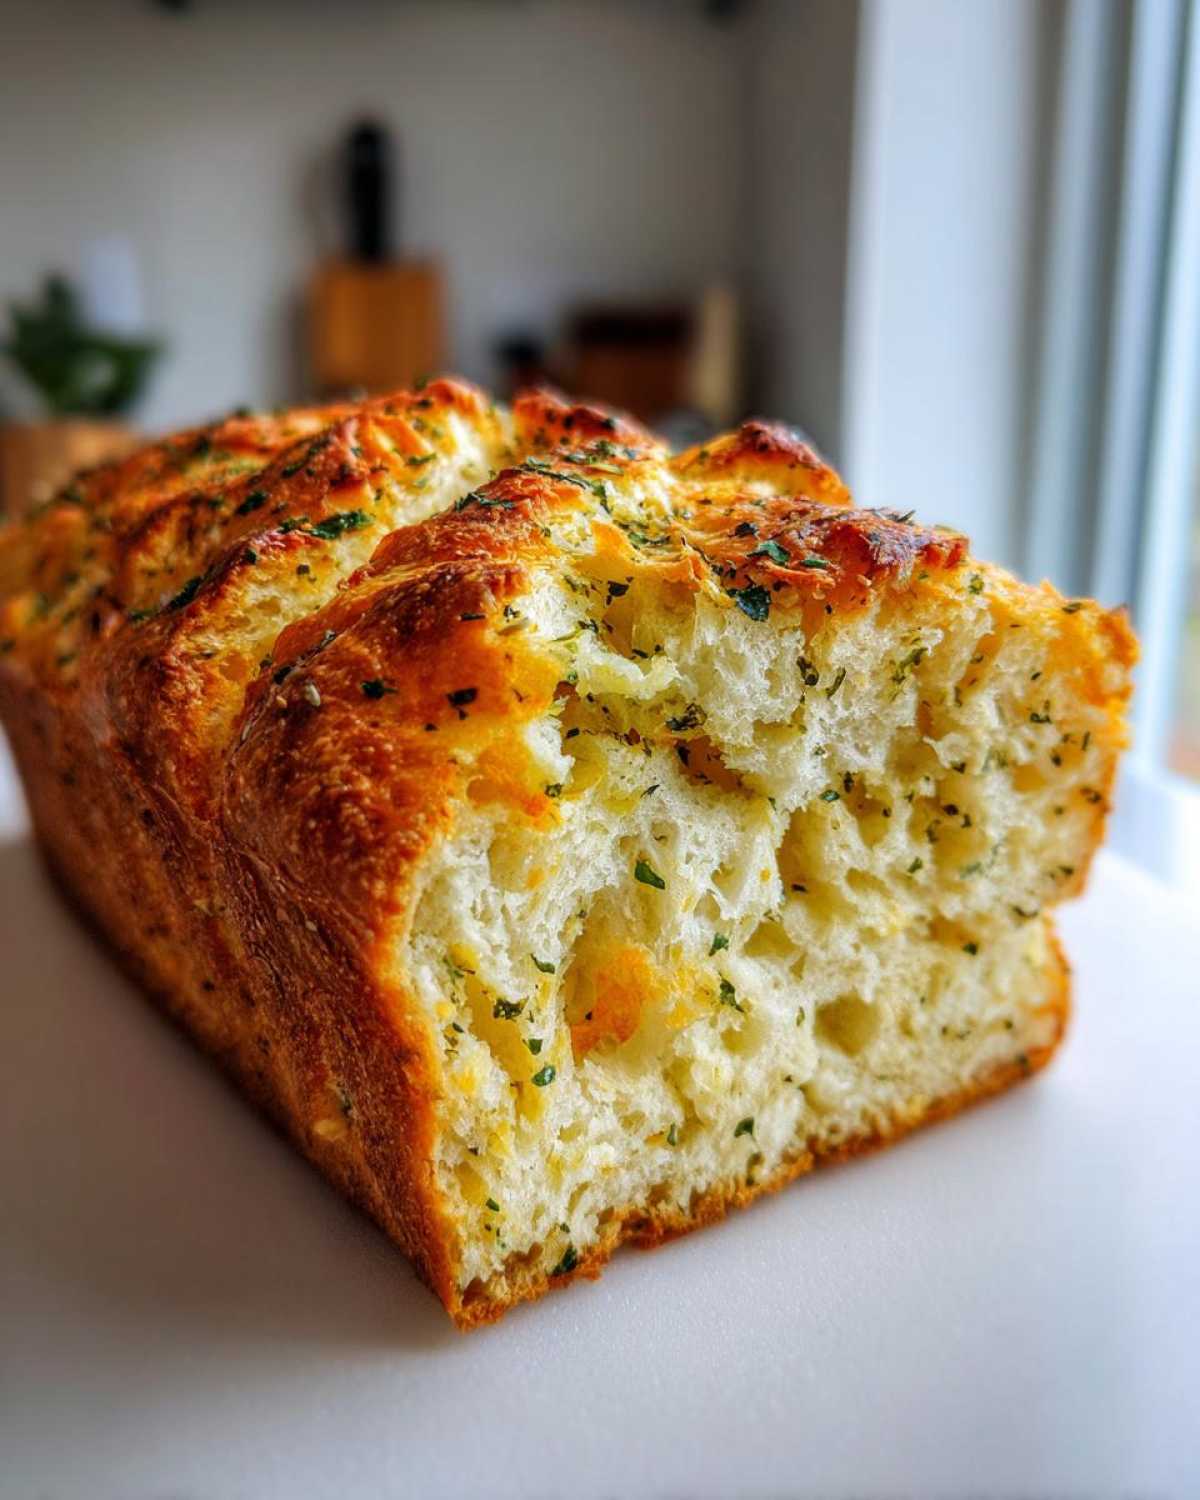
Because we worked so hard ensuring this is a sturdy sandwich loaf, it’s perfect for lunch too. Forget plain white bread; pile on some good mozzarella, salami, and maybe a few thin slices of roasted bell pepper and grill it like a panini. The cheese inside the bread gets all melty and delicious!
If you want to make it an appetizer, try this: cut the cooled loaf into thick slices, drizzle them lightly with olive oil, and maybe bake them for five minutes until they are just crispy. They are phenomenal dipped into a good homemade sauce. I actually developed a lovely recipe for a toasted bread dipping sauce—you can find that over here: our favorite dipping sauce. It’s the perfect accompaniment to this savory bread!
Frequently Asked Questions About Bread Machine Herb Bread
Oh, I always get so many lovely questions after posting one of our easy machine recipes! It reminds me of when Richard and I were first figuring out how flavors translate through the automatic cycles. It’s all about understanding your machine, but rest assured, this Italian herb and cheese bread is very forgiving. Here are a few things people often wonder about when making this savory loaf.
Can I use fresh herbs instead of dried in this Italian Herb and Cheese Bread?
That’s a great question! Fresh herbs smell incredible, but they hold a lot more water than the dried versions, and that extra moisture can sometimes weigh down the dough in the short mixing time the machine gives us. If you absolutely must use fresh herbs—like fresh rosemary or basil—you’ll need to use about twice the volume of what the dried recipe calls for. However, for simplicity and the most reliable rise in your machine, I truly recommend sticking to the dried Italian seasoning blend. You can always find more of my baking insights over on the main blog page!
What cycle setting is best for this parmesan herb bread?
Hands down, stick to the Basic or White Bread cycle. I know your machine might have a fancy ‘Sweet’ cycle or a ‘Whole Grain’ cycle, but those adjust the kneading time and the resting phases quite a bit. Since this loaf has flour, cheese, and oil, the Basic cycle gives it the standard kneading and proofing time it needs to develop that beautiful structure for our parmesan herb bread. If you use a specialty setting, you risk over-kneading the cheese in, or worse, the loaf might bake unevenly because it’s denser than plain white bread.
Why did my bread machine herb bread sink in the middle?
Seeing a sunken loaf is always such a disappointment! When a bread machine loaf sinks, it’s usually because something went wrong with the yeast activation or the liquid balance. First, double-check your water temperature—if it was too hot (above 120°F), you might have killed the yeast right away. If the water was too cold, the yeast didn’t wake up enough to lift the heavy dough. Also, make sure you didn’t accidentally dump the cheese in too early, as the fat coating the yeast can stop it from working. A little too much liquid in general can also make the dough structure too weak to hold up during the final bake!
Nutritional Snapshot of Your Cheesy Dinner Bread
Now, dear friend, I do want to share the numbers, but only with a little nod and a wink. Richard and I learned long ago that if you eat food made with love while reminiscing about beautiful places, the calorie count magically goes down! Still, for those of you who like to keep track, here is a rough estimate of what you are looking at for this gorgeous cheesy dinner bread. Please remember, just like any recipe made at home, these figures are estimates based on the ingredients listed and a standard serving size. If you use fresher Parmesan or richer olive oil, the numbers might shift a bit!
You can always read our full thoughts on home recipe estimates over on our site disclaimer page, but here’s the rundown for one slice:
- Serving Size: 1 slice
- Calories: 180
- Fat: 6g
- Saturated Fat: 3g
- Carbohydrates: 28g
- Protein: 6g
- Sugar: 2g
- Sodium: 350mg
See? Not bad at all for something packed with that lovely garlic and parmesan flavor. Enjoy that slice—you’ve earned it after loading up your machine!
Share Your Delish Diarist Creations
And there you have it! Our very simple, yet incredibly flavorful, Italian herb and cheese bread, made right there in the machine. Richard is already sniffing around the cooling rack, hoping I’ll let him cut the first slice, but I’m holding firm until it’s completely cooled down. I hope you’ve enjoyed watching the magic happen!
Now that you’ve tried this wonderful easy bread machine recipe, I would absolutely adore hearing all about it. Did you add a little extra garlic powder? Did you try swapping in some Asiago cheese instead of Parmesan? Don’t keep those delicious success stories to yourself!
Please, take a moment when you get a chance—maybe while your bread is cooling—and leave a nice star rating right down below on the recipe card. And if you managed to take a picture of the gorgeous loaf sitting on your counter, please tag us! Seeing your creations reminds me that our quiet little kitchen diary is reaching folks all over the country and inspiring new memories.
Sending you and yours all my love from our messy, delightful kitchen,
Eleanor
PrintEasy Italian Herb and Cheese Bread Machine Loaf
Bake a flavorful Italian herb and cheese bread right in your bread machine. This recipe makes a perfect sandwich loaf or a wonderful side for dinner.
- Prep Time: 10 min
- Cook Time: 3 hr 30 min
- Total Time: 3 hr 40 min
- Yield: 1 loaf
- Category: Baking
- Method: Bread Machine
- Cuisine: Italian
- Diet: Vegetarian
Ingredients
- 1 1/2 cups warm water (105-115°F)
- 3 tablespoons olive oil
- 2 1/2 cups bread flour
- 1/2 cup whole wheat flour
- 1 1/2 teaspoons salt
- 2 tablespoons granulated sugar
- 2 teaspoons dried Italian seasoning blend
- 1 teaspoon garlic powder
- 1 cup shredded Parmesan cheese, divided
- 1 1/2 teaspoons active dry yeast
Instructions
- Add the warm water and olive oil to the bread machine pan first.
- Add the bread flour, whole wheat flour, salt, sugar, Italian seasoning, and garlic powder on top of the liquids. Create a small well in the center of the flour.
- Place the active dry yeast into the well you created. Do not let the yeast touch the liquid yet.
- Select the Basic/White Bread cycle on your machine. Choose a medium or light crust setting.
- When the machine signals the addition of mix-ins (usually about 10-15 minutes into the kneading cycle), add 3/4 cup of the shredded Parmesan cheese.
- Allow the bread machine to complete its full cycle.
- Once the cycle finishes, carefully remove the loaf from the pan and place it on a wire rack to cool completely before slicing.
- For extra flavor, sprinkle the remaining 1/4 cup of Parmesan cheese over the top of the hot loaf immediately after removing it from the pan.
- Slice your delicious parmesan herb bread once fully cooled for the best sandwich loaf results.
Notes
- For the best flavor in your bread machine herb bread, use freshly grated Parmesan cheese if possible.
- If your machine does not have a ‘mix-ins’ alert, you must add the cheese manually during the final 5 minutes of the first kneading cycle.
- This loaf freezes well; slice it before freezing for easy toast or sandwich portions later.
Nutrition
- Serving Size: 1 slice
- Calories: 180
- Sugar: 2
- Sodium: 350
- Fat: 6
- Saturated Fat: 3
- Unsaturated Fat: 3
- Trans Fat: 0
- Carbohydrates: 28
- Fiber: 1
- Protein: 6
- Cholesterol: 10